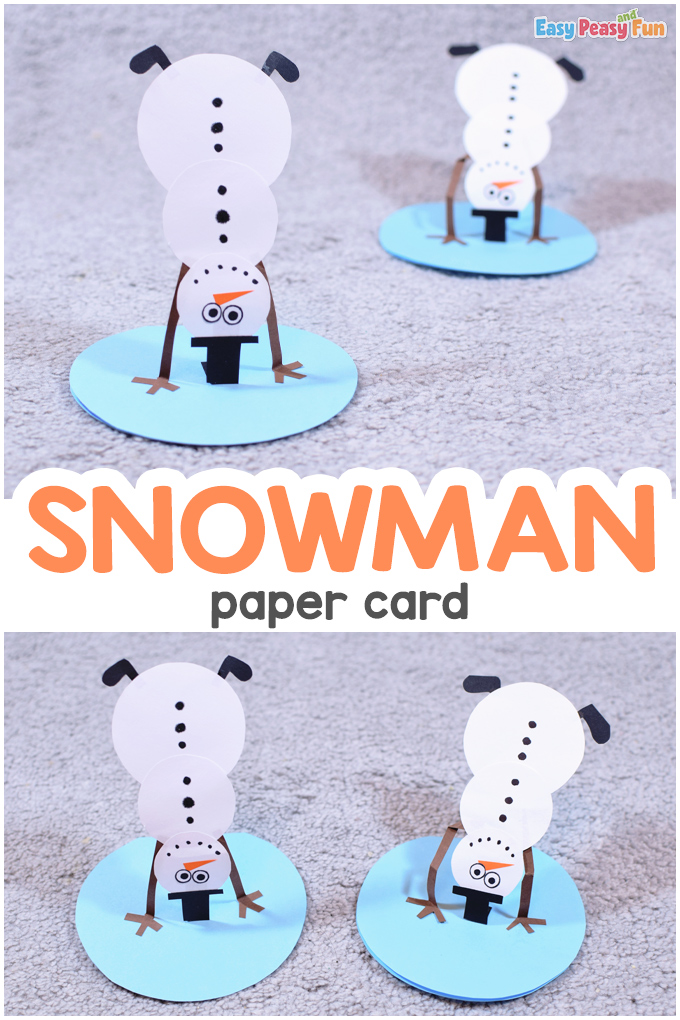
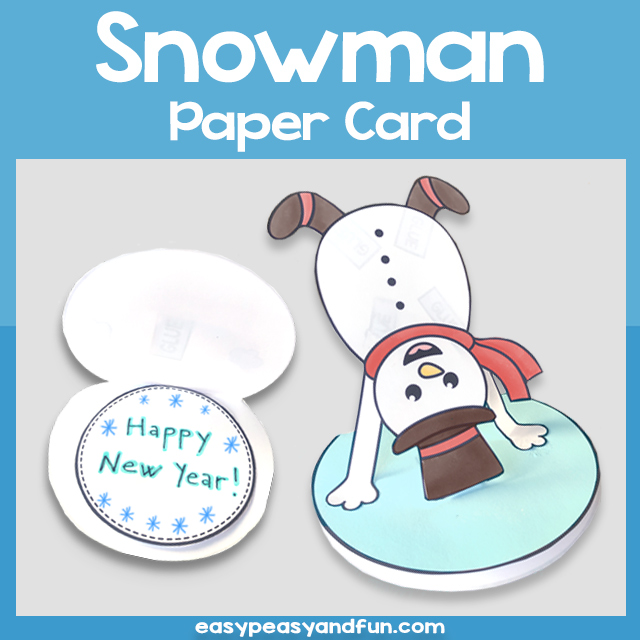
Snowmen are here! Wish a happy New Year to all your loved ones with our Snowman Paper Card.
The card is super easy and fun to make.
*This post contains affiliate links*
50 paper crafts your kids can actually do themselves

No fancy supplies — just paper, scissors, and a little imagination.
Be the first to get it on release day — and lock in the lowest price guaranteed.
Finally, it’s time for Winter Crafts. We’ve been waiting for this snow for a while.
One of our favorite things to do in winter is making snowmen – and not the ordinary snowmen you find everywhere around, but ones just like these you see in the pictures.
If you want your kids to learn How to Draw a Snowman on their own, check out our easy tutorial.
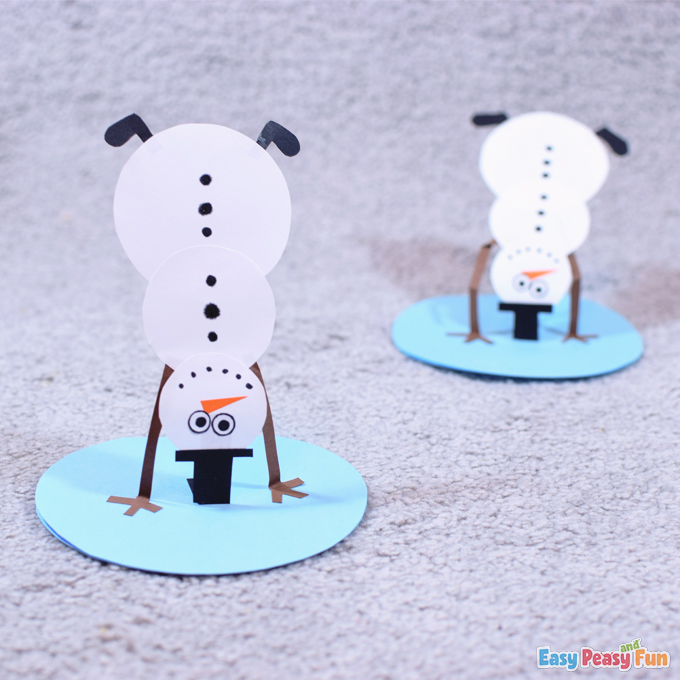
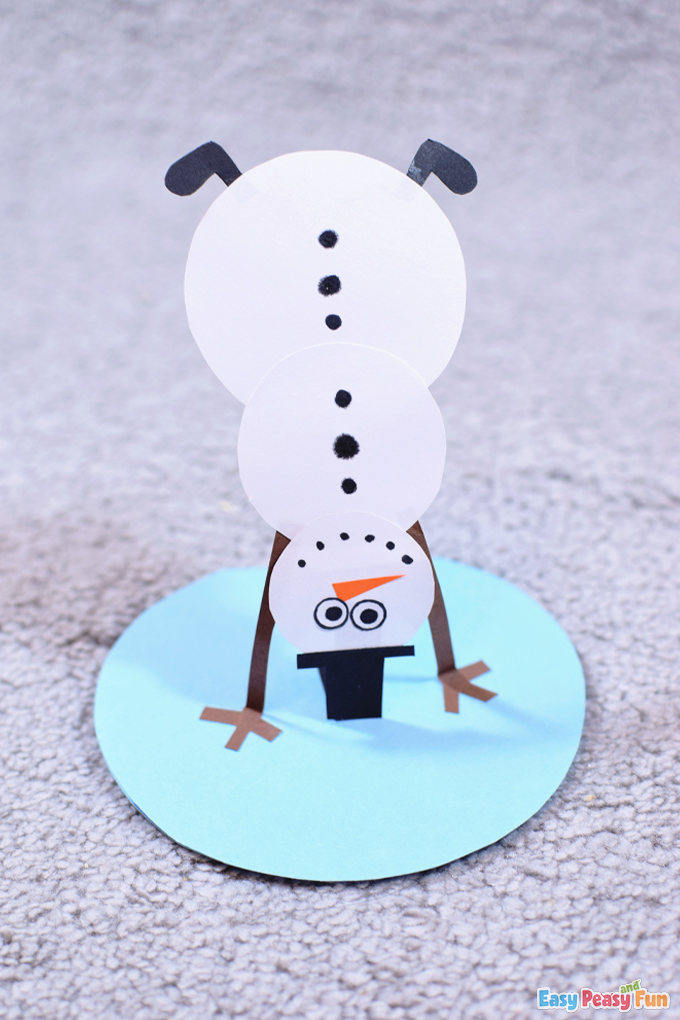
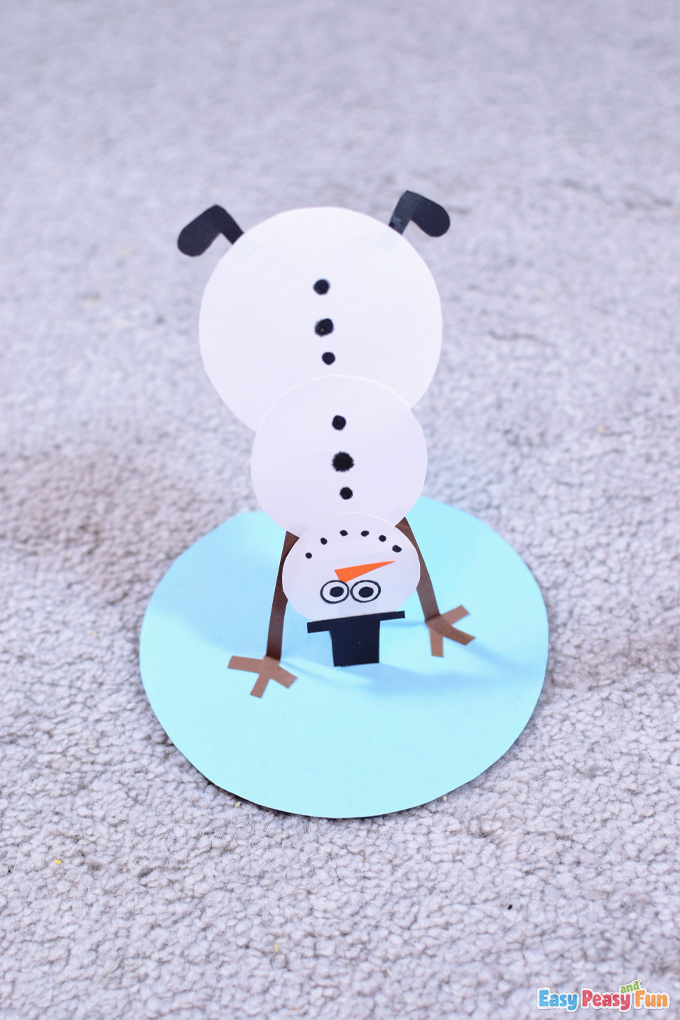
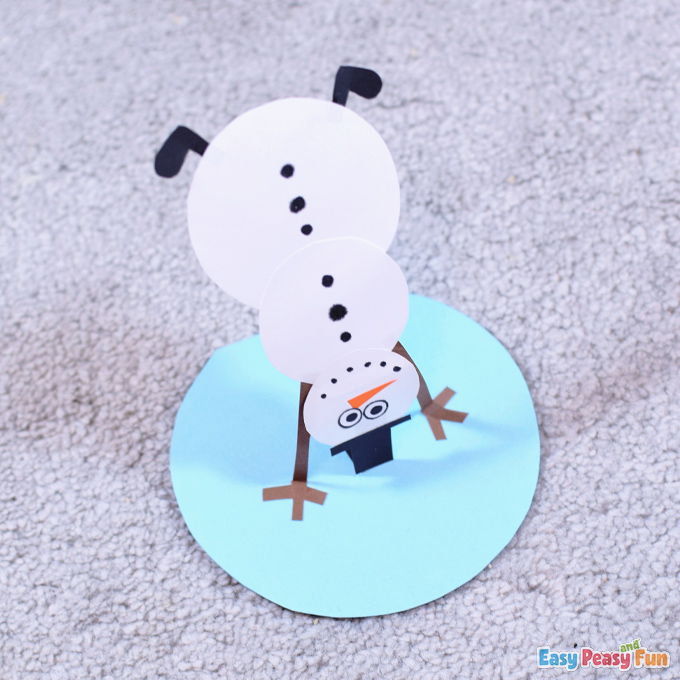
Yes! We make hand-standing snowmen (apart from other ones).
Up until now, it had never crossed our minds to make a hand-standing snowman out of paper and share the fun with you.
And today, we got so excited – this idea popped inside our heads, and we started crafting right away.
We added a card part under the snowman, so you can wish a Happy New Year to your best friends or someone you love.
We bet you will join us with this project, and we hope it brings you happiness and joy.
Let’s go!
How to Make a Snowman Paper Card
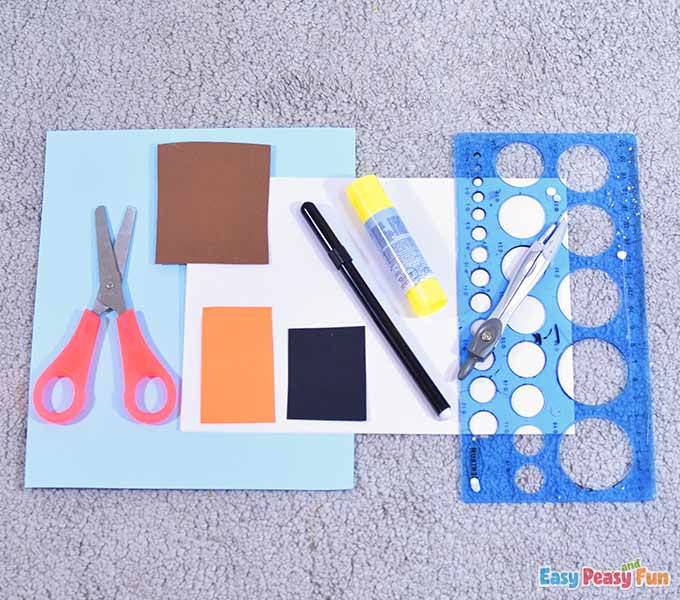
What you need:
- scissors
- black marker
- light blue cardstock
- white paper and white cardstock
- brown cardstock
- black cardstock
- orange cardstock
- glue
- а compass
- ruler with circle shapes
Step by Step Tutorial
The Card
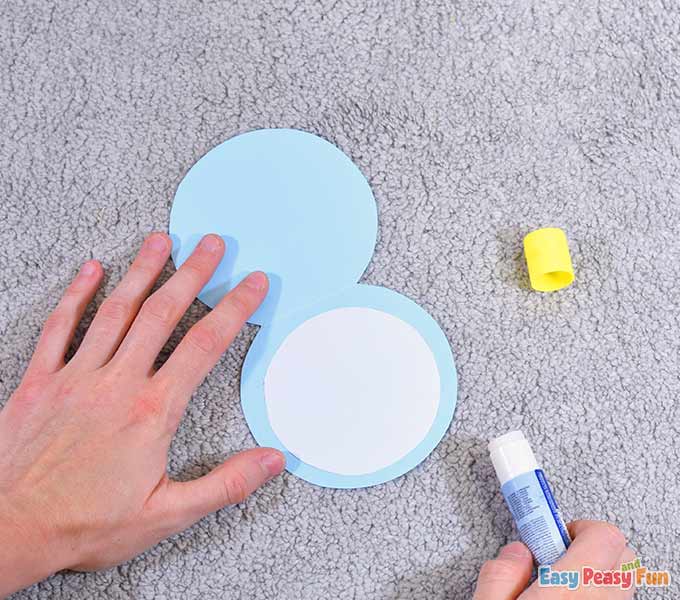
Take the blue cardstock and fold it in half.
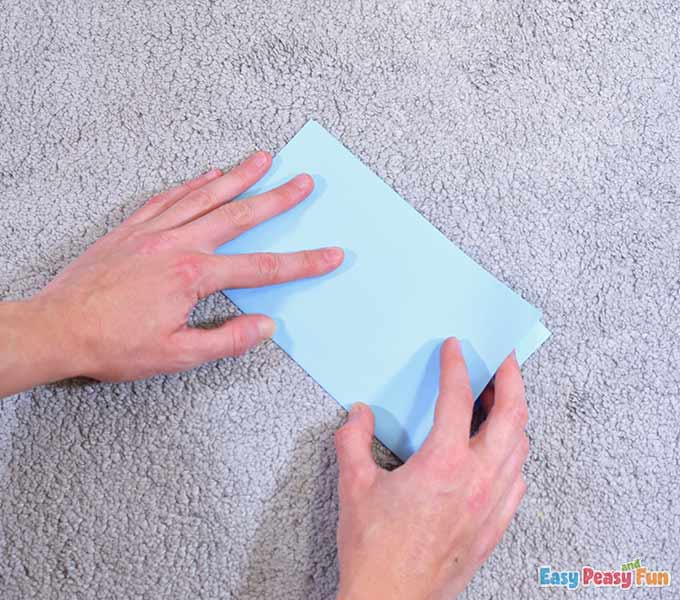
Make an almost complete circle (with a 5 cm diameter) using the compass.
Leave a folded part for the card, then draw the circle starting from the fold downwards and around.
See the picture for guidance.

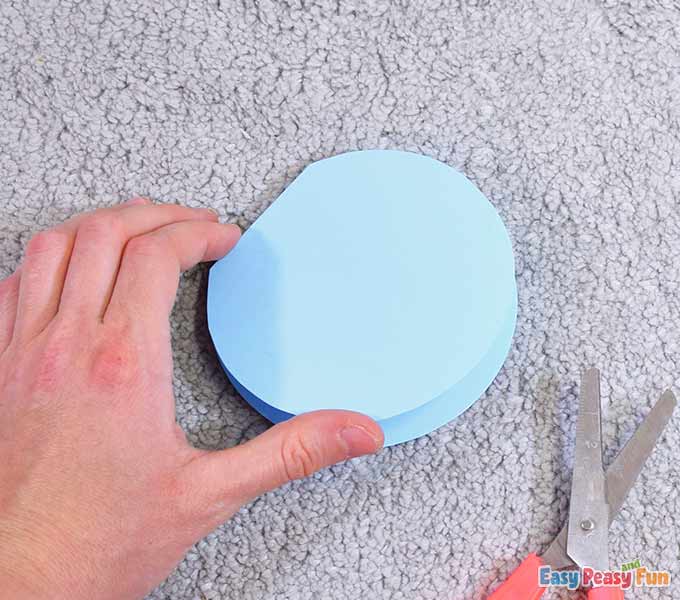
Cut out the circle using scissors.
This circle will serve as a card base. It should open and close like a regular card.
Use the compass to draw a circle (with a 4 cm diameter) on the white cardstock.
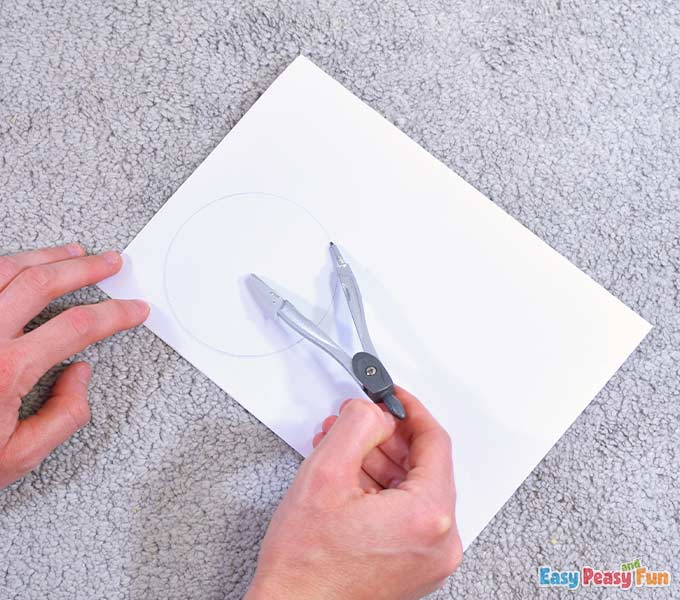
Cut this circle out.
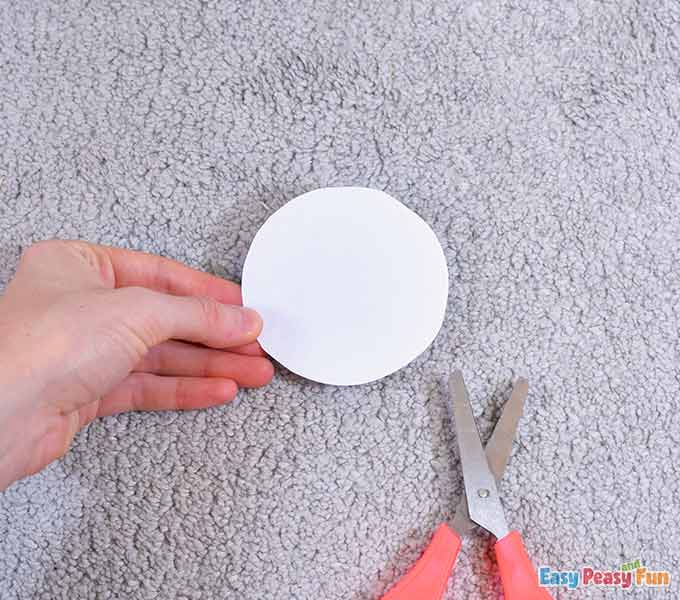
Then glue it inside the card as shown.
Write a “New Year message” inside the card, then close the card and put it aside.

The Snowman
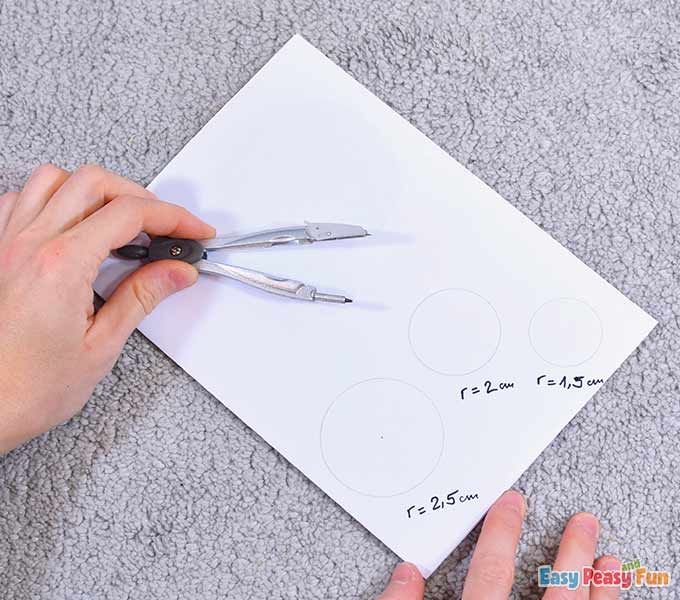
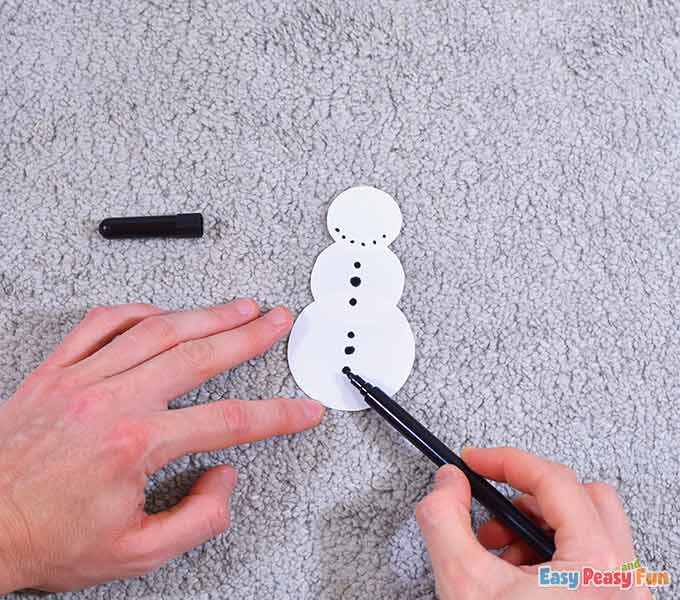
Now take the compass and draw three circles (with a 2,5 cm diameter, 2 cm diameter, and 1,5 cm diameter).
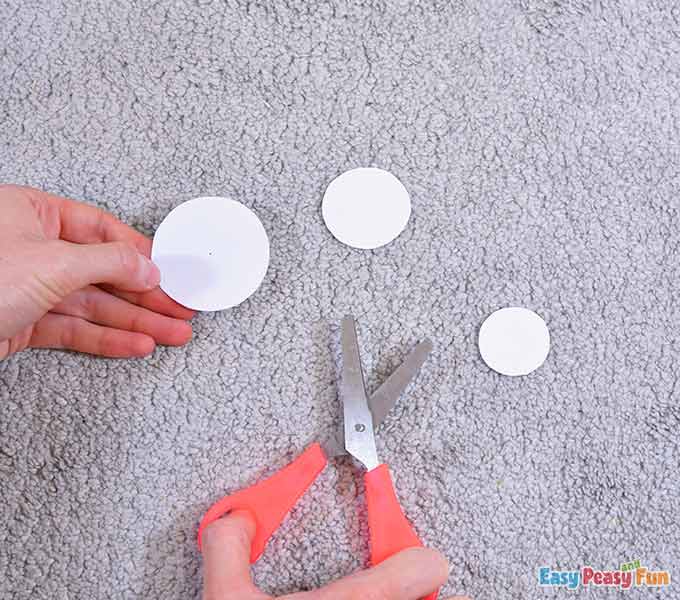
Cut out the circles.
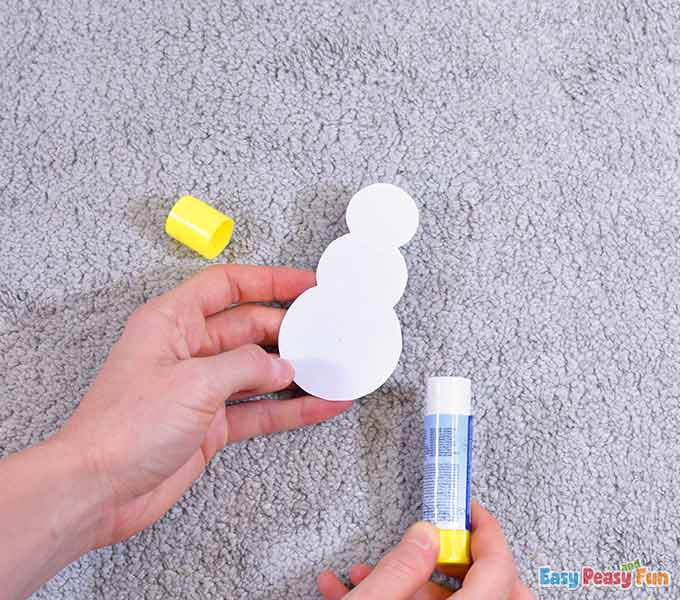
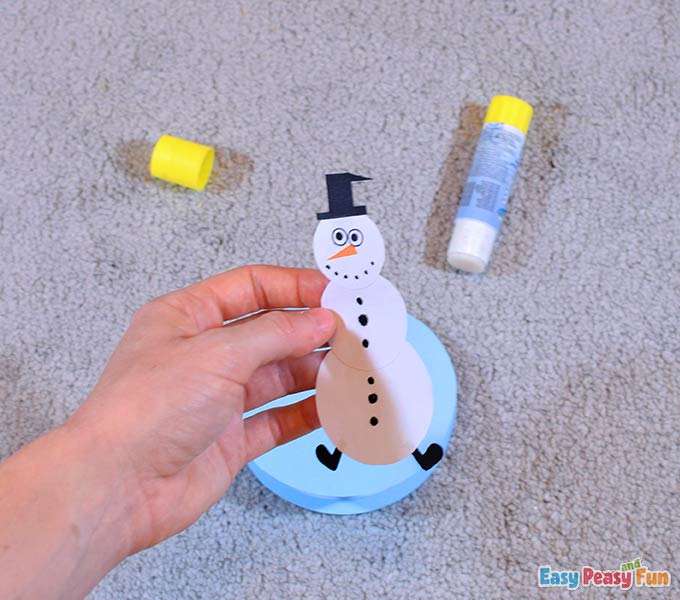
Glue the circles together to form the snowman’s body.
Draw some black dots/circles as shown in the picture.
The dots/circles that form the mouth should be smaller than those that serve as buttons on the body.
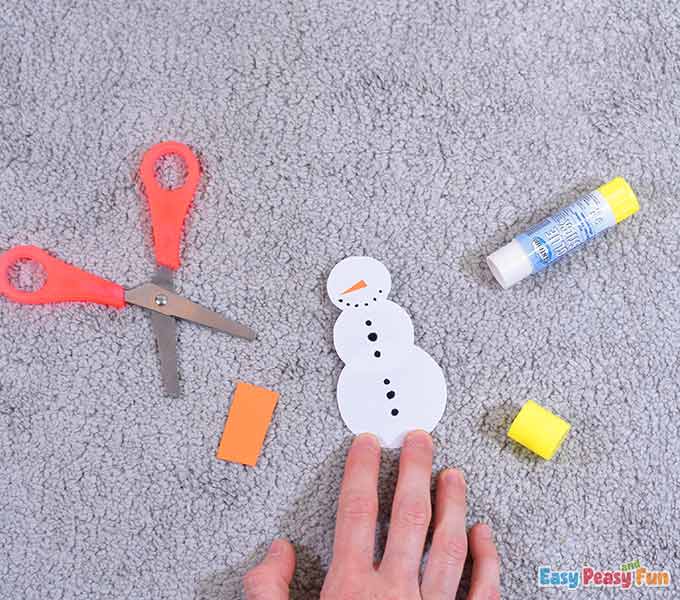
Cut out an orange “carrot nose” and glue it on the snowman’s face above the mouth.
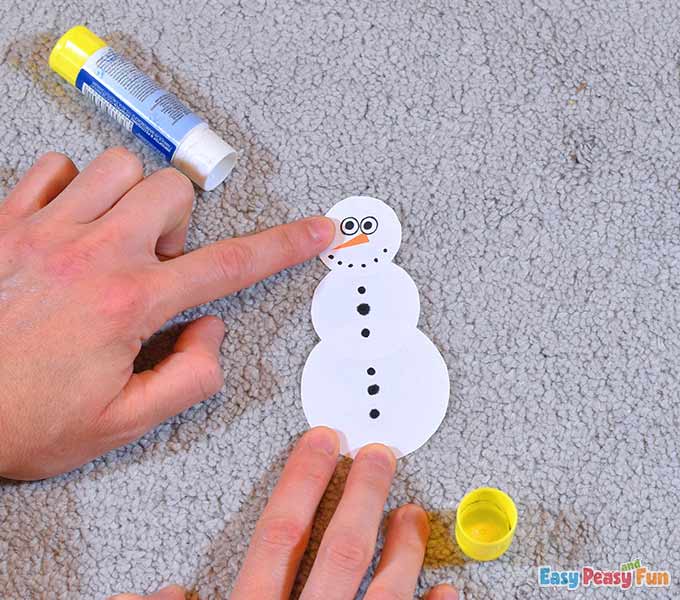
Draw and cut out two eyes.
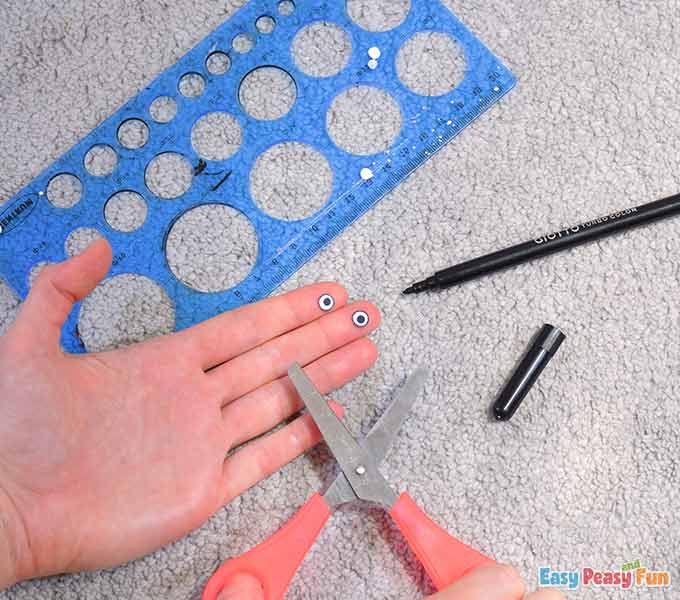
Glue them above the nose.
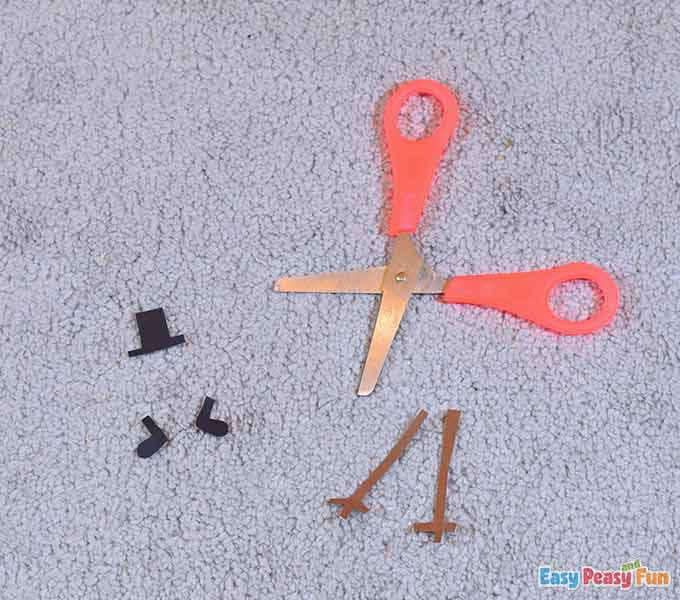
Now draw and cut out two black shoes, one black hat, and two brown branch arms.
Use the black cardstock for the hat and the shoes, and use the brown cardstock for the branch arms.
Glue the hat on top of the snowman’s head, then glue the shoes at the bottom of the snowman.

Cut a small black rectangle and fold it in half.
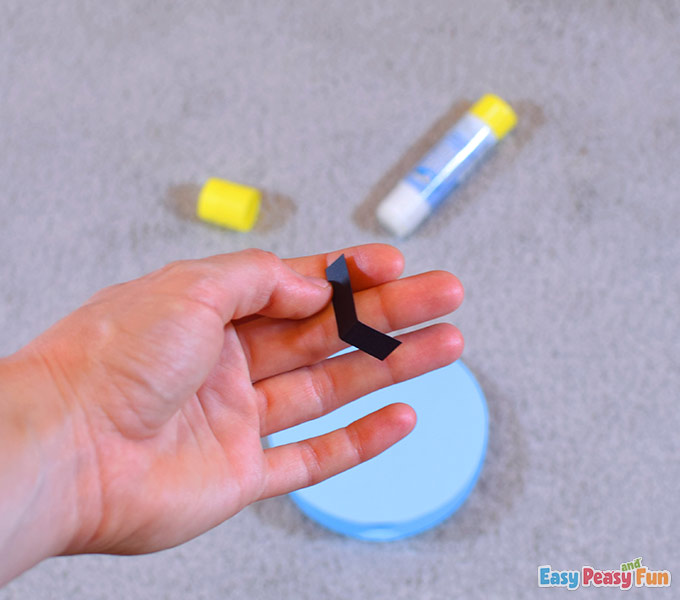
Glue one part of this rectangle to the snowman’s hat.
Glue the other part of this rectangle to the blue card – our snowman is now standing on his hat.
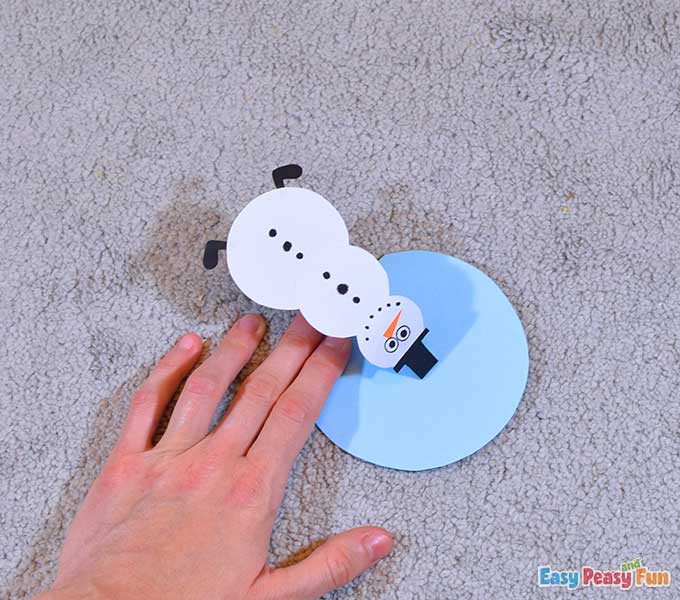
Now take the branch arms and glue the palms to the blue card and then glue the armpits to the snowman’s body.
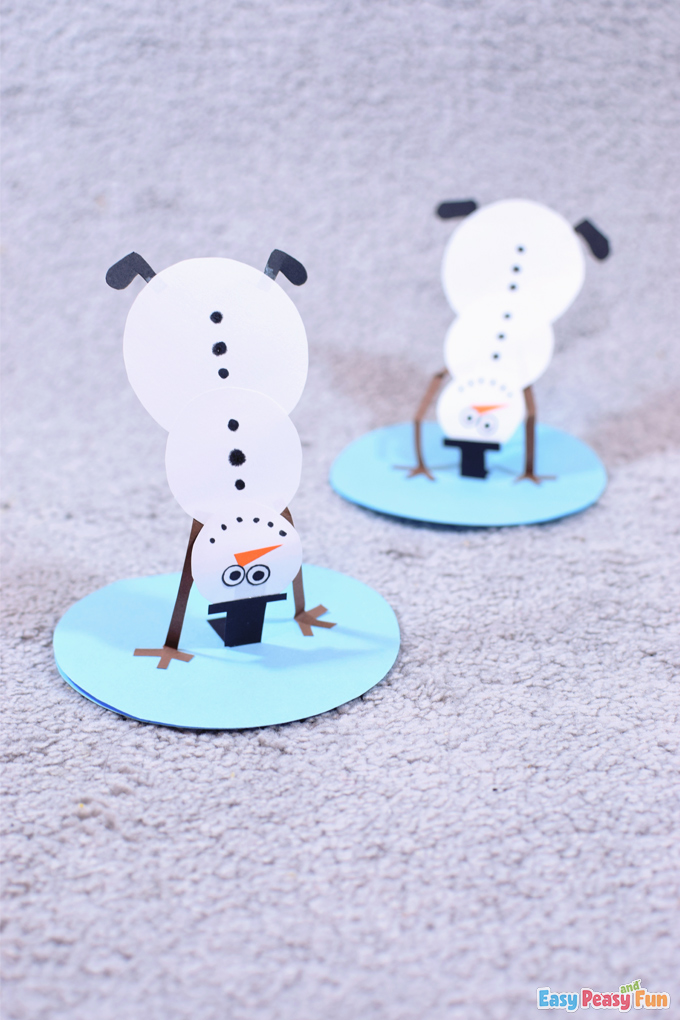
We have the snowman doing the handstand now.

All done!
Yippee hooray! We love this cool and silly snowman.
How about you?
Send us your versions of this snowman – we will be happy to see them!
Stay tuned for more winter crafts!

Get Your Snowman Paper Card Template Here
Want instant access to all of our printable crafts, activities, and resources?

With thousands of crafts, activities, worksheets, coloring pages, and drawing tutorials to print, you will always have just the resource you need at your disposal. Perfect for parents and teachers alike!