Learn how to make this easy kids rainbow giraffe paining – a fun art idea that will be loved by all ages.
This is a wonderful painting project if you are exploring acrylic paining for beginners, much like this how to paint a butterfly tutorial we shared a while ago.

*this post contains affiliate links*
50 paper crafts your kids can actually do themselves

No fancy supplies — just paper, scissors, and a little imagination.
Be the first to get it on release day — and lock in the lowest price guaranteed.
Having your kids do a canvas painting at home is a fun way to incorporate some art into your routine and allow them to get creative. Teaching them to think outside the box is a bit of the idea behind this design, with the rainbow-colored spots on the giraffe.
Whether you decide to just do this Rainbow Giraffe Painting with one or two kids, or teach it to a whole group, it is a really fun painting for everyone, and you can also let them choose the colors for their own spots, if they don’t want the rainbow style.gira
What you need for rainbow giraffe paining
- 11” x 14” or 12” x 16” canvas
- Water cup and plate or palette
- Paper towels
- Brushes in a few sizes, from one tiny for detailing, up to about a ½” sized one for background
- Tablecloth that is disposable
- Easel if desired
- Acrylic paints in: black, white, flesh, red, orange, green, blue, purple, yellow and any other you’d like
- Pencil and eraser
Optional: Transfer sheet and tracing paper if making multiples for easy copying
How to Paint a Rainbow Giraffe Paining
This rainbow giraffe paining is suitable for young and older kids.
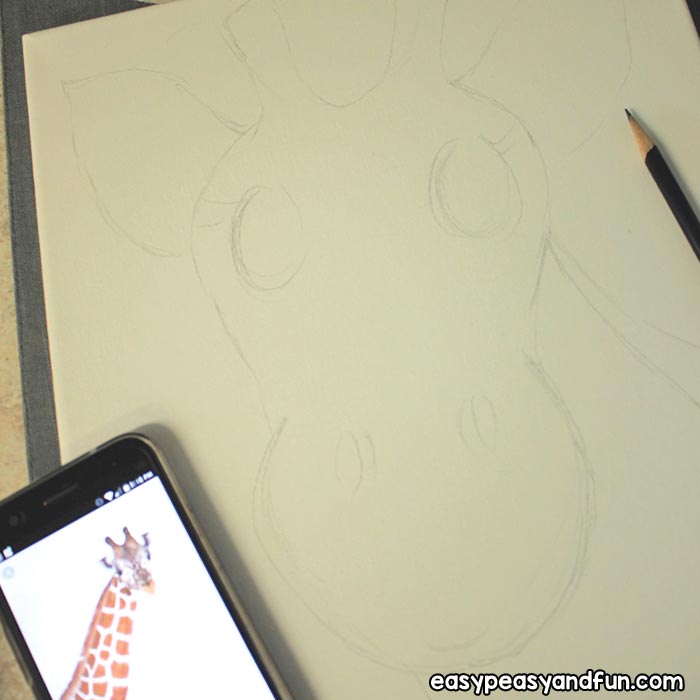
The first thing you need to do is to draw a very light version of the giraffe on the canvas.
We have shown you our version and if you need to use it to copy, feel free to do so. The best way to do it is to keep the pencil very light, and erase as needed, just apply very minimal pressure to the canvas when doing so.
How we Drew Ours
Leave room around the giraffe on all sides except where the mane goes down the back. Draw the head top in an upside-down U shape and the snout close to a heart shape.
Then, add the smaller parts like the ears, ossicones (horns), nostrils, a line for the mouth, and then add the neck lines.
Do a rough line for where the mane should end as well and draw that to extend around the outside of the canvas edge. Do the same for the bottom of the neck.
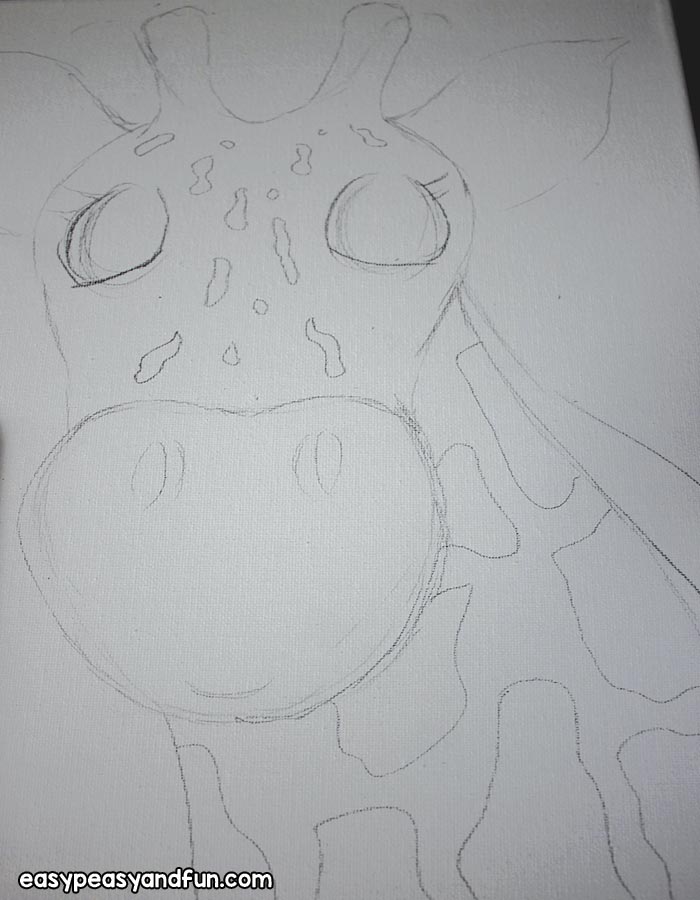
The eyes should be a good size and draw the bottom of them in a more flat shape. Don’t go crazy with adding details since they will be painted over. The idea is mainly to give the shapes needed but they don’t have to be perfect.
They are there for guides. Lastly, draw in the spots. We did small spots on the face, to resemble more like a freckle, and larger ones on the neck and down, but you can do them any way you prefer. They can all be large if you like that better.
Draw them in wavy lines, and don’t repeat the same shape if you can avoid it, so they look more authentic. Try not to over – think this part, just have fun adding them.
Need to do more than one canvas? This will help
Now we are ready to paint, unless you are doing more than one canvas. In this case, the easiest way to duplicate the drawing process is to use a piece of transfer paper and tracing paper and make copies. This is really easy and super helpful!
First, using the right amount of tracing paper (In our case, we taped 2 pieces together since they were smaller than the canvas by a bit.) lay it over the giraffe shape and trace all the lines you drew on to the paper.
Then, lay that paper on the next canvas in the place you need it to be, and place the transfer paper underneath the tracing paper, and draw over those lines with either a tracing tool or a pencil. Be sure the ink side is down on the transfer paper, and you will have a fast copy of the giraffe. Repeat as needed for all the canvases.
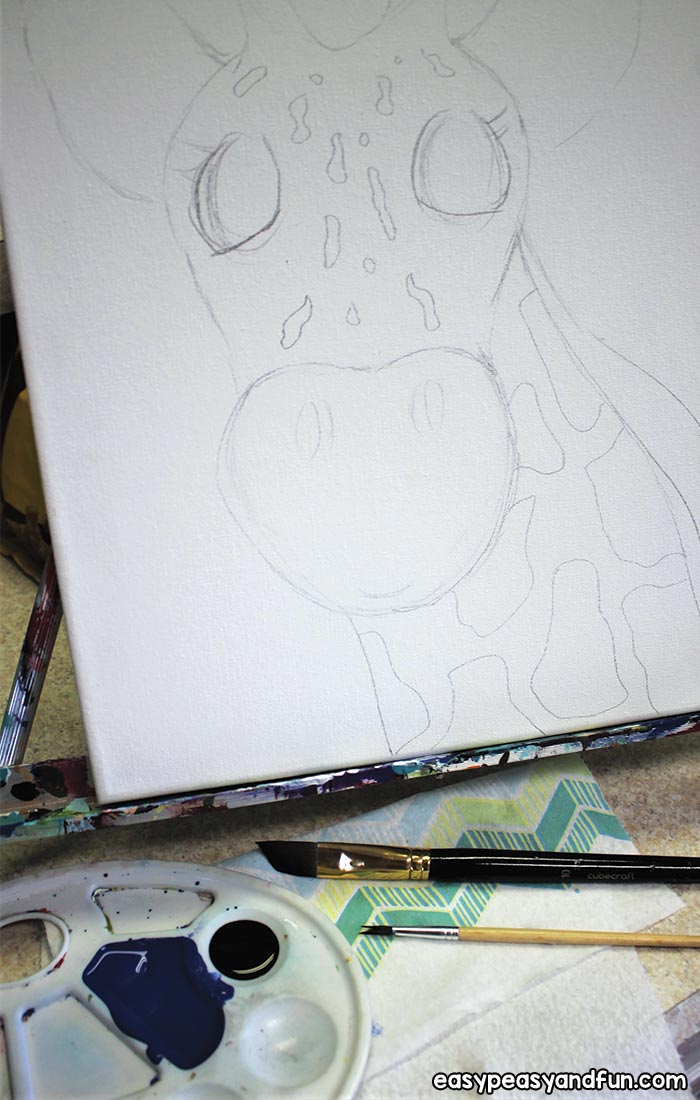
Prepare the work area
Place the disposable tablecloth down on the painting surface for easy clean up later and then add any easels you may be using. Give each person their canvas, brushes, paper towels, palettes, water in cups and
paints. If using other colors is an option, just ask them before pouring out all those rainbow colors for them. Everyone needs black, white and flesh for sure.
We are ready to paint our rainbow giraffe paining
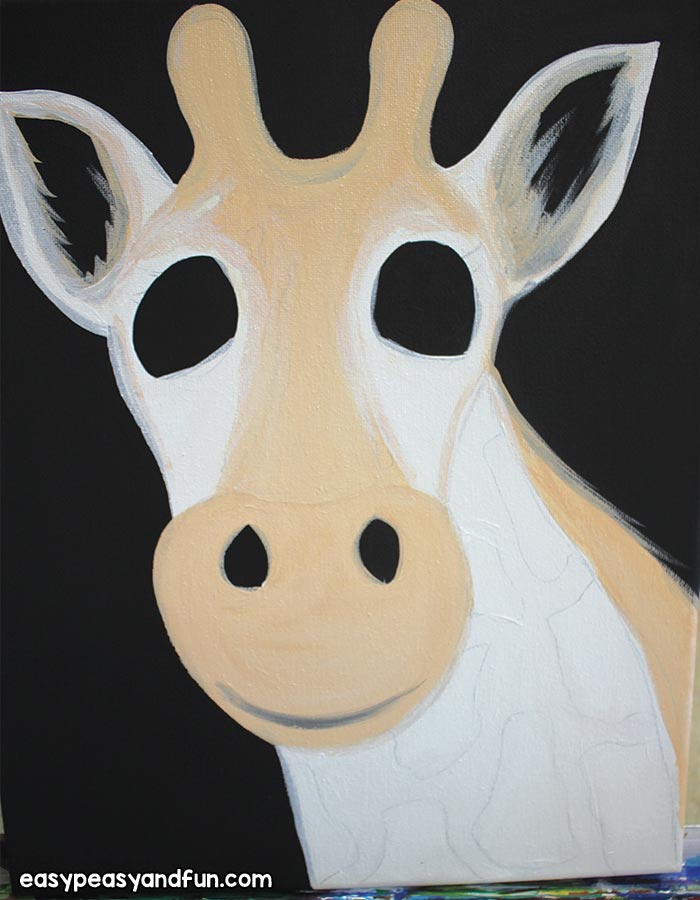
First step in the painting process after choosing the paint colors is to paint in the background.
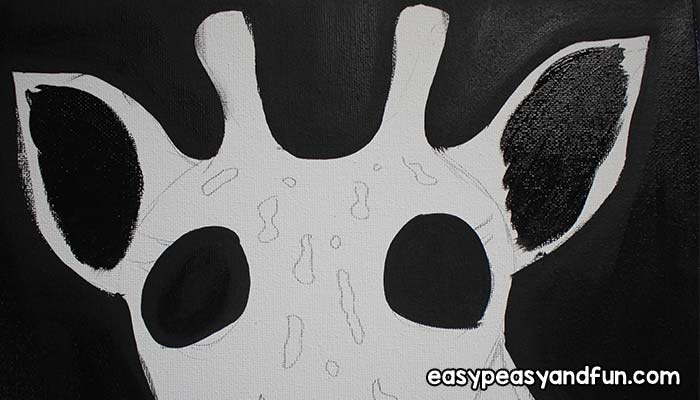
Using a medium to small brush, paint the outside border of the giraffe in black, until the whole thing is outlined.
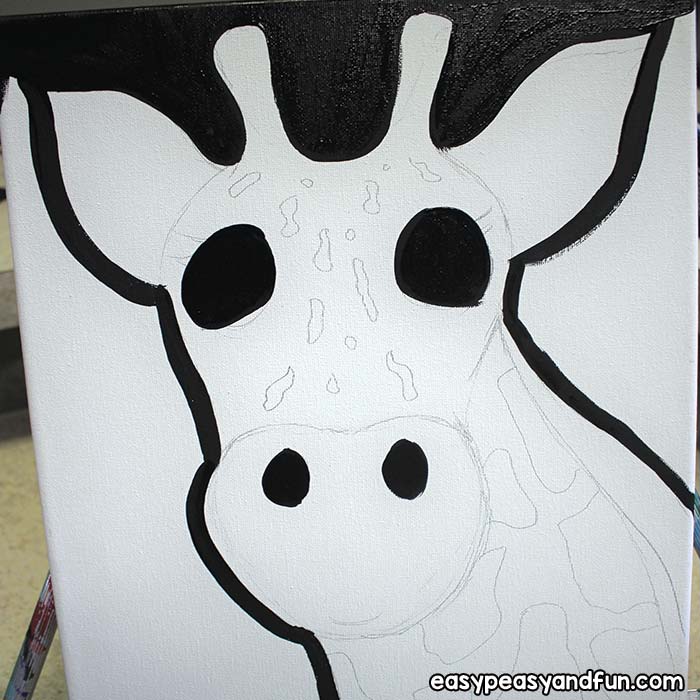
Then paint in the centers of the eyes, ears and nostrils. The black will need 2 coats, so just let people know to expect that it won’t cover perfectly the first try.
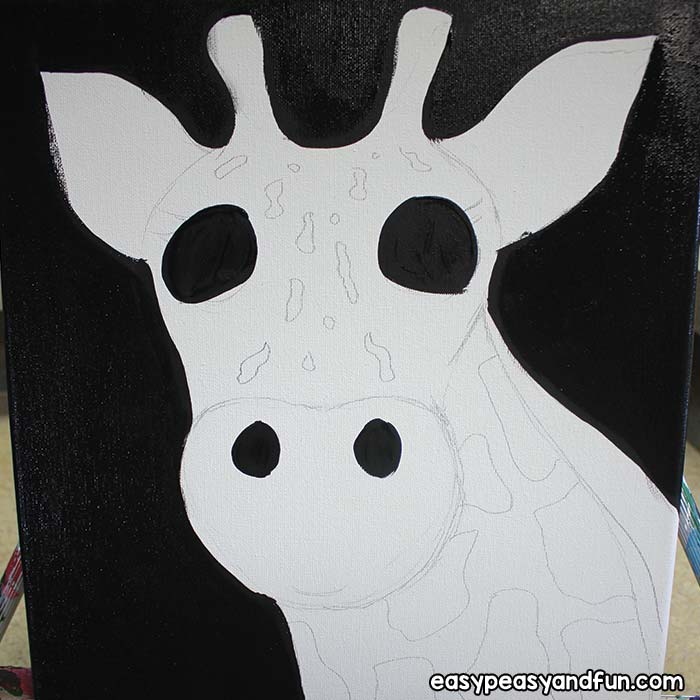
Now, once the giraffe is outlined, go to a large brush and paint the whole background black. Be sure to also extend the paint around the canvas edges where it needs it.
You can flip the canvas upside down either during this or later at the end to get the bottom done too.
Now, the flesh colored paint is the next one to get done. Use a medium to small brush for it as well. Paint down the middle of the face, around the black center of ears, the snout, ossicones, and where the mane goes in this color.
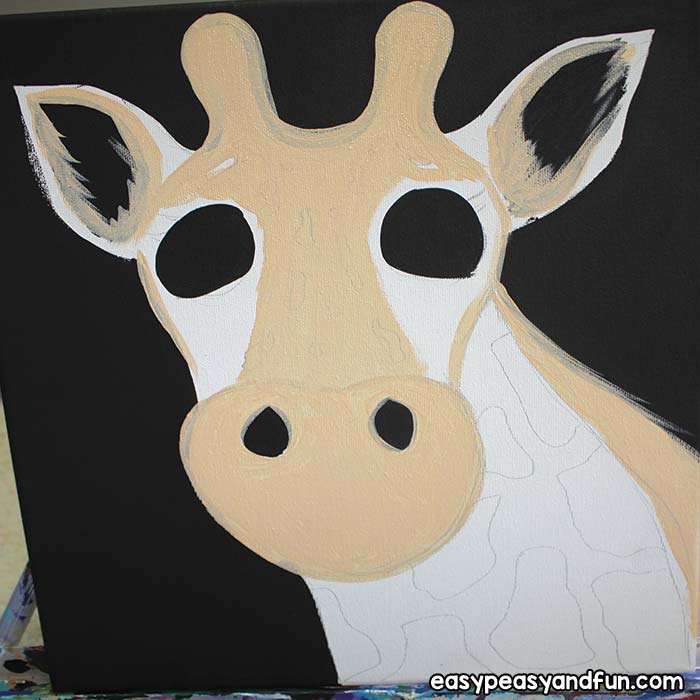
It may be enough on the first layer, but as it dries, if you can see any white canvas showing through it, just touch it up.
Another coat of black paint
At this point, go back and do the second layer of the black before going on to the white. You want the white paint to overlap the black and not the other way around.
The black background is as important as the giraffe. It helps it really stand out and look clean, so make sure you see no white popping through it. It will look sloppy and unfinished if you short cut this part.
Let it dry well before going on to the white part next. You can always use a blow dryer on low if you need to speed this part up.
Continue with white paint
Once the black is dry enough, take a medium to small brush and use the white to fill in all the parts around the flesh.
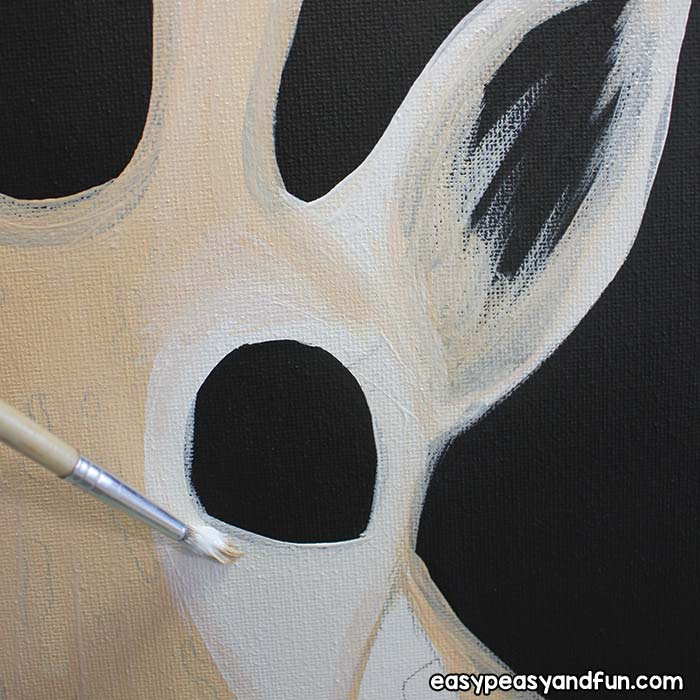
Paint some on the ears to finish the fur off, Over the ossicones to lighten them some, around the
eyes and down the cheek area and then down the neck.
You can go around the spots or over them, as they will still show through somewhat anyway.
Let the white dry and this is a good point to touch up the flesh if it needs it anywhere.
Paint the rainbow spots
Last step is to do the spots and mane. The easiest way to do this in one color at a time. Choose the color you want the most dominate first. Paint in the spots you choose and then do some random stripes on the mane in it as well. You will layer the colors over each other on the mane as you add colors.
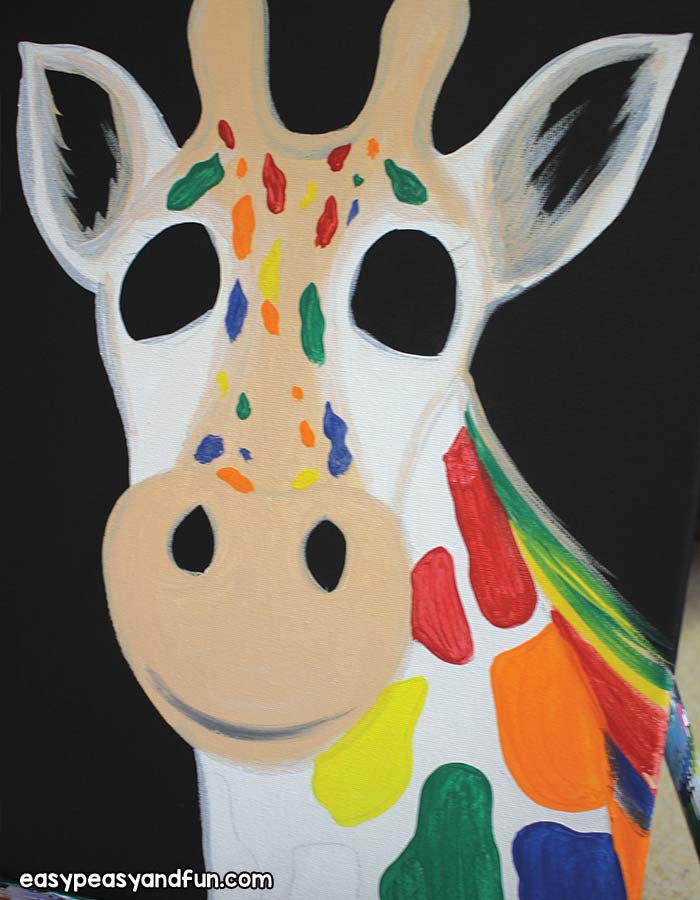
I prefer to outline the spot with a small brush and then paint it in all the way. This helps keep the spot in the shape you intended it to be. Then, most colors will need a second coat on them, so just be sure as you go through each color, to rinse your brush well in between so they don’t mix. Repeat the steps of painting the spot and then the mane with each color you chose until they are all done.
Now, to make the giraffe’s face really stand out, take a thin brush and paint black lines here and there around it’s face. Give it a mouth line, eyelashes, loose outline to shadow the ossicones, back of neck, ears, snout and face.
Then take a tiny brush and add a highlight in white to each eye.
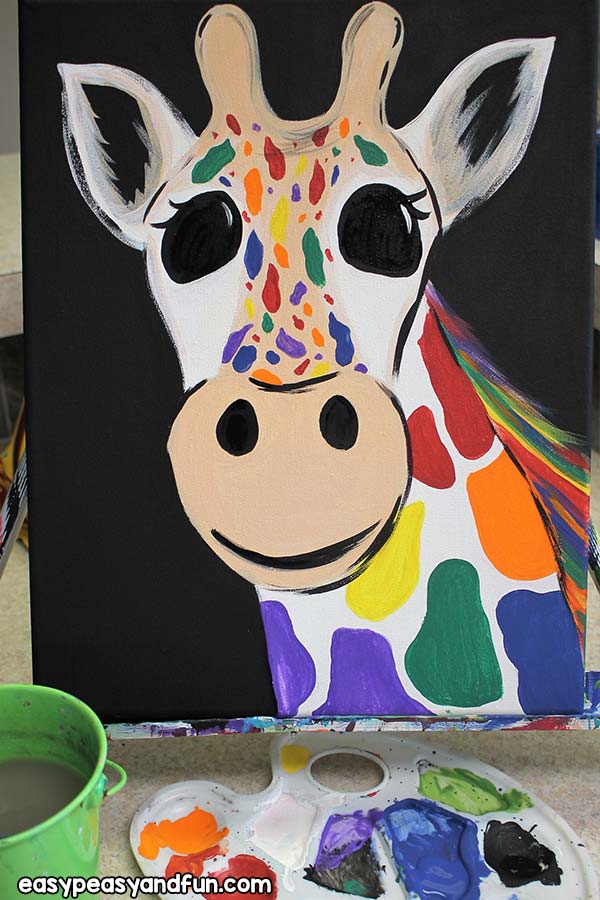
At this point, you should be done. Check your work and see if anything needs touching up and add your signature!
There are many animals you can paint this way – you could do a tiger, cheetah, zebra and many others. Let your kids explore the possibilities.
Want instant access to all of our printable crafts, activities, and resources?

With thousands of crafts, activities, worksheets, coloring pages, and drawing tutorials to print, you will always have just the resource you need at your disposal. Perfect for parents and teachers alike!