Most kids enjoy using paint and they don’t usually seem to mind getting a little on them in the process, which makes this pineapple fingerprint art project great for an afternoon art session.
This project combines the fun process of painting on your thumb and using the print to make a great piece of art.
*this post contains affiliate links*
50 paper crafts your kids can actually do themselves

No fancy supplies — just paper, scissors, and a little imagination.
Be the first to get it on release day — and lock in the lowest price guaranteed.
When teaching this class, give the kids one example of something, with step-by-step instructions on how to do it, and then let them do some more on their own and get creative.
This gives them the foundation for the lesson so that they know how to properly do it, if they choose to follow the directions, of course, but then they can still come up with their own ideas.
Younger kids might need a parent or adult to assist with the process but love it too. Above about 5th grade, they would do one and then just want to paint on their own.
If you are teaching multiple kids, I’d stick mainly with the elementary ages for this.
It doesn’t take a lot of supplies and overall is an easy lesson, so if you have a week where you know you will be strained with other things, put this lesson there to lighten your load.
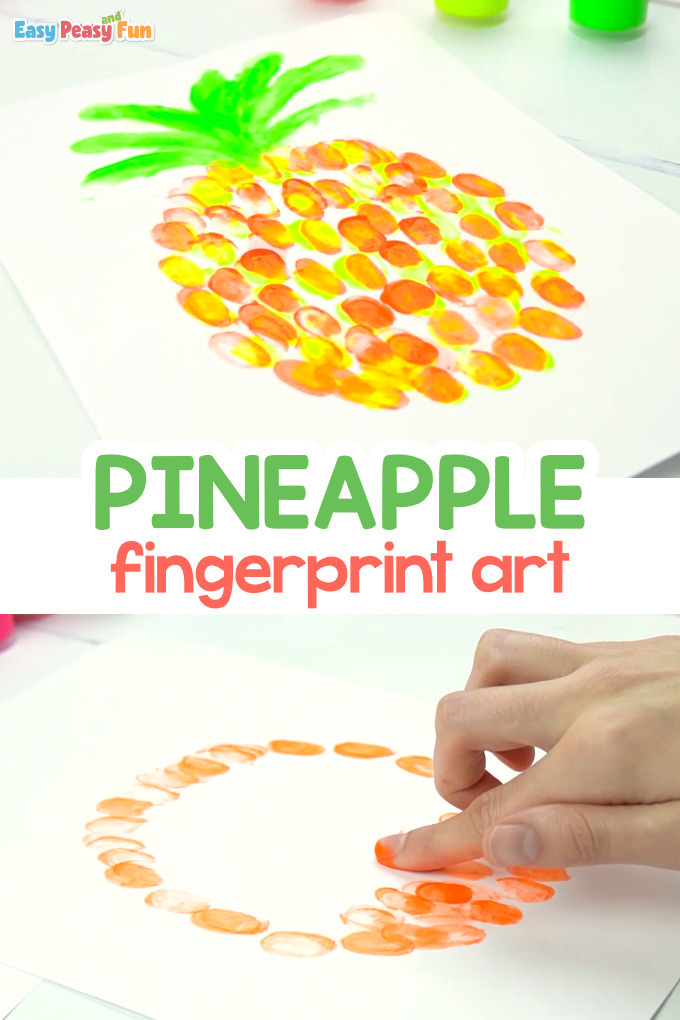
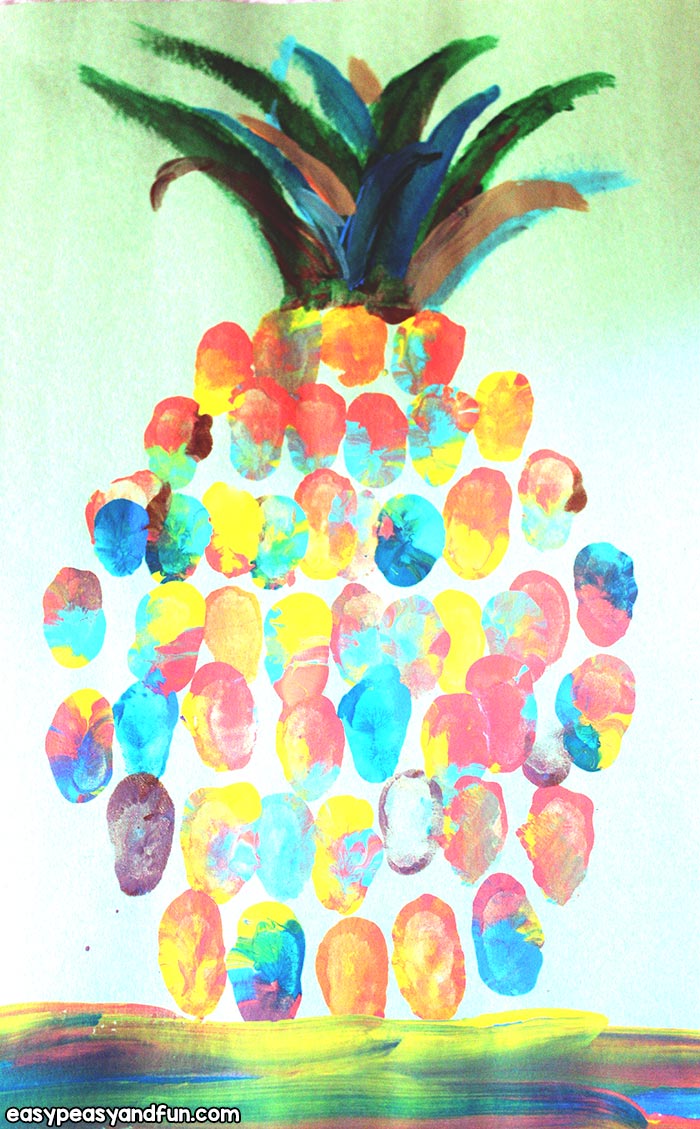
Pineapple Fingerprint Art for Kids
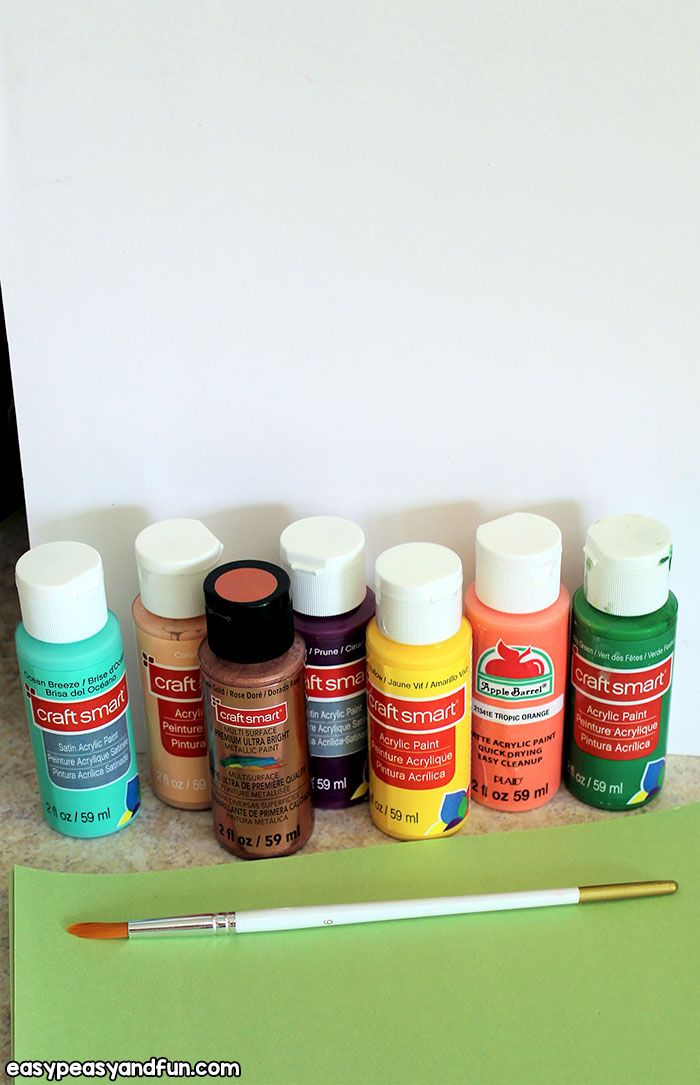
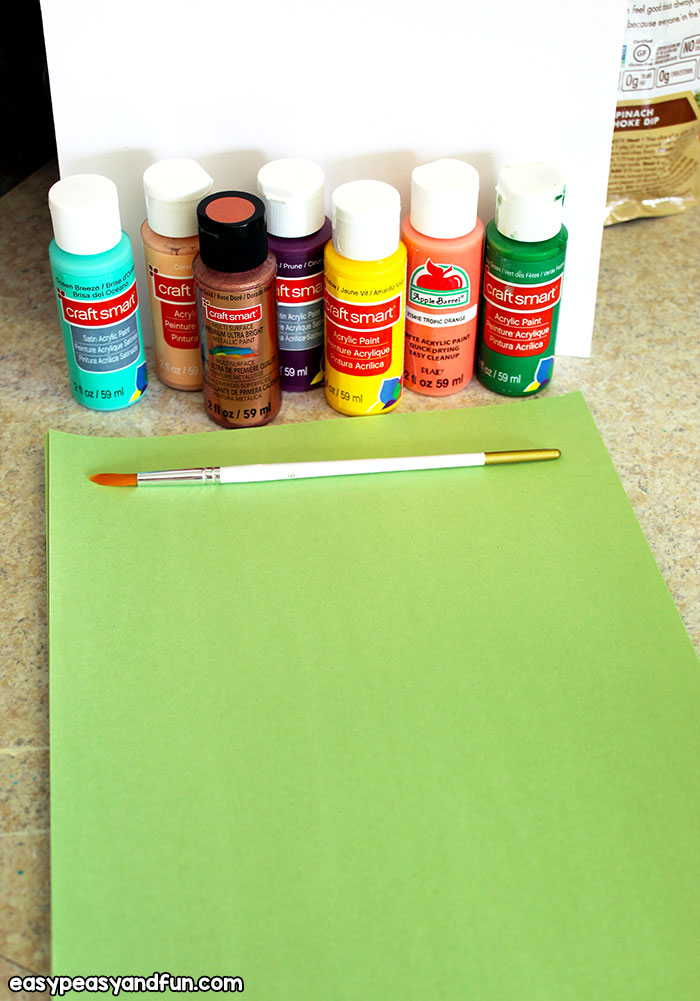
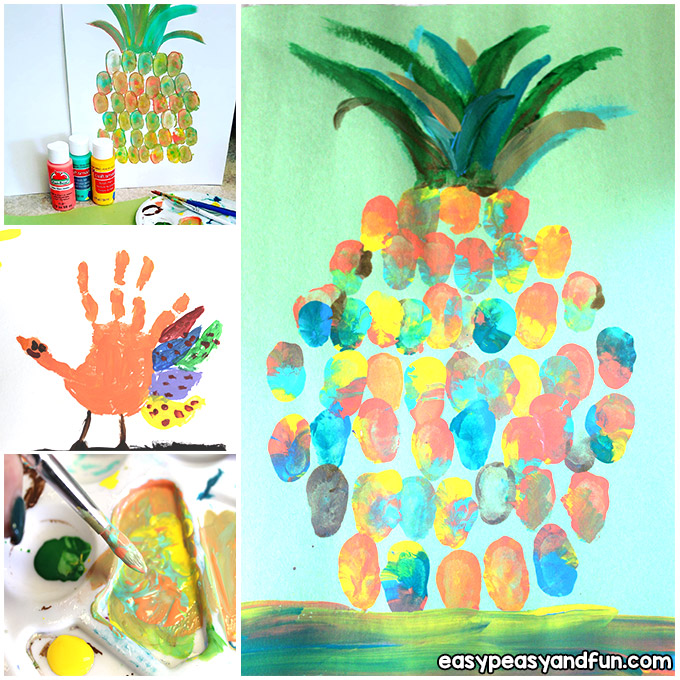
What you will need:
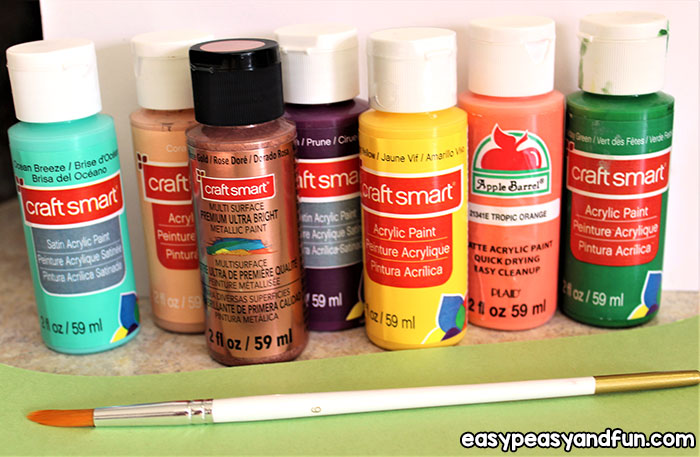
- acrylic paints in yellow, greens, orange… Just go with the inexpensive brands, they work just fine.
- construction paper or mixed media paper.
- palettes or paper plates
- paintbrushes in various sizes. Thin ones help with small details like if they add eyes to something, but they also need wider ones as well.
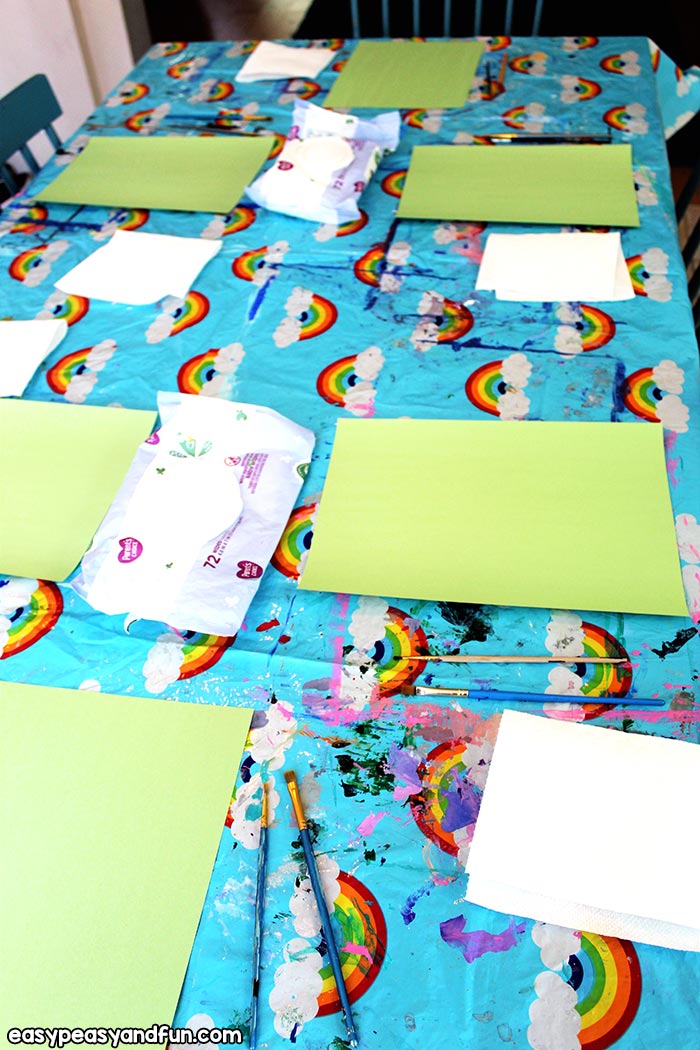
- paper towels and/or hand wipes.
- disposable tablecloth for easy cleanup.
- water cups.
Step by Step Instructions
If you can, make your own examples to show the kids, one in yellow and one in the mixed paints.
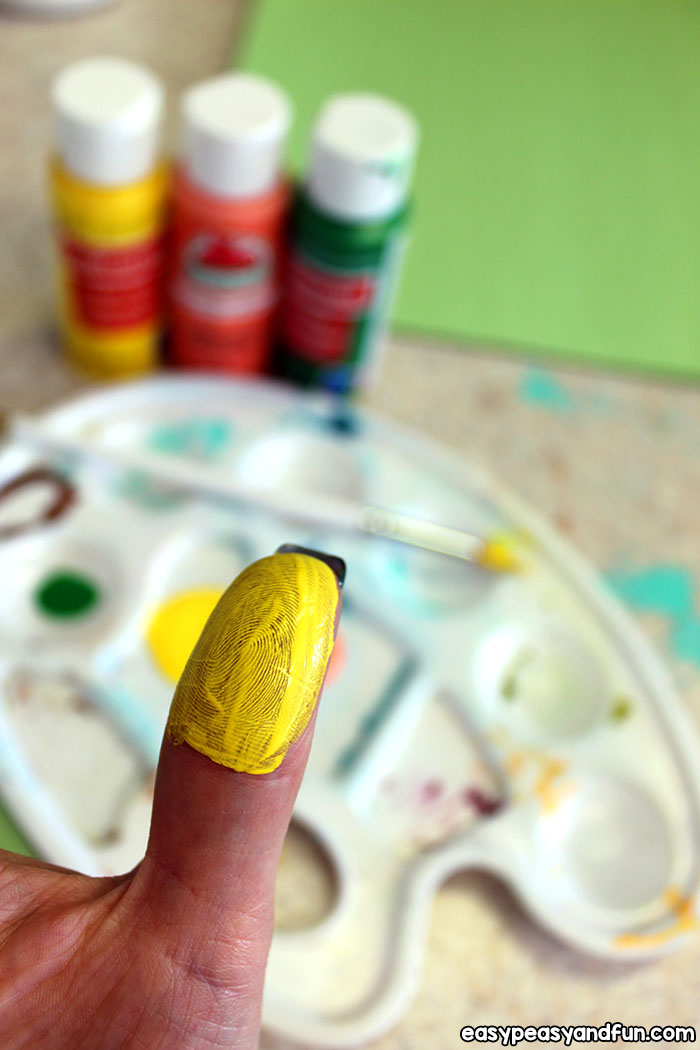
For the pineapple, I showed them with my own hand where and how to paint the thumb so that they knew exactly what I meant as far as making the shape they needed, and I just used a scrap of paper to show how to “stamp” the thumbprint down.
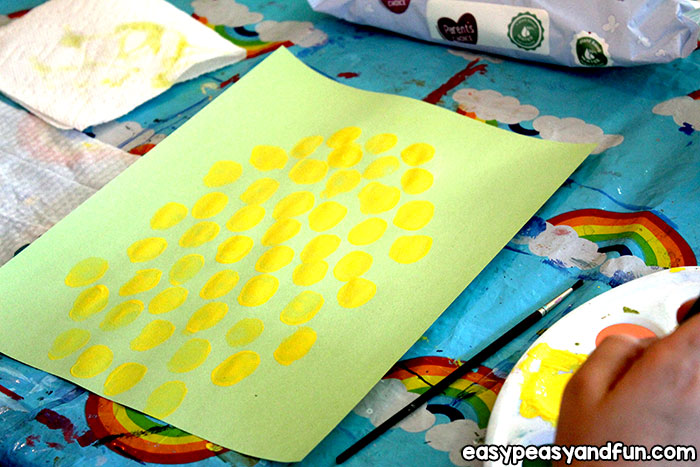
Have them turn their paper vertical so they have plenty of room for the whole thing to fit well with space around it.
Explain at the start that they will have time to try other fingerprints or handprints so for this one to just use the same thumb for each stamp, so it gives it the look of a real pineapple.
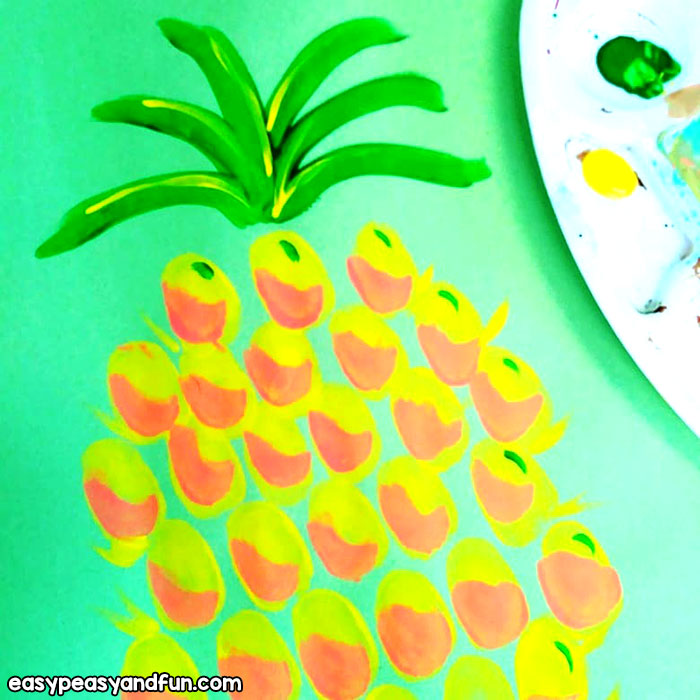
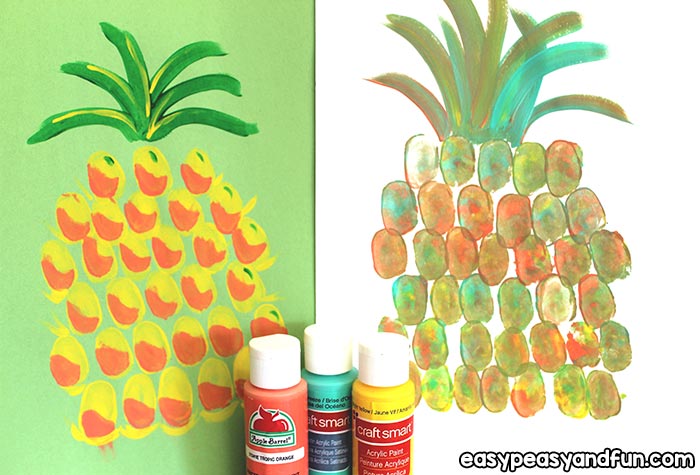
I gave my students a choice of either doing a yellow base for the fruit, then adding an orange layer on each stamp if they wanted to, which helps gives the fruit some dimension, or doing a marbleized look using three colors of paint and stamping those.
Show them a few examples. If you don’t have time to make your own ahead of time, you have the photos here you can show them.
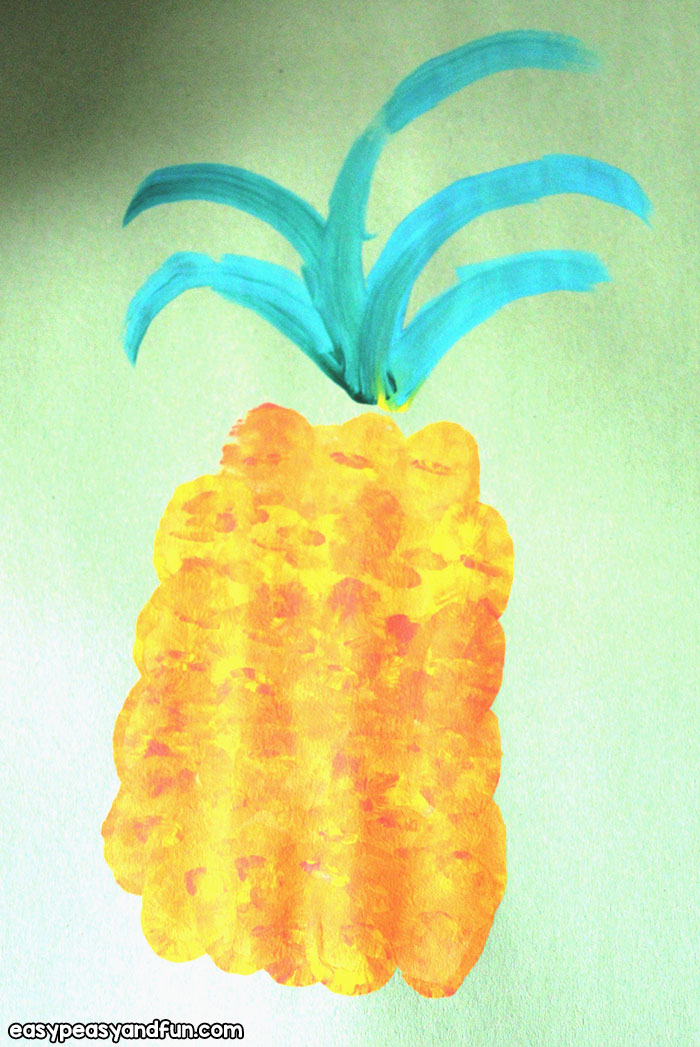
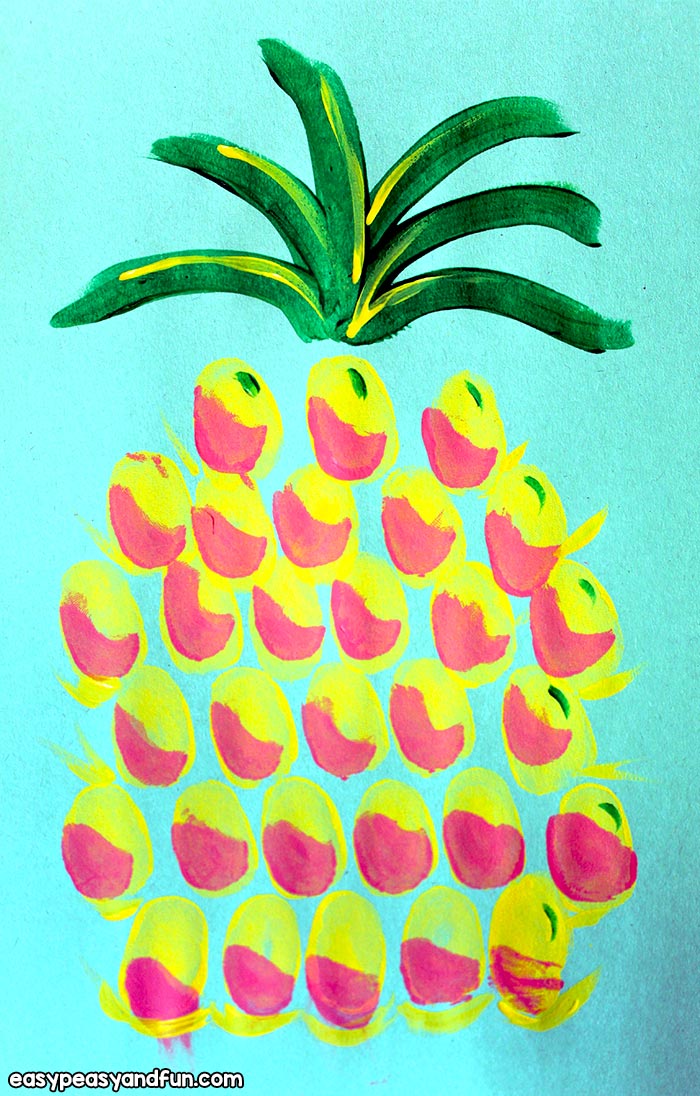
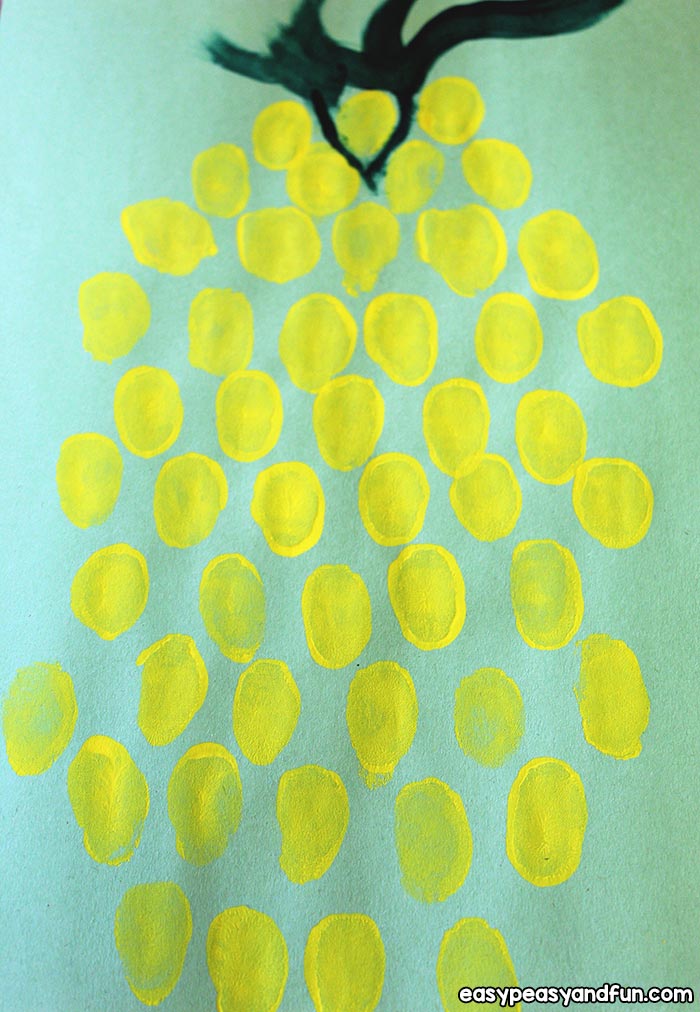
Creating a yellow pineapple
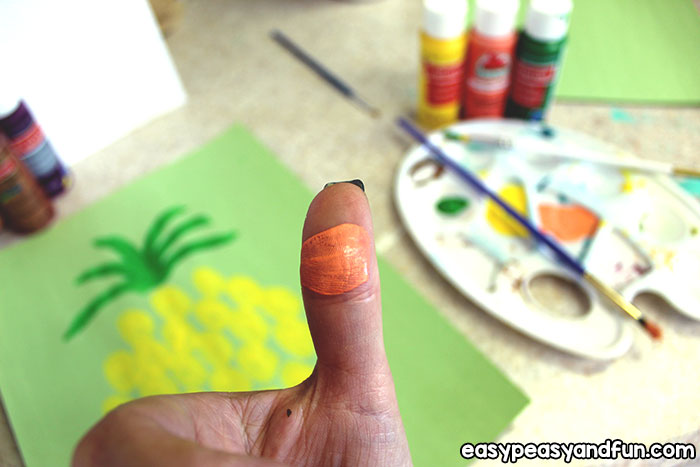
Taking a flat, square-shaped brush in at least a ½” size, paint the thumb from the top to the knuckle in yellow and be sure to brush any excess paint off.
If it is chunky paint it won’t show any print. It needs to be smooth and thin, but not see-through or it won’t be enough.
If you see anyone having trouble with the print not transferring to the paper, they are painting it too thin.
Too thick results in squished prints, but those are better than no prints.
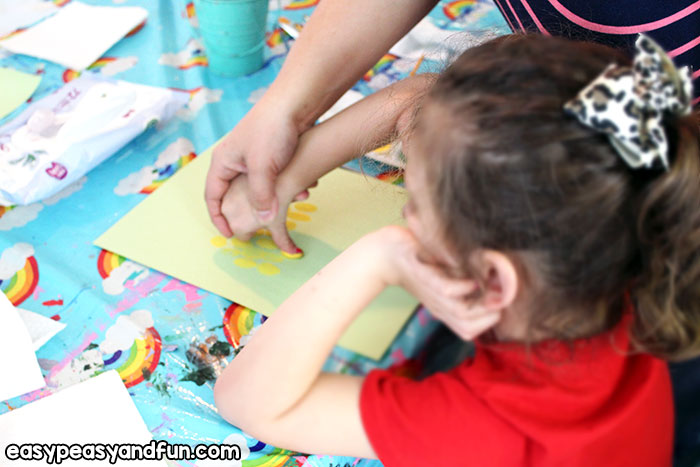
They need to start at the bottom of the pineapple so that as they stamp more prints, they don’t smear the ones they already put down. And I suggested they work across, according to which hand they use.
Right-handed would start on the left and work across..etc.
Then, be sure before they begin stamping that they are allowing room for the green top on the fruit, which they will paint in last.
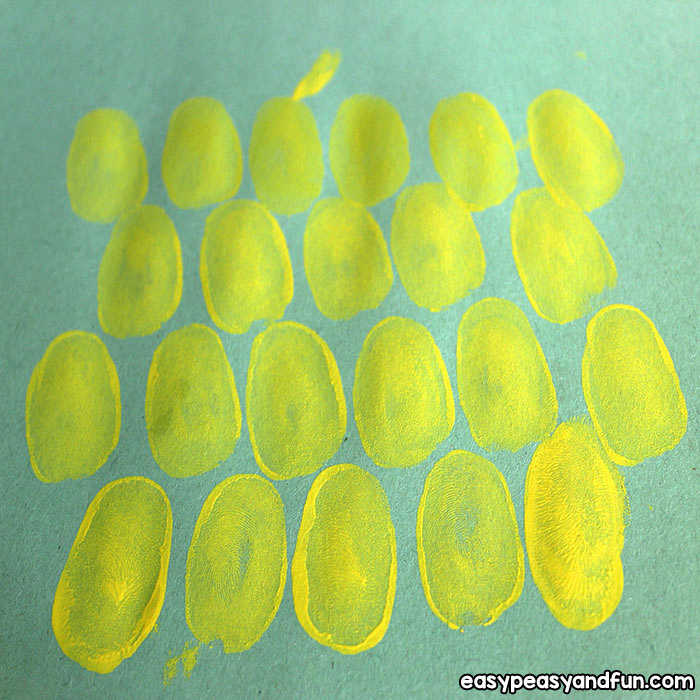
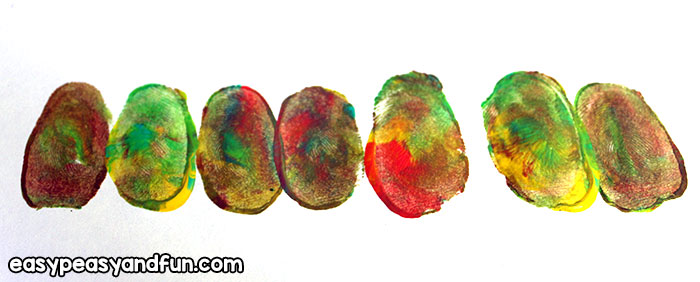
Create the first row.
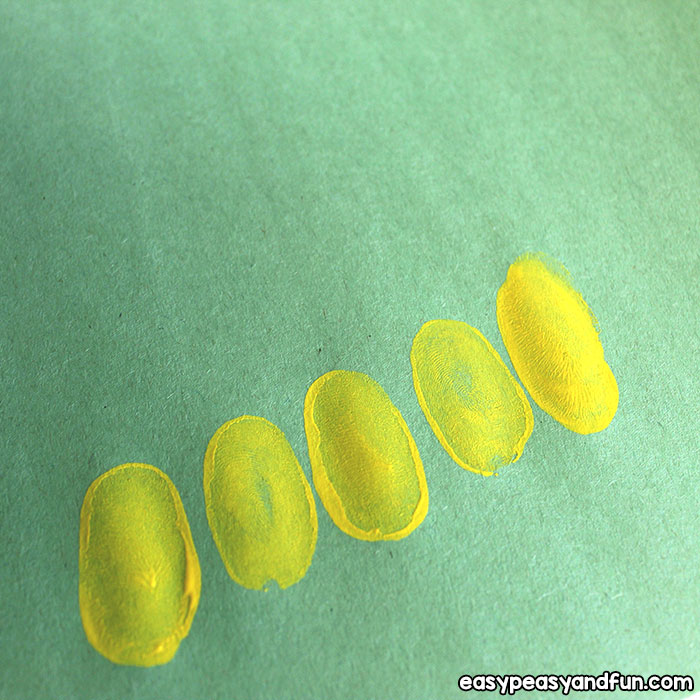
Leaving a little space between the prints is suggested, but some prefer to put them right up beside the next one, and the only difference is it takes more prints and time to complete.
The best way to make the pineapple look balanced is to do odd numbers of stamps on each row and make the top and bottom rows smaller so it comes out more rounded in shape.
Then move to the next one…
… and continue…
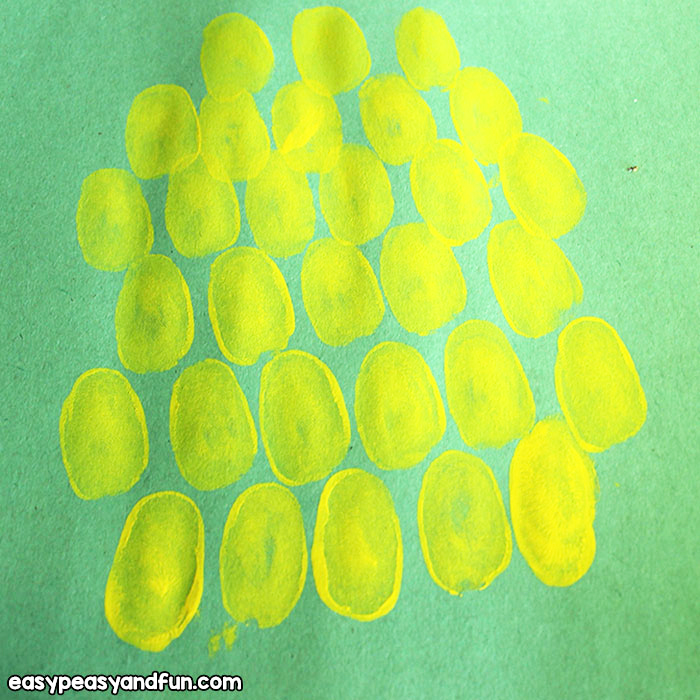
…until it is done.
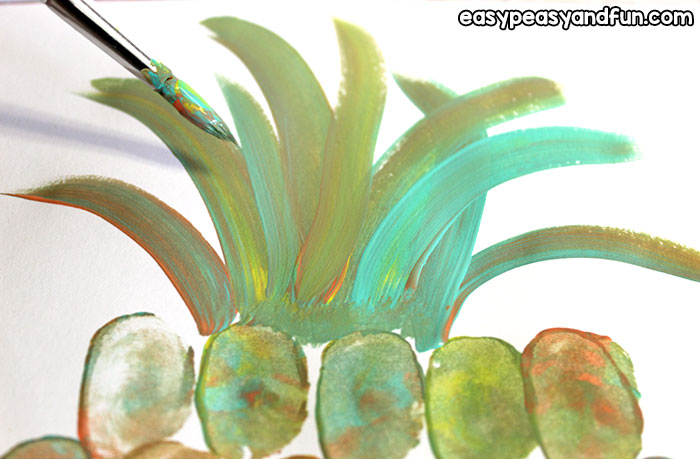
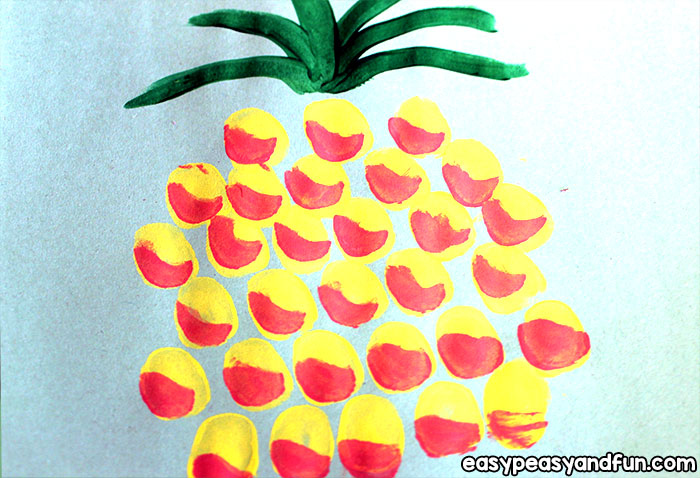
When they get to the top row, they can go on to paint the green top.

I used a dark green in a medium sized brush to make mine and then added a thin highlight on a few of them with a lighter green.
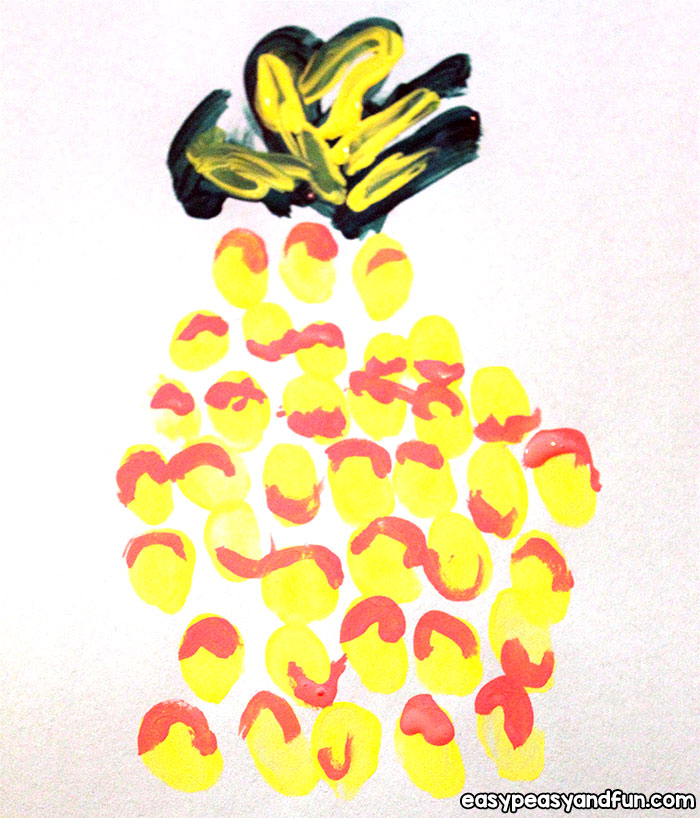
Or they can choose to add the next layer in the orange or coral, which you paint in half the size of the yellow, just painting the bottom half of the thumb.
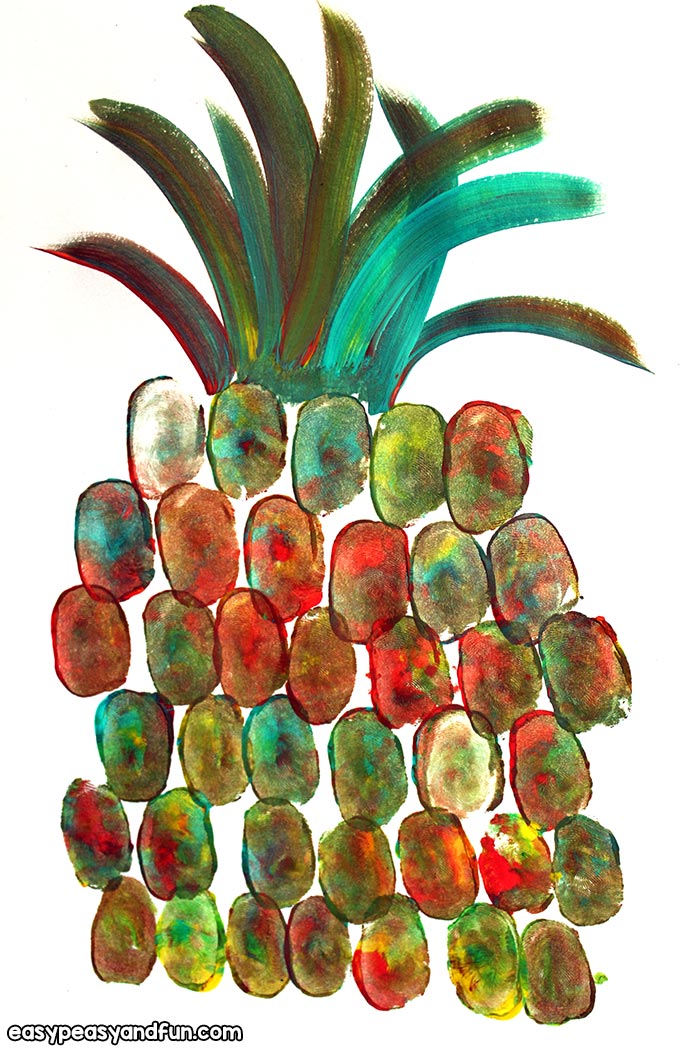
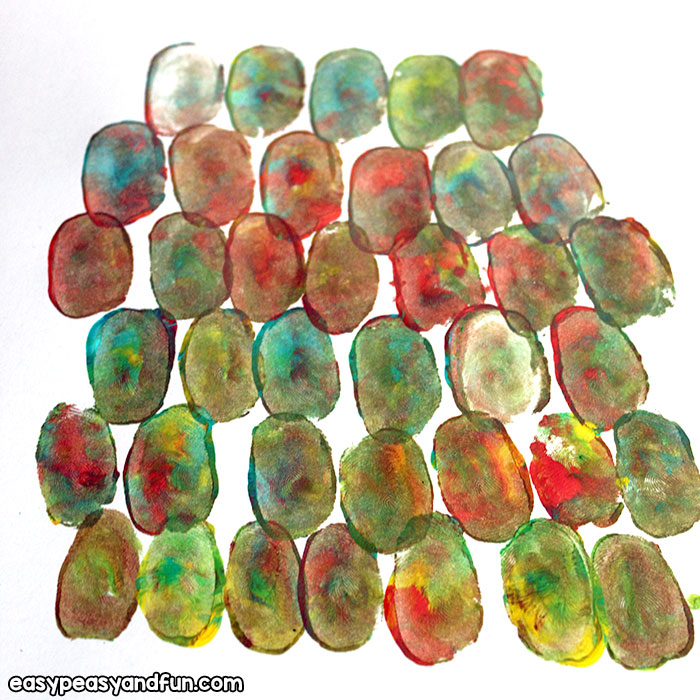
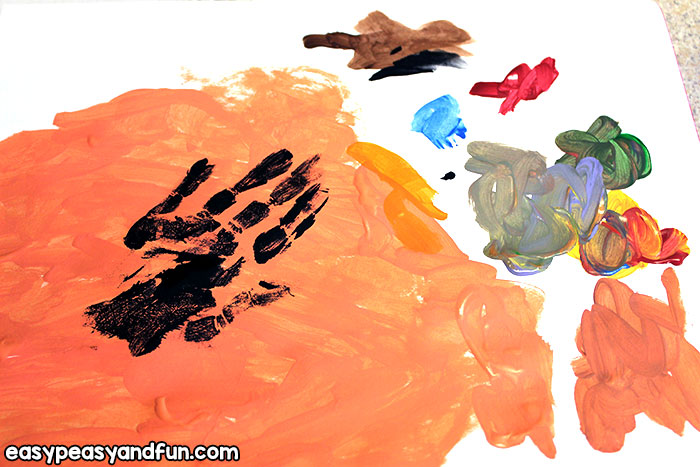
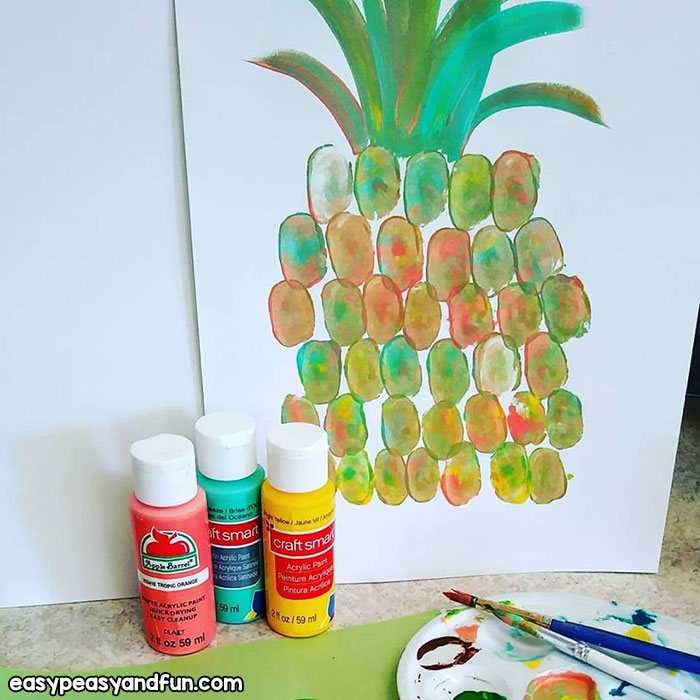
Making a marbleized pineapple
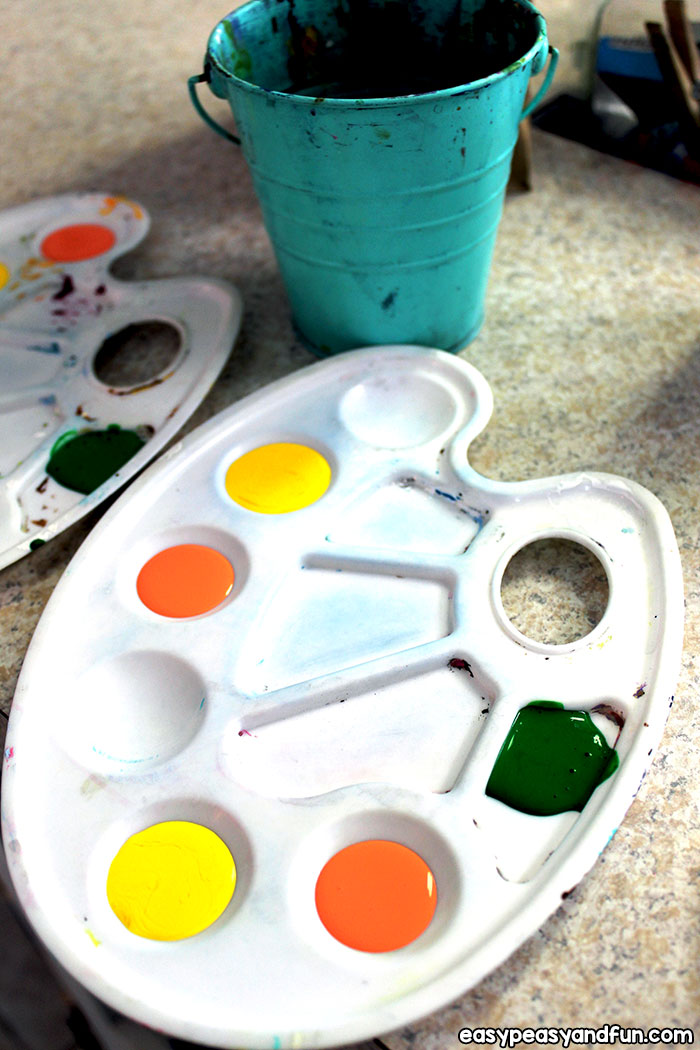
Instead of painting the thumb like with the yellow one, this one works better dipping it in the paint. You will need a space large enough to do that on the plate.
Take a brush and dip it in each color you’d like to use. Dip it one at a time, placing paint into one spot altogether, but not fully mixing it.
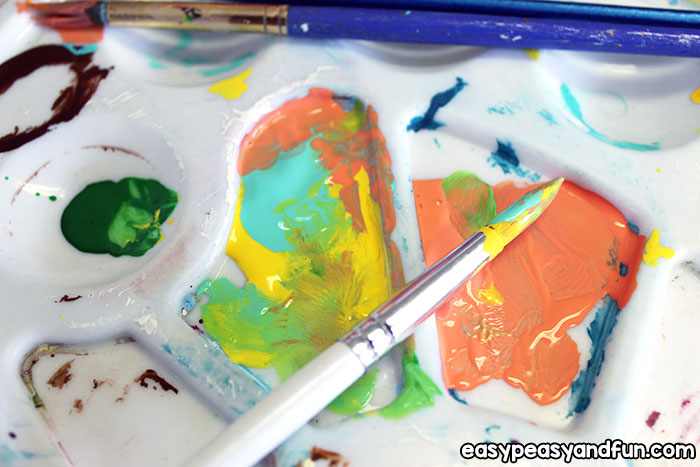
I used yellow, coral and teal green.
You want some areas of paint to mix naturally, and they will when you are working, but don’t mix the paint up.
Let it happen naturally.
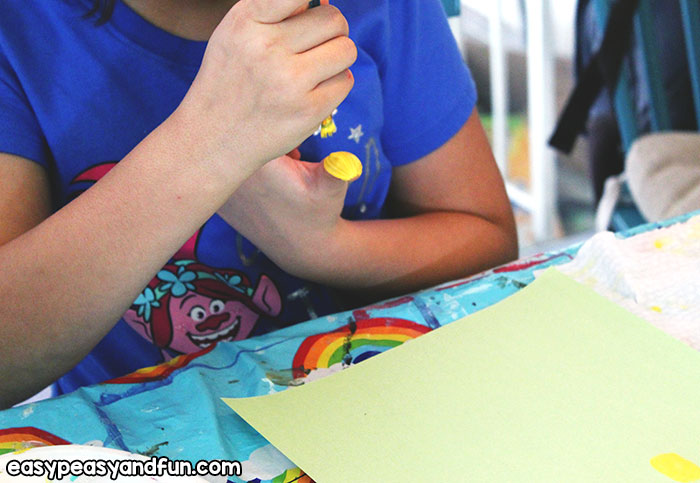
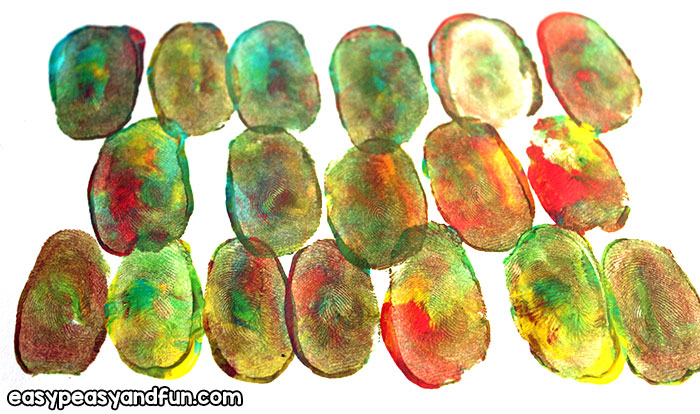
Then, dip your thumb into the paint and then stamp it on to the paper in the same manner as the yellow one.
These will get a bit more of an edge on each stamp because you aren’t brushing off excess. They still come out really cute.
You will have to replace paint as you go if you fill the paint very deep, the print won’t come out, so just do a few at a time and then add more paint.
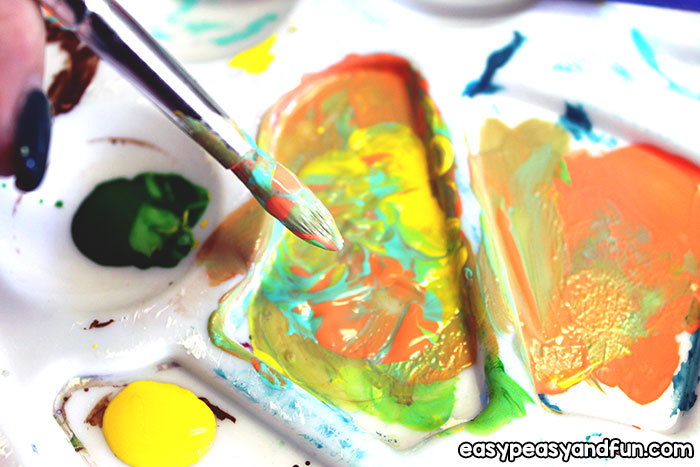
For the green part I dipped the brush into the mixture and painted as it came onto the brush. So it has a green that was the mixed color, along with some teal streaks.
For the rest of the lesson, let them choose what they wanted to do.
All of the pineapples will turn out great.
Kids come up with amazing ideas.
The imagination has no limits.
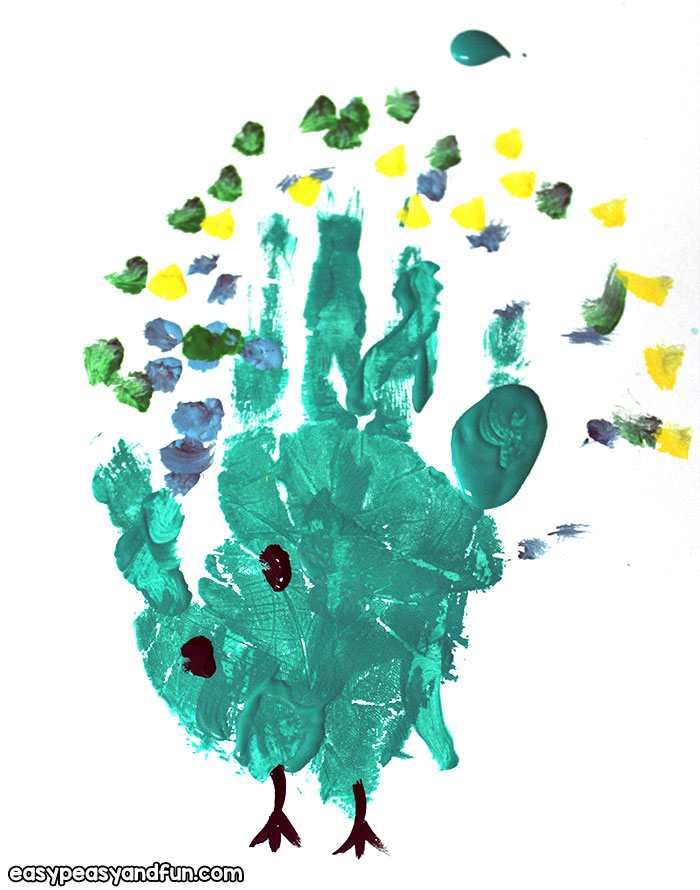
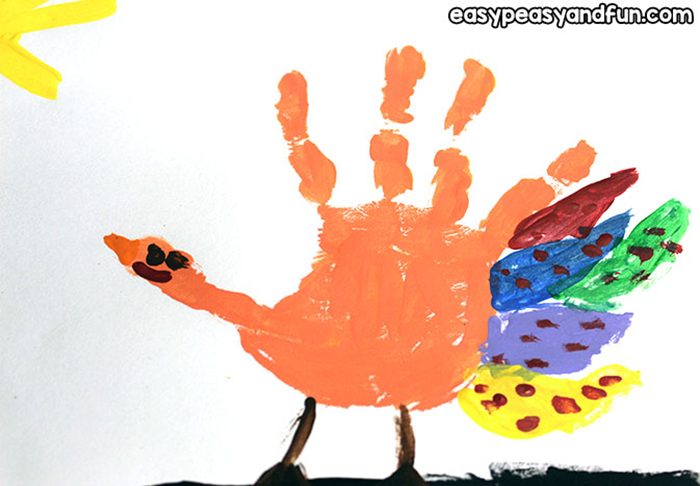
You can do all sorts of wonderful things with fingers and hands used as brushes.
Layering different colors or using normal brushes to add details looks great too.
We love how this one turned out.
Create as many as you like.
It will look great with many different colors.
No need to stick with “natural” ones.
Enjoy getting creative!
Want instant access to all of our printable crafts, activities, and resources?

With thousands of crafts, activities, worksheets, coloring pages, and drawing tutorials to print, you will always have just the resource you need at your disposal. Perfect for parents and teachers alike!