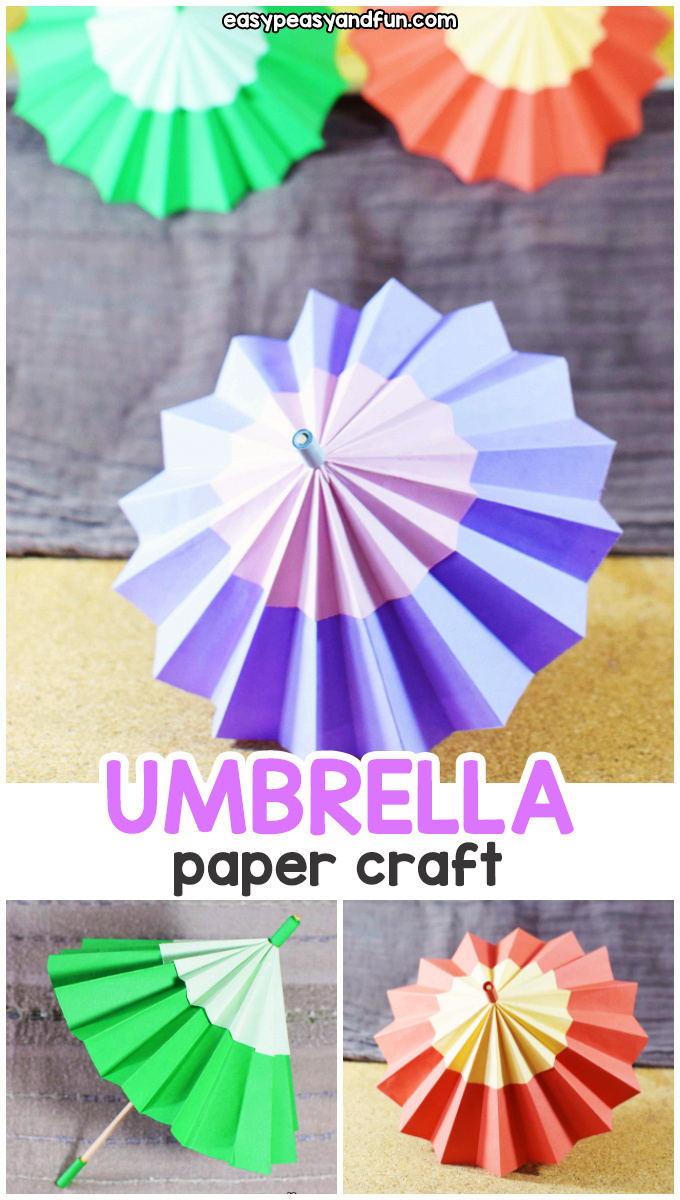
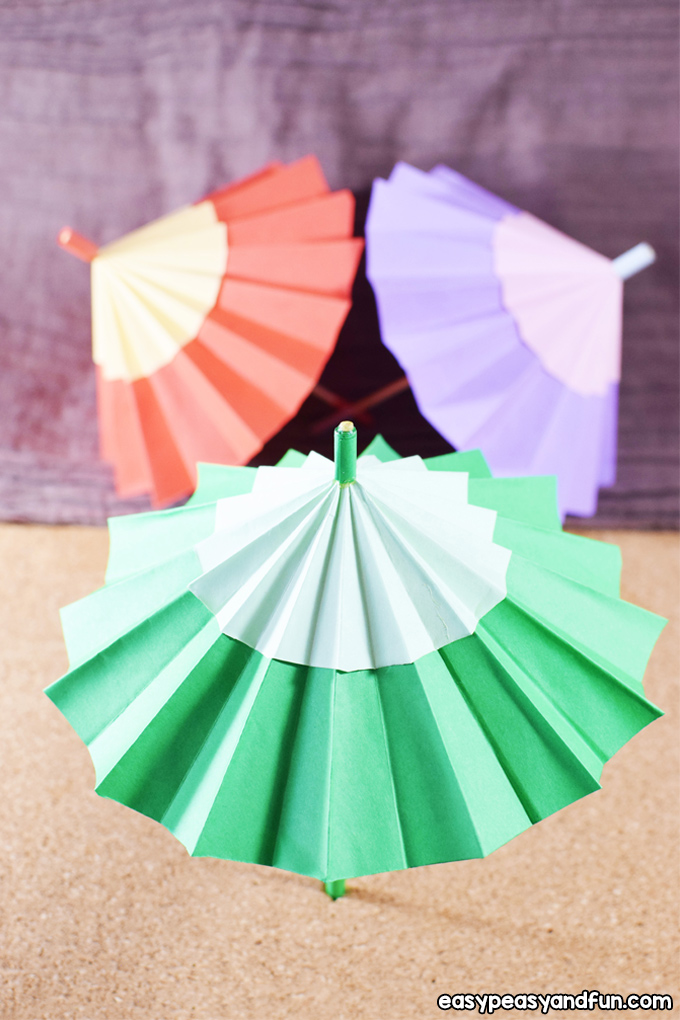
Rainy days call for an paper umbrella craft! This cool project is suited for older kids as it does require quite a bit of patience and skills – but it’s a really fun one as this umbrella opens up and closes just like an actual umbrella. How cool is that?
This craft for kids will be loved by all who love making origami – lots of folding is involved.
*this post contains affiliate links*
50 paper crafts your kids can actually do themselves

No fancy supplies — just paper, scissors, and a little imagination.
Be the first to get it on release day — and lock in the lowest price guaranteed.
Guys, you probably know Mary Poppins, the lady that flies with an umbrella? We came across that story in the library today and got the idea to make this umbrella project.
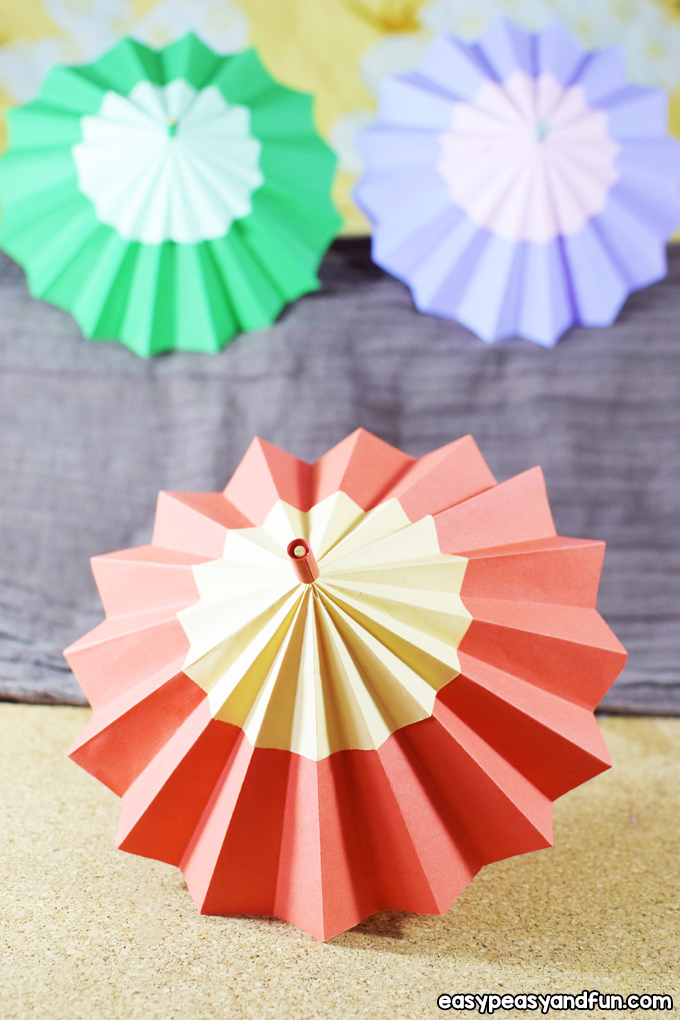
We will show you how to craft a summer umbrella that will protect us from the sun as we make sand castles on the beach.
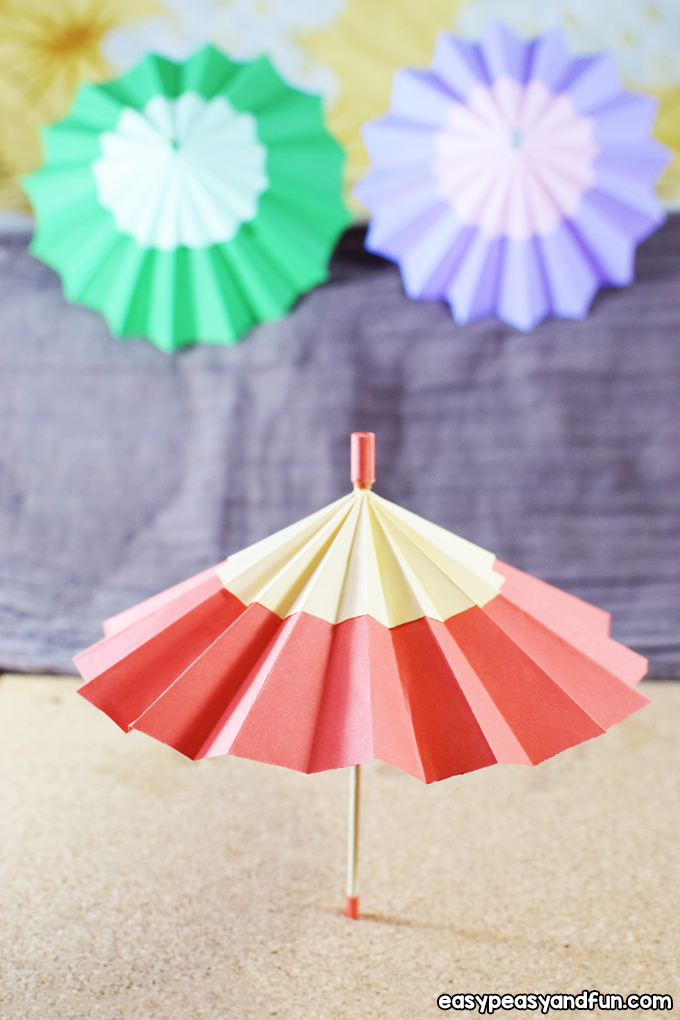
Plus it opens and closes and that makes this umbrella super special.

You won’t need many supplies for this project, but younger kids will need assistance from a grown up or an older sibling.
This can be quite a challenging project, so be sure to follow all the steps and watch the video.

How to Make Paper Umbrella Craft
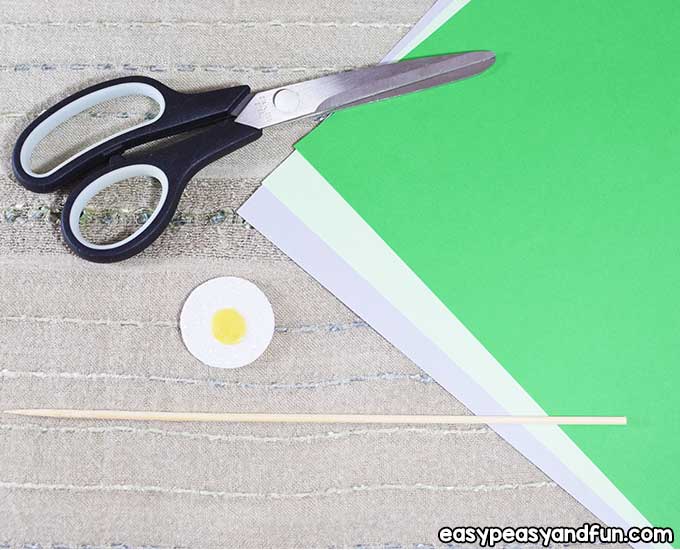
What you need:
- 3 A4/letter size color papers
- scissors
- glue
- wooden stick
Let’s start!
Step by Step Instructions
The Biggest Umbrella Canopy
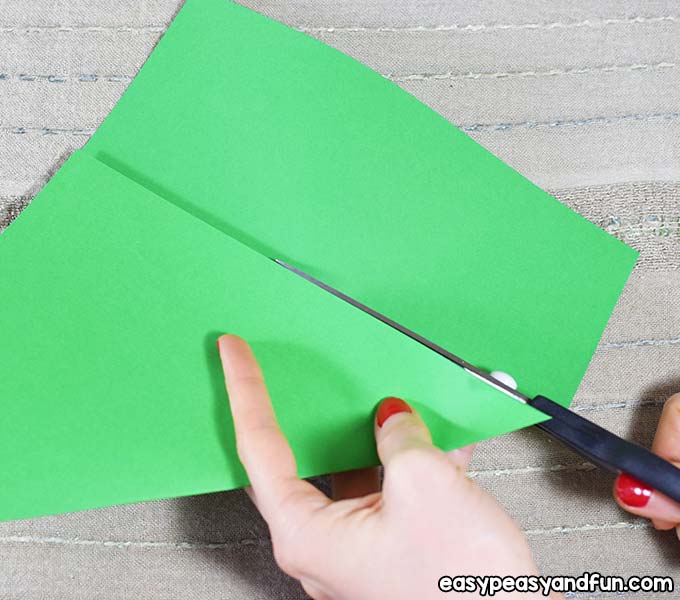
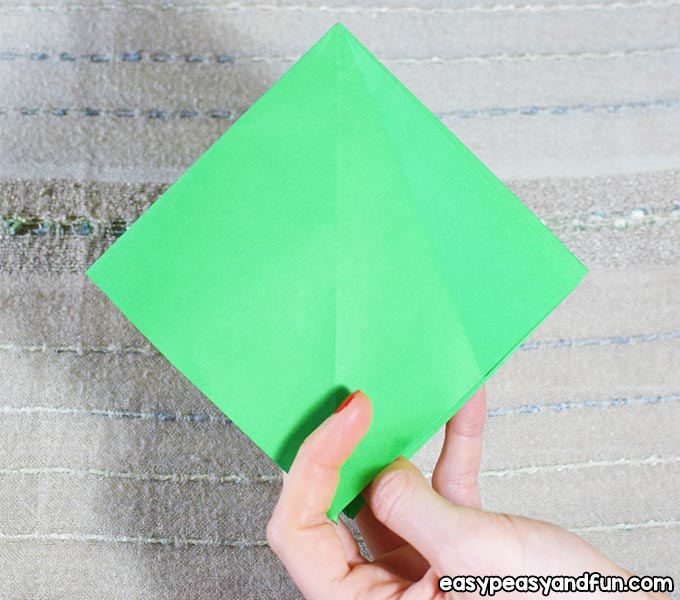
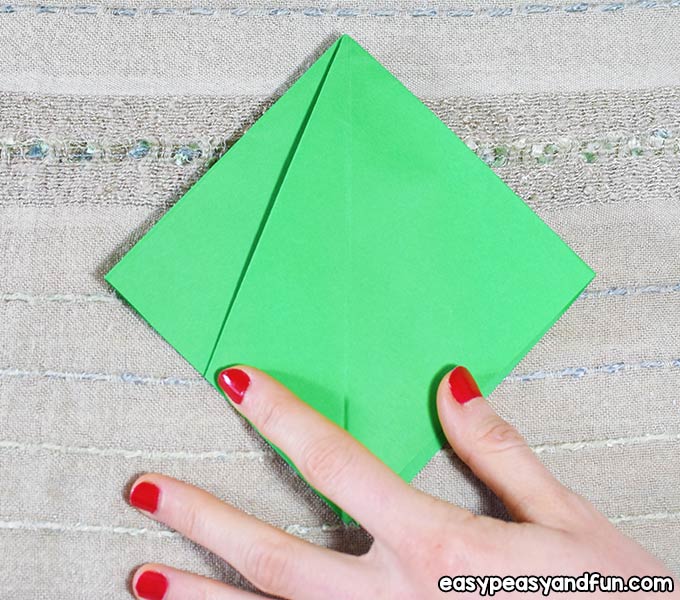
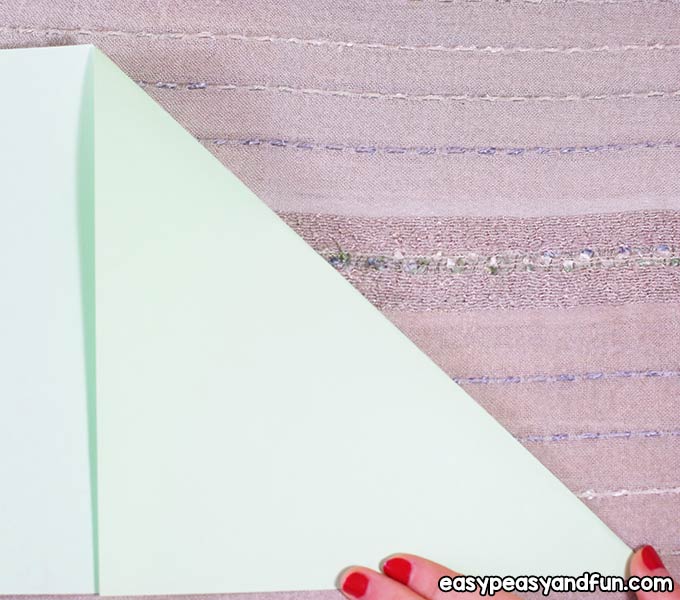
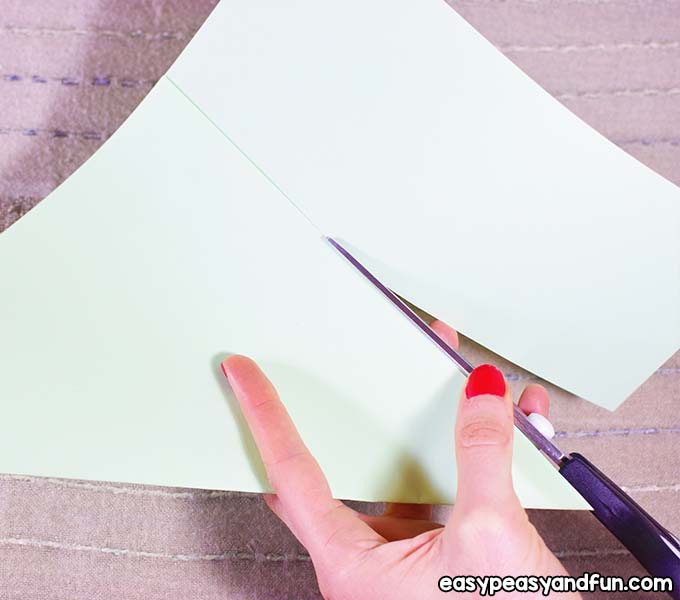
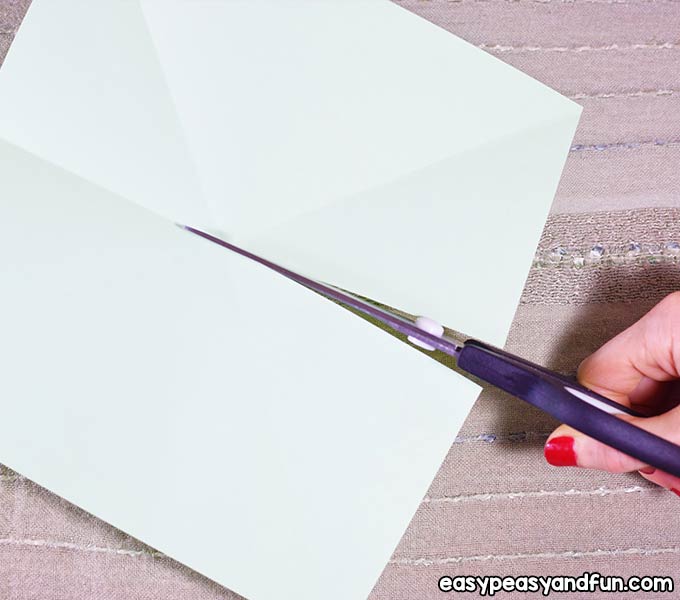
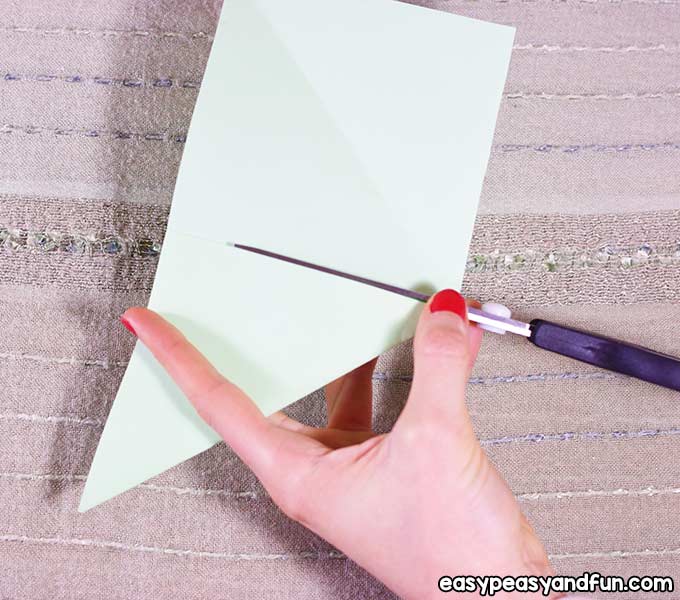
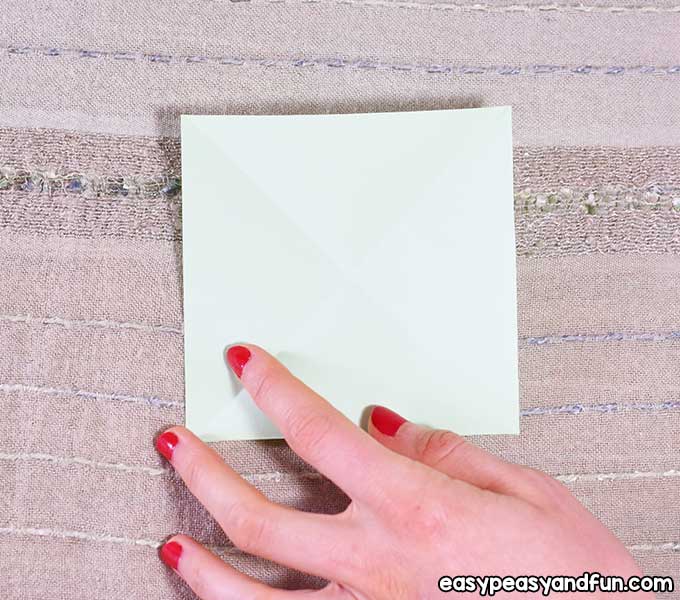
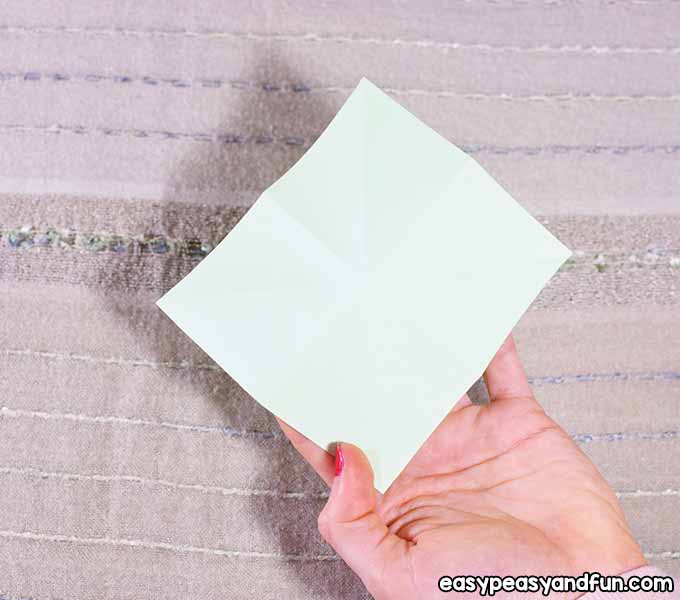
Fold the paper so you make a square …
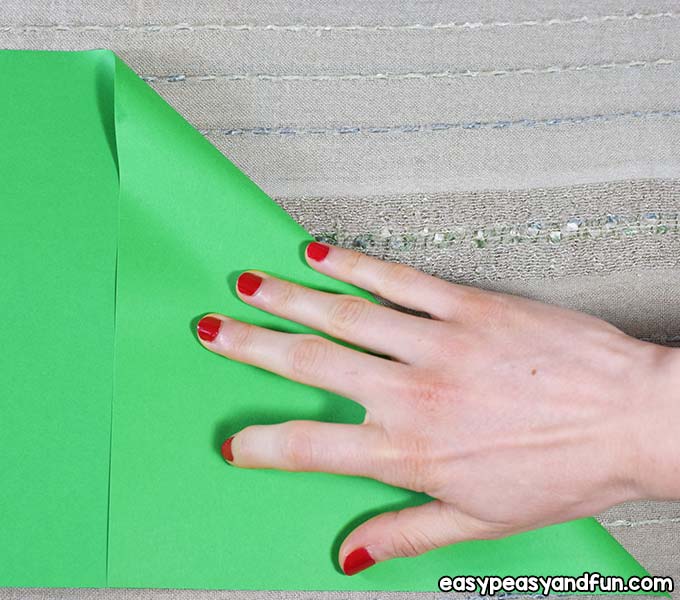
… and cut off the excess.
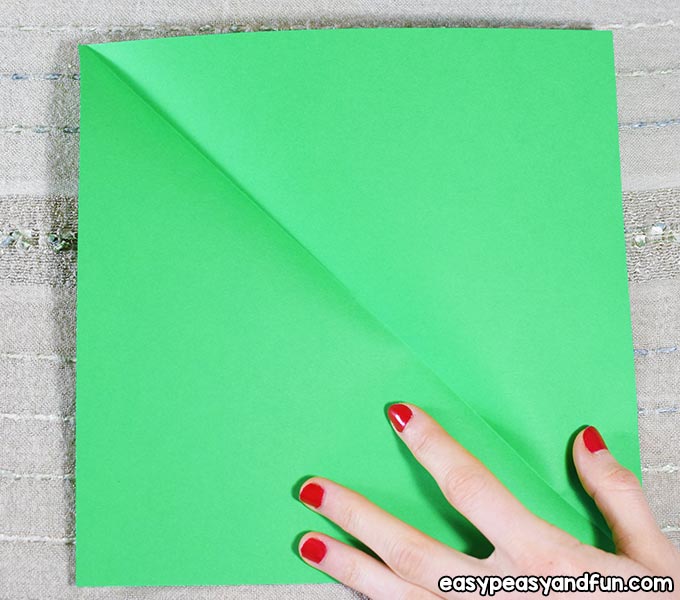
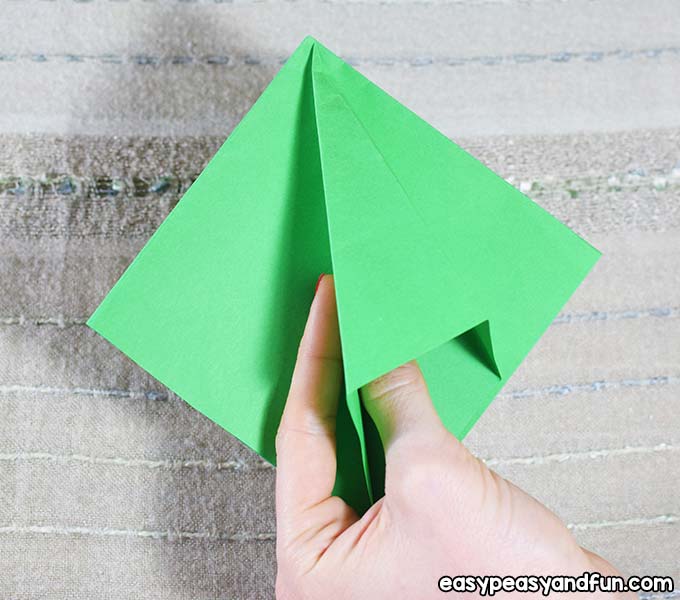
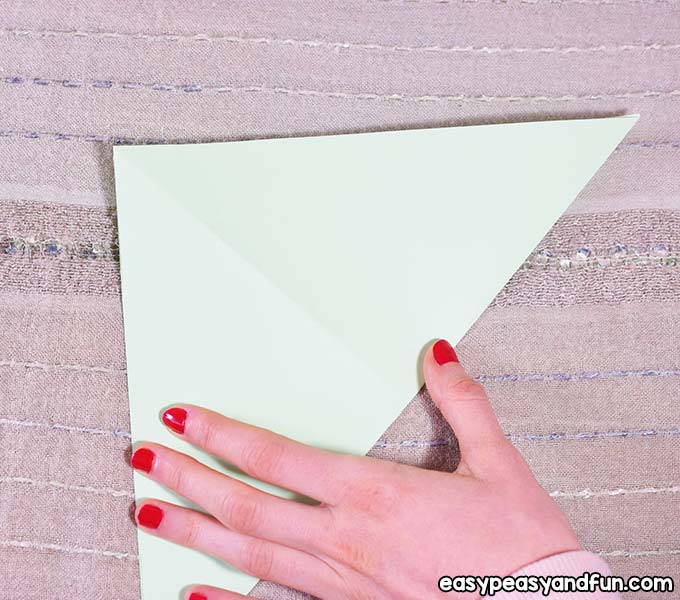
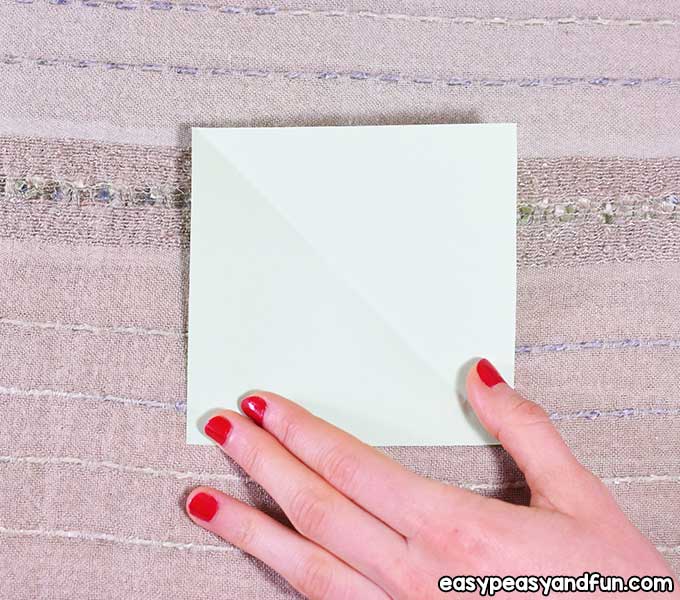
When you open the square paper you will notice two triangle shapes, one on the left side, the other one on the right side.
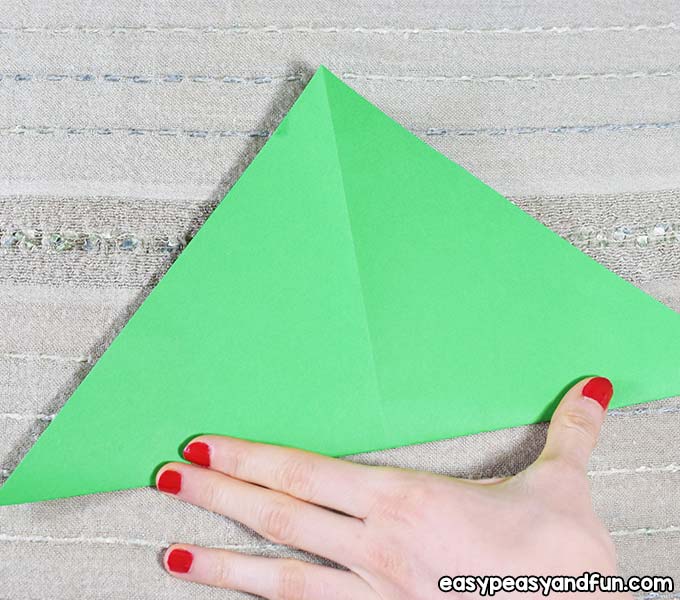
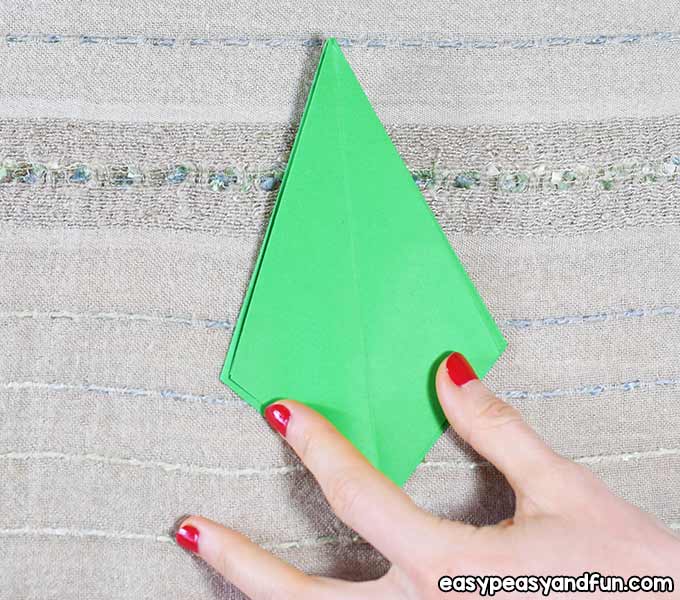
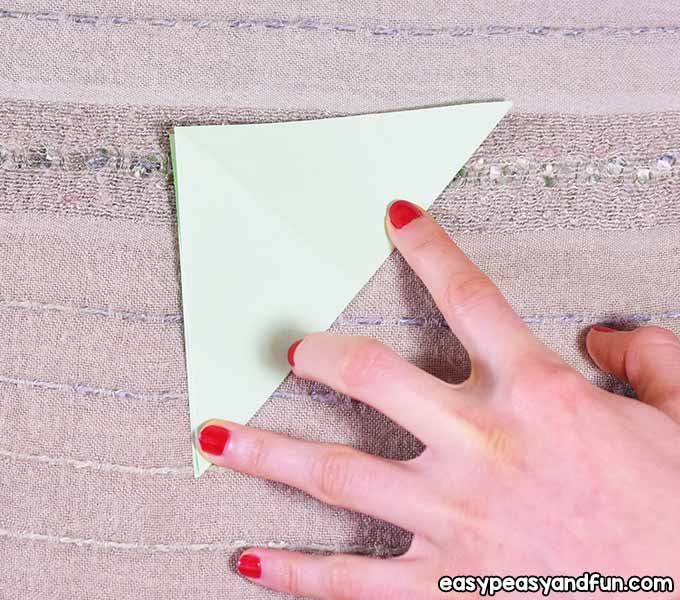
Now fold the paper …
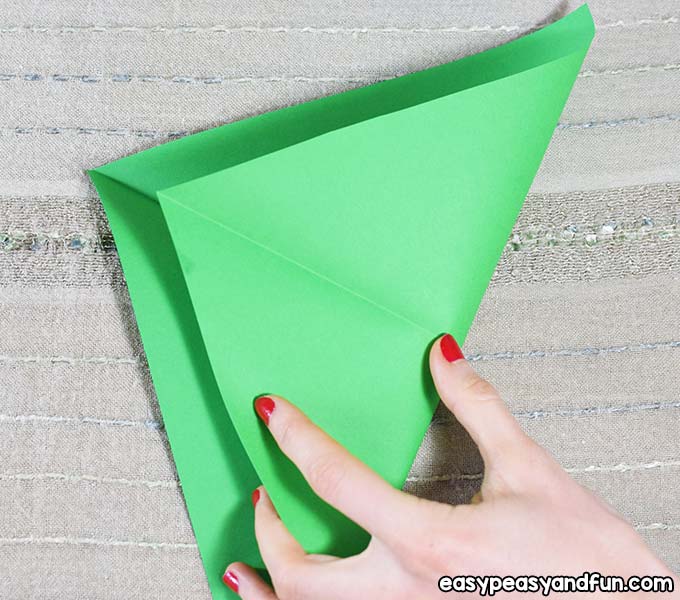
… to form another triangle.
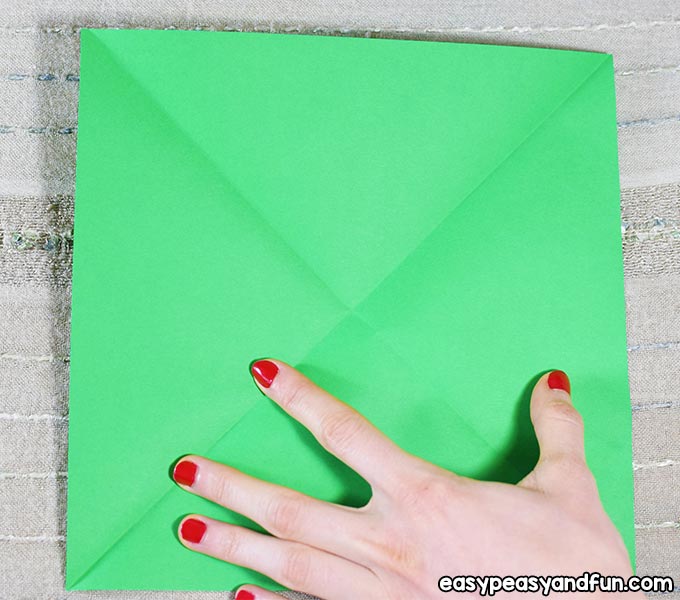
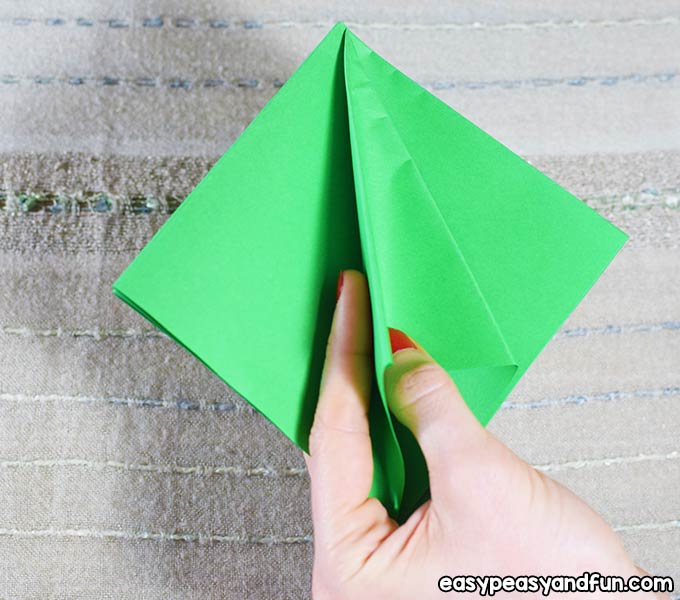
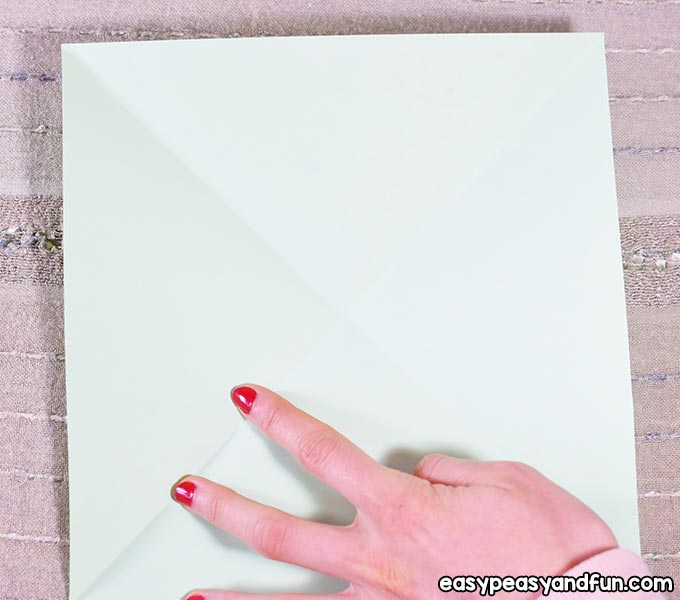
When you open the square paper now, you should have 4 triangle shapes.
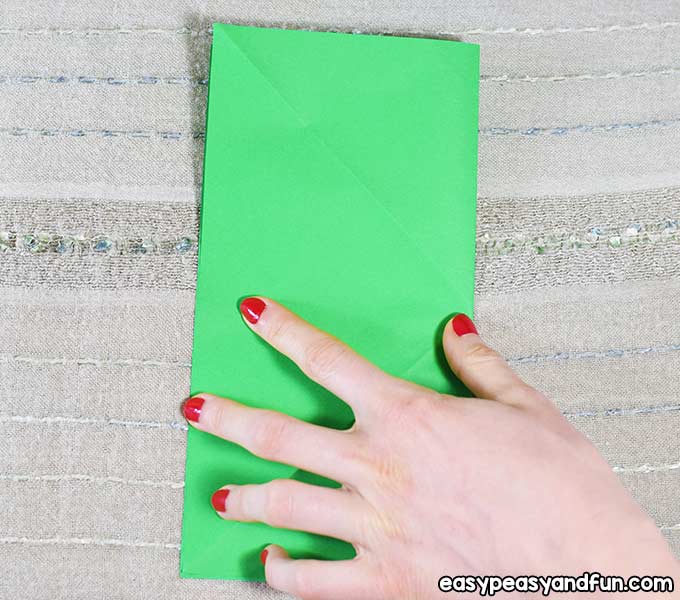
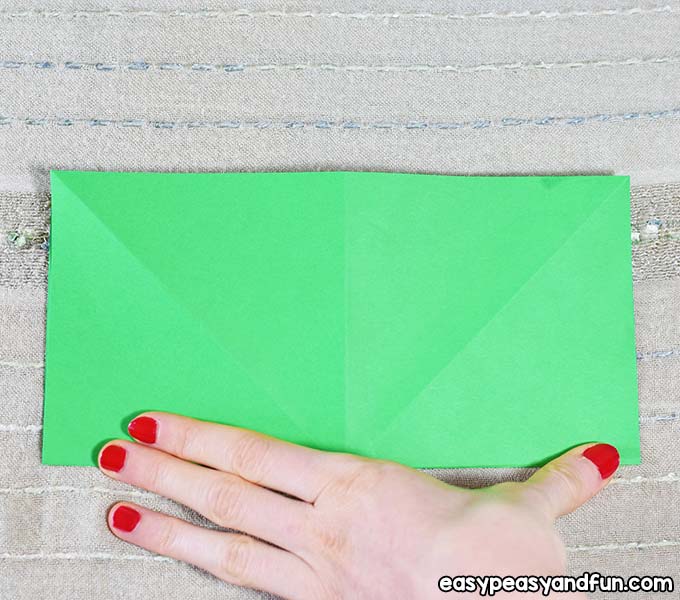
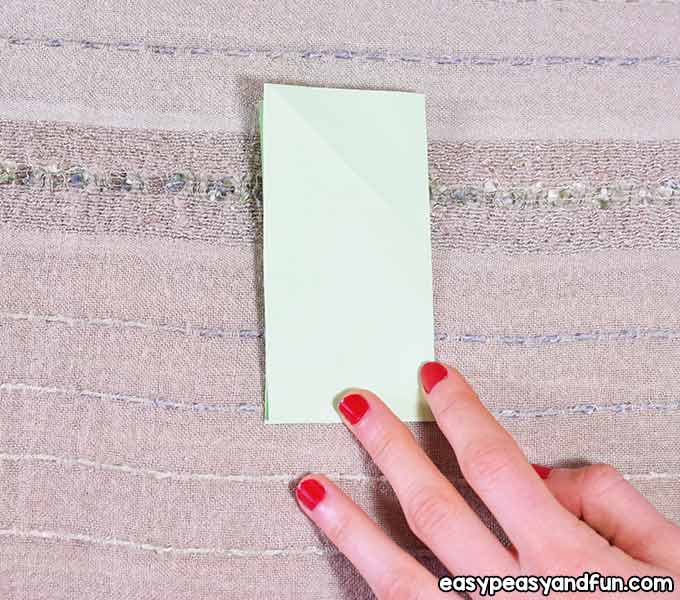
Fold the paper in half to form a rectangle shape.
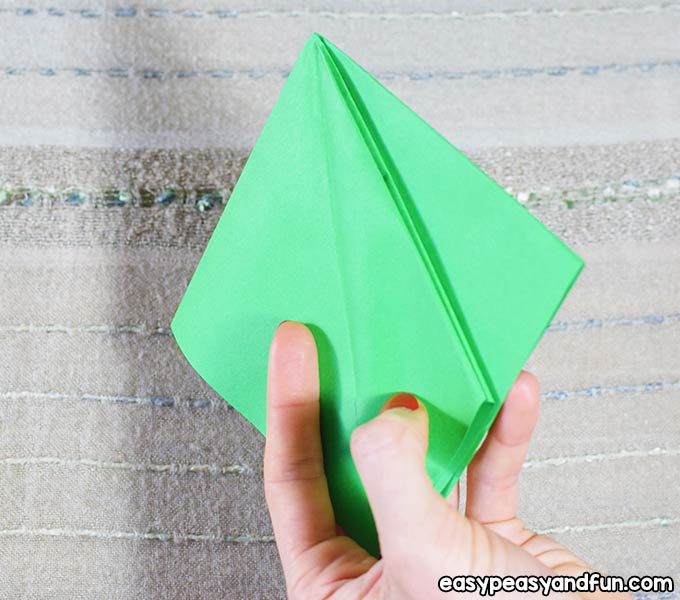
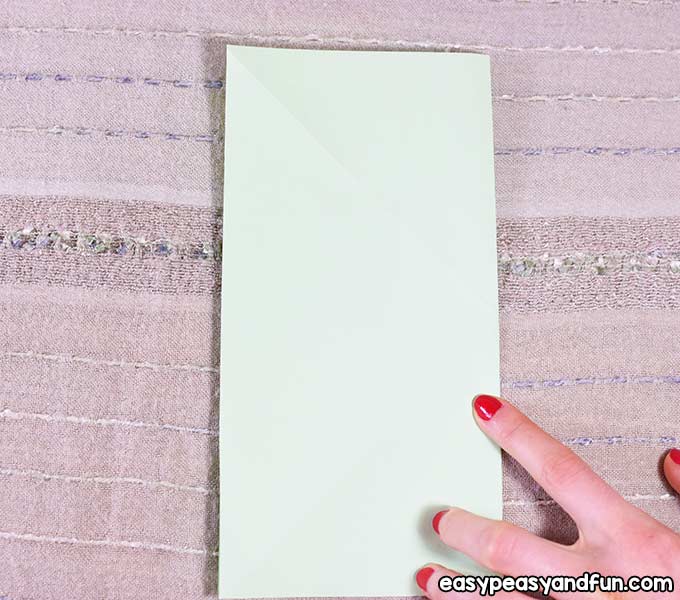
Unfold the rectangle.
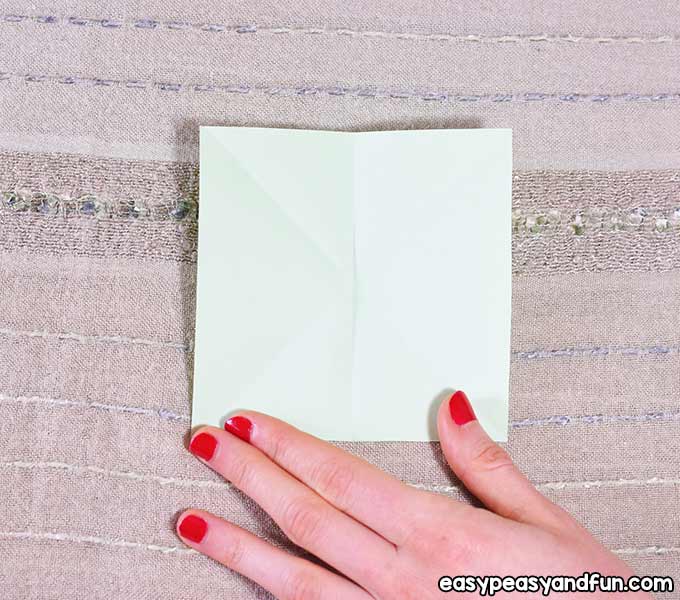
Then repeat this on the other side too.
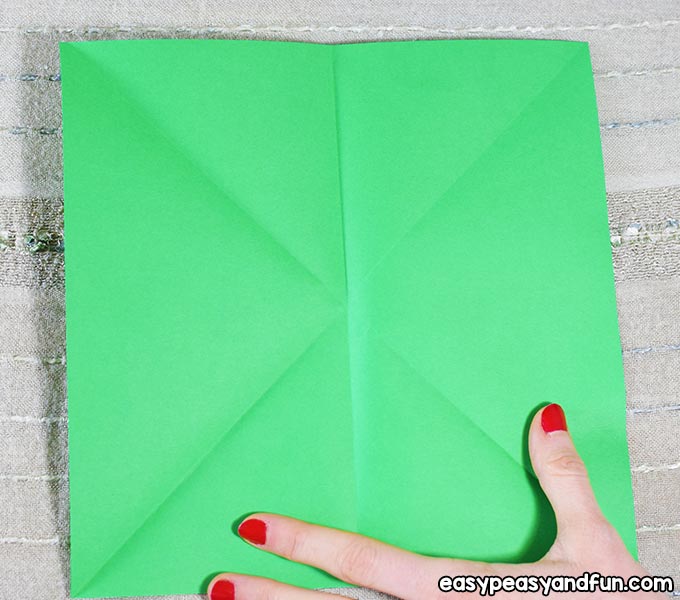
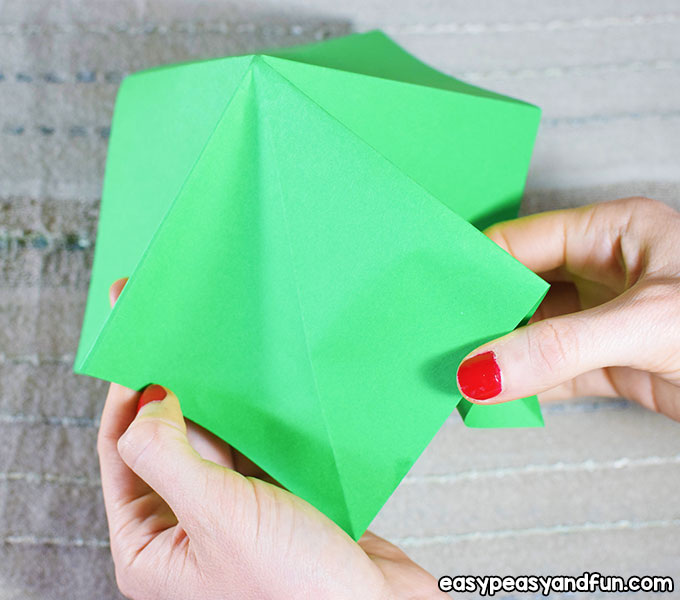
Unfold it again, …

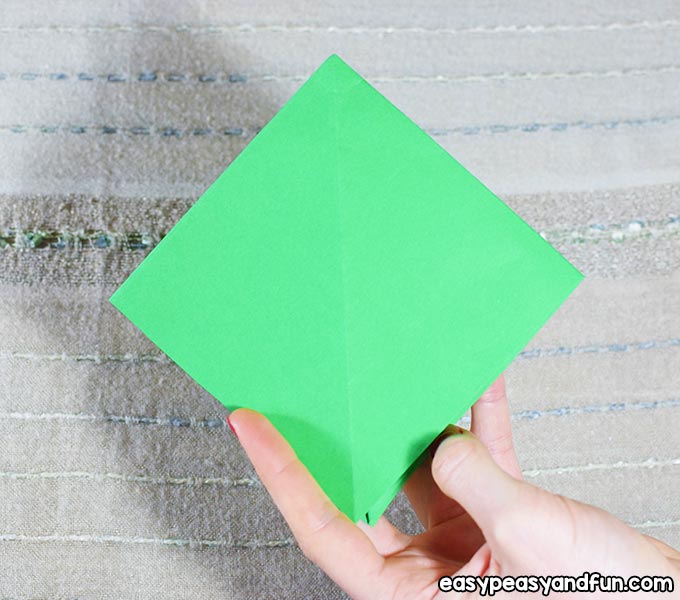
… and form a smaller square shape by folding two opposite squares inside.
To get a square like this one.
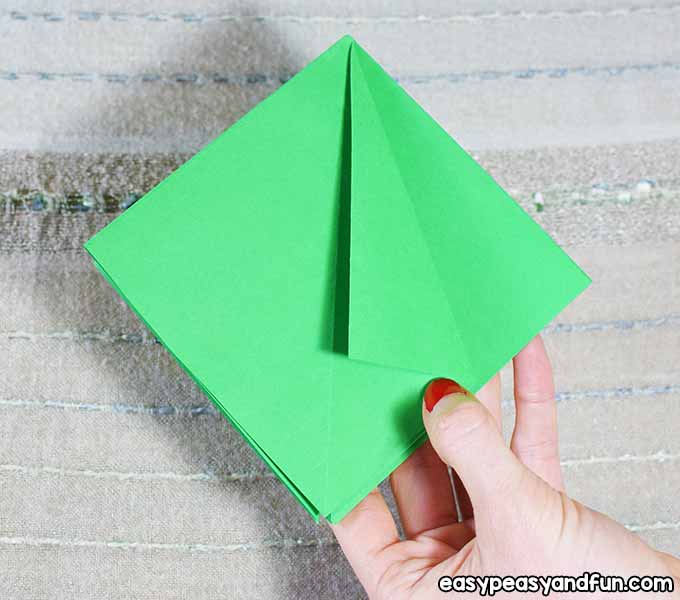
This step includes 4 triangle folds.
Start by folding a triangle, …
… then open it…
… and fold it inside.
Reverse the crease.
Fold it together.
Repeat this step with the other three sides.
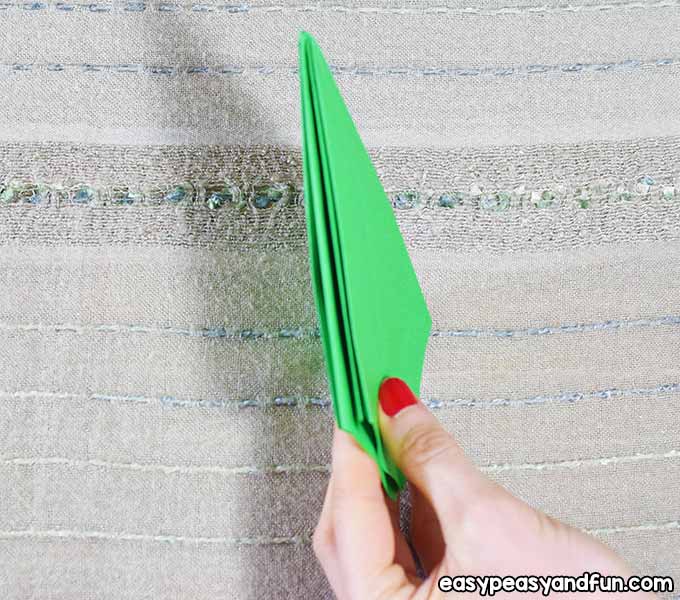
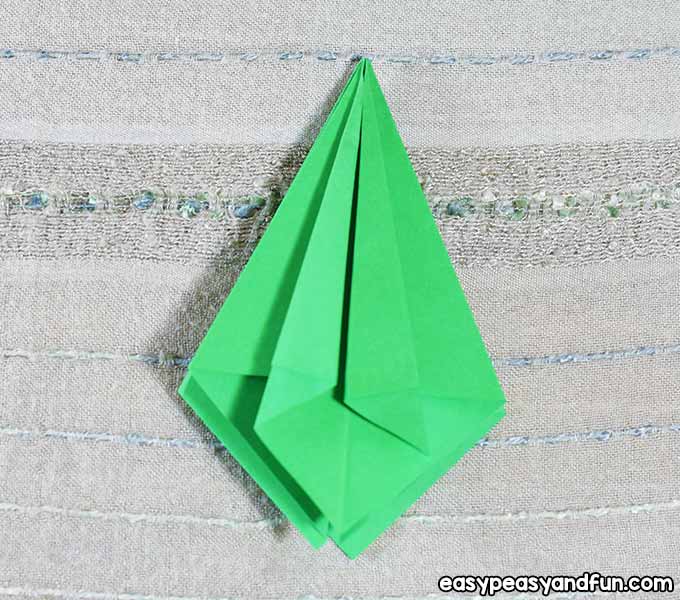
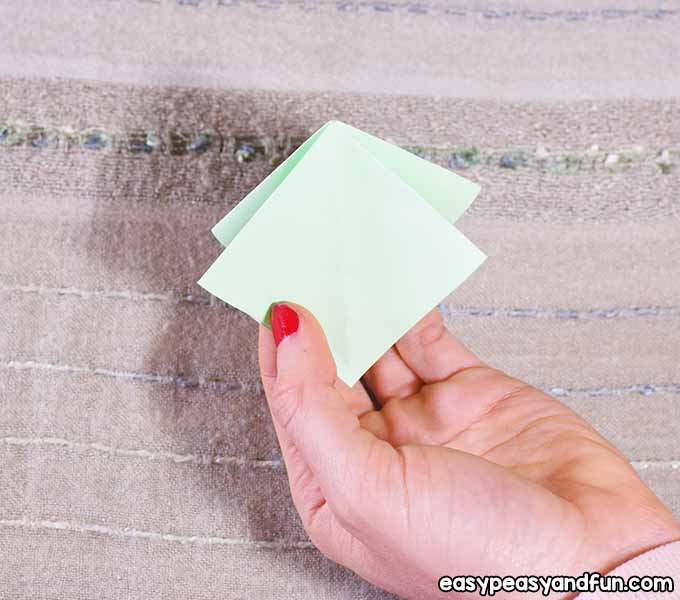
And continue all the way to the last one …
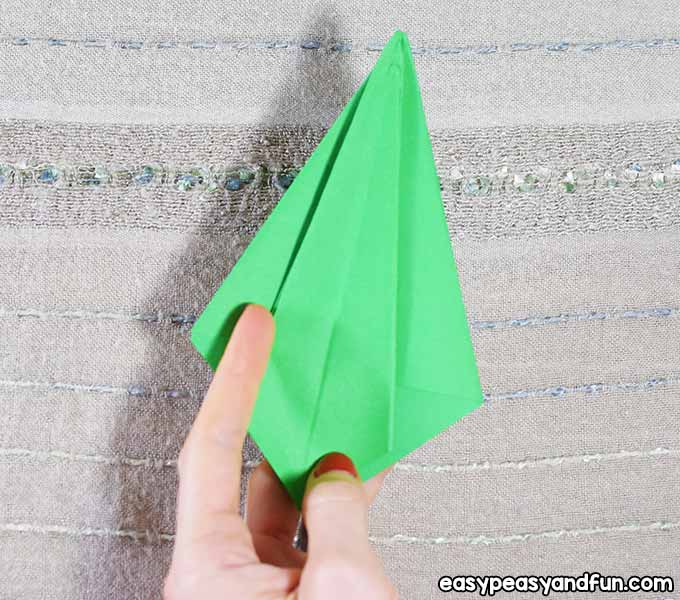
… where you should have a kite-like form left.
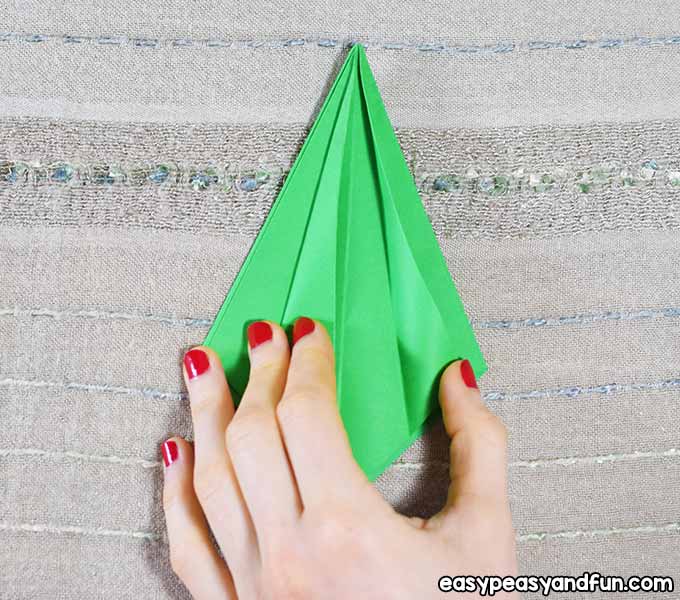
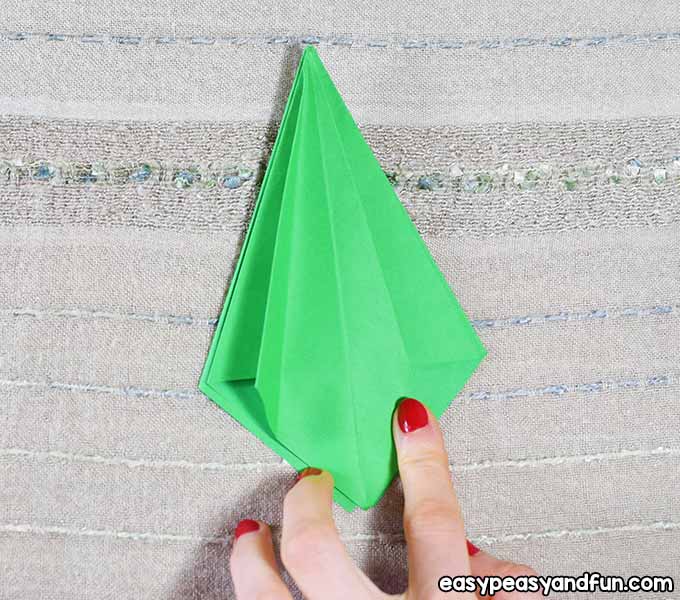
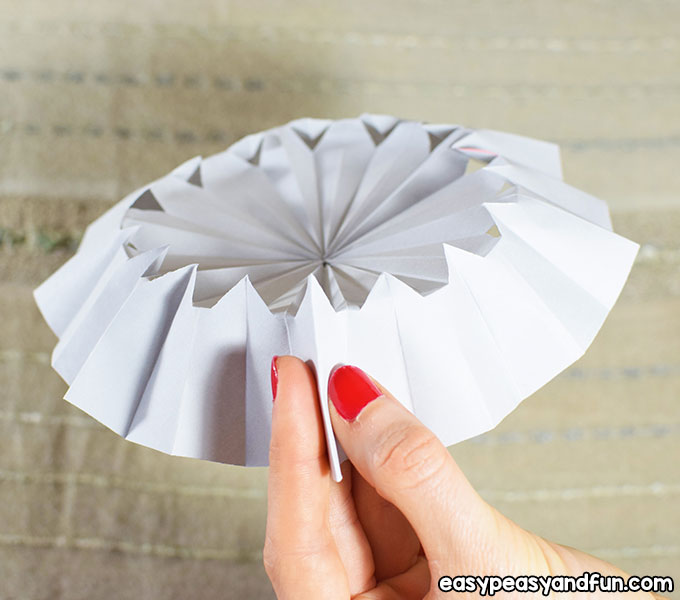
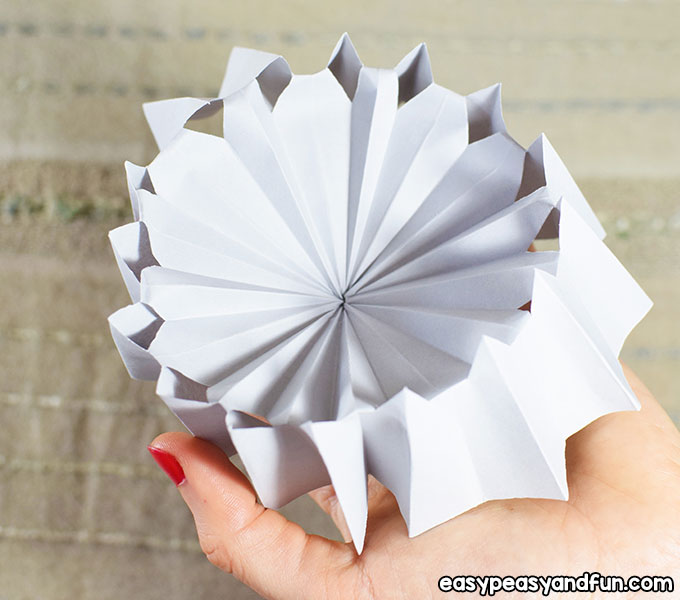
Now we start folding 8 smaller triangles, 2 on each side.

Press firmly …
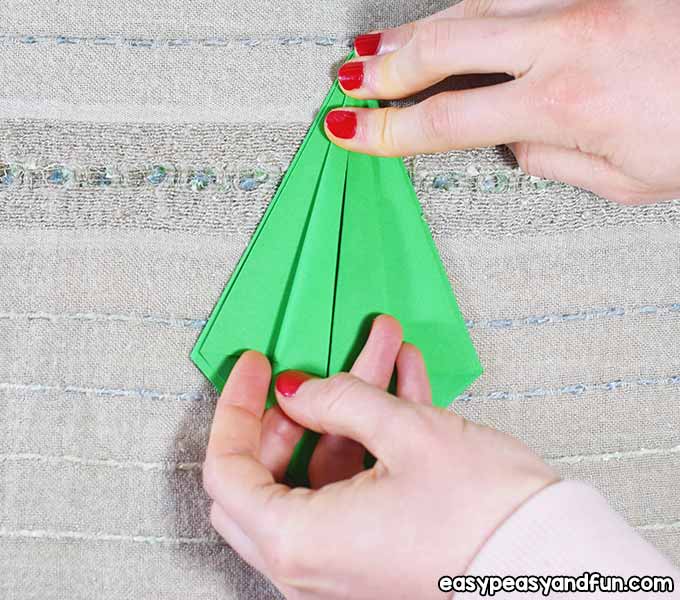
… to get a really nice fold.
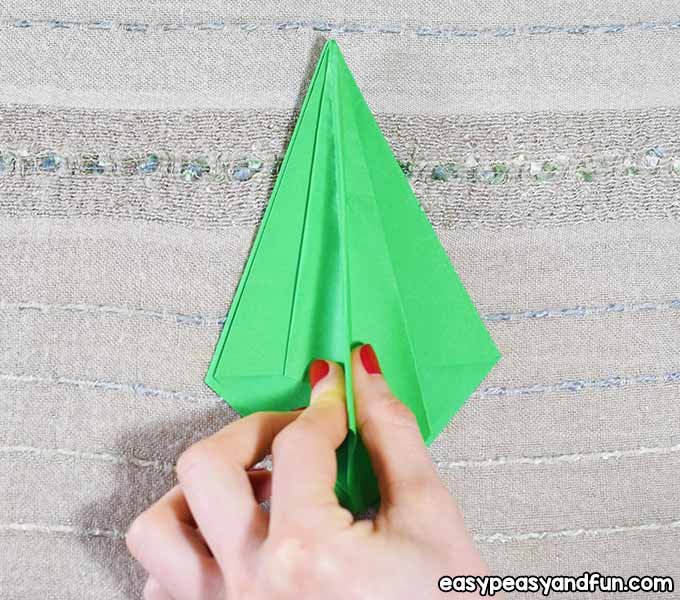
And continue …
… making your triangles.
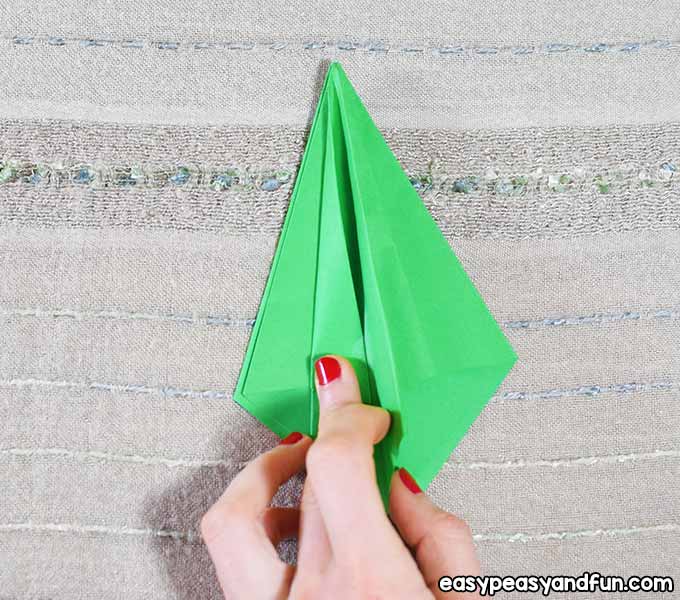
Press each one well with your fingers.
Step by step…
… one by one …
… all the way …
… to the very last one.
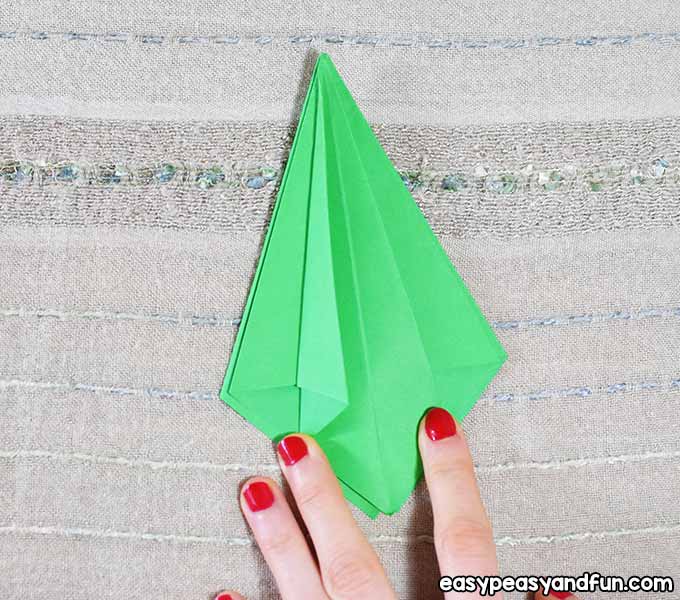
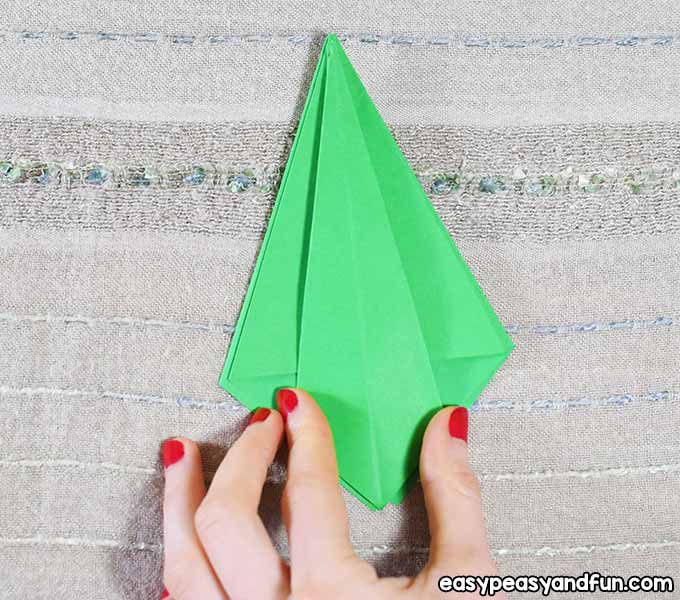
Fold a triangle, fold reverse it inside, repeat.
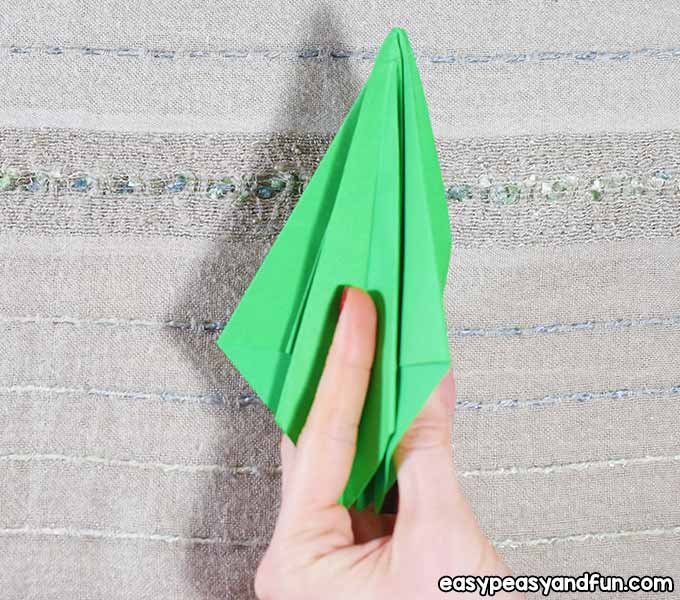
All the way round …
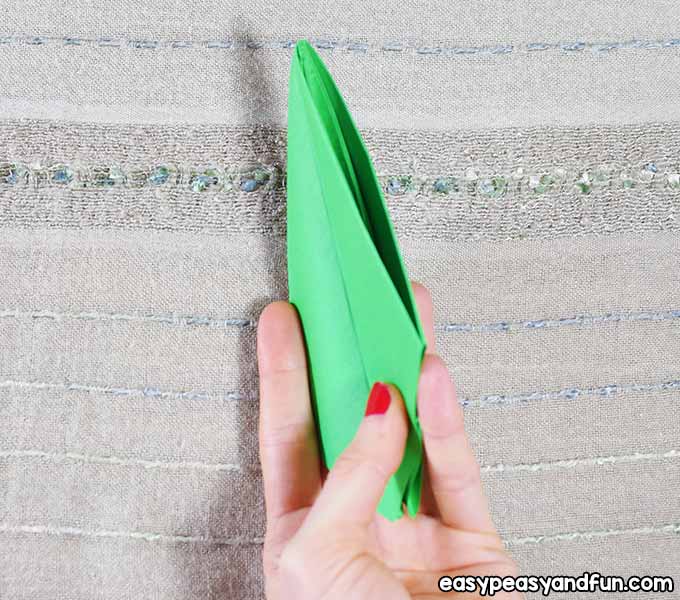
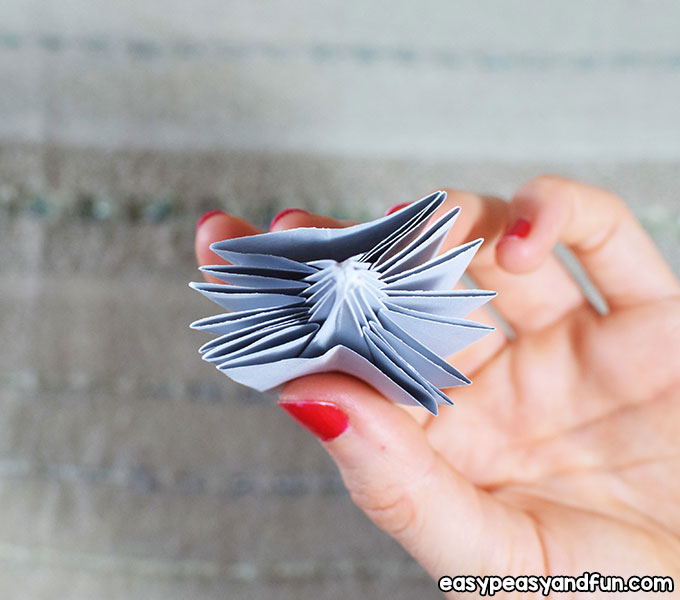
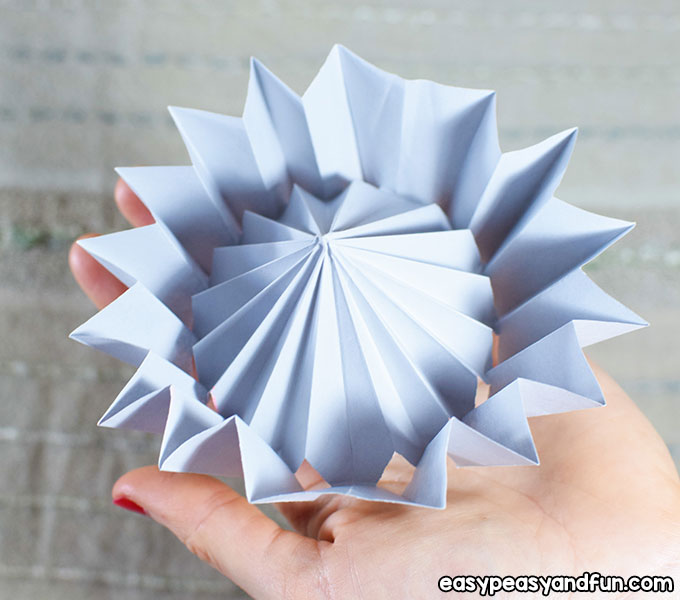
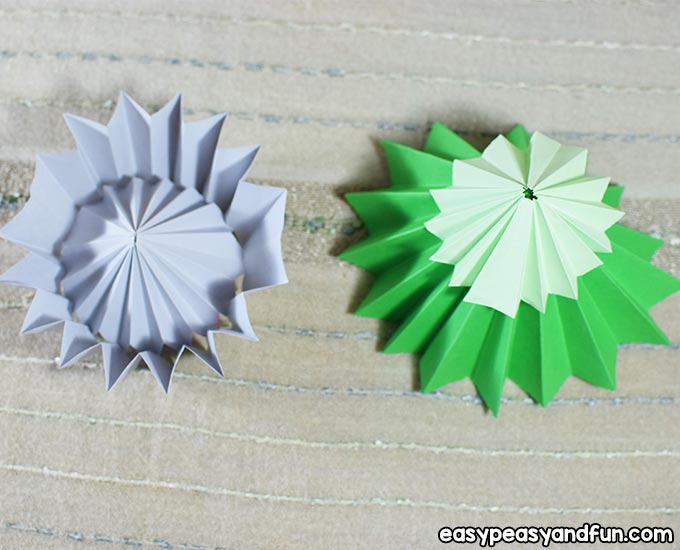
… until it looks like this.
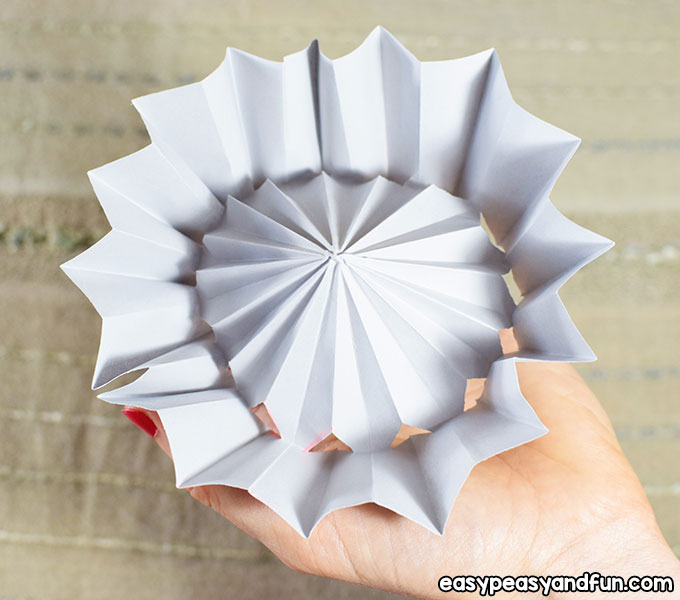
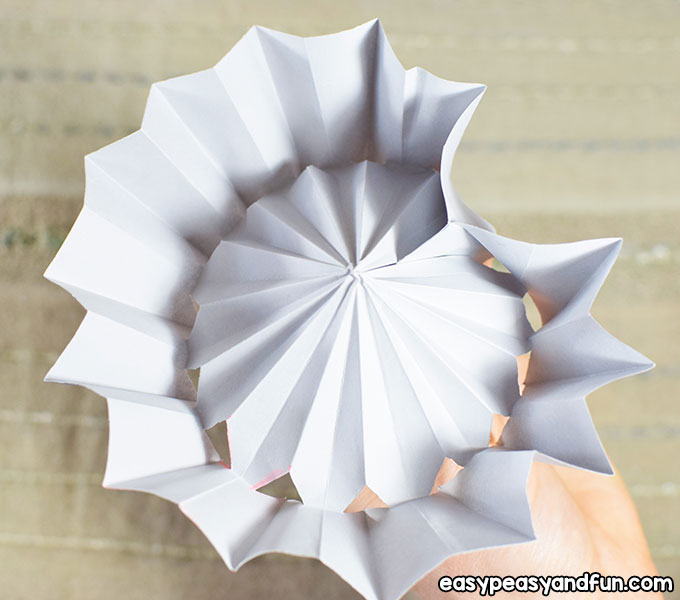
The Inside of the Umbrella Canopy
Take another paper and repeat these 7 steps.
 The Top Part of the Umbrella Canopy
 The Top Part of the Umbrella Canopy
Continue your project by folding the paper so you make a square …
Cut off the excess.
When you open the square paper you will notice two triangle shapes, one on the left side, the other one on the right side.
Now fold the paper to form a triangle again.
When you open the square paper now, you should have 4 triangle shapes.
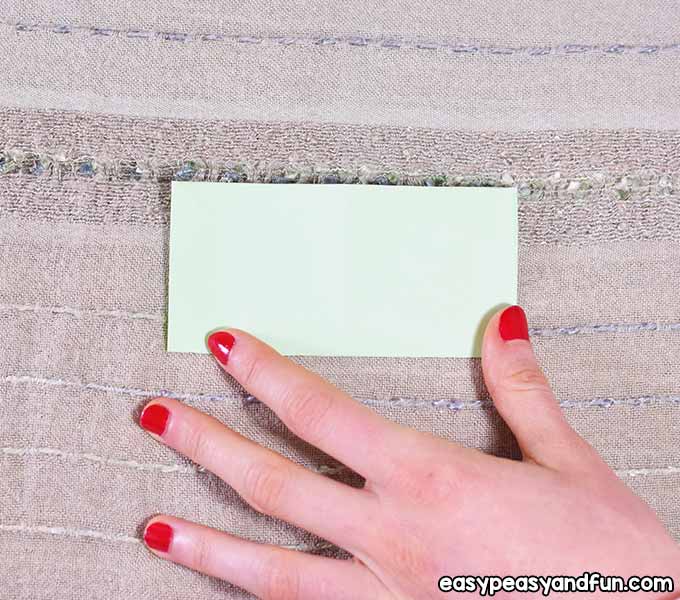
Fold the paper in half to form a rectangle shape.
Open it and cut following the line.
Fold the paper and cut off the excess …
… to get a smaller square.
Open the square and fold the paper to form a triangle.
Open the square and notice the 4 triangle shapes.
Fold the paper in half to form a rectangle shape.
Unfold the rectangle …
… then repeat this on the other side too.
Unfold it again…
… and form a smaller square shape by folding two opposite squares inside (just like you did with the previous square – with the green one in the steps above).
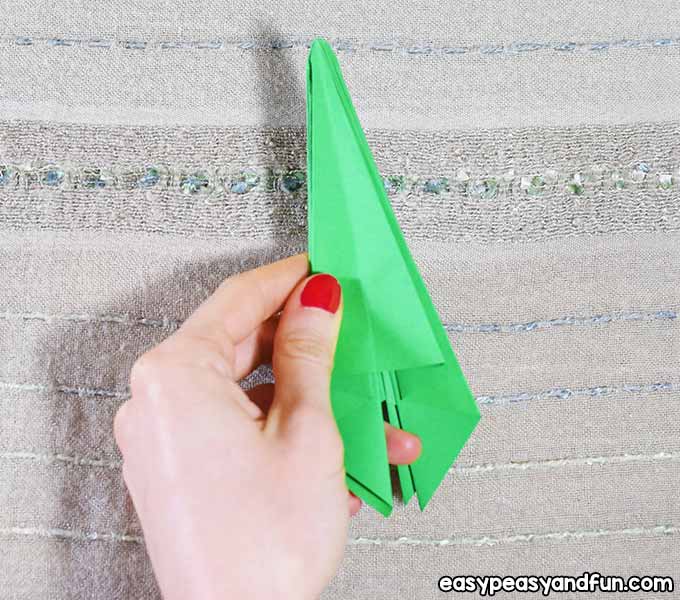
Repeat all the steps from before to finish the top umbrella canopy part.
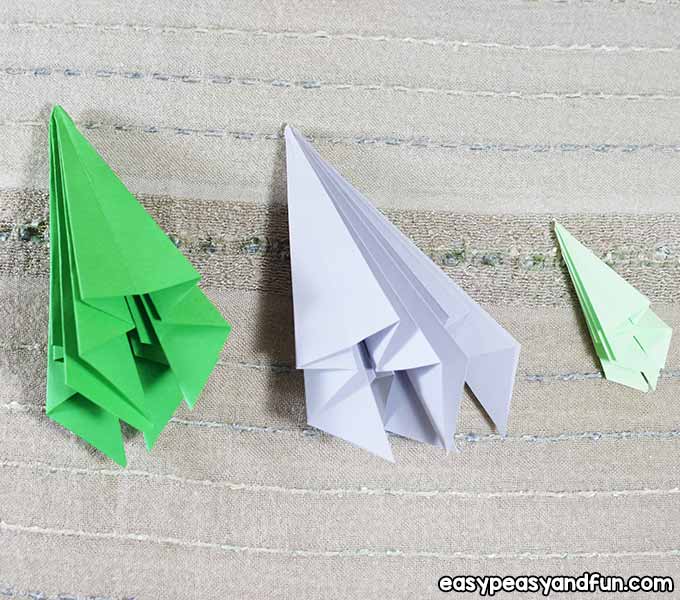
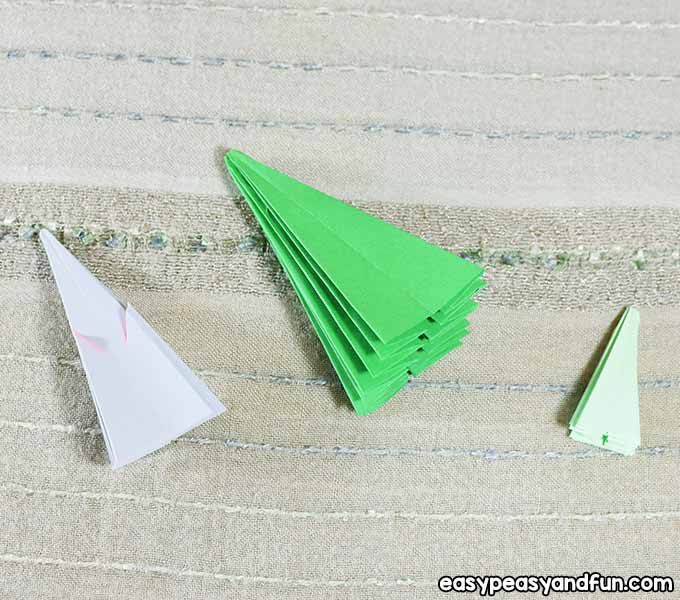
Preparing the Canopy Parts
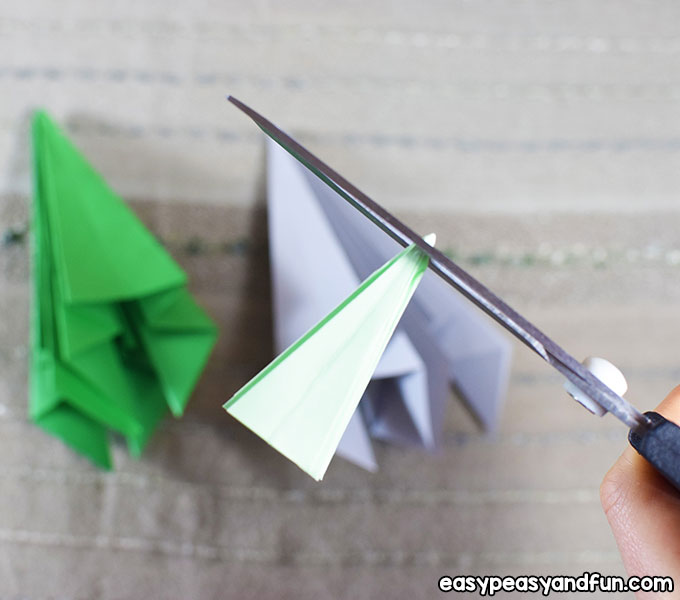
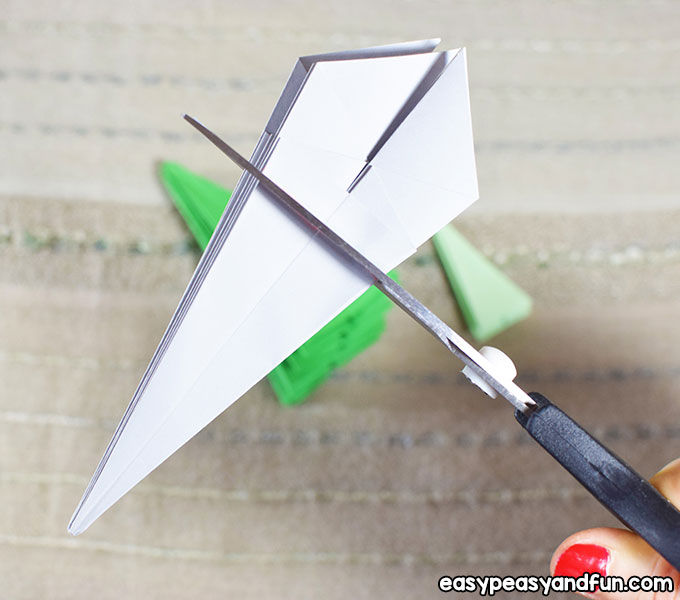
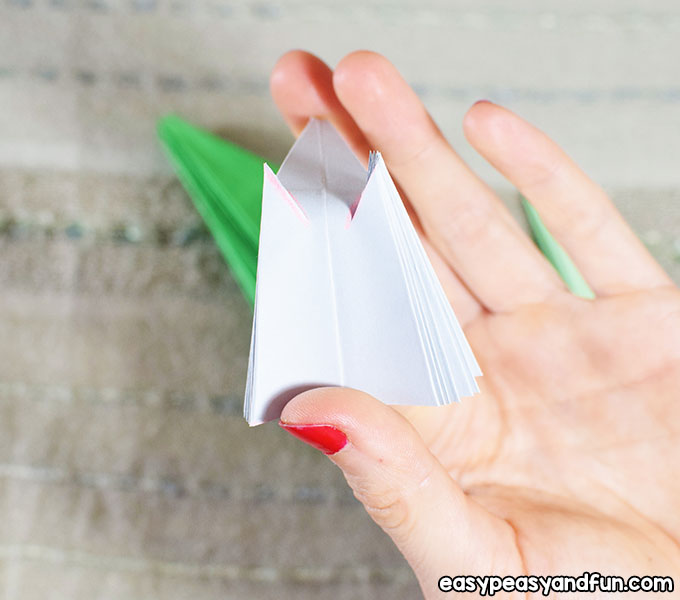
Take the smallest kite and cut following the line.
Cut out the top, make a tiny hole.
Take one big kite, cut out the bottom part following the line, …
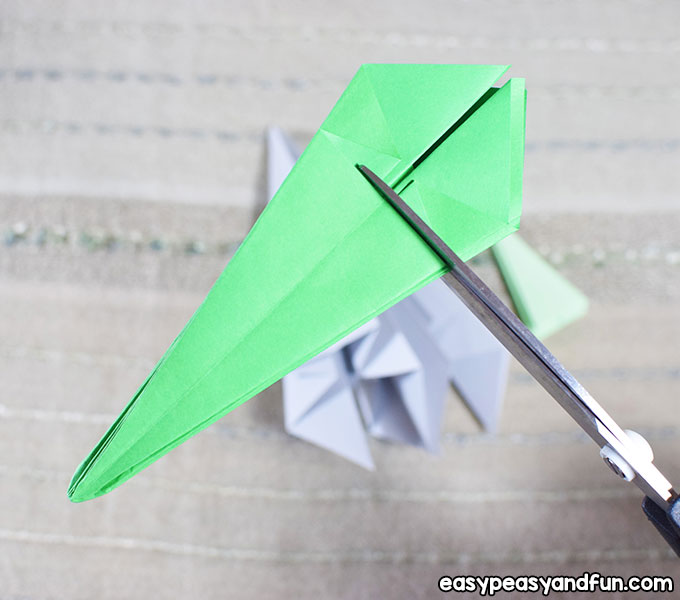
… and cut out the top as well.
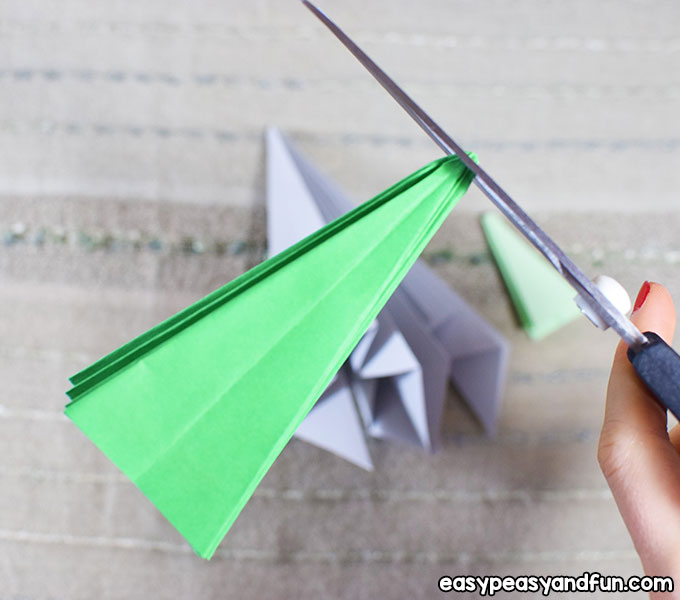
Take the other big kite, mark a line 1cm above the existing line as shown on the picture …
… and cut it off.
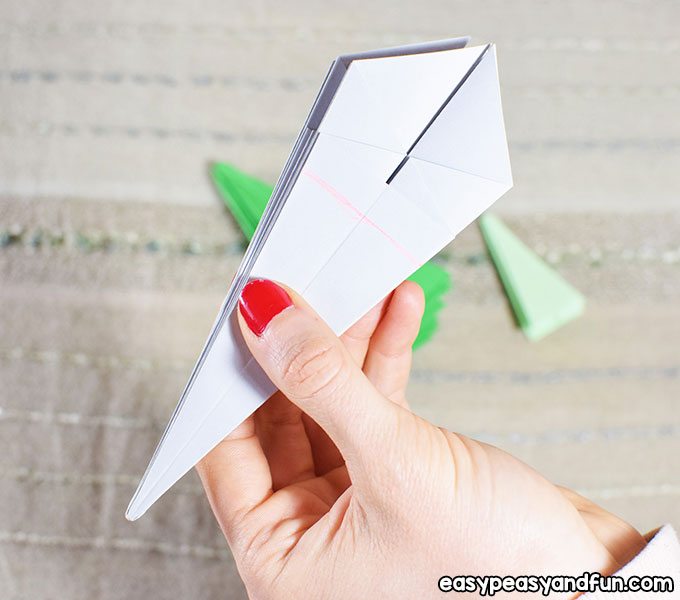
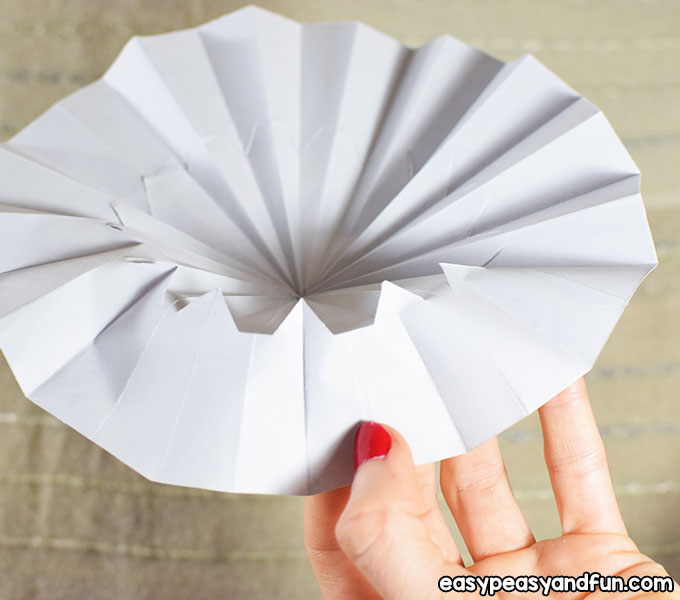
Look at the picture carefully and mark two lines starting from the middle.
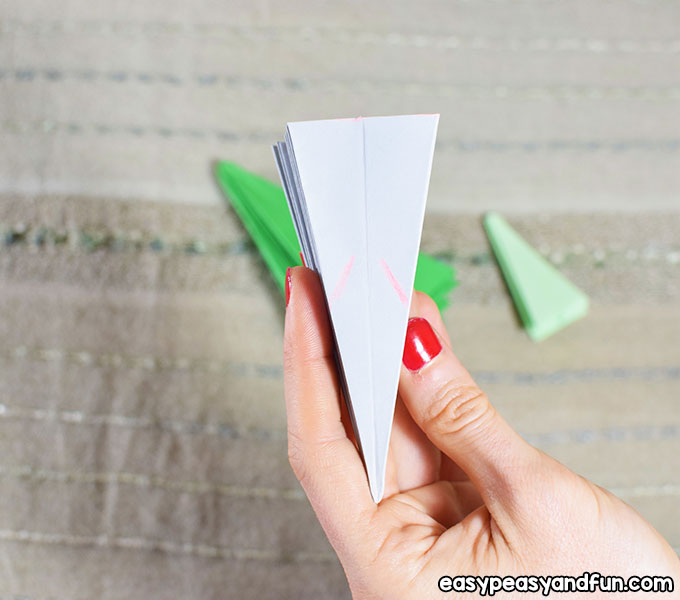
Cut following them. You should leave space between them, so be careful not to cut through them completely.
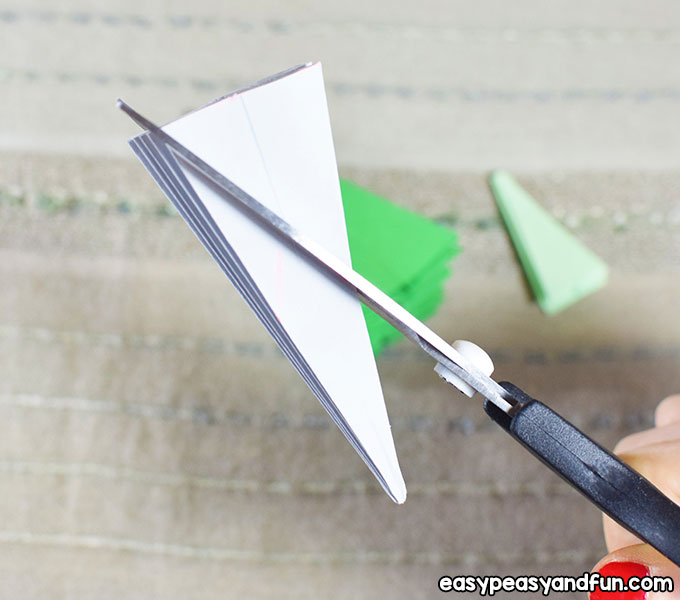
The cuts should look like this.
You’ re ready to continue.
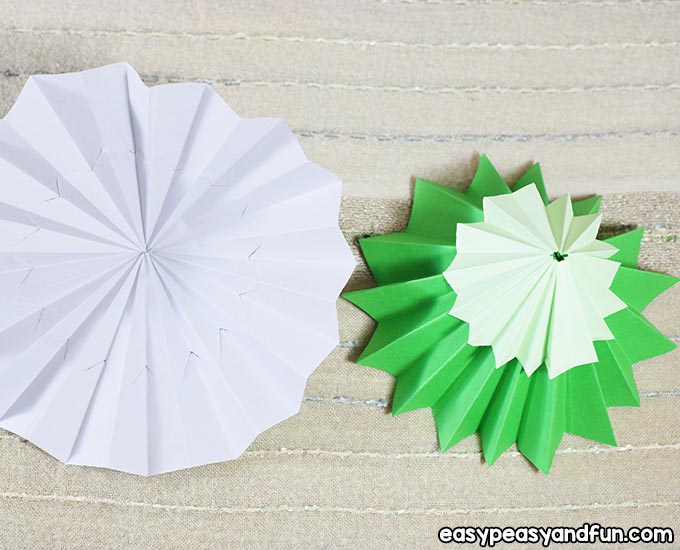
Open all of the 3 papers.
We will start working with the last kite.
Start folding the paper between the triangles as shown in the picture.
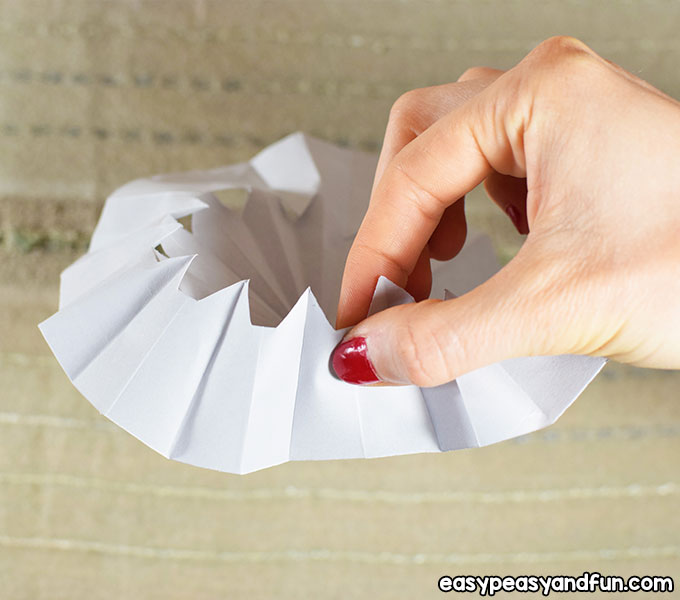
Reverse all of the triangle creases.
In the end, you should get a lemon squeezer like shape.
 Flip it over.
Start folding each edge inside the lemon squeezer shape.
Until you get to this step.
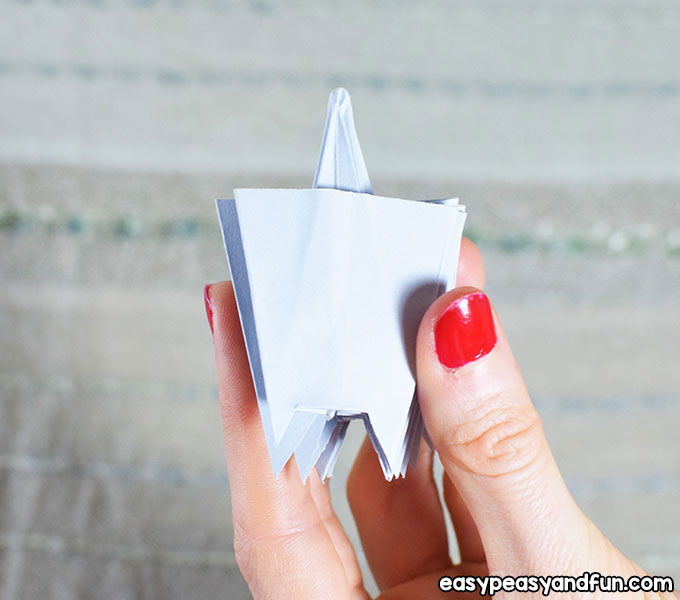
The side view of your umbrella part should look like this.
When you finish that, open the paper again.
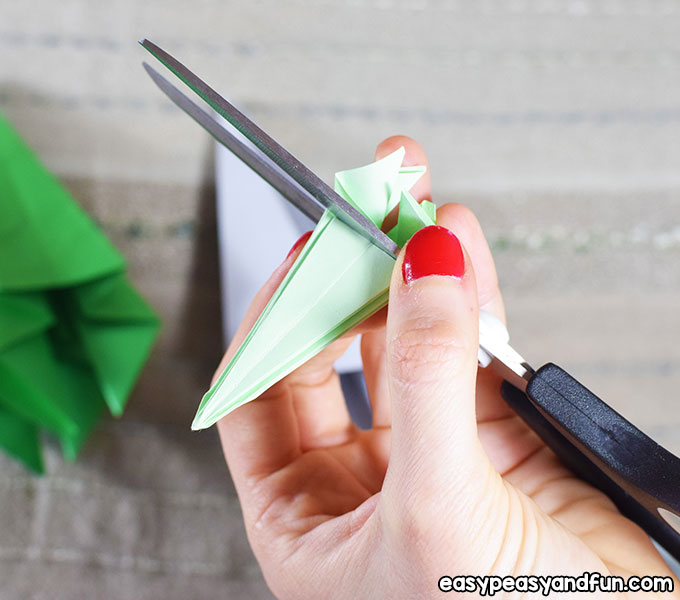
Cut off the top of the lemon squeezer …
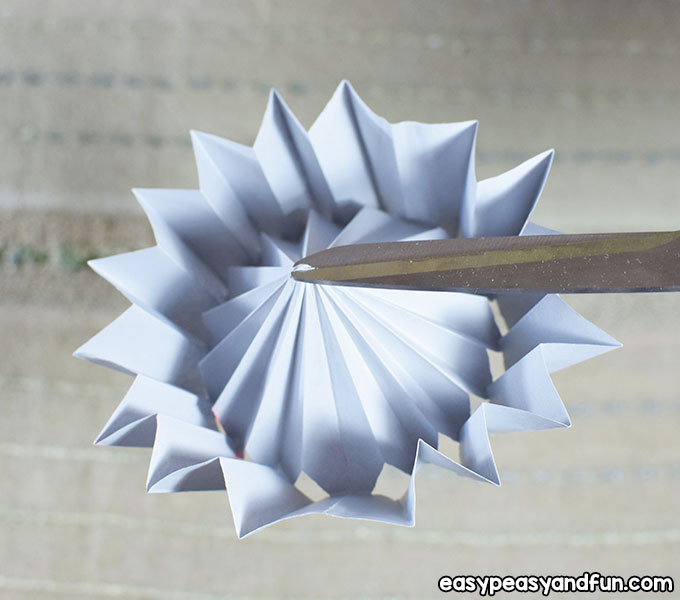
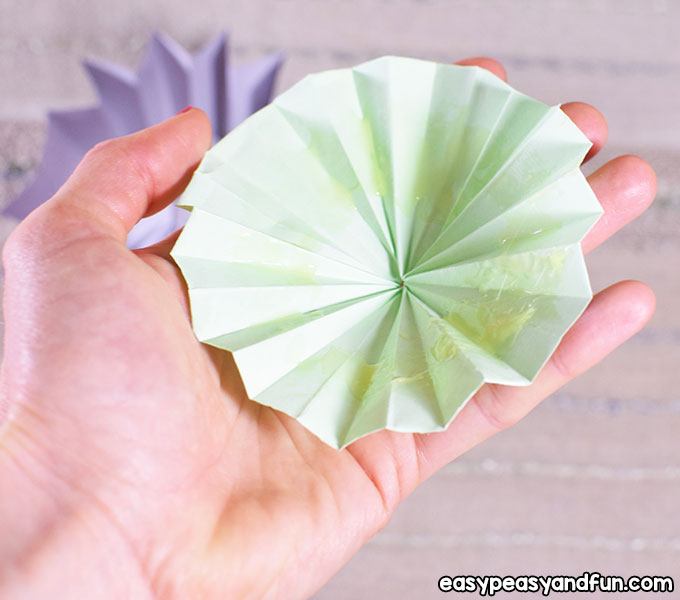
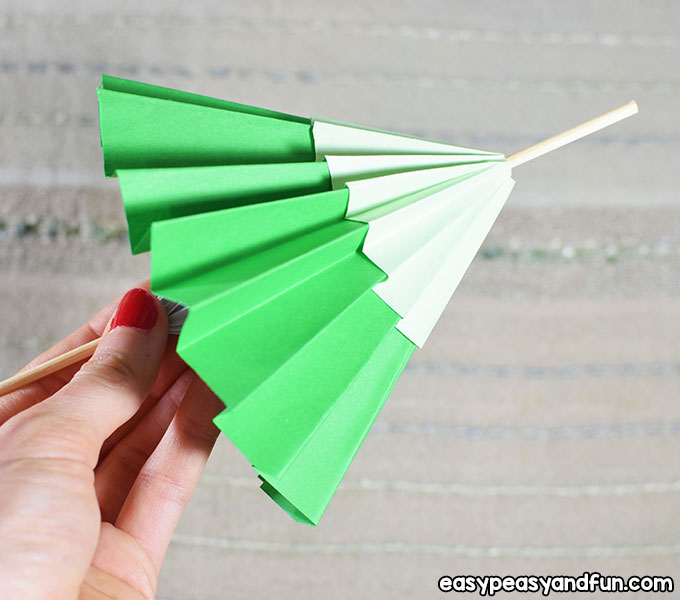
… and make a tiny hole. These are your finished paper umbrella parts now.
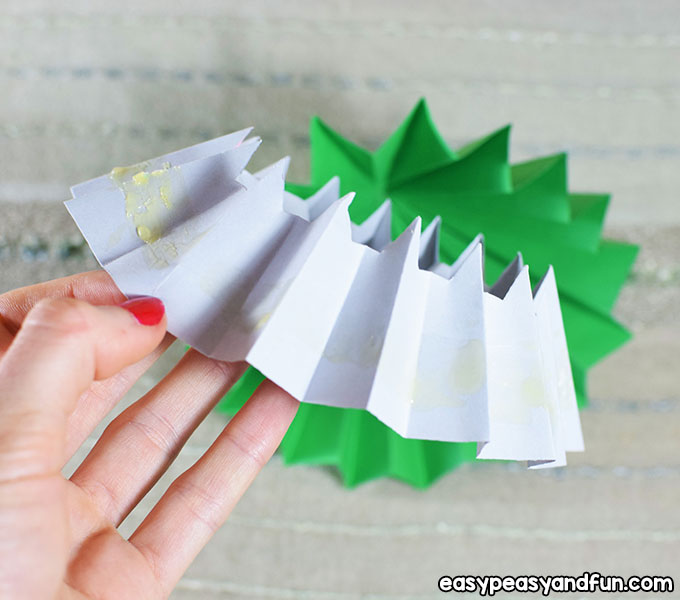
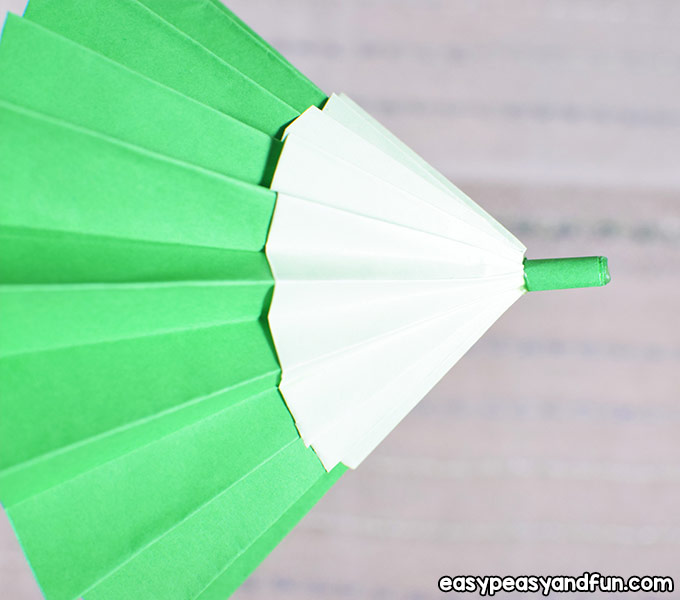
Apply some glue on the inside of the smaller umbrella (the top umbrella part) …
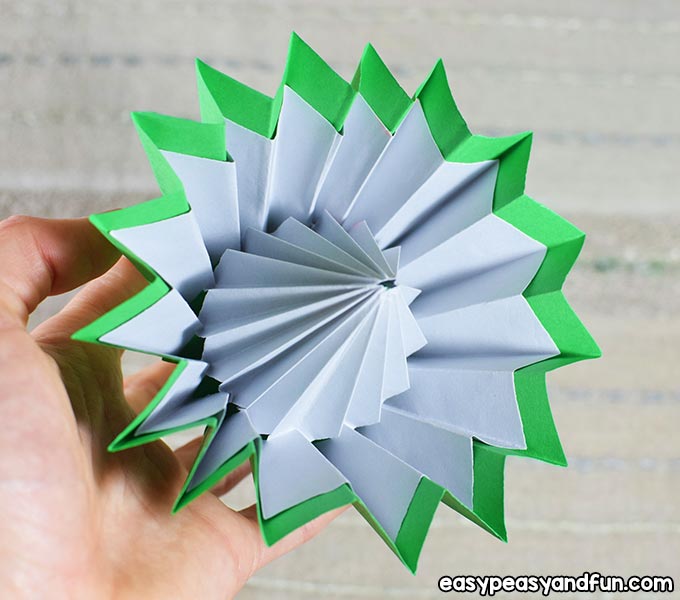
… and glue it on the bigger one (the big canopy part).

Apply some glue on the outside of the lemon squeezer …
… and glue it inside the bigger umbrella.
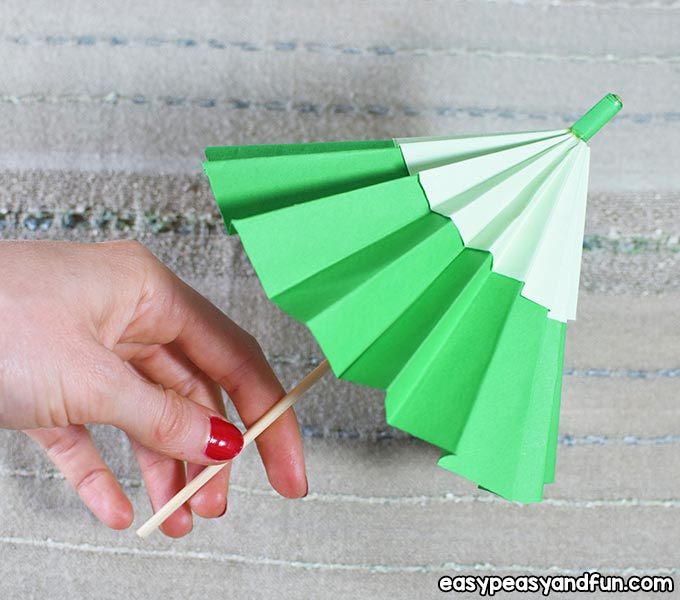
Put the wooden stick through the umbrella holes.
Making the Runner and a Spike
Cut out three paper stripes.
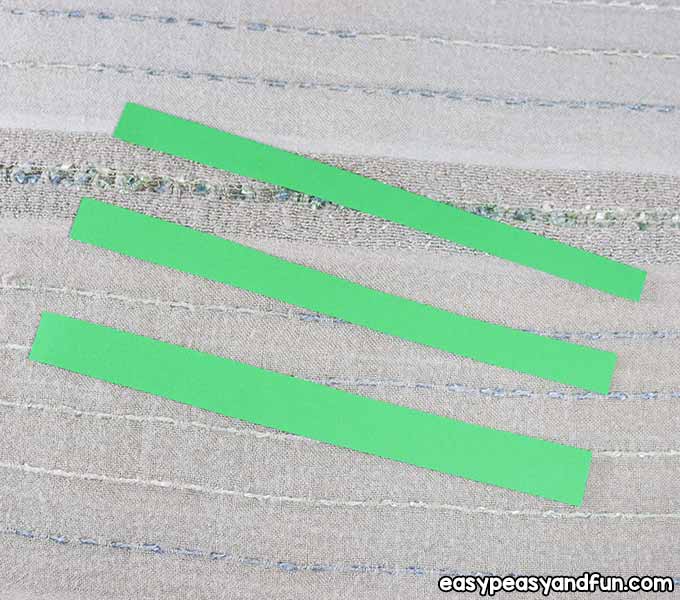
Spike
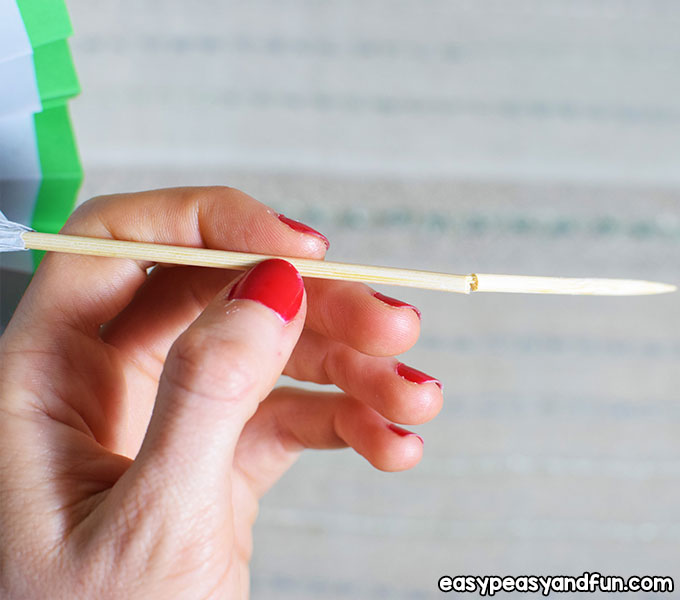
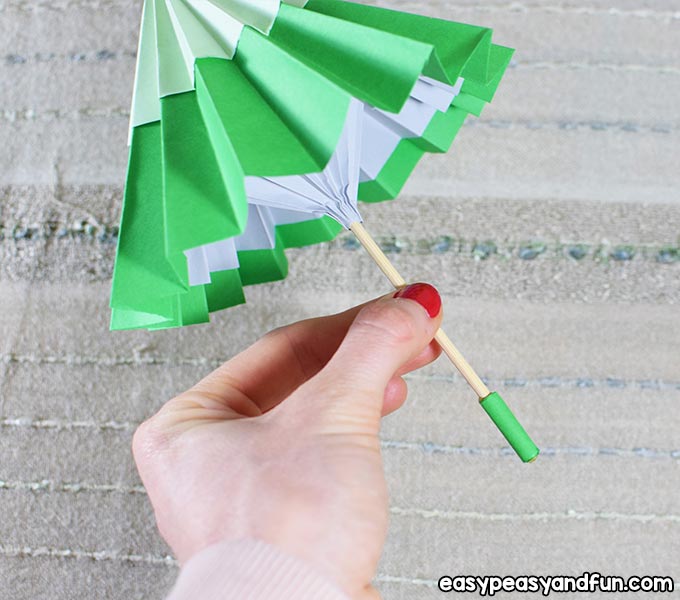
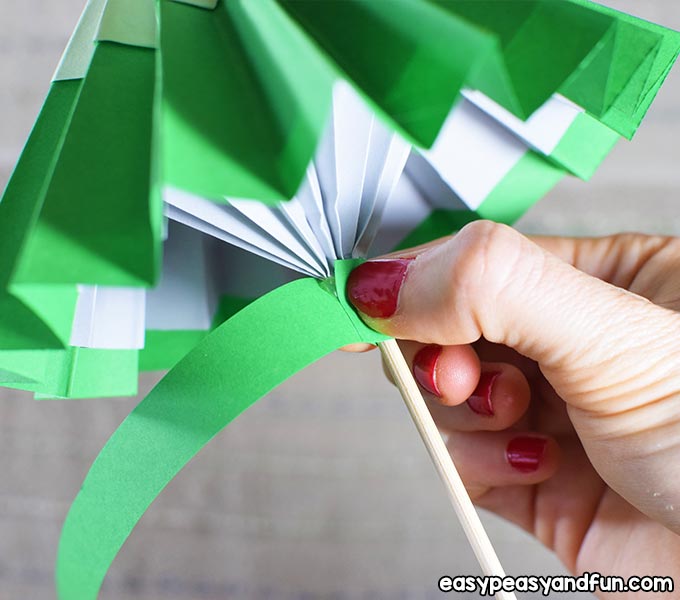
Put some glue on one of them and wrap it around the top of the stick to secure the umbrella when opening.
Put some glue under that paper wrap and glue the at the top of the umbrella.
Let the glue dry.
If the wooden stick is too long, cut out a part of it.
Your umbrella should now look like this.
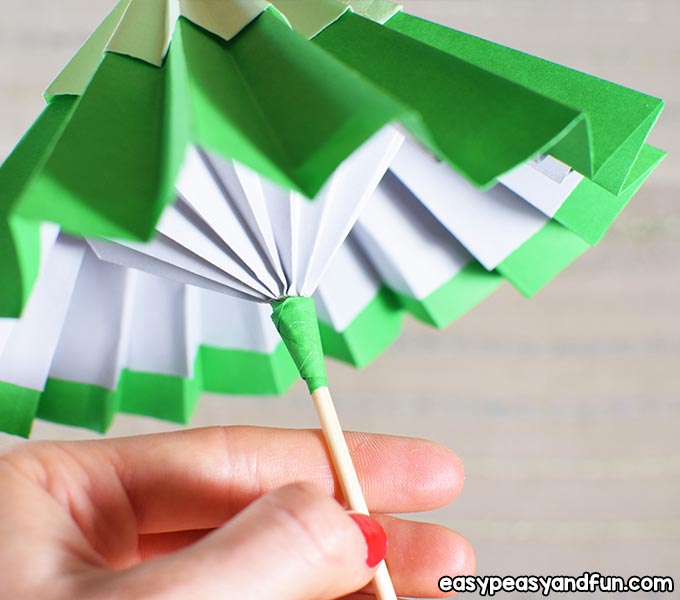
The Runner
Put some glue on the second paper stripe and wrap it around the end of the wooden stick.
Let the glue dry.
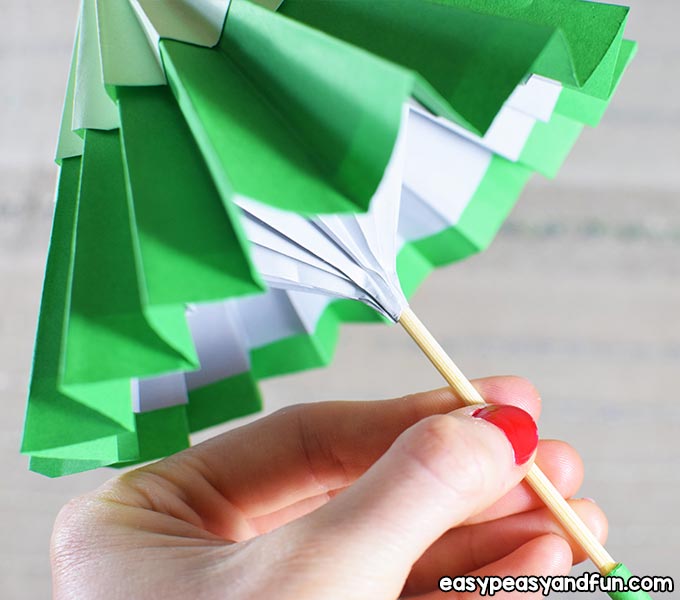
Press the tip of the lemon squeezer with your fingers and apply some glue on it.
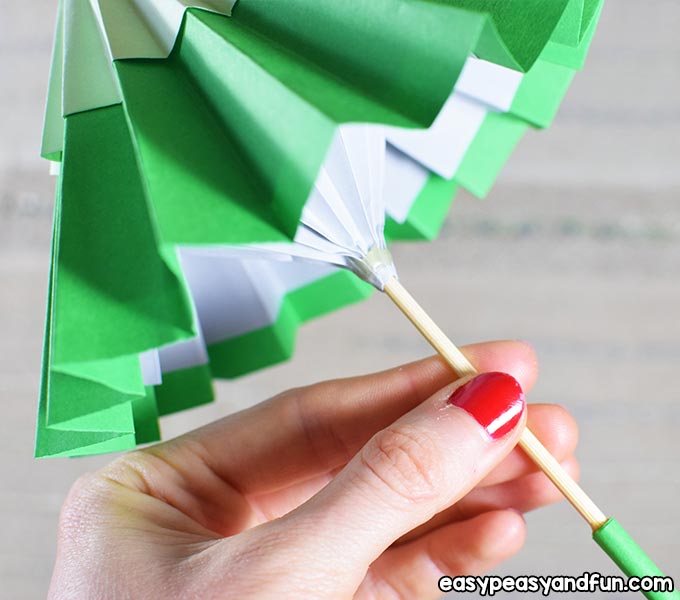
Be careful not to put glue over the stick.
Put some glue only on the edge of the third paper stripe and glue it on the lemon squeezer.

Start wrapping it around the stick.
Apply some glue on the rest of the stripe then and finish the wrapping.
Let the glue dry completely.
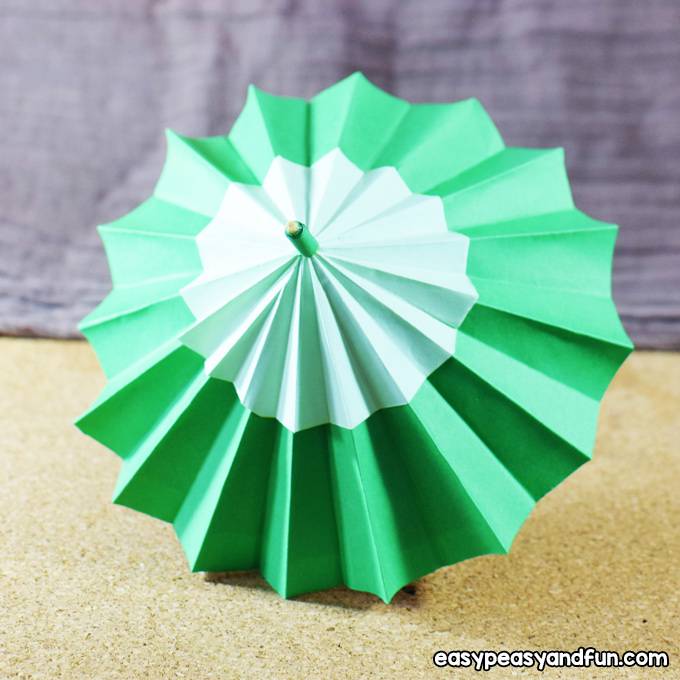
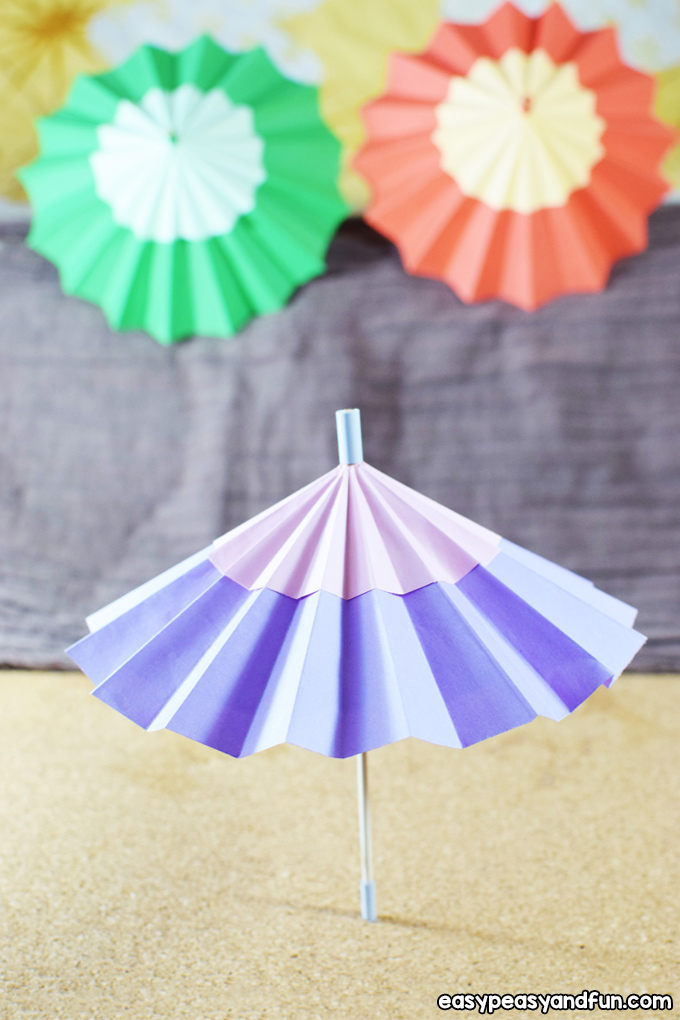
All done!
Hope you find this project amusing.
Have fun playing with this super duper paper umbrella craft and stay tuned for more jolly crafts!
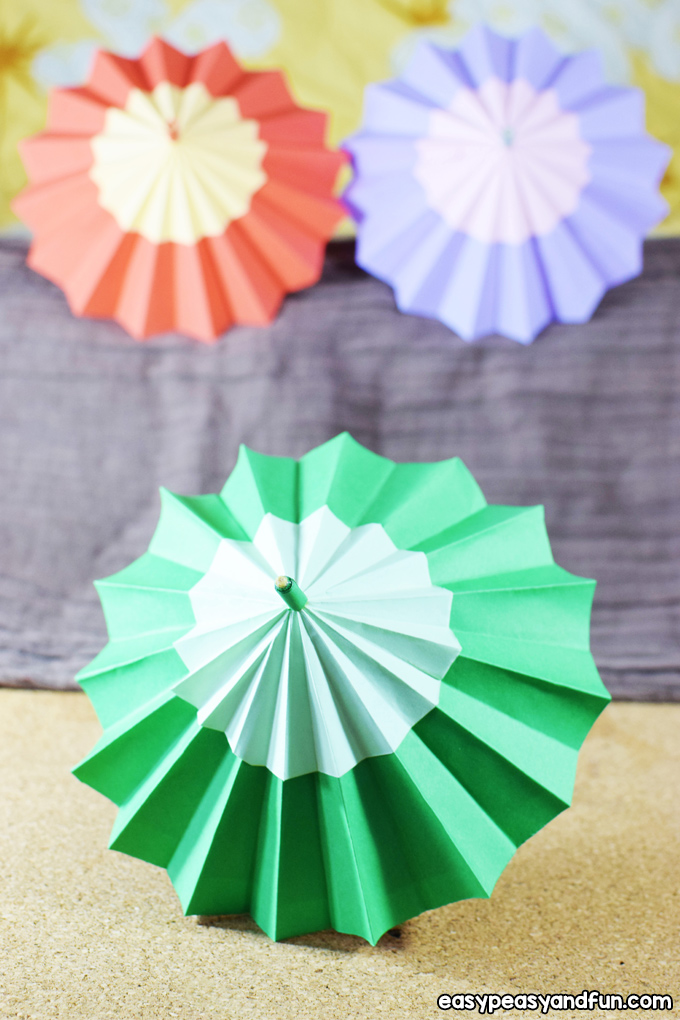
Make paper umbrella craft in as many colors as you like.
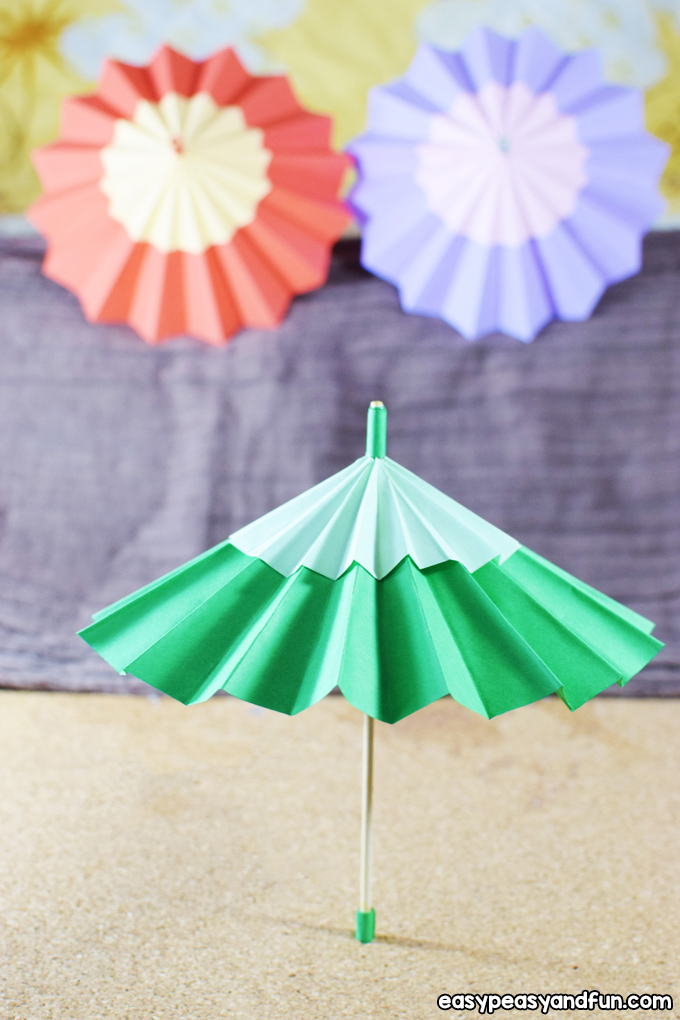
And enjoy making a lot of paper umbrella craft!

Want instant access to all of our printable crafts, activities, and resources?

With thousands of crafts, activities, worksheets, coloring pages, and drawing tutorials to print, you will always have just the resource you need at your disposal. Perfect for parents and teachers alike!