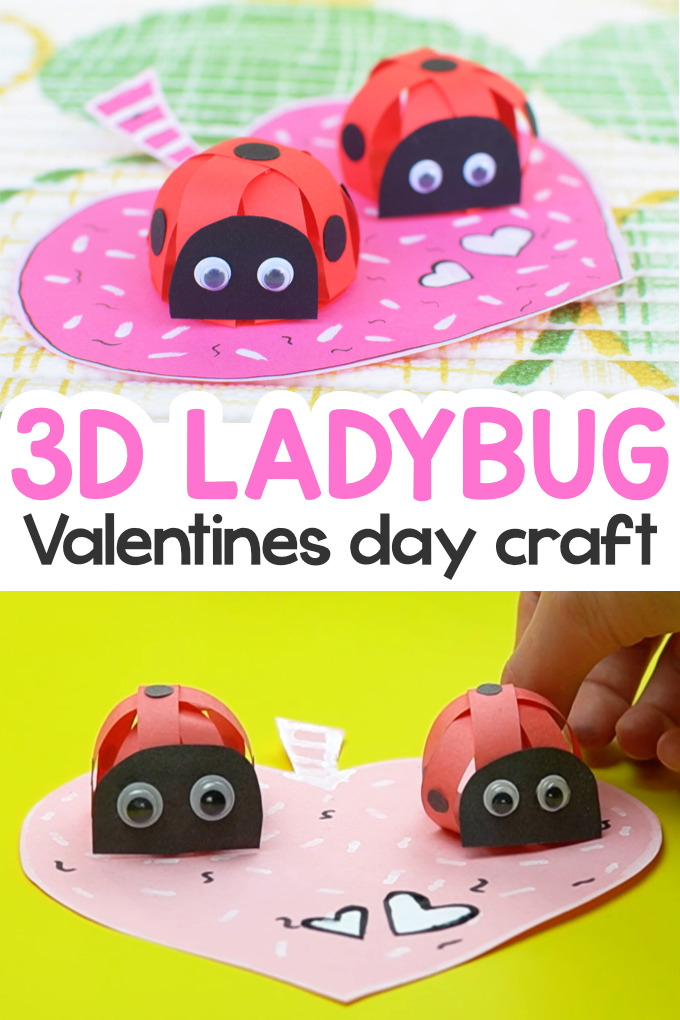
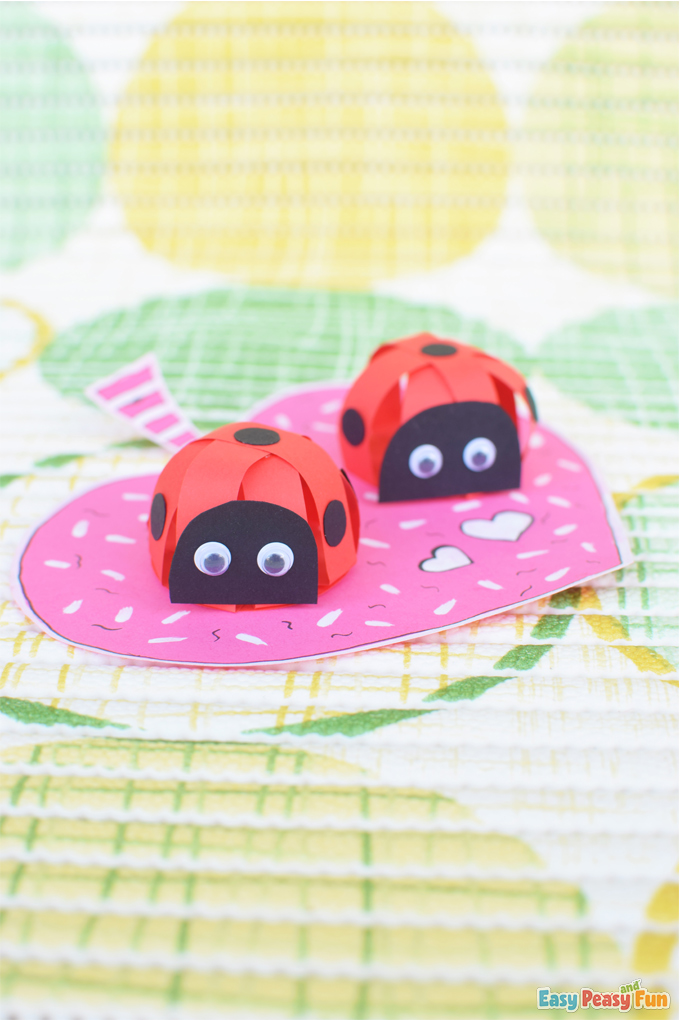
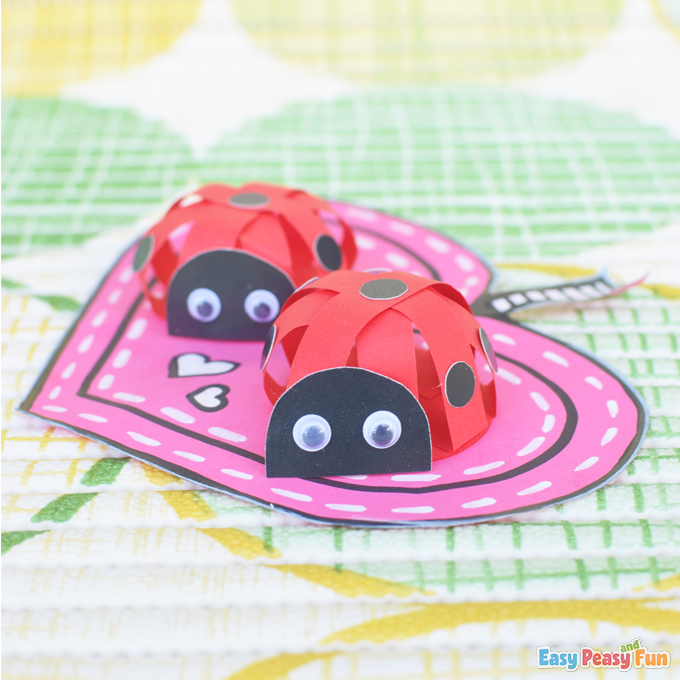
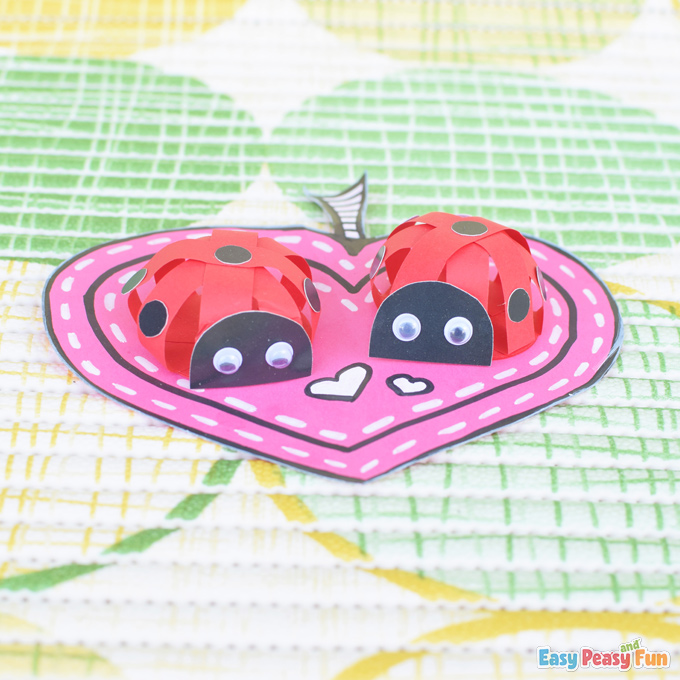
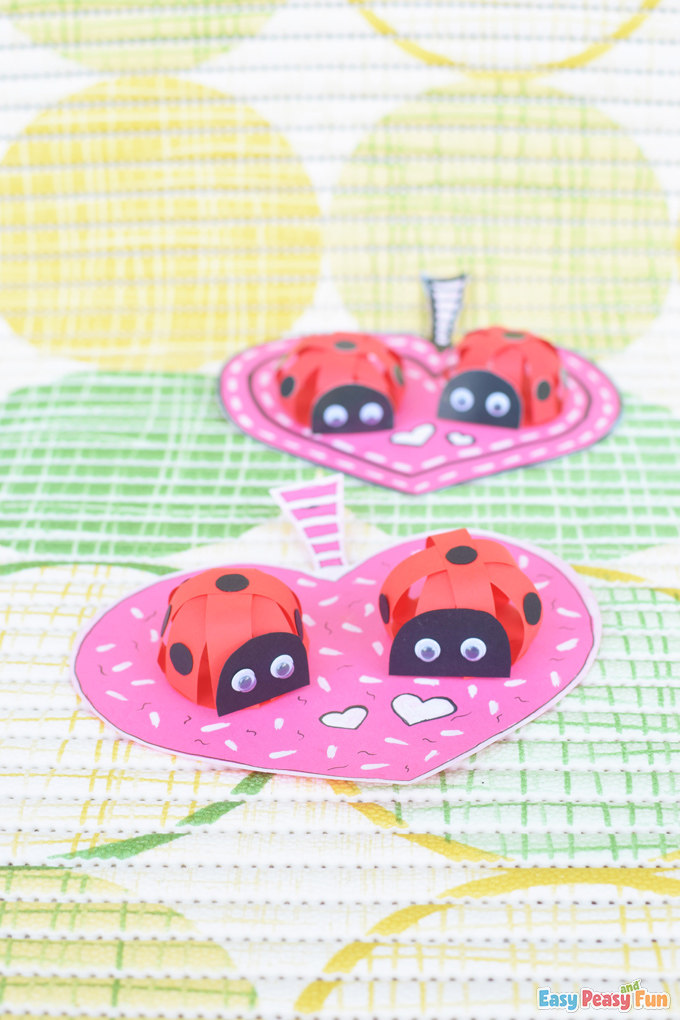
Surprise your friends and family with this adorable Ladybug Valentines Day Craft – the two ladybugs sitting on a heart-shaped leaf will make anyone’s day better.
This project is easy to make and there are a few simple steps to follow so you can have your ladybugs spin in no time.
*this post contains affiliate links*

My New Craft Book is Available for Pre-Order!
Discover 50 super simple paper crafts for kids using low-cost materials.
Pre-Order on Amazon 🚀You already know that we love Valentine’s Day Crafts and we’re crazy about all above themed projects, just check out our Heart Animals Crafts or try to make Yarn Wrapped Hearts Craft.
This time we assembled our ladybugs in a way that they can actually spin on the heart-shaped leaf.
That brought us so much joy, hope it will bring you joy too.
How to Make 3D Valentines Day Paper Ladybug Craft
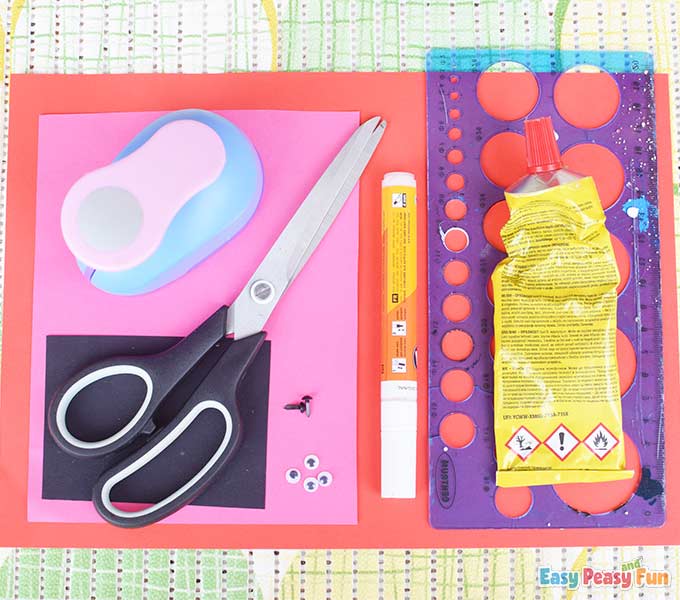
What you need:
- red cardstock
- pink cardstock
- white marker
- scissors
- glue
- circle puncher
- black cardstock
- googly eyes
- black liner
- ruler with circle shapes
- two split pins
Let’s start!
Step by Step Tutorial
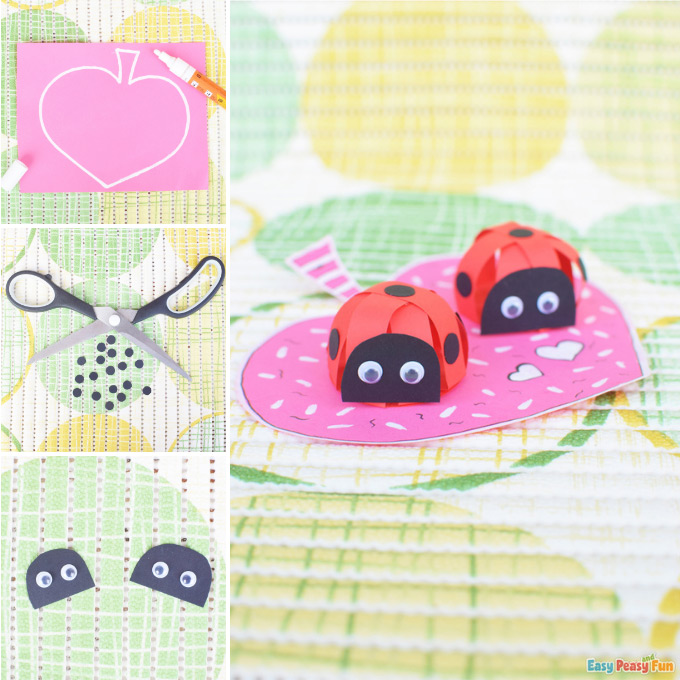
Draw a freehand heart-shaped leaf. Use the white marker and the pink cardstock.
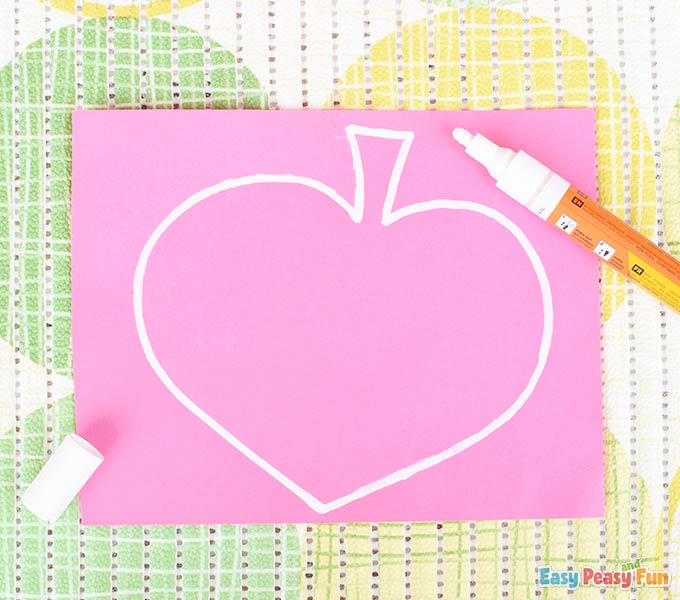
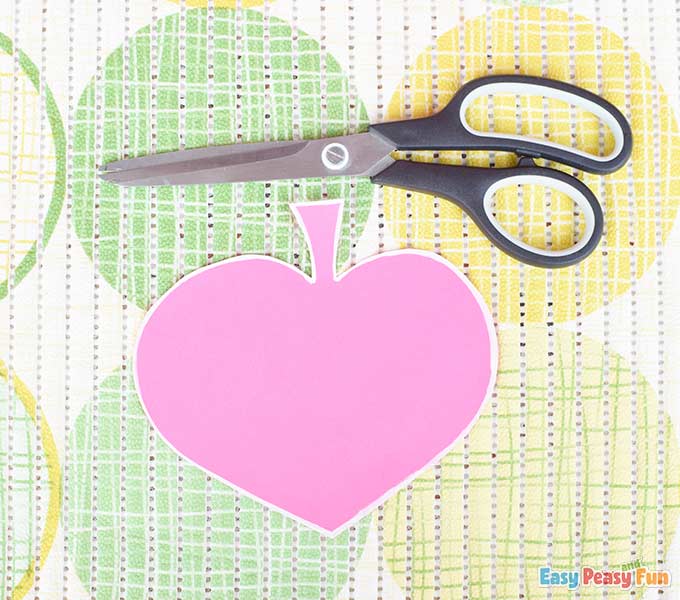
Cut out the heart leaf using scissors.
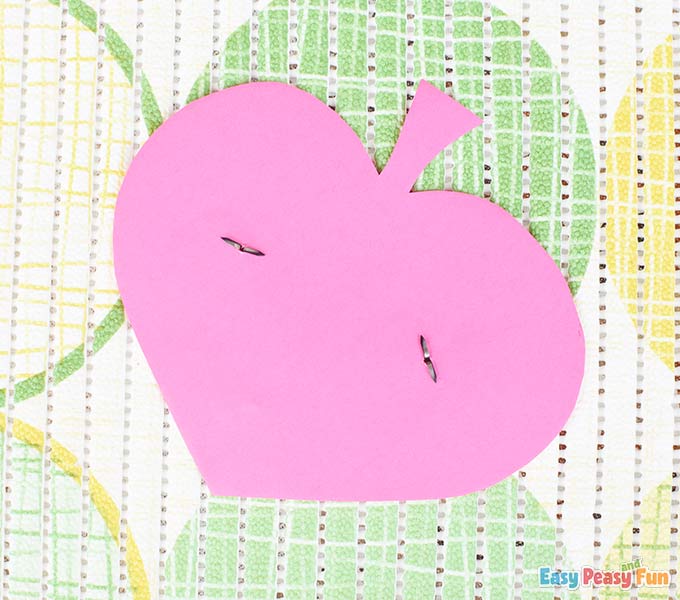
Punch out two red circles with your circle puncher.

Push the split pins through the circles’ centers and then through the pink heart-shaped leaf.

Split the ends of the pins so the circles stay attached to the leaf.
The Ladybugs’ Bodies
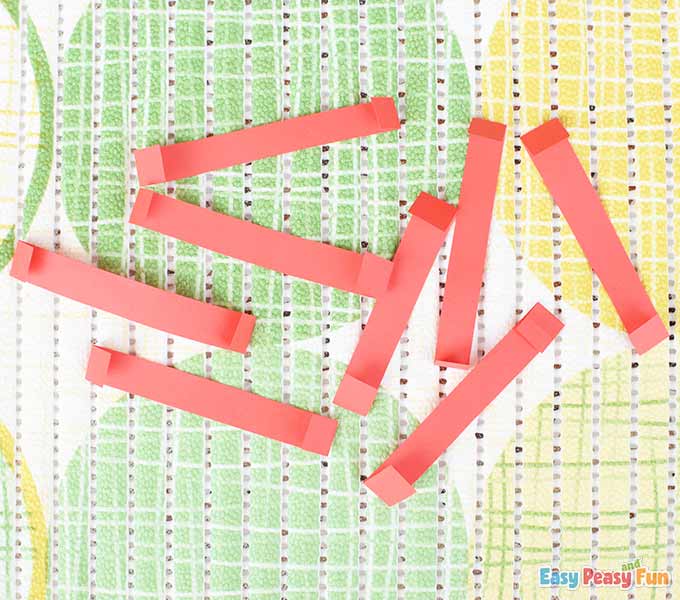
Cut out eight 1 cm wide red strips. Choose the height you want for the strips. They will be used to form the ladybugs’ bodies.
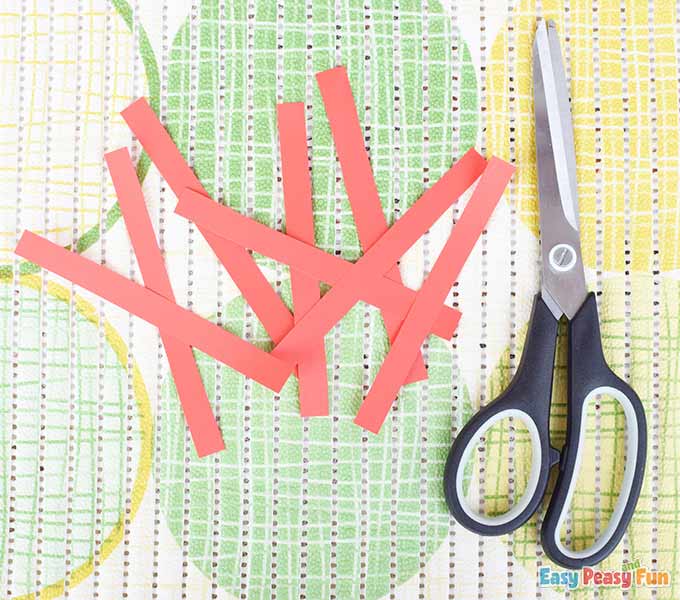
Fold the ends of each red stripe.
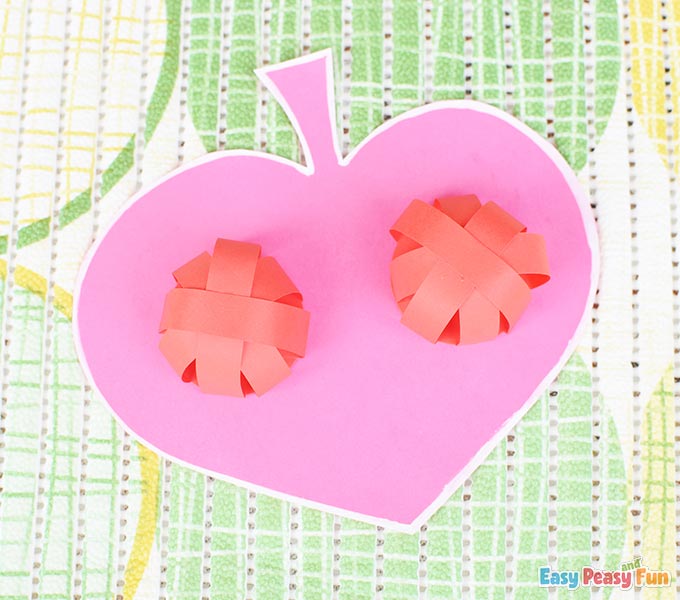
Apply some glue on the folded parts and form an X shape on the red circles as shown in the picture.
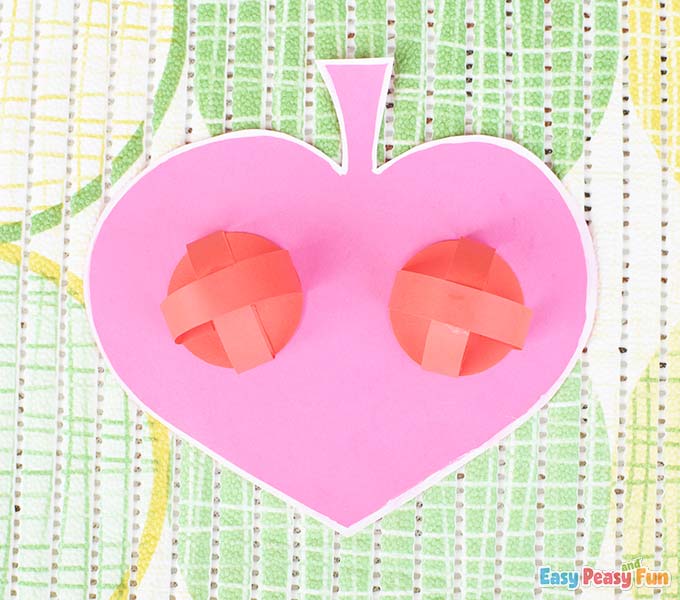
Glue the rest of the strips.
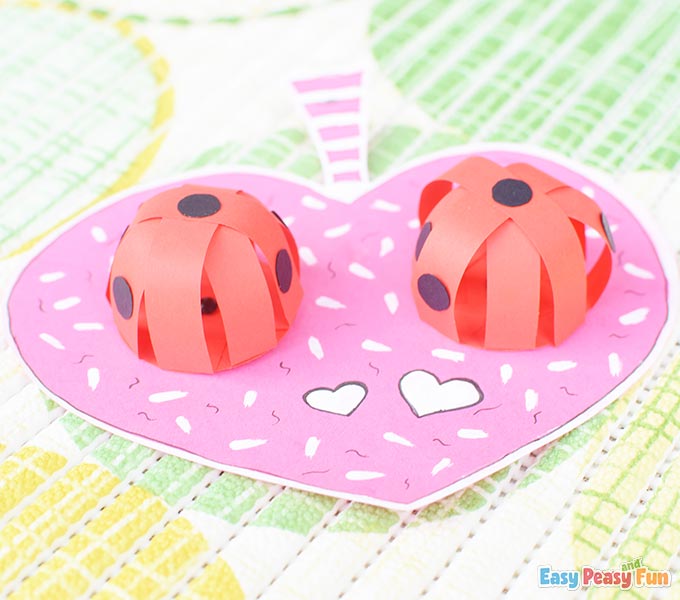
Now decorate your heart leaf anyway you want to, but make sure to draw two small hearts on the pink leaf.
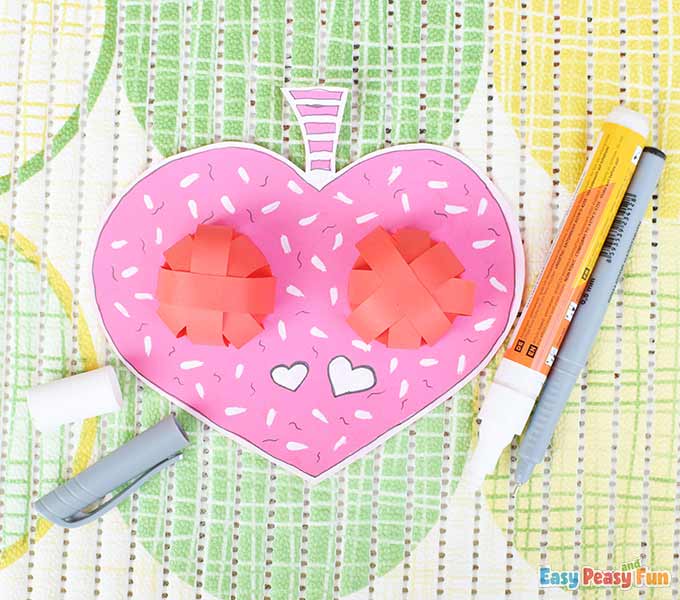
Take the ruler with circle shapes and draw a few circles on the black cardstock.
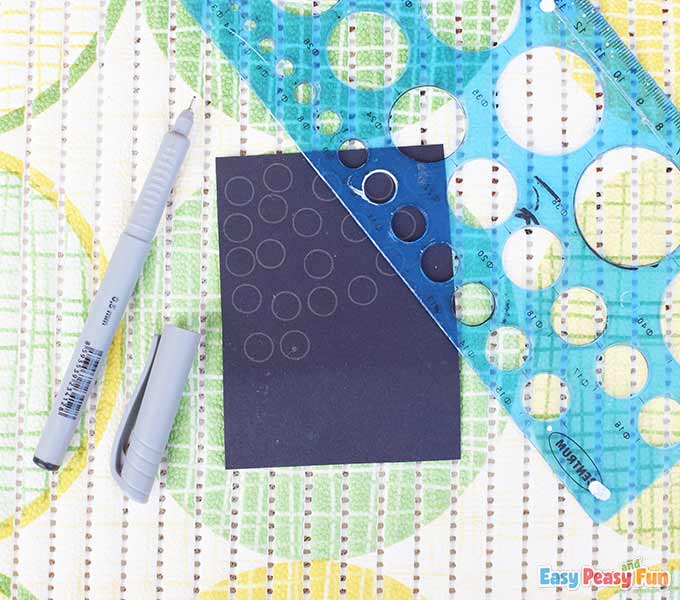
Cut out these circles.
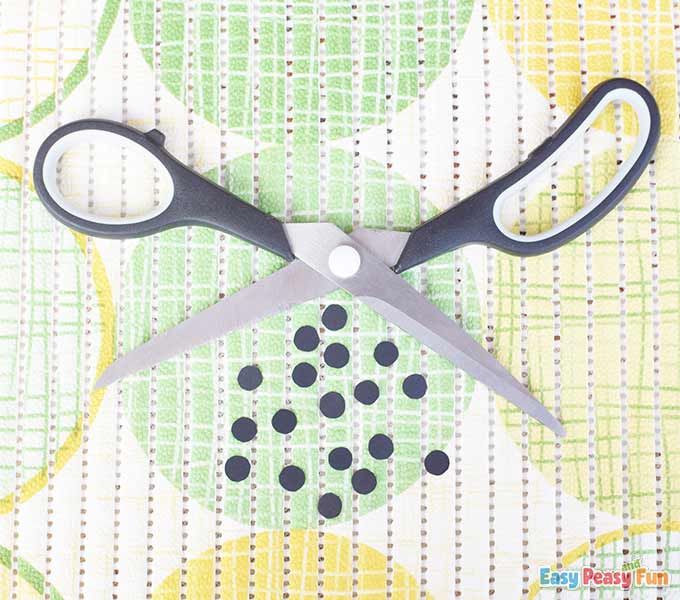
Attach the circles one by one on the red strips and on the top as shown in this picture.
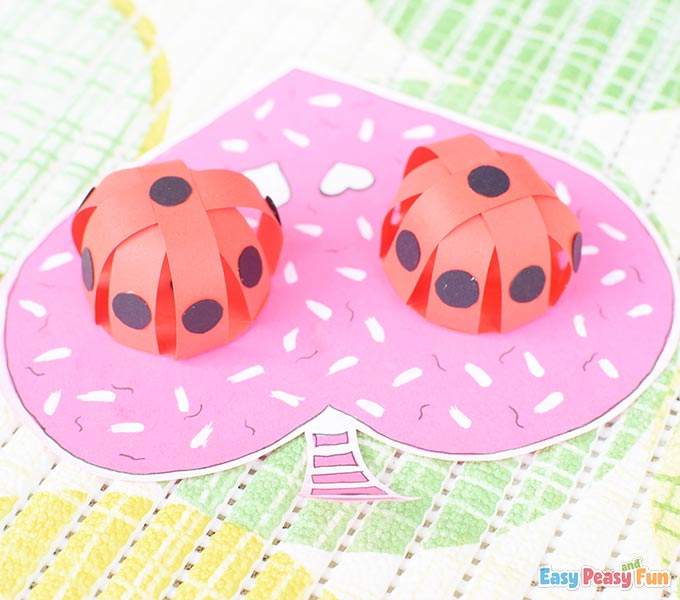
Make sure you leave two empty strip parts on each red body because we will glue the ladybugs’ heads there.
The Ladybugs’ Heads
On the black cardstock, draw two ladybugs’ heads.
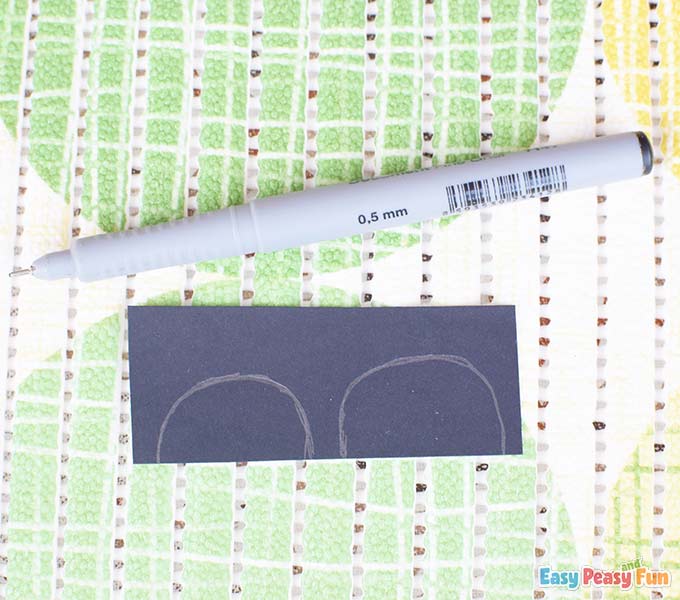
Cut out the heads using scissors.
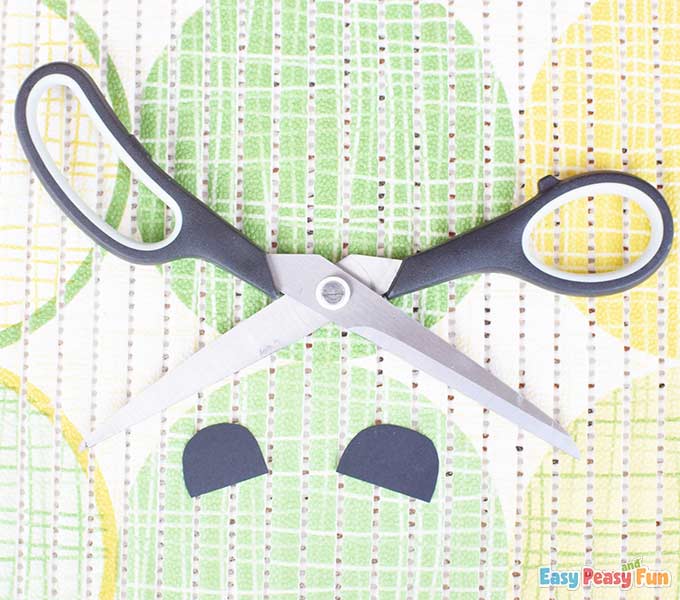
Attach the googly eyes on the heads.
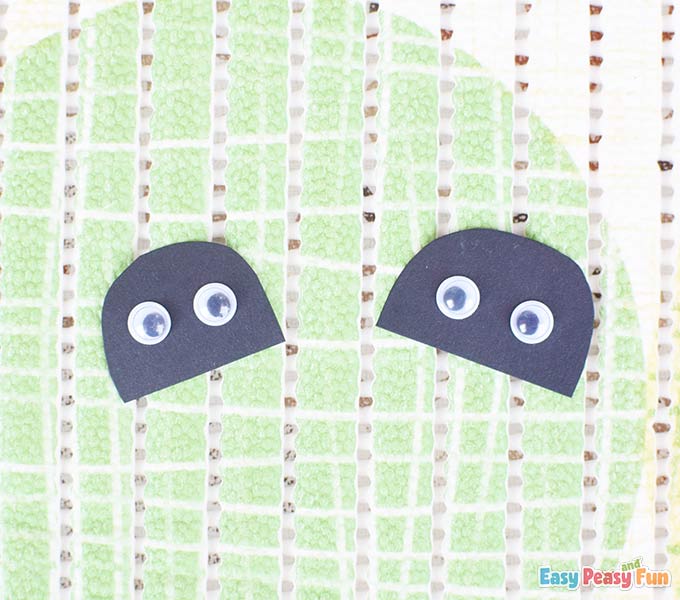
Now glue the heads on the bodies where you left the empty strip parts.
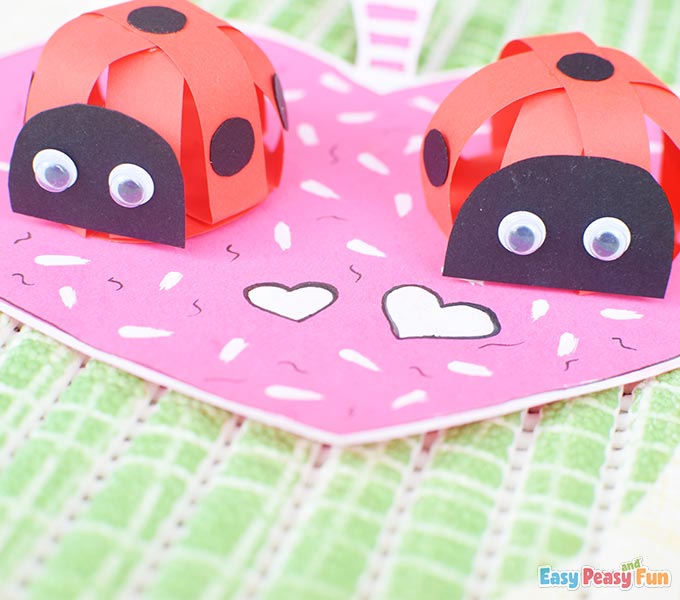
Look how adorable they are!
All finished!
Now have fun and make them spin in circles!
Want instant access to all of our printable crafts, activities, and resources?

With thousands of crafts, activities, worksheets, coloring pages, and drawing tutorials to print, you will always have just the resource you need at your disposal. Perfect for parents and teachers alike!