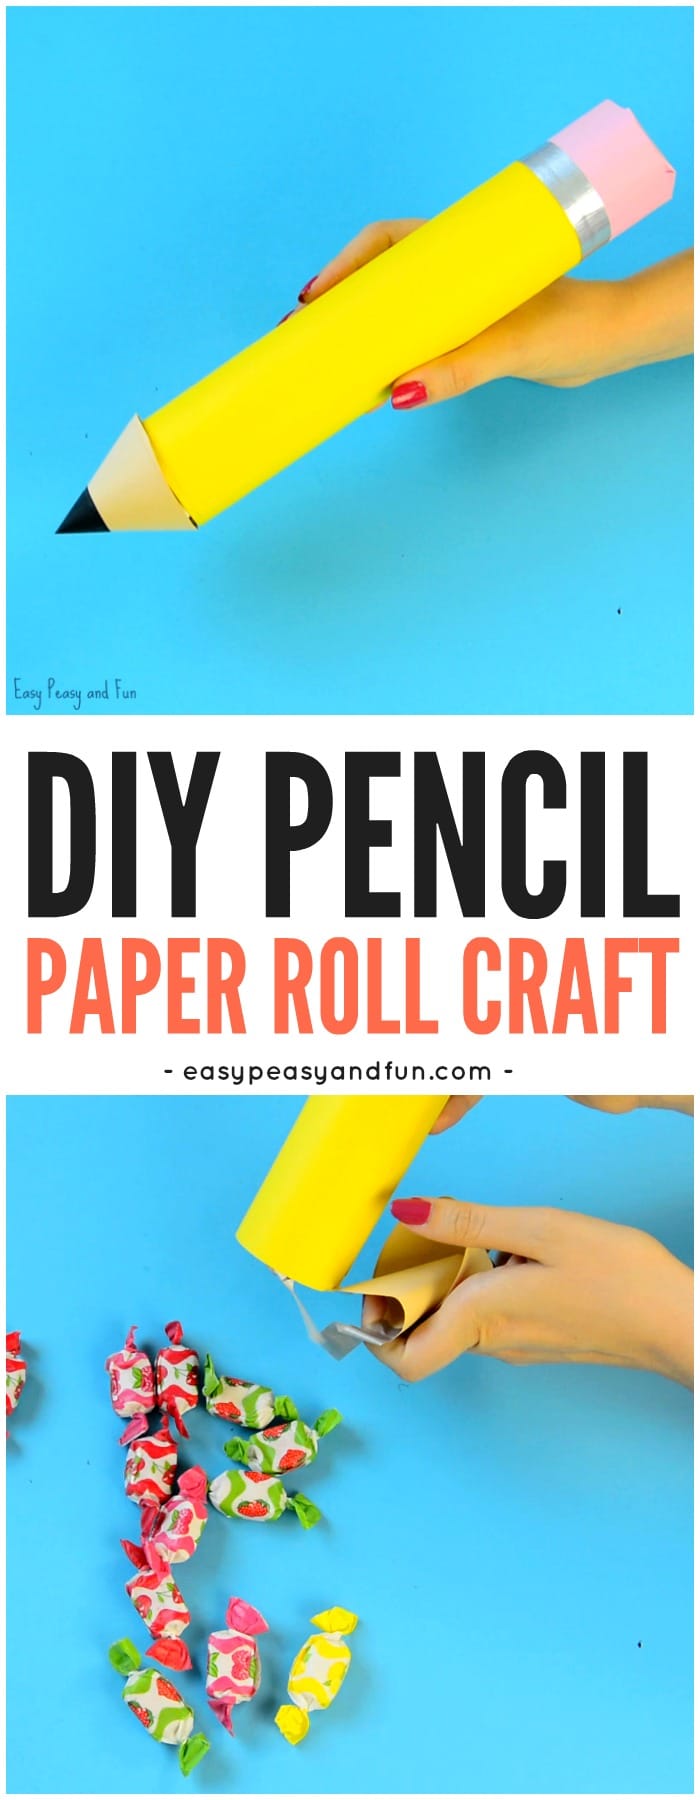
Ready for “back to school”? We have a wonderful DIY paper roll pencil craft idea for you! You can make this one to surprise the kids with sweets and treats. Or as a decoration for your classroom bulletin board to welcome your students back to school.
Naturally kids can make this one too as making gigantic school supplies certainly is fun.
*this post contains affiliate links*
50 paper crafts your kids can actually do themselves

No fancy supplies — just paper, scissors, and a little imagination.
Be the first to get it on release day — and lock in the lowest price guaranteed.
Are you and your kids excited about going back to school? We kind of are! Lots of learning for the little ones and making new friends.
Want to make something special for your little one? Especially if it’s their first year in kindergarten or grade 1? Why not make this back to school paper roll pencil craft that can hold delicious sweats or useful treats (think of the super popular erasers or other fun school supplies).
Or are you a teacher and want to decorate your classroom with a back to school theme? We really think this fun looking DIY paper roll pencil will look wonderful on your bulletin board (why just have 1?).
We can guarantee these also look cool hanging from the ceiling. Why just stick with pencils? Make crayons, glue and other school supplies to go along with this one.
Let’s get crafty!
How to Make a DIY Paper Roll Pencil
What you need
- paper kitchen towel paper roll
- pink construction paper
- beige construction paper
- yellow paper
- black paper
- silver duct tape
- scissors
- glue
Optional: Candy or other sweets or treats.
Watch The Video Tutorial
Or Follow these Step by Step Instructions On How To Make This Paper Roll Pencil
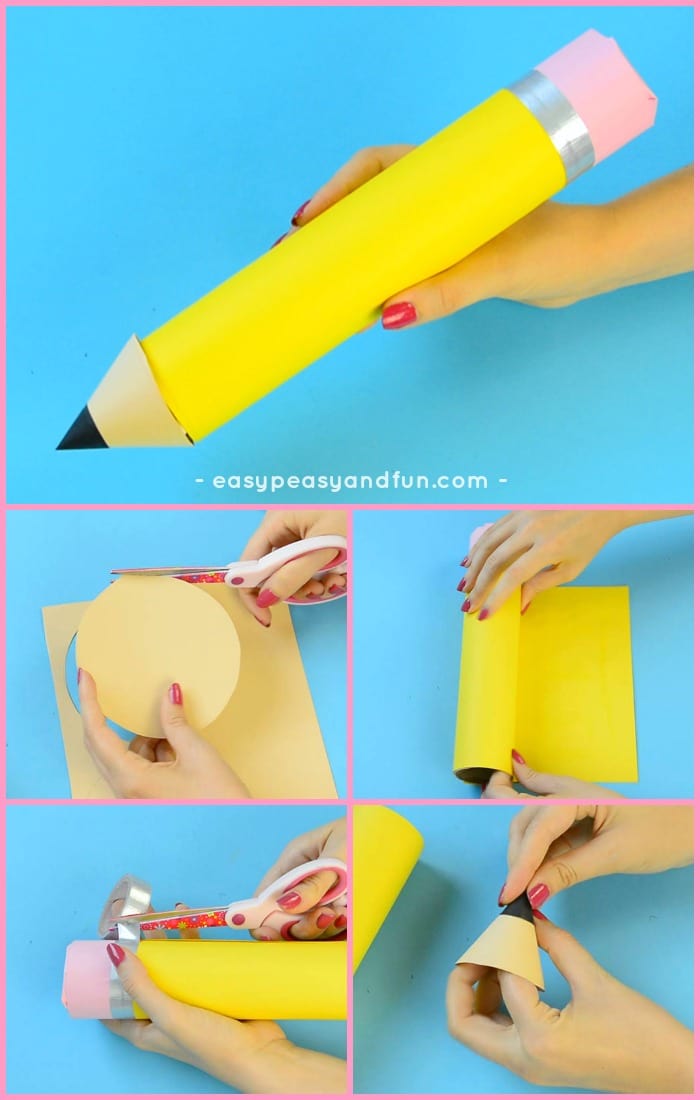
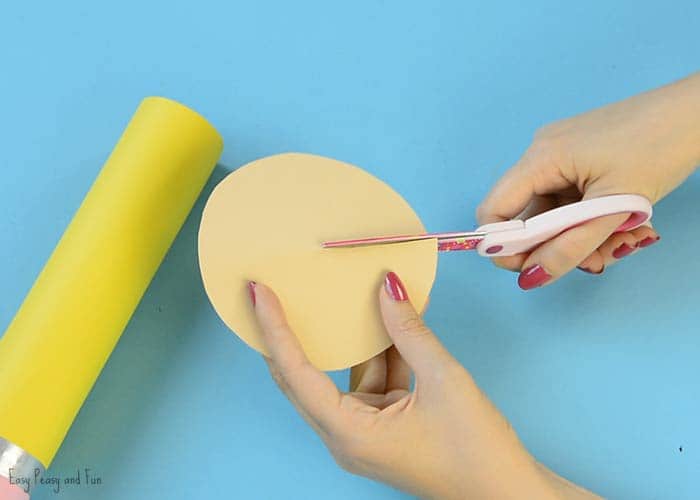
Draw a large circle (we used a flower pot for as a stencil) on beige construction paper and cut it out.
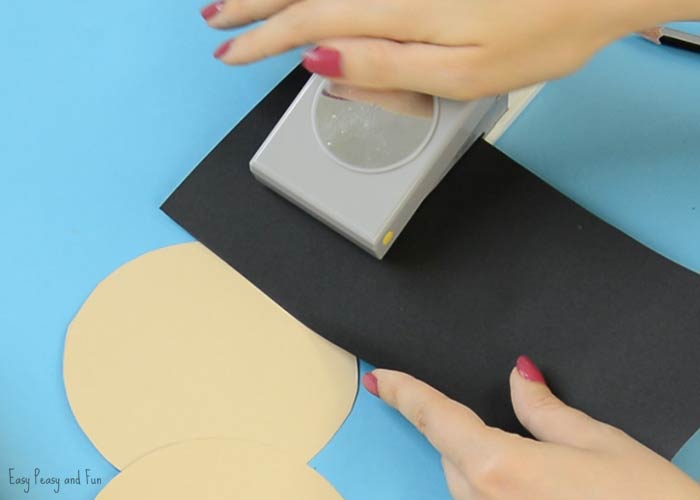
 Also cut a smaller black circle (we used a punch).
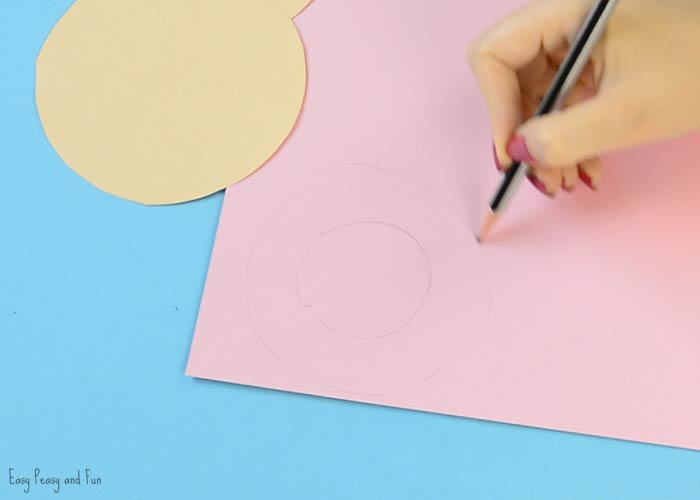
You can use the paper roll as a stencil.
 Outline the paper roll on the pink construction paper – don’t get too close to the edge.
 Draw a circle around that circle – you can freehand it as it doesn’t need to be perfect.
 Cut out the circle (the outer one that). Cut slits till you reach the inner circle.
 Fold the “flaps”.
 Apply glue on one end of the paper tube.
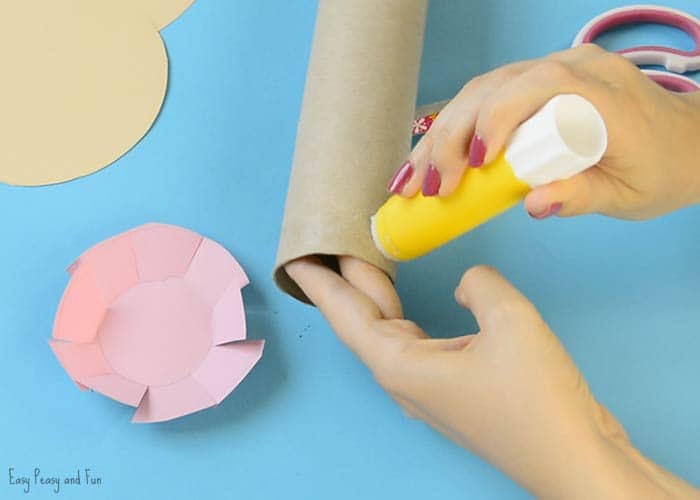 Glue on the pink part (we’re making the eraser).
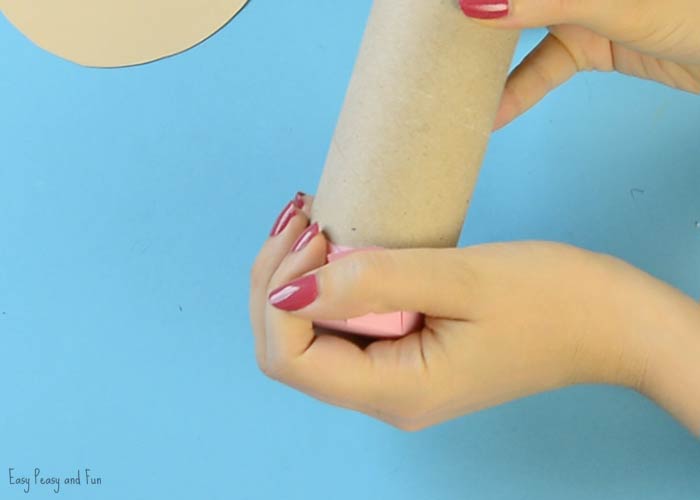
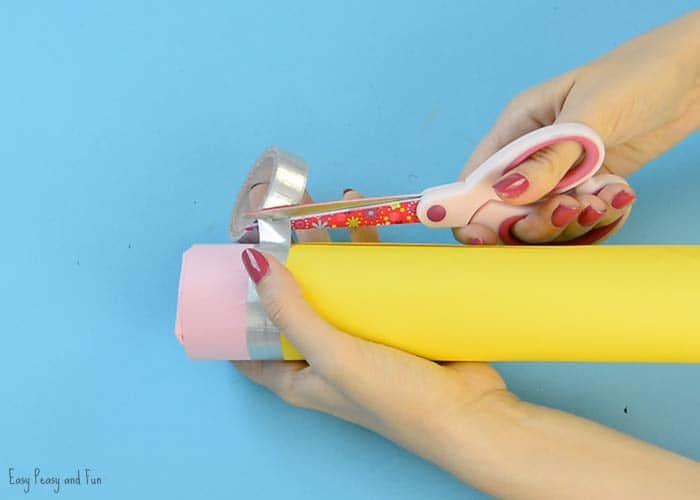
Cut a pink rectangle strip. Glue and wrap it around the same end of the paper roll.
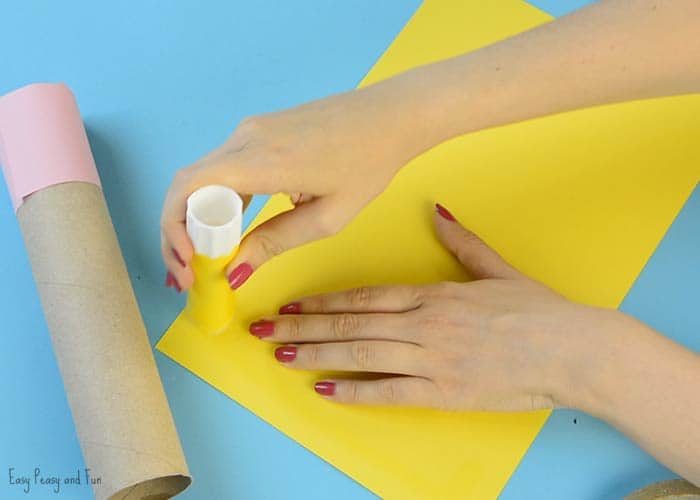
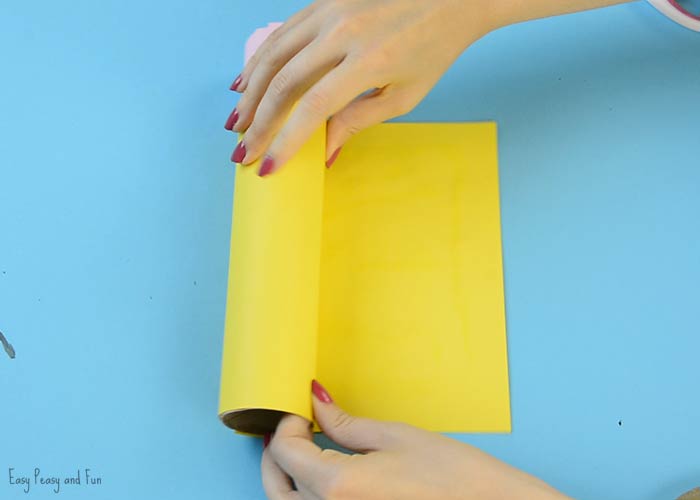
 Wrap the paper roll in yellow paper. Alternatively you could also paint it with yellow color.
 Make the part with eraser fancier by decorating it with silver duct tape.
 Time to make the other part of the pencil.
Cut the beige circle to the middle.
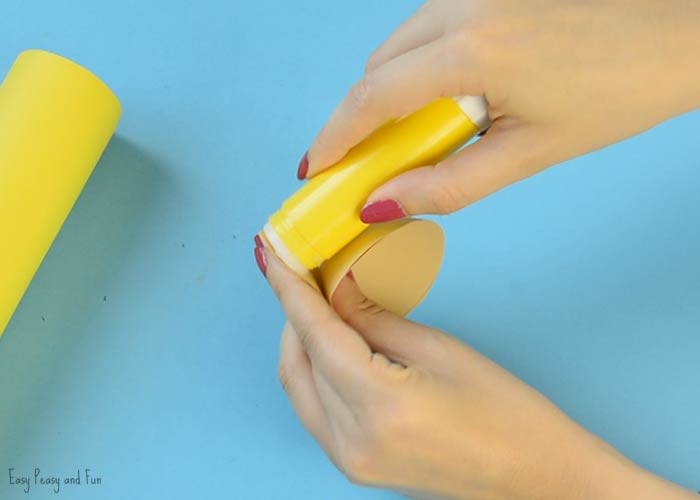
 Roll into a cone and glue together (you will need to measure it a bit against the paper roll – doesn’t have to be a perfect fit but the closer the better).

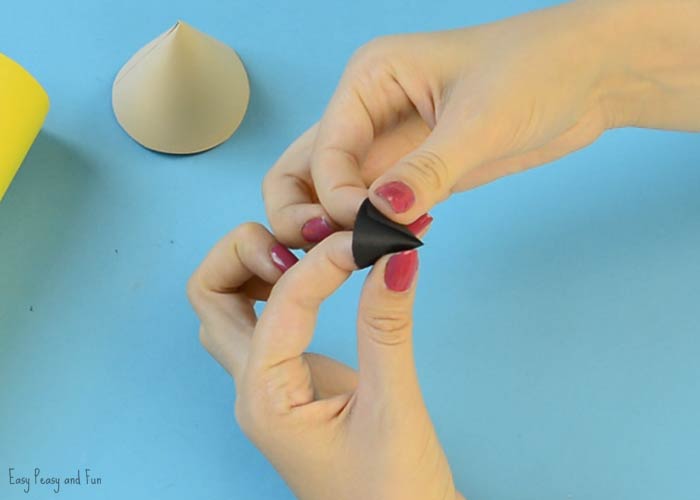
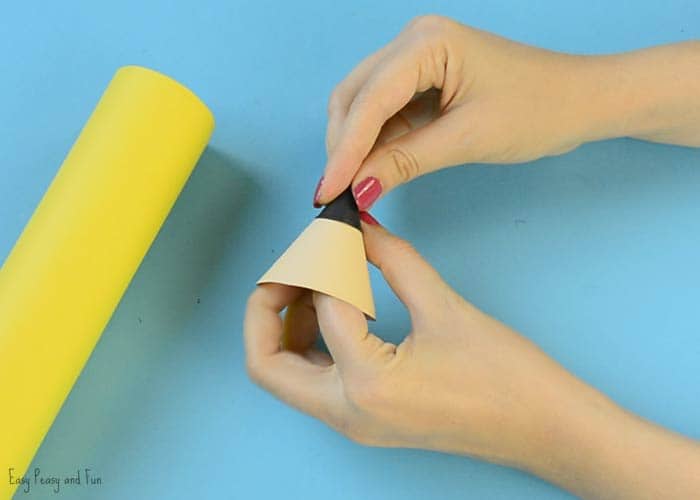
 Do the same with the smaller black circle.
Measure it against the beige cone as it has to fit on top of it. You could also just dip the top of the beige cone into black paint.
 If you’ll use this Paper Roll Pencil as a treat box, now is the time to fill it with sweets or treats.
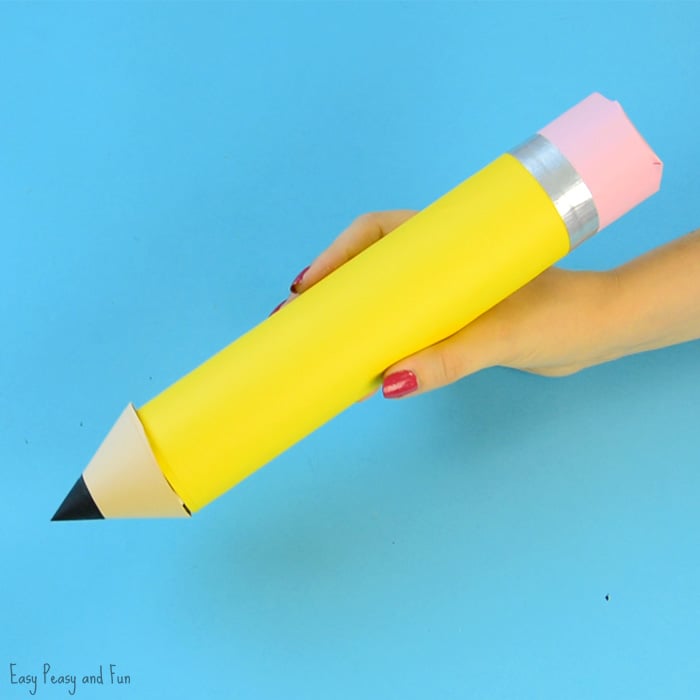
Secure the top with duct tape (or clear tape).
We glued ours from the inside, but it’s easier if you glue it from the outside.


Want instant access to all of our printable crafts, activities, and resources?

With thousands of crafts, activities, worksheets, coloring pages, and drawing tutorials to print, you will always have just the resource you need at your disposal. Perfect for parents and teachers alike!