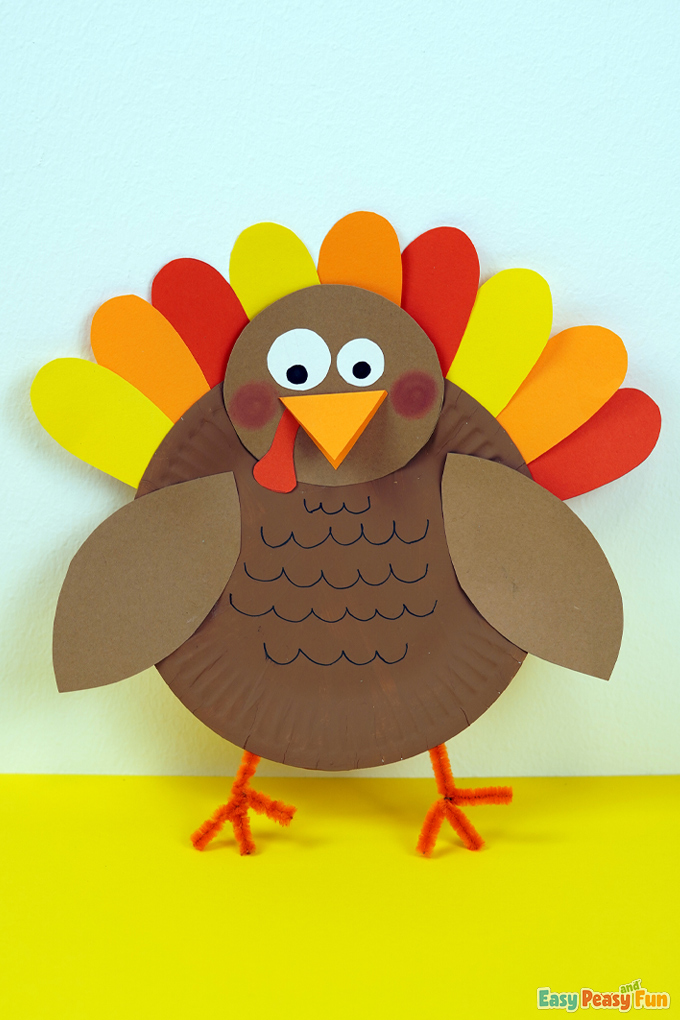
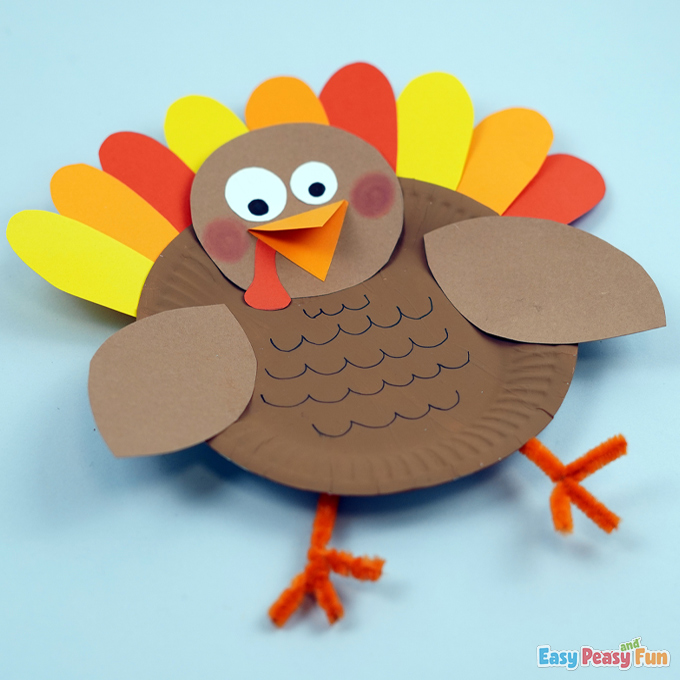
This Paper Plate Turkey is just what you need to bring forth the Thanksgiving festivities!
With colorful feathers, homemade eyes, and an orange beak, this turkey is ready for some holiday fun.

*This post contains affiliate links*
50 paper crafts your kids can actually do themselves

No fancy supplies — just paper, scissors, and a little imagination.
Be the first to get it on release day — and lock in the lowest price guaranteed.
We love making all kinds of Fall Crafts for Kids (check out our 3D Pumpkin Life Cycle Craft or make a Bear Paper Finger Puppet in no time).
If your kids love these fantastic birds, we have a collection of Turkey Coloring Pages for them to color.
After they finish, they can Learn How to Draw a Turkey on their own with our step-by-step tutorial.
Our paper plate turkey is so fun to make – all you need is some crafting materials, and you’re all set.
You can use our printable tracing template or follow the tutorial below and draw your parts.
Your craft will be great as a wall decoration too!
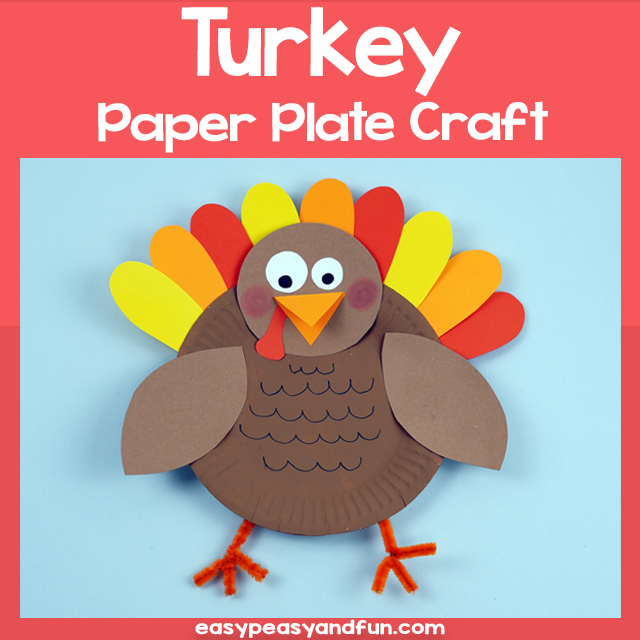
How to Make the Paper Plate Turkey
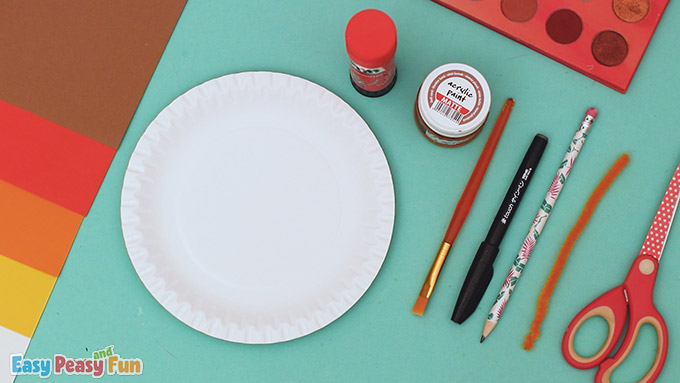
What you need:
- printable template (optional)
- scissors
- glue
- pencil
- black marker
- paper plate
- color papers (brown, red, orange, and yellow)
- white paper
- brown acrylic paint
- paintbrush
- orange pipe cleaner
- eyeshadow
- Q-tip
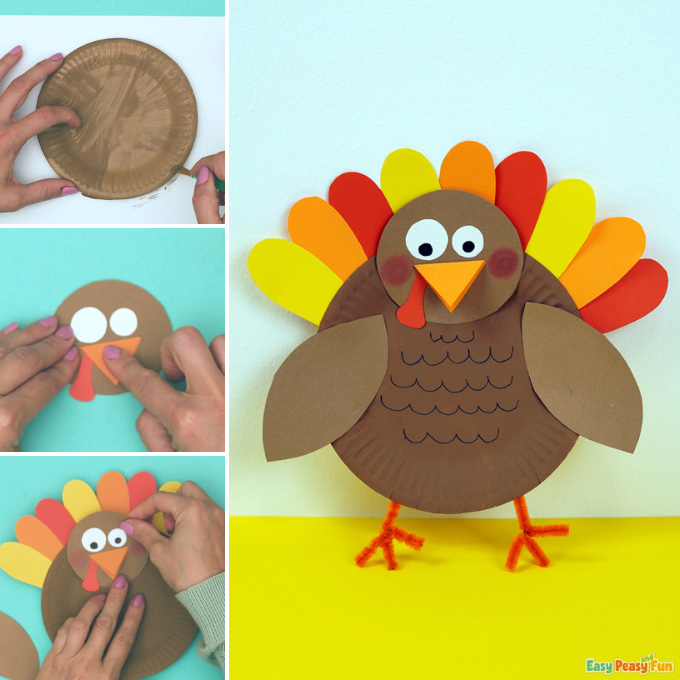
Step by Step Tutorial
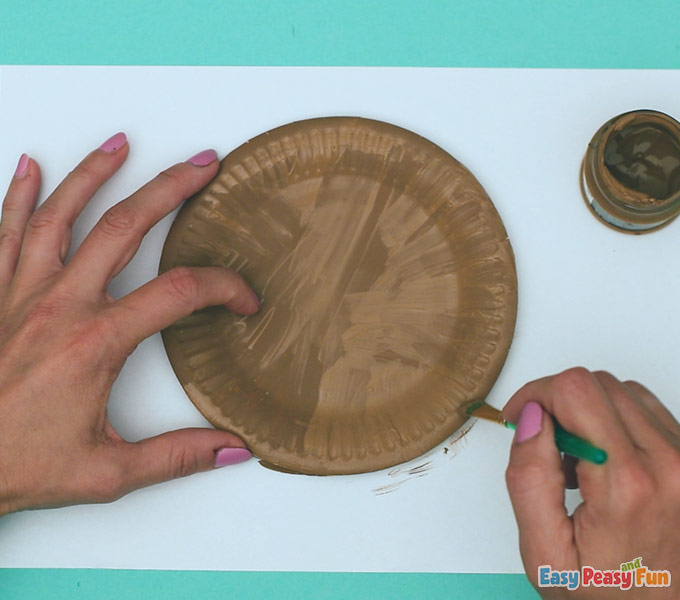
The Body Parts
Grab a paper plate and paint it brown.
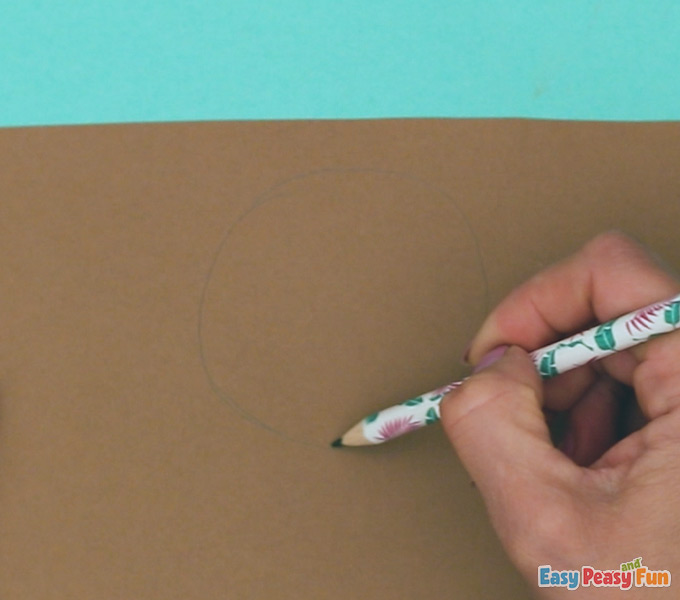
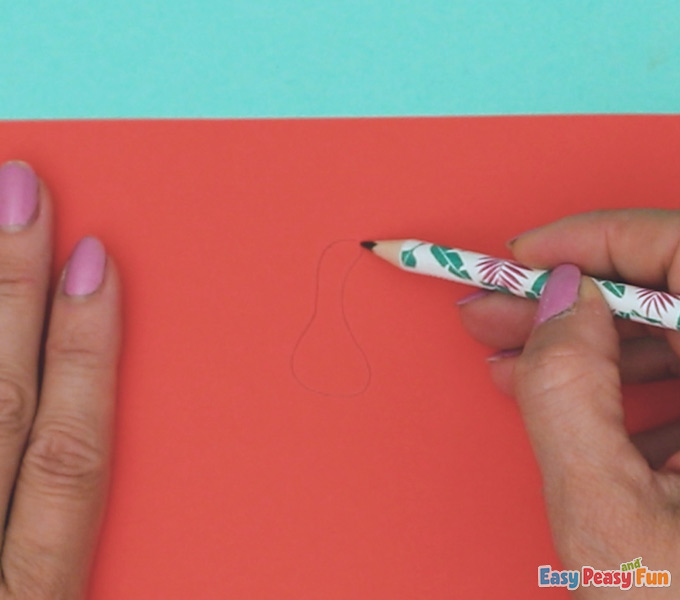
The Head
Draw a circle for the head on brown paper, and cut it out.
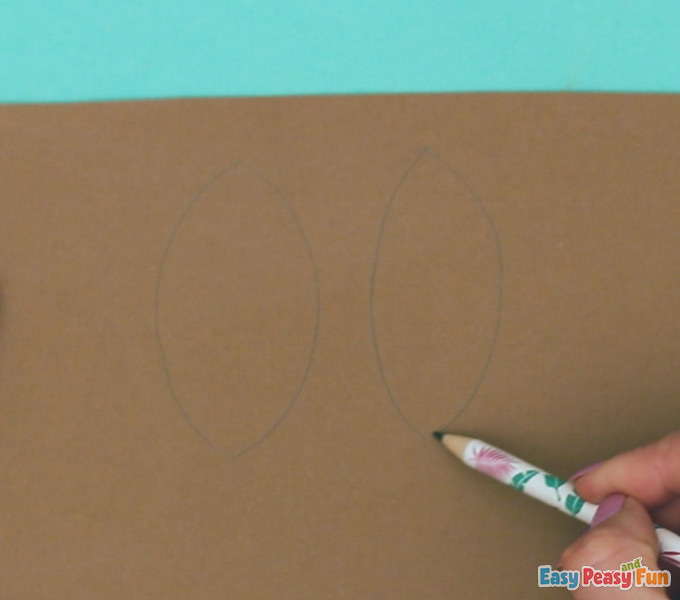
The Wings
Draw two large wings.
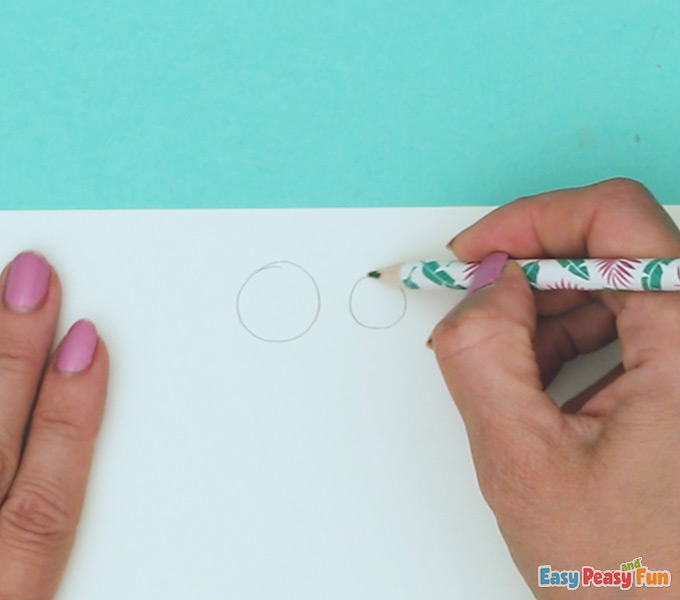
The Eyes
On white paper, draw a small and large circle for the eyes, then cut them out.
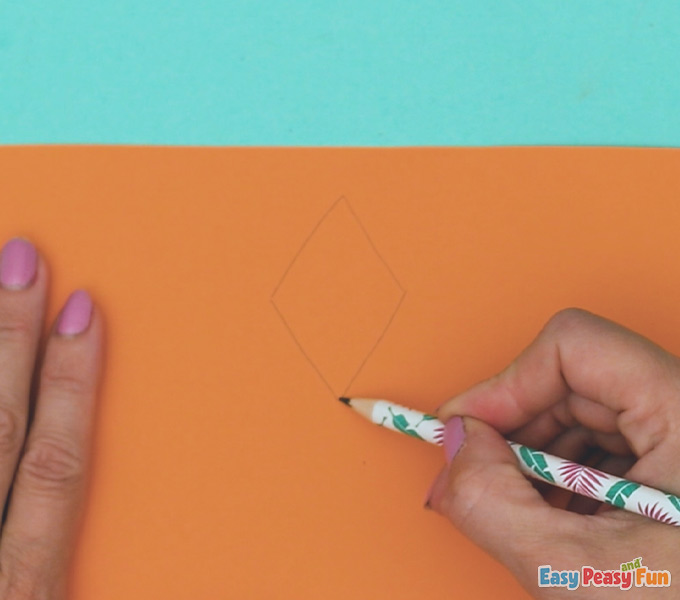
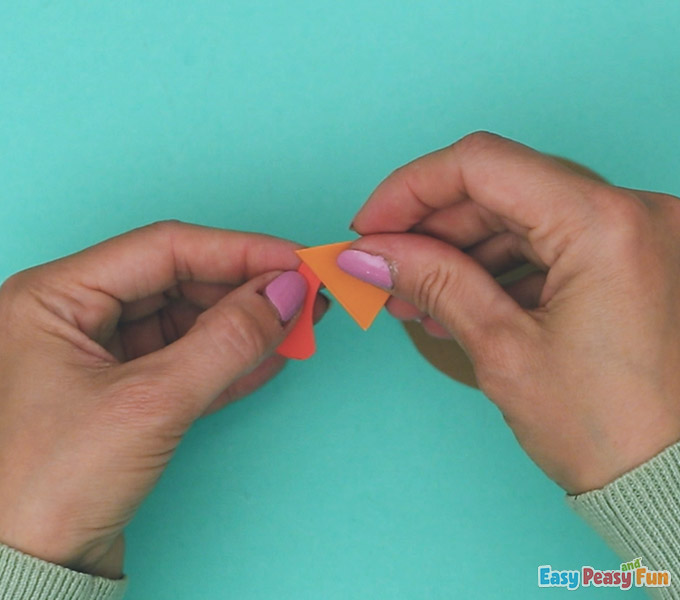
The Beak
Draw a beak on orange paper, and cut it out.
The Wattle
Draw a hanging skin under the beak on red paper, and cut it out.
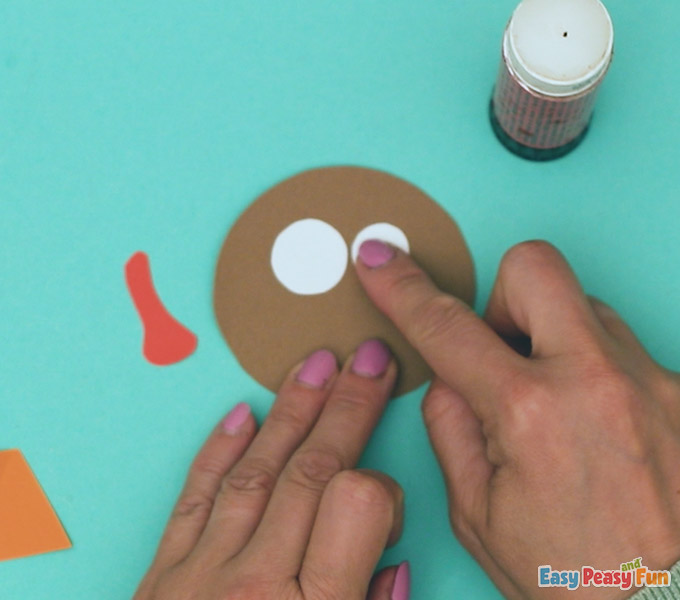
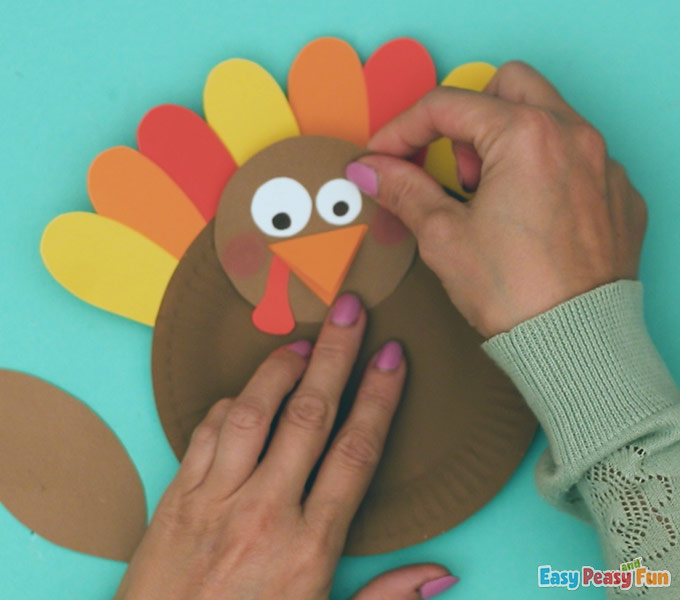
The Head
Glue the eyes on the head of the turkey.
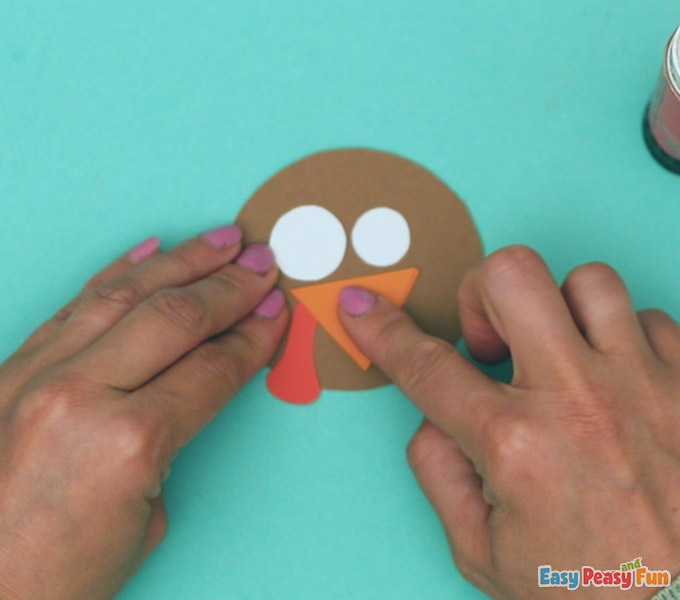
Go ahead and glue the beak on the turkey.
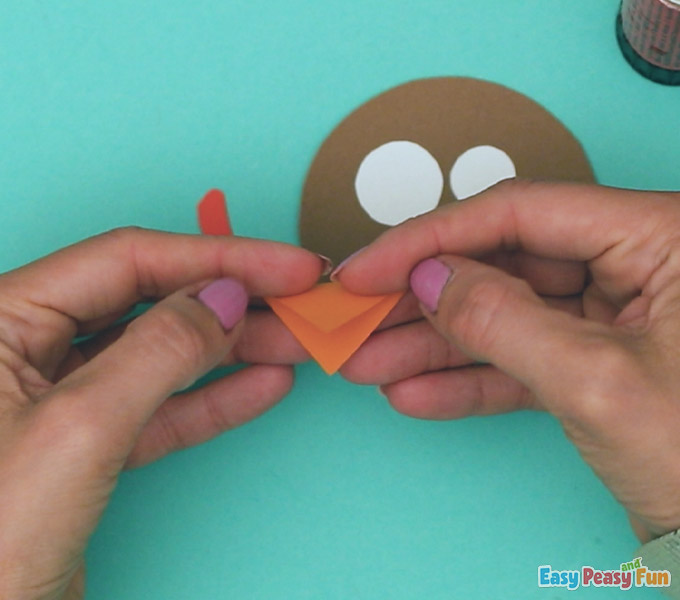
Next, you’ll want to glue the wattle to the beak.
Make sure the beak and the wattle are secure.
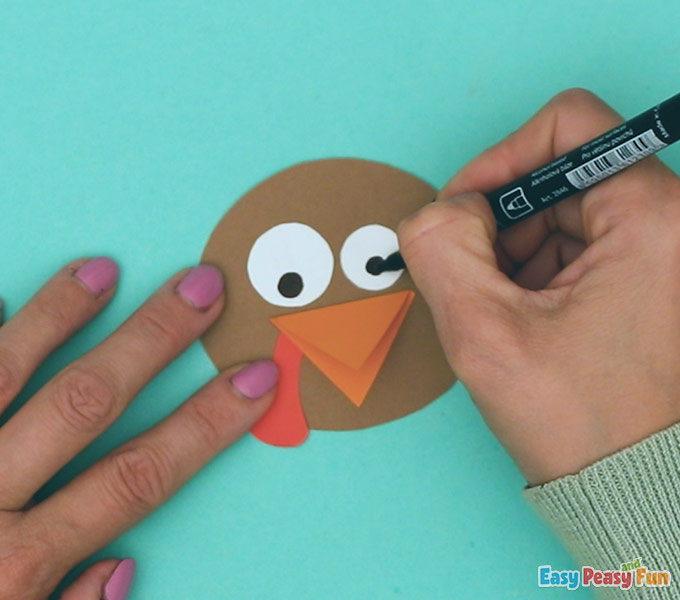
Draw black dots into the white eyes.
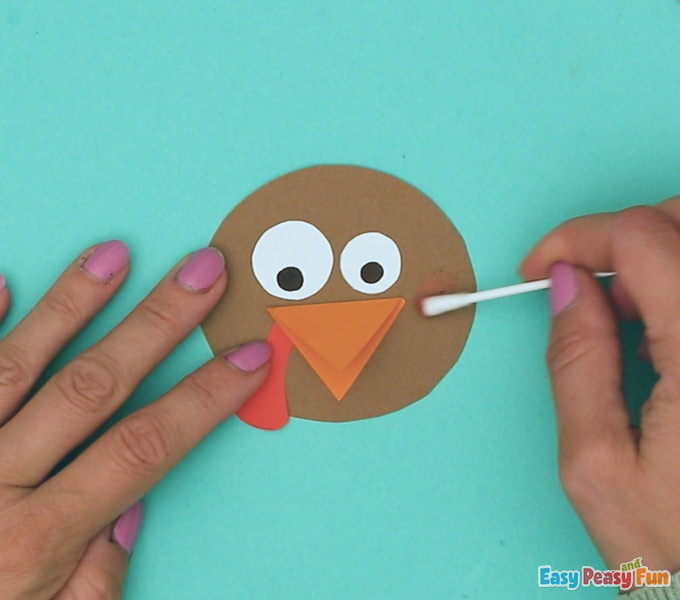
Take a Q-tip and put red blush on the turkey with eyeshadow.
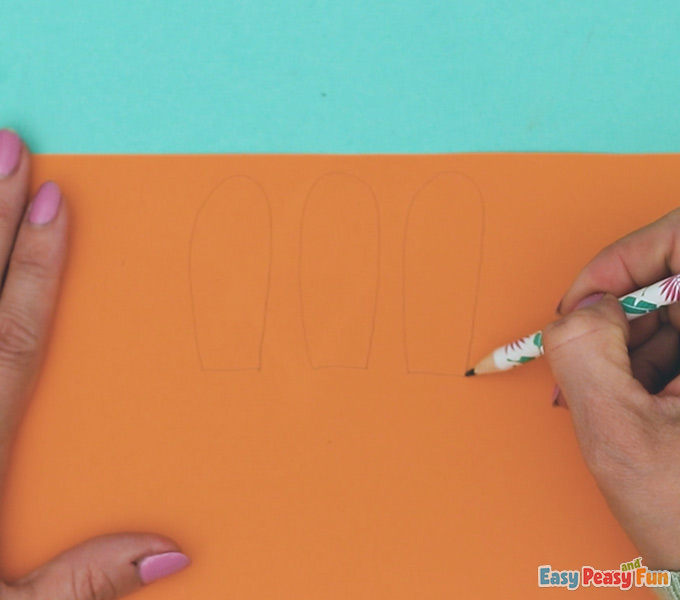
The Feathers
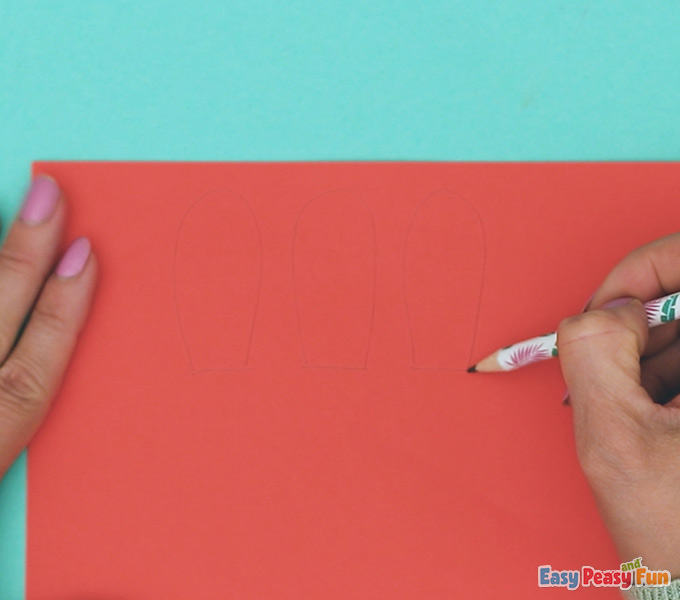
Draw three feathers onto red paper, and then cut them out.
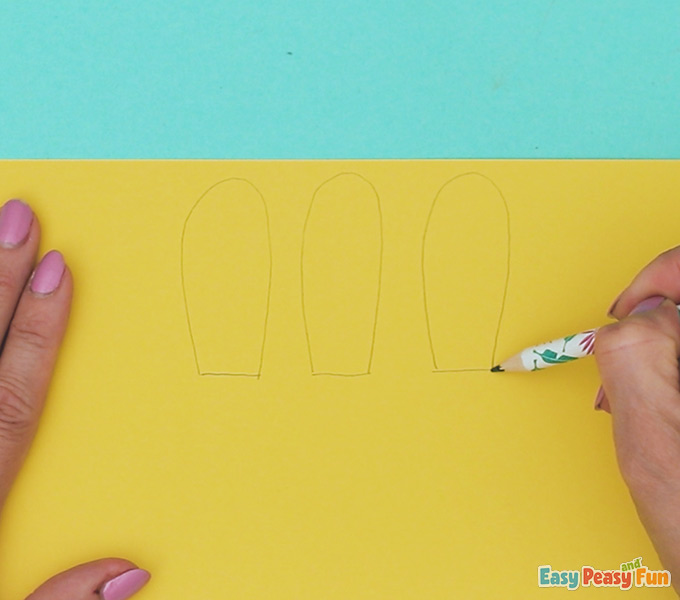
You’ll want to draw three feathers onto orange paper and then cut those out.
You will now draw three feathers on the yellow paper.
Make sure to cut the feathers out.
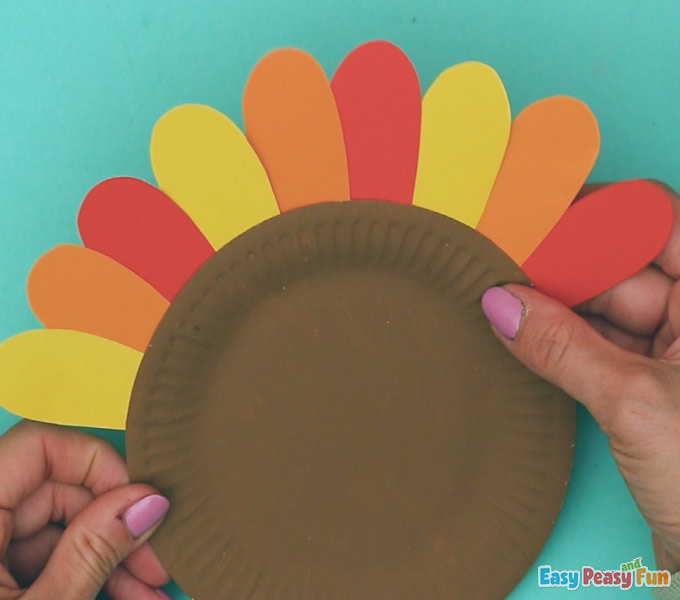
Start by gluing one yellow feather behind the paper plate.
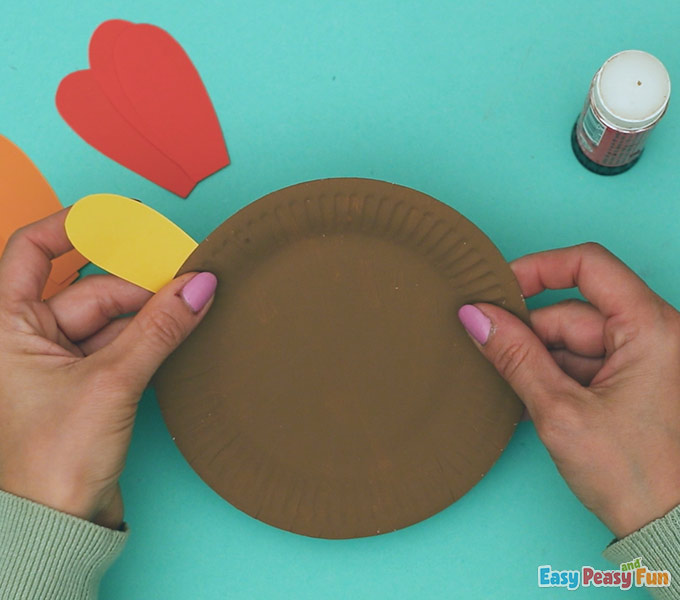
The pattern can be whatever the child wants to make
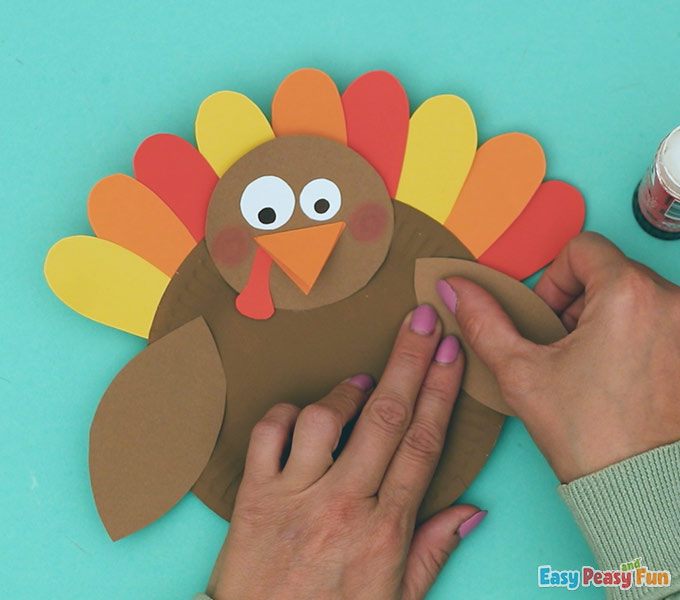
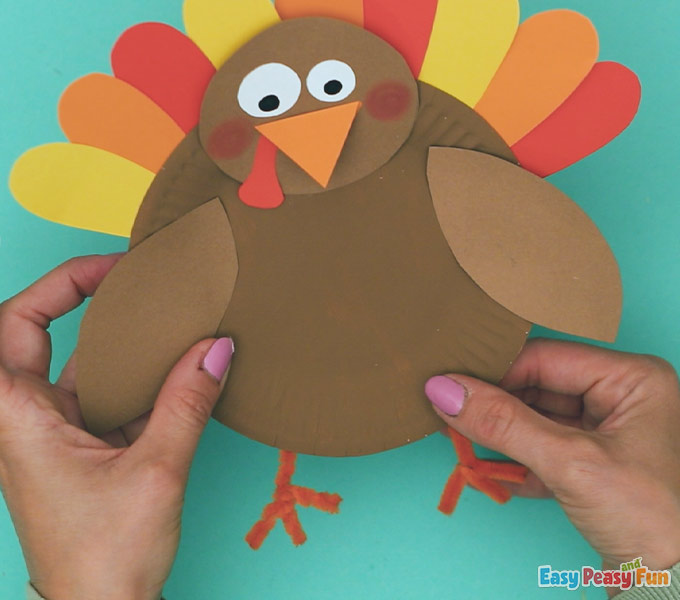
Now it’s time to glue the head of the turkey onto the body.
Don’t forget to add the wings!
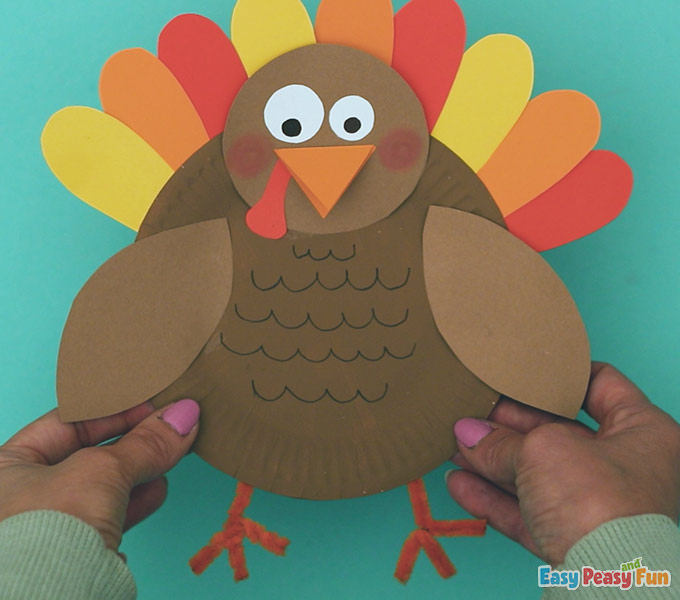
The Feet
It’s time to cut up pipe cleaners.
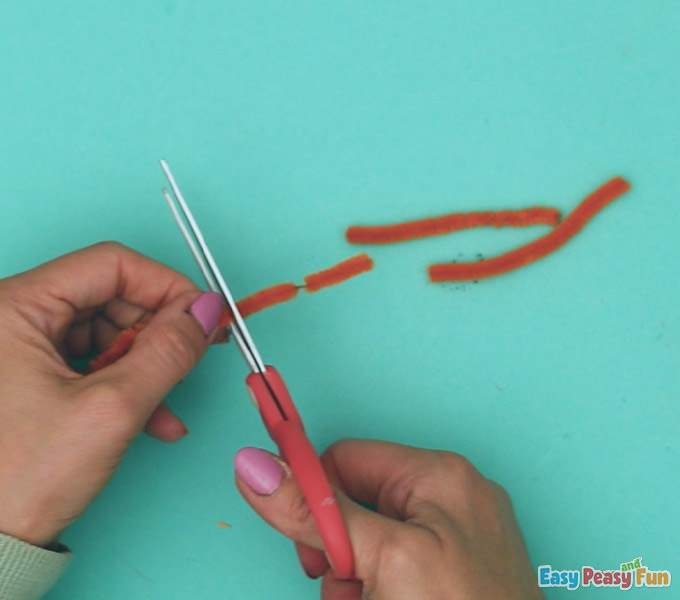
These are going to be the feet of the turkey.
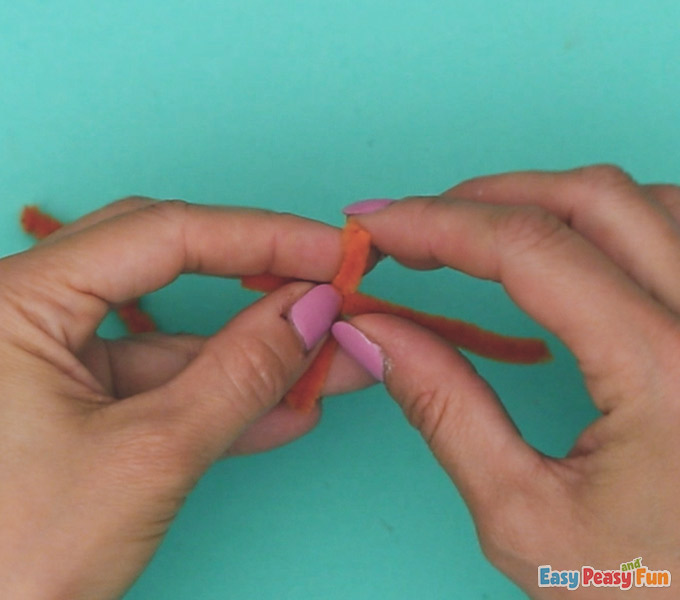
Take one longer pipe cleaner and a shorter one to make a cross.
Fold the sides over the longer pipe cleaner to create one foot.
Repeat the procedure to make the other foot.
You can glue or staple the feet onto the turkey.
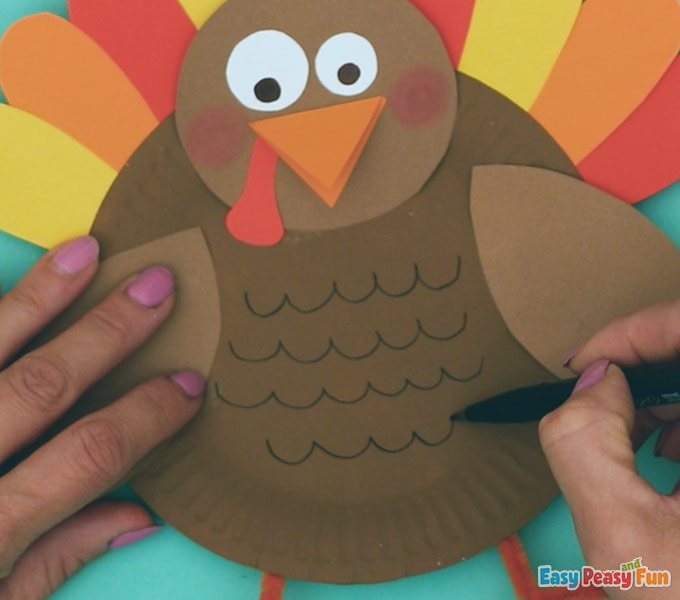
Next, take a black marker and draw breast feathers onto the turkey.
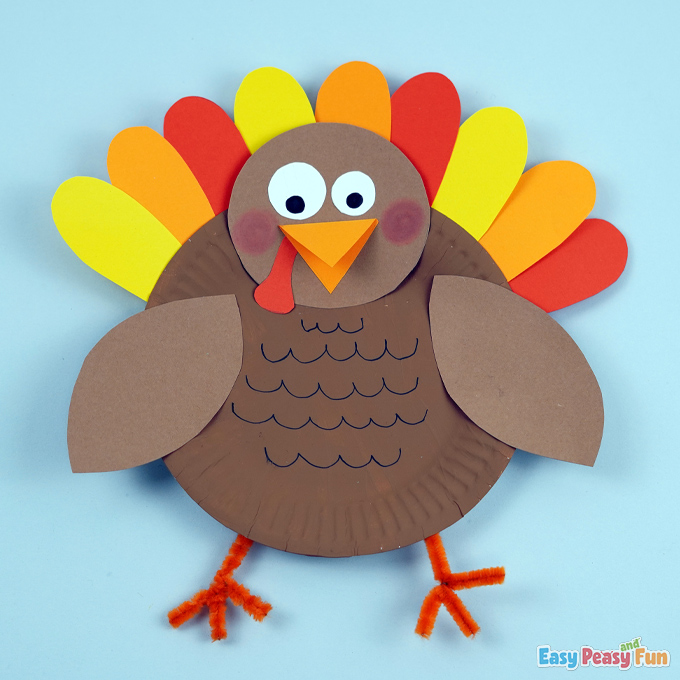
The final result of the paper plate turkey is below!
Doesn’t it look great?
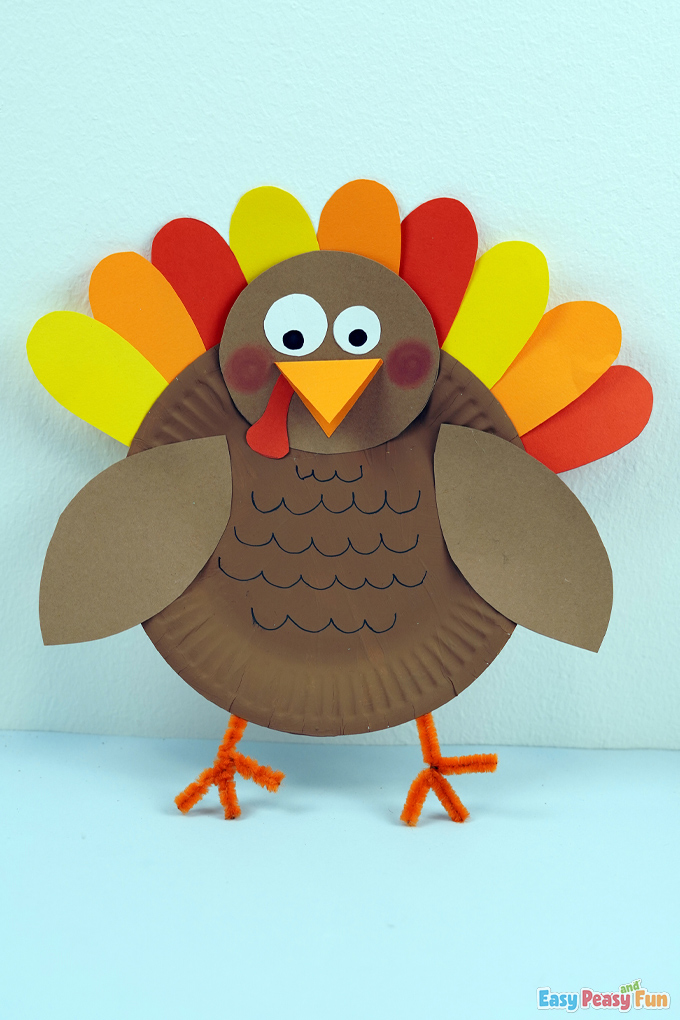
We love how colorful its feathers pop out.
You can make as many as you want with different colored papers, beaks, and feathers.
Get Your Paper Plate Turkey Template Here
Want instant access to all of our printable crafts, activities, and resources?

With thousands of crafts, activities, worksheets, coloring pages, and drawing tutorials to print, you will always have just the resource you need at your disposal. Perfect for parents and teachers alike!