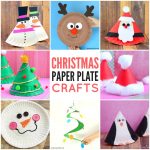
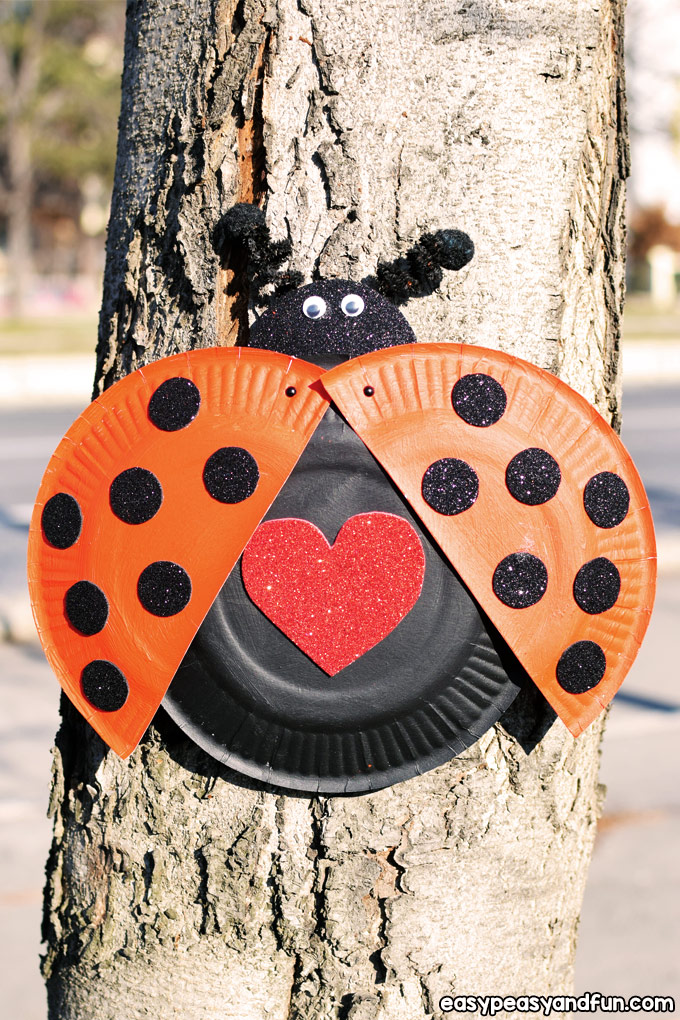
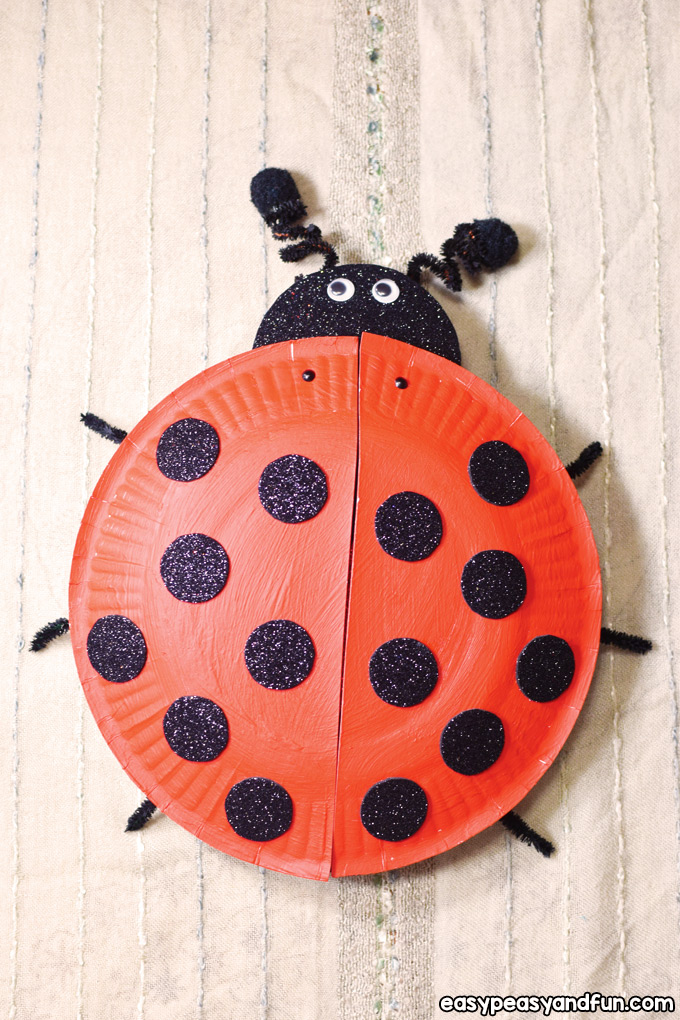
This paper plate ladybug craft is ready to fly! With it’s movable wings kids are trully going to love making this project and it’s easy peasy.
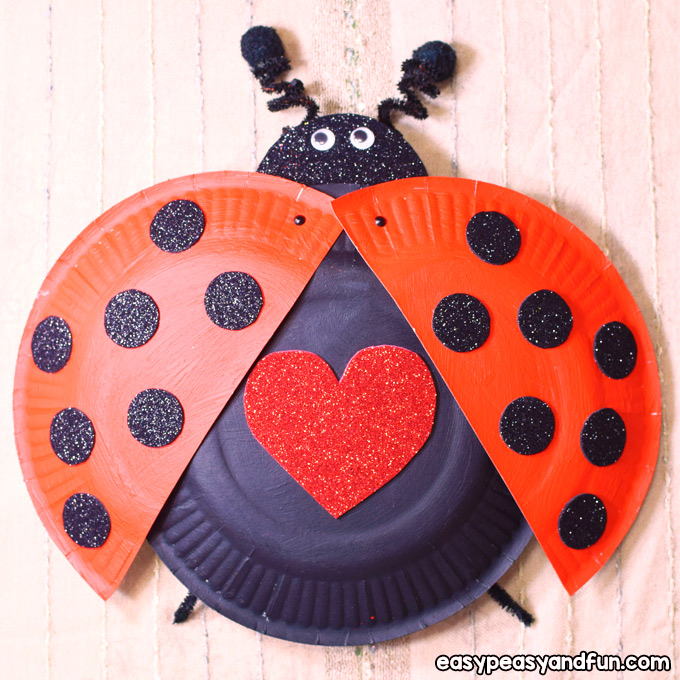
You can make this as a spring craft or a Valentine’s day craft if you add a heart or two.

*this post contains affiliate links*
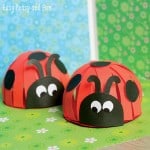
Paper plate creatures are a ton of fun to make. And today we are going to make a paper plate ladybug.
We named our little ladybug Mug. You know, ladybugs are so tiny in real life, tiny as the smallest button, and our ladybug will be a giant one, the mother of all the ladybugs in the world, ok?
Do you know what is interesting about ladybugs? They talk! That’s right. And when they are happy they jump.
And when they are mad, they point their tiny tongues out. They are super silly, that is why we like them! We are naturally joking, but all this can be true for your crafted ladybug.
How to Make a Paper Plate Ladybug Craft
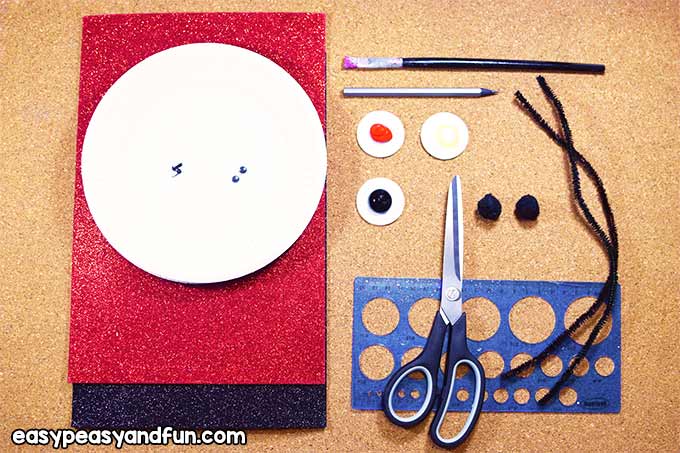
What you need:
- two paper plates
- red acrylic paint
- a black acrylic paint
- a sparkly black self-adhesive foam sheet
- a sparkly red self-adhesive foam sheet
- two self-adhesive googly eyes
- two black pom poms
- two split pins
- two black chenille sticks
- a ruler with circular shapes
- pencil
- glue
- scissors
Step by Step Instructions
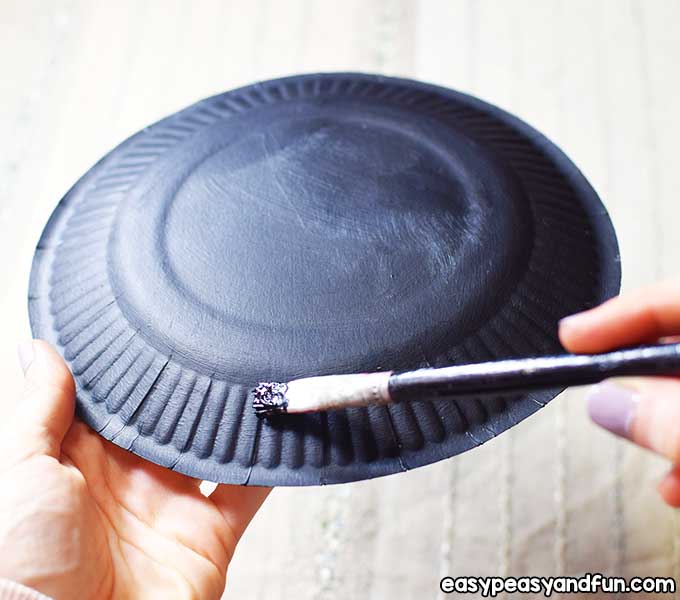
Body
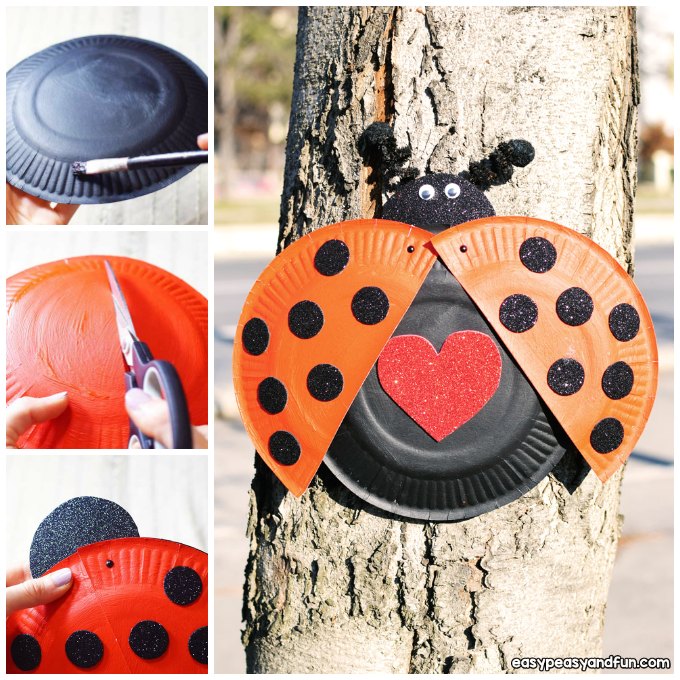
Use your black acrylic paint and color the back of one of the paper plates.
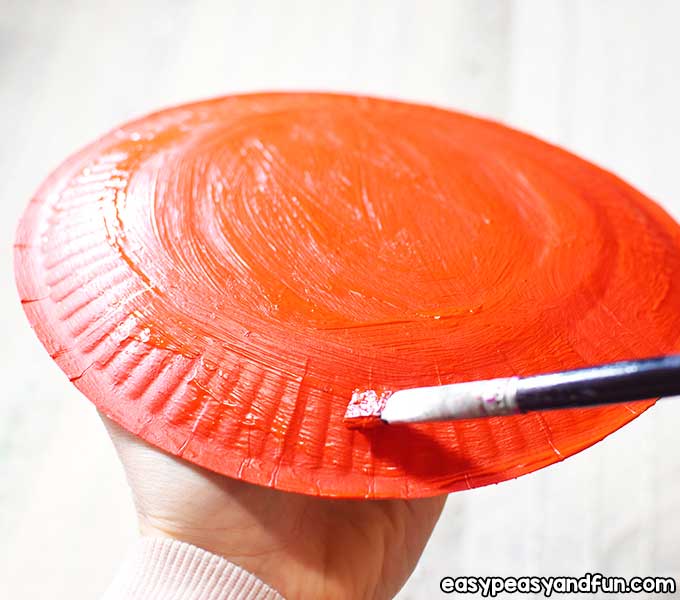
 Wings
Wings
 Wings
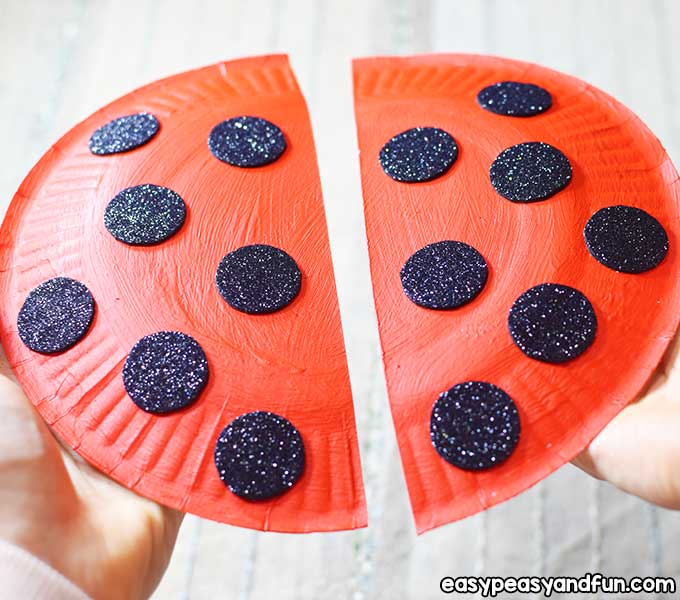
WingsTake your red acrylic paint and color the back of the other paper plate …
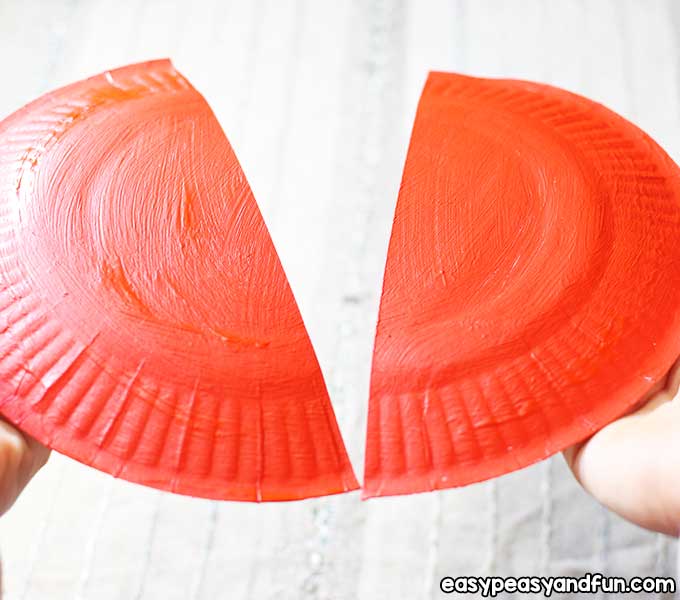
… then take your scissors and cut the paper plate in half.
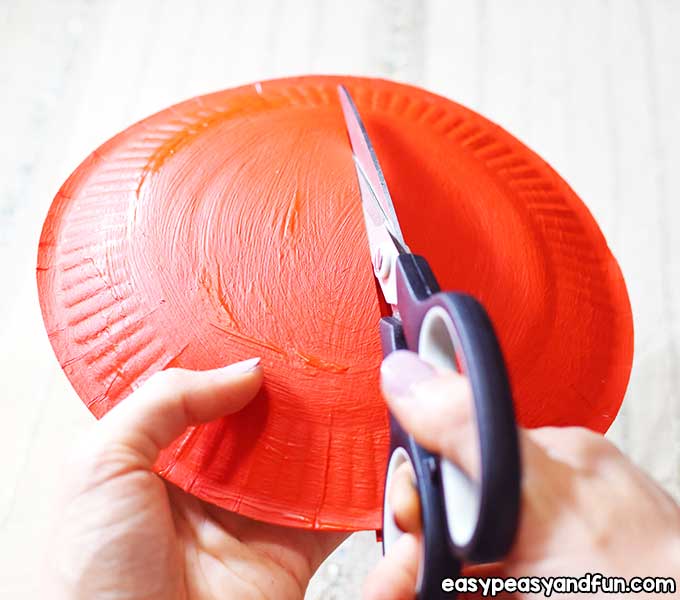
Those would be the wings.
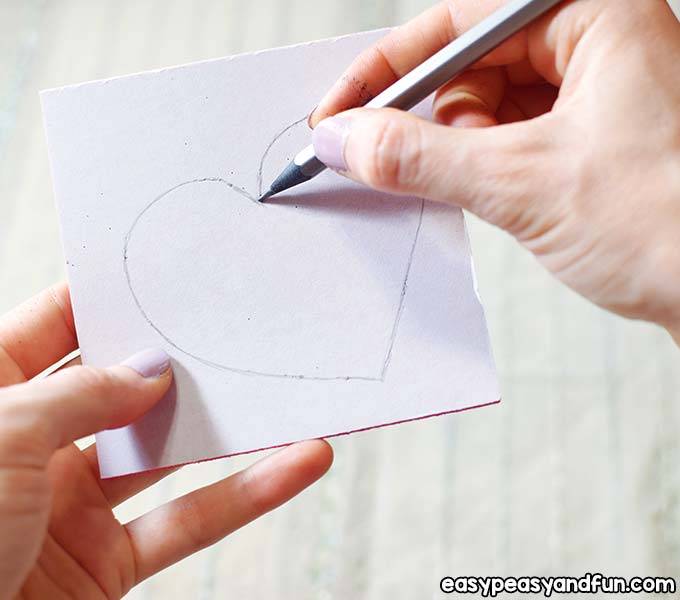
Draw a heart-like shape on the back of the red self-adhesive foam sheet using your pencil.
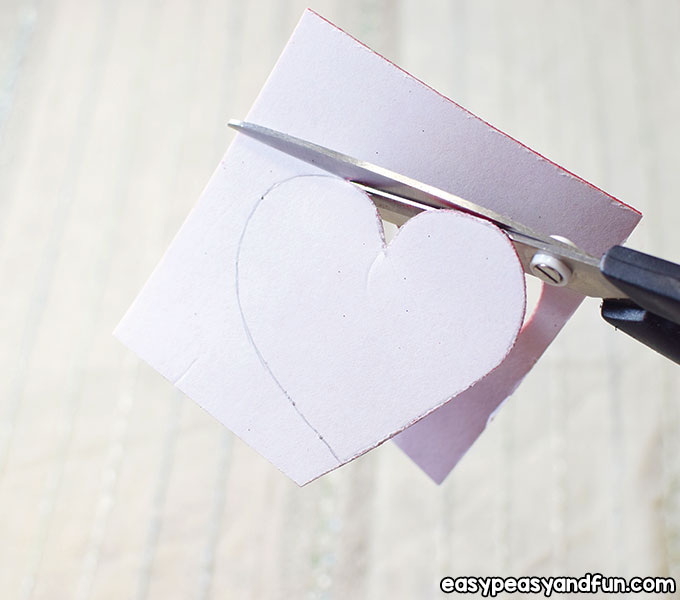
Cut out the heart shape using scissors …
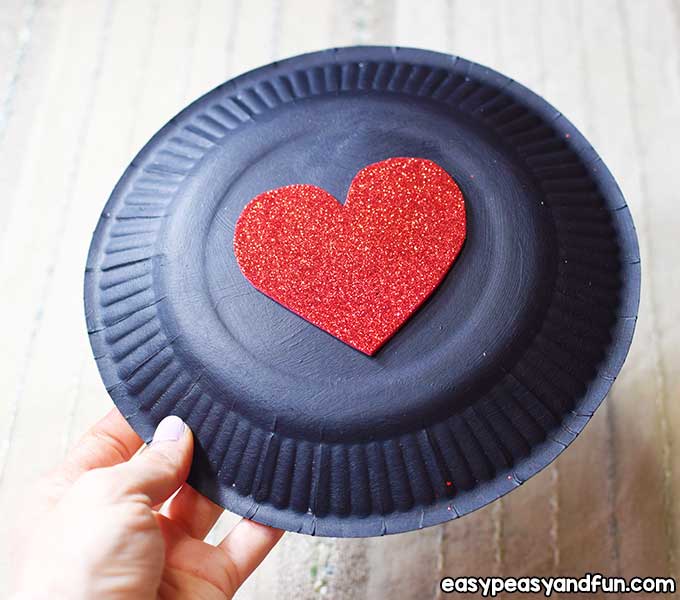
… then glue it on top of the black paper plate.
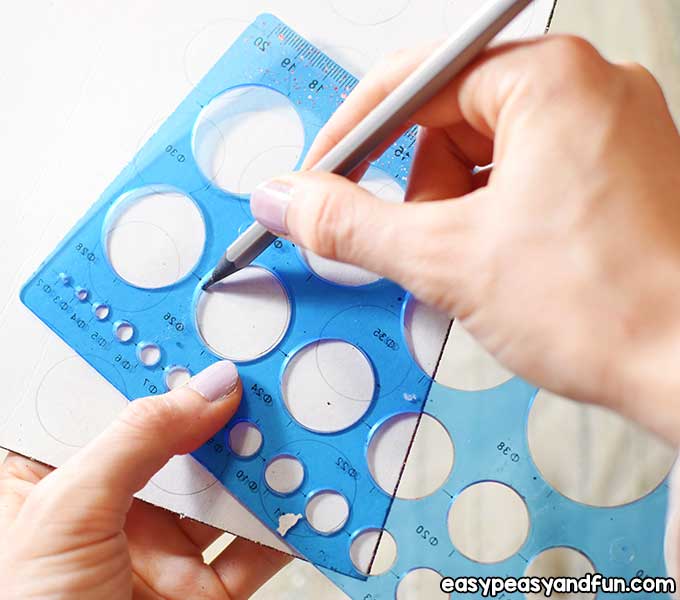
Draw some circles on the back of the black self-adhesive foam sheet (use your ruler with circular shapes) …
Cut them out …
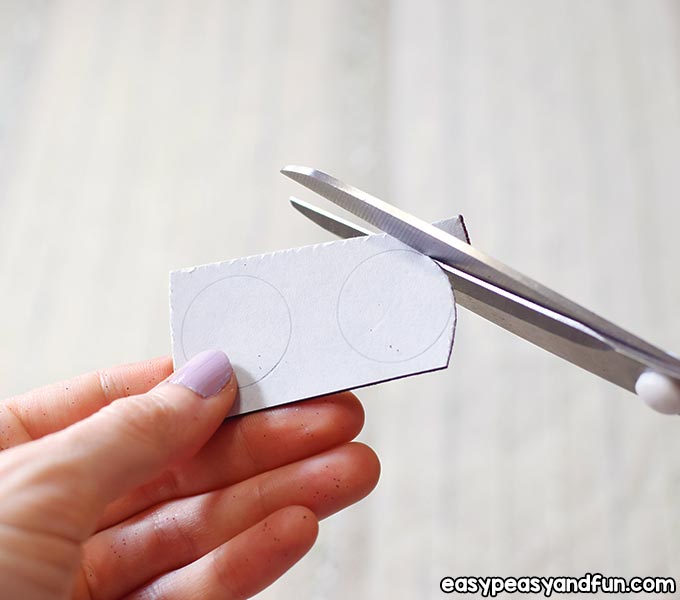
… and place them on top of the red paper plate.
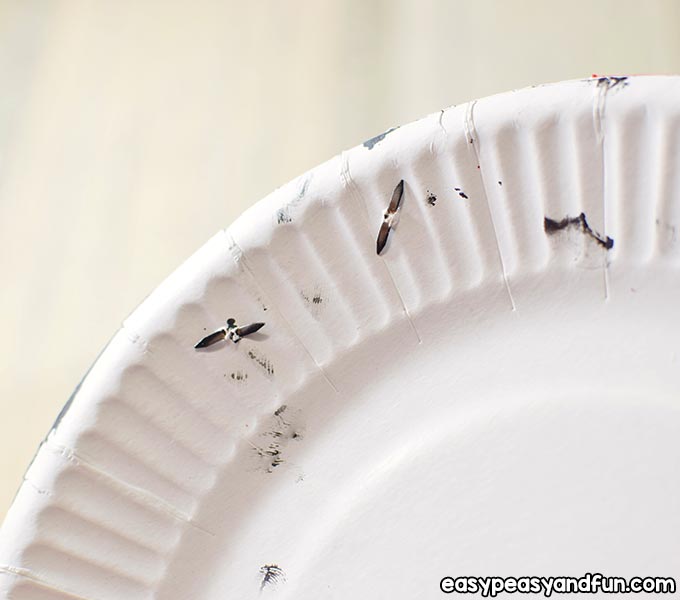
Put one split pin through each of the wings …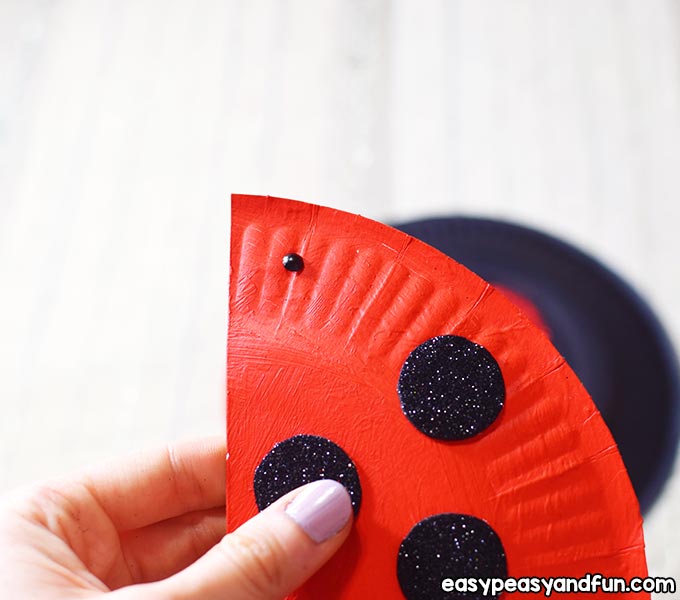
… and through the black paper plate too.
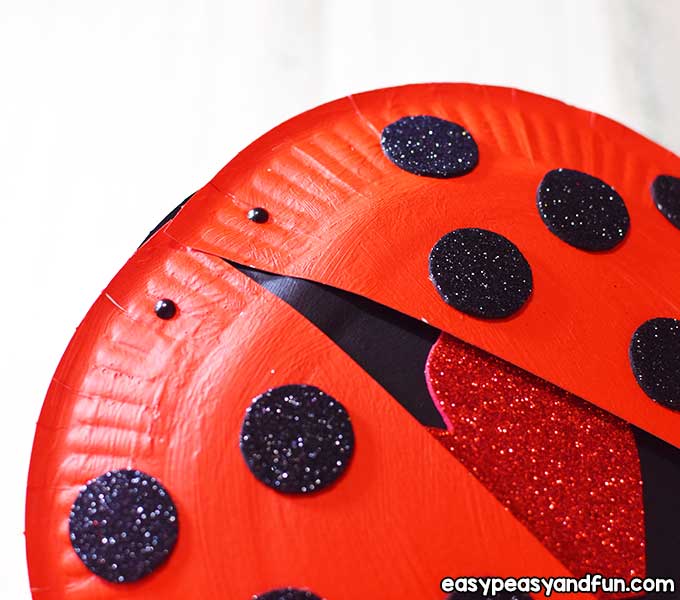
Then split the ends of the pins so the wings stay attached on the black paper plate as shown in the picture.
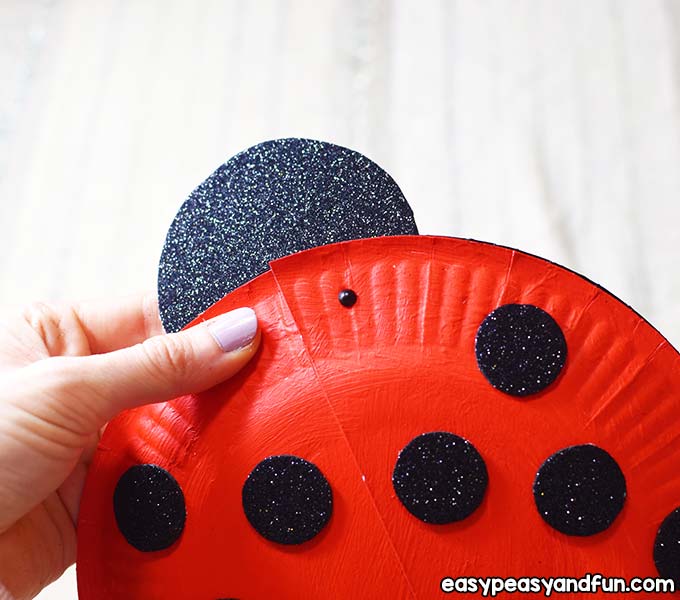
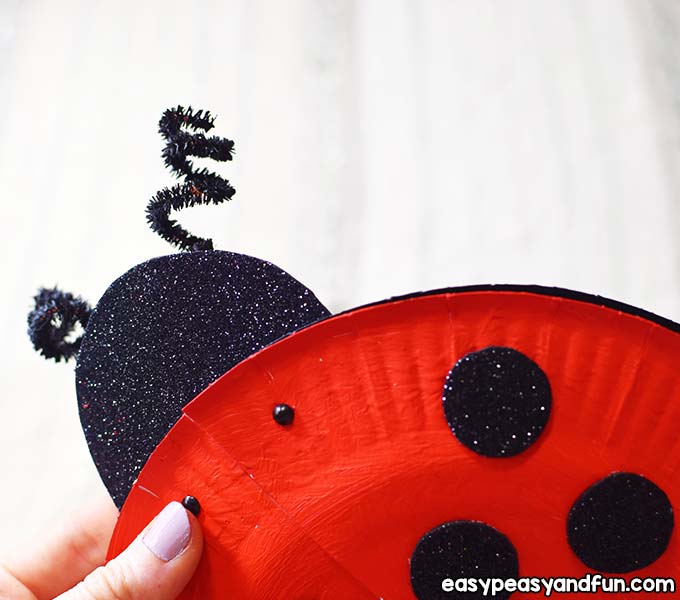
Head
 Head
HeadDraw a circular shape on the back of the black self-adhesive foam sheet, cut the circle out, then put some glue on the back of it and glue it on the black paper plate.
This would be the head.
Cut one chenille stick in half.
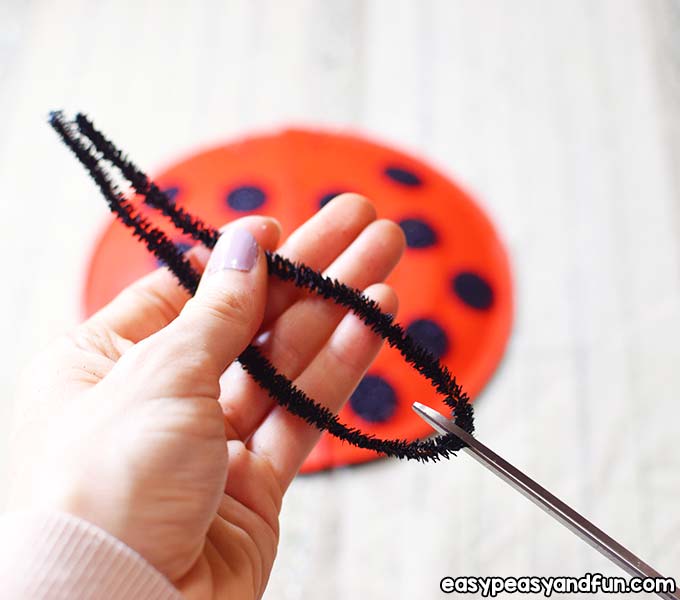
Form two spirals …
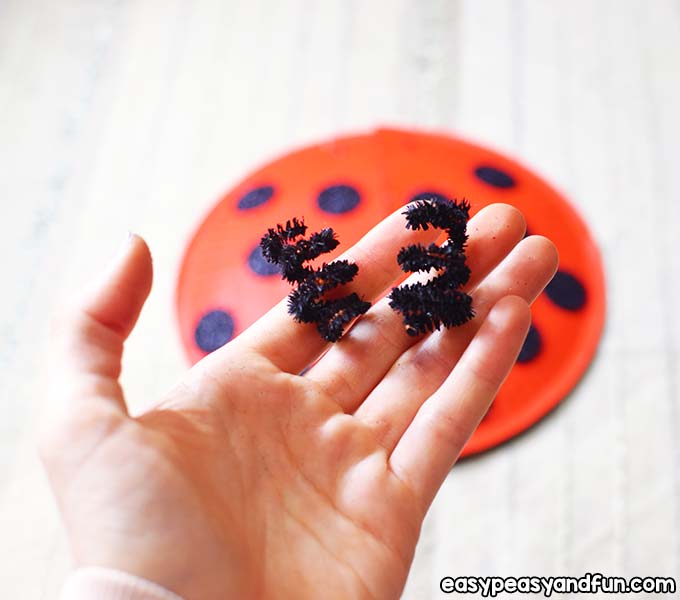
… and glue them on the head.
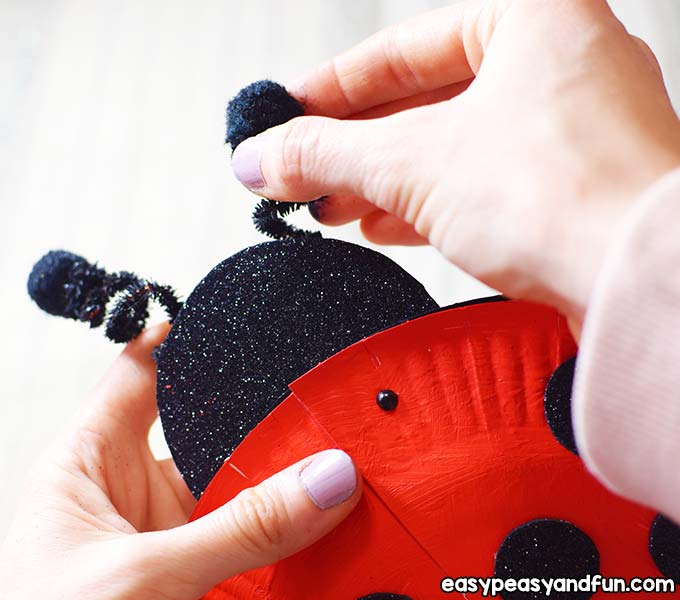
Put one pom-pom on top of each of the chenille spirals.
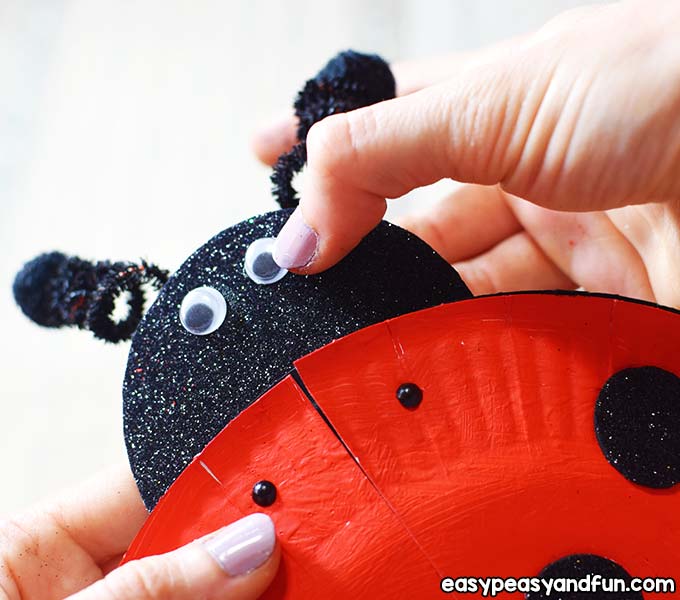
Place the googly eyes on the head.
Legs
 Legs
LegsCut the other chenille stick in six equal parts and glue them on the front of the black paper plate.
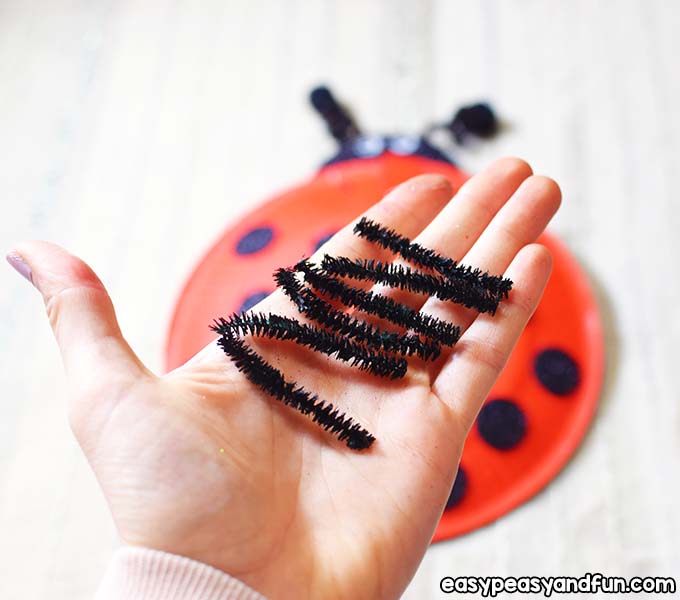
Those would be our lady bug’s legs.
 Done! One more thing!
When they are hungry, ladybugs bite. But that is ok though, they can’t really hurt us with those tiny teeth.
When a ladybug is hungry, we just go and give her one mini drop of honey. That is her favorite food to chew on.
Then she will be forever grateful and bring lots of sunshine in your home.
Hope you like this paper plate ladybug project!
Happy crafting!
Want instant access to all of our printable crafts, activities, and resources?

With thousands of crafts, activities, worksheets, coloring pages, and drawing tutorials to print, you will always have just the resource you need at your disposal. Perfect for parents and teachers alike!