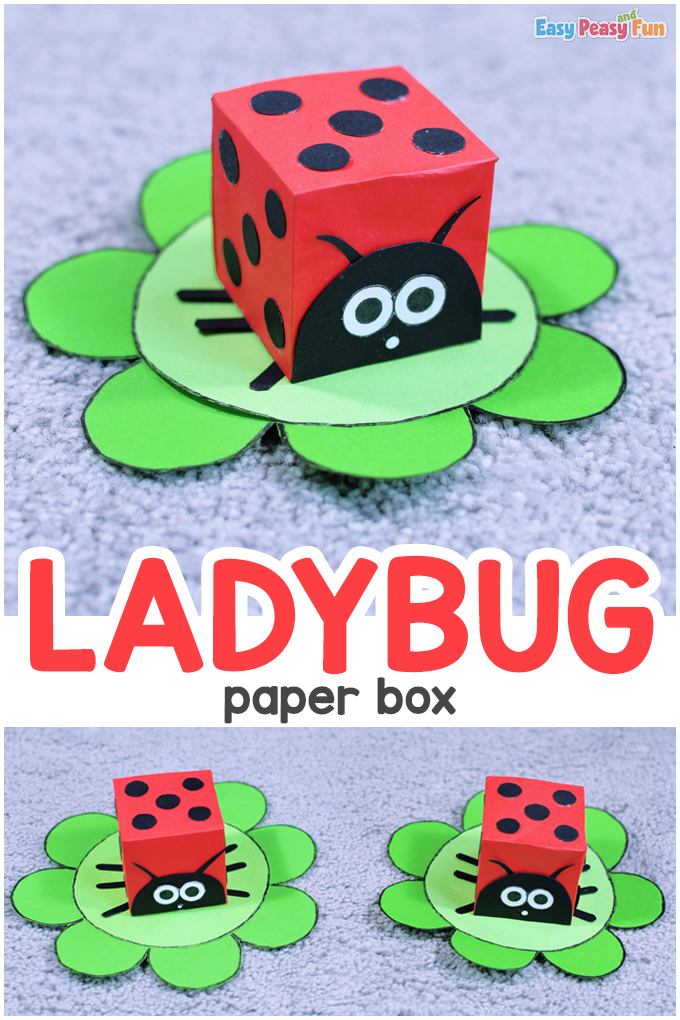
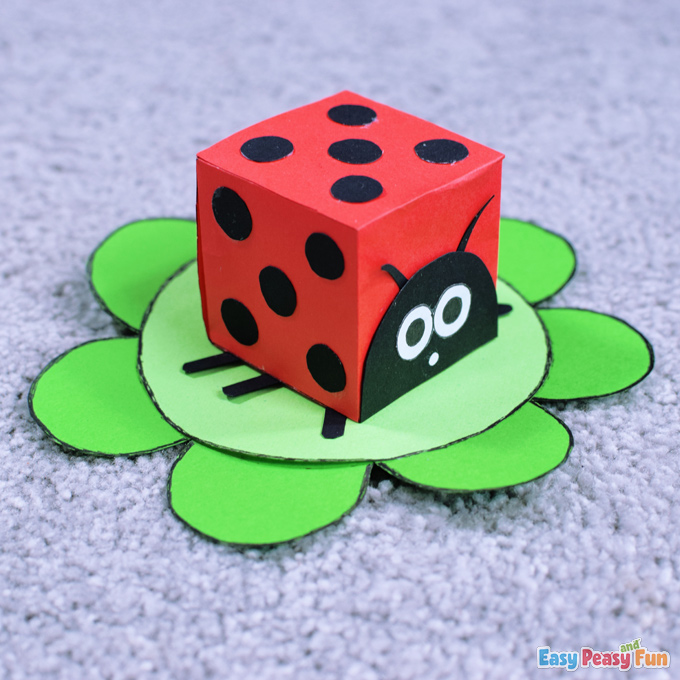
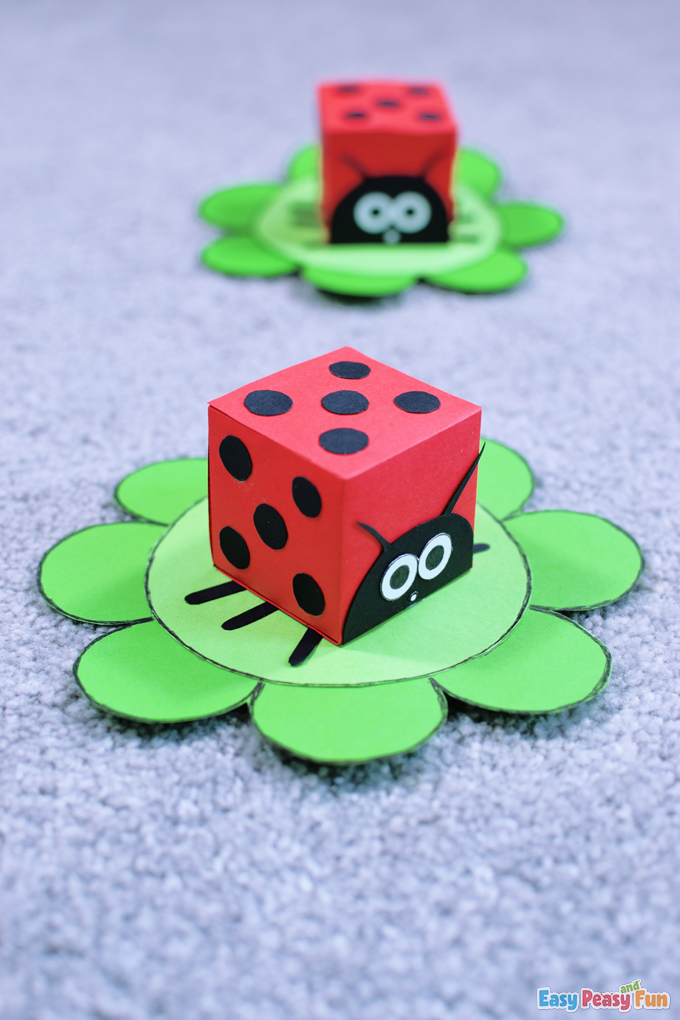
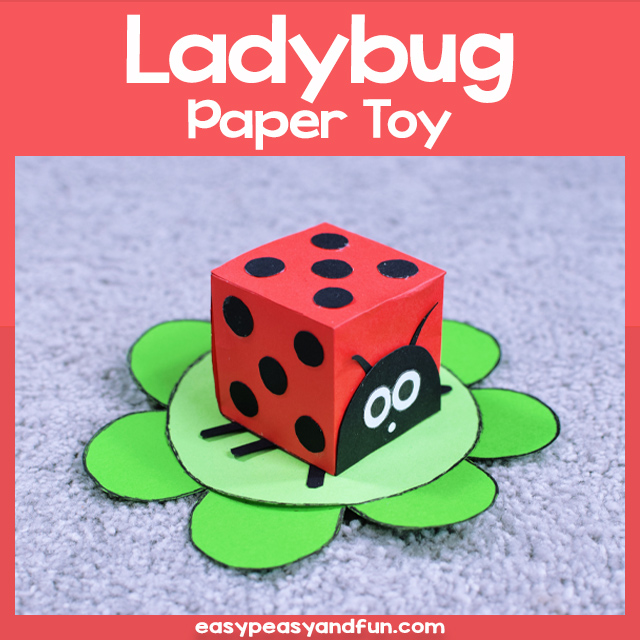
Love warmer seasons? The spring always provides us with a ton of bug crafting ideas. So get ready because today we’re making a Paper Ladybug Box Craft.
*This post contains affiliate links*
50 paper crafts your kids can actually do themselves

No fancy supplies — just paper, scissors, and a little imagination.
Be the first to get it on release day — and lock in the lowest price guaranteed.
We love making different Spring Crafts for kids (check out our Spring Agamograph Template or enjoy playing with your Frog Puppet).
And if your kids like to draw, we got an easy step-by-step tutorial on How to Draw a Ladybug on your own.
Hands up if you love ladybugs! Hands up if you like to craft today’s ladybug with us!
You know that we adore ladybugs. You have probably seen all the ladybugs we created here on Easy Peasy and Fun.
There are plenty of them, huh? And we are not done. There are plenty more to come.
So let’s start!
How to Make Paper Ladybug Box Craft
What you need:
- red cardstock
- dark green cardstock
- light green cardstock
- white cardstock
- black cardstock
- scissors
- glue
- ruler with circle shapes
- circle object (we used a jar lid)
- black liner
- pencil
Step by Step Tutorial
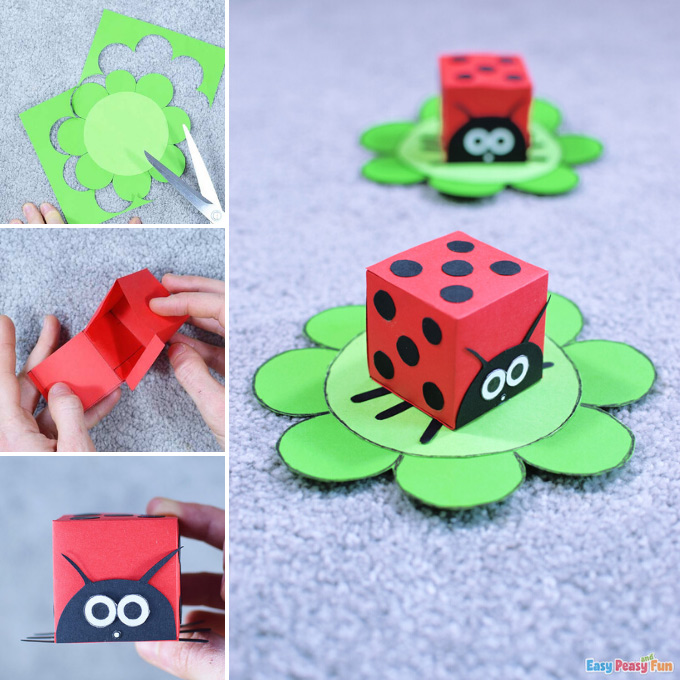
The Flower
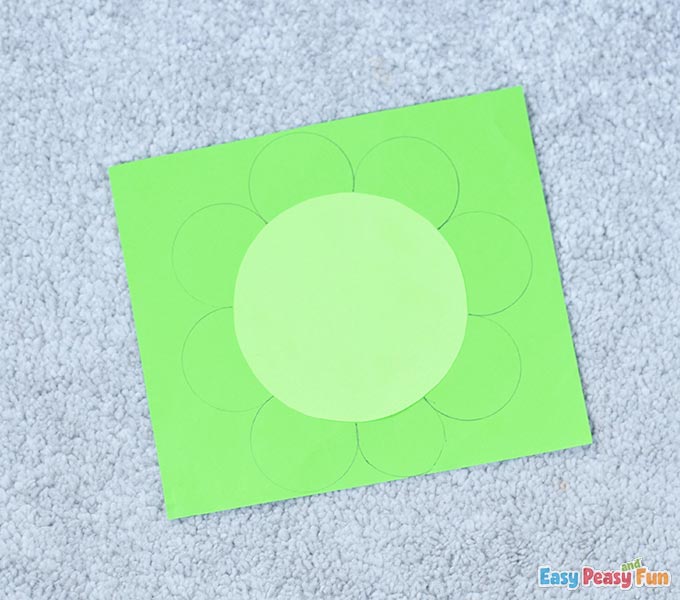
Trace a circle on the light green cardstock.
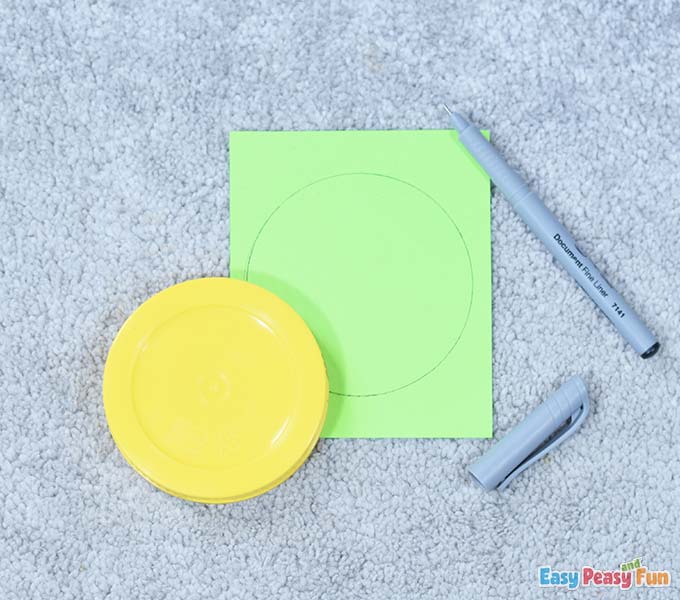
Cut out the circle using scissors.

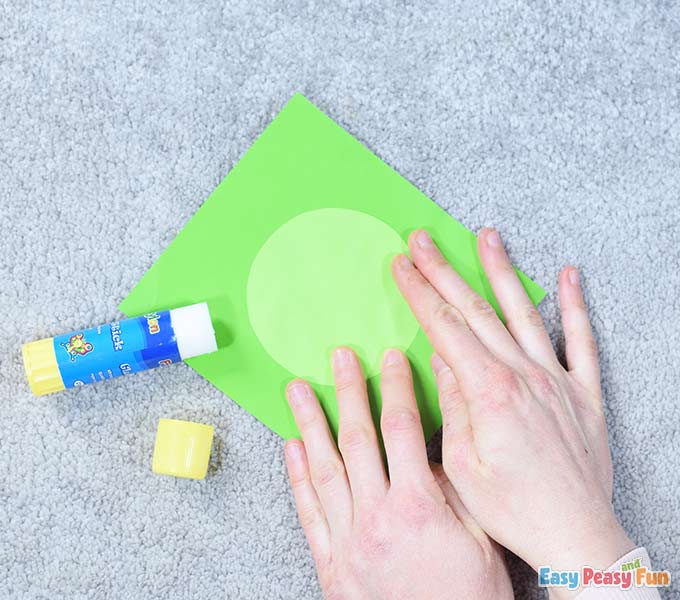
Glue the circle on the dark green cardstock.
Use the ruler’s most giant circle shape and draw some flower leaves around the light green circle.
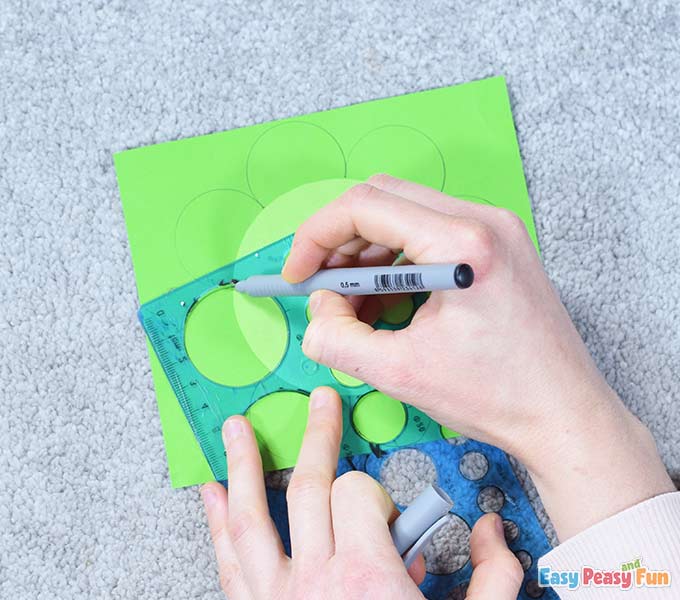
If you don’t have a ruler with circle shapes, draw them freehand.
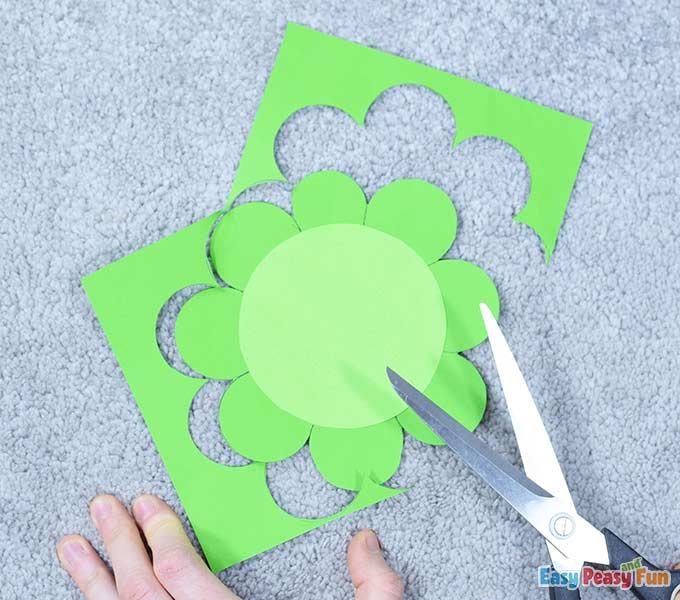
Cut out the flower.
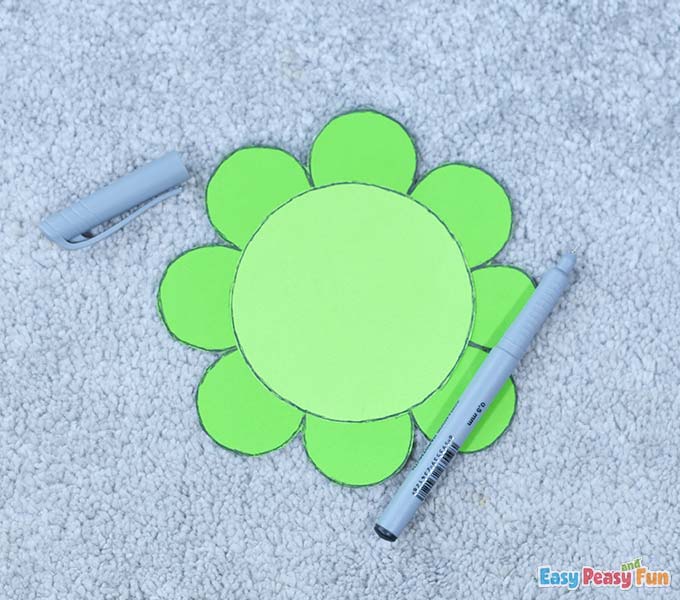
Outline the flower with the black liner.
The Ladybug’s Body
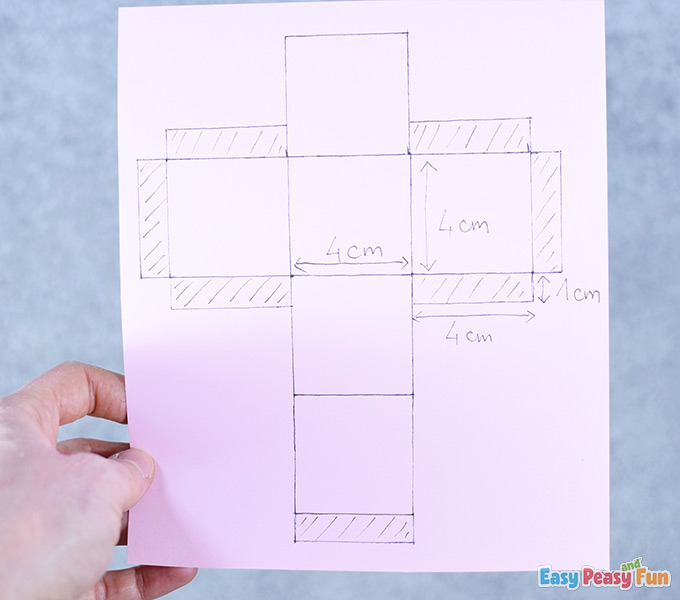
To make the ladybug, you will need to draw this box pattern on the red cardstock.
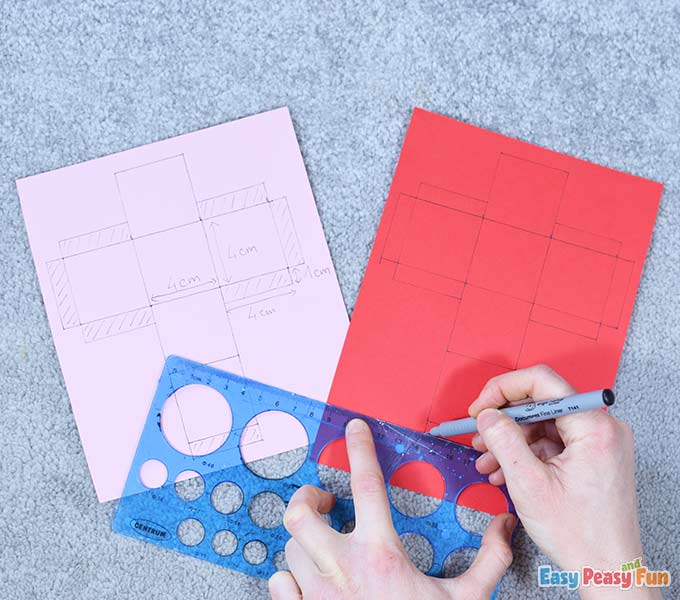
Here are the dimensions for the box.
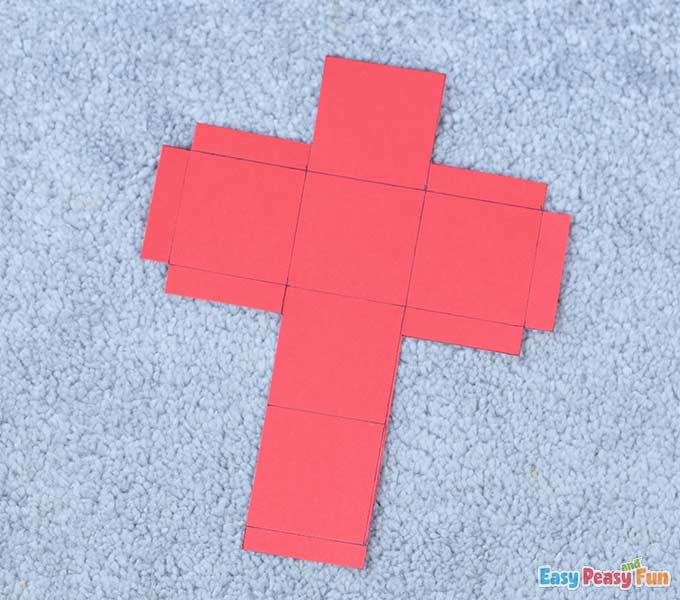
Now cut out the red box.
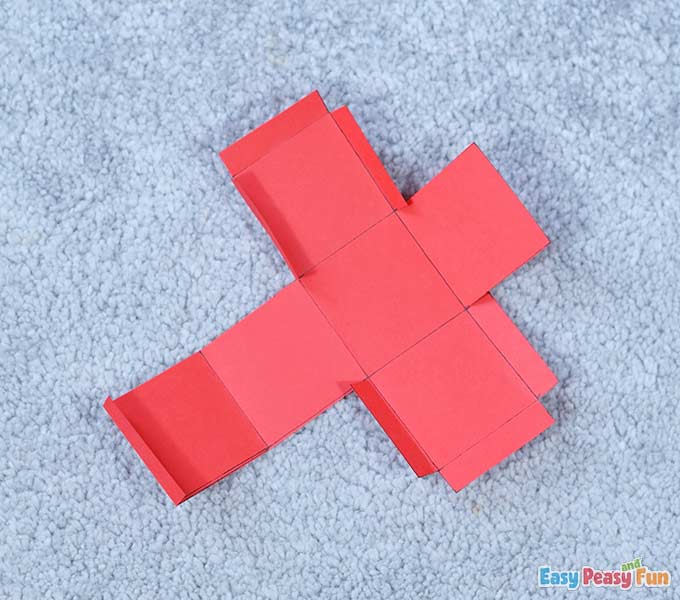
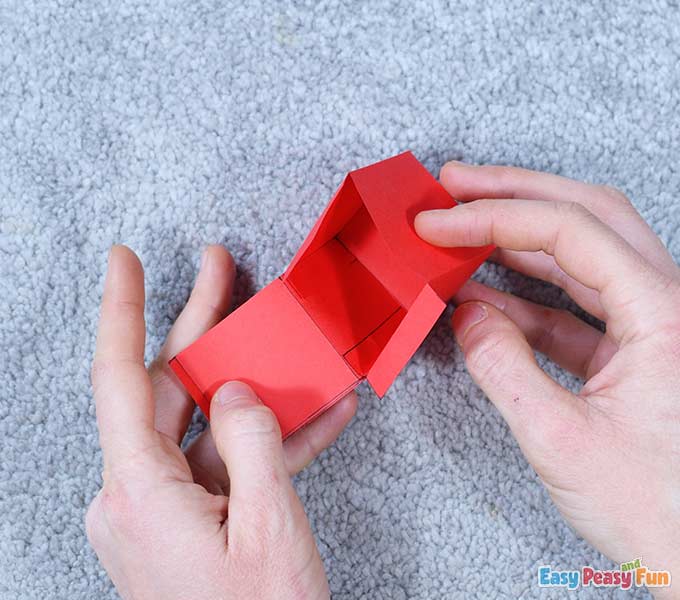
Make some creases where the lines are.
Apply some glue only on the flaps (we folded the four rectangles so you can see them).
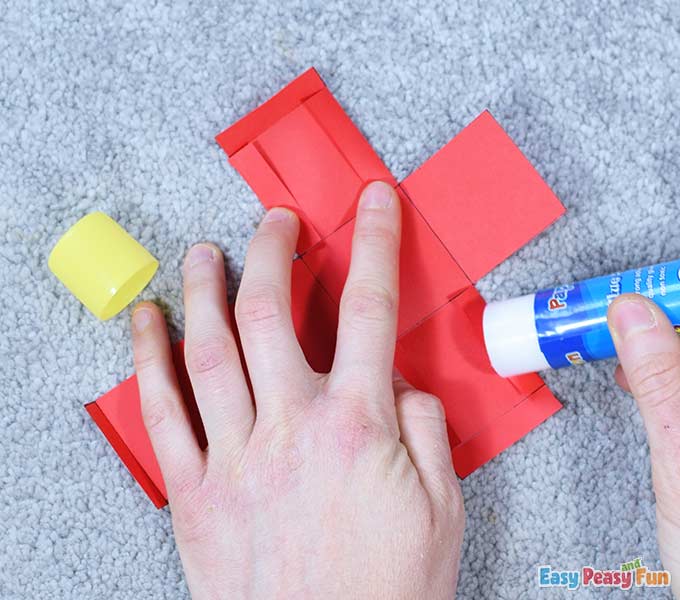
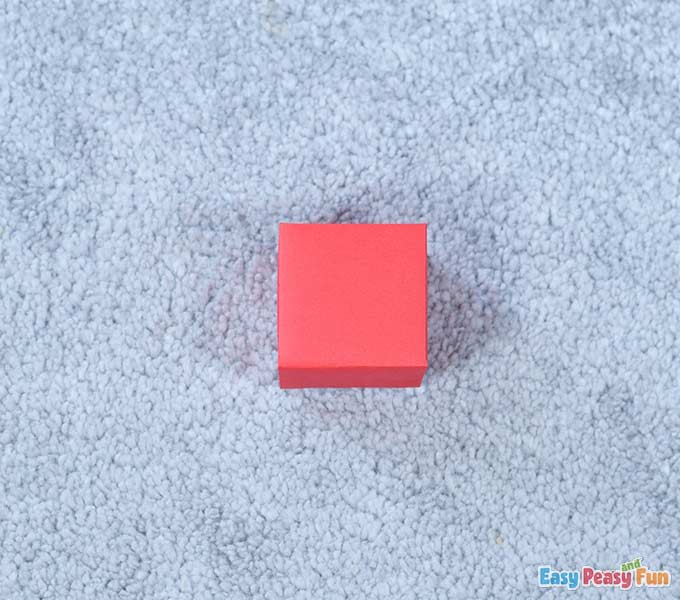
Assemble the box.
Now, if you are planning to gift the ladybug to someone, you can put some treats inside the box – a surprise message is a lovely idea too.
We didn’t put anything in ours; we just closed it.
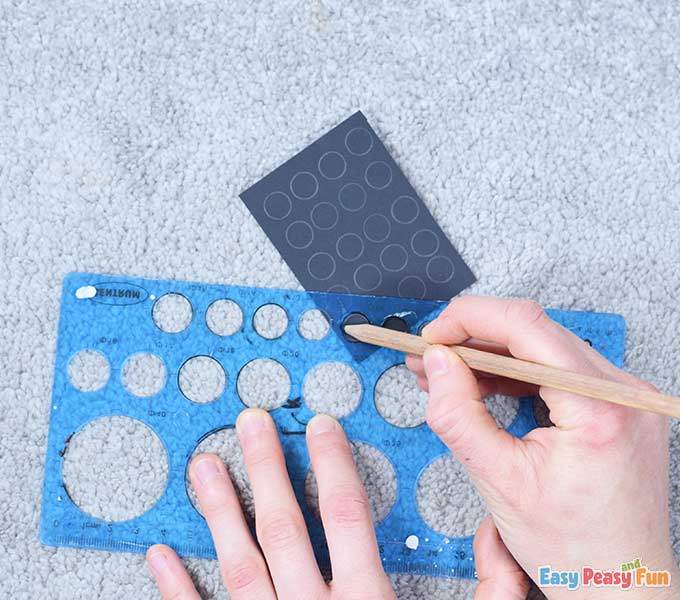
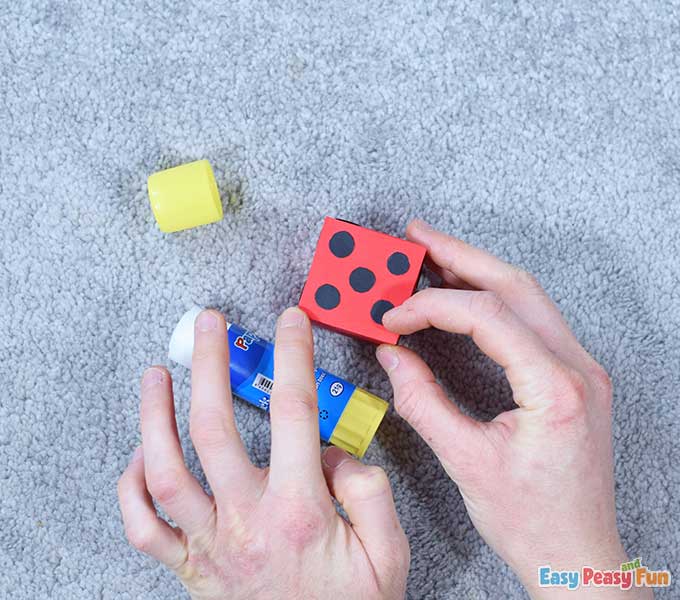
Take the ruler with circle shapes and draw 20 small circles on the black cardstock.
Cut out the circles.
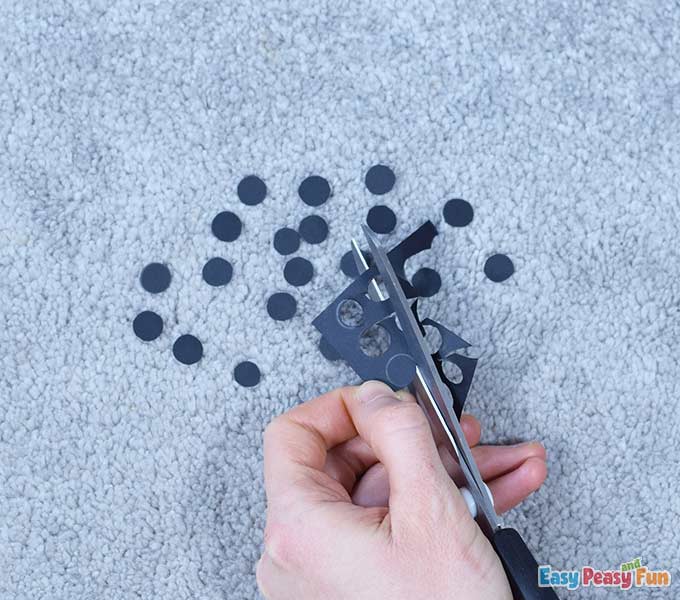
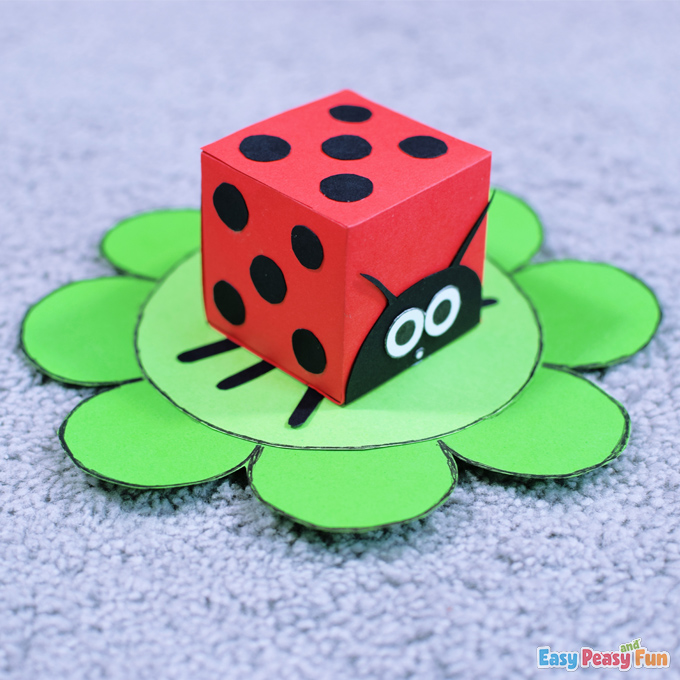
Now use glue, and place five of the dots onto the top, bottom, right, and left.
The Legs
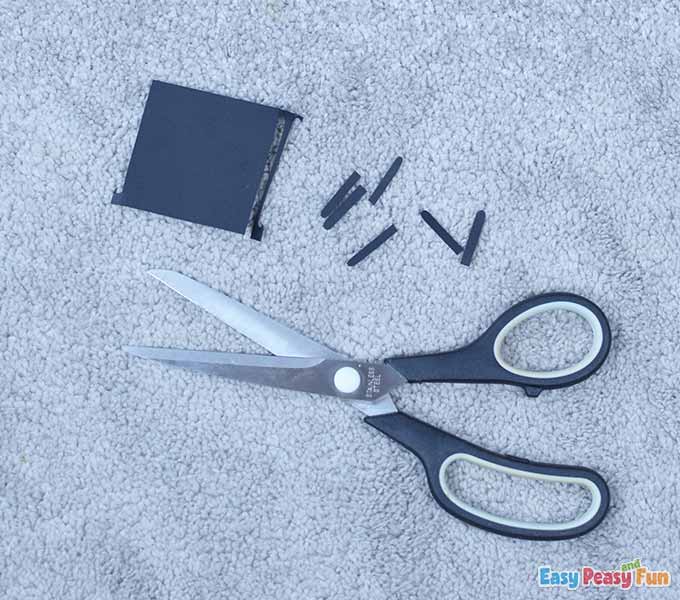
Cut out six thin black strips and round their corners using scissors.
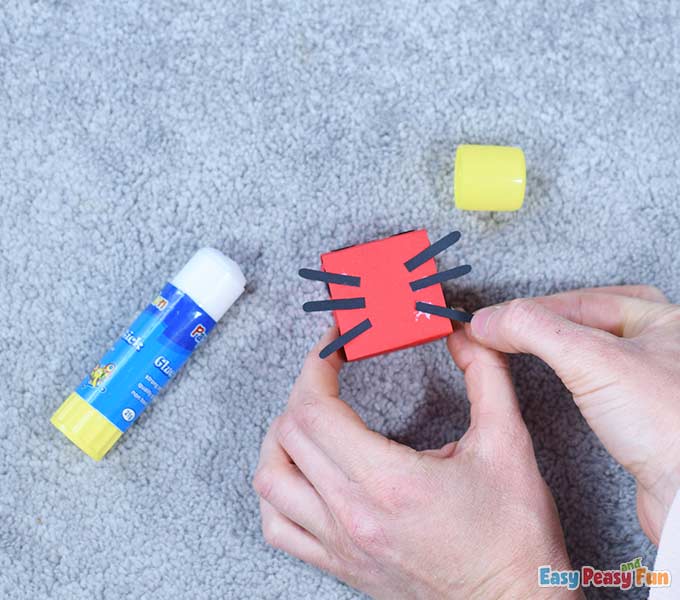
Turn the ladybug on its back and glue the legs on the bottom part of it as shown.
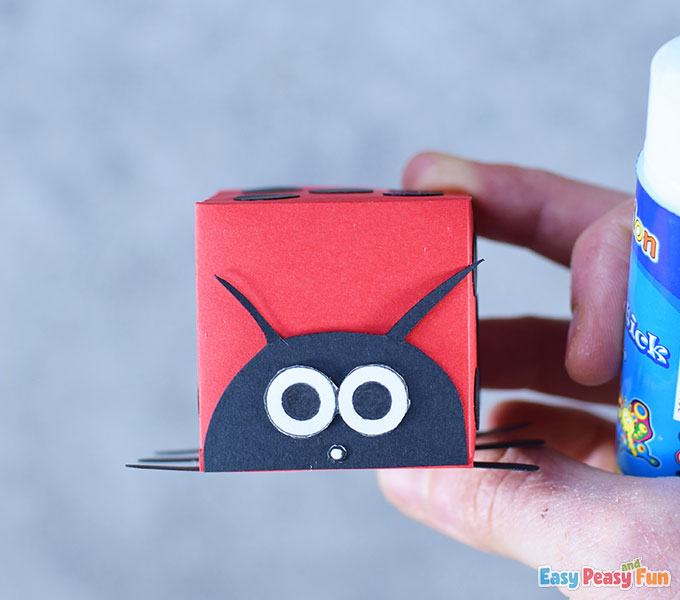
The Antennae
On the black cardstock, draw a ladybug’s head with two thin antennae.
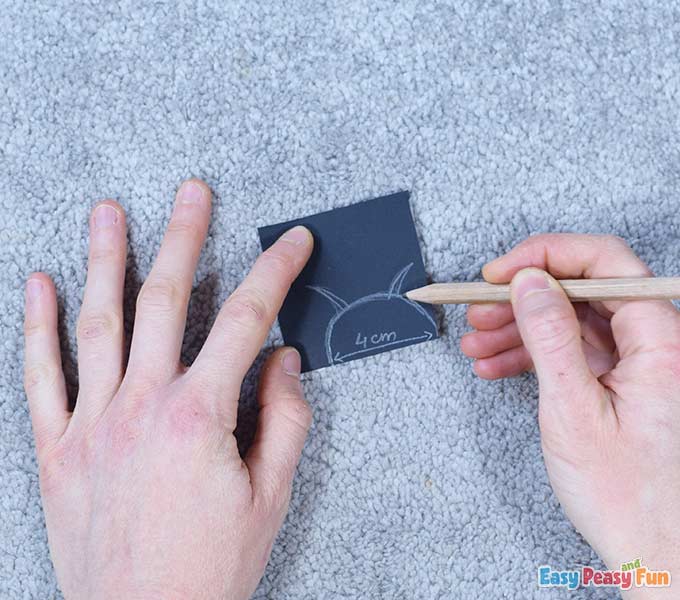
Cut out the head.
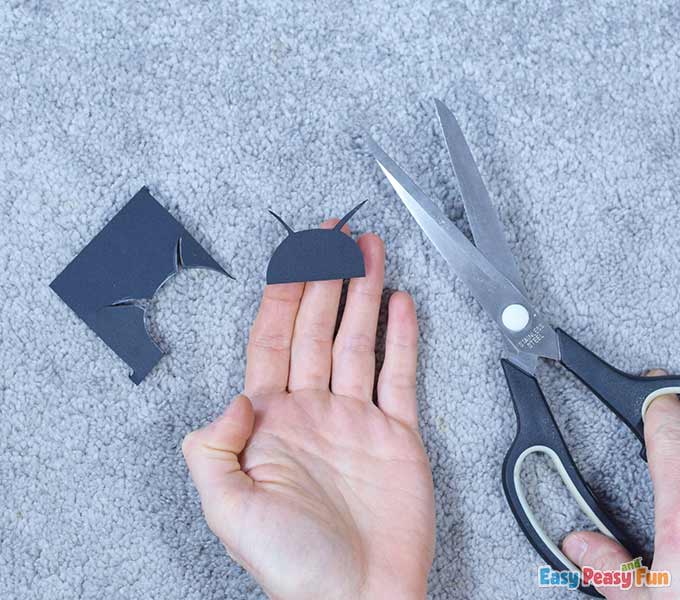
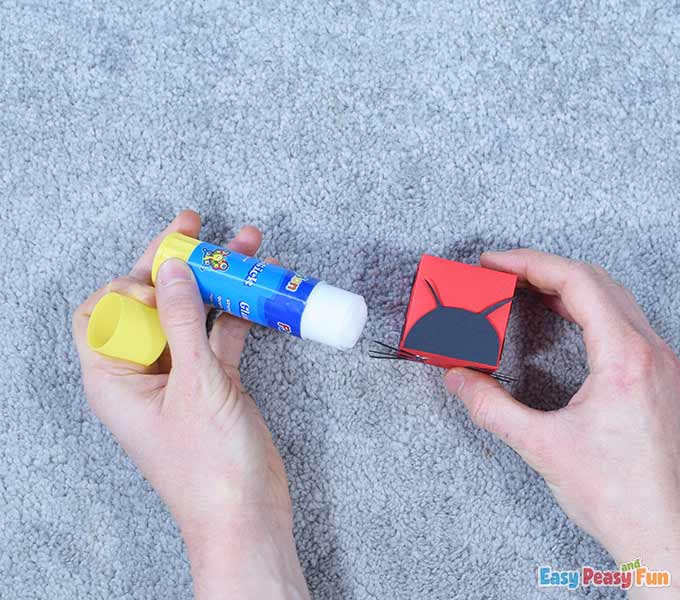
Glue the head in the front part of the box.
The Eyes
On the white cardstock, draw two circle eyes and a tiny circle mouth.
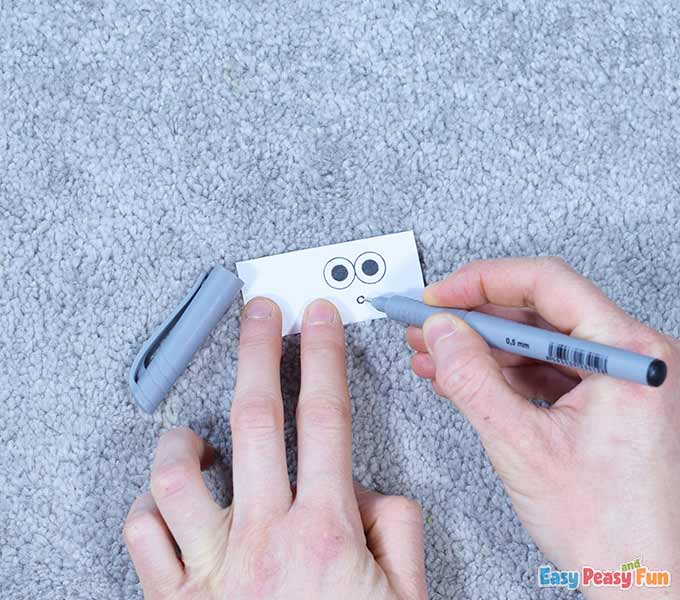
Cut them out.
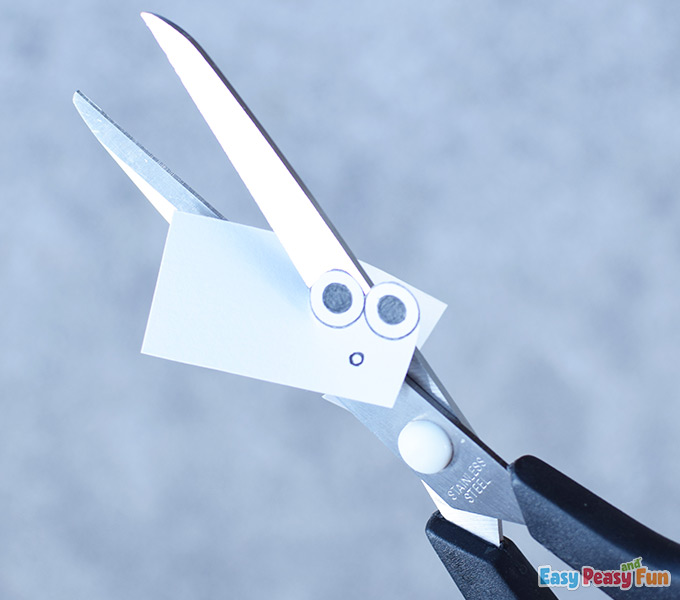
Glue the eyes and the mouth on the ladybug’s head.
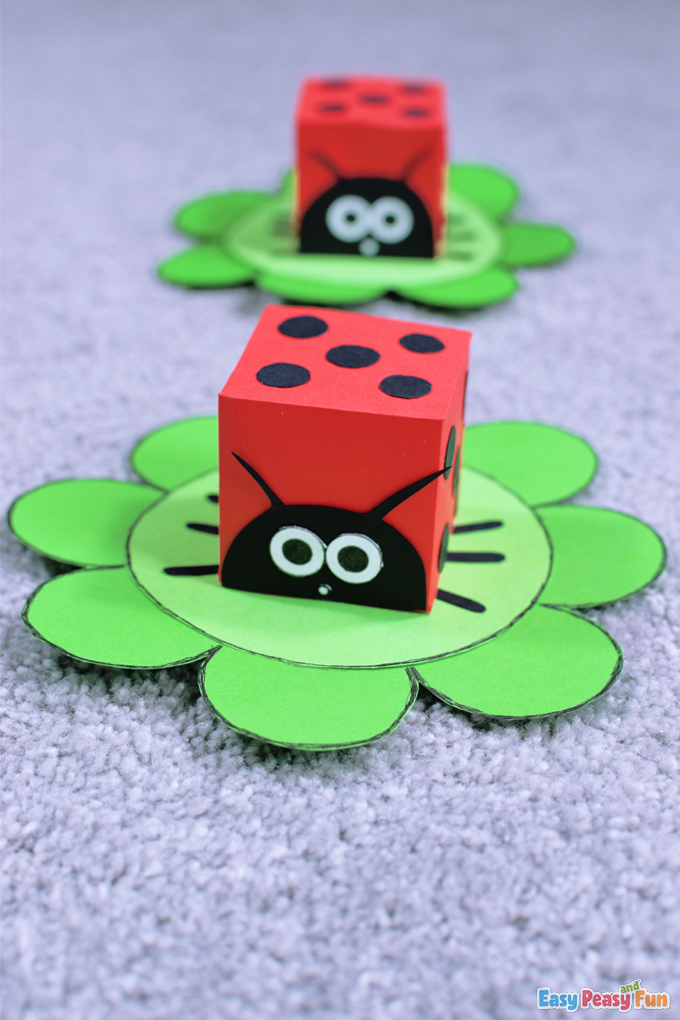
Apply some glue on the bottom of the box and attach the ladybug to the flower.
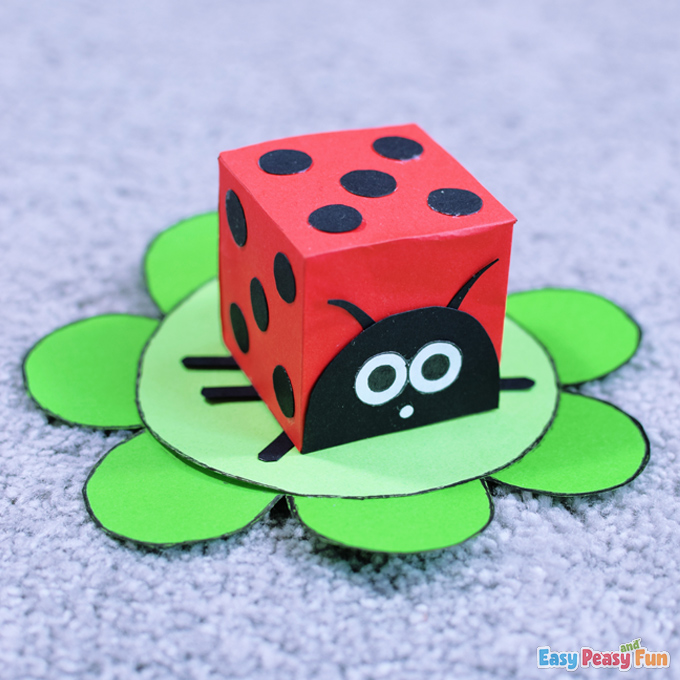
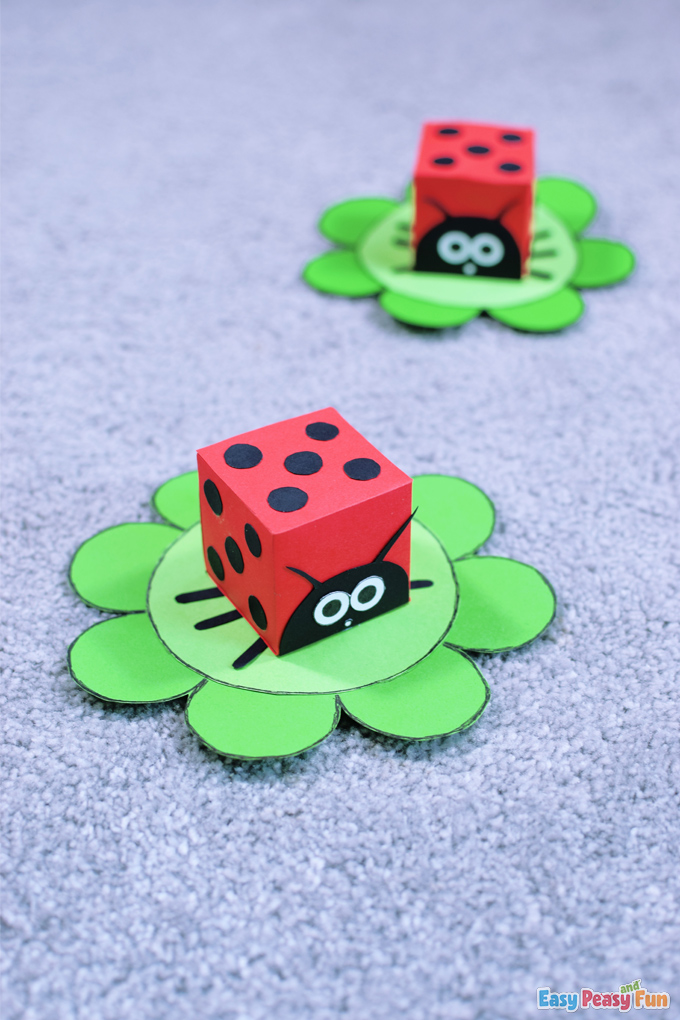
Yay!
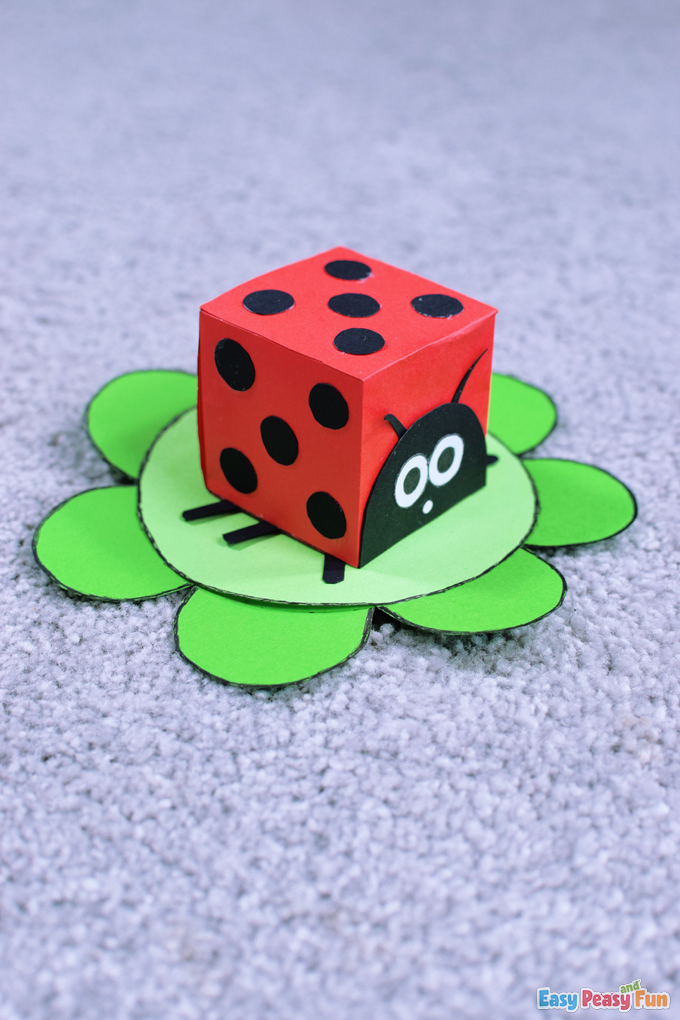
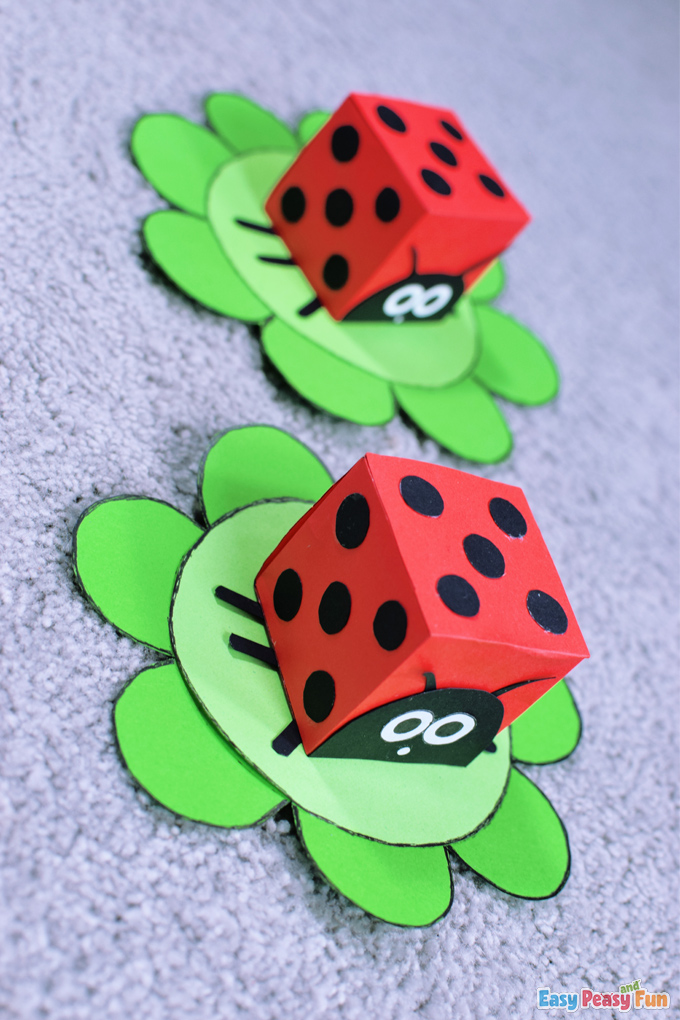
We are so happy when we see ladybugs taking a walk or a nap on flowers.
Aren’t they adorable?
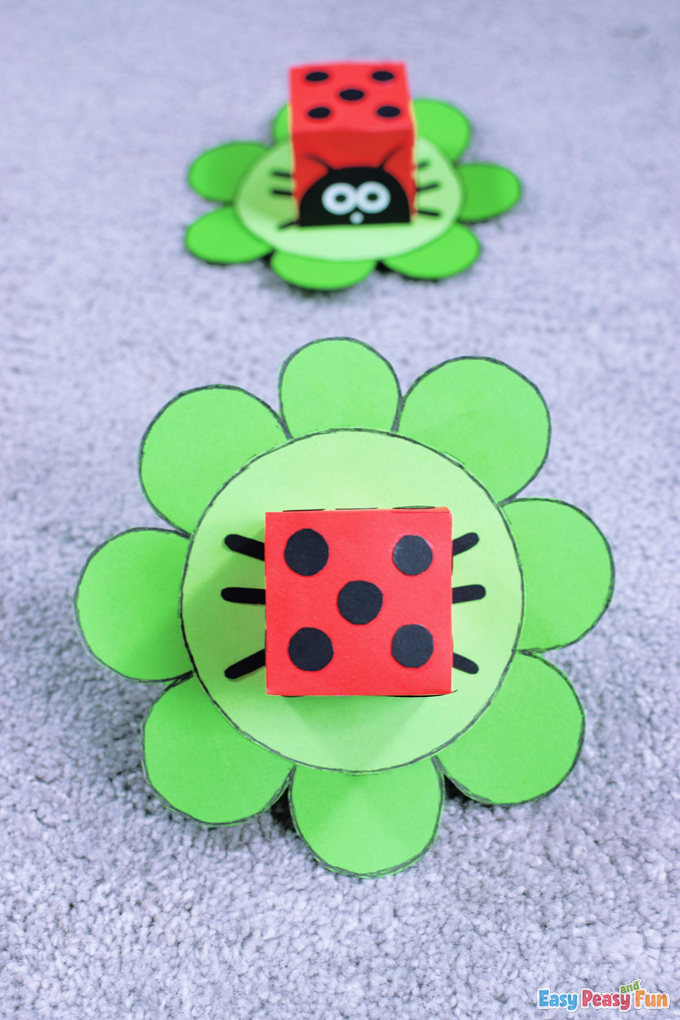
You can make as many as you want.
They’ll surely bring you luck.
Have fun crafting!
Get Your Ladybug Paper Toy Template Here
Want instant access to all of our printable crafts, activities, and resources?

With thousands of crafts, activities, worksheets, coloring pages, and drawing tutorials to print, you will always have just the resource you need at your disposal. Perfect for parents and teachers alike!