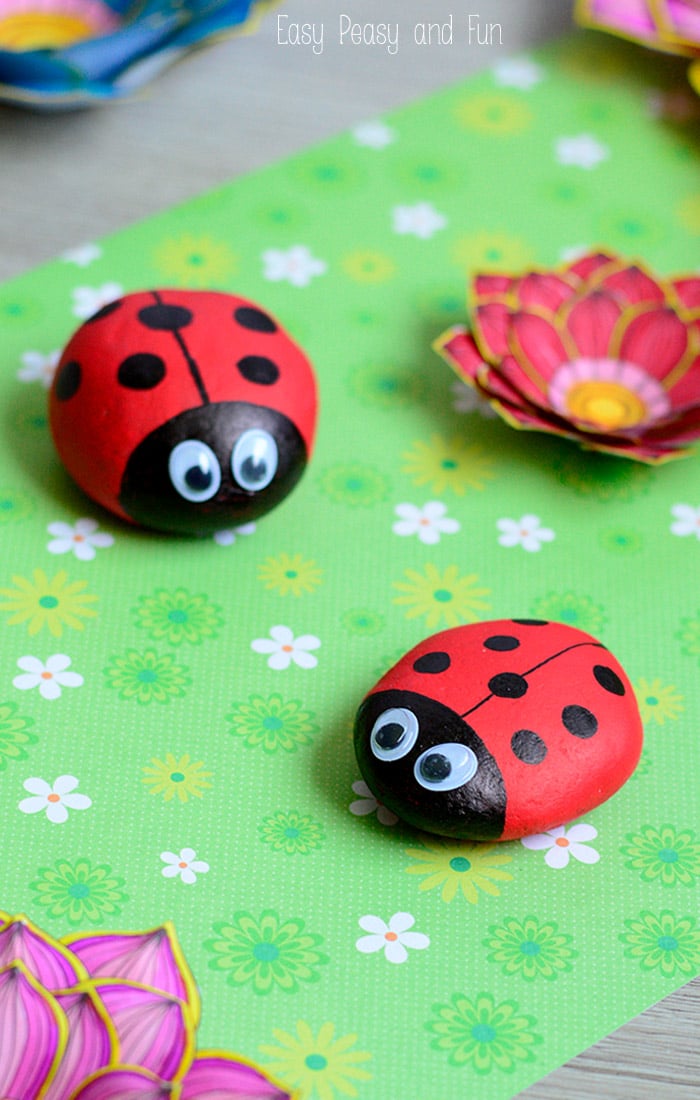
When you go on a next nature walk (or a trip to the dollar store) be sure to pick up some rocks as we’ll be making cute painted ladybug rocks craft.
These cute little bugs will look great indoors and outdoors, can’t you just imagine them scattered around in the garden?
*this post contains affiliate links*
Ready to make a bunch of ladybirds?
Cute Painted Ladybug Rocks
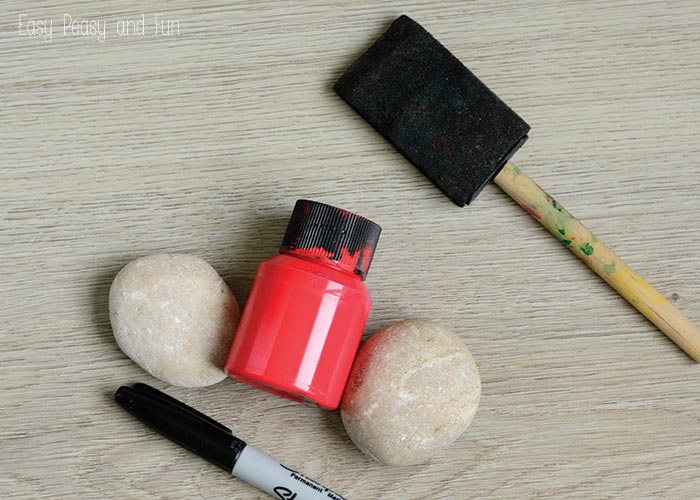
What you need
- rocks (quite obviously)
- red paint (acrylics work out great
- paint brush (we love sponge brushes)
- black permanent marker or black paint
- wiggly eyes
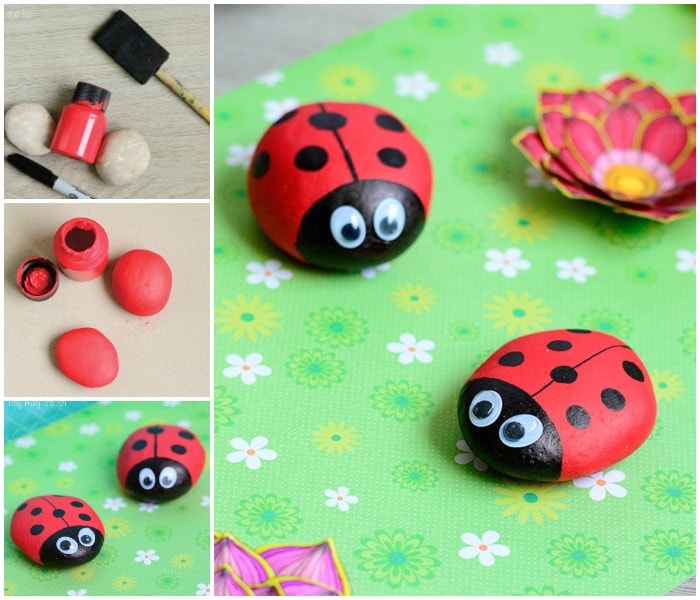
Start by washing the rocks to remove any dirt or dust they might have on. Dry them. Once dry color them red, depending on the color you might need to paint the stones with a few layers of paint.
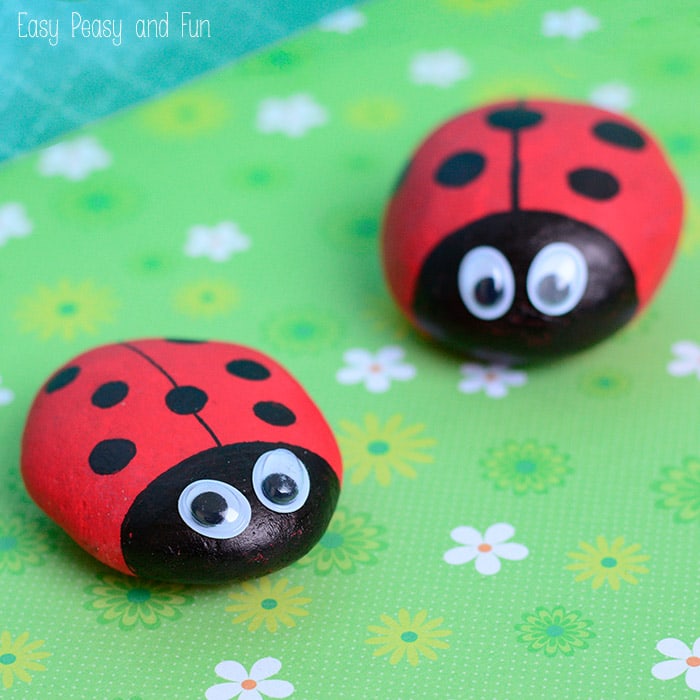
Once the paint is dry draw a straight line along the middle of the rock with a black permanent marker or paint. Color the head black (this will be easier with paint), we used a Sharpie to draw the details but it wasn’t as effective for coloring in the head so we used another permanent marker (Stabilo). Draw the 7 or more dots on the wings – these little bugs can have many, many dots.
Stick on two wiggly eyes. Alternatively you can paint them on.
If you’ll be showcasing these lovely painted ladybug rocks outside, I do recommend you seal them with varnish.
More crafts to make with your kids
We’ve made quite a few ladybug crafts already, be sure to check this simple ladybug paper craft or these leaf ladybugs.
If you’re a fan of rock crafts you should give these rock monsters a go, they will make super silly rock pets.
Want instant access to all of our printable crafts, activities, and resources?

With thousands of crafts, activities, worksheets, coloring pages, and drawing tutorials to print, you will always have just the resource you need at your disposal. Perfect for parents and teachers alike!

