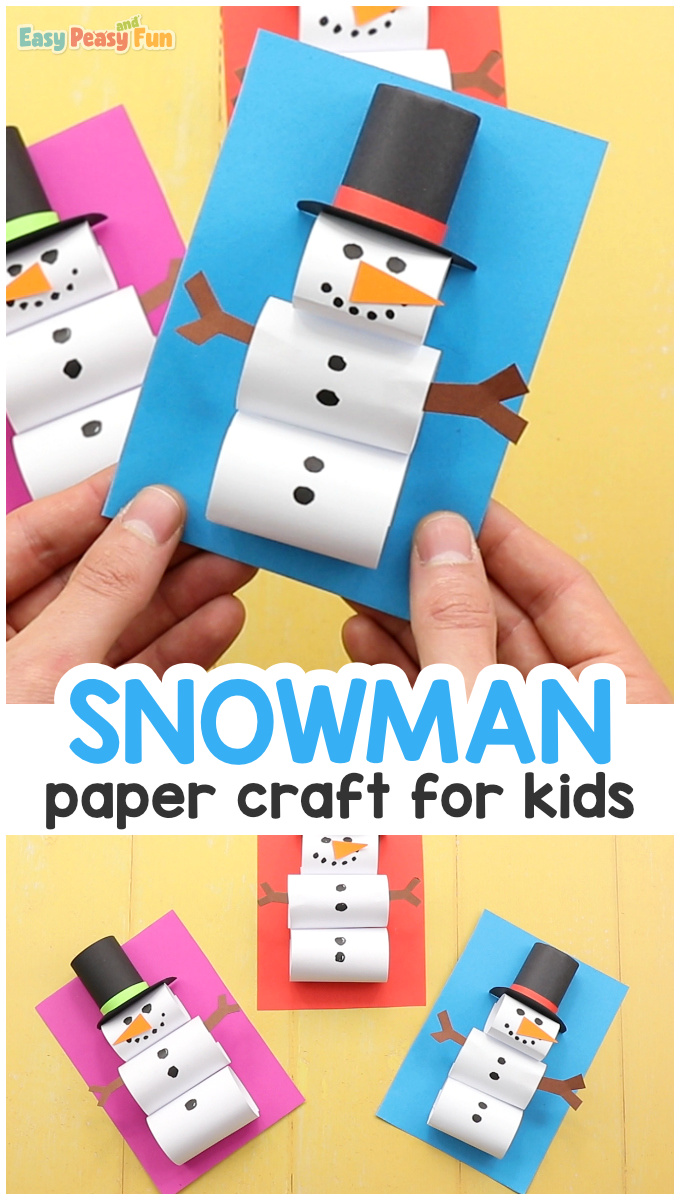
Making snowmen out in the snow is the best, but if there is no snow outside (or if it’s just too cold) – our tutorial will teach you how to make a paper snowman craft that is just as fun. Well almost as fun.
You can really play with colors with this craft.
*this post contains affiliate links*
50 paper crafts your kids can actually do themselves

No fancy supplies — just paper, scissors, and a little imagination.
Be the first to get it on release day — and lock in the lowest price guaranteed.
Snowmen are great as Christmas crafts (you can even make Christmas cards) and winter crafts for kids to make – you can make them super festive or keep them simple.
These make a great classroom craft too as they will look amazing displayed on a bulletin board, especially if you use different colored backgrounds to make them on.
How to Make a Paper Snowman Craft
What you need:
- white paper
- black paper
- orange paper
- brown paper
- colored cardstock for backgound
- scissors
- glue
- black marker
Step by Step Tutorial
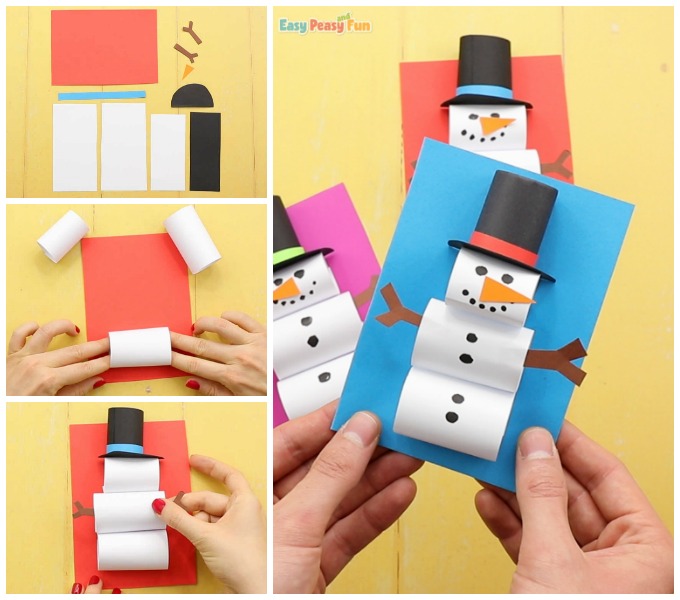
Prepare your papers.
You will need a larger rectangle for the background – we used a card sized rectangle (we folded a sheet of paper in half two times and cut it to get our rectangle).
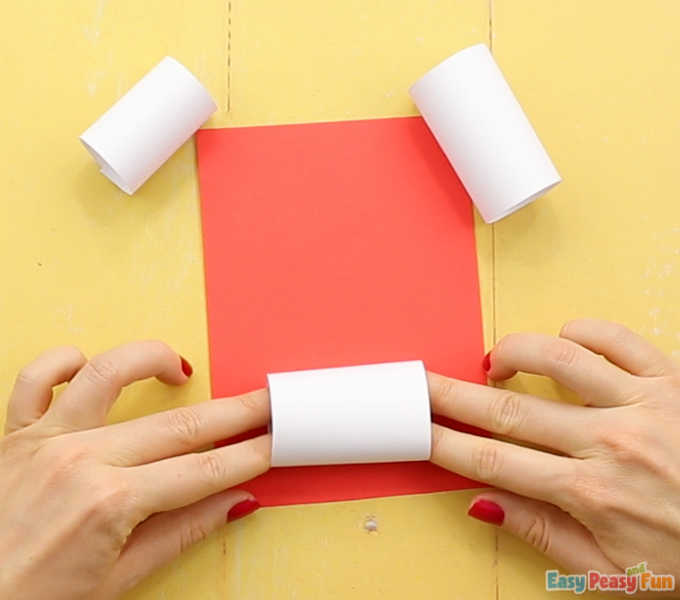
Next you will need 3 strips of white paper, 2 about the same size and one smaller (and thinner).
A strip of black paper (roughly the size of the smaller white strip) for the had.
A half circle from black paper will also be needed for the snowman hat.
If you want to make the snowman hat more colorful, a thin strip of paper (in this tutorial we are using blue) will also be needed.
Last but not least, a small triangle for the snwoman nose (you can also use a orange or red pom pom instead) and two brown twig shaped pieces for hands.
There is no need for exact measurements here, the craft will turn out great.

Start by making the snowman body.
Take the three strips of white papers and glue the ends together, making 3 paper rolls.
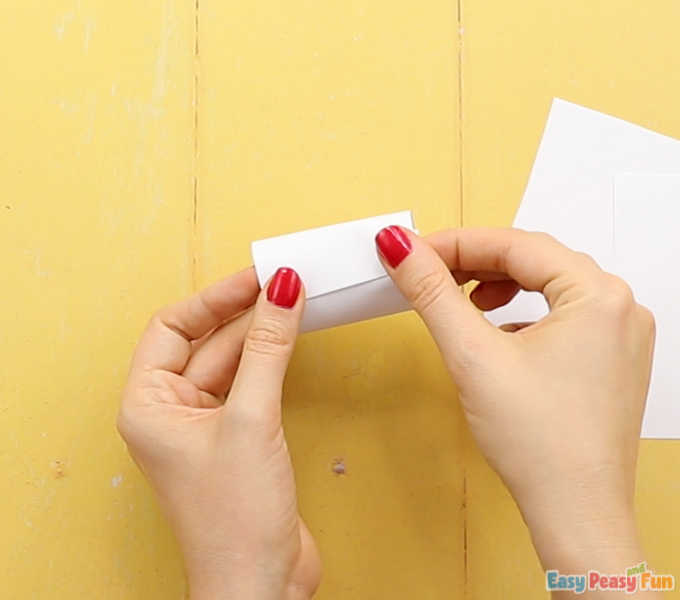
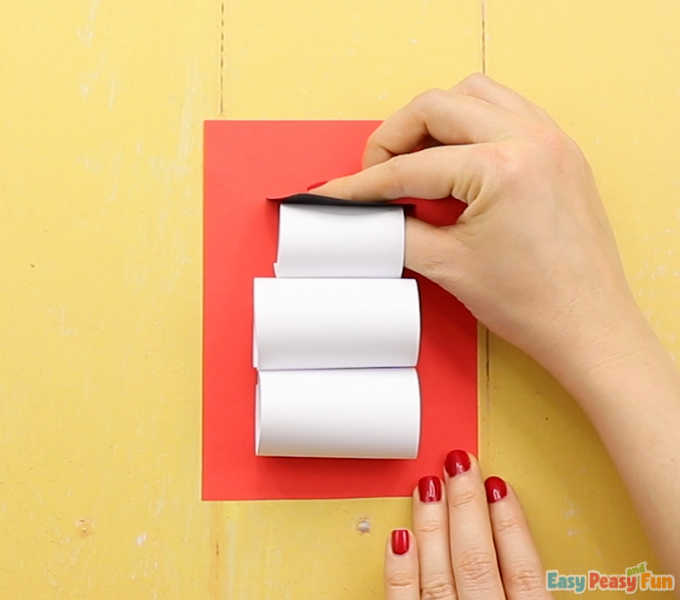
Allow for the glue to set, once set, apply glue on one of the larger paper rolls…
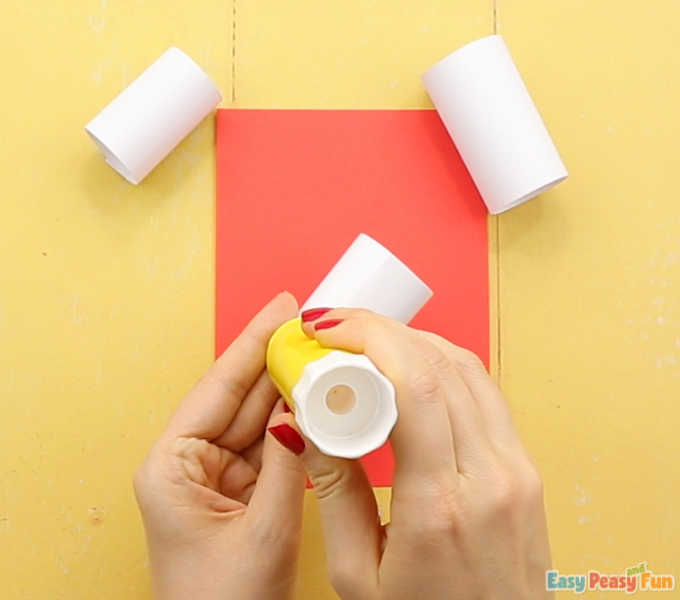
…and stick it on the bottom of the base paper.
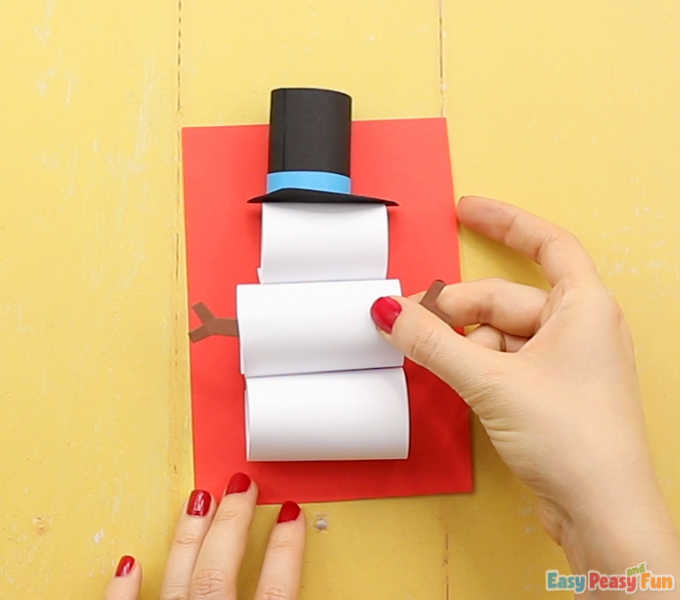
Take the second large roll, apply glue and stick it above the first one.
Do the same with the smaller white paper roll.
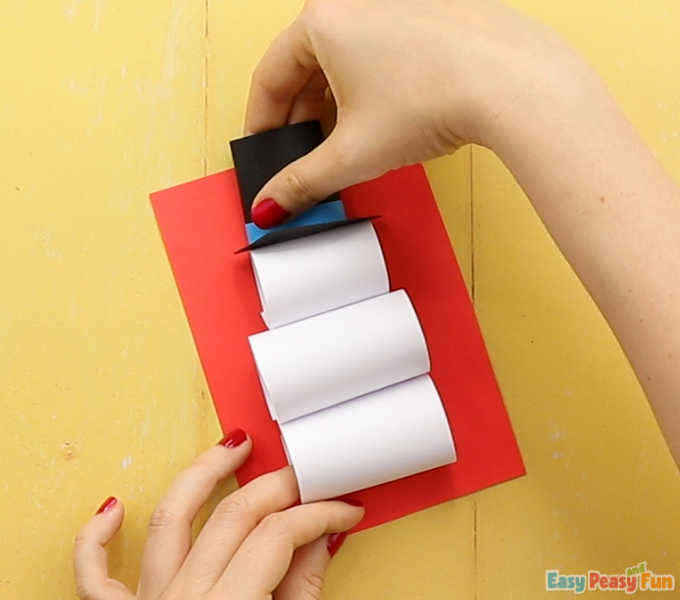
Next take the black half circle and apply glue on one side.

Stick the half circle on top of the snowman (the smallest of the 3 paper rolls).
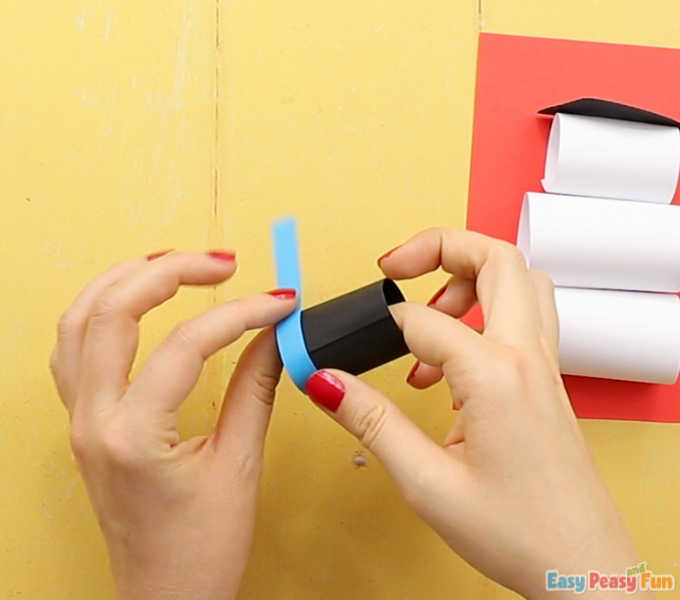
Take the black paper strip and make a paper roll out of it (glue the ends together).

If you want to decorate it, stick the (blue) thin strip of paper around the black paper roll (at the bottom).
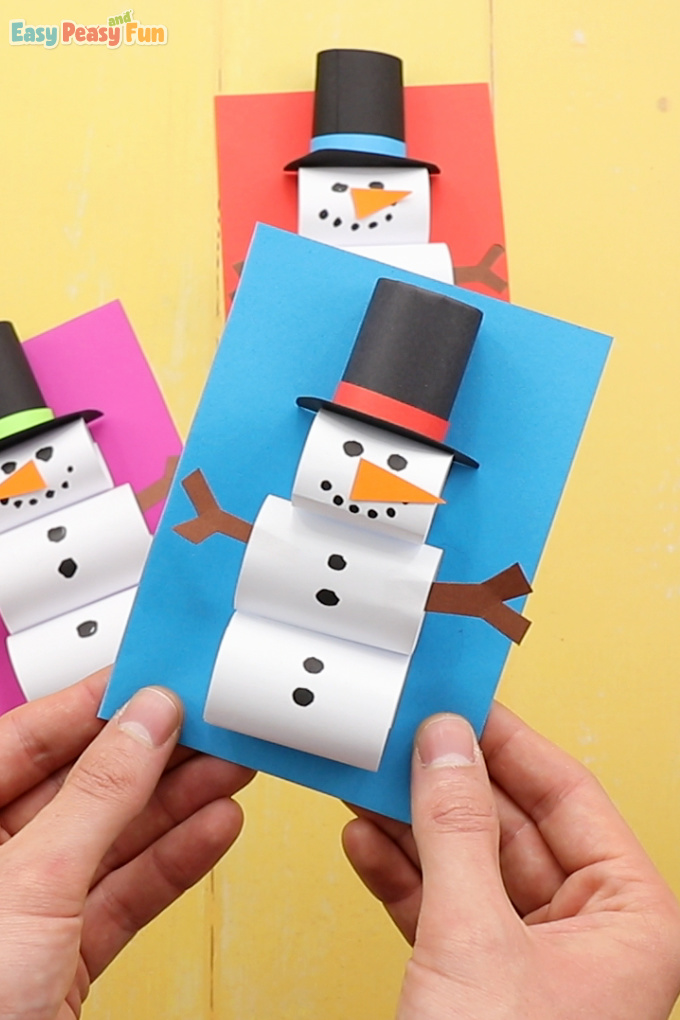
Apply glue on the paper roll and stick it on the card, just above the black half circle.
Add a bit of glue at the end of the branches (brown paper ones) and stick them on the snowman.
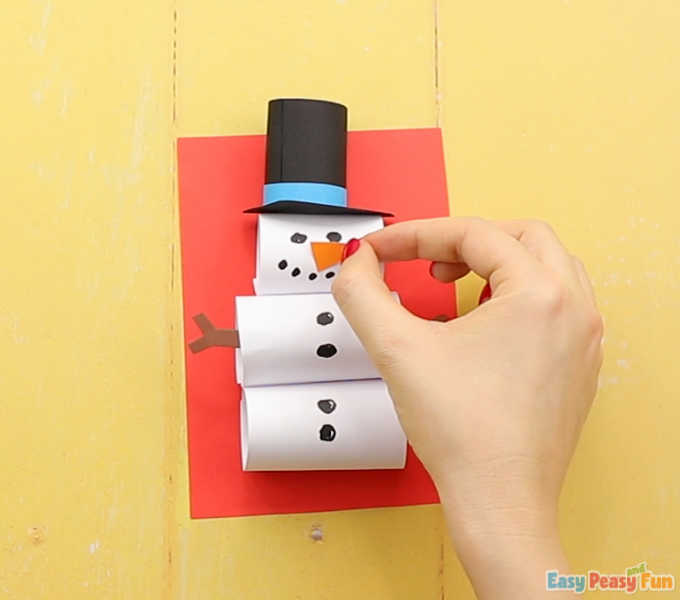
Draw the eyes, mouth and buttons with black marker (or other marker if you want the buttons to be colorful).

Add a bit of glue on the orange triangle and stick it on the snowman.
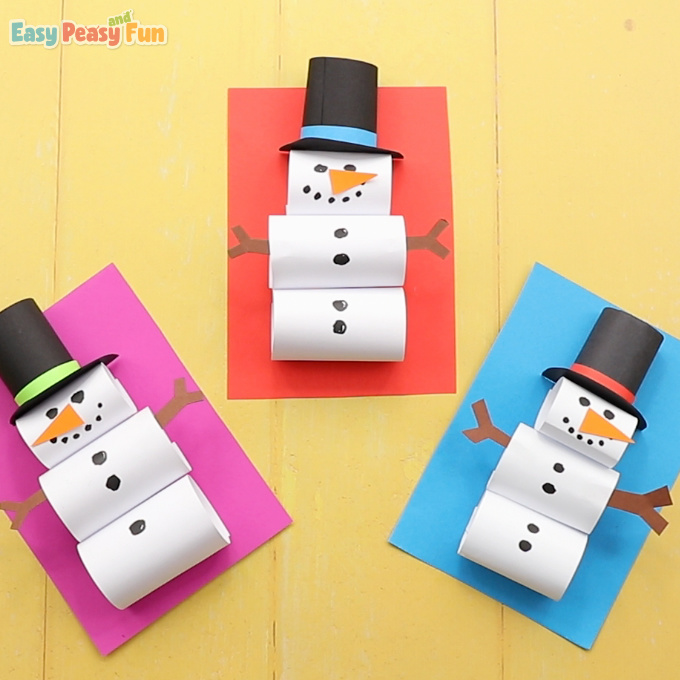
All done! Now you know How to Make a Paper Snowman Craft and you can show your kids.
Make a whole bunch of them.
Want instant access to all of our printable crafts, activities, and resources?

With thousands of crafts, activities, worksheets, coloring pages, and drawing tutorials to print, you will always have just the resource you need at your disposal. Perfect for parents and teachers alike!