Ever tried to draw an ear of corn and ended up with something that looks more like a weird alien club? You are definitely not alone. Sketching food can be surprisingly tricky, especially when you are trying to give a simple vegetable a whole lot of personality.
If you want to learn how to draw a cute, chubby corn cob complete with little eyes and a happy smile, you are in the right place. In this step-by-step guide, I will break down the process into super simple shapes so your kids can sketch their own sweet little harvest buddy in just a few minutes. Let’s get drawing!
*This post contains affiliate links*
Hi, I'm Andreja from Easy Peasy and Fun — and I just wrote a book!
50 paper crafts your kids can actually do themselves
CRAFTS
I designed every project so kids can do it themselves — no fancy supplies, just paper, scissors, and a little imagination.
“If you need easy crafts to keep busy, Andreja delivers with this book!”
📚 As an indie author, your pre-order genuinely helps me — it counts toward first-week sales, which is how new books get noticed. Thank you!
I love sharing these how to draw tutorials, they are great to hand out to kids in classroom and are perfect to build drawing confidence.
This one also pairs nicely with my how to draw an apple tutorial.
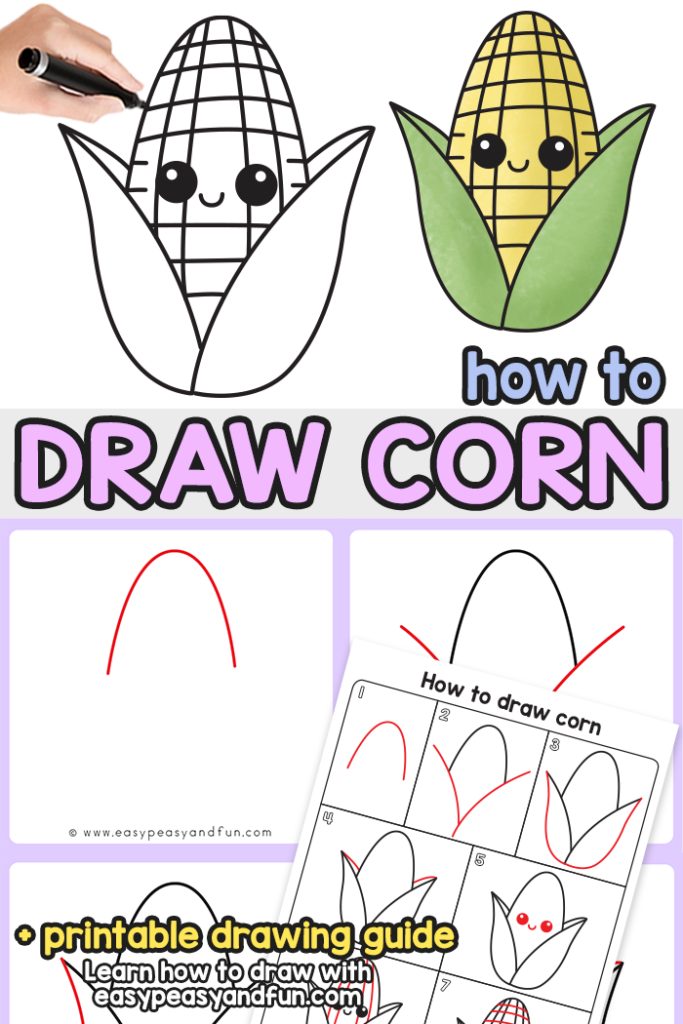
How to Draw Corn Step by Step
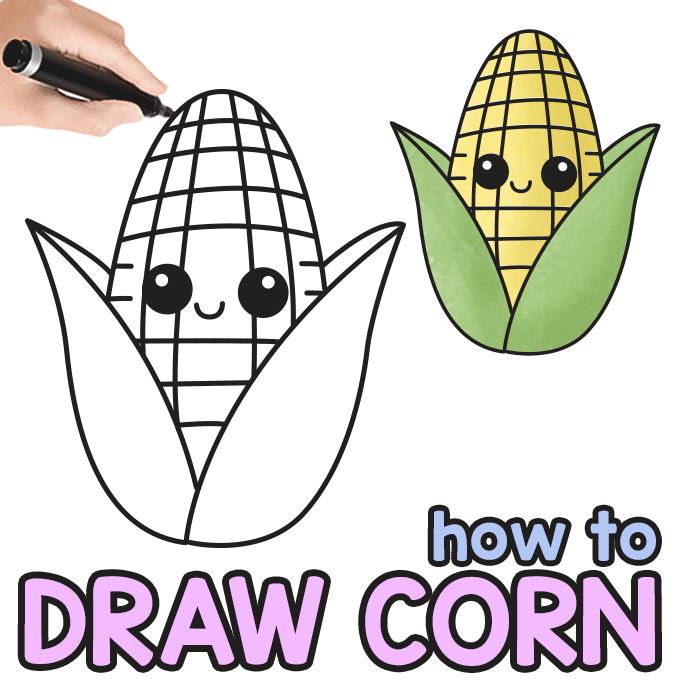
What you need:
- our printable drawing guide (optional)
- pencil or black marker
- paper
Step by Step Corn Drawing Instructions
Step 1
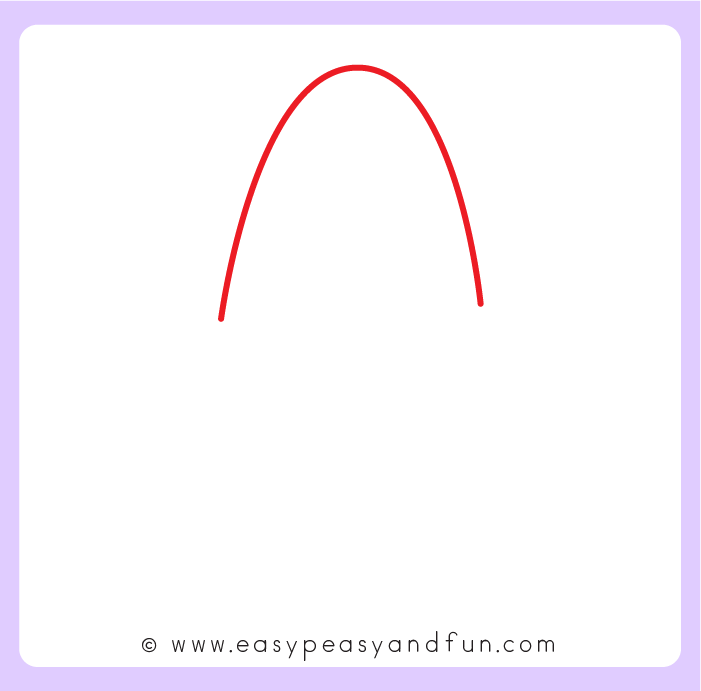
Draw a simple, curved arch line in red to outline the top dome of the corn cob.
The line curves upward smoothly, already pointing to the rounded top shape of the vegetable.
Step 2
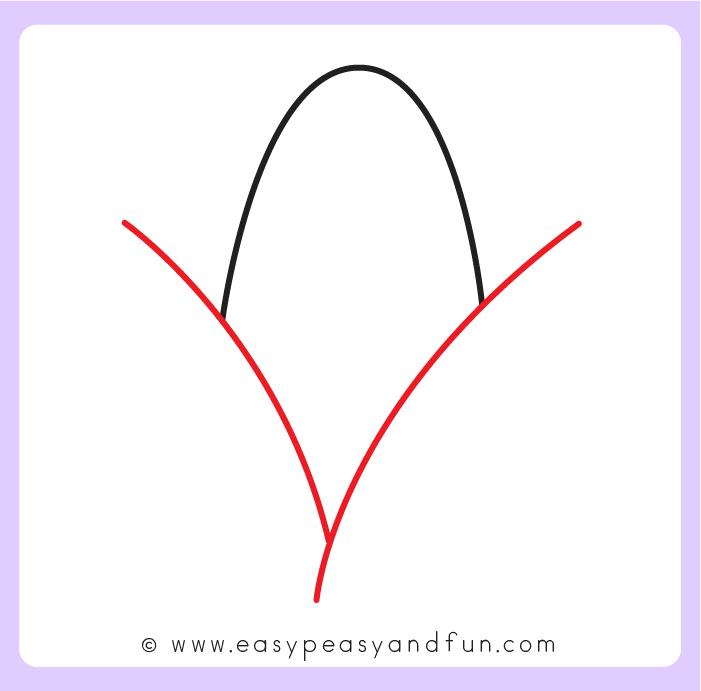
Next, draw the husk leaves surrounding the lower part of the corn.
Add two curved lines that extend upward and outward from a central point at the bottom, framing the bottom edges of the arch you drew in the first step.
Step 3
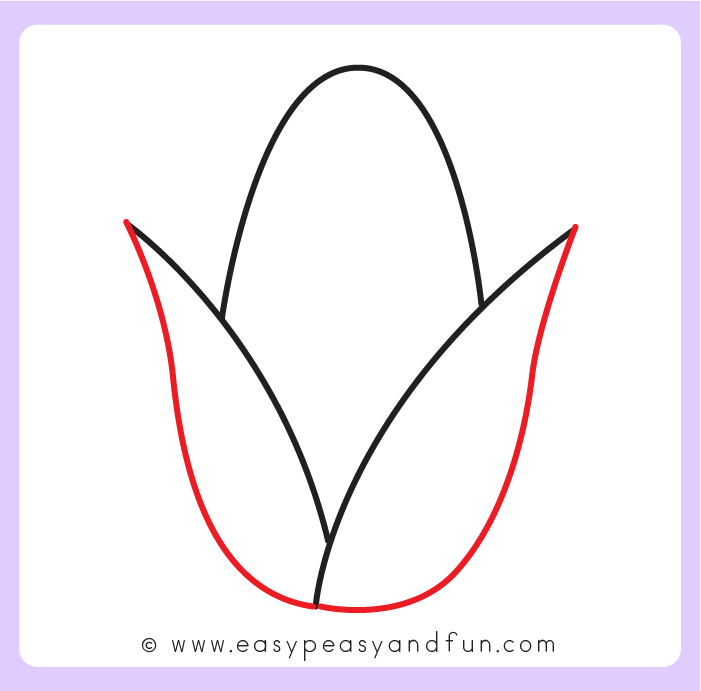
Add a short curved line at the bottom base to connect the outer edges of the leaves, giving the husk a more rounded, complete shape.
Step 4
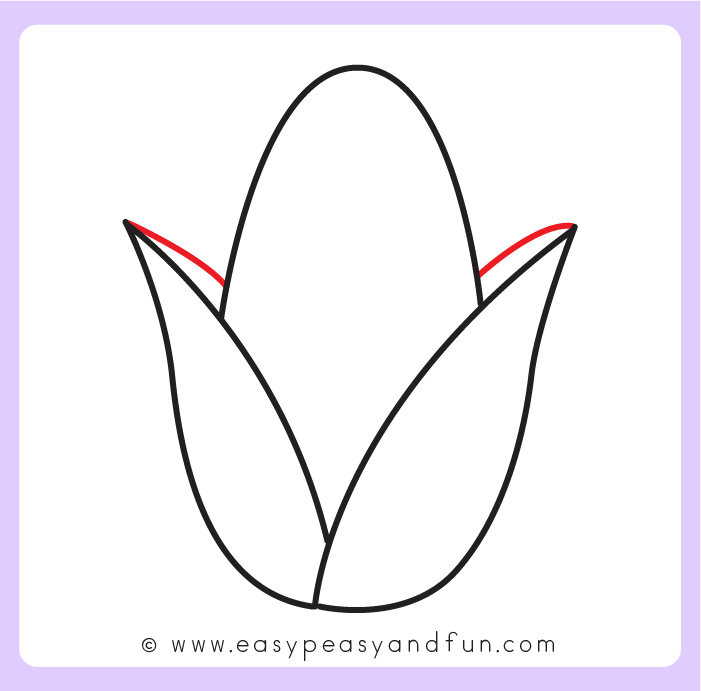
Draw small, curved lines on the inner side of each leaf tip. These extra lines give the husks a layered, 3D look where they fold outward.
Step 5
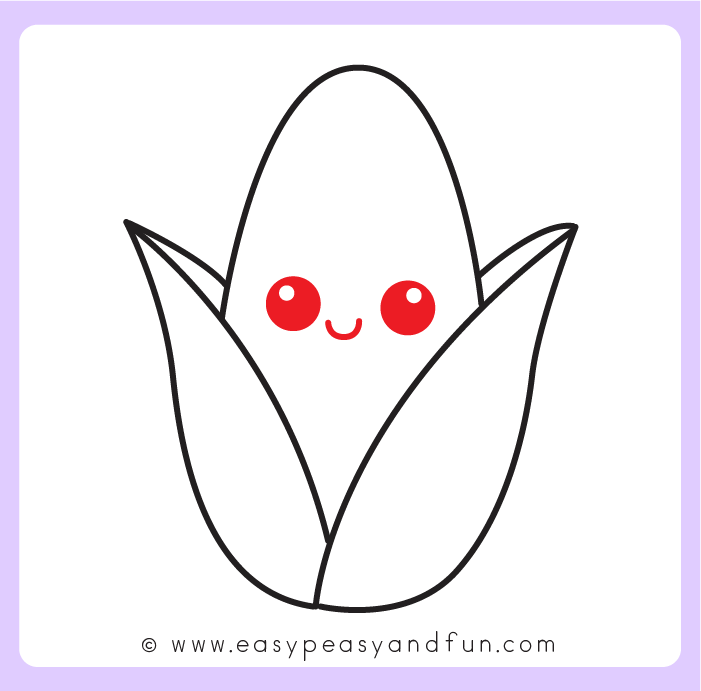
Add a cute face to the middle of the corn. Draw two round, solid-filled circles for the eyes with small white dots inside for highlights, and a simple curved line underneath for a happy little smile
Step 6
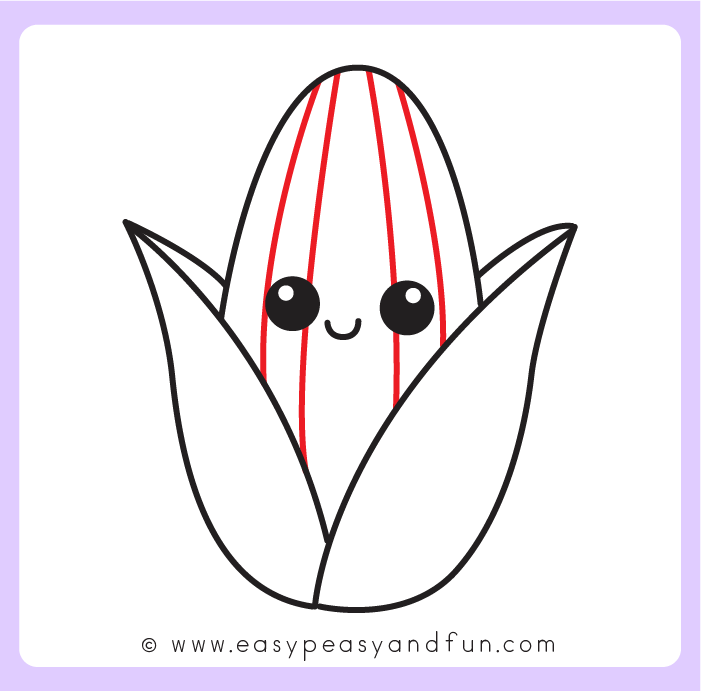
For this step, draw several vertical, slightly curved lines running from the top of the corn cob down to the base. These lines help form the vertical rows that divide the surface of the cob.
Step 7
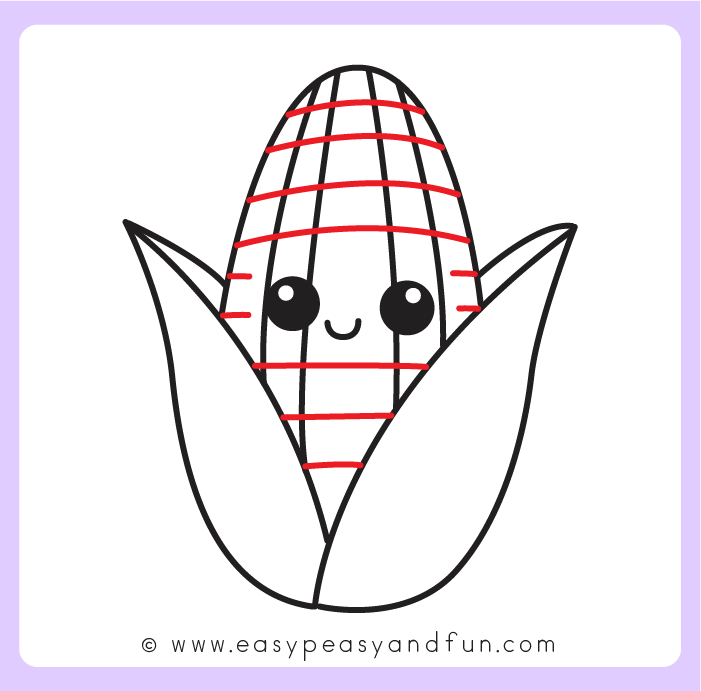
Finish up your corn drawing by adding several horizontal, slightly curved lines running across the vertical sections of the corn cob.
These intersecting lines complete the grid pattern, creating the individual kernels across the vegetable’s surface.
Step 8
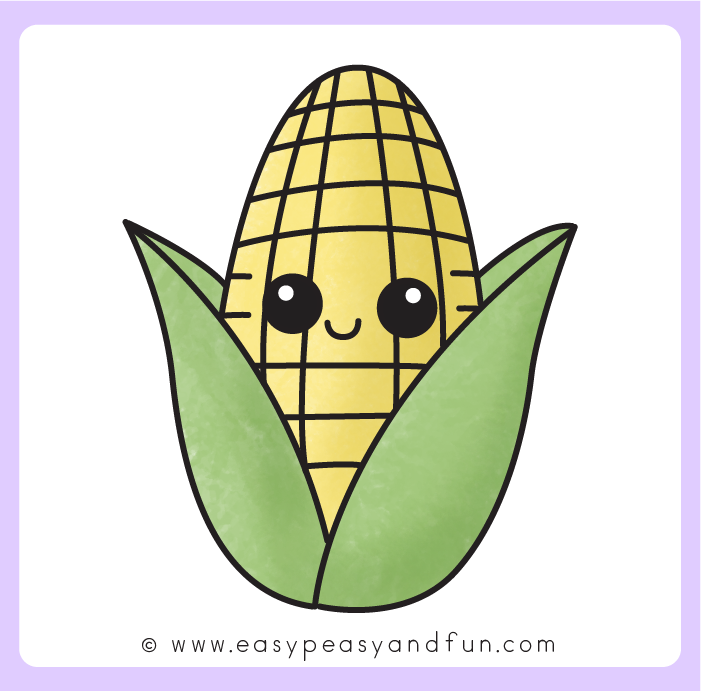
The last thing to do is to color your cute little corn.
Get the Corn Guided Drawing Printable
The printable drawing guide is available to members of the Easy Peasy and Fun membership.
To access the template, log in to your account or become a member.
Already a member? Log in here.
Want instant access to all of our printable crafts, activities, and resources?
With thousands of crafts, activities, worksheets, coloring pages, and drawing tutorials to print, you will always have just the resource you need at your disposal. Perfect for parents and teachers alike!