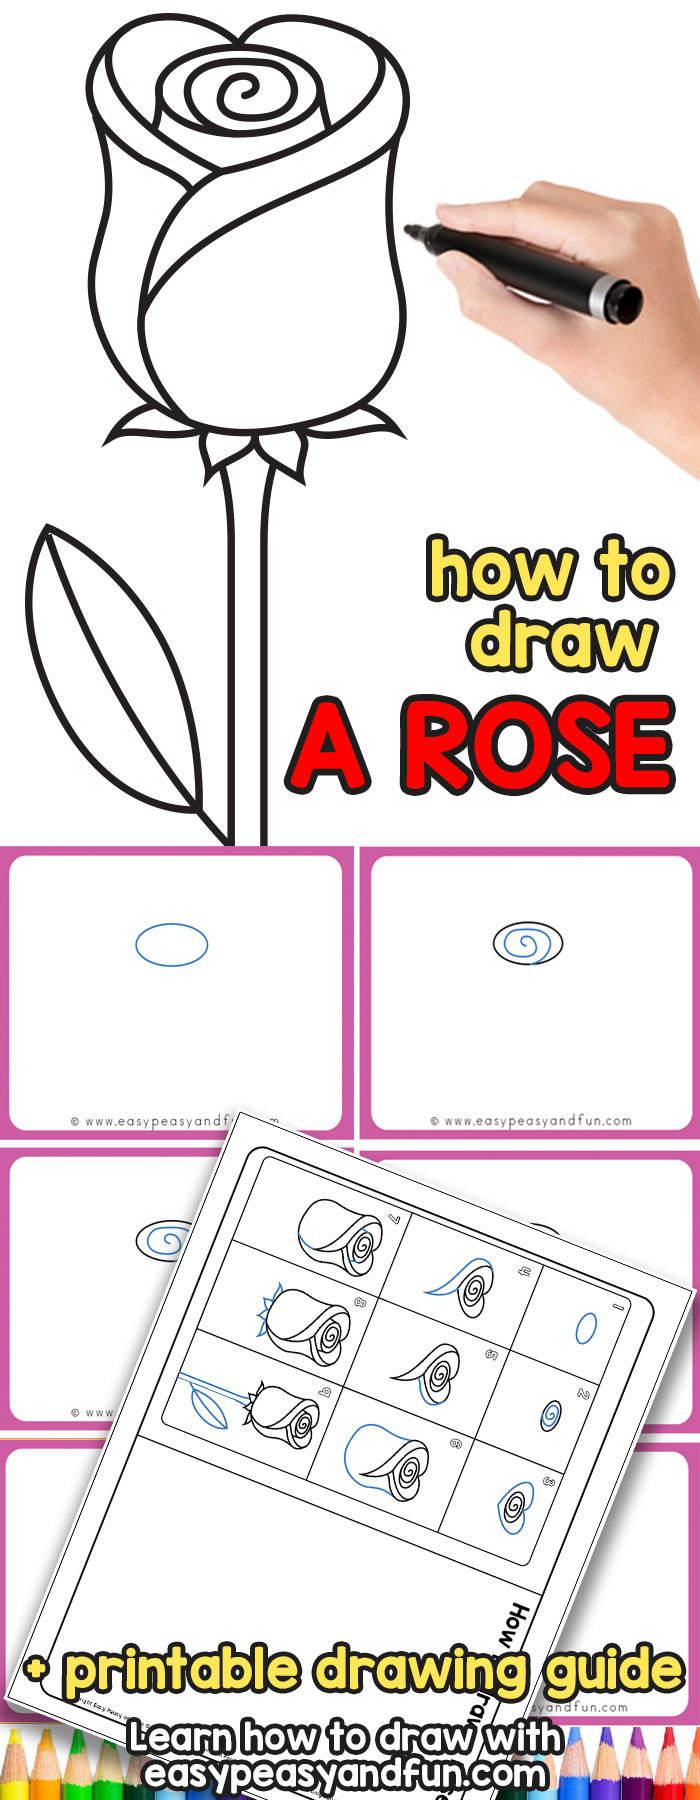
This how to draw a rose step by step tutorial makes drawing this beautiful flower super easy, making it perfect for beginners as well as kids.
With just a few simple shapes and strokes, you will be drawing dozens of roses in no time. As with our other drawing tutorials, you can grab a printable directed drawing template so you can practice drawing anywhere you go.
*this post contains affiliate links*
50 paper crafts your kids can actually do themselves

No fancy supplies — just paper, scissors, and a little imagination.
Be the first to get it on release day — and lock in the lowest price guaranteed.
For more drawing tutorials, check out the collection of how to draw tutorials.
Roses are, without a doubt, one of the most gorgeous (and wonderful smelling) flowers. We created this tutorial in a way that it’s both simple to draw and turns out beautiful no matter your skill level, capturing the essence of this flower. This rose drawing has a bit more steps than most of our other guides, as we wanted to make the steps as clear and simple to follow as possible. Roses can look challenging to draw, but this one is not, we promise.
This one was tested by multiple beginners, and they were all surprised and excited about how wonderful their roses turned out (so we are really, really happy with that).
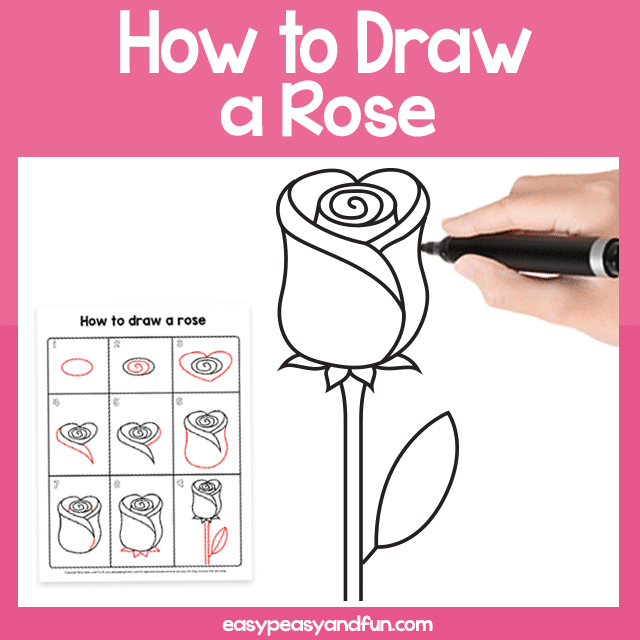
Ready to start drawing? Garb your favorite marker or pencil, and let’s get started!
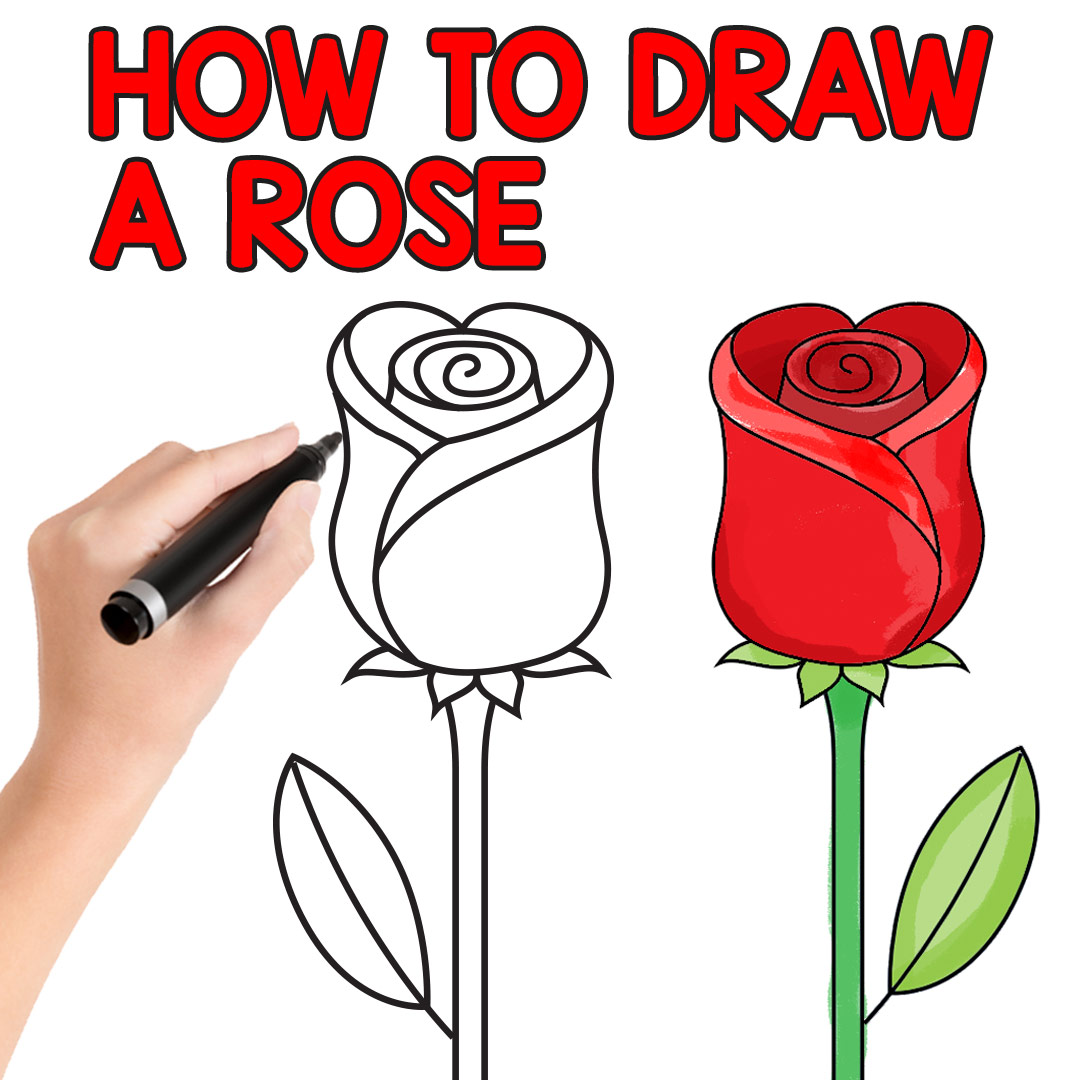
How to Draw a Rose Step by Step for Kids and Beginners
What you need:
- our rose-directed drawing template (grab it at the end of the tutorial)
- sheet of paper and printer
- your favorite drawing marker or pencil
- coloring supplies if you want to color in your picture
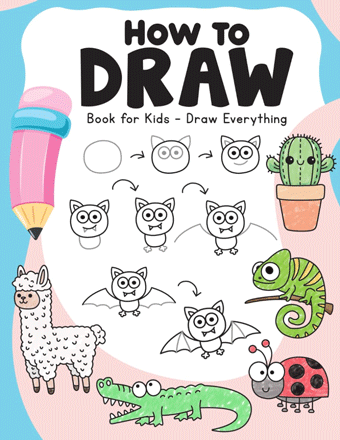
Our How to Draw e-Book is Here!
A must-have book with just over 100 easy-to-follow directed drawing guides for kids. With a variety of animals, magical creatures, vehicles, foods, plants and more your kids will never get bored.
Step 1:
Start your rose drawing by drawing an oval shape. It does not have to be perfect, as nothing in nature is. However you draw it, your rose drawing will look great.

Step 2
Draw a small spiral inside the oval. The direction of the spiral is not important, nor is the number of turns.

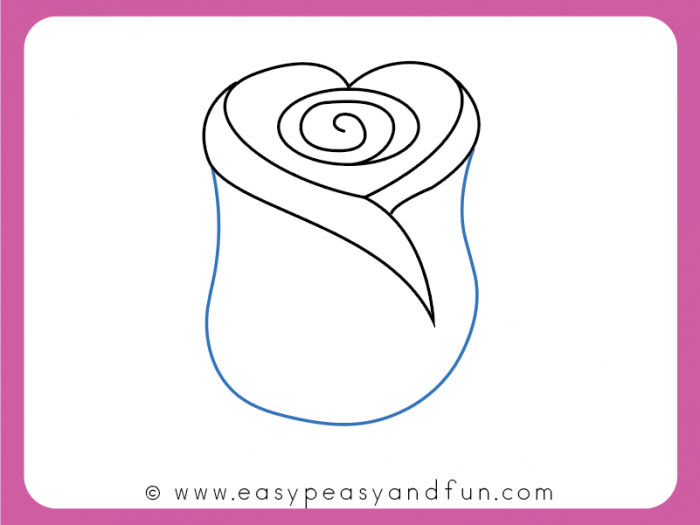
Step 3
Draw a heart around the spiral – start at the top with the heart cleft touching the oval shape. Again don’t worry about the shape of the heart, the left and right sides don’t have to look the same.
Other parts of the heart don’t need to touch the oval shape, but there is nothing wrong if they do.

Step 4
Draw a line following the heart shape – start at the top and do a nice curvy shape (like a very loose letter S). Make a pointy (V) shape. and bring it to the bottom of the heart.

Step 5
Make a similar shape on the other end of the heart, this time without the pointy tip, and draw the line so that it touches the previous shape.

Step 6
Now draw a U shape (you can make it a bit curvy at the top). Can you see the blossom of your rose forming?
Step 7
Add a few details. Draw a curved line from the tip of the V to the bottom of the blossom.
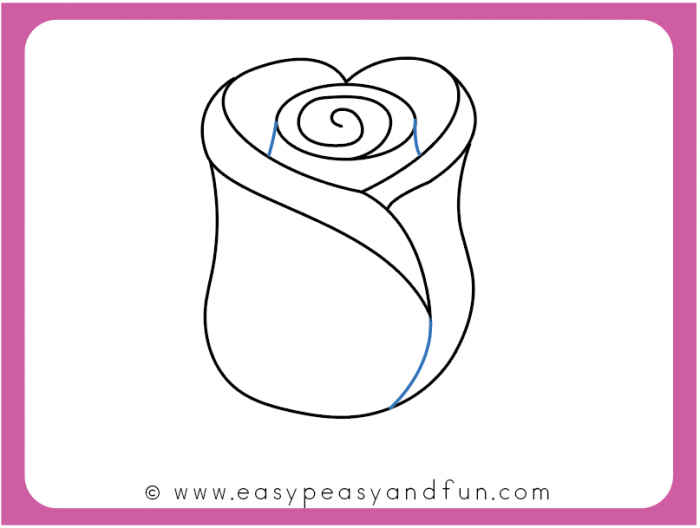
Also, add two lines connecting the oval shape to the heart shape – if your “heart shape” doesn’t touch the oval on the sides.
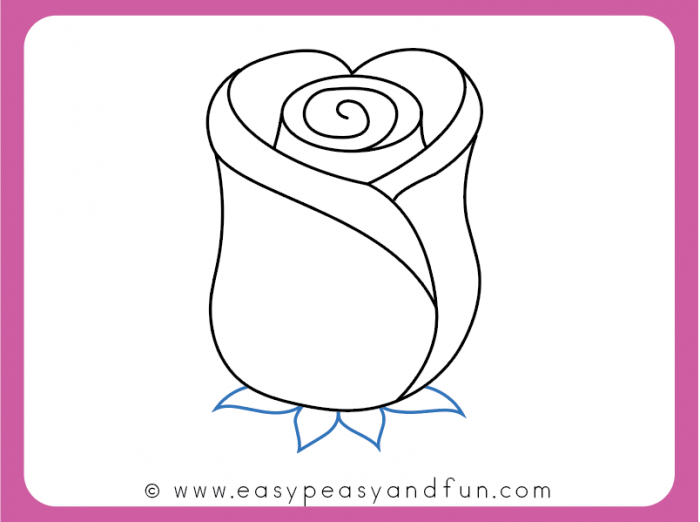
Step 8
Draw a few sepals under the flower.
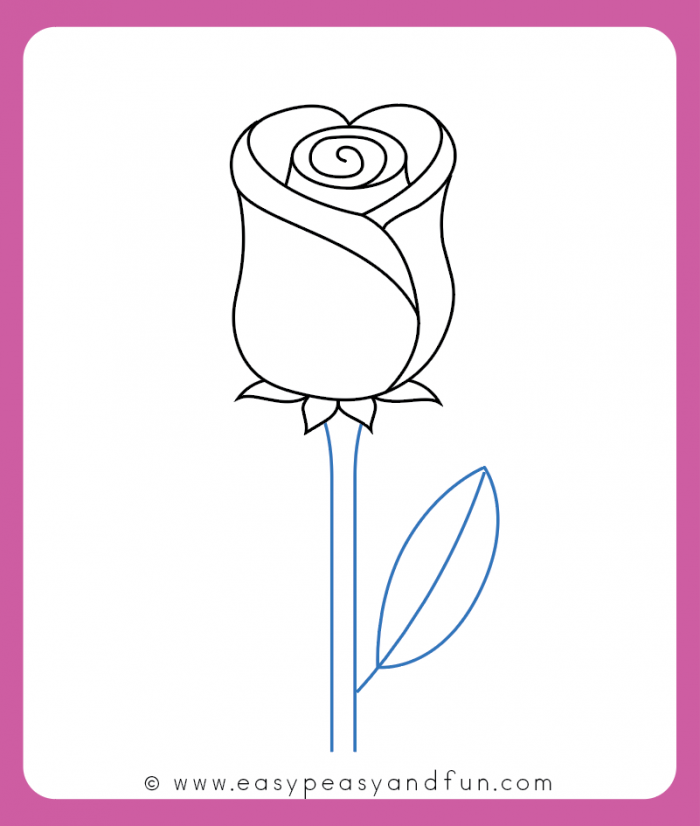
Step 9
Draw the stem and a leaf.
Step 10
Color your rose drawing.

Get the How to Draw a Rose Printable
Happy Drawing
Want instant access to all of our printable crafts, activities, and resources?

With thousands of crafts, activities, worksheets, coloring pages, and drawing tutorials to print, you will always have just the resource you need at your disposal. Perfect for parents and teachers alike!
Andrea, this “how to draw a rose” tutorial is so much fun, and easy. Thank you for the tutorial and for the drawing guide.
Ikr
it is so great!!!!