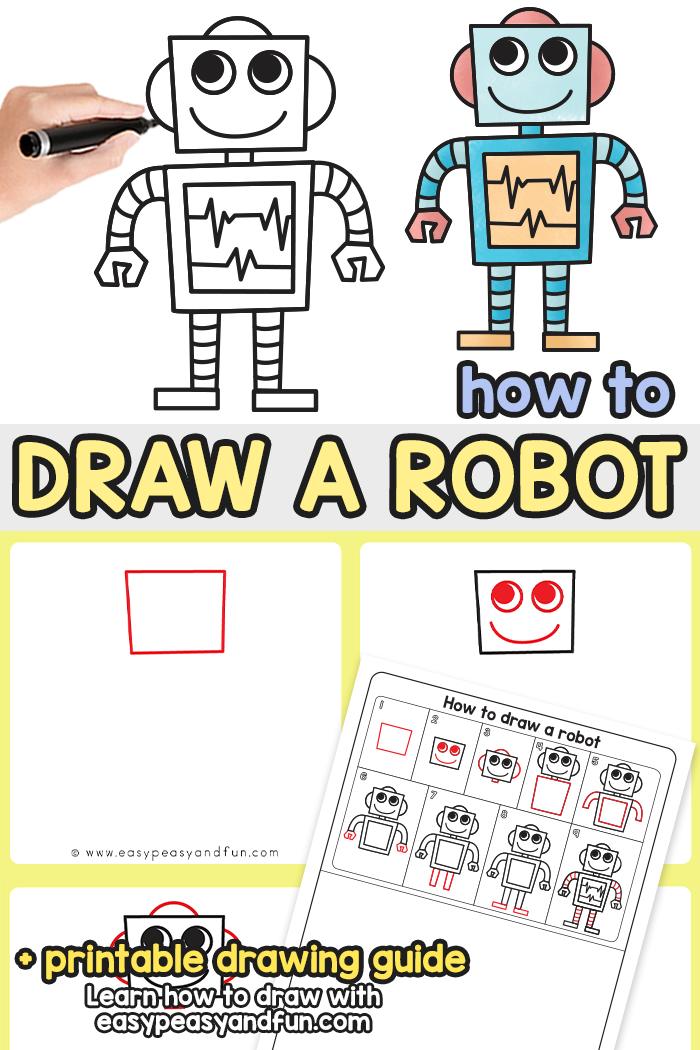
Robots are a perennial favorite for kids — they’re fun to imagine, fun to build out of cardboard, and as it turns out, pretty fun to draw too. This step-by-step robot drawing tutorial breaks the whole thing down into simple shapes, making it approachable for a wide range of ages and skill levels.
*This post contains affiliate links*
Hi, I'm Andreja from Easy Peasy and Fun — and I just wrote a book!
50 paper crafts your kids can actually do themselves
CRAFTS
I designed every project so kids can do it themselves — no fancy supplies, just paper, scissors, and a little imagination.
“If you need easy crafts to keep busy, Andreja delivers with this book!”
📚 As an indie author, your pre-order genuinely helps me — it counts toward first-week sales, which is how new books get noticed. Thank you!
It works well as a classroom activity, a rainy day project at home, or even a starting point for a bigger art lesson on shapes and symmetry. Kids who are just getting comfortable with drawing will find the square-based construction easy to follow, while older kids can have fun adding their own details and colors at the end.
How to Draw Robot Step by Step

What you need:
- our printable drawing guide (optional)
- pencil or black marker
- paper
Be sure to check our other how to draw tutorials for kids as we have plenty!
Step by Step Robot Drawing Instructions
Step 1
Draw the robot’s head. Start near the top of the paper to leave room for the body below. Draw a square — it doesn’t have to be perfectly even, a slightly rounded or uneven square gives the robot some personality.

Step 2
Add the face. Draw two large circles for the eyes, with a smaller filled circle inside each one. Then add a curved line near the bottom of the head for a simple smile.

Step 3
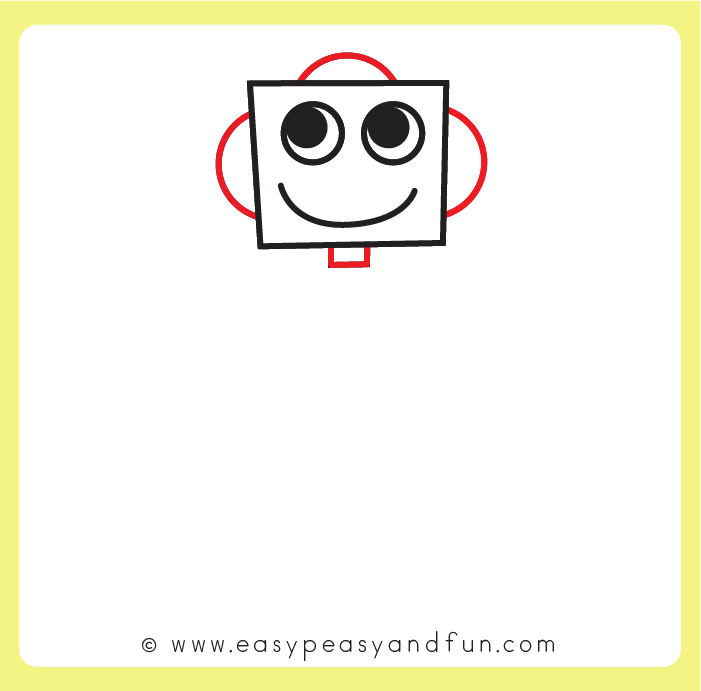
Add the ears and antenna. Draw a rounded bump on top of the head for the antenna. On each side of the head, draw an oval shape for the ears. Add a small rectangle at the bottom center of the head — this will connect to the body.
Step 4
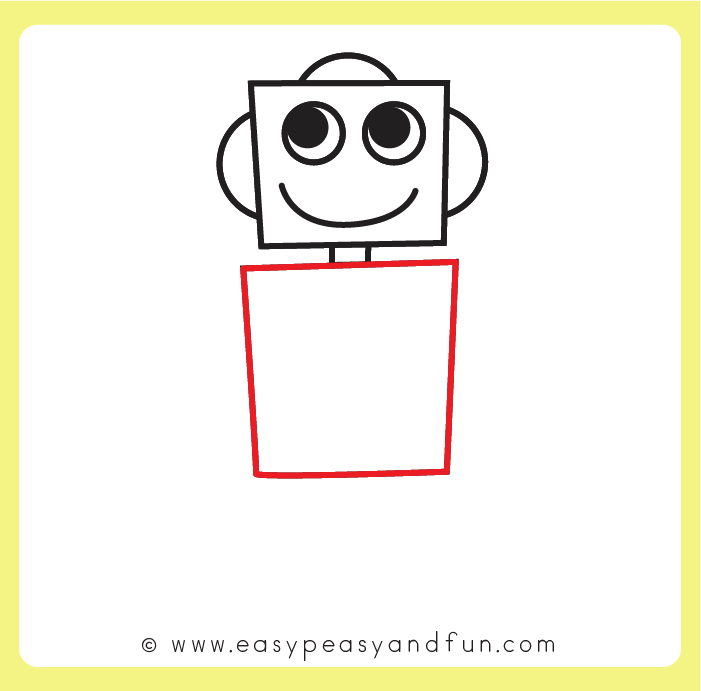
Draw the body. Below the neck connector, draw a large rectangle roughly the same width as the head. This is the robot’s torso.
Step 5
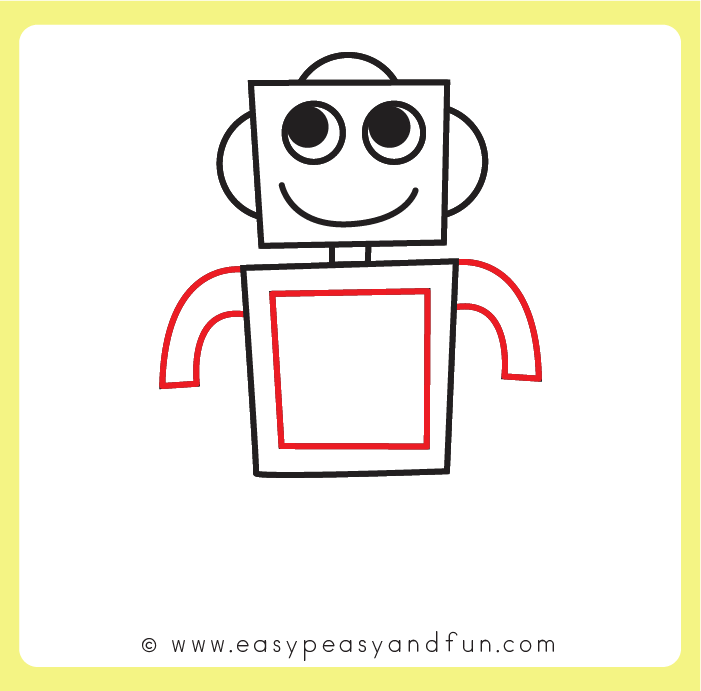
Add the arms and chest panel. Draw two arms extending from the sides of the body — each one curves outward and then back down. Inside the body rectangle, draw a smaller square to serve as the robot’s chest screen or panel.
Step 6
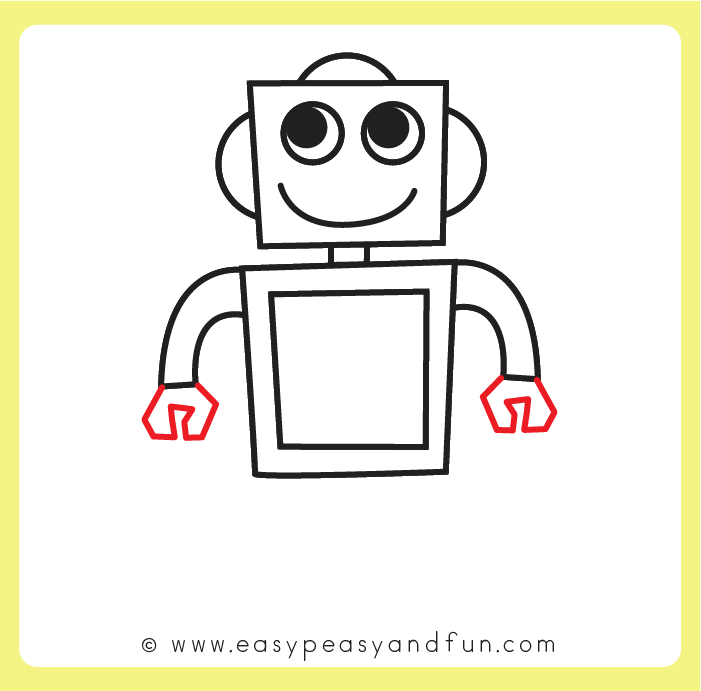
Draw the hands. At the end of each arm, add a small claw-like hand shape — two or three rounded prongs work well to give it that classic robot look.
Step 7
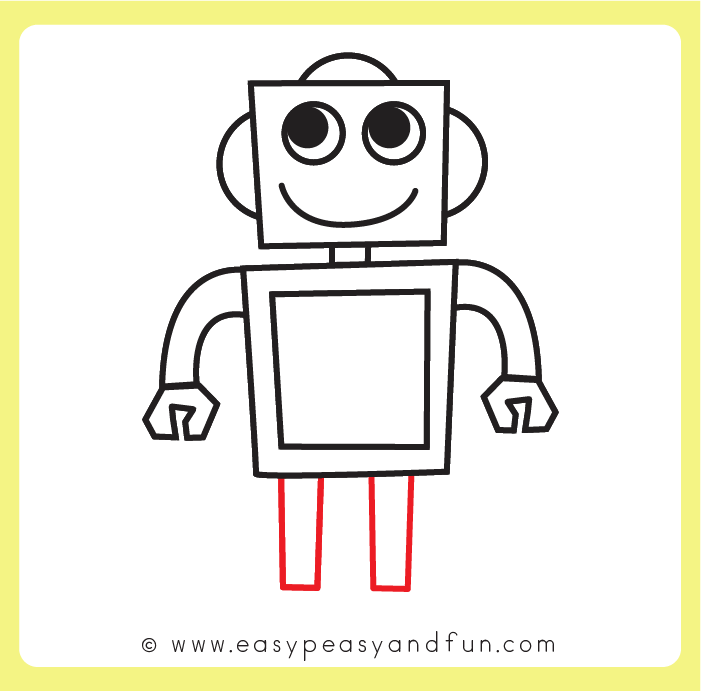
Add the legs. From the bottom of the body, draw two rectangular legs side by side, leaving a small gap between them.
Step 8
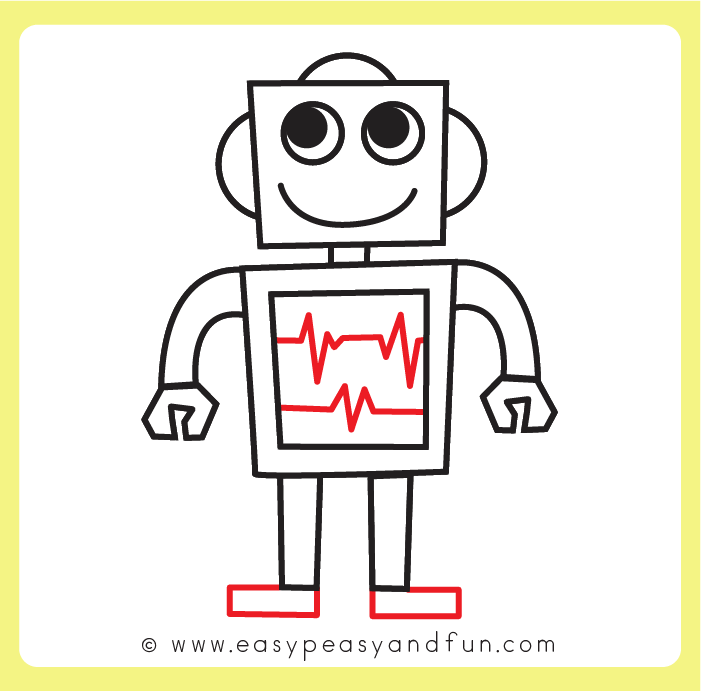
Add the feet and chest details. Draw a wide flat rectangle at the bottom of each leg for the feet. Inside the chest panel, add a zigzag heartbeat line — this gives the robot some character and is a fun detail for kids to draw.
Step 9
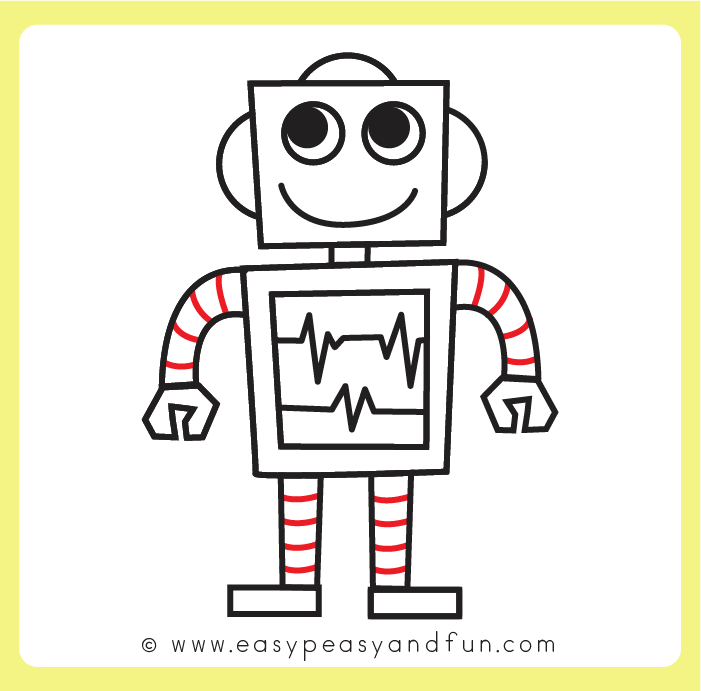
Add stripe details. Draw horizontal lines across the arms and legs to give the robot a segmented, mechanical look. These simple lines make a big difference in the finished drawing.
Step 10
Color the robot. Go over all the pencil lines with a black marker, then color in the drawing. Blues and teals work well for the body, with a contrasting color for the ears, hands, and feet. The chest panel looks great in a warm tone to stand out from the rest of the body — but kids can go in whatever direction they like.
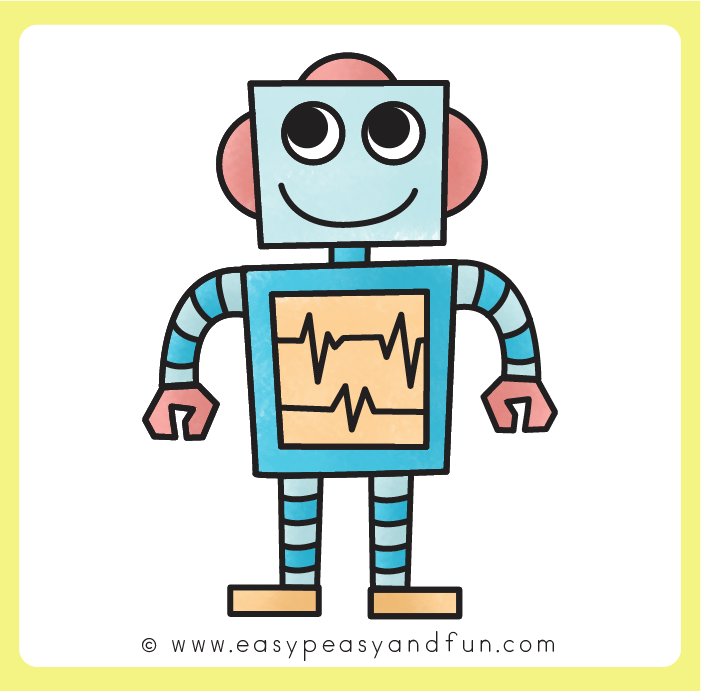
Once finished, kids have a robot they can use as a jumping-off point for a whole scene — add a background, draw a robot friend, or design a completely different robot using the same basic shape approach.
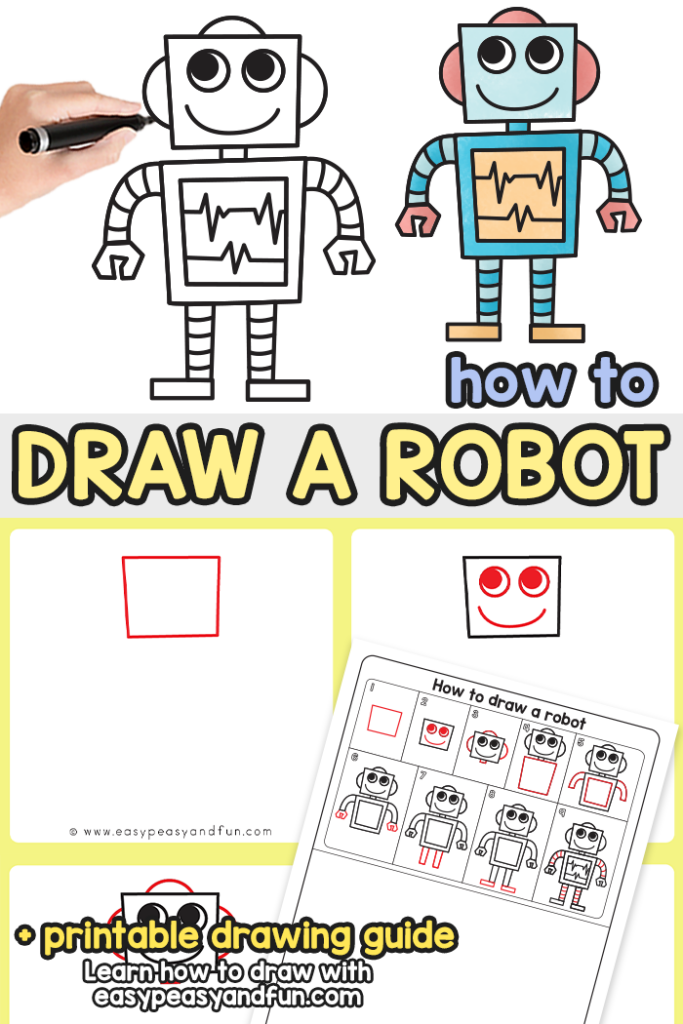
Get the Robot Guided Drawing Printable
The printable drawing guide is available to members of the Easy Peasy and Fun membership.
To access the template, log in to your account or become a member.
Already a member? Log in here.
Want instant access to all of our printable crafts, activities, and resources?
With thousands of crafts, activities, worksheets, coloring pages, and drawing tutorials to print, you will always have just the resource you need at your disposal. Perfect for parents and teachers alike!