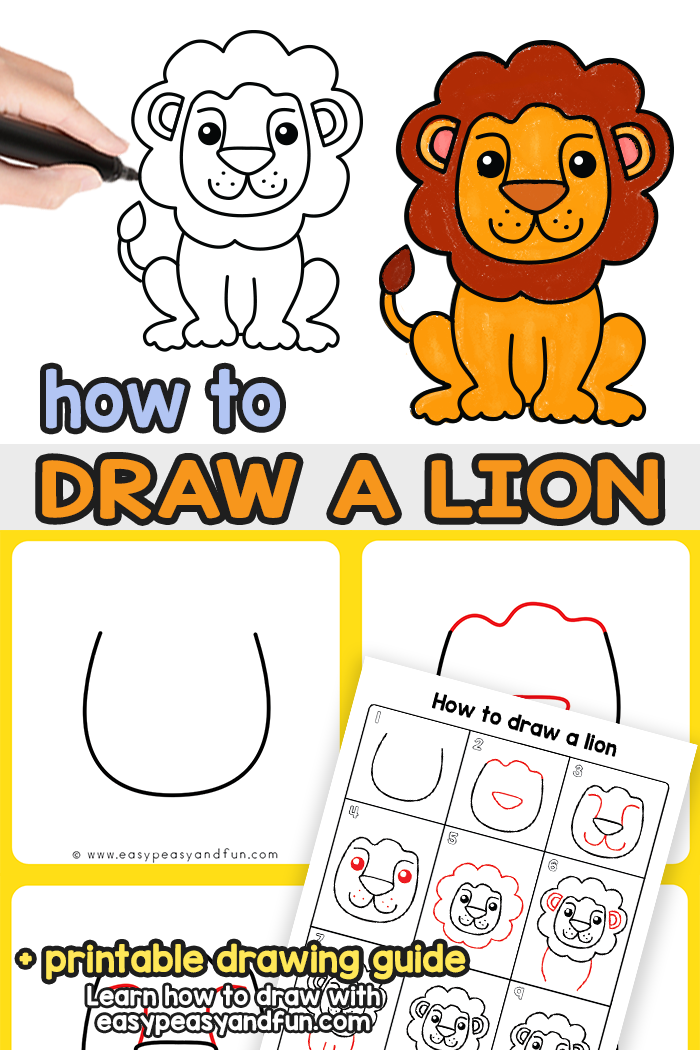
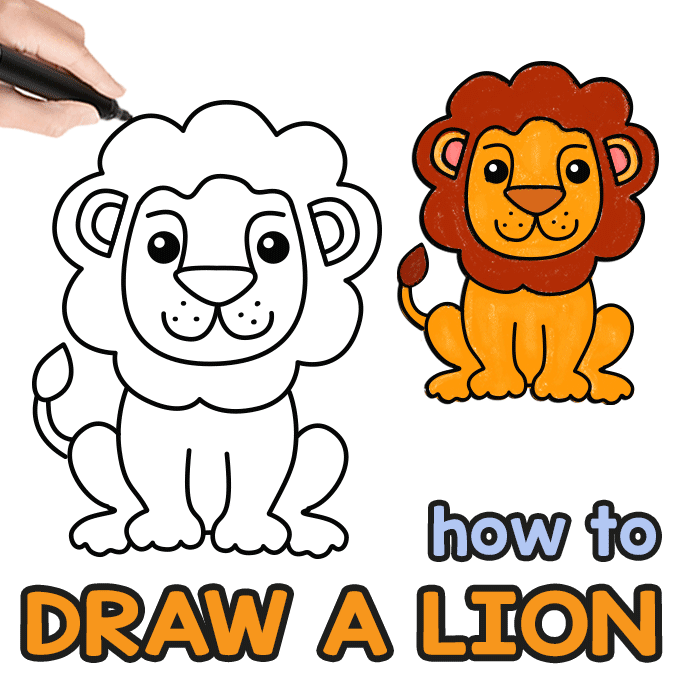
With our simple step by step how to draw a lion tutorial you will be drawing a lion of your own in no time.
With just nine easy steps to follow, this tutorial is great both for beginners and kids. No erasor required!
*this post contains affiliate links*
50 paper crafts your kids can actually do themselves

No fancy supplies — just paper, scissors, and a little imagination.
Be the first to get it on release day — and lock in the lowest price guaranteed.
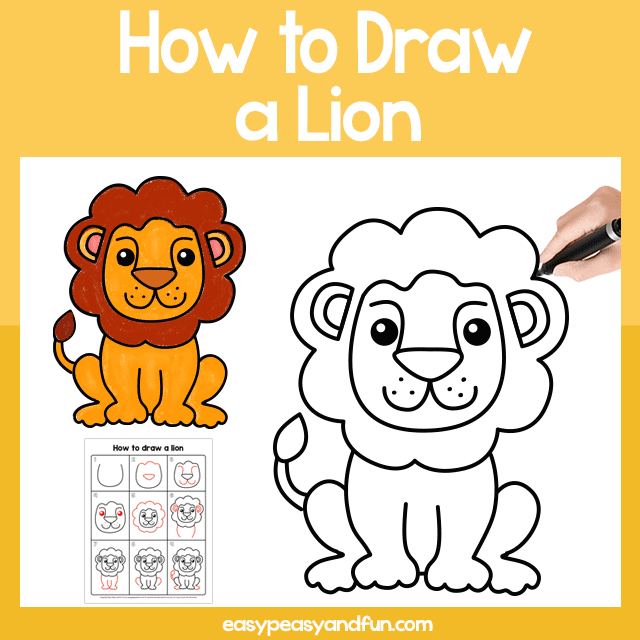
How to Draw a Lion
What you need:
- our printable lion drawing guide (optional)
- pencil or marker
- paper
- coloring supplies
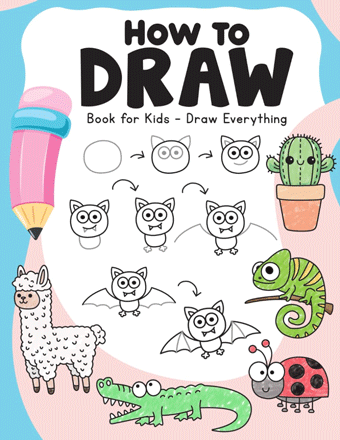
Our How to Draw e-Book is Here!
A must-have book with just over 100 easy-to-follow directed drawing guides for kids. With a variety of animals, magical creatures, vehicles, foods, plants and more your kids will never get bored.
Step by Step Easy Lion Drawing Tutorial
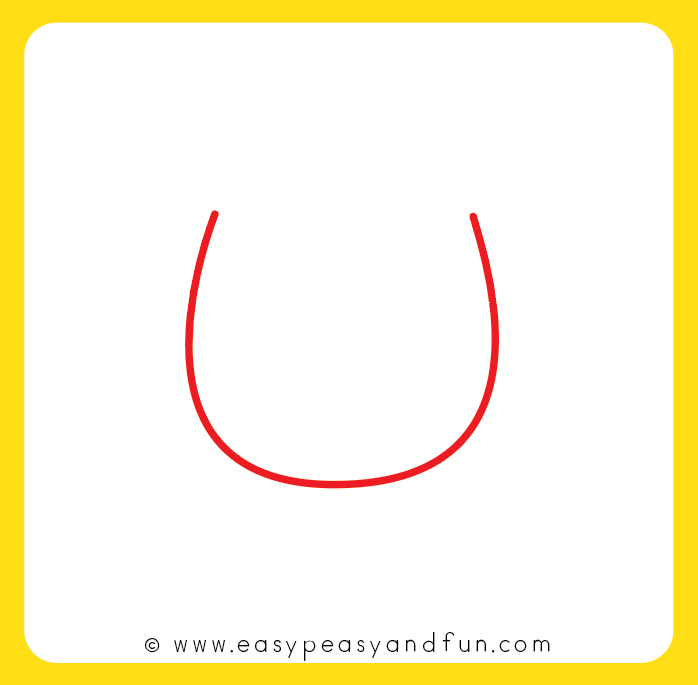
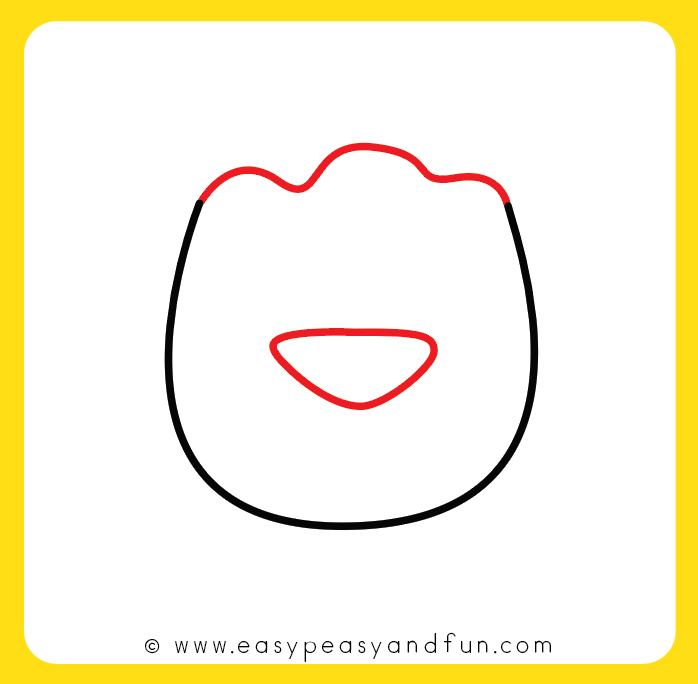
Step 1
We’ll start by drawing the head. Draw a U shape, with the middle part slightly wider.
Step 2
Connect the end points of your U shape with a wavy line.
also draw a triangle shape with rounded edges for the nose.
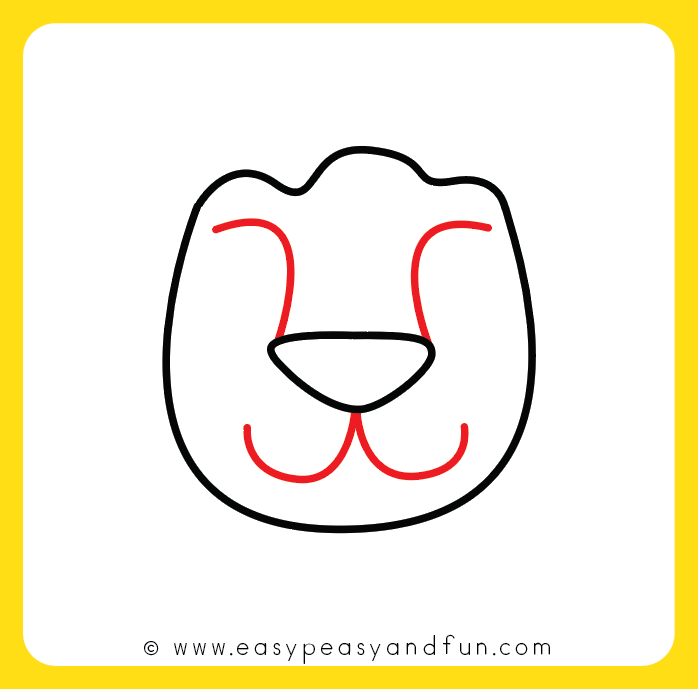
Step 3
A few curved lines are next. Two above the nose, and two bellow.
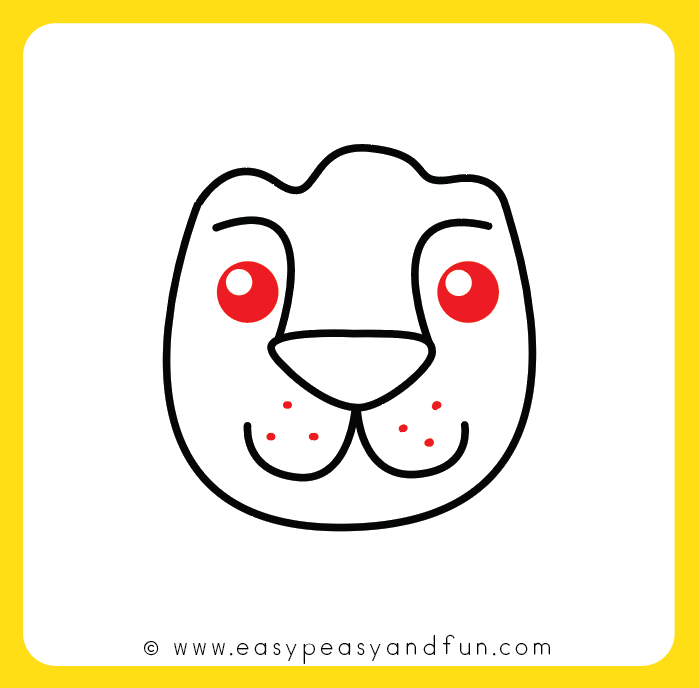
Step 4
Draw eyes and a few dots under the nose.
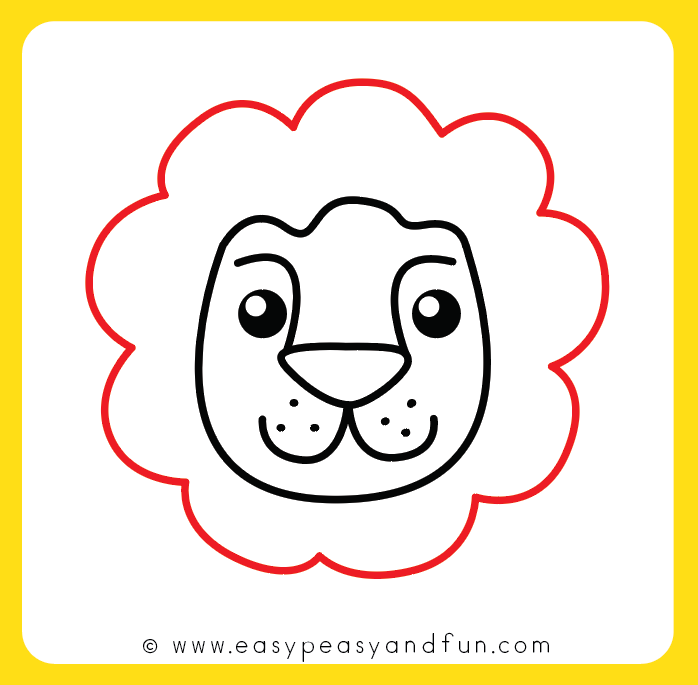
Step 5
Next comes the mane. Draw a wavy circle around the head.
Step 6
Draw ears inside the mane.
Also draw two curved lines – like you would ( ), for the body.

Step 7
Next come the front legs.
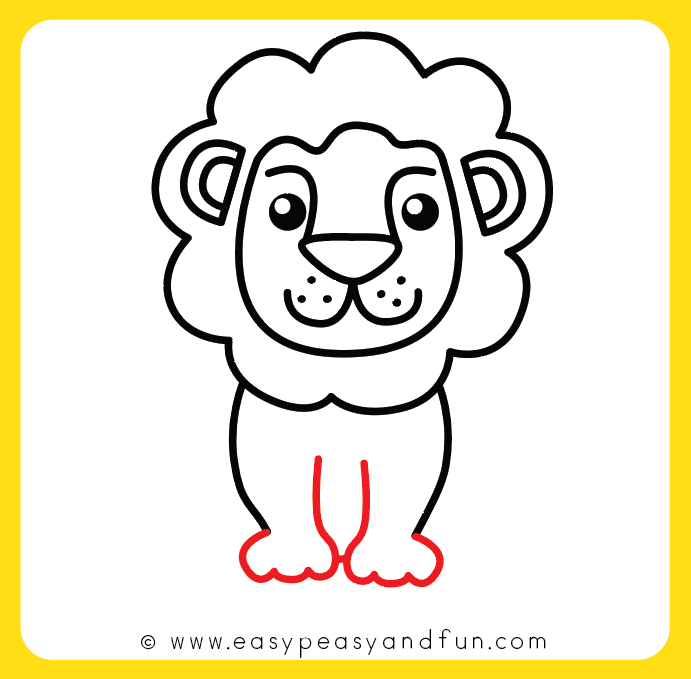
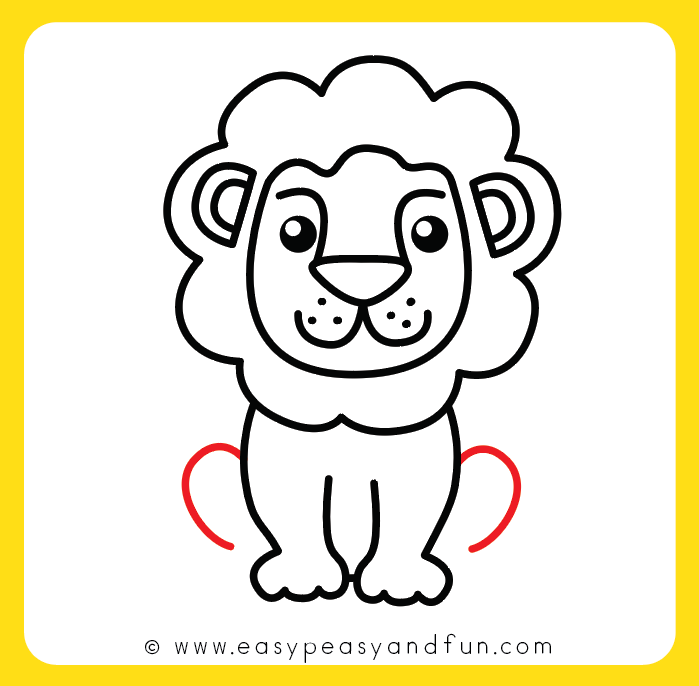
Step 8
Amd the back legs.
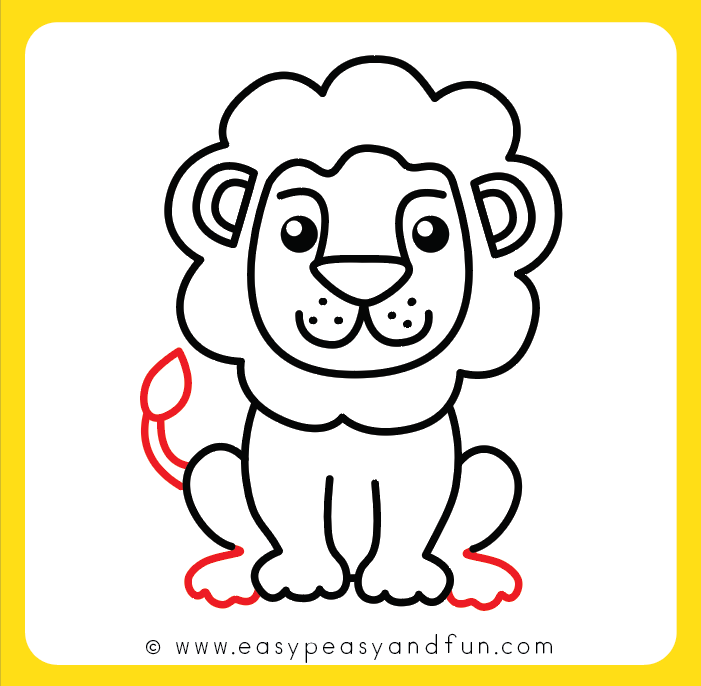
Step 9
Fimish up with the tail and feet.
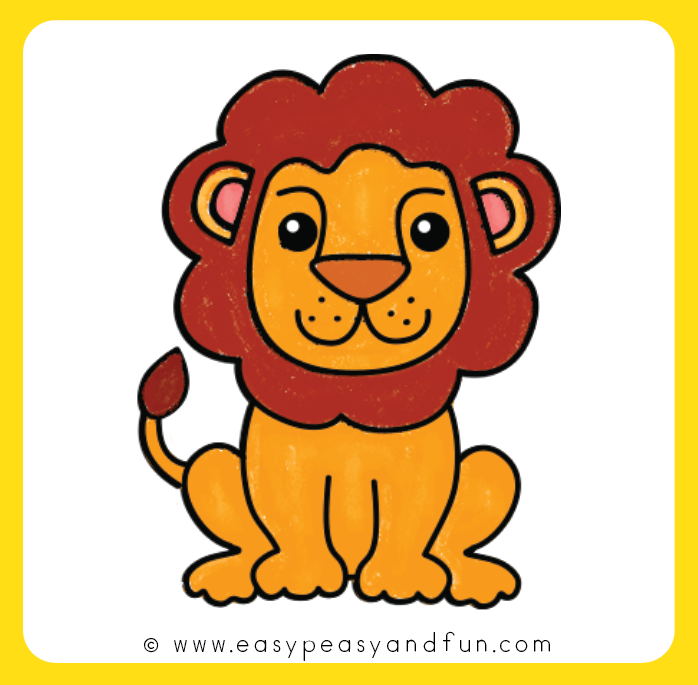
Step 10
Color your lion drawing.
Get the How to Draw a Lion Directed Drawing Printable
Want instant access to all of our printable crafts, activities, and resources?

With thousands of crafts, activities, worksheets, coloring pages, and drawing tutorials to print, you will always have just the resource you need at your disposal. Perfect for parents and teachers alike!