People love painting canvases near the holidays. I have found teaching this, that this time of the year is when I get the most business and have the best attendance at my classes.
There is just something inviting and satisfying about making your own Christmas décor and doing it in a group with friends.
*this post contains affiliate links*

My New Craft Book is Available for Pre-Order!
Discover 50 super simple paper crafts for kids using low-cost materials.
Pre-Order on Amazon 🚀This painting was designed with the Christmas sweater or wrapping paper type designs in mind, and you can do it in any color scheme you like, or even turn the hot cocoa into a cup of coffee!
You can follow the instructions to do one on your own, and I will also give tips on doing multiples of it easily so that if you teach it to a group yourself or want to just make it easy for your friends to join you, you can.
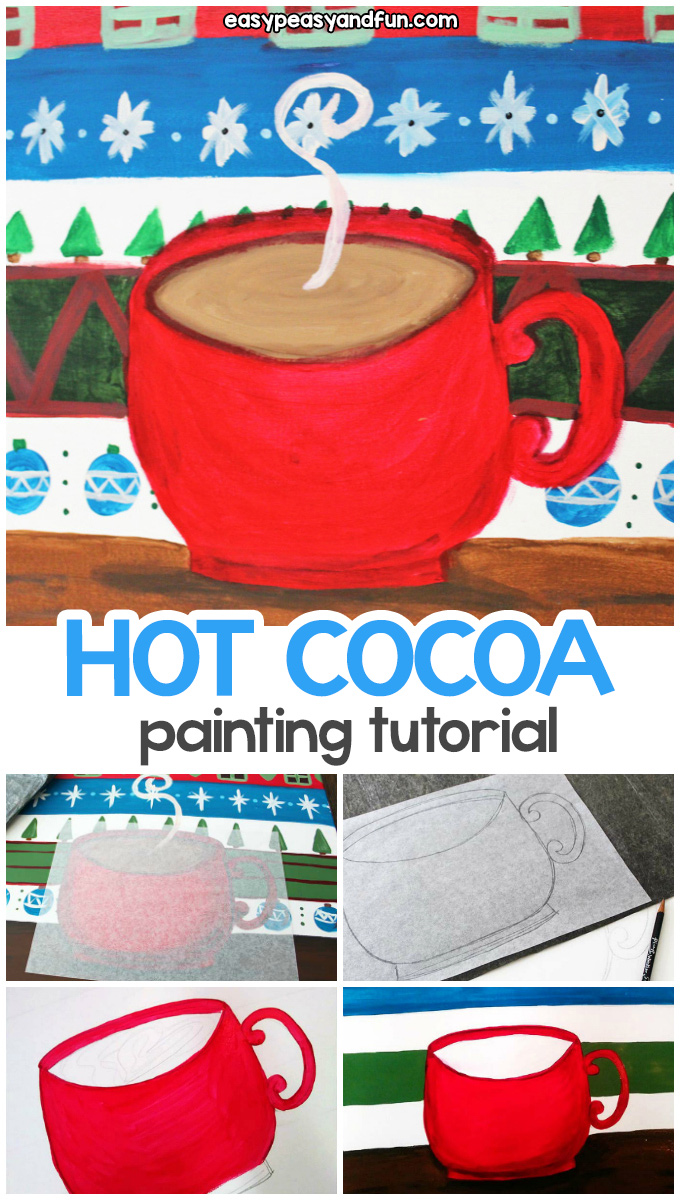
Hot Cocoa Christmas Canvas Painting Tutorial
What you need:
- 16 x 20 canvas
- multiple colors of acrylic paints, white, red, greens, blues, brown..etc.
- palette and various size paint brushes
- paper towels
- cup of water
- tablecloth (I prefer disposable plastic ones for easy clean up)
- pencil, eraser, ruler
- for multiples, transfer paper and tracing paper
Step by Step Instructions
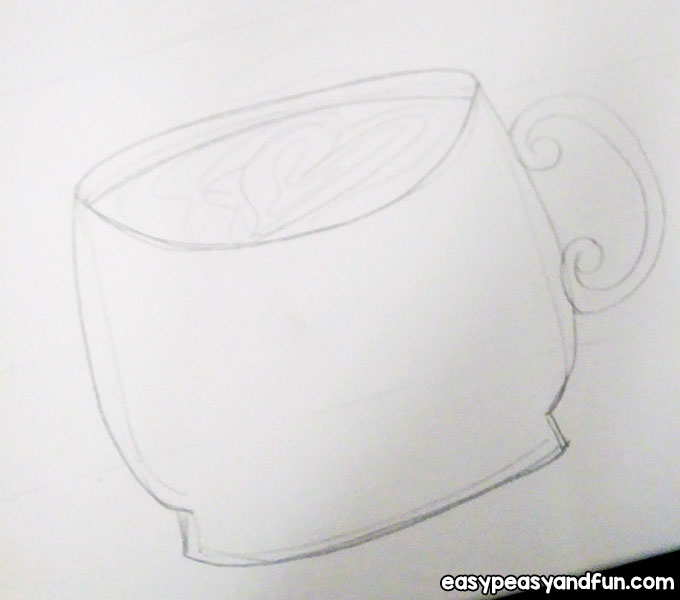
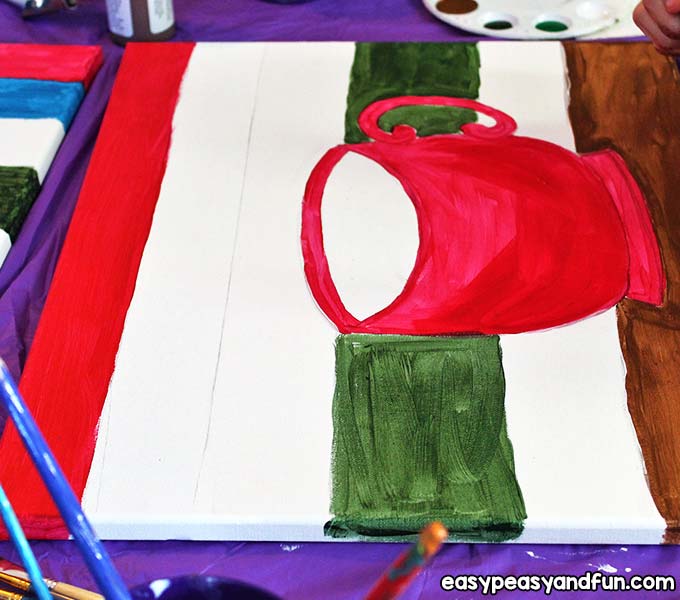
The first thing you have to do is to sketch out the cup in the bottom center of the canvas.
It needs to have room, so it looks like it’s sitting on a wood table top, so allow for that and then I find the best way to begin it is to draw the oval top of it where the cocoa will go in.
It should be a bit elongated in size, but depending on how you want your mug shaped, that can change too.
Just inside the top of it, draw a line for the top of the cocoa as well. Then draw the cup sides, a small rim on the bottom of the cup and design a handle.
I like to use online images to help me along if I feel like I am having trouble with it.
Once you have the cup drawn, the next step is to draw your lines in the background for the patterned areas. This part is up to you, I did 5 different patterns, plus you need a line for the table top, which should fall a bit behind your mug, so if it helps you to start with that line, go that route.
Use a ruler to get the lines nice and straight.
At this point, there is no need to draw any more details, as you need to get your background colors and mug all painted in first, so that would just be covered up.
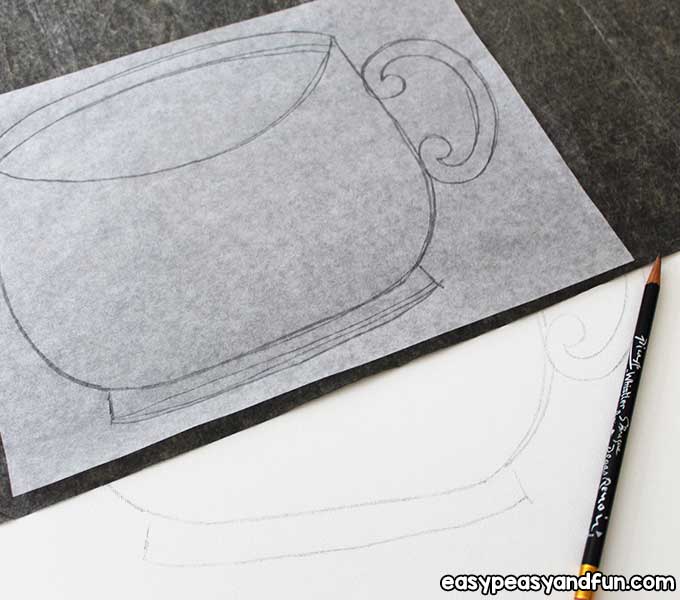
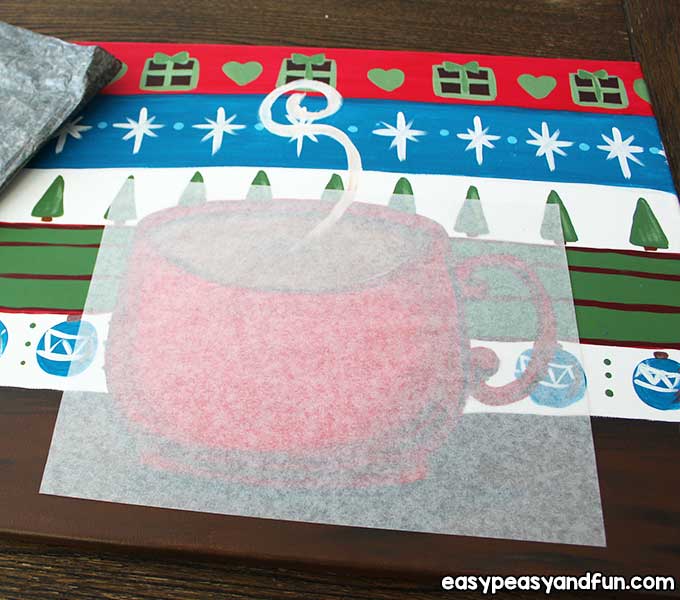
If you need to make multiples for other people, instead of drawing each one yourself, use a piece of tracing paper to go over the mug in pencil, and then use a piece of transfer paper to add it to other canvases by laying the transfer paper under the tracing paper and drawing over it.
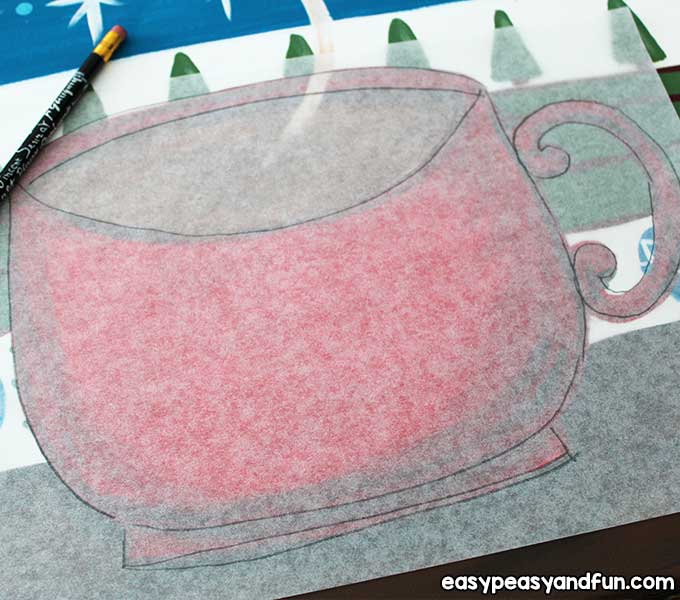
This is a great way to quickly make copies.
One thing you can do to help plan your patterns is to take a scrap piece of paper and doodle on it, to see what you may like to add. I also googled sweater patterns and wrapping paper patterns.
Choose your paint colors and pour them in the palette.
You will need a bit more of the mug and the table top color, and most of these types of bright colors need at least 2 coats of paint.
When you begin painting, start with a thinner brush, so that you can do an outline first before you paint in with a larger one.
Dip the brush first in the water and then blot the excess water on a paper towel. This loosens the brush and helps the paint flow easier. When you use a new, dry brush, repeat that each time.
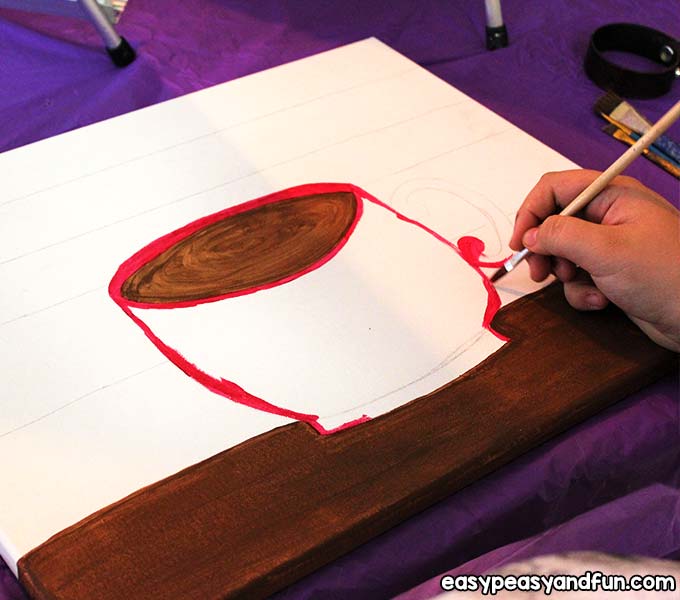
You can start with either the brown for the wood tabletop and cocoa or the mug if you are following my pattern. If you chose another color for your mug, use it on the top stripe of the canvas as well to help pull the color throughout.
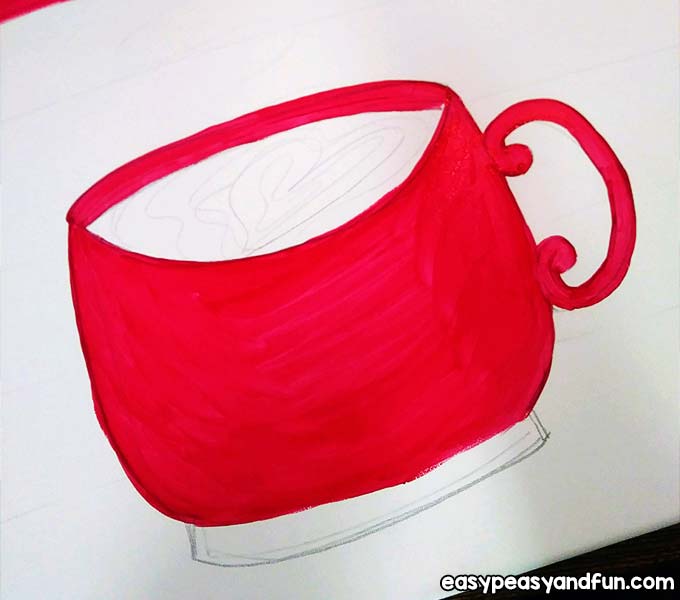
Paint the outside of the mug outline first, or the table top, whichever you chose, and then fill the rest in using a larger brush. For the mug handle, you may need to switch to a smaller brush to fit in the lines better.
Once you paint the mug, paint the top stripe too. I find it best to paint the line dividing the stripe from the next one first, and then paint it in, so I stay within the lines better.
Don’t forget to extend the paint to the top edge and the sides of the canvas as well so the stripes go all the way around.
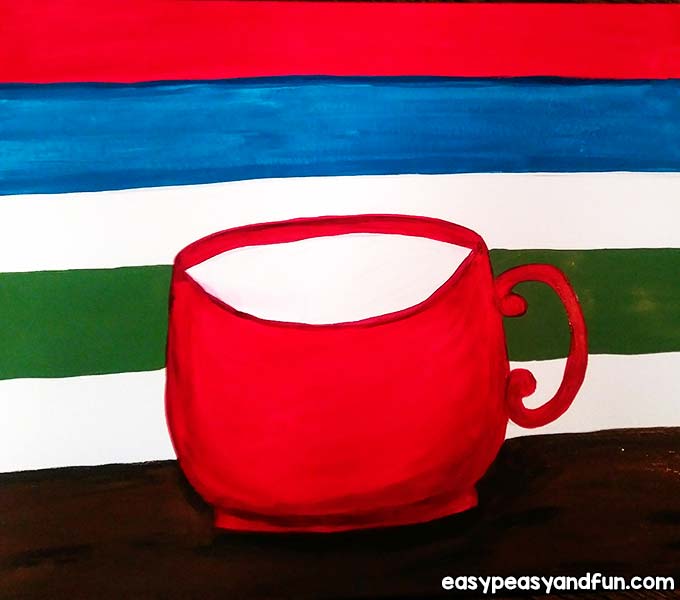
Next, do the tabletop if you haven’t already, and paint the sides and bottom edge in the brown as well.
Then, paint in the cocoa in the same dark brown.
From this point, you need to just paint in your other stripe colors in the same manner, and for me, I left 2 stripes white and didn’t paint the backgrounds on those.
You will need to repeat the background painting one more time, going over each color again, unless you chose lighter colors that covered well.
If you can see brush strokes and canvas showing through, it needs another good, solid layer of paint.
Double check the sides and edges too while you have wet paint poured for those colors.
Now you get to add your patterns.
I tried to do them in steps by color – for example, the gift boxes on my top stripe are a burgundy base, so I painted those squares in and I used the same color to add thin stripes to the green stripe.
I used a lighter green for the stripe with the Christmas trees and used that same green to add the dots to the bottom stripe between the ornaments.
You can take your white and use it to make an accent color by mixing it with your other colors, too.
I made a lighter green this way that I used to add the bows and ribbon to the gift boxes on the top stripe, and the hearts, and also to add a highlight on the Christmas trees to give them dimension.
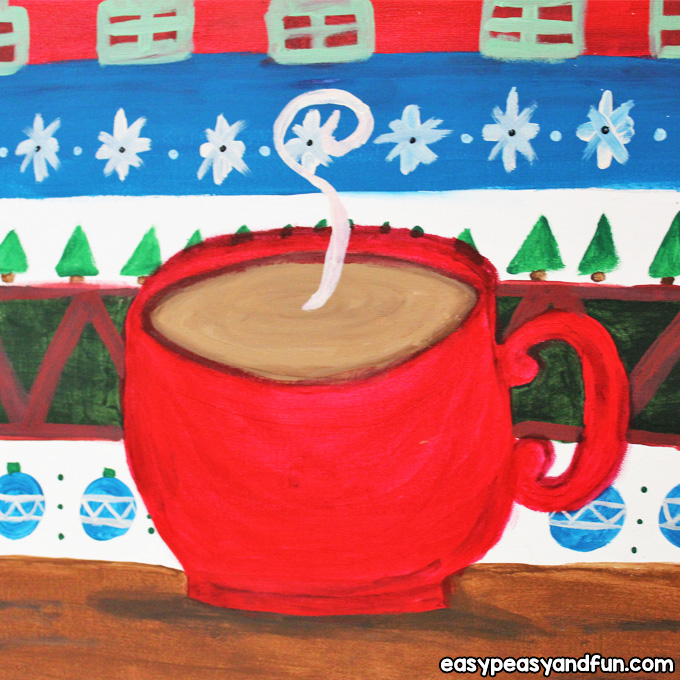
I mixed white with the dark teal and made a lighter teal and used it for dots between the starbursts on the dark teal stripe.
You will need to observe how wet the paint is on the designs that have multiple colors. I did the squares for the gifts first, so they could dry while I worked on other things, and then went back and painted on the green layers.
The teal ornaments were another I did among the first ones, so they could dry, and I added the white accents later.
I painted the white starbursts and the white accents on the ornaments around the same time.
You can come up with your own designs of course, but hopefully, this will help you understand how to do the patterns in steps so that it goes smoothly and quickly. It feels a bit tedious because it’s a lot of colors, but the result is worth it.
If you need to let some things dry to finish the patterns, you can work on the cocoa and wood too.
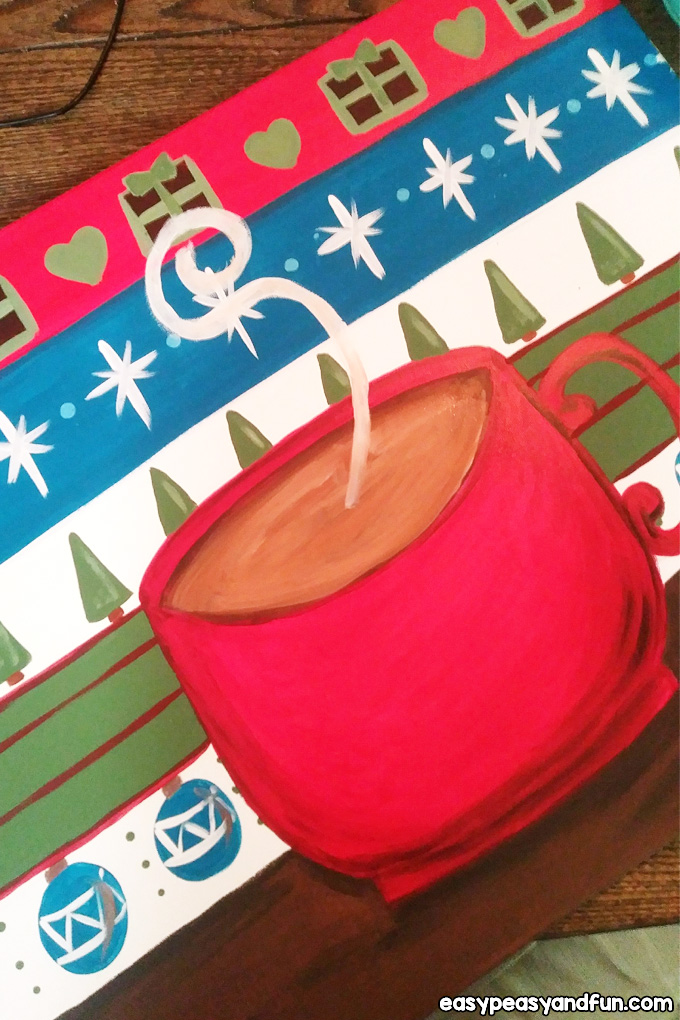
To finish the cocoa – blend a bit of white with the brown and add a lighter brown layer on the first dark brown layer. Then, take some dark brown and paint it around the outside edges of the cocoa and blend a little in the center. Then, take a tad of the brown paint, mix it with the white, and using a thin brush, paint in a curvy line of steam over the mug.
For the mug, blend black or dark brown with the red (or this part will depend on the color you chose, but you need to make a darker shade of the mug color) and add shadows to the bottom part of the mug, the sides of the mug to give it a round shape, and in the handle.
Also, add a line of shading to the back rim of it as well.
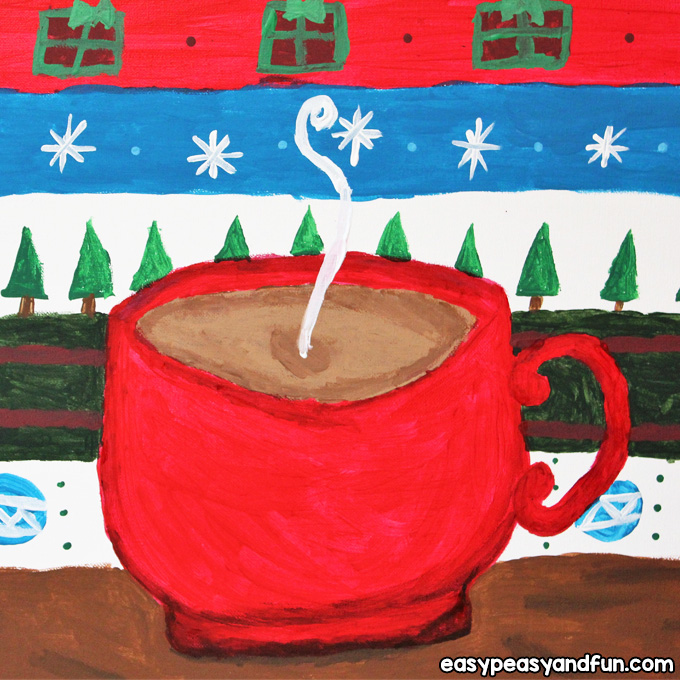
For the wooden table top, it is similar to the mug, add a drop of black to the brown to make a darker shade and add a shadow under the mug, extending it a bit to the side, under the handle.
And then make some small, random marks in the wood to help it look more real. Use the regular brown if needed to blend it in some if it’s too stark and sharp.
At this point, go back to check your paint and see if anything needs another layer to look finished, and add any last details to your patterns.
Sign your painting and you’re all set!

Want instant access to all of our printable crafts, activities, and resources?

With thousands of crafts, activities, worksheets, coloring pages, and drawing tutorials to print, you will always have just the resource you need at your disposal. Perfect for parents and teachers alike!