We have the most adorable hatching chick paper plate craft tutorial ready for you. This one is perfect for spring, or if you color the egg, it makes one of the most fun Easter crafts for kids.
Can’t you just imagine a bunch of these displayed on a bulletin board? Oh, so cute! This is an easy craft that’s perfect for both preschool and kindergarten as well as older kids.
*This post contains affiliate links*

My New Craft Book is Available for Pre-Order!
Discover 50 super simple paper crafts for kids using low-cost materials.
Pre-Order on Amazon 🚀This one is a great last-minute Easter craft for kids. It doesn’t need a lot of prep, and it’s an inexpensive one. It also has just the right balance between arts and crafts – go all arty with the paper plate decorating and work on following instructions for assembling the craft.
Did we mention it’s also insanely fun to make? It sure is!
How to Make the Hatching Chick Paper Plate Craft
What you need:
- scissors
- glue
- paper plate
- color paper (yellow and orange)
- cardstock (green or any of your choice)
- paint
- paintbrush
- two googly eyes
Step by Step Tutorial
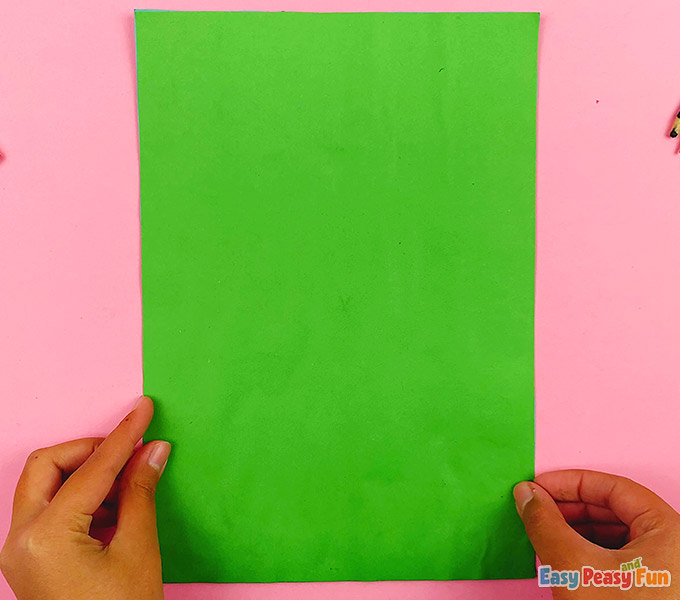
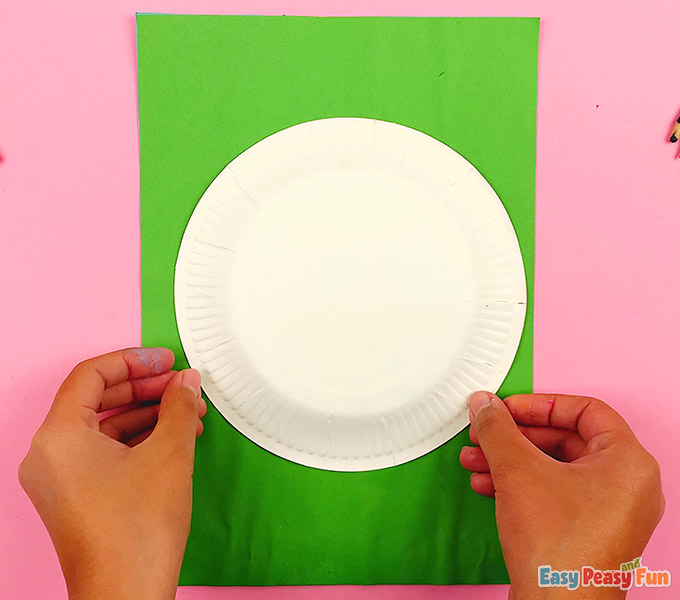
You’ll need a sheet of cardstock paper for the background (or cereal box!). Any color will do.
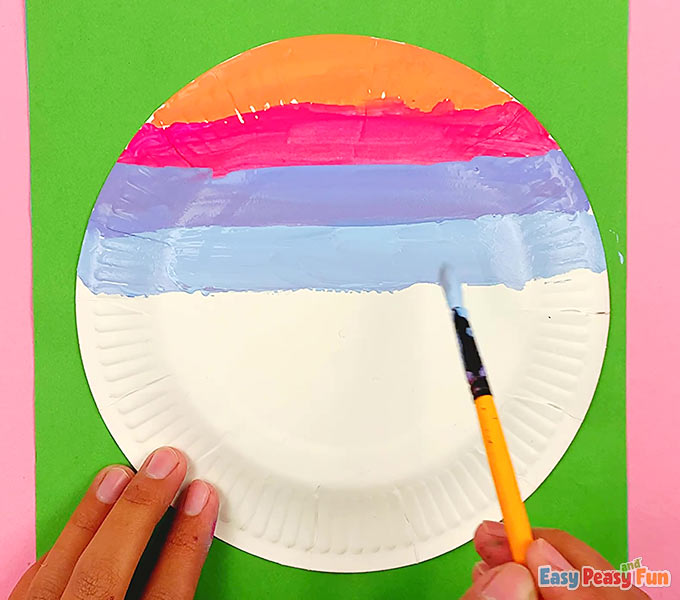
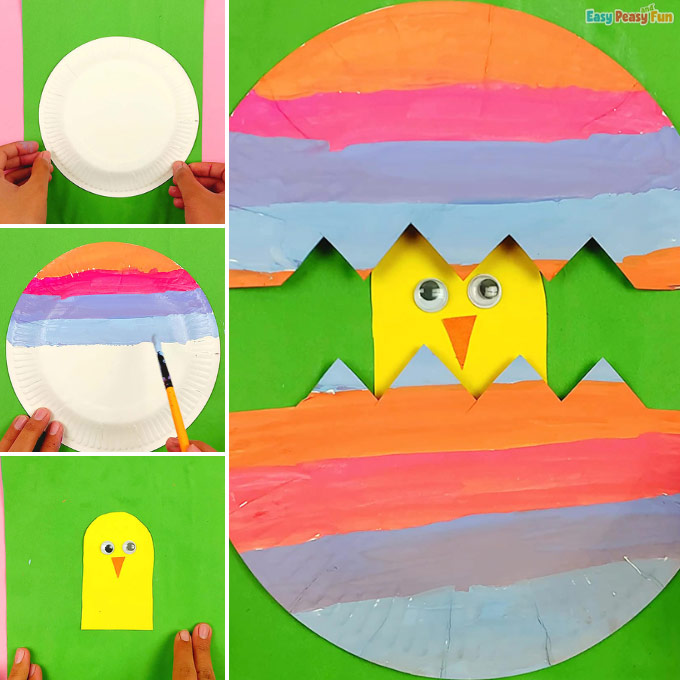
Prepare a paper plate. We’ll transform it into a cracked egg.
It’s time to decorate. Have the kids paint the paper plate to look like an egg, or like an Easter egg.
We will be coloring ours as an Easter egg.
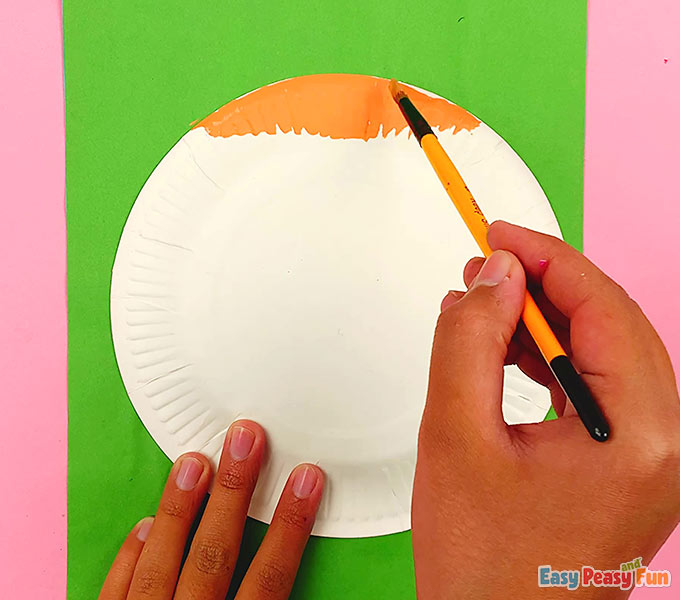
There are many ways you can go about coloring it: stripes, dots, stars, waves… The sky is the limit.
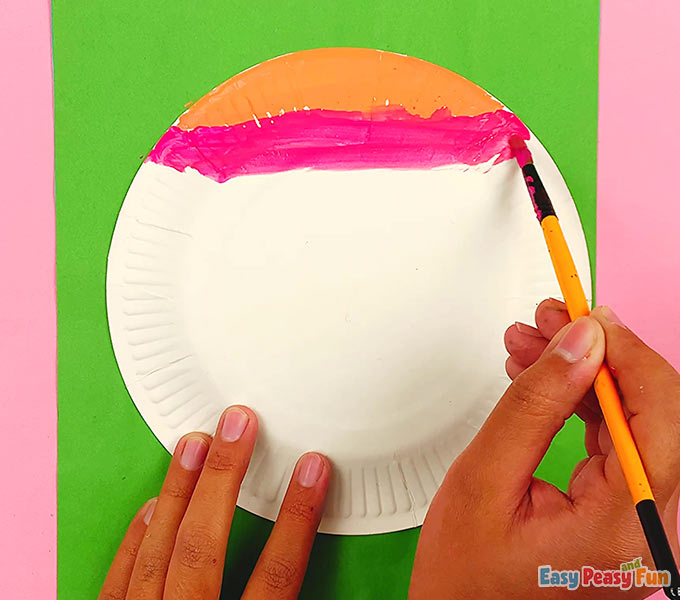
We went with colorful stripes for our paper plate Easter eggs.
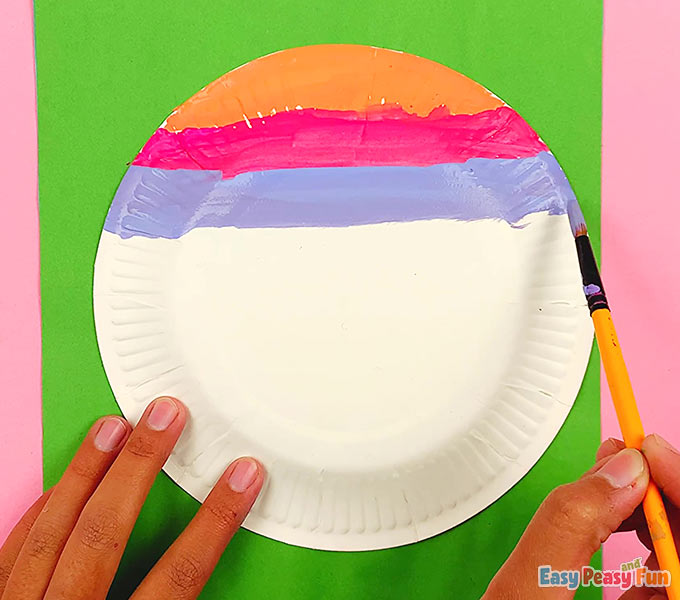
Any colors will do, pastel ones being the most Easter-y.
Once your kids are happy with how their paper plate (now egg) looks, allow for the paint to dry.
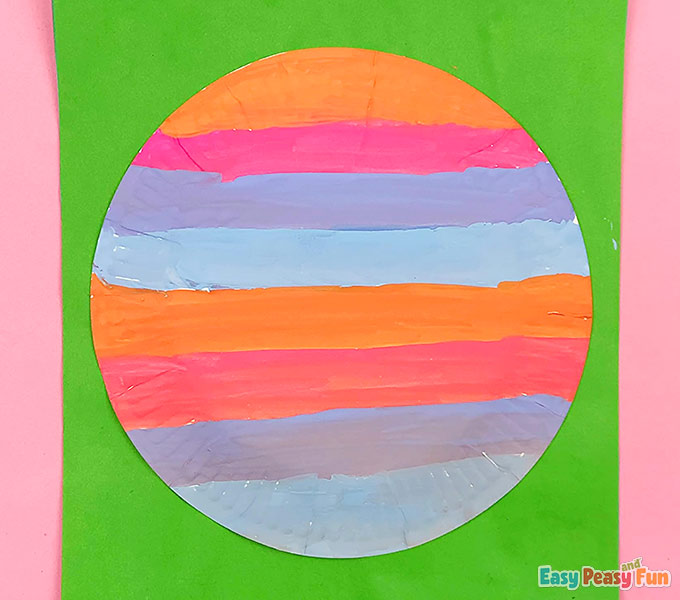
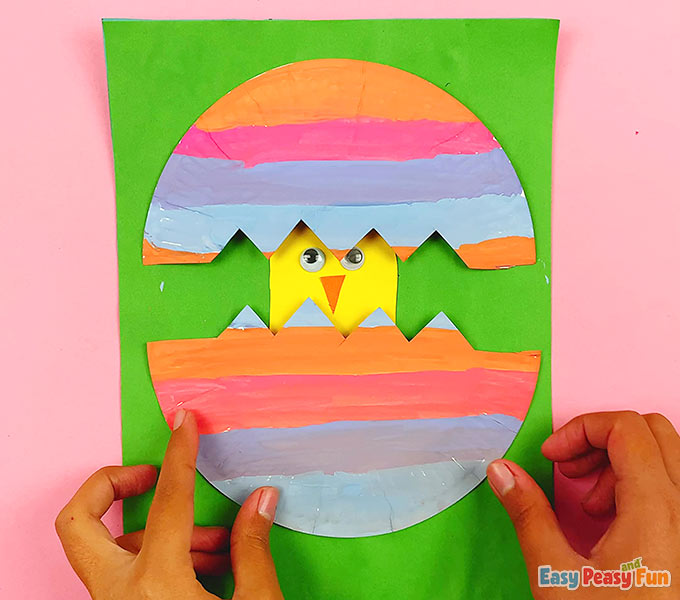
Once the paint has dried, have kids grab scissors and carefully cut a zig-zag pattern across the middle of the paper plate.

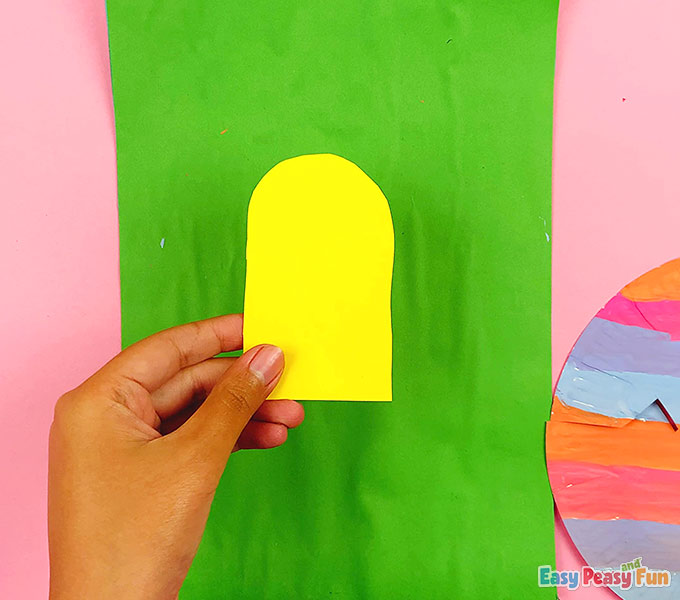
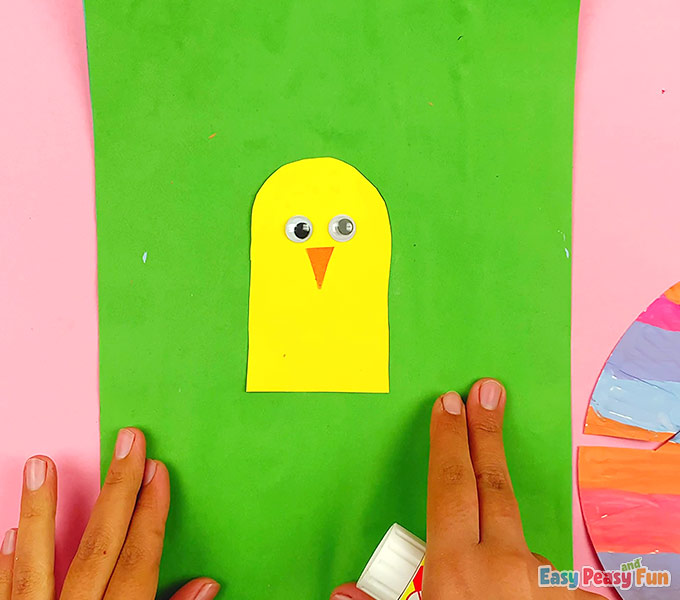
Now, it’s time to create the adorable Easter chick!
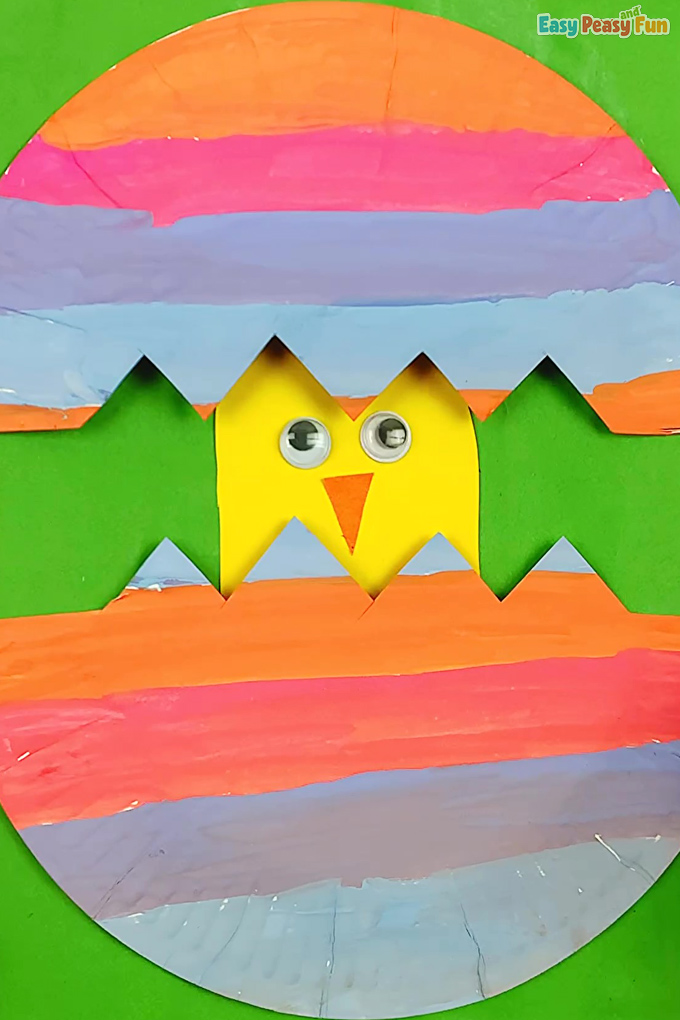
Have your kids cut out a rectangle from yellow paper and round two edges at the top to form the chick’s body.
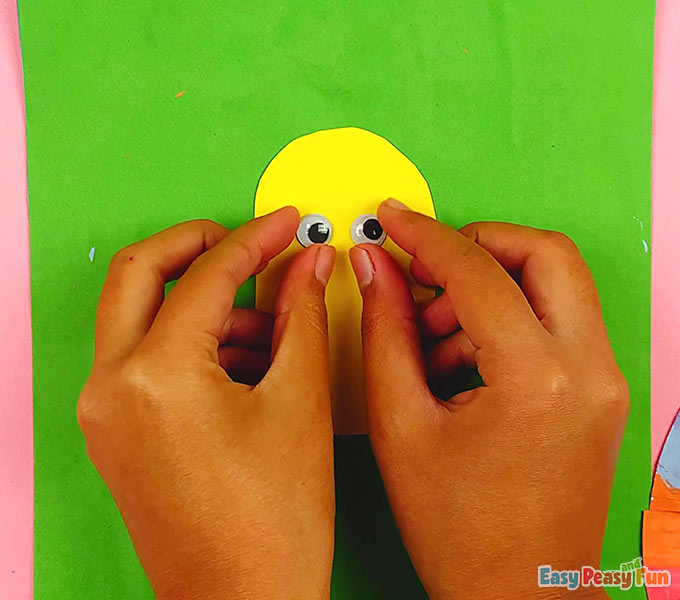
Glue on two googly eyes or googly eye stickers.
You can also draw the eyes.
Cut a small orange triangle to make the chick’s beak and glue it under the eyes.
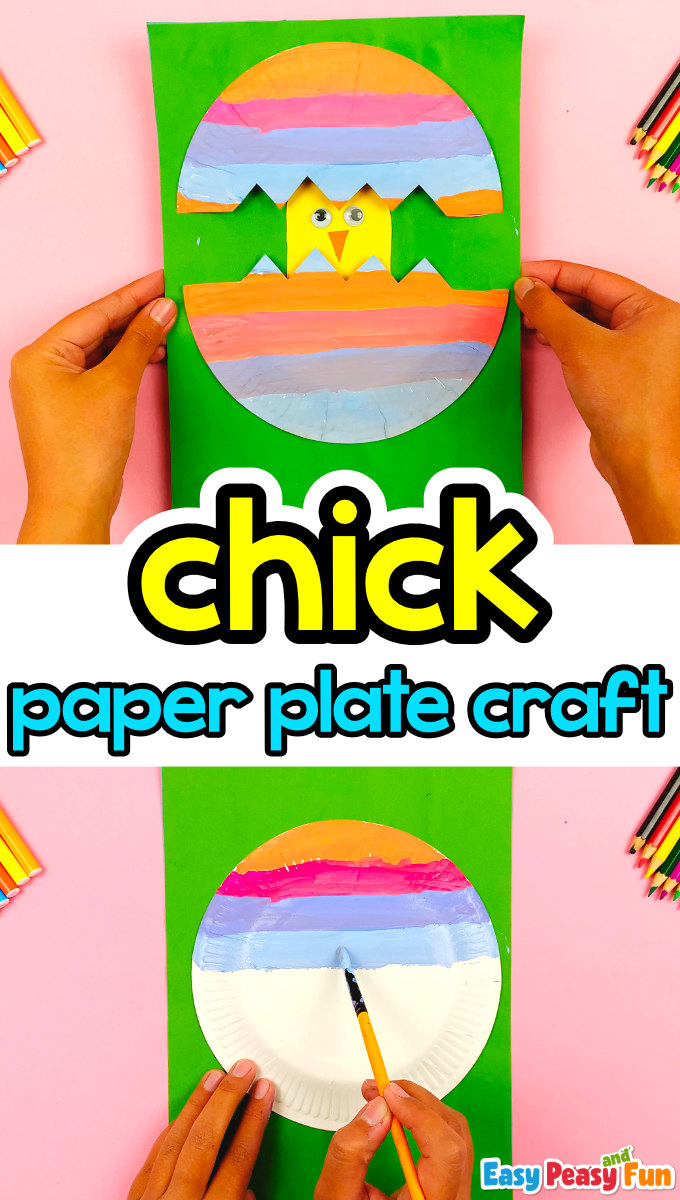
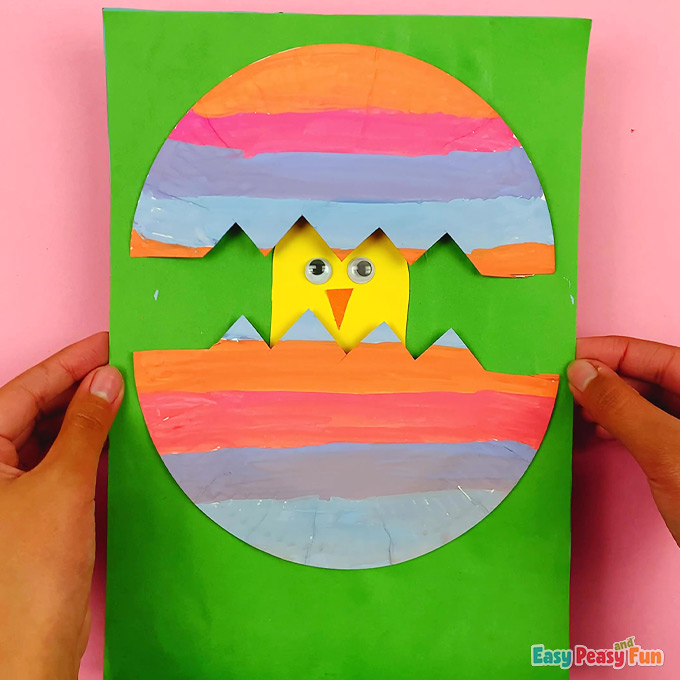
Glue the chick on the background paper.
Have children apply glue to the rounded edges of the paper plate halves.
Place the two halves of the paper plate over the chick, one above and one below.
Press down gently along the rounded parts of the paper plate for the glue to set.
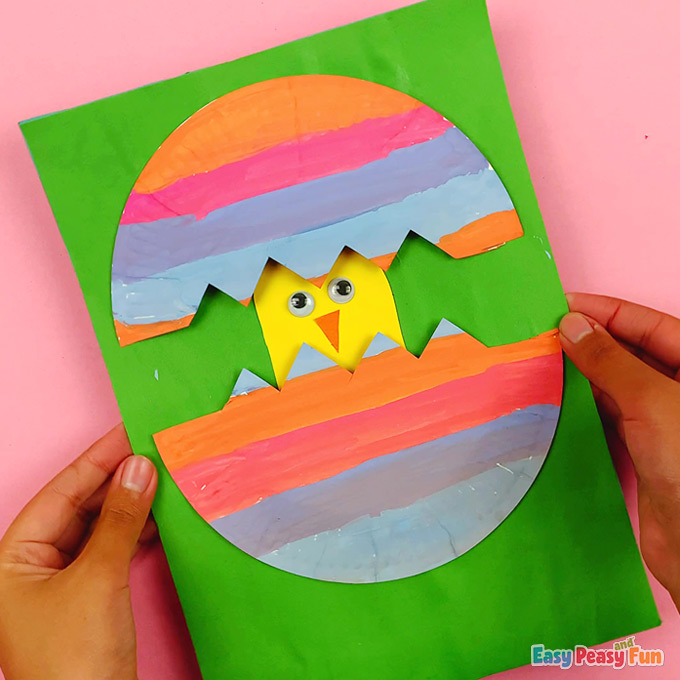
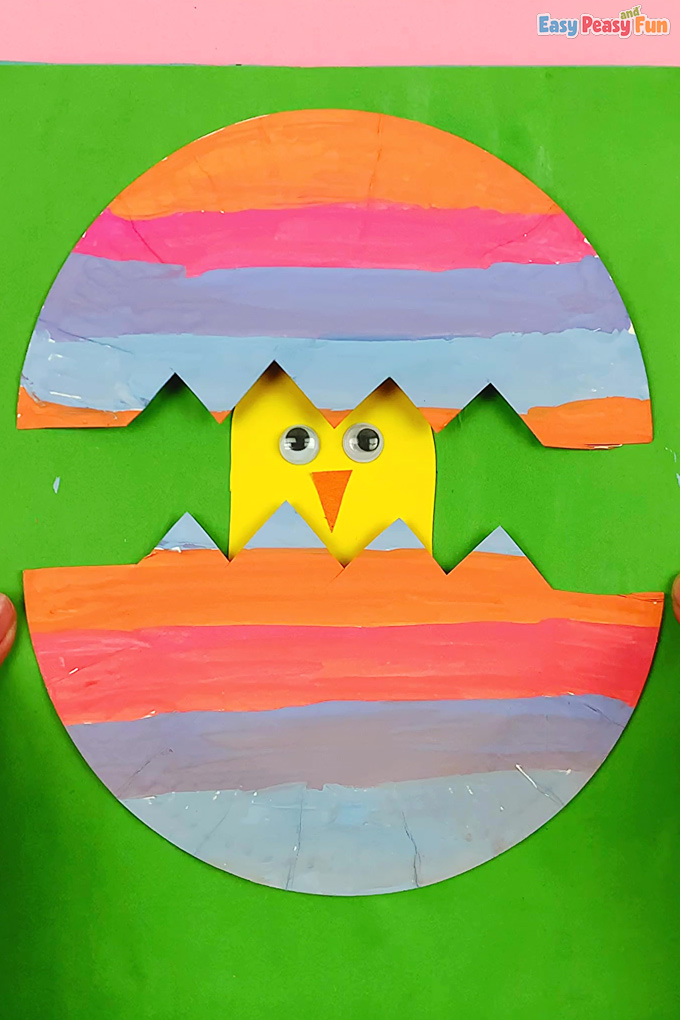
Your adorable hatching chick paper plate craft is complete!
Enjoy the creative journey together, and stay tuned for more fun crafting adventures!
Happy crafting!
Want instant access to all of our printable crafts, activities, and resources?

With thousands of crafts, activities, worksheets, coloring pages, and drawing tutorials to print, you will always have just the resource you need at your disposal. Perfect for parents and teachers alike!