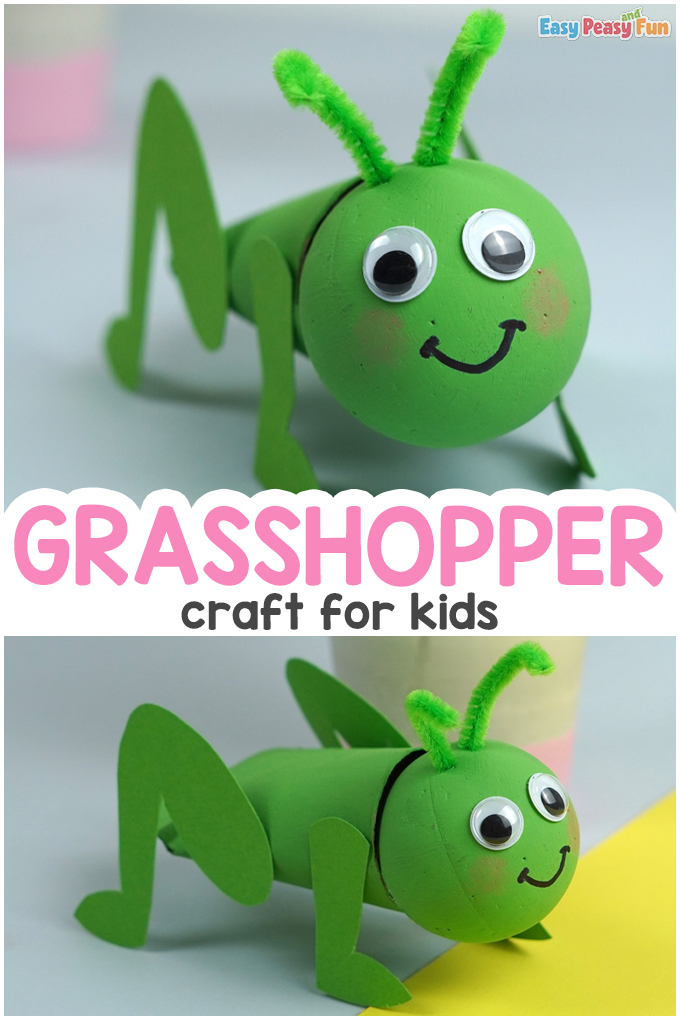
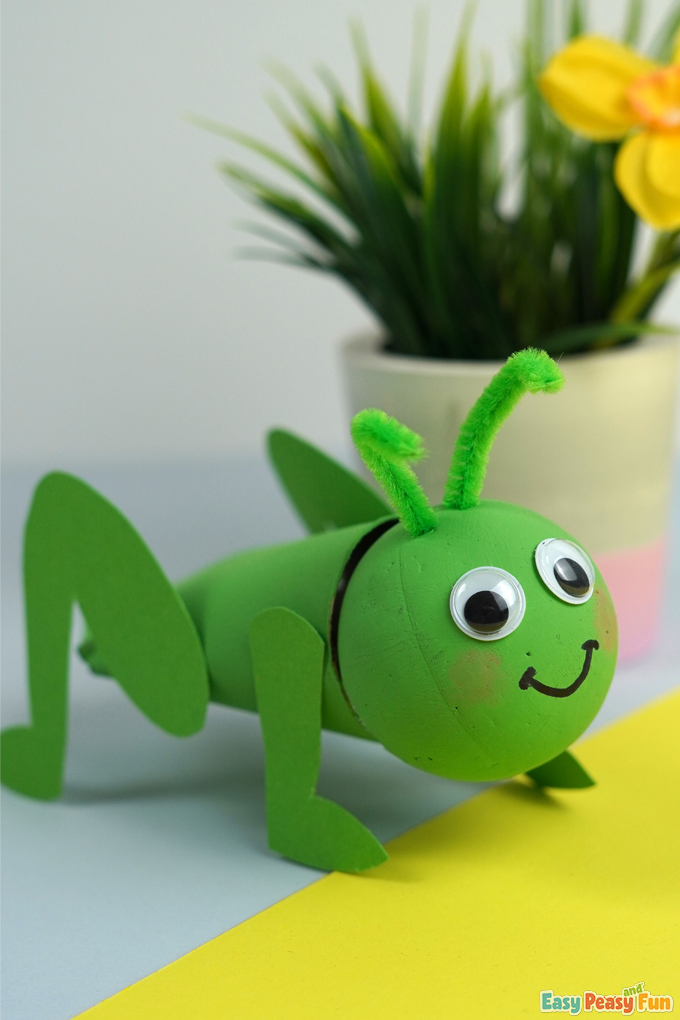
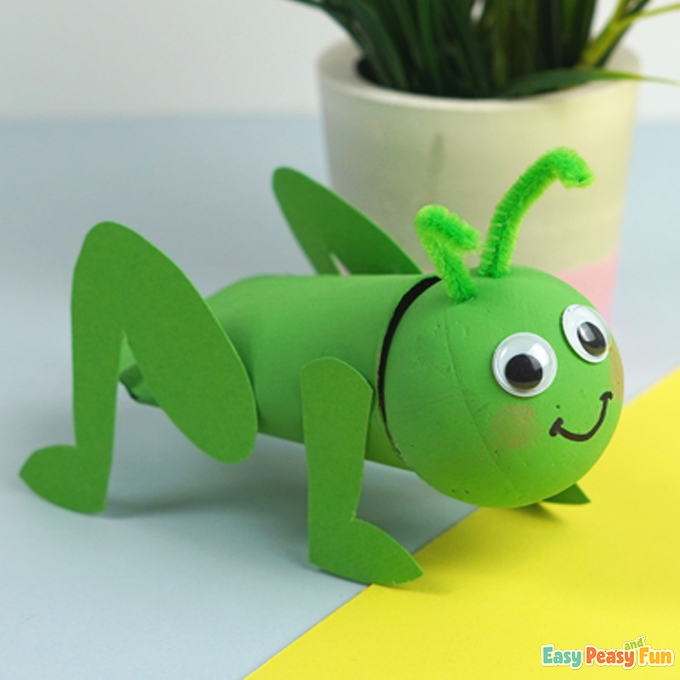
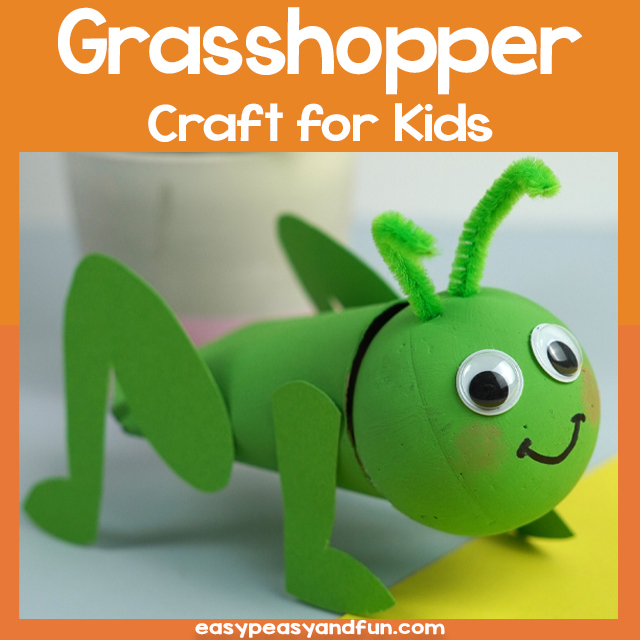
Create the cutest, bright green grasshoppers you’ve ever seen with this simple, kid-friendly Grasshopper Craft.
Using simple crafting supplies – you can make these mini grasshoppers in no time, placing them around the home for decorative purposes.
*This post contains affiliate links*
50 paper crafts your kids can actually do themselves

No fancy supplies — just paper, scissors, and a little imagination.
Be the first to get it on release day — and lock in the lowest price guaranteed.
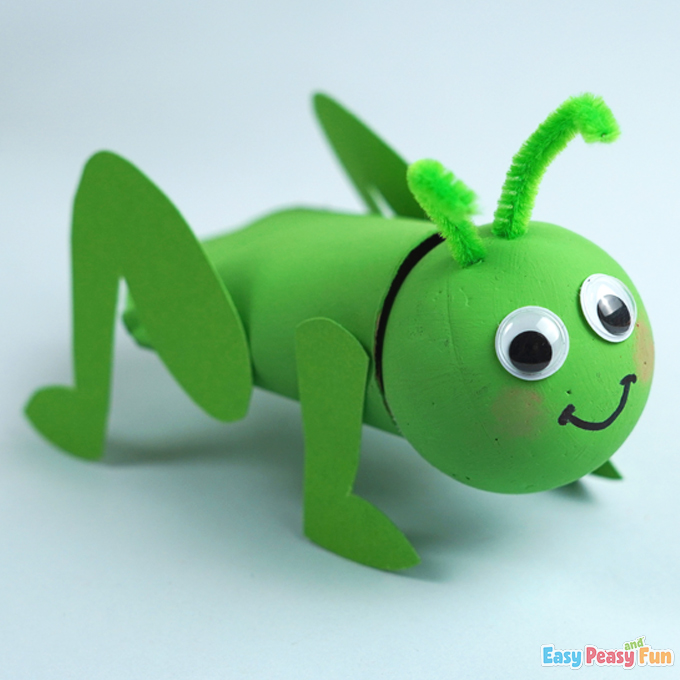
These grasshoppers are so fun to make and will certainly put a smile on your little one’s face.
Before you get started, make sure you have the right supplies to complete this simple yet fun and enjoyable craft with your kiddos.
How to Make the Grasshopper Craft
What you need:
- printable template
- paper roll
- green acrylic paint
- paintbrush
- craft foam ball
- green paper
- green pipe cleaner
- googly eyes
- glue stick
- pencil
- black marker
- scissors
- eyeshadow powder
- wooden stick (optional)
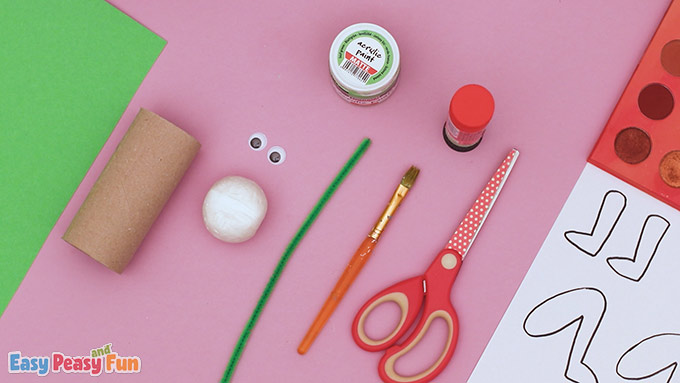
Gather your supplies.
Step by Step Tutorial
The Body
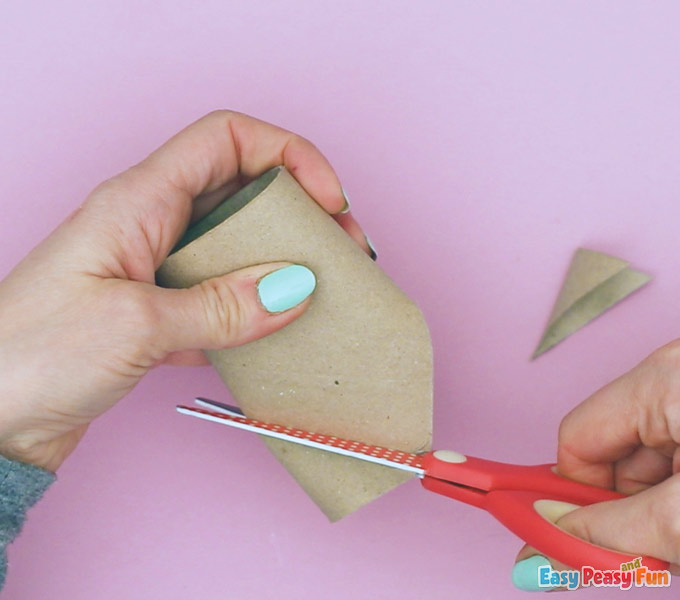
Use your scissors to create a diagonal cut at the bottom of your toilet paper roll.
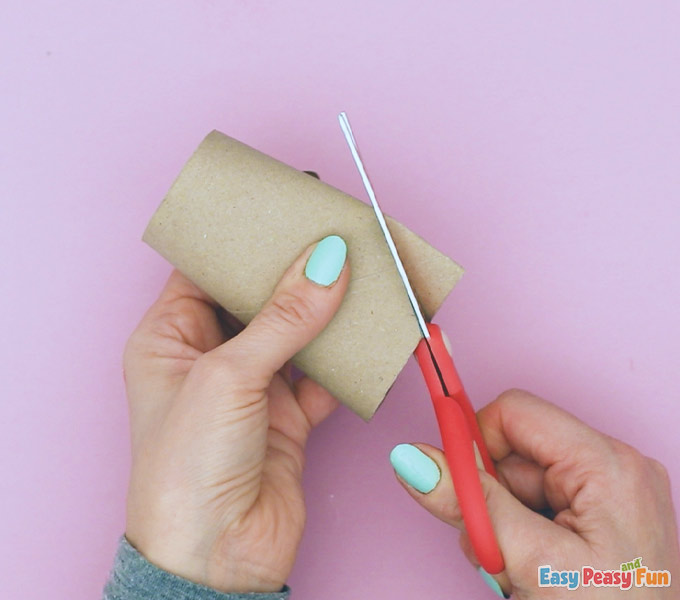
Do the same slit on the opposite side of the toilet paper roll with your scissors.
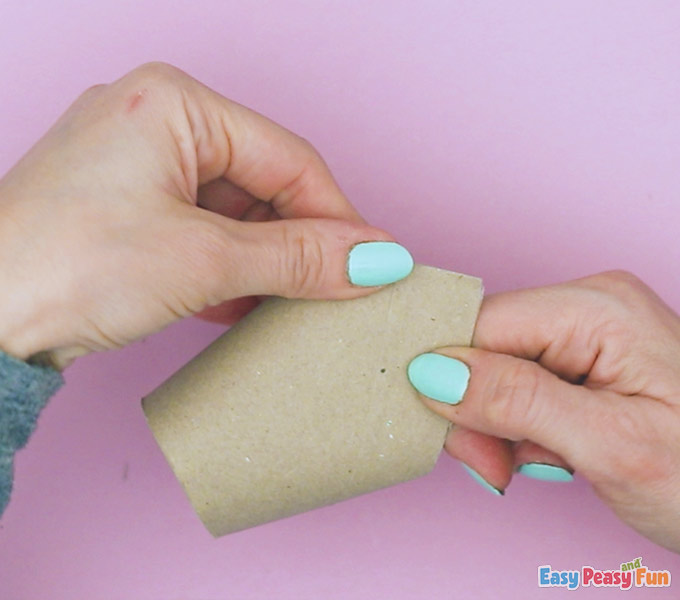
Grab your glue stick and apply a dab of glue to one side of the slit.
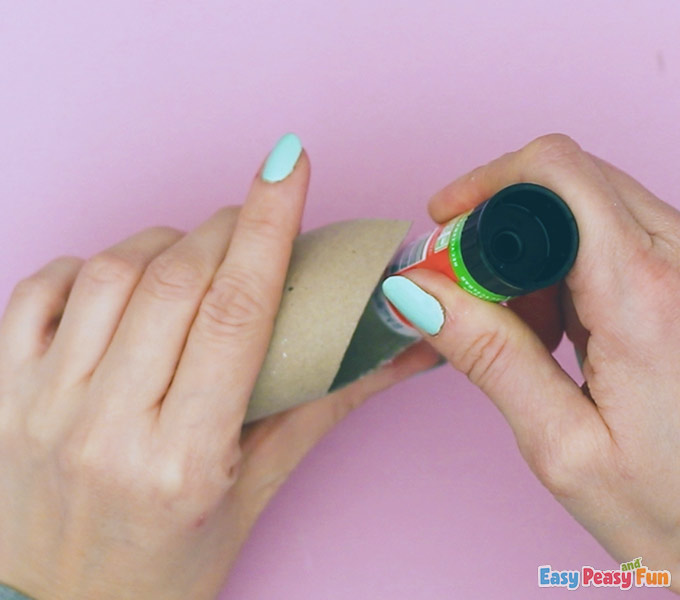
Press firmly with your hands to secure the bottom pieces of the toilet paper roll together to create a V-shape for the bottom.
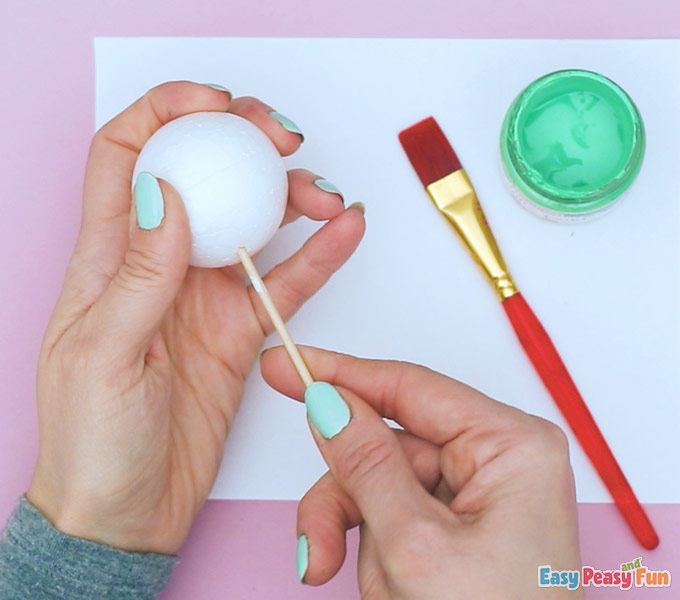
The Head
Place your stick in the craft foam ball. It will help you to paint the ball easier.
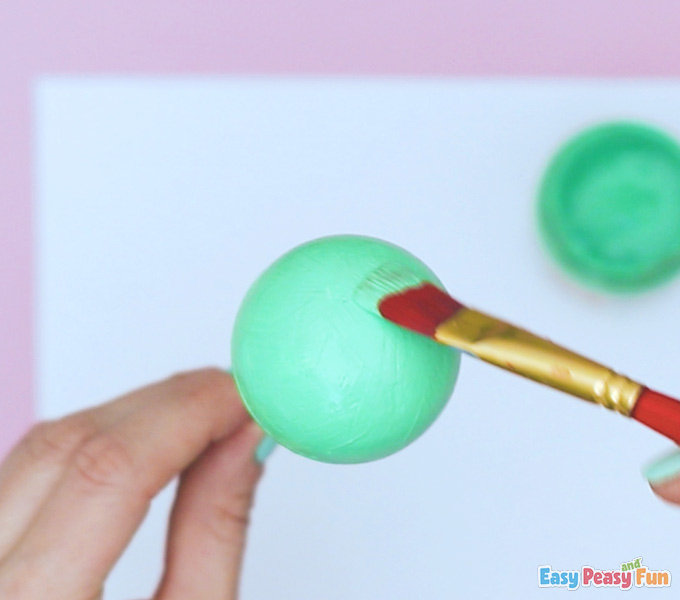
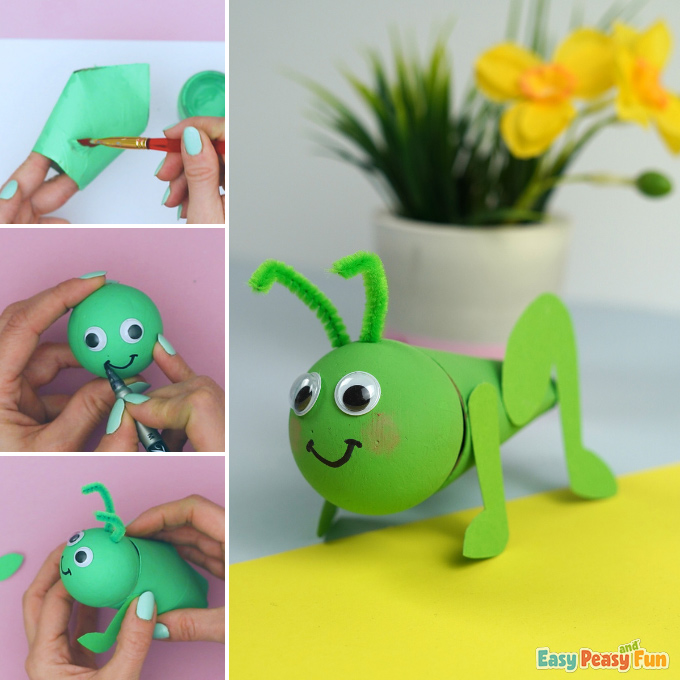
Use your paintbrush to cover the foam ball in green paint.
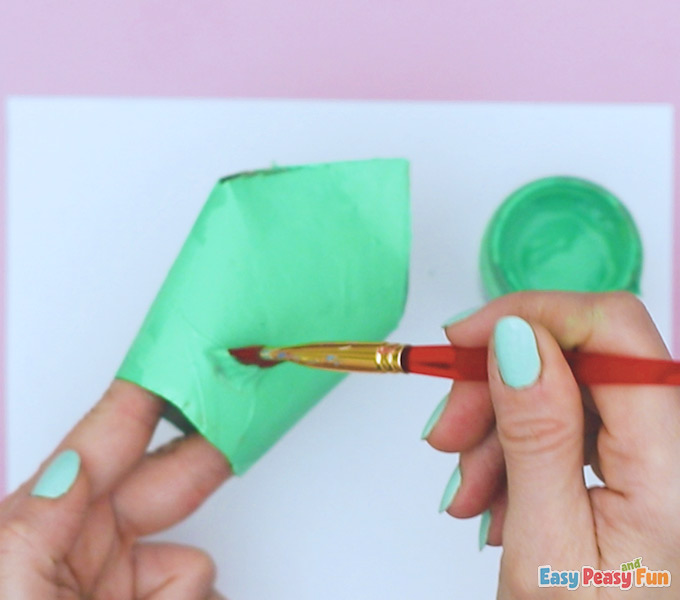
Begin painting the cardboard with green paint, covering every inch of it.
The Legs
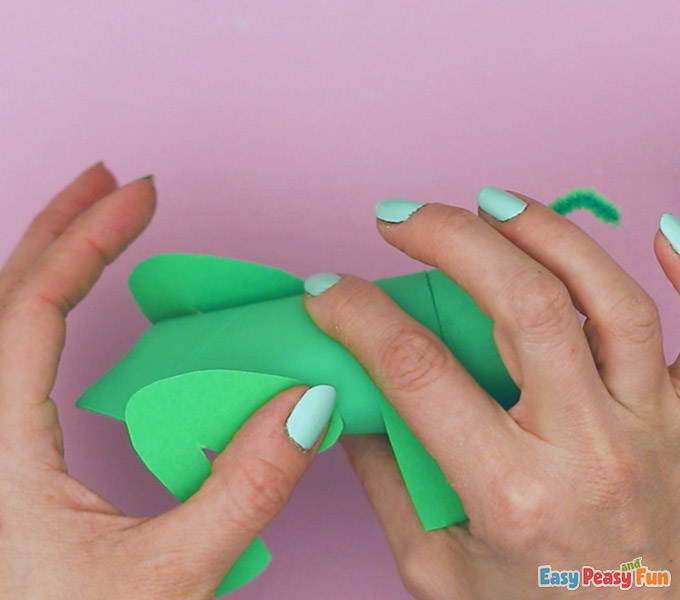
Grab your scissors and the printable template and cut out the legs.
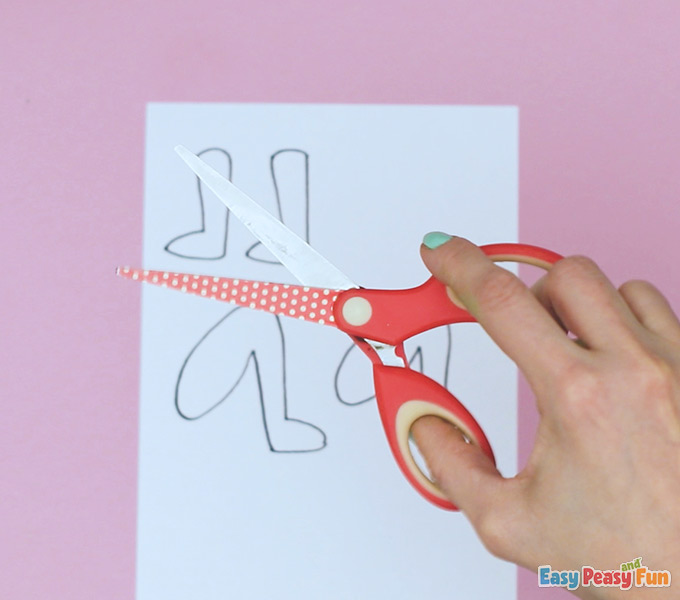
Trace more legs on a sheet of green paper.

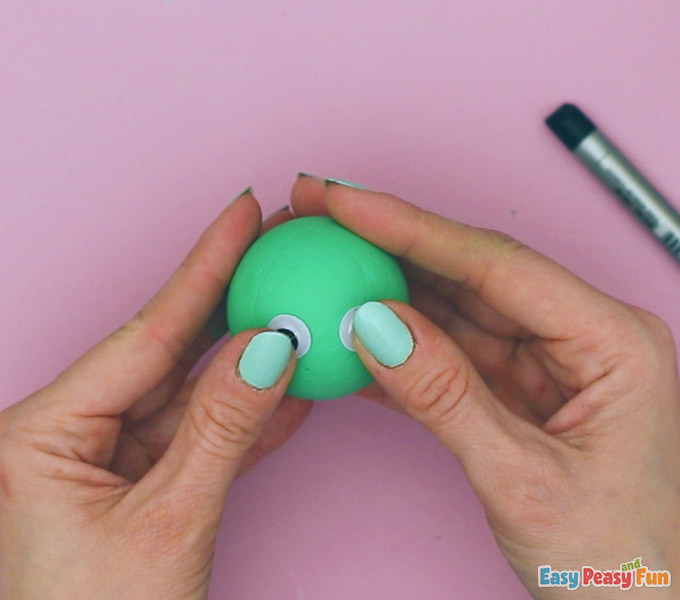
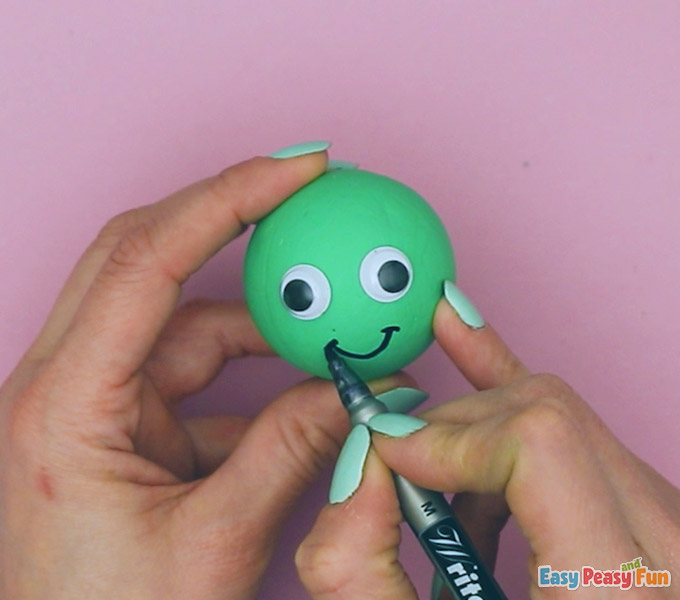
The Face
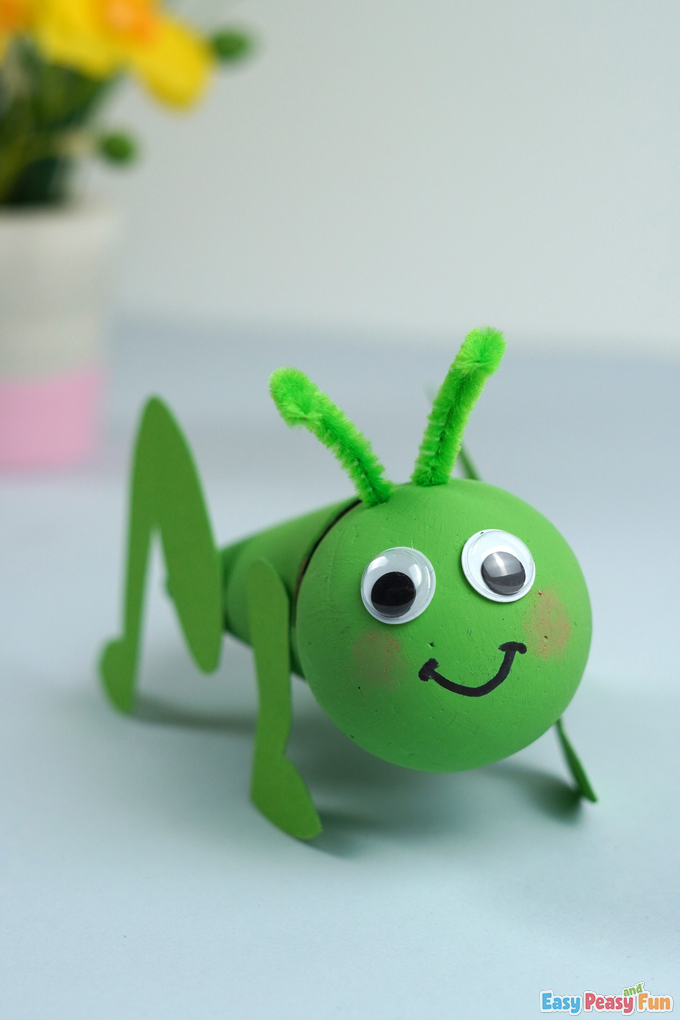
Glue two eyes on the front of your painted green foam ball.
Draw a mouth on the foam ball using your black marker.
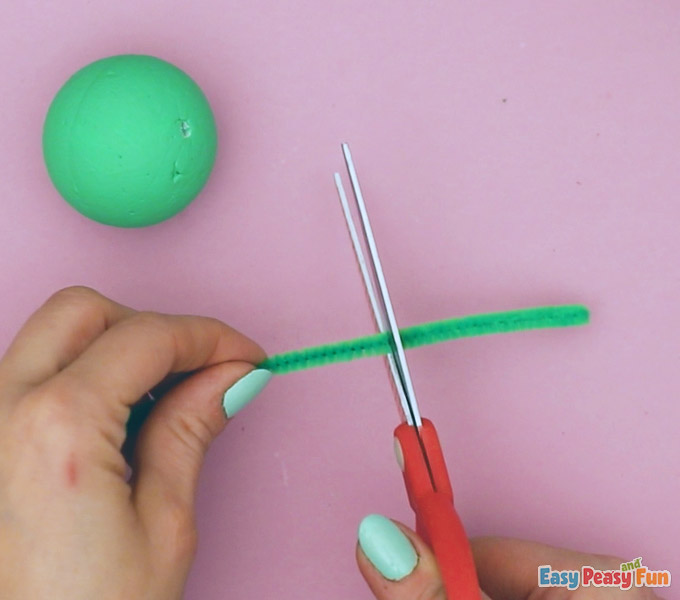
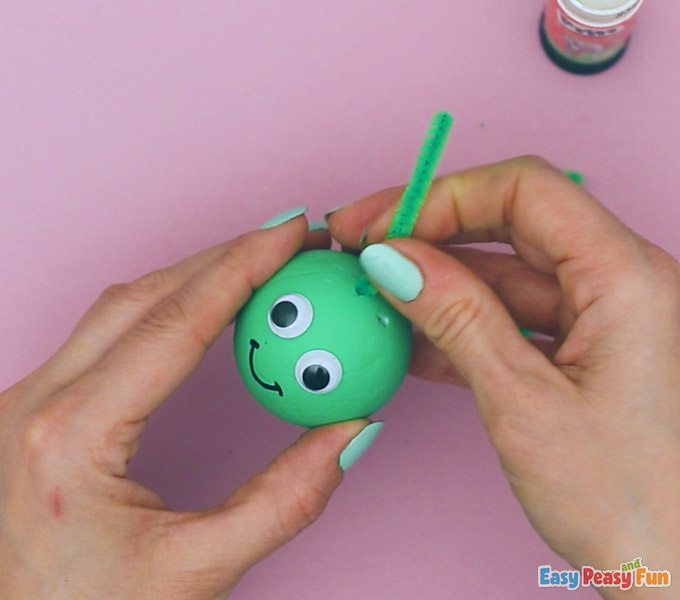
The Antennae
While holding a pipe cleaner in your hand, grab your scissors and begin cutting two antennae.
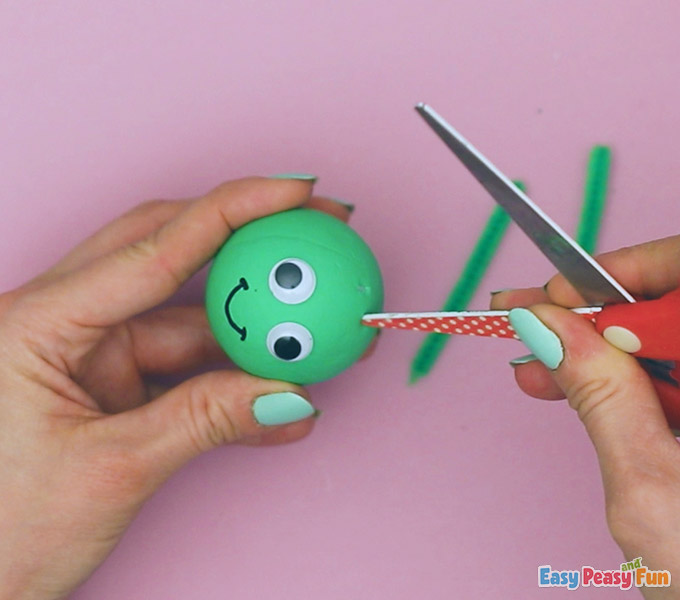
Poke a hole in the top of the foam ball using your scissors.
You need two holes at the top to insert the grasshopper’s antennae.
Place your cut pieces of pipe cleaner in the open holes.
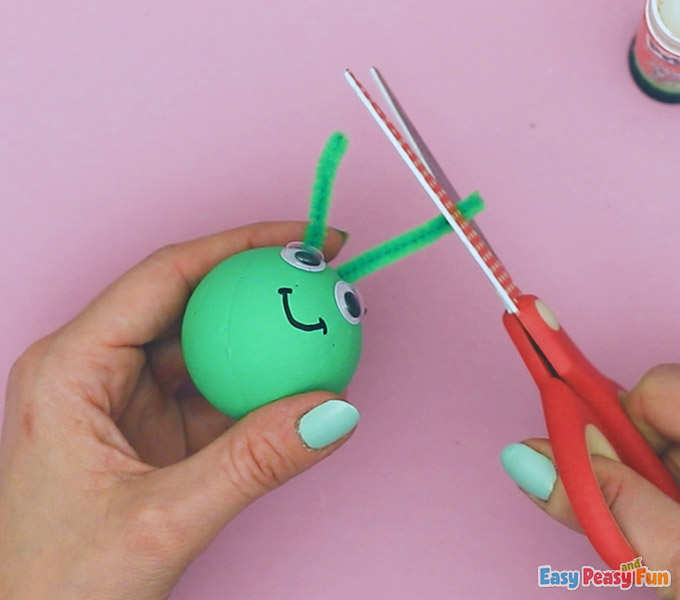
Trim the top of the pipe cleaner to make it a bit shorter.
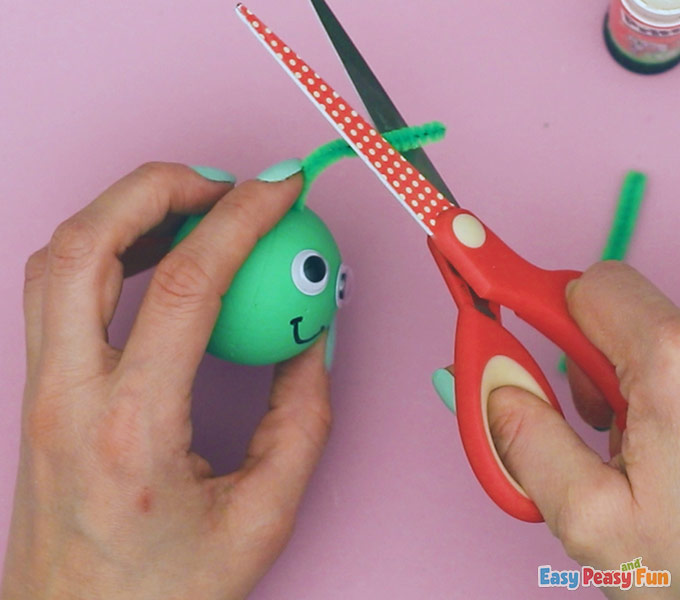
Do the exact trimming with the other pipe cleaner.
You want them to be the same length.
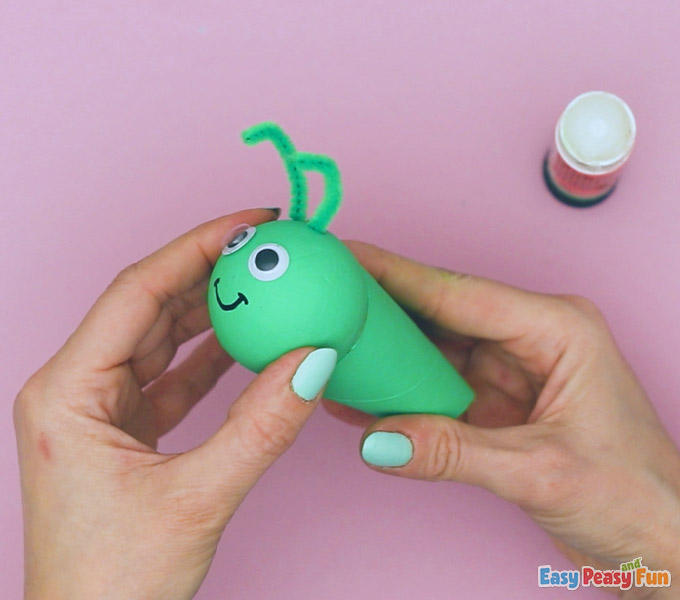
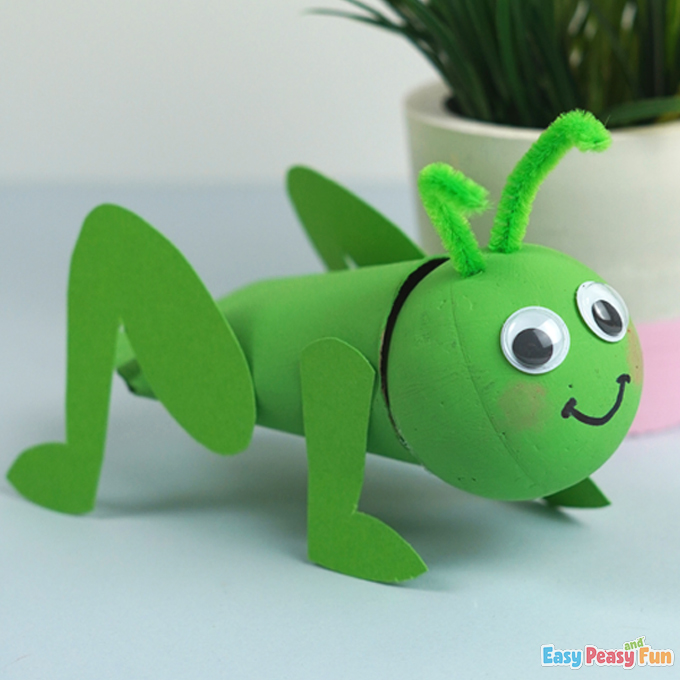
Glue the body to the foam ball.
Begin gluing the legs from the printable to the bottom of the body.
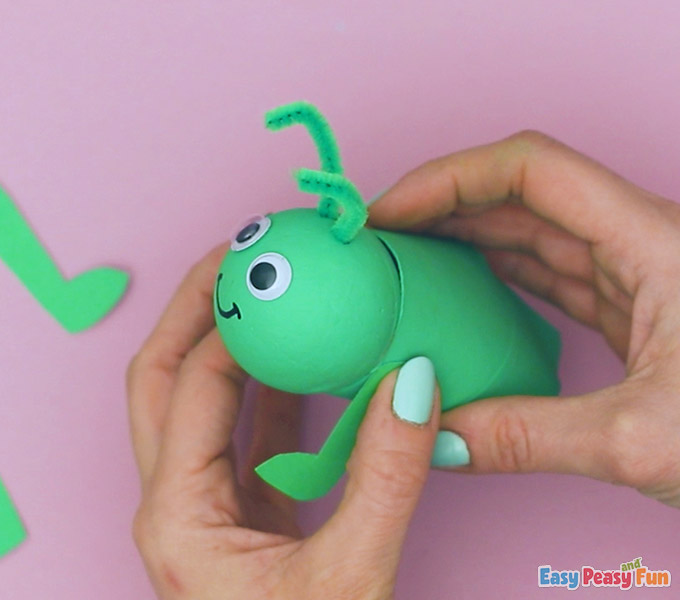
Glue the back legs like you did the front legs.
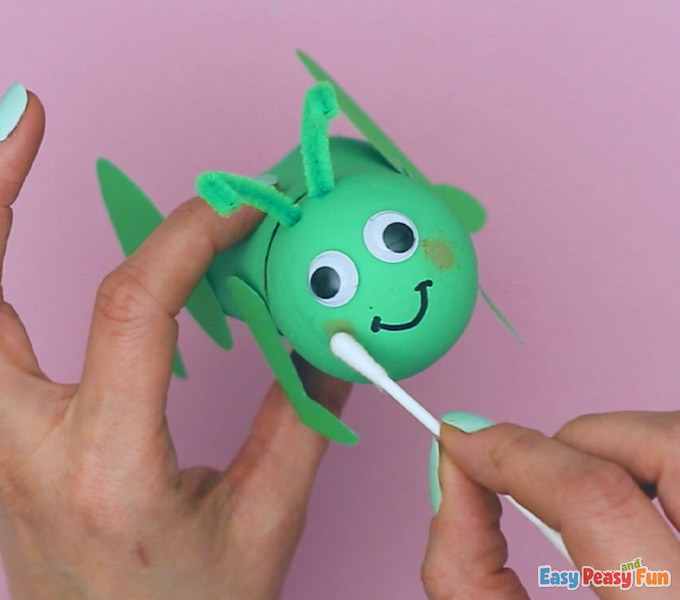
Use a toothpick to add paint to the cheeks, making your grasshopper look even happier!
Secure the front pieces in place with the glue.
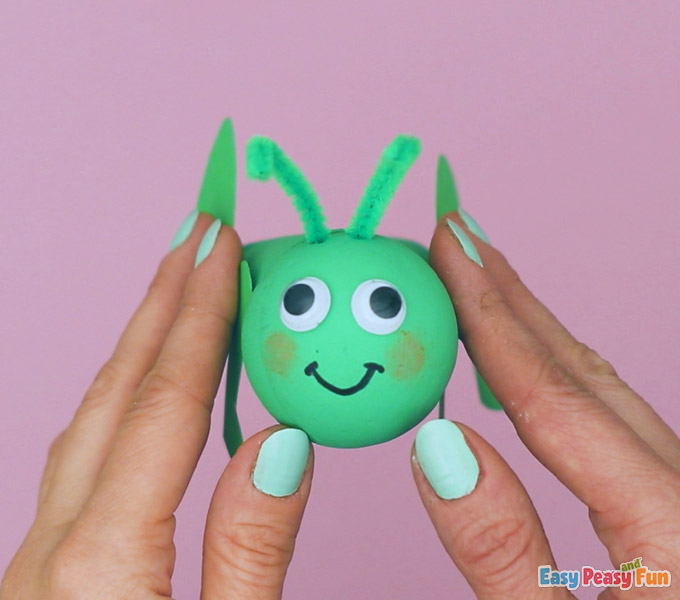
Voila!
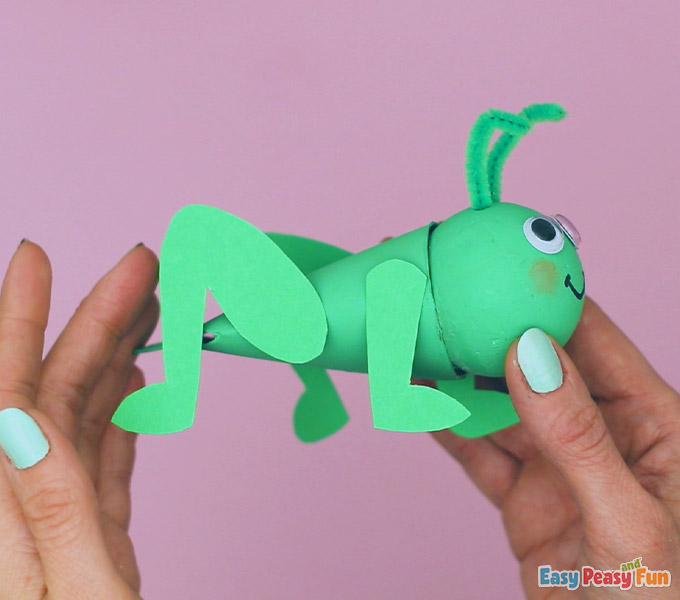
You now have an adorable, bright green grasshopper ready to display.
Isn’t it wonderful?
Enjoy the spring crafting!
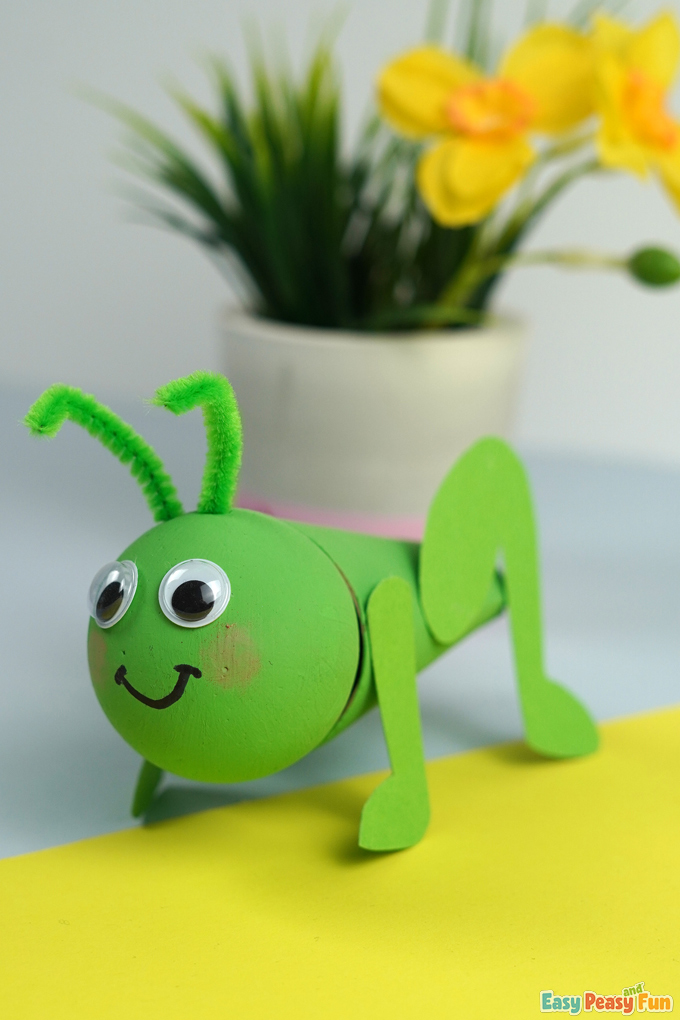
And make as many grasshoppers as you like.
Stay tuned!
Get Your Grasshopper Craft Template Here
Want instant access to all of our printable crafts, activities, and resources?

With thousands of crafts, activities, worksheets, coloring pages, and drawing tutorials to print, you will always have just the resource you need at your disposal. Perfect for parents and teachers alike!