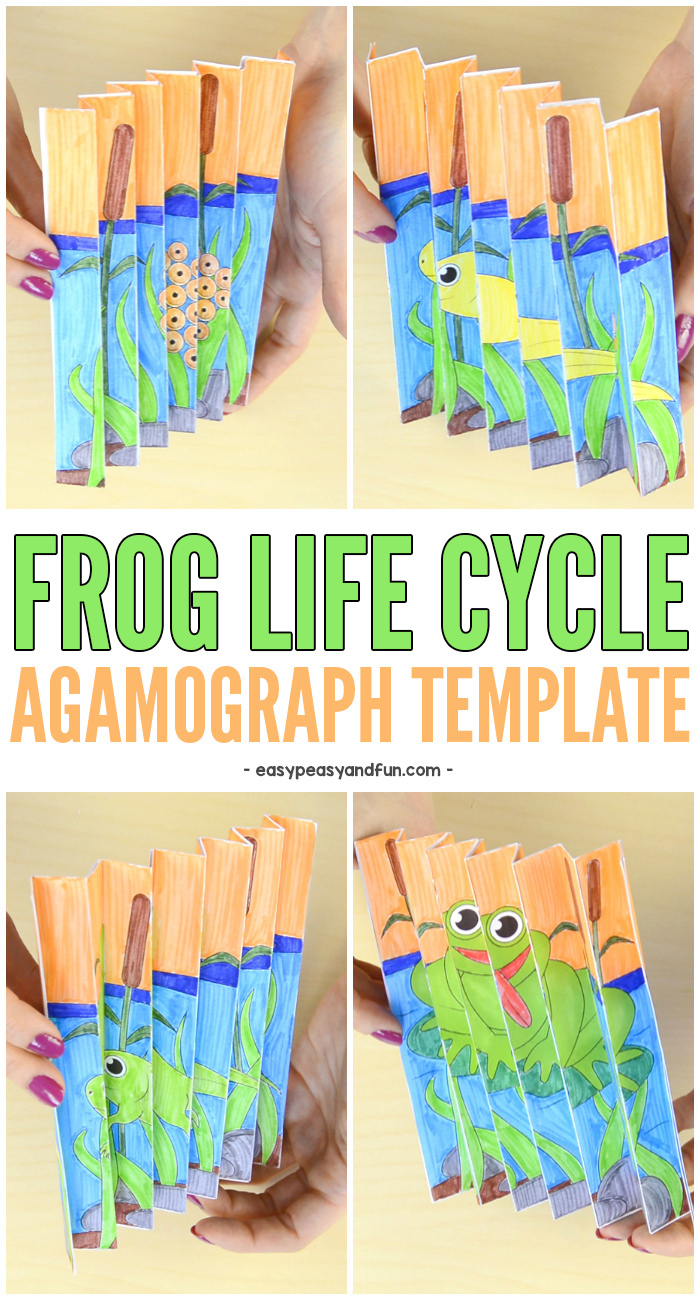
If you are learning about the frog life cycle and want a fun craft activity to go along with, then print this frog life cycle agamograph template.
4 different images, combined into one agamograph make this craft a perfect addition to your lessons. Or to be made just for fun.
*this post contains affiliate links*
50 paper crafts your kids can actually do themselves

No fancy supplies — just paper, scissors, and a little imagination.
Be the first to get it on release day — and lock in the lowest price guaranteed.
We love making agamographs, even more so if they have that extra educational value. This one will help with learning about the frog life cycle, as the images included are – adult frog, eggs, tadpole and froglet.
Also check the: butterfly life cycle agamograph
You can make two agamographs, or join all 4 images into one agamograph that goes through all steps of the life cycle as you turn it around.
How to Make the Frog Life Cycle Agamograph
What you need:
- our printable template (you will find it at the end of the step by step tutorial)
- heavier print paper (regular print paper will work too, but heavier print paper / cardstock is what we recommend using)
- coloring supplies (your favorites)
- scissors
- scoring tool (you can use a variety of objects as alternatives – skewers, ruller, pens….) – you can also fold without the scoring tool
- optional: glue
Watch the Video
Follow These Step by Step Instructions
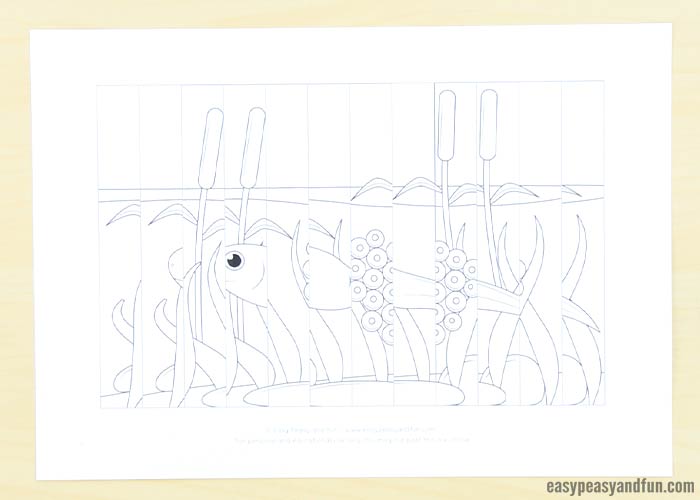
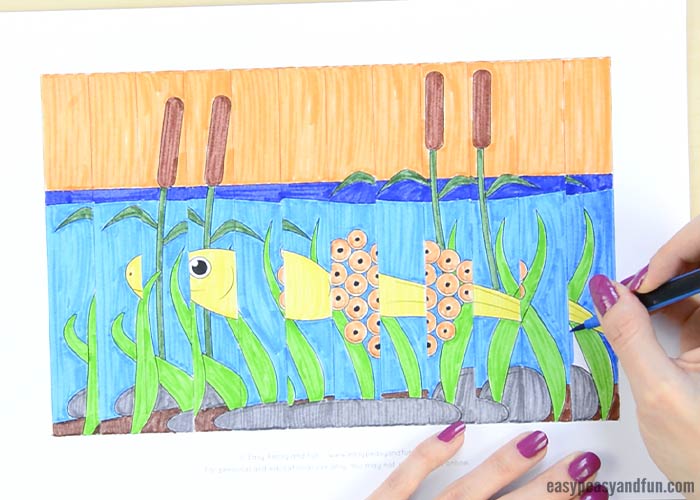
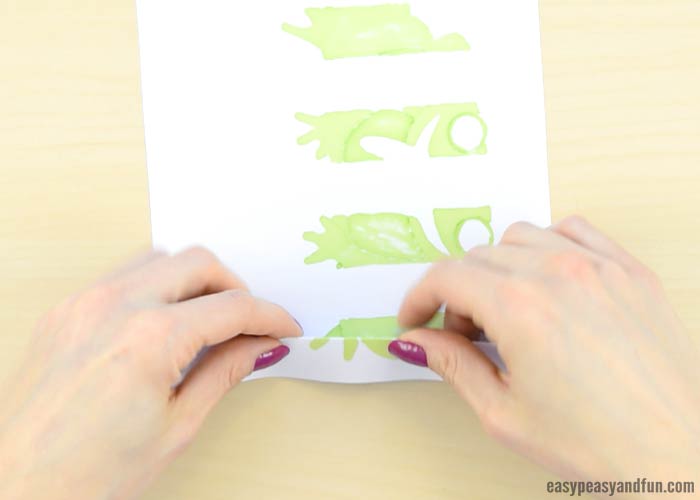
Color in the pictures. We offer two variations to make the agamograph, one with “two images in one” and one, where kids need to cut and glue the images. The “cut and glue” version can also be used as a “cheat sheet” for coloring the agamograph.
We think markers work out best, especially if you use the cardstock paper. Bold colors really make the agamograph images stand out.
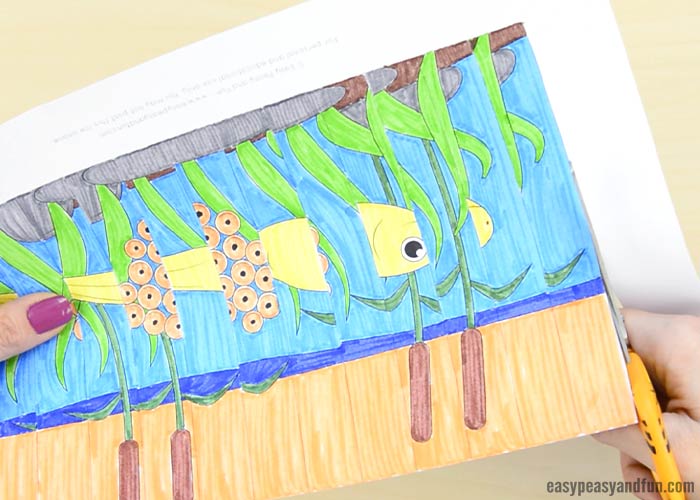
Once you have colored in the agamograph, cut it out (along the outer edge of the rectangle).
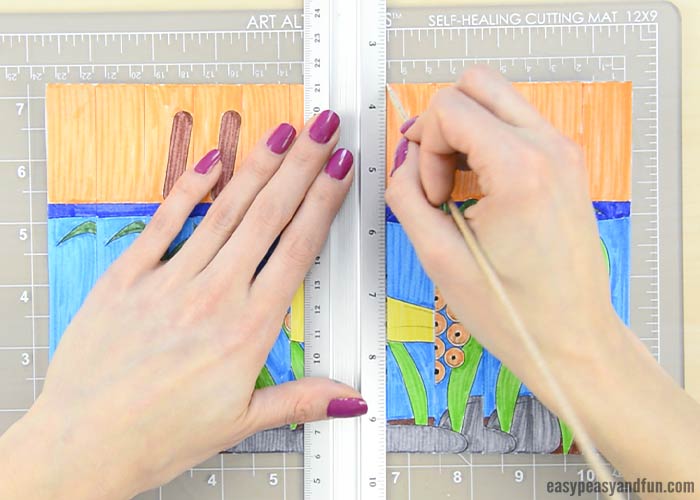
To make folding easy peasy, score along the fold lines. We recommend using a ruler, placing it on the fold and running a scoring tool (actual scoring tool, skewer or other alternative) along the fold.
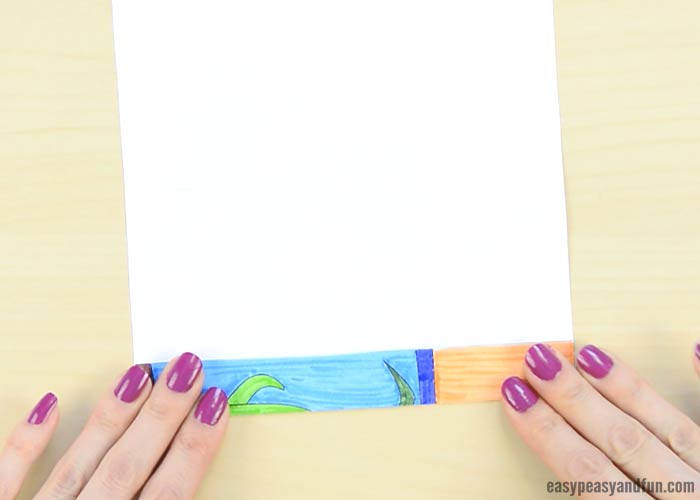
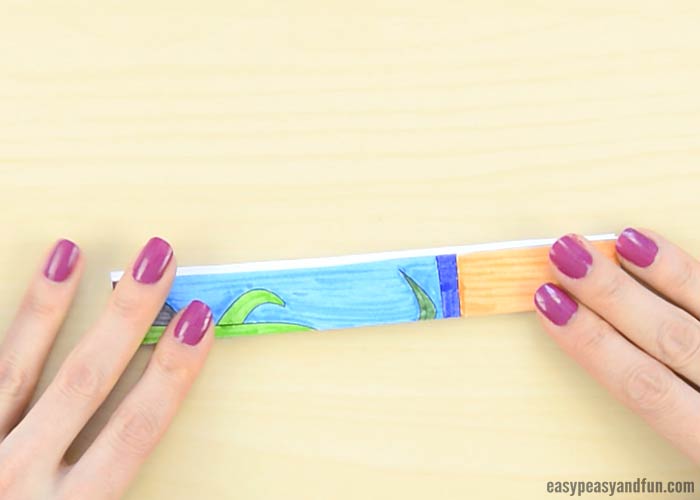
Now fold the agamograph – accordion fold from start to the end.
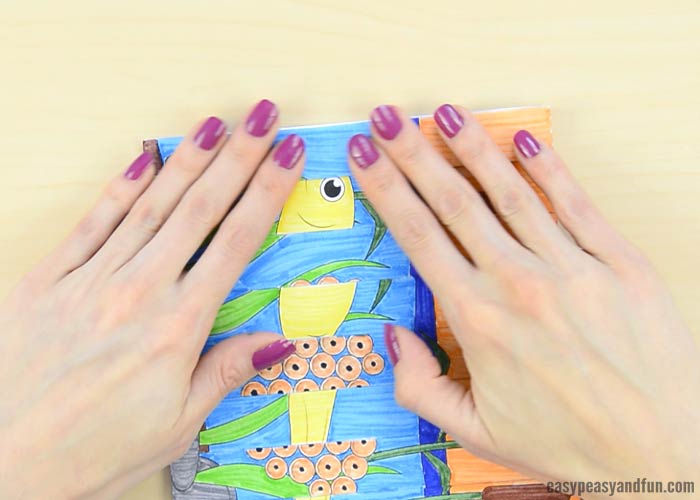
If you will be making two separate agamographs, the order of the valley and mountain folds is not important. If you are making one agamograph though, gluing both together you will need to match them in order for the pictures to display in proper order.

This is something you can adjust once you have both agamographs ready (as you can change the folds) – just before you glue them together.
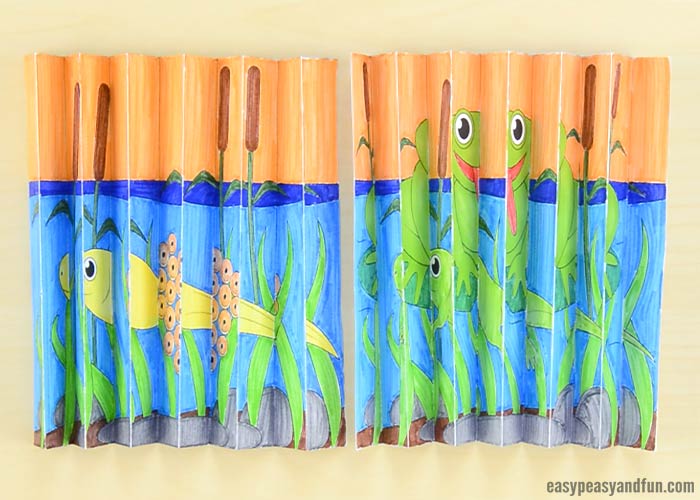
Both Frog Life Cycle Agamograph Templates are ready to be joined into one :).
Apply glue on the back of one of the agamograph, on all folds (or start with the first one, and add glue as you glue together).

Press the agamograph one onto the other. Make sure the glue sets.
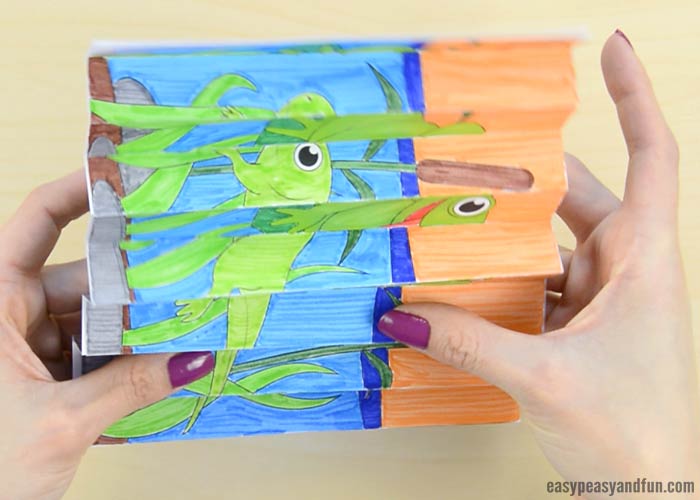
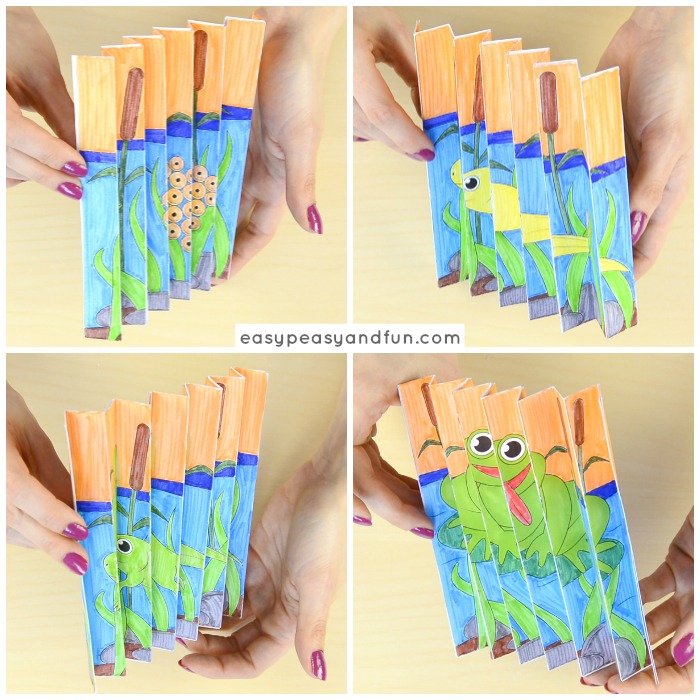
All done! Now your ove Frog Life Cycle Agamograph Template all the way around to reveal all of the stages of the frog life cycle.
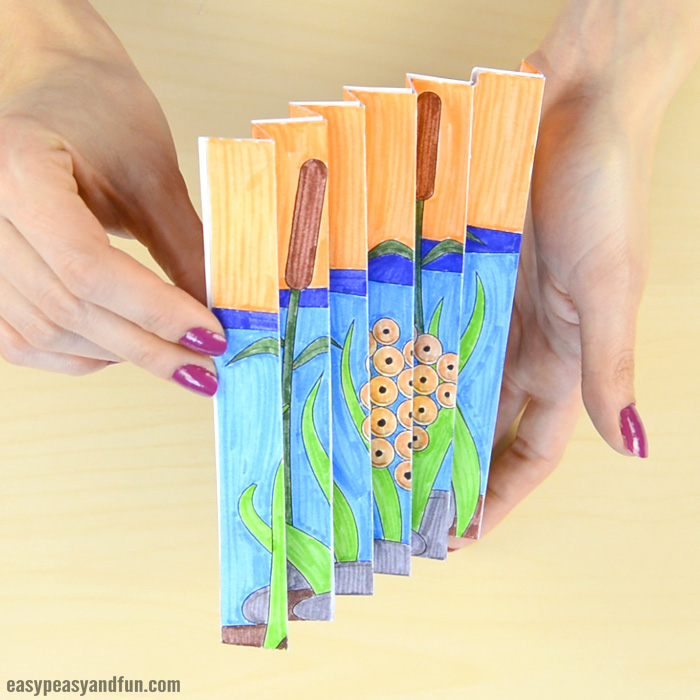
The eggs…
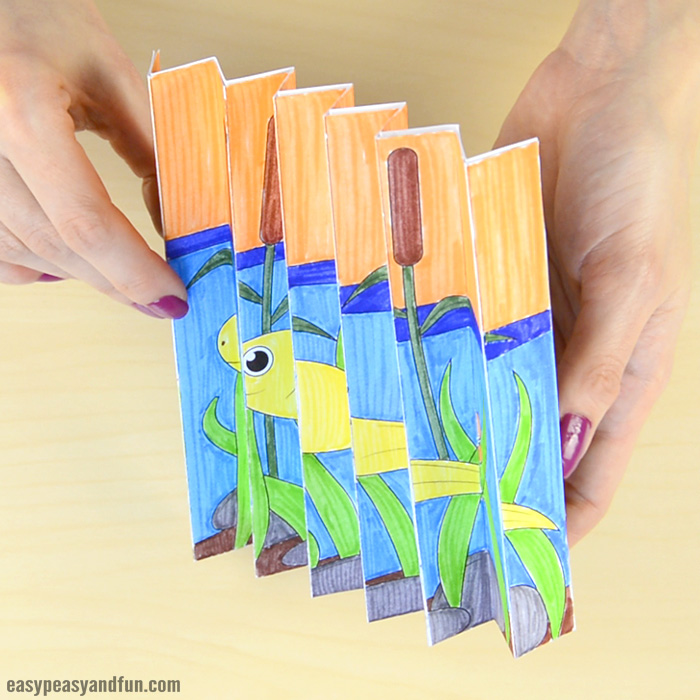
Then there’s the tadpole…
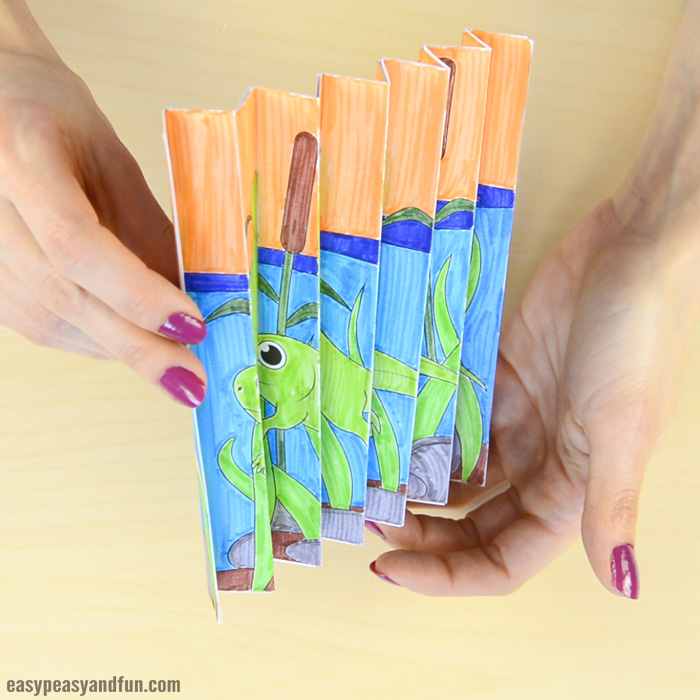
The little froglet…
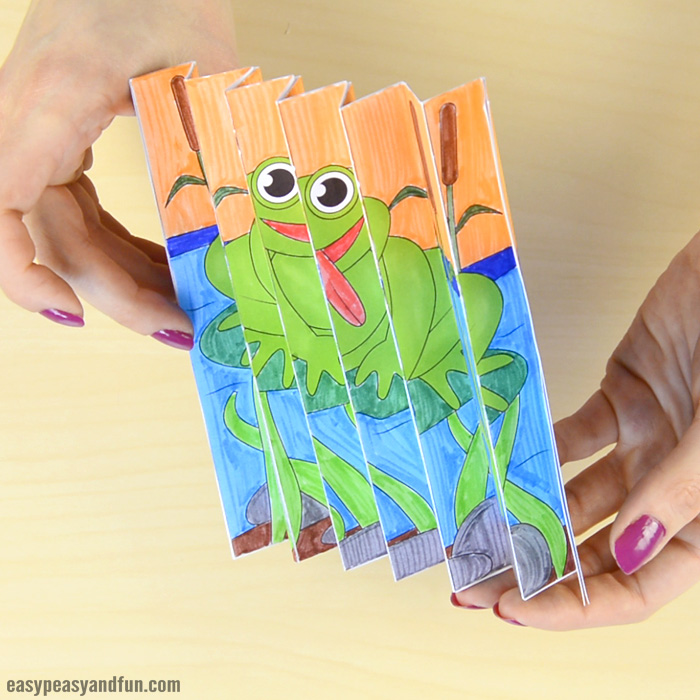
And a grown up frog.
Get the Frog Life Cycle Agamograph Template
Click here to get the printable template: version one, version two.
Want instant access to all of our printable crafts, activities, and resources?

With thousands of crafts, activities, worksheets, coloring pages, and drawing tutorials to print, you will always have just the resource you need at your disposal. Perfect for parents and teachers alike!