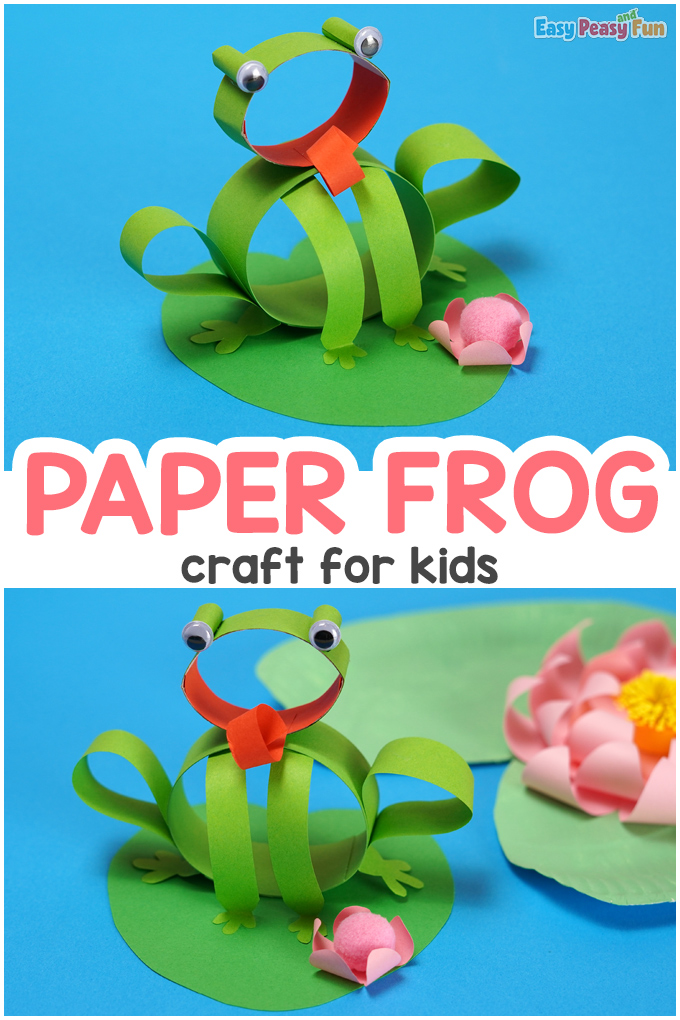
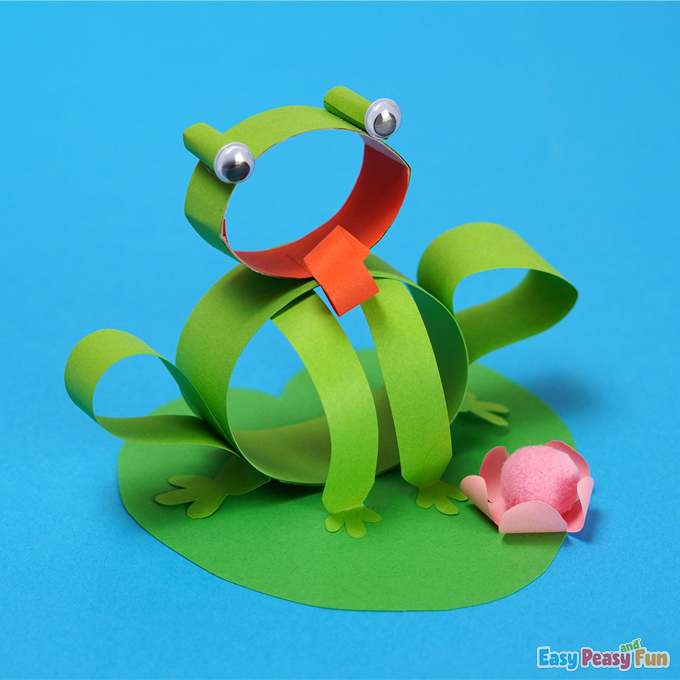
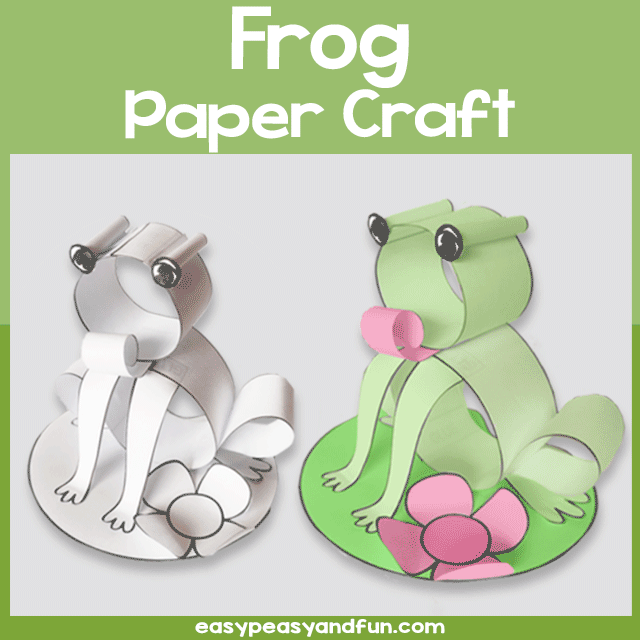
Getting creative is easy when you have something in mind to do! This Frog Craft Made with Paper Strips is not only very easy to complete, but it’s also something that you most likely have never done before.
You will be able to make this frog and spend time hopping around with your family people!
*This post contains affiliate links*
50 paper crafts your kids can actually do themselves

No fancy supplies — just paper, scissors, and a little imagination.
Be the first to get it on release day — and lock in the lowest price guaranteed.
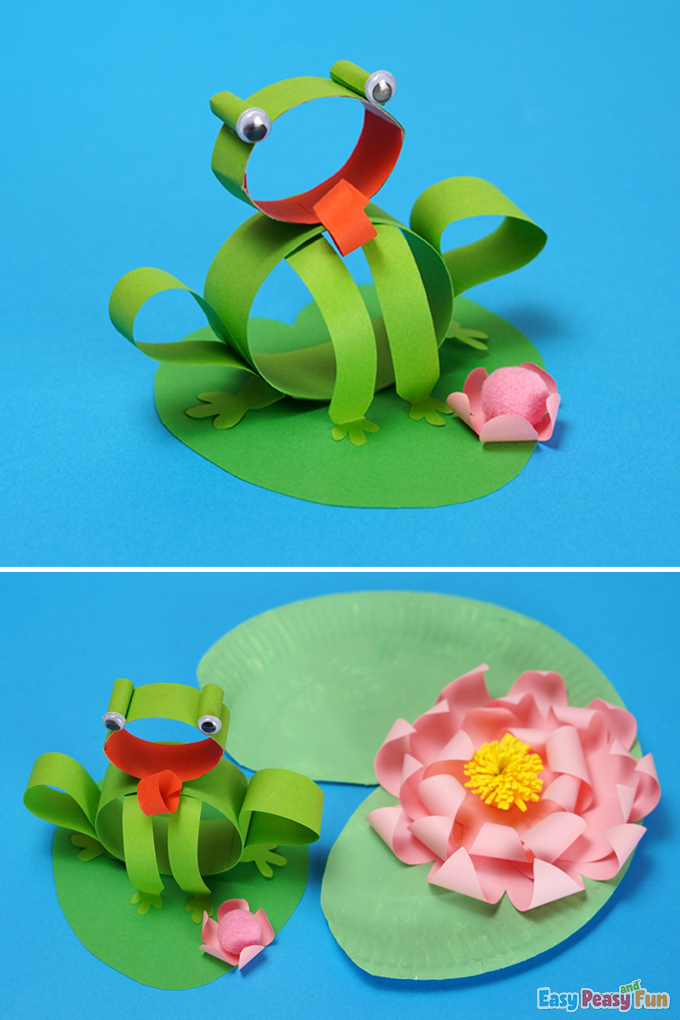
We love Spring Crafts for Kids (check out our Paper Garden Craft and make a Honeycomb and Bees Craft).
With just a few materials, you’ll be making this frog in no time.
The pink flower on the lily pad helps make this frog craft even more fun!
How to Make Frog Craft made with Paper Strips
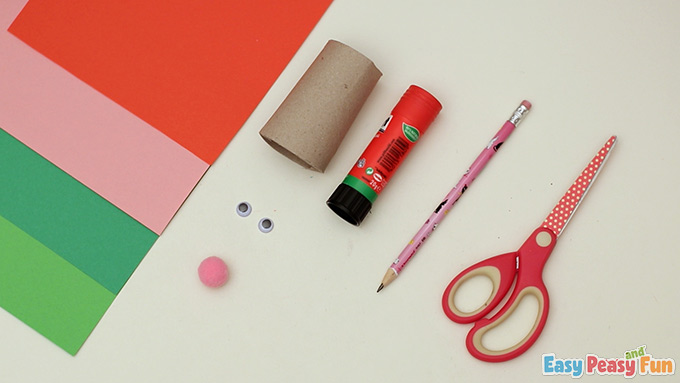
What you need:
- toilet paper roll
- red, green, dark green, rose papers
- pencil
- scissors
- glue stick
- rose pompom
- googly eyes
Step by Step Tutorial
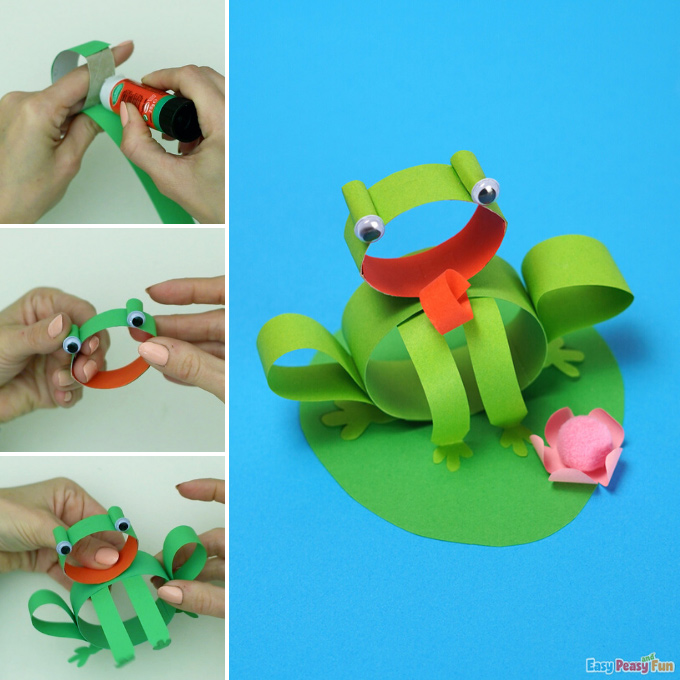
The Head
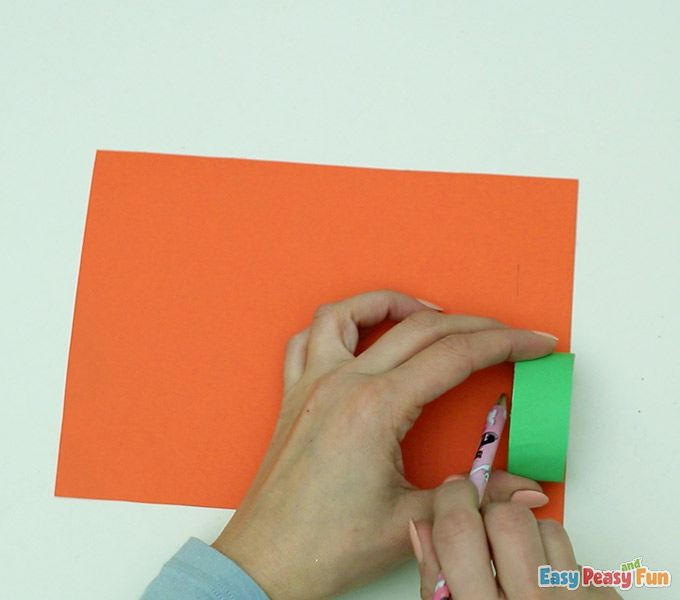
Cut a strip of the toilet paper roll.
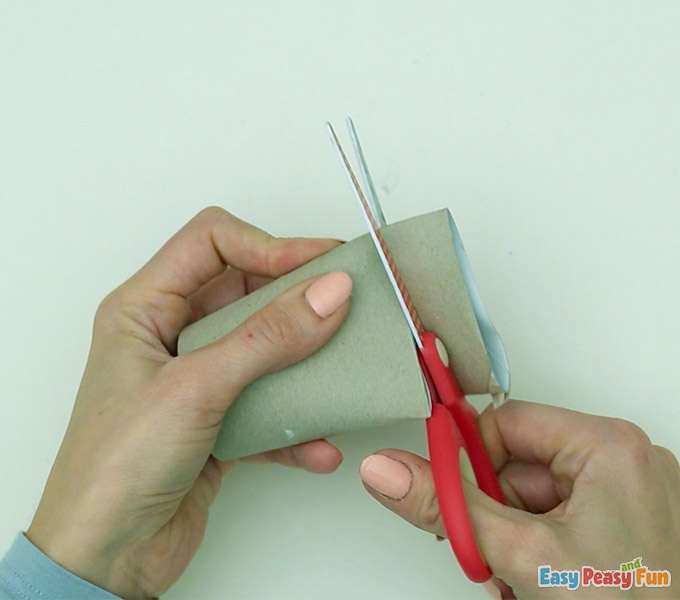
Measure it to the green paper …
… and cut a strip of the same size.
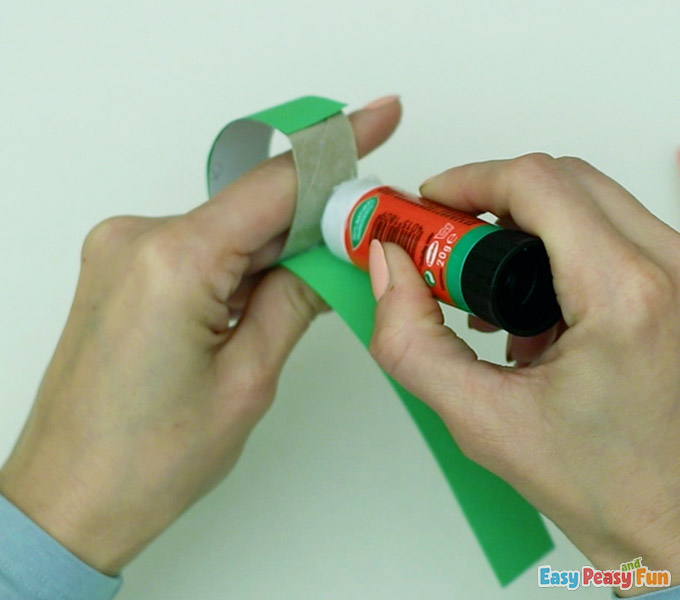
Glue the green strip to the roll.
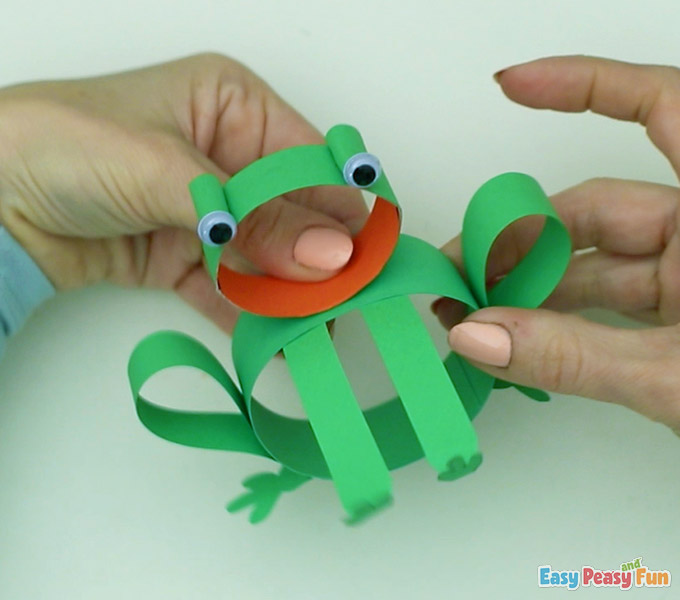
The Mouth
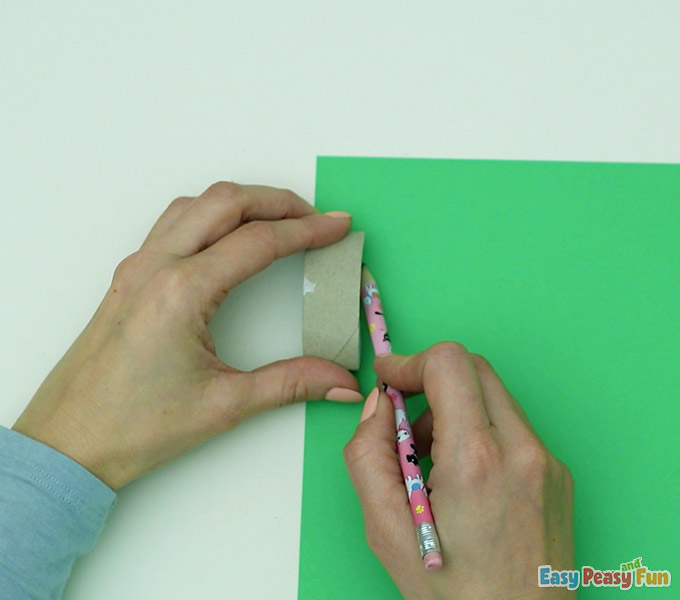
Mark the same size of the strip on the red paper.
And cut it out.
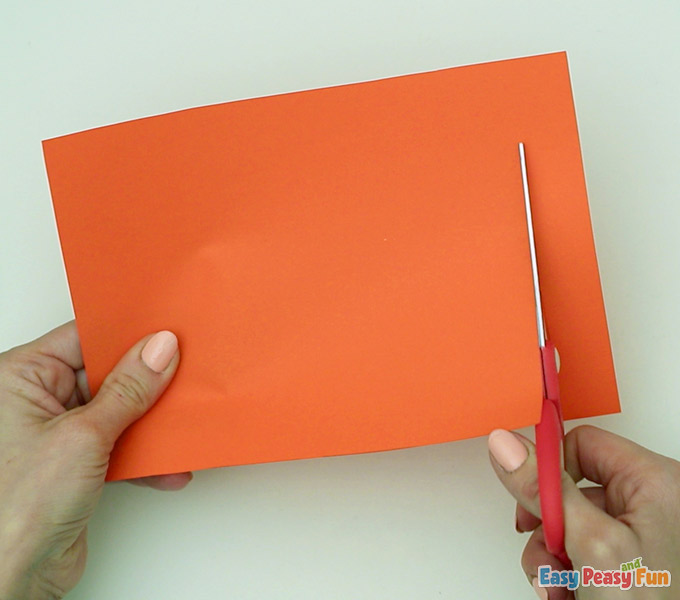
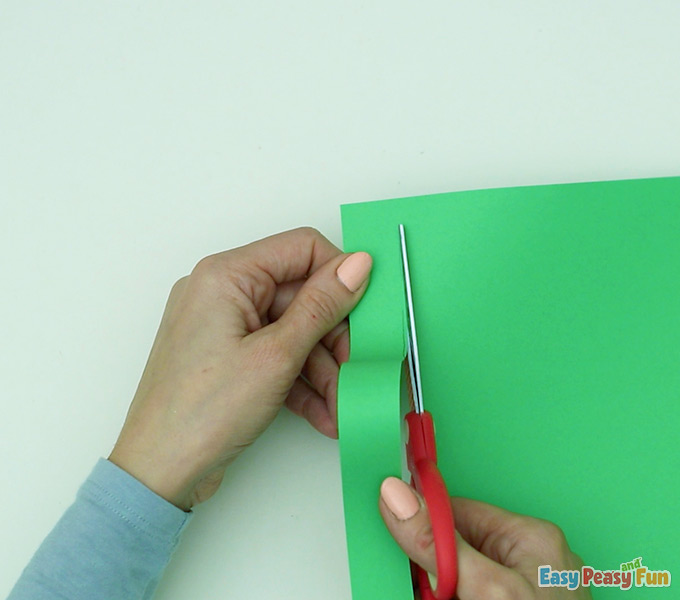
Cut the strip in half.

Go ahead and glue half of a strip (the tongue) inside the roll.
The Eyes
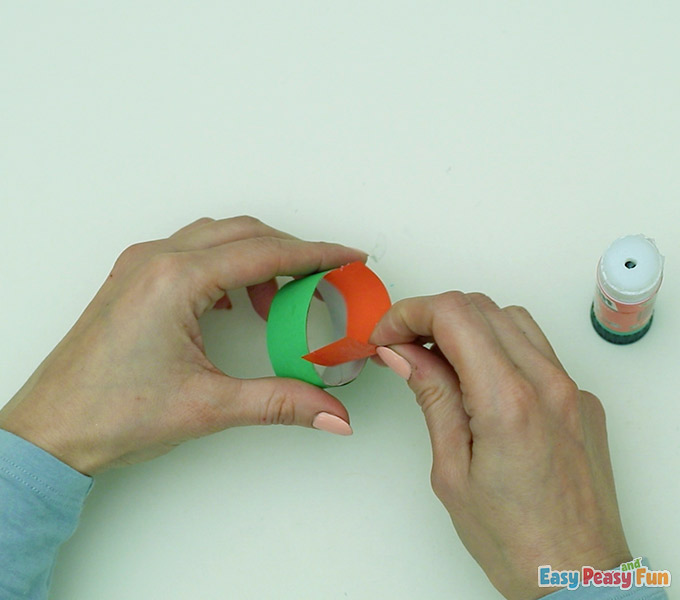
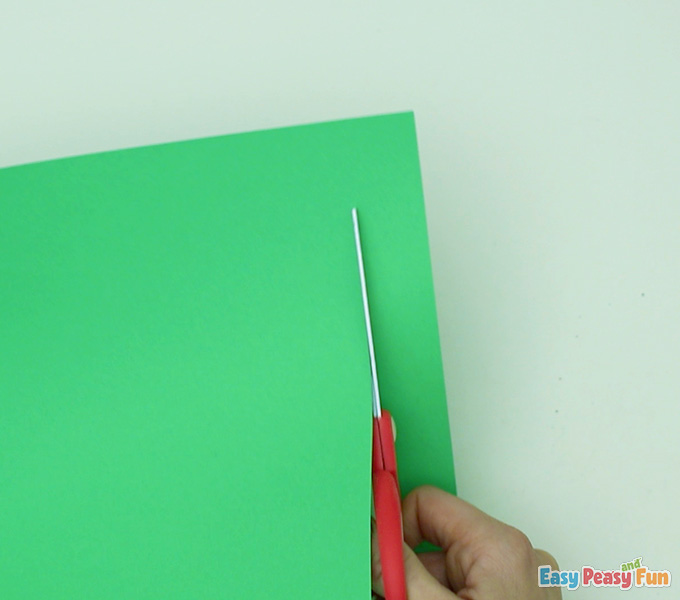
Cut another strip on the green paper.
Wrap it around the pencil …
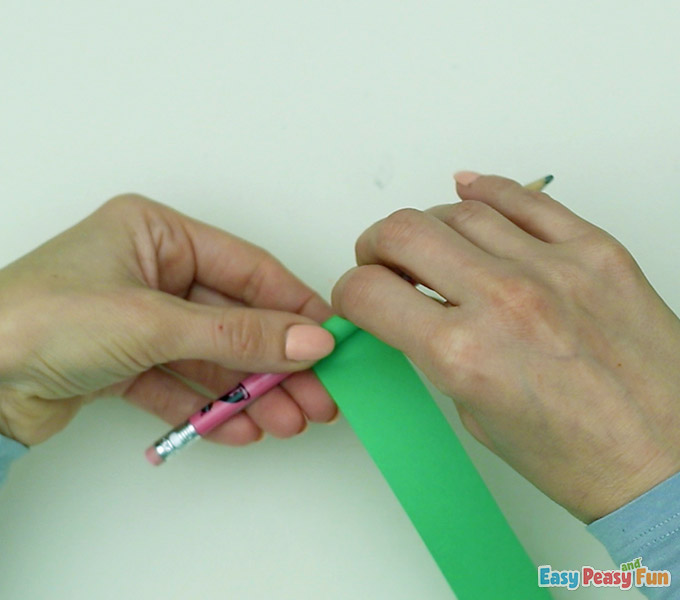
… and glue it together.
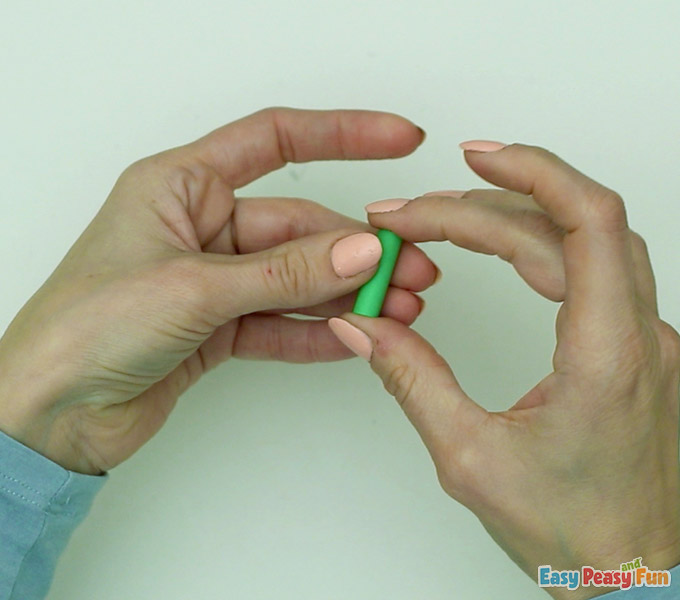
Make two rolls and glue the googly eyes on them.
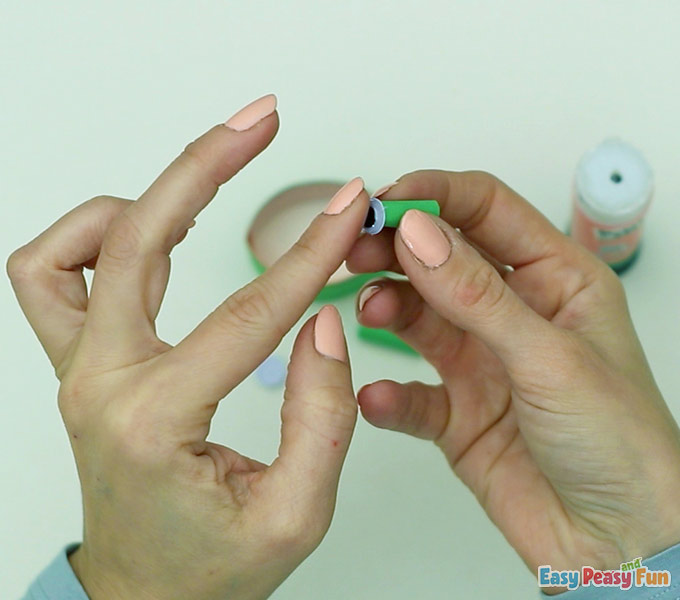
These will be the frog’s eyes.
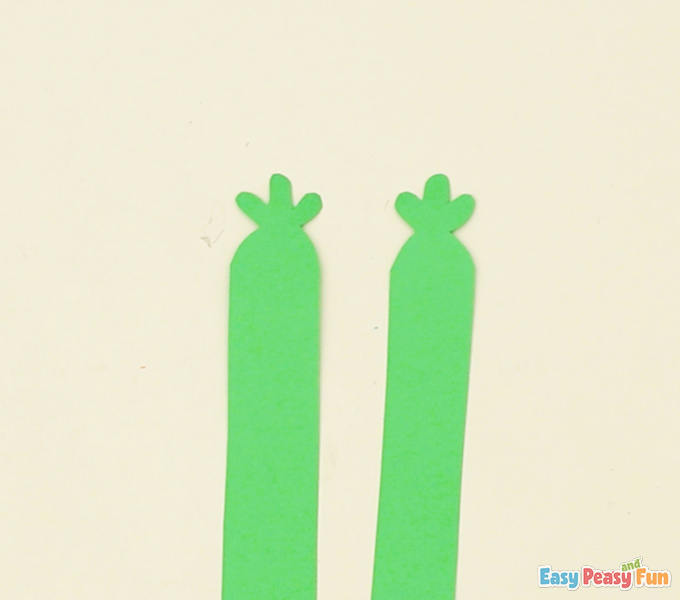
The Legs
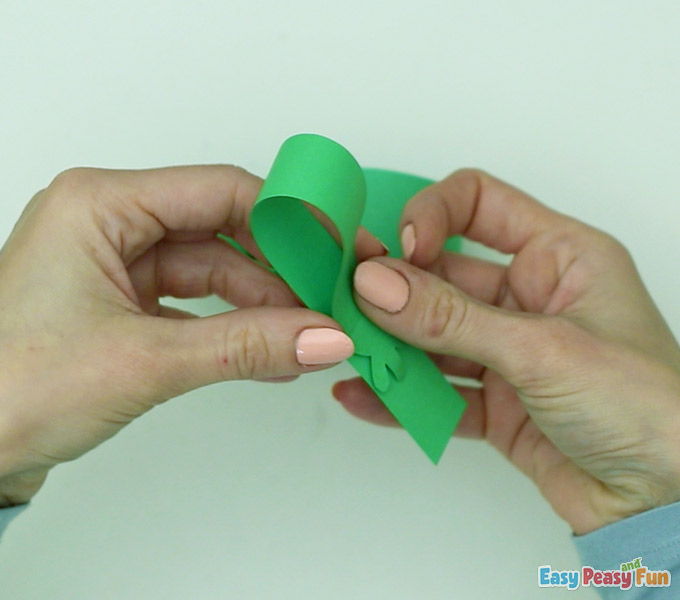
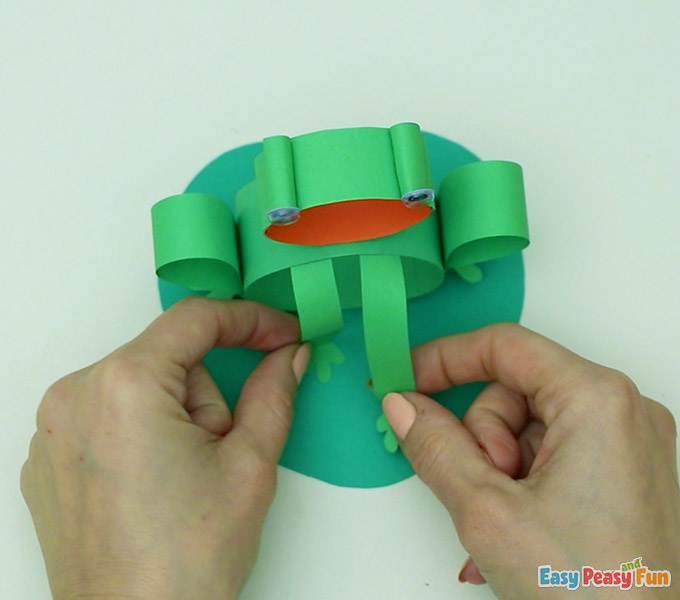
Draw the legs and arms on the strips of the green paper.
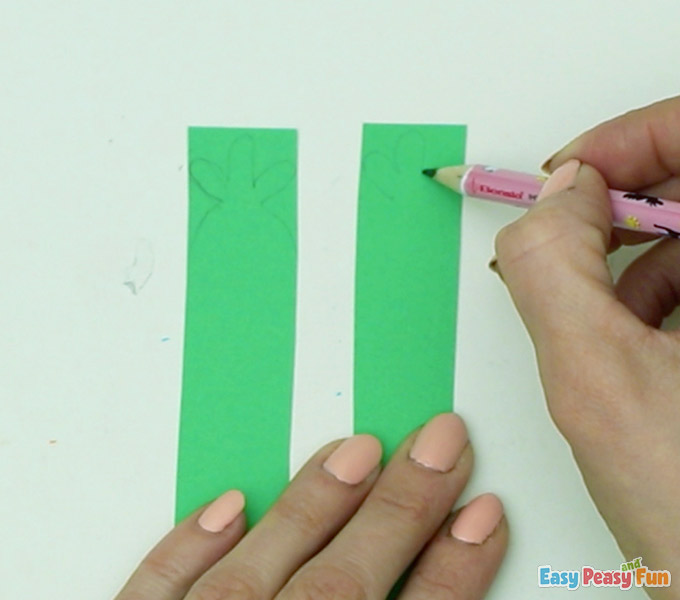
Cut them out.
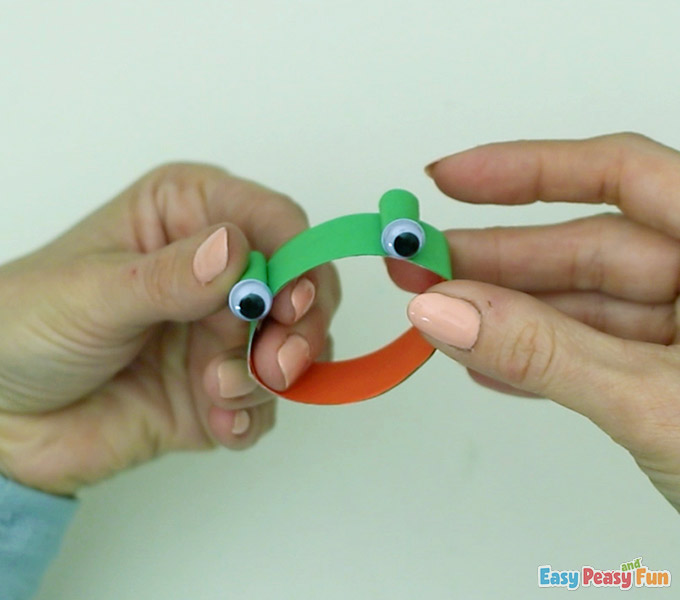
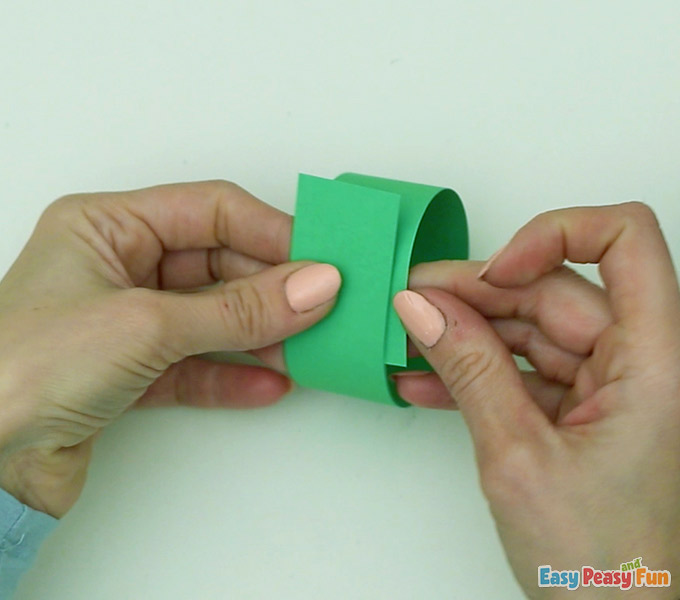
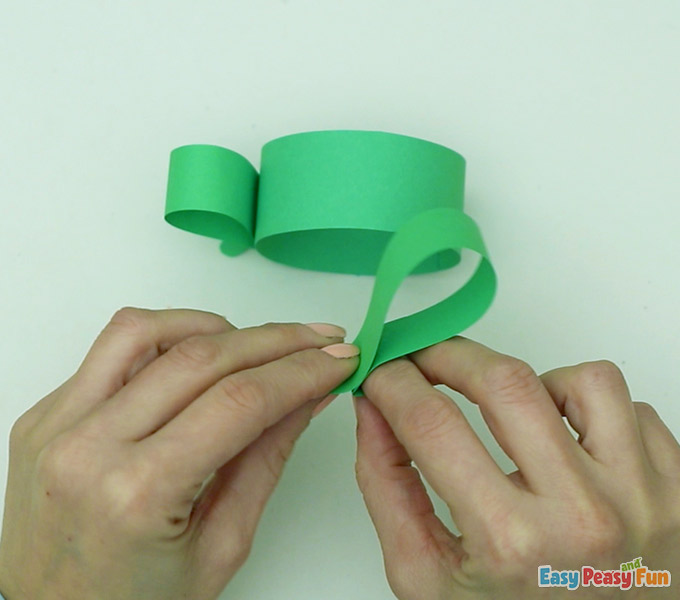
The Body
Roll a larger strip and glue it together.
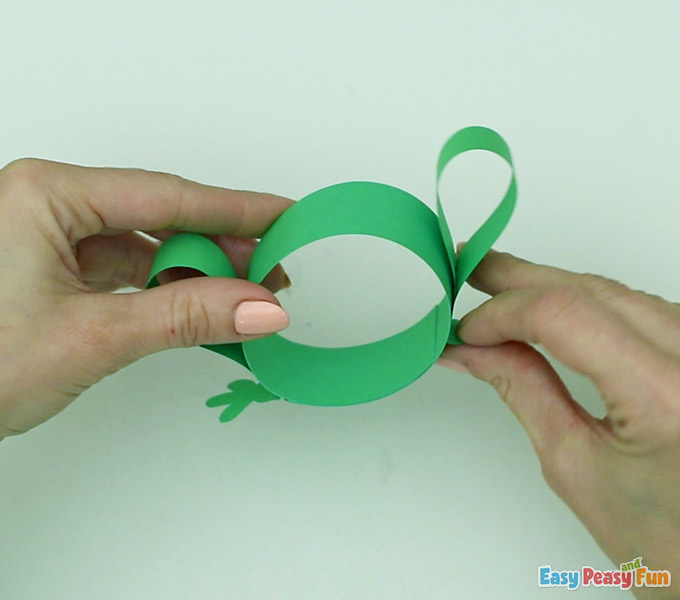
Start folding the arms and legs.
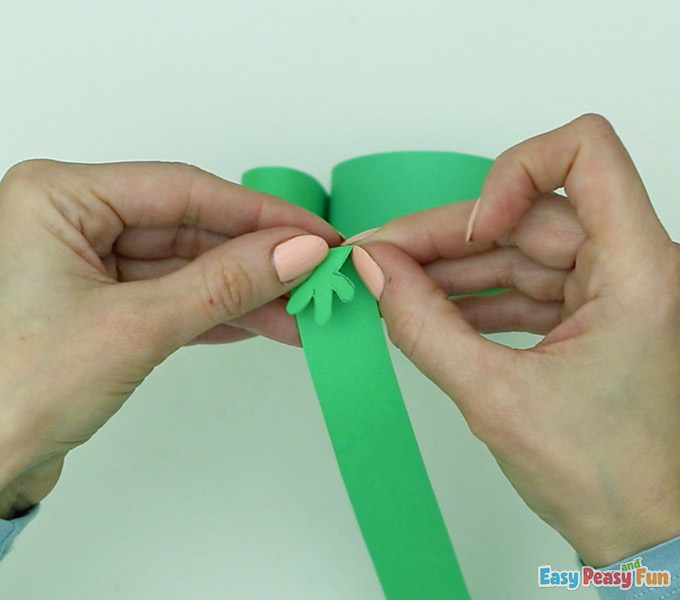
Fold about halfway down the strip.
The view from the top should look like this.
Glue them on the body.
Glue the front legs from the inside.
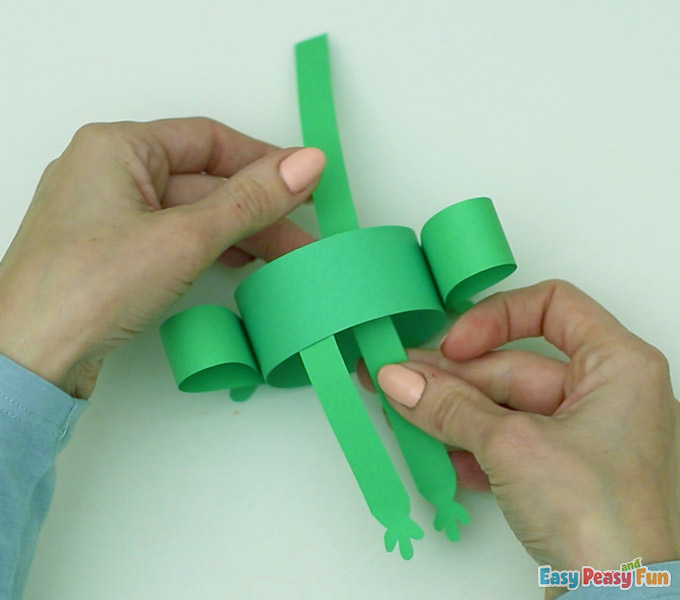
The front legs should come down through the front of the frog.

Glue the head on top of the body.
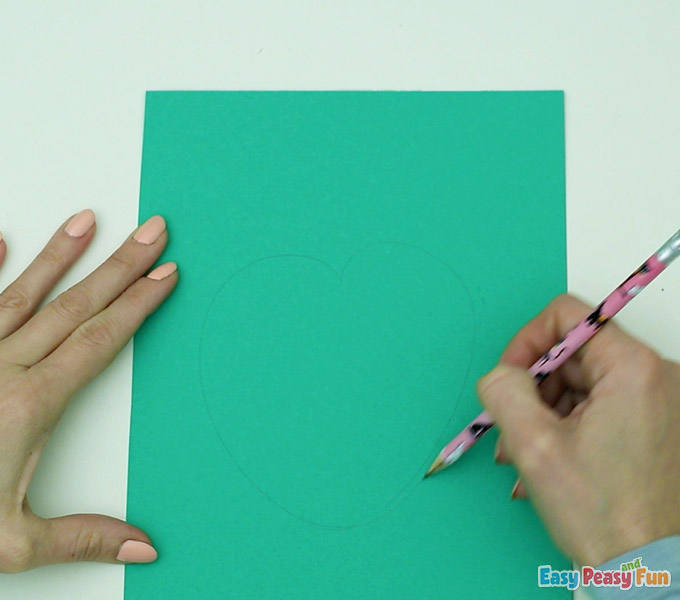
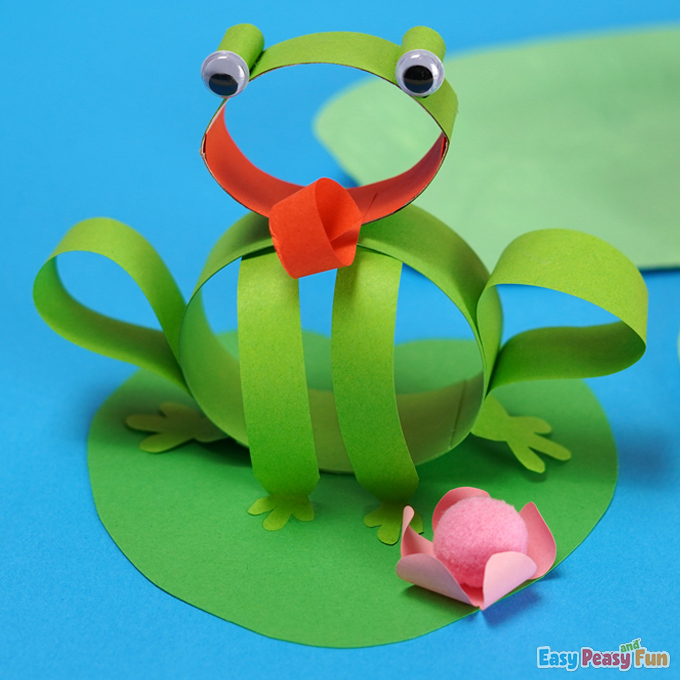
Draw a waterlily shape on the dark green paper and cut it out.
Go ahead and glue the frog on it.
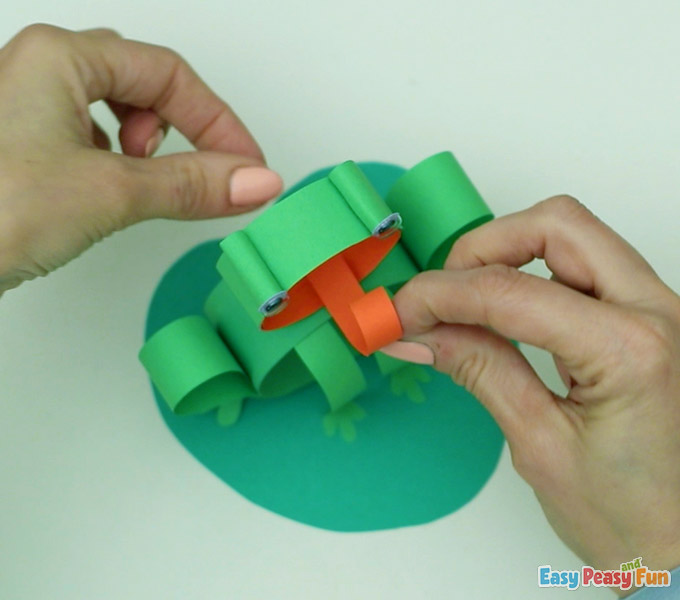
The Tongue
Cut a thin strip of the red paper and use scissors to wrap it.

Glue it inside the frog head. That will be the tongue of the frog.
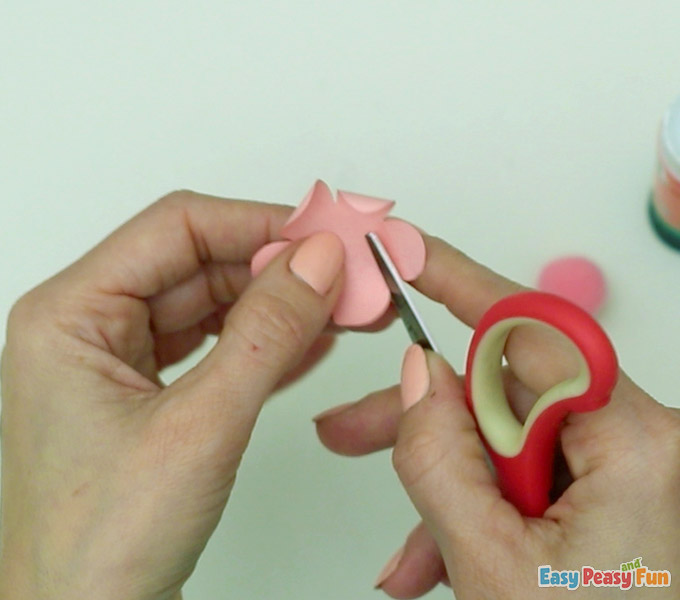
Draw a flower on pink or red paper.
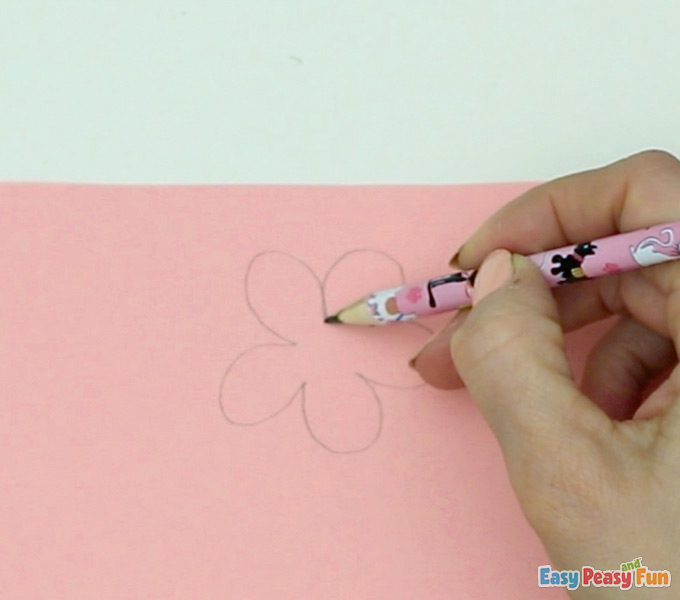
Cut it out and wrap the end of the petals.
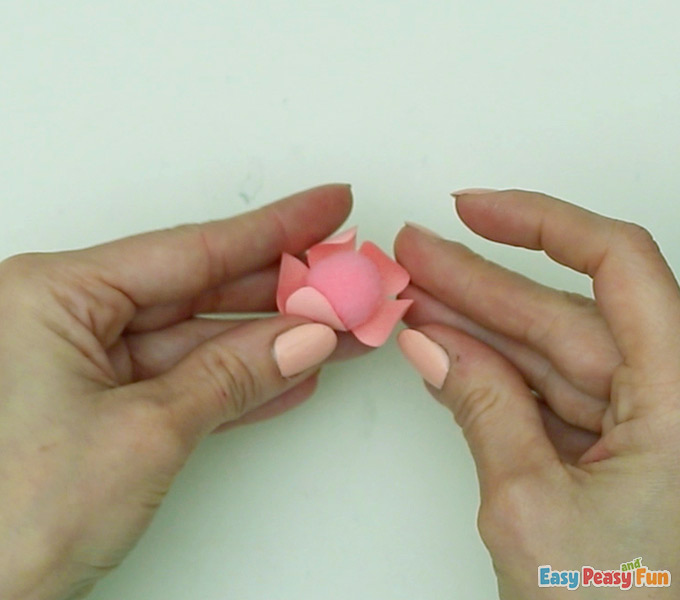
Glue a pink pom-pom in the middle of the flower.
Now glue the flower on the waterlily.
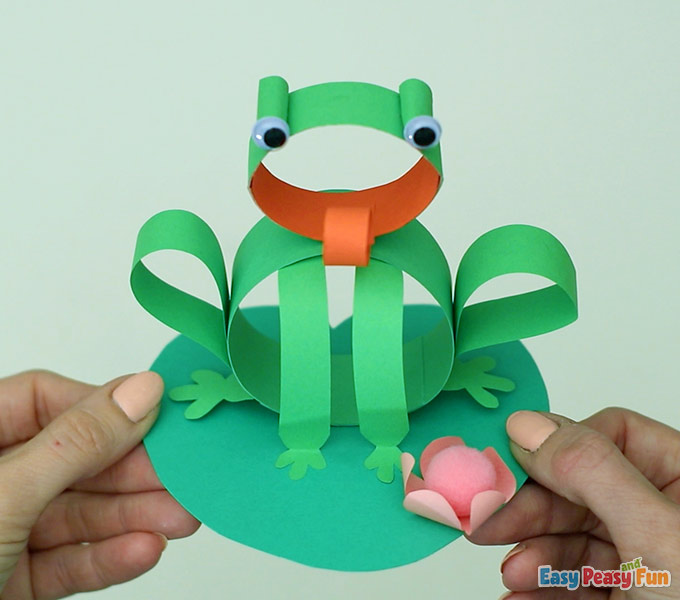
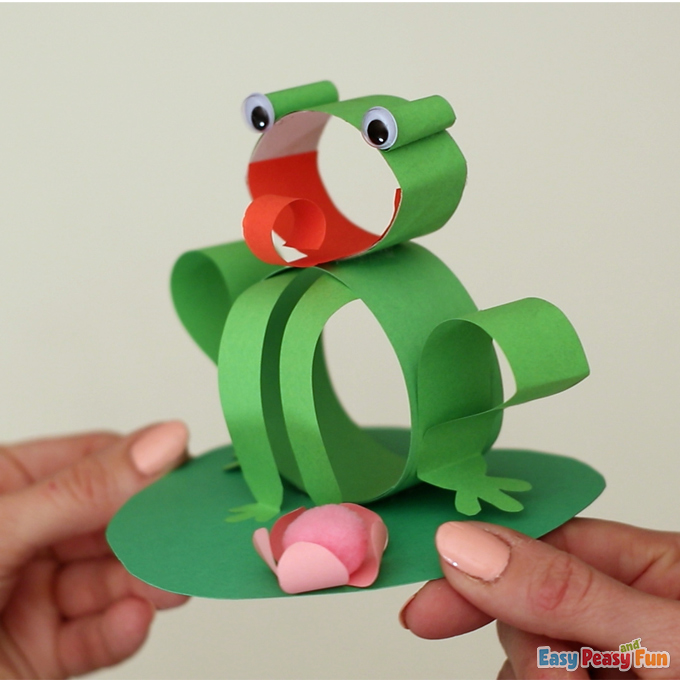
Your frog is done!
Isn’t it lovely?
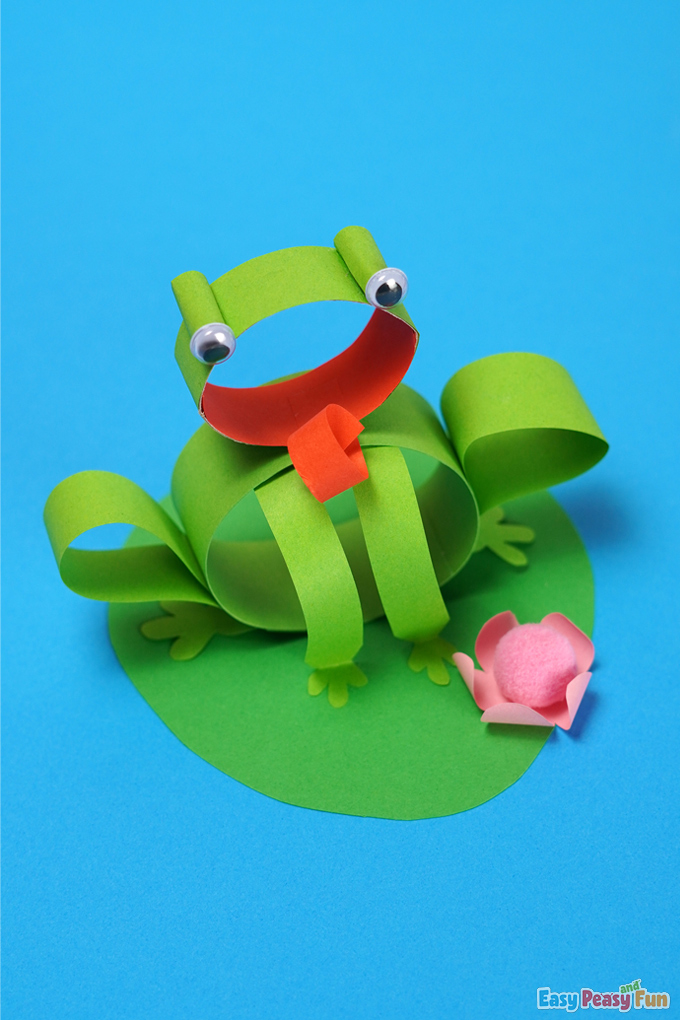
You can make a bunch of them.

Enjoy your new amphibian friend!
Have fun!
Get your Frog Craft Made with Paper Strips here
Want instant access to all of our printable crafts, activities, and resources?

With thousands of crafts, activities, worksheets, coloring pages, and drawing tutorials to print, you will always have just the resource you need at your disposal. Perfect for parents and teachers alike!