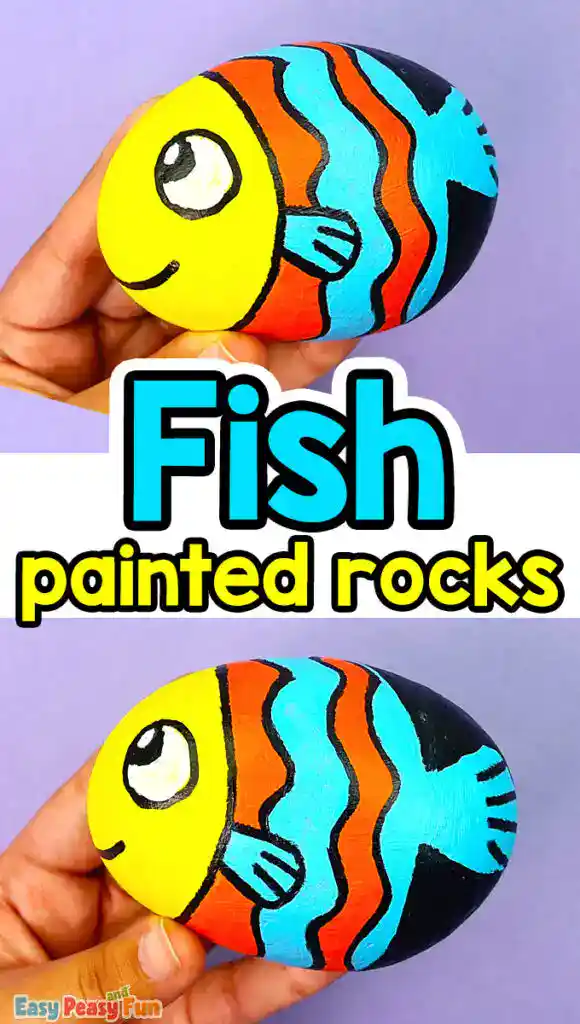
Transform ordinary stones into a colorful underwater world with this easy and creative craft! These fish painted rocks are bright, fun, and so simple to make that kids will want to turn every pebble they find into a new sea creature. Whether you are looking for a creative summer craft for kids or a unique way to decorate your home, these vibrant little fish are the perfect project.
So, next time you’re at the beach or on a nature walk, keep an eye out for smooth, oval-shaped rocks. The rounder and smoother, the better for painting!
*This post contains affiliate links*
Hi, I'm Andreja from Easy Peasy and Fun — and I just wrote a book!
50 paper crafts your kids can actually do themselves
CRAFTS
I designed every project so kids can do it themselves — no fancy supplies, just paper, scissors, and a little imagination.
“If you need easy crafts to keep busy, Andreja delivers with this book!”
📚 As an indie author, your pre-order genuinely helps me — it counts toward first-week sales, which is how new books get noticed. Thank you!
Why Kids Love This Rock Painting Craft
What makes this activity one of the best ocean animal crafts for kids is that there are absolutely no rules. Every fish can have its own unique personality, featuring different colors, patterns, and characters. From bold stripes to wild swirls, the more colorful the design, the better!
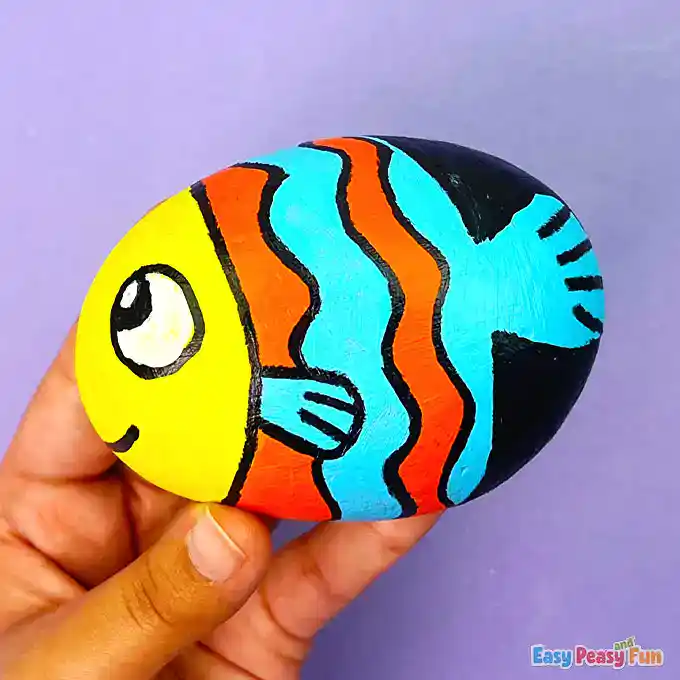
How to Make the Fish Painted Rocks
Materials Needed
Before you begin, gather these simple supplies:
- Smooth, oval-shaped rocks: Look for these on your next nature walk or beach trip—the smoother the better!
- Acrylic paints: Choose a variety of bright colors.
- Paintbrushes.
- Black marker: For adding fine details and outlines.
Step by Step Tutorial
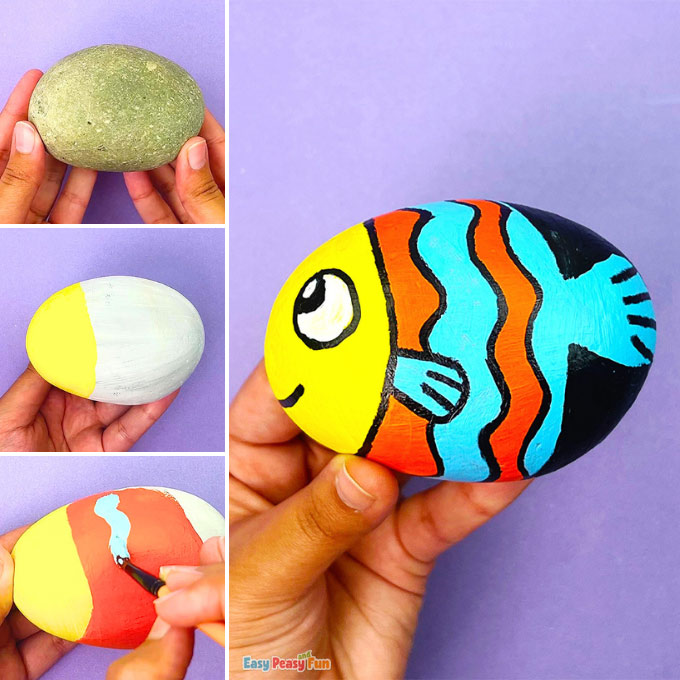
1. Prepare Your Rock
Start by cleaning your rock to ensure the paint adheres well. Apply a clean white base coat over the entire rock and let it dry completely. This ensures your colors look vibrant and “pop” against the stone.
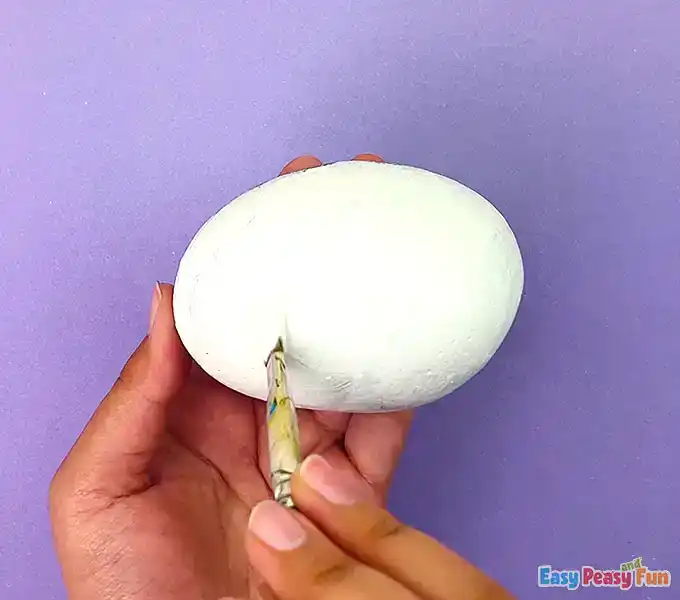
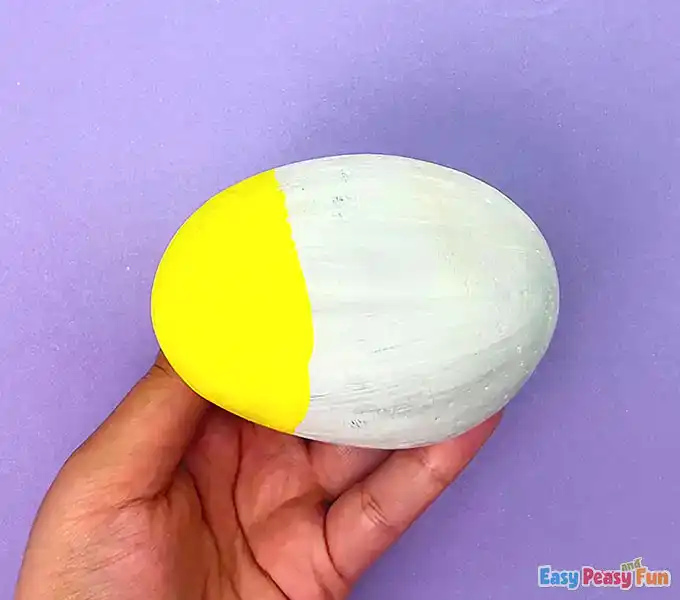
2. Paint the Fish Head
Once the base is dry, paint the front section of the rock to create the head. We chose a bright yellow for ours.
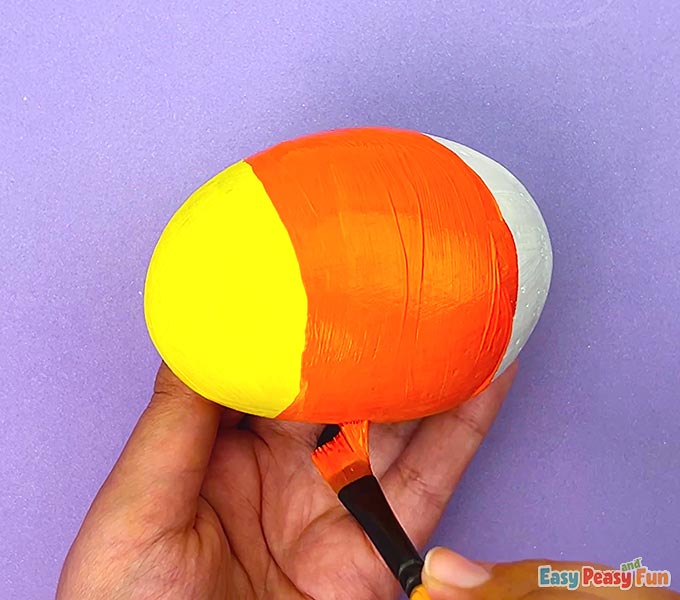
3. Add the Body Color
Fill in the remaining section of the rock with a contrasting color. We used a bold orange paint for the body. Allow this layer to dry fully before moving to the next step.
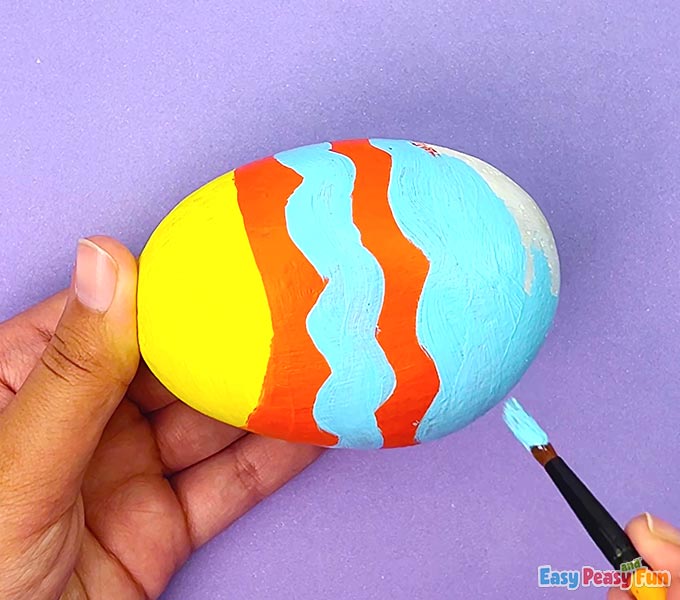
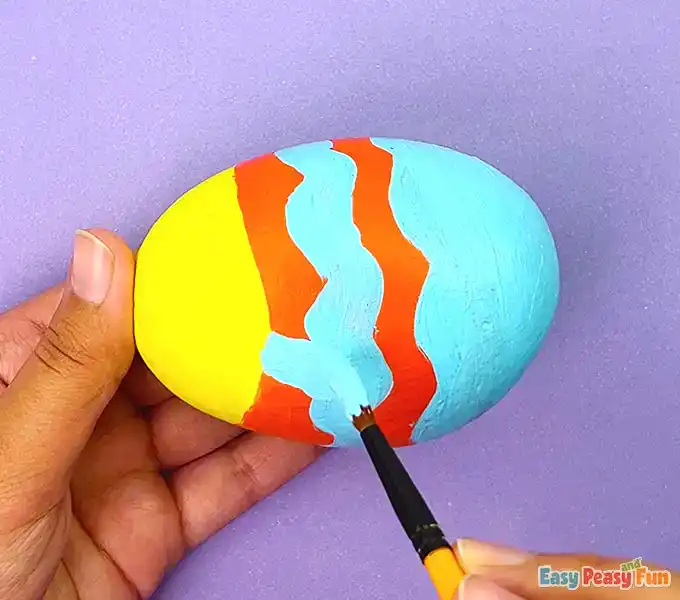
4. Create Fun Patterns and Fins
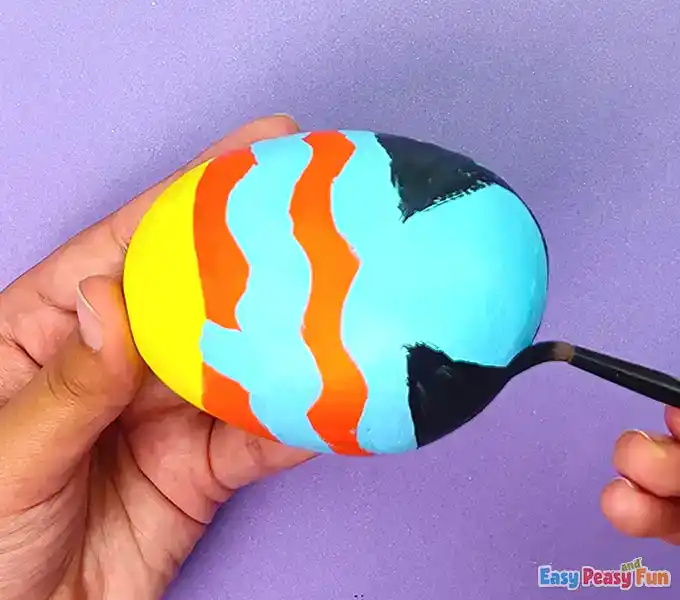
This is where the imagination takes over! Use a different color—like light blue—to add dots, swirls, or stripes across the fish’s body. Use the same color to carefully paint a small side fin.
5. Define the Tail and Details
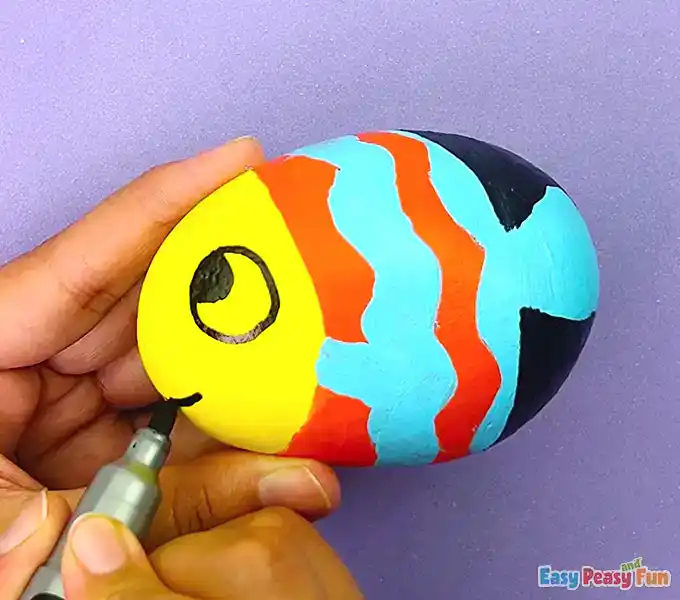
To make the fish look impressive, outline the tail area with black paint or marker to make it “pop”. Use a black marker to draw a round eye and a cute smiling mouth.
6. Add the Finishing Touches
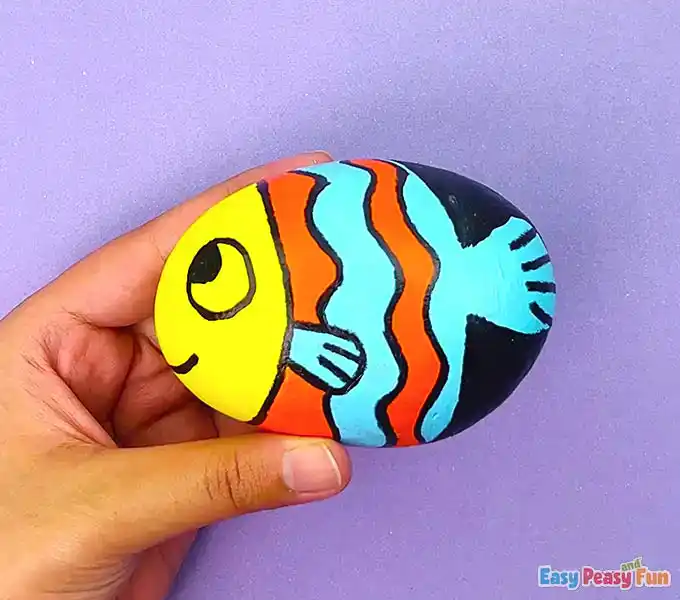
For a polished look, use your black marker to outline the patterns on the body and add fine lines to the fins.
Pro Tip: For a cooler look, dab a tiny bit of white paint inside the eye, followed by an even smaller white dot in the center.
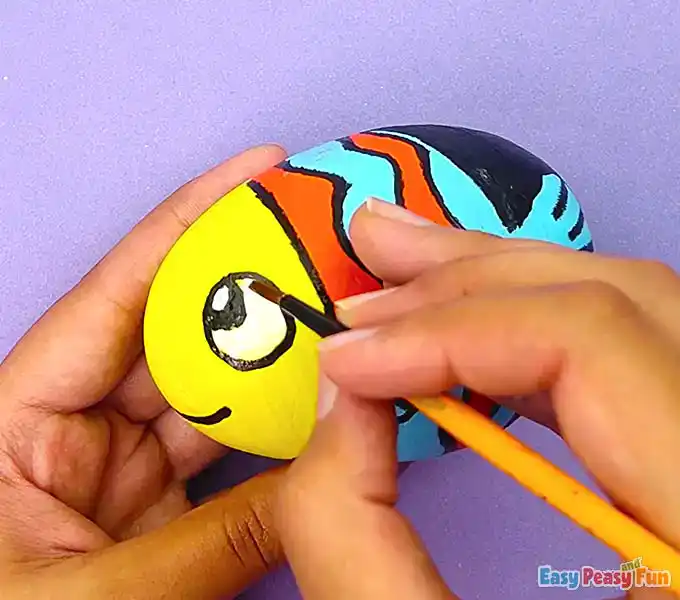
Set the rock aside to dry, and that’s it.
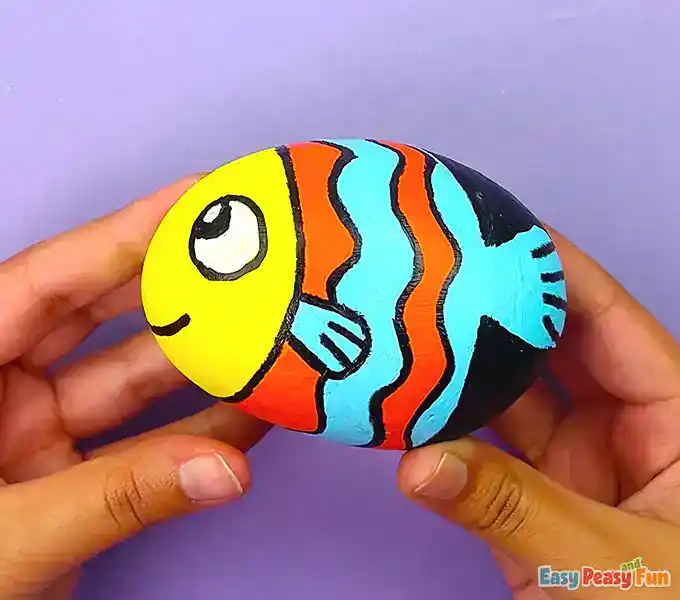
These fish painted rocks are one of the most fun summer crafts for kids, so vibrant and colorful that they barely look like rocks at all!
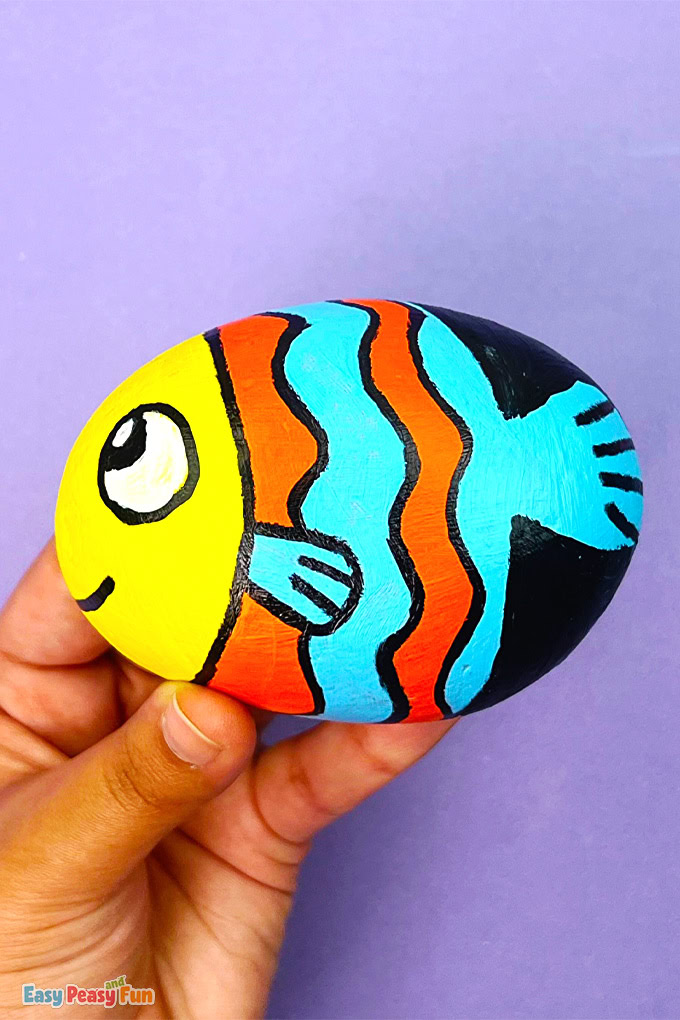
Ways to Display Your Painted Rocks
Once your fish rocks are dry, they make stunning decorations. You can:
Collect them together to create your very own rock aquarium.
Place them on a bathroom shelf for a nautical theme.
Add them to a garden or plant pot for a splash of color.

Kids can make a whole aquarium of different fish in every color imaginable, and each one will be more impressive than the last!
Want more rock painting fun? We have a ton of wonderful rock painting ideas waiting for you to explore.
Want instant access to all of our printable crafts, activities, and resources?

With thousands of crafts, activities, worksheets, coloring pages, and drawing tutorials to print, you will always have just the resource you need at your disposal. Perfect for parents and teachers alike!