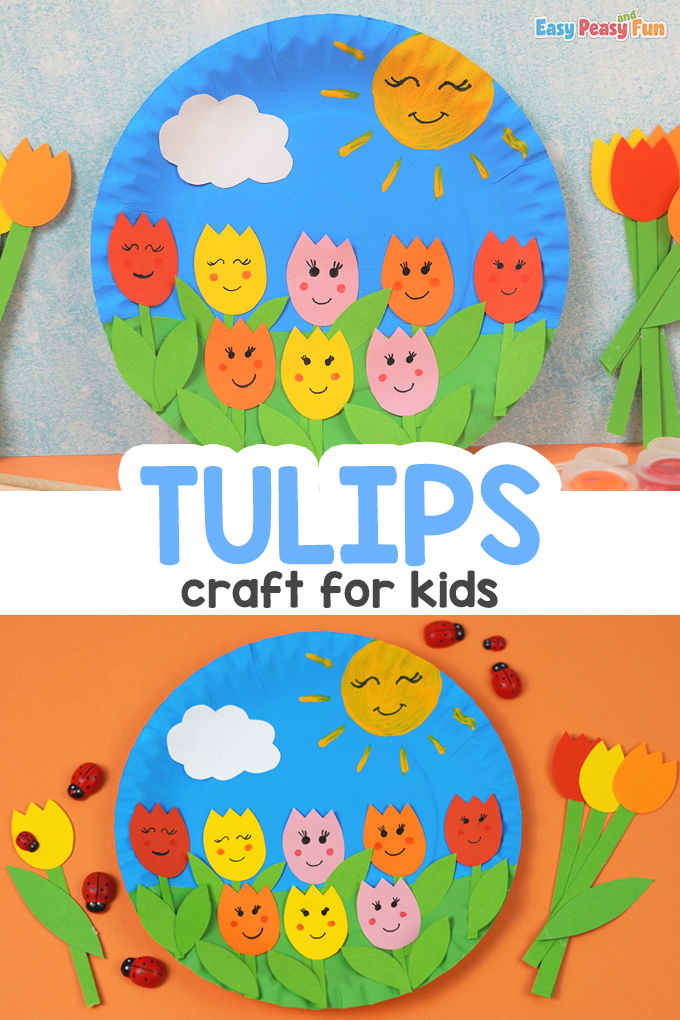
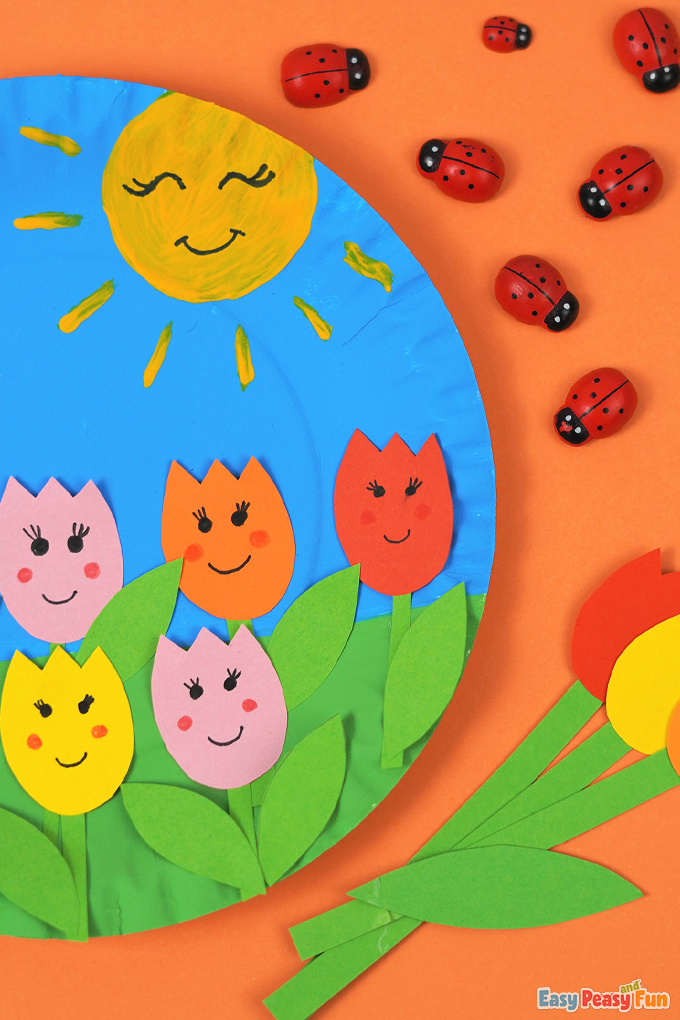
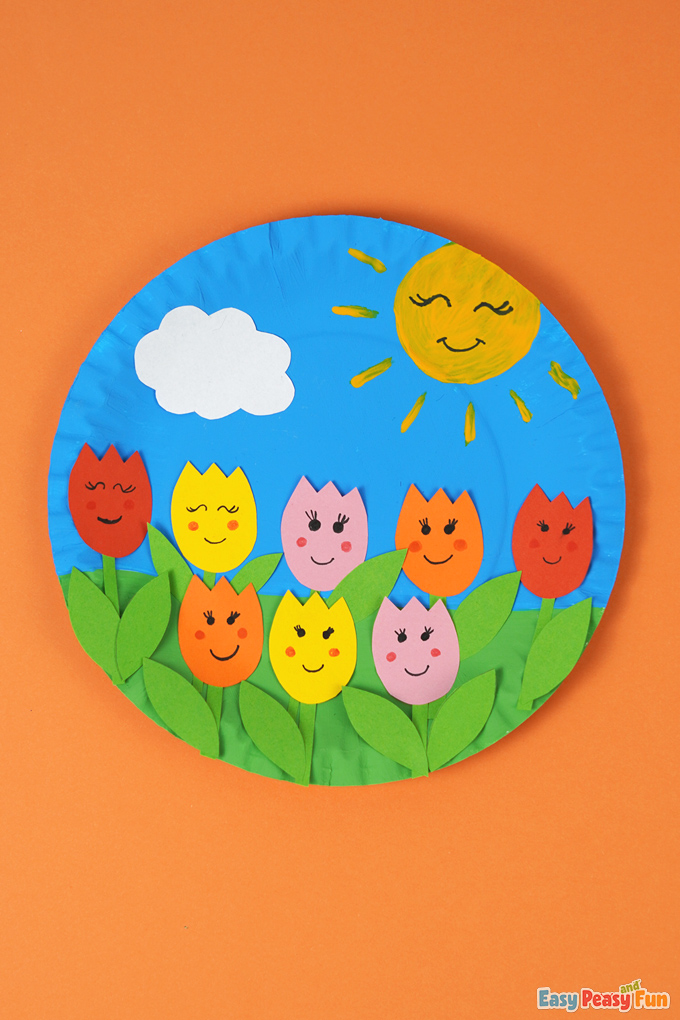
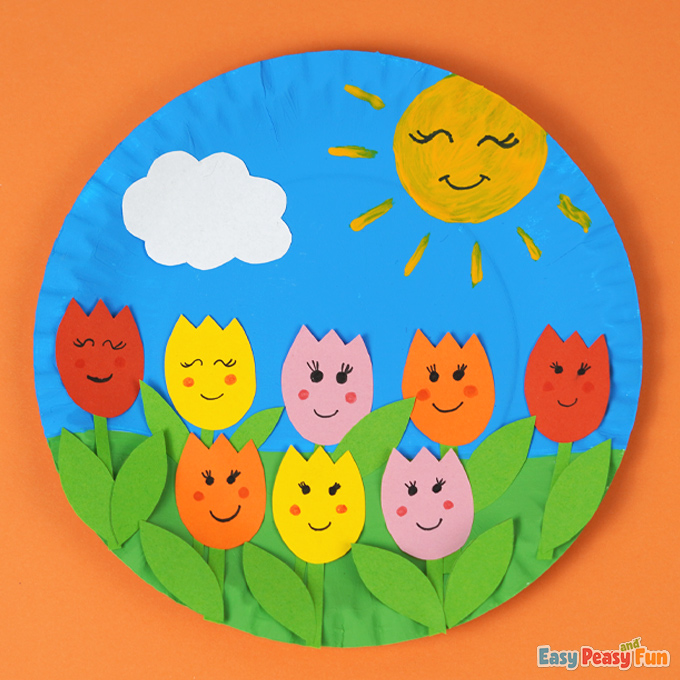
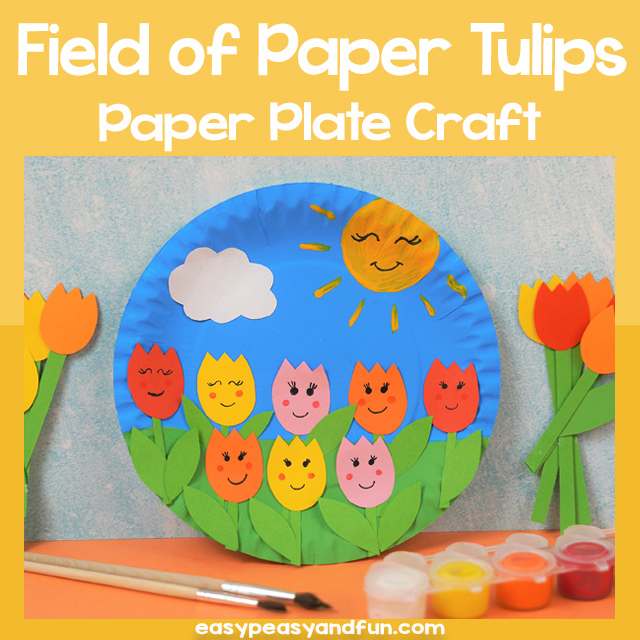
This Field of Paper Tulips paper plate craft is a craft that will brighten anyone’s day!
The flowers, sun, and clouds are ready to welcome spring with open arms.
*This post contains affiliate links*
We sure have a lot of fun making Spring Crafts (go and take a look at our DIY Flower Paper Rings or make a Paper Lantern Frog).
Do you need some more spring-themed materials to keep the kids busy?
Print out an extensive set of Flower Coloring Pages if your kids want to color, or learn How to Draw a Tulip with a step-by-step tutorial.
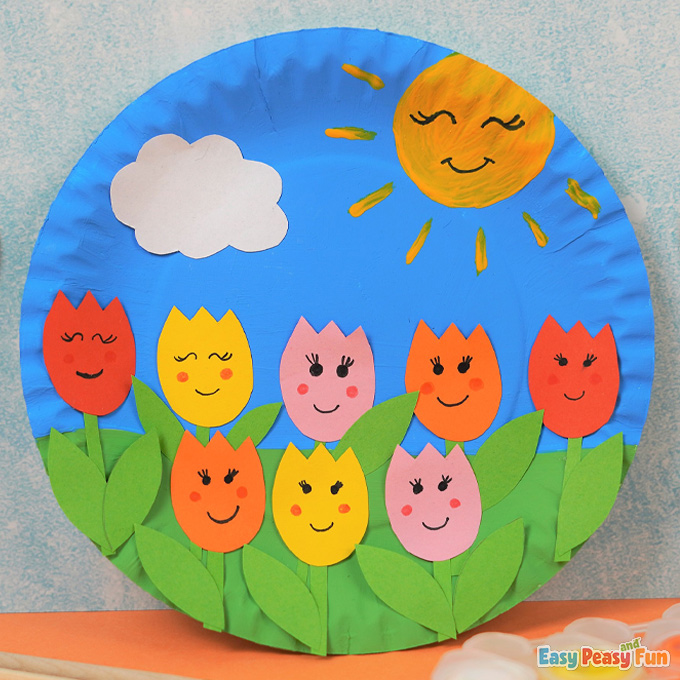
Today we’re making a field of tulips on a paper plate.
You can help your child cut out flowers if required.
How to Make the Field of Paper Tulips
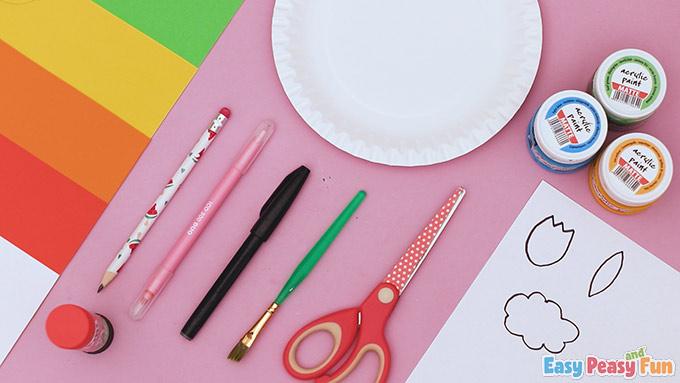
What you need:- printable template
- paper plate
- acrylic paint (blue, green, and yellow)
- paintbrush
- color papers (white, green, pink, red, yellow, and orange)
- markers (pink and black)
- pencil
- scissors
- glue stick
Step by Step Tutorial
The Background
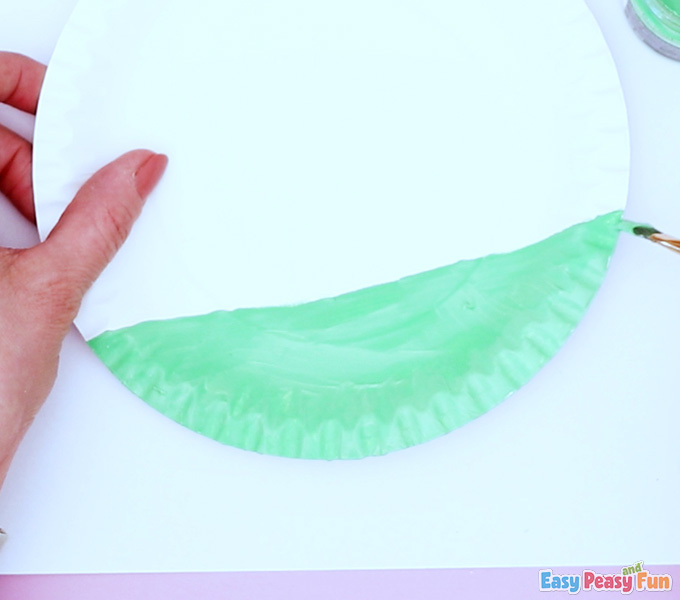
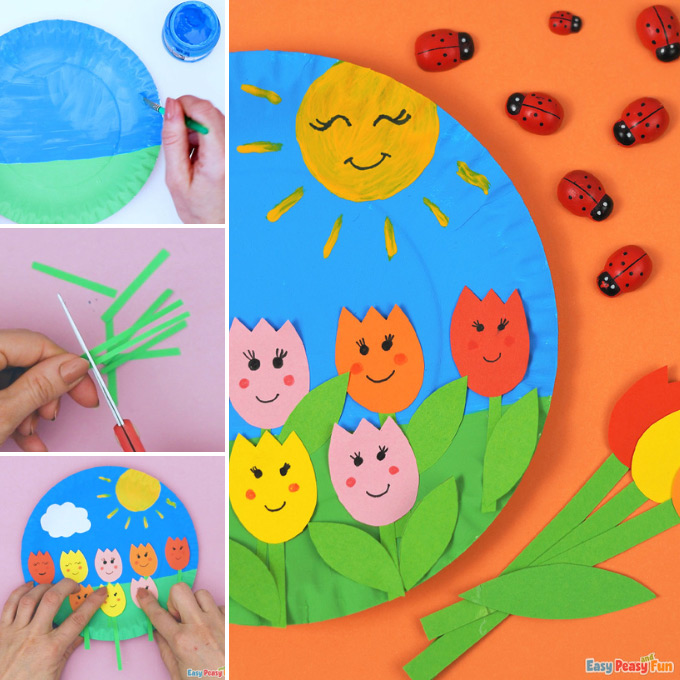
Go ahead and grab your paper plate.
Paint the bottom green.
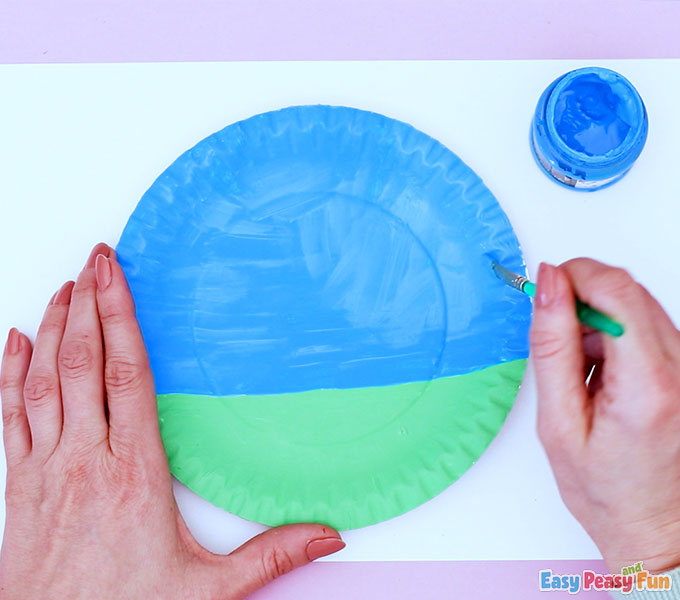
Paint the top of the paper plate blue.
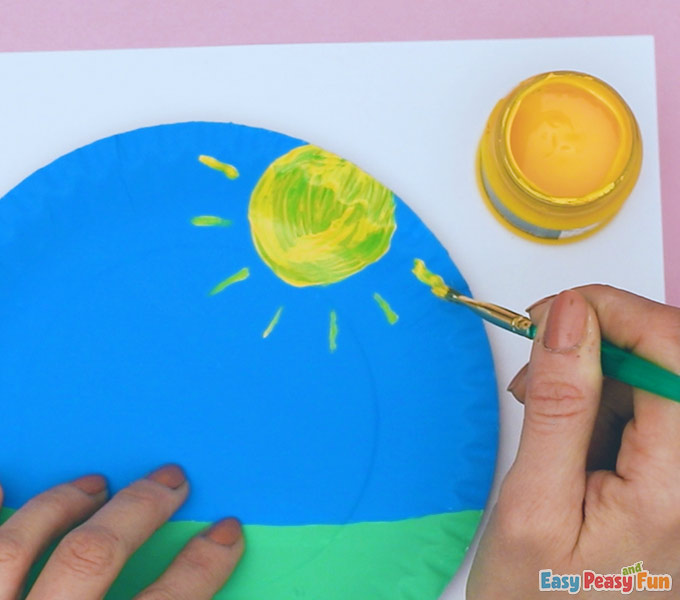
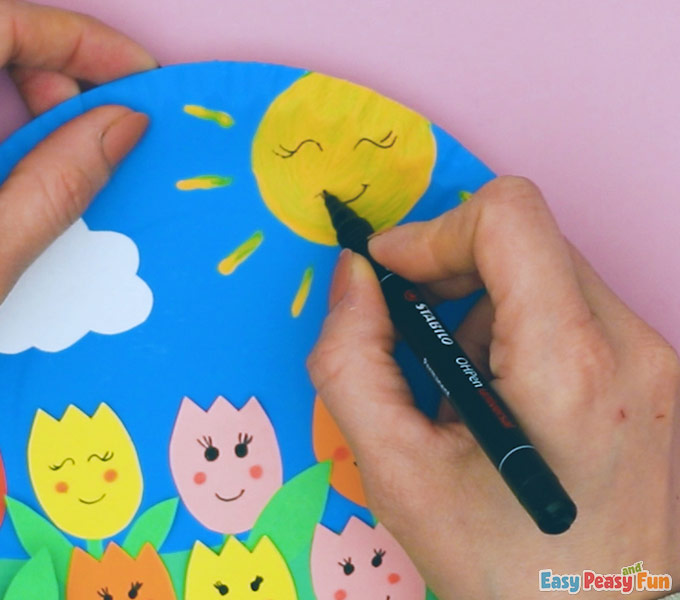
Draw a sun in the corner with yellow acrylic paint.
You can make the sun as dark yellow as you’d like.
To make it even more vivid, you can add a few layers of yellow paint.
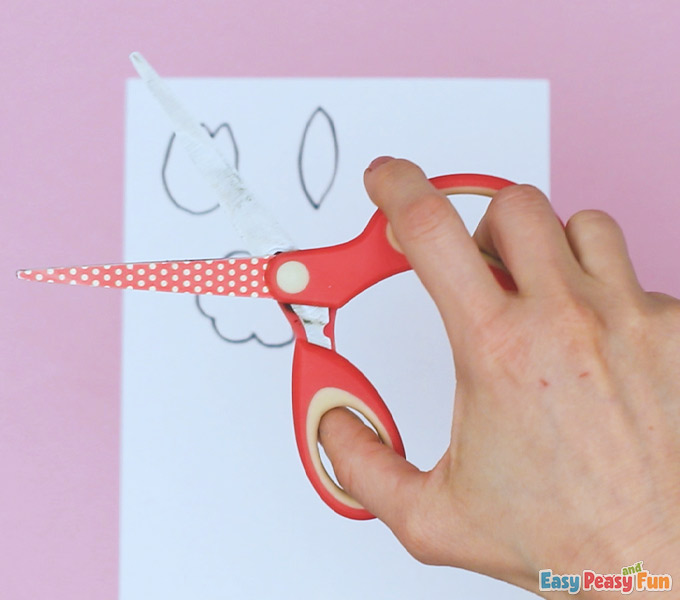
Cut out the template.
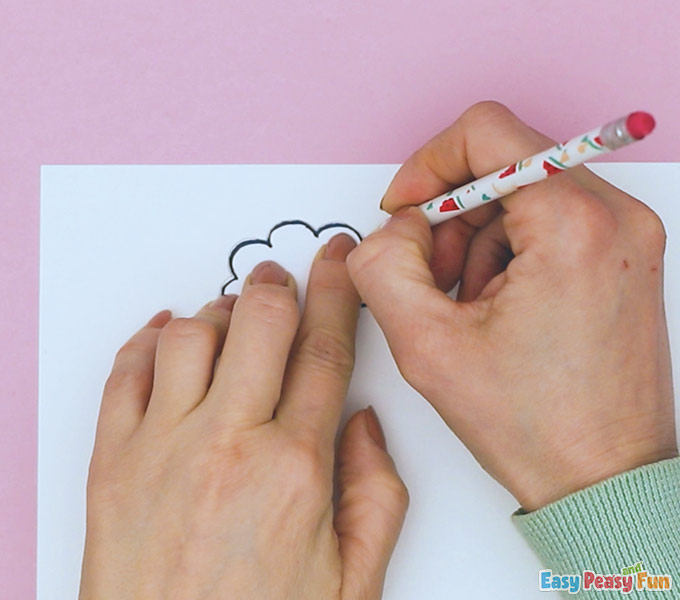
Trace the white cloud onto white paper.
You will then want to cut out this cloud.
The Tulips
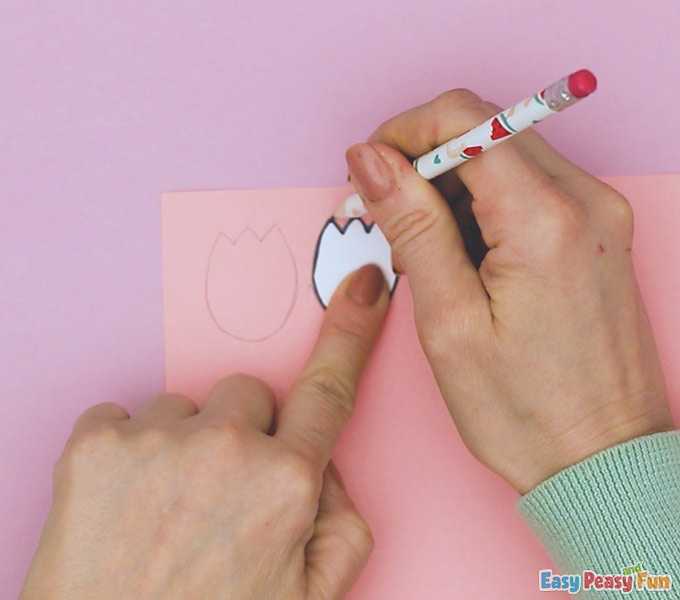
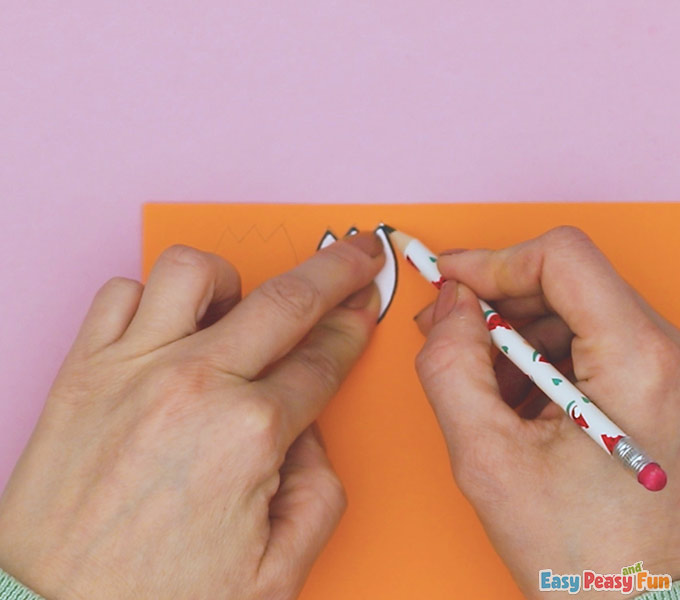
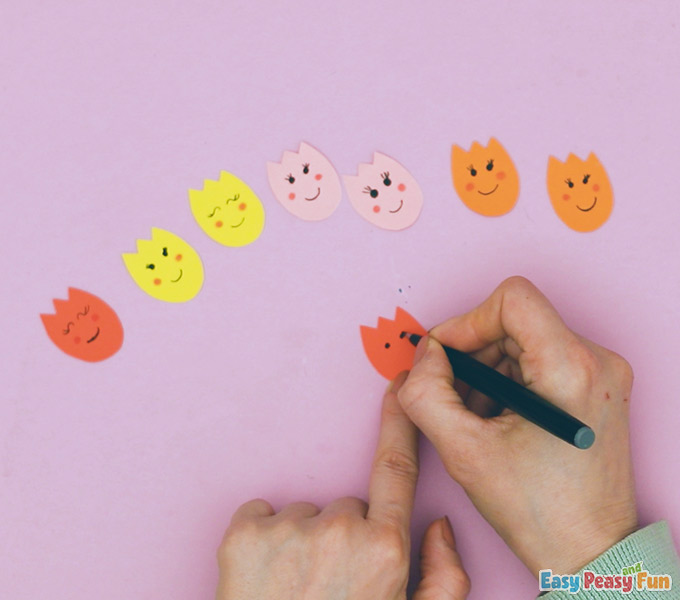
Draw each tulip twice on the color paper.
You can start with pink paper.
Trace the orange tulips.
Continue tracing the red ones.

We’ll need the yellow flowers too.

The Stems
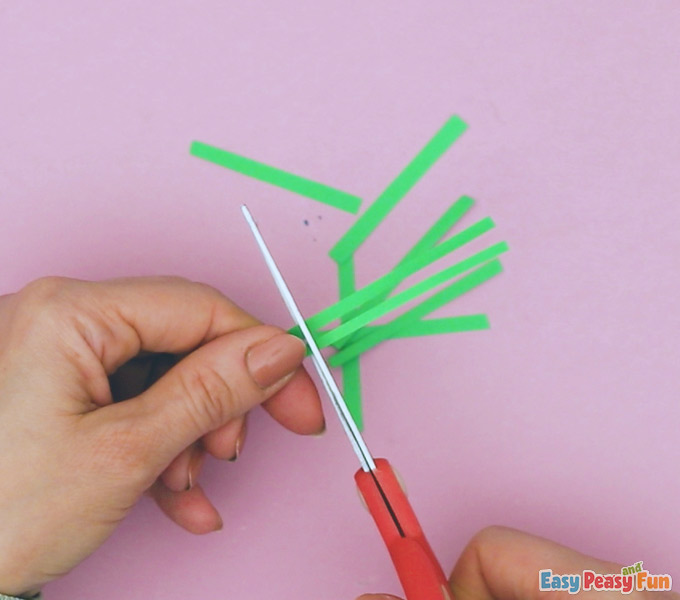
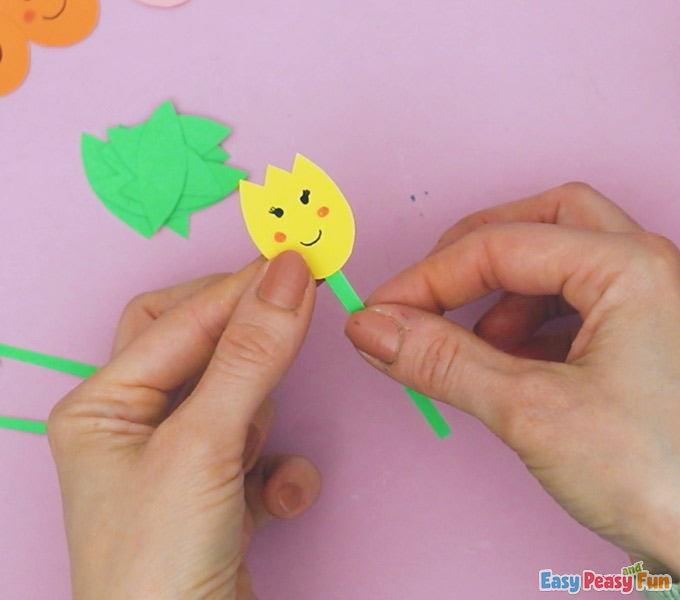
Cut thin strips of green paper for tulip stems.
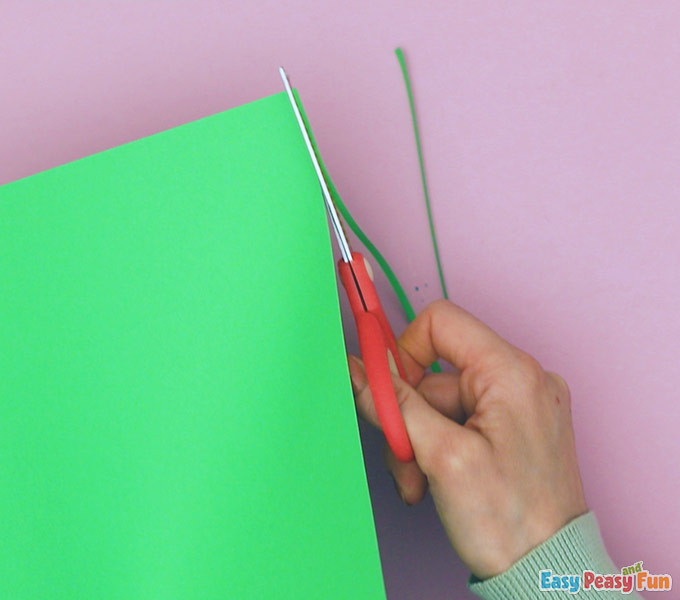
Trim them a bit.
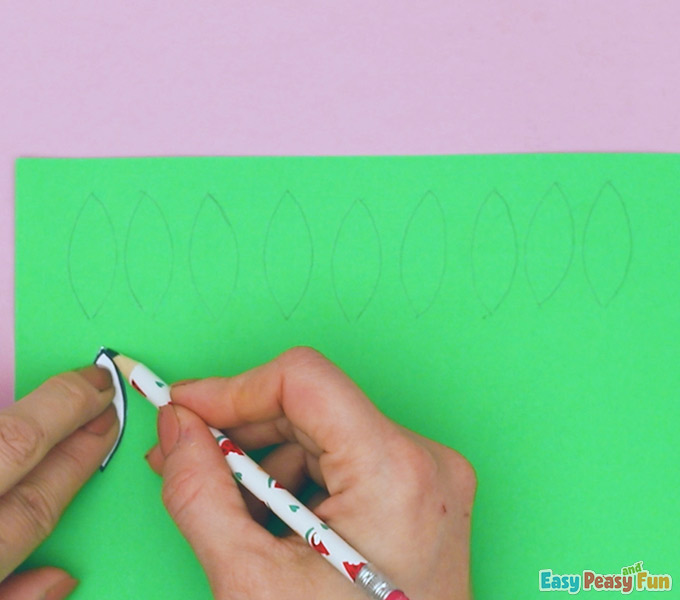
The Leaves
Trace 16 leaves on green paper.
Draw eyes and mouth with a black marker, then use a pink marker to draw the cheeks.
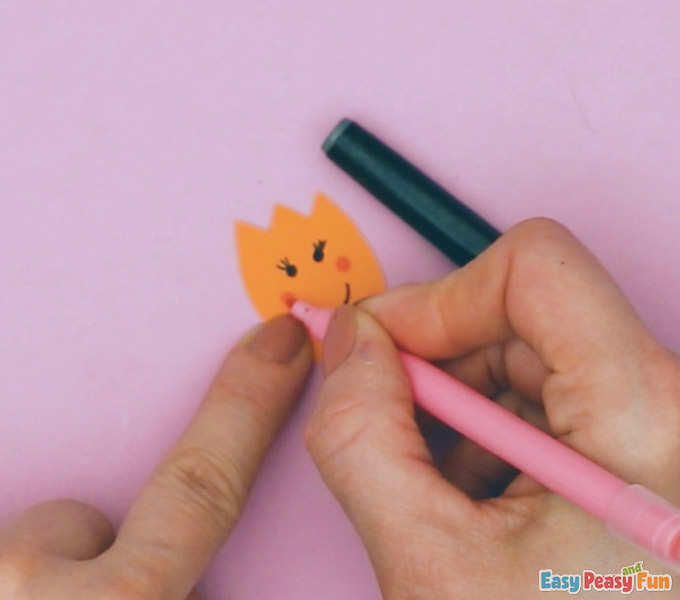
The final look of the flowers looks perfect!
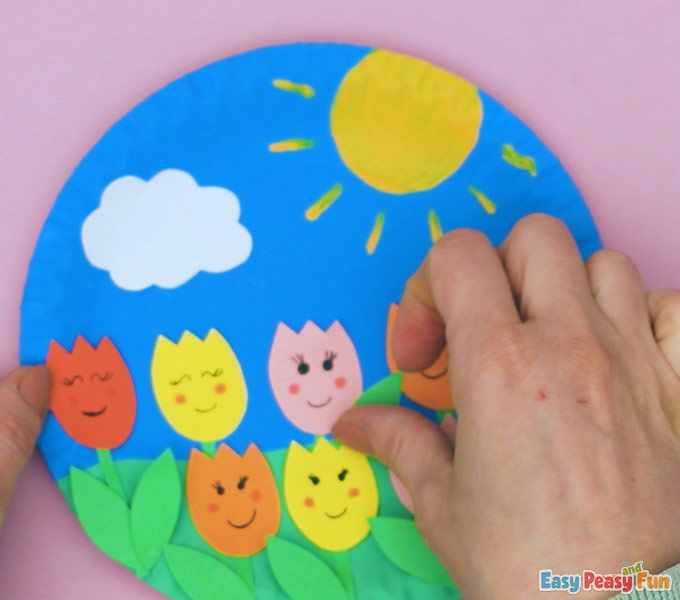
Go ahead and glue the flower heads on the stems.
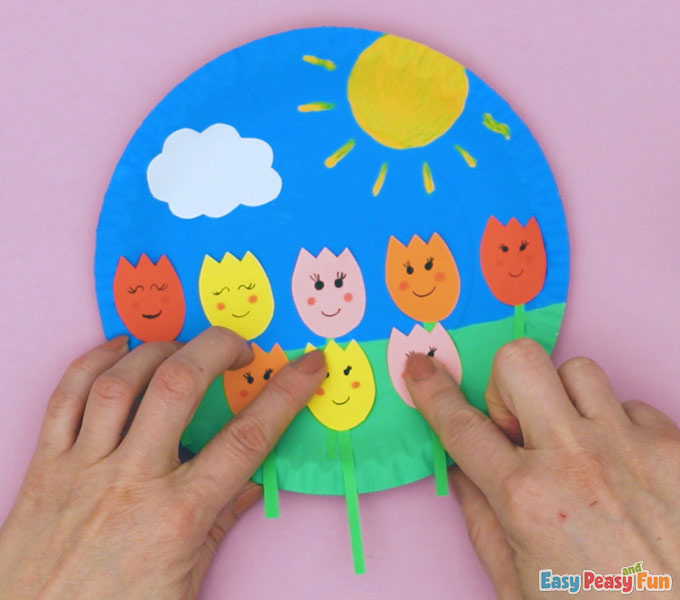
Glue the cloud onto the plate.

Glue the flowers on the green part of the paper plate too.
Trim the stems of the flowers.
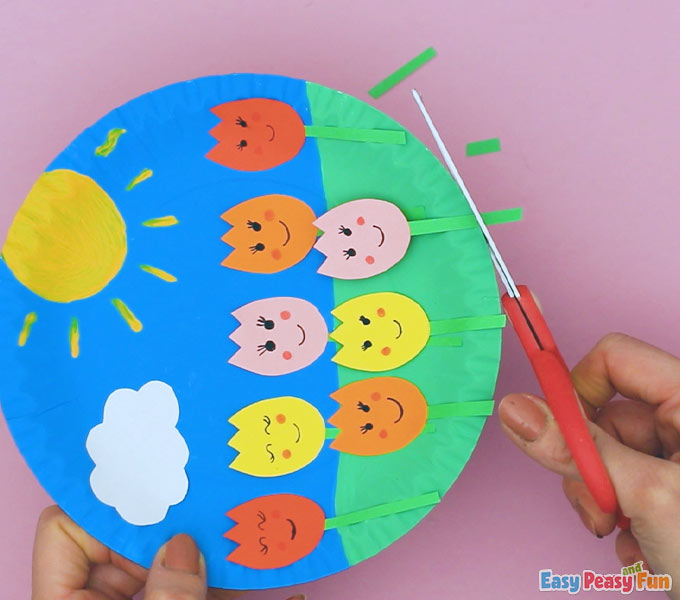
Glue the leaves on the stems.
Draw a face on the sun!
The final look is a beautiful field of tulips with a smiling sun and a bright cloud.
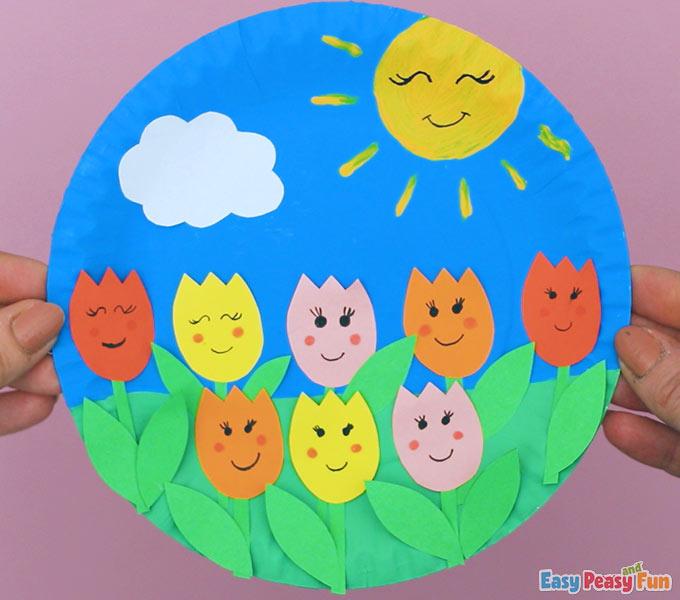
Isn’t this a perfect craft for spring?
You can display it by hanging the paper plate on a wall or anywhere else.
Have fun!
Get Your Field of Paper Tulips Template Here
Want instant access to all of our printable crafts, activities, and resources?

With thousands of crafts, activities, worksheets, coloring pages, and drawing tutorials to print, you will always have just the resource you need at your disposal. Perfect for parents and teachers alike!