This Father’s day magic card is the coolest thing ever!
You might have seen the I <3 dad one before, but we’ve come up with a pretty unique one that will tell the dad in your house that they are a hero. Who doesn’t like to hear that?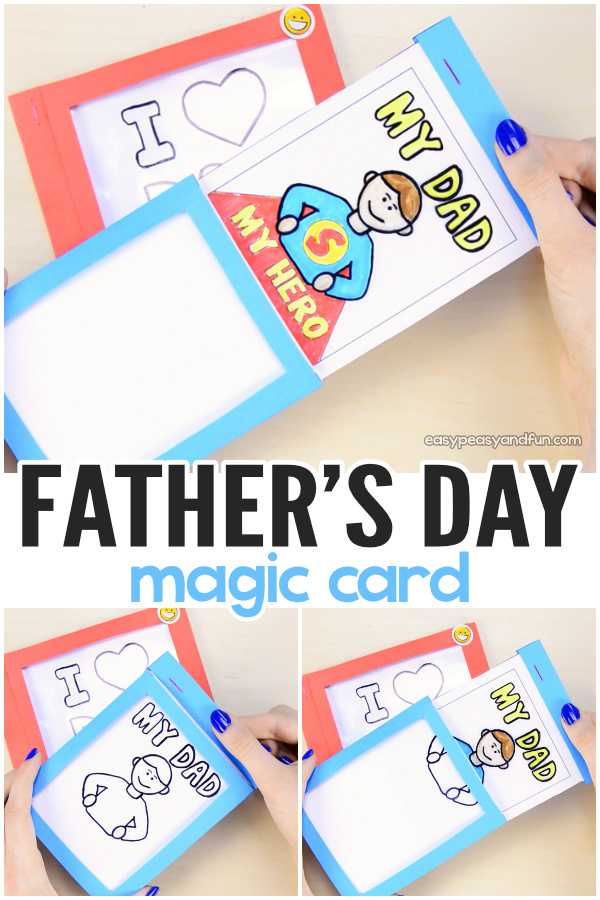
*this post contains affiliate links*
50 paper crafts your kids can actually do themselves

No fancy supplies — just paper, scissors, and a little imagination.
Be the first to get it on release day — and lock in the lowest price guaranteed.
These magic cards might seem a little tricky to make, but once you make your first one you won’t be able to stop! We make it even easier as you can grab the printable template at the end of this tutorial.
They make the most wonderful craft project for Father’s day .
So what’s the magic all about? Let’s check it out….
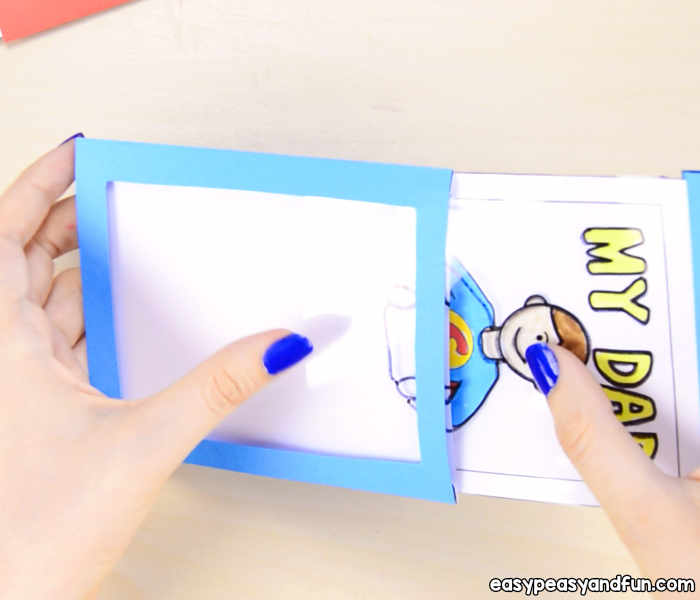
When the hero card is inserted, all that you can see is the silhouette of a man along with the word my dad.
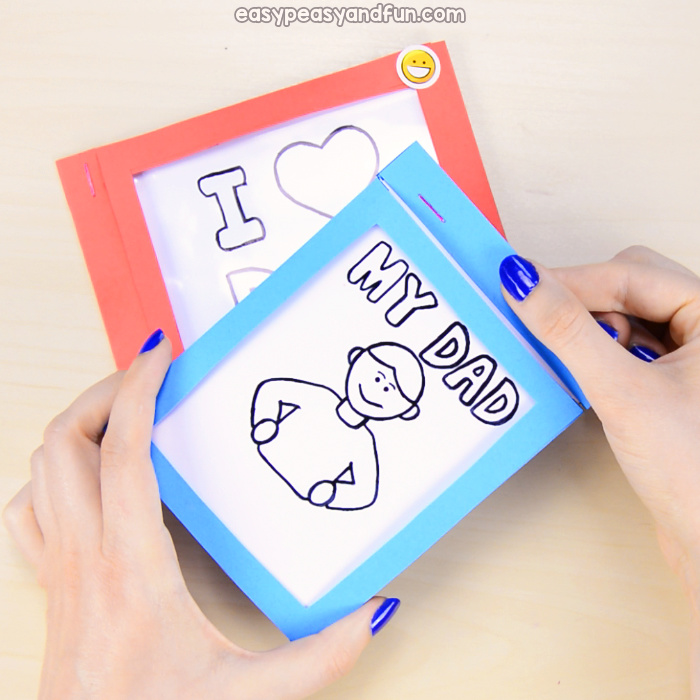
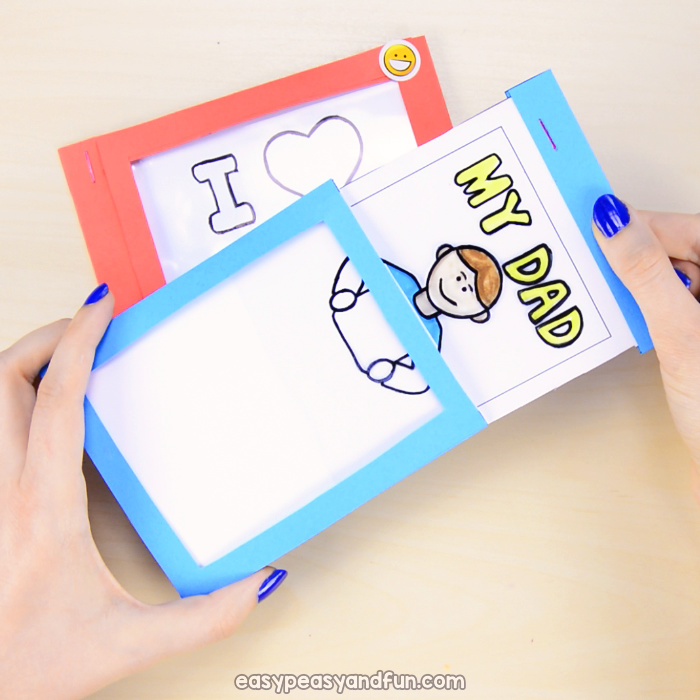
As you pull out the card, a colored version of the picture begins to appear. Pretty neat isn’t it? Ohh but there is even more!!!
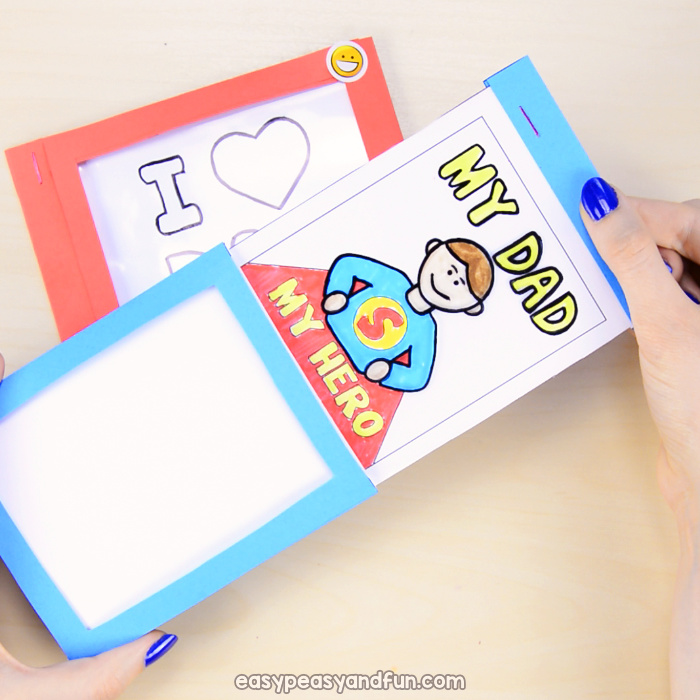
To make this card even more magical, the card, when you pull it out, reveals who the dad really is – a hero! With emblem and cape and all. Talk about awesome right? And you can even add details in the background to make the card pop even more. I think we can all agree this is the best DIY Father’s day card kids can make.
The I love dad is magic card is similar, with the difference that it doesn’t reveal any hidden elements (well unless you add them on your own). But it looks really nice too!
How to Make Father’s Day Magic Card
What you need
- our printable template (you can grab it at the end of the tutorial)
- heavier print paper
- heavier print paper in color / construction paper (we love Astrobrights paper)
- clear plastic (punched pockets for folders work well – go for clear glossy ones – other clear plastic foil works too)
- alcoholic marker
- coloring supplies
- scissors
- glue
- stapler
Optional: stickers for decorating the frame
We have 3 templates available – the My Dad, My Hero one, I <3 dad, and a blank one for kids to make their own designs.
Step by Step Instructions for Making Father’s Day Magic Cards
Print out the template. To make 1 card you will need the first page from our printable PDF (for the card frame) and one of the other pages with the designs.
Print the designs on white paper. The frame could also be white but a colored one will certainly look better.
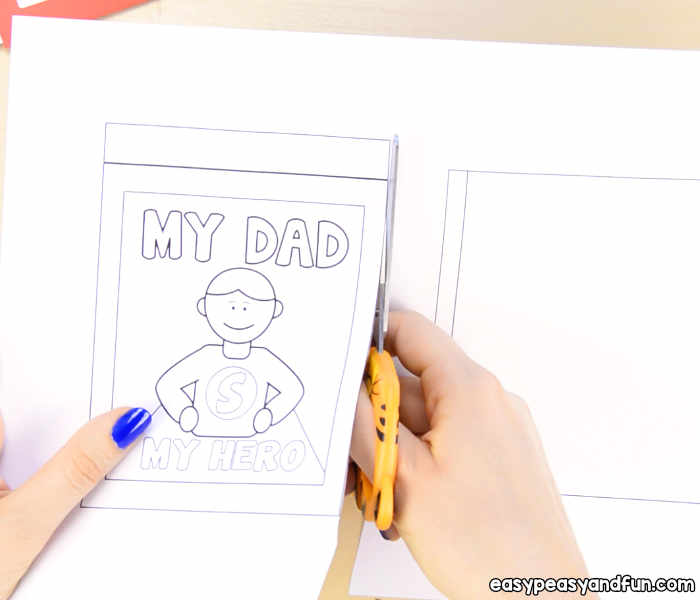
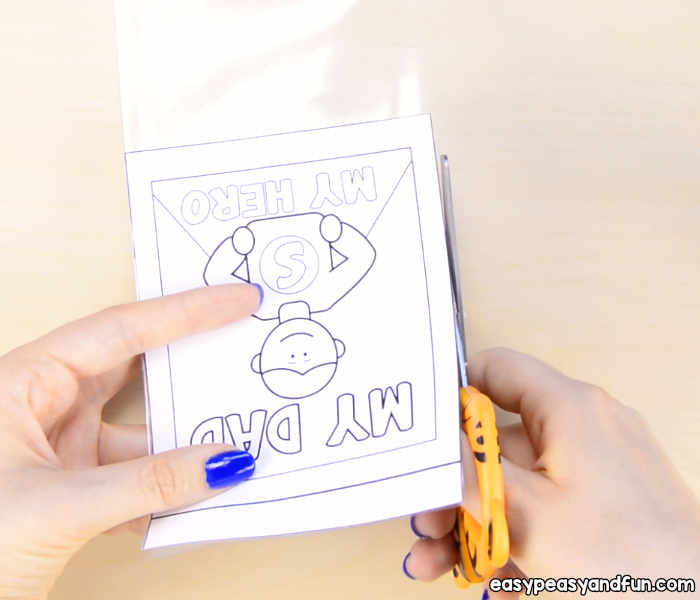
With the page with a design, cut out the two rectangles, following the outer line.
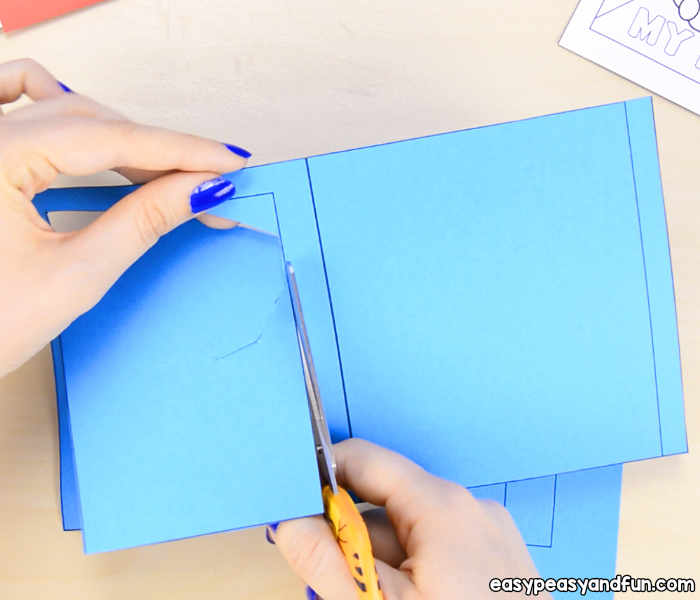
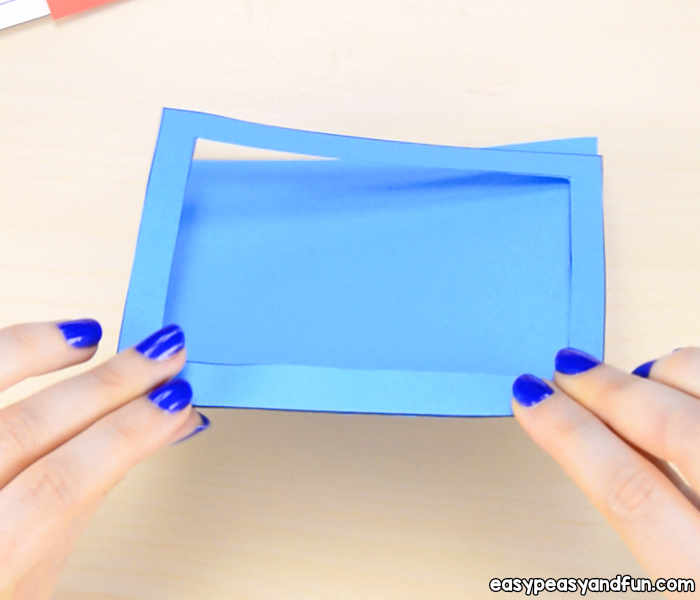
With the sheet that has the frame and another rectangle, first cut out the frame (along the outer edge).
There is a rectangle withing the frame (marked with a full line) – you need to cut out that rectangle
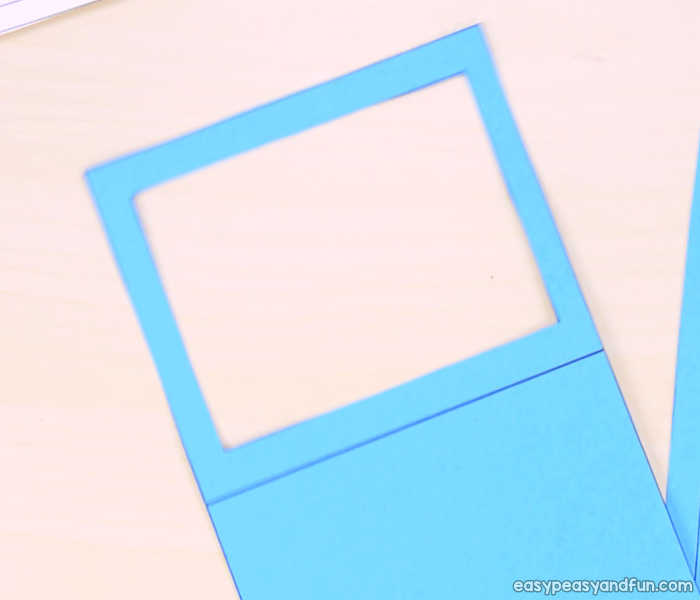
This is how the frame part of your Father’s Day magic card should be looking.
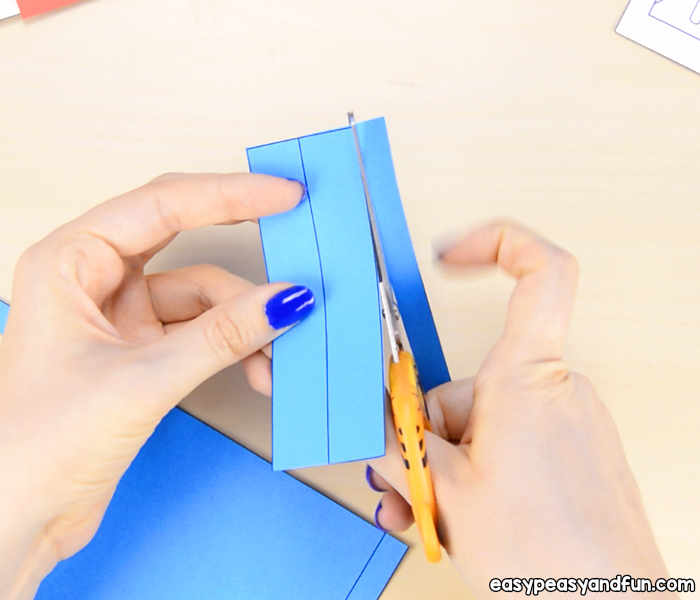
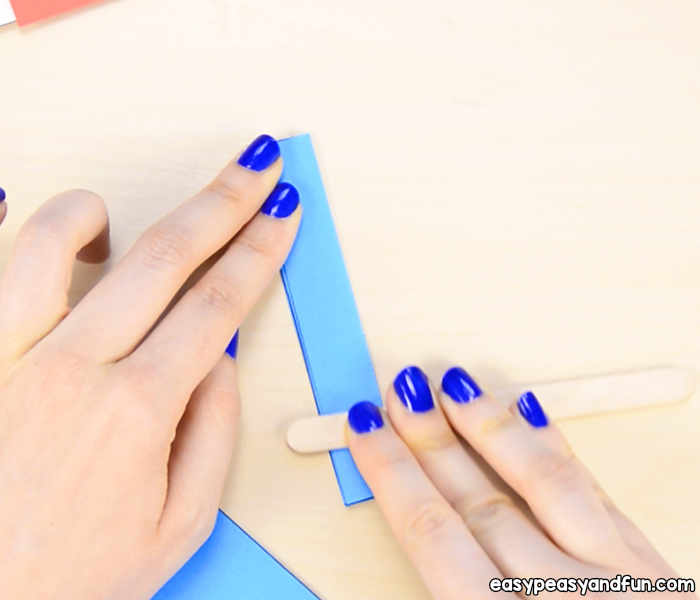
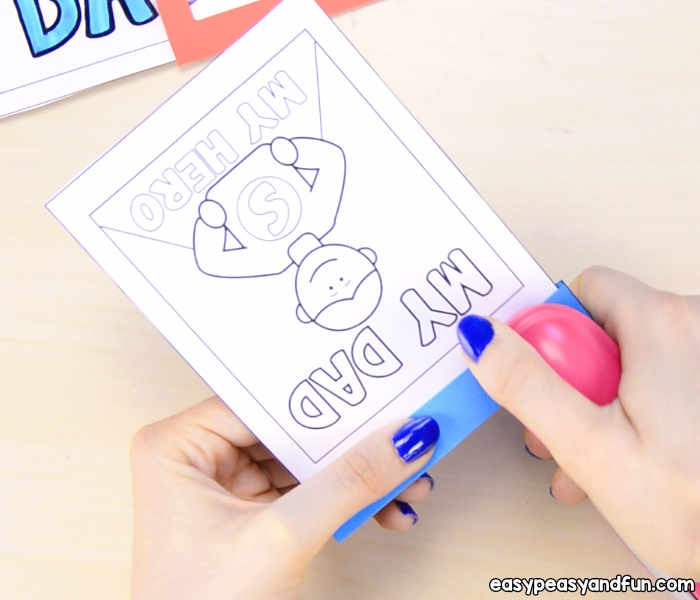
Also cut the long rectangle shape (along the full line).
Fold along the dashed line.
Also fold along all dashed lines on the frame. It’s important to make the folds as crisp as possible.
We usually use a craft stick to help with that, running it across the folds.
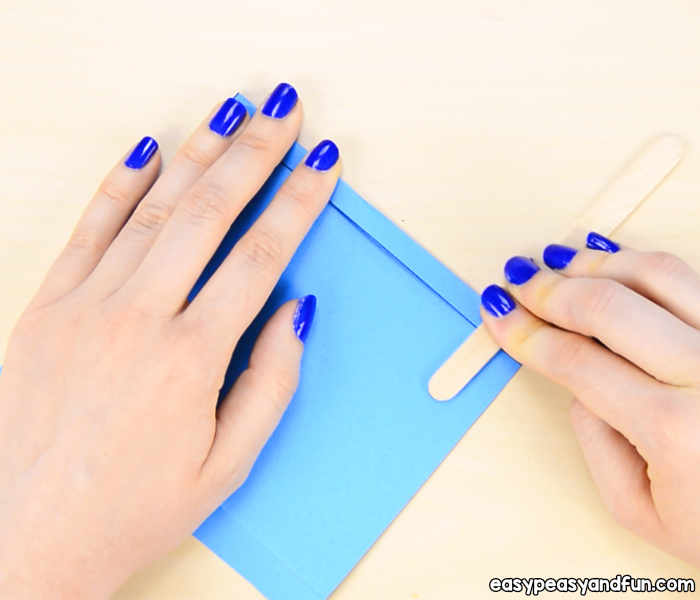
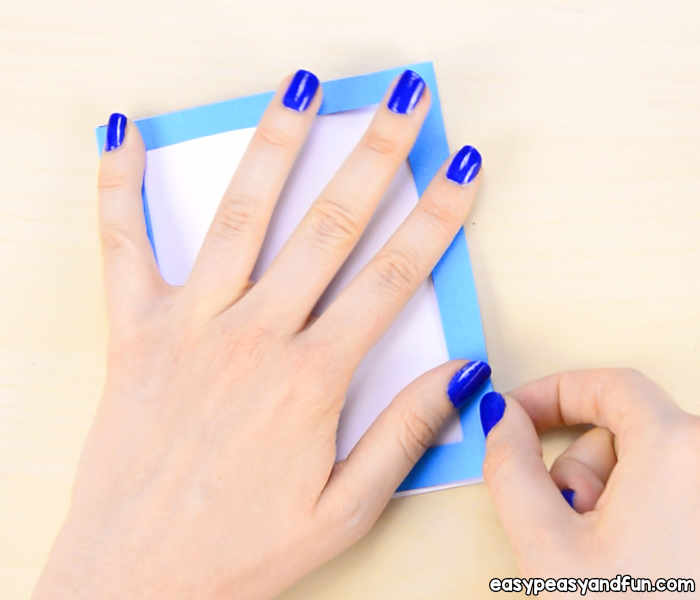
Also take the rectangle (without the design) that you printed on white paper and fold along the dashed line both folds should be facing the same side as shown on the image.
With the paper positioned as it’s on the picture (back of the paper down, folds up), apply the glue along the thin folded parts (both left and right).
Making the Father’s Day Magic Card Frame
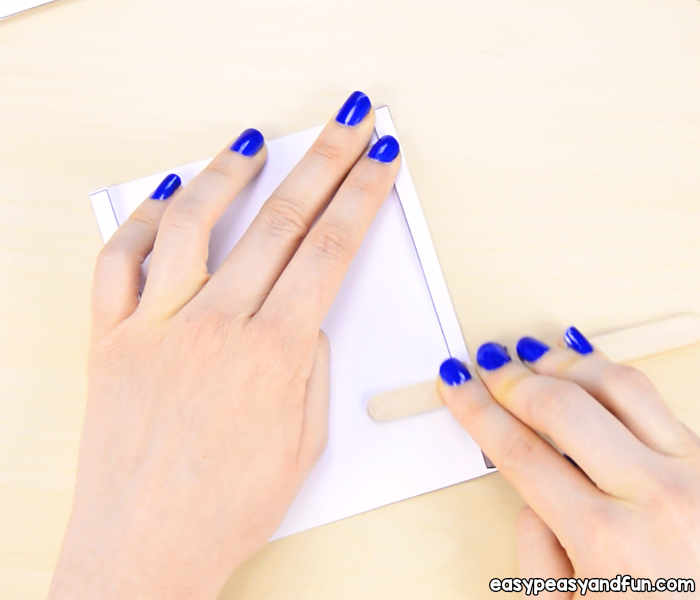
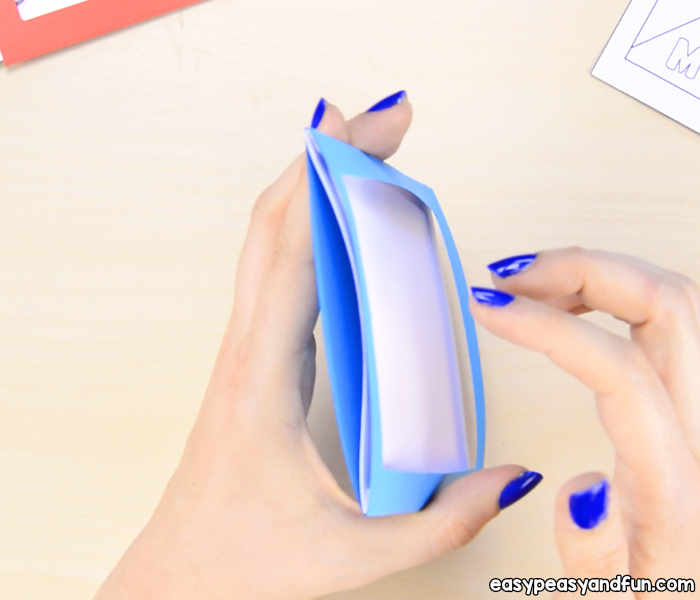
Place inside the frame, as shown on the picture. The folded part of the white paper goes under the folded part of the frame. Press down the blue part and also apply glue over the blue part.

Close the card, press down for the glue to set. You might want to press it down with a book while you continue with other steps.
The picture bellow shows roughly how your Father’s Day magic card frame should look by now – it has “two departments” – one bellow the white paper and one above (with the frame opening).
Take the rectangle with the design and place it on top of the clear foil (or under it). Use it as a template to make the sameish shape in clear plastic.
Trim the plastic a little bit to make it a bit thinner and shorter than the design on paper.
Place the plastic foil on top of the design (align on the top), place both the paper with design and foil between the folded rectangle and staple all thing together (the rectangle is decorational, so if you struggle with this step you can skip it).
Grab your permanent marker (better quality ones give better results) and trace the thicker lines that appear on the design on the clear foil. Words my dad and the figure of a man.
If you are making the I <3 dad card, all of the design needs to be traced.
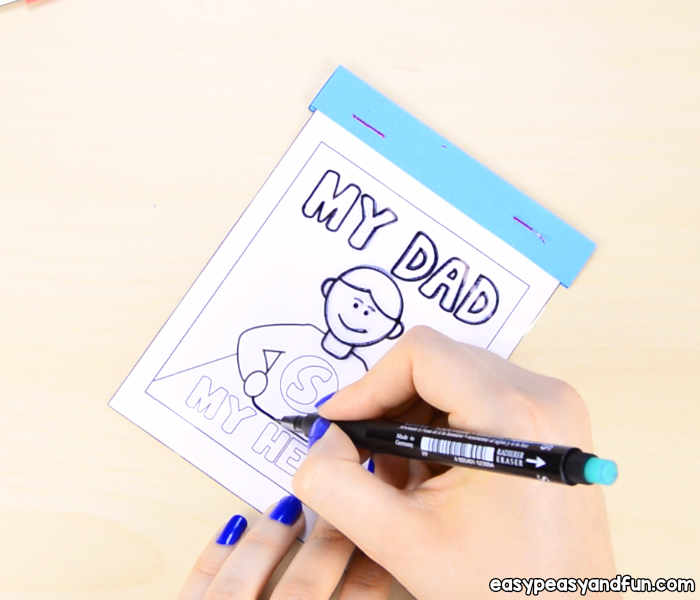
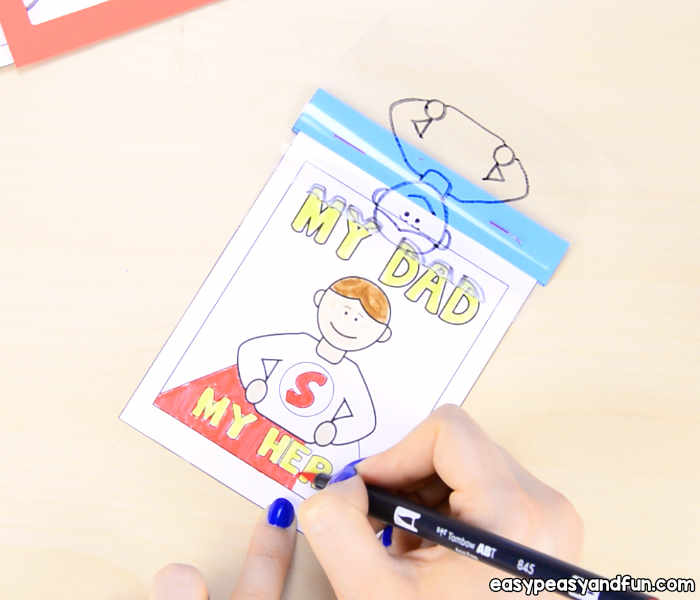
Remove the foil and color the design.
You can also color the design in the beginning of the project but this does make tracing a bit more challenging if using dark colors when coloring.
Inserting the Card
This bit is the important part to make the magic happen! You need to slip the card with the design behind the white paper on the card frame…
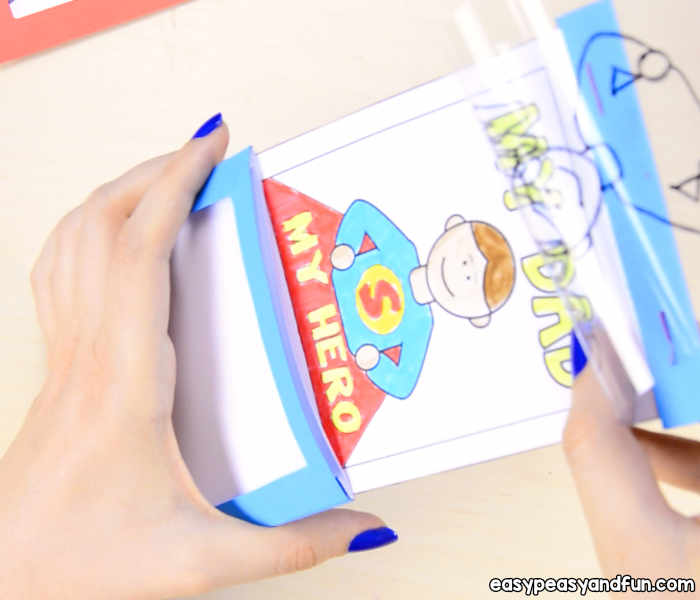
And the foil on top of the white paper (between white paper and the open part of the frame).
Push the card till the end.
If the card get’s stuck you might want to trim it on the sides a little. Push and pull the card a few times, to loosen it up – it will run smooth after a few uses.
Wonderful! You just made a Father’s Day Magic Card! You can also use stickers to decorate the frame to make it look just a bit sillier too.
Get the Father’s Day Magic Card Templates
Get the templates here: Magic Card FD
Happy Crafting
Want instant access to all of our printable crafts, activities, and resources?

With thousands of crafts, activities, worksheets, coloring pages, and drawing tutorials to print, you will always have just the resource you need at your disposal. Perfect for parents and teachers alike!
Wow! You’ve out done yourself with this one. Good job!
Love this thanks very much for sharing. I have a 6-16 yr olds always need ideas for special hilidays. no budget But I can afford this thanks