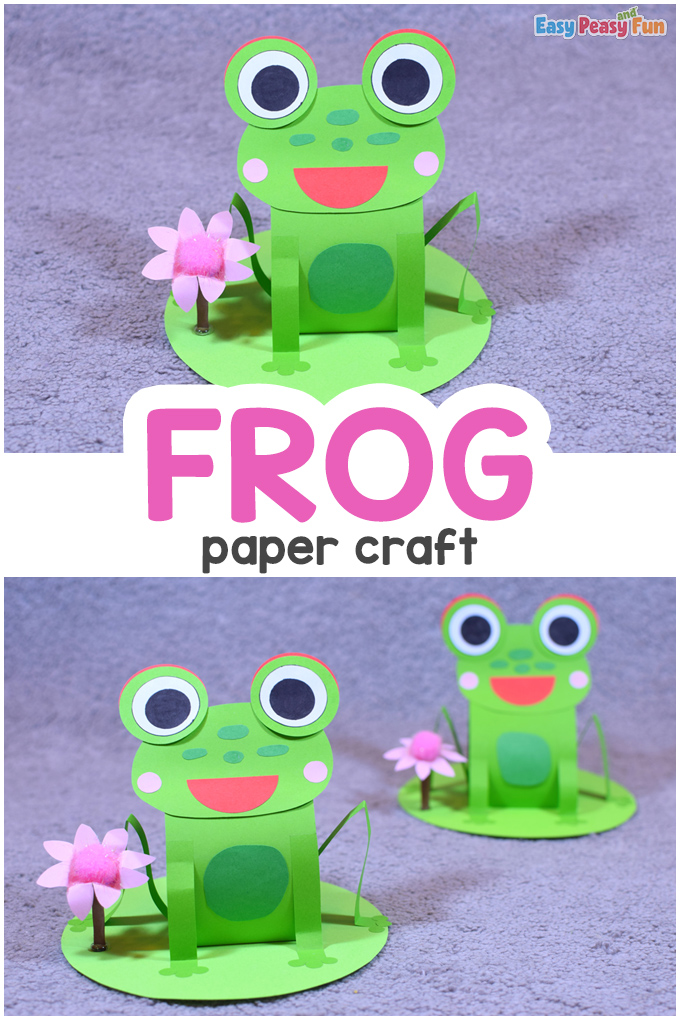
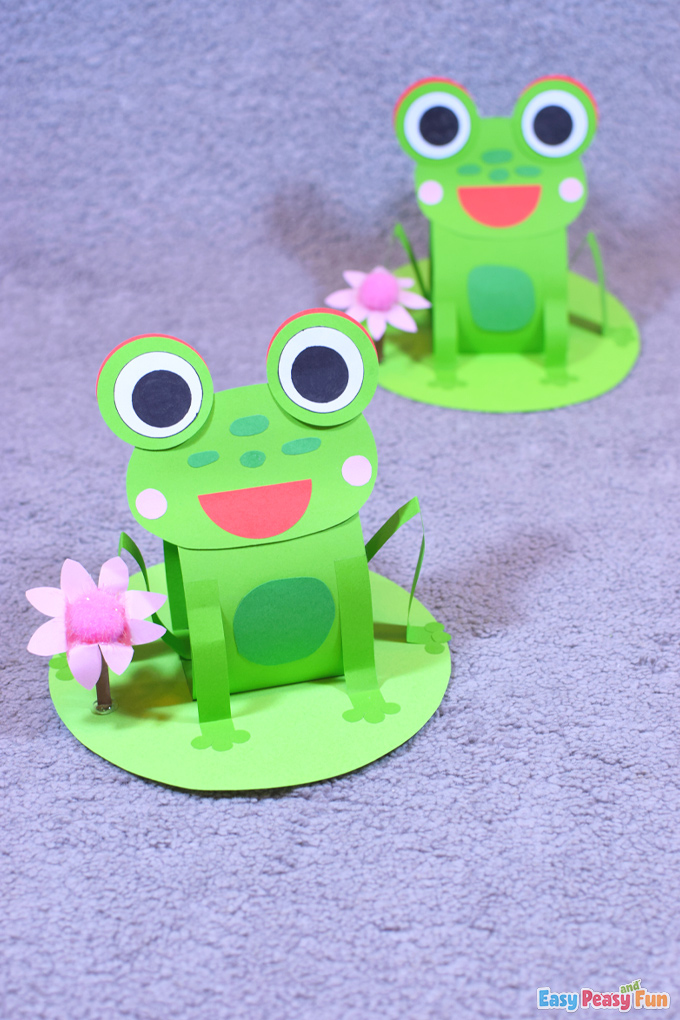
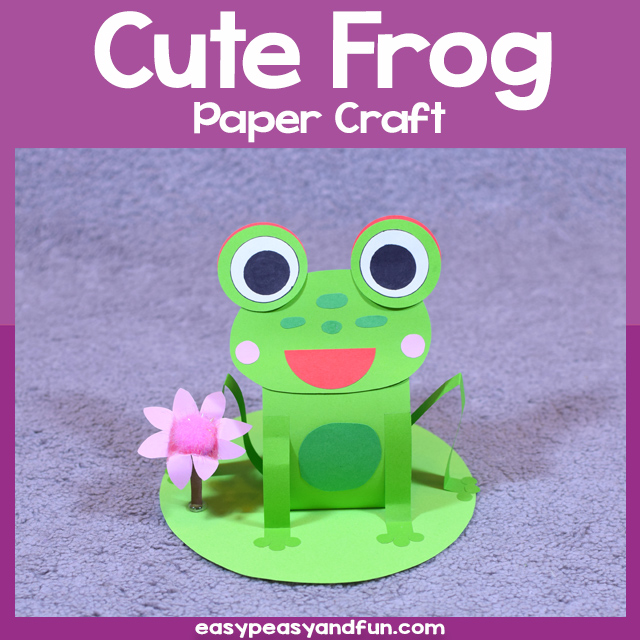
Jump into our new project and make this cute paper frog craft. It takes a little bit of patience if you are making this with younger kids, but it is oh-so well worth it.
Welcome spring, and have fun crafting this adorable amphibian sitting on a lily pad.
*This post contains affiliate links*

My New Craft Book is Available for Pre-Order!
Discover 50 super simple paper crafts for kids using low-cost materials.
Pre-Order on Amazon 🚀Making Spring Crafts brings us great joy (check out our 3D Frog Coloring Page Craft or have fun assembling a Ladybug Paper Craft).
Are you curious about learning How to Draw a Frog on your own? We got a guided tutorial that will lead you through the steps.

Today’s craft has all to do with frogs.
Ribbit! Ribbit!
Frogs are excellent swimmers, we must admit!
The sound of frogs jumping into the river is amusing and interesting – it reminds us of the sound rocks make when thrown into the water.
So guys, if you like frogs and want this paper pal beside you, grab the tools needed – this is an easy craft to complete!
How to Make the Cute Paper Frog
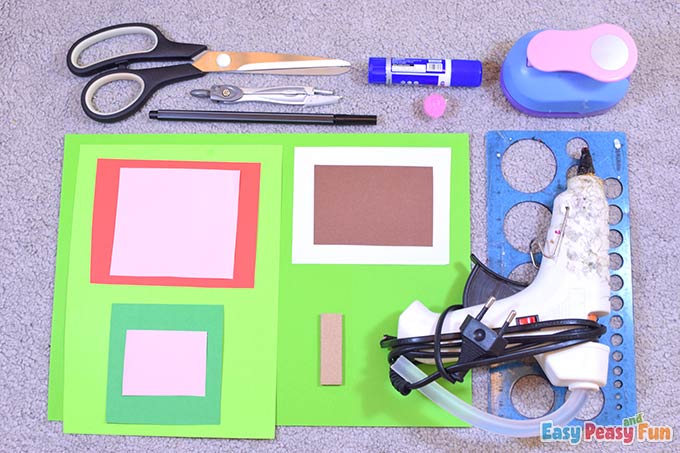
What you need:
- printable template (optional)
- pencil
- scissors
- glue
- color cardstock (light green, pink, and brown)
- color papers (green, dark green, red, and pink)
- white paper
- black liner
- one pink or yellow pom-pom (optional, but really fun)
- circle puncher (optional)
- ruler with circle shapes (optional)
- compass (optional)
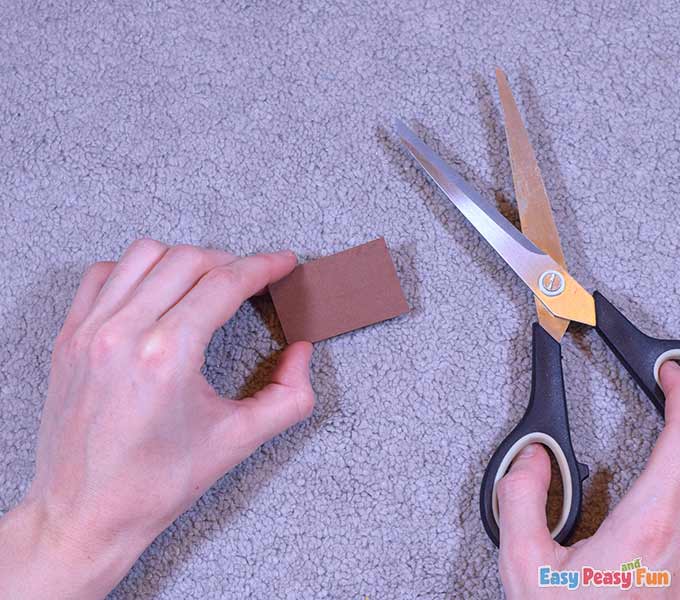
- a small piece of cardboard
Let’s go!
Step by Step Tutorial
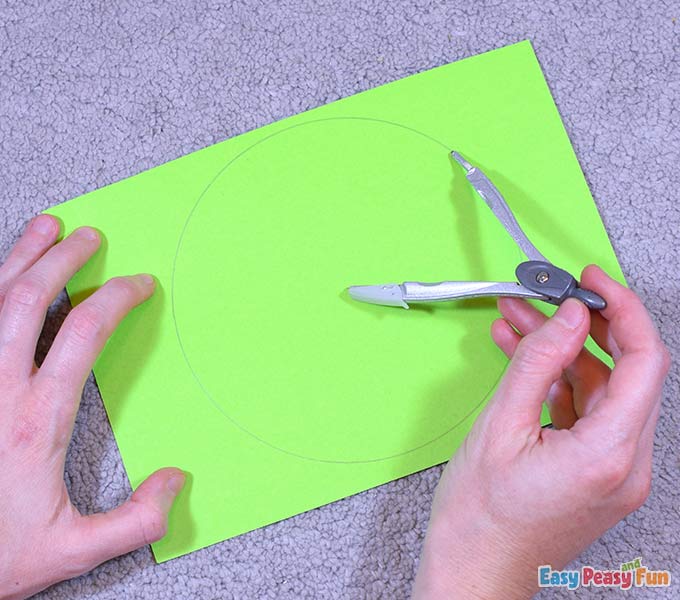
The Lily Pad
You can use our printable template to make this craft, and you won’t need to measure any of the parts. All the stencils are right there. You can also make this one without the template; just follow this tutorial.
Draw a large circle on the light green cardstock (diameter 5.5 inch / 14 cm), and cut it out. If you don’t have a compass, you can use plates as a stencil.
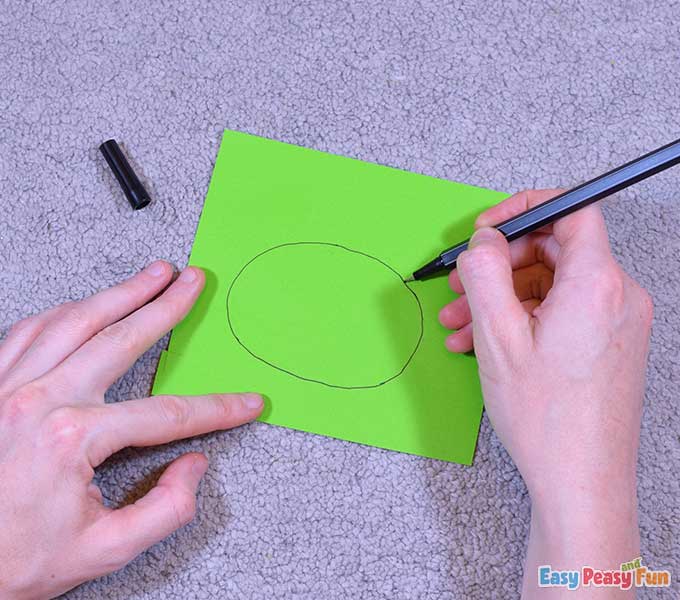
The Body
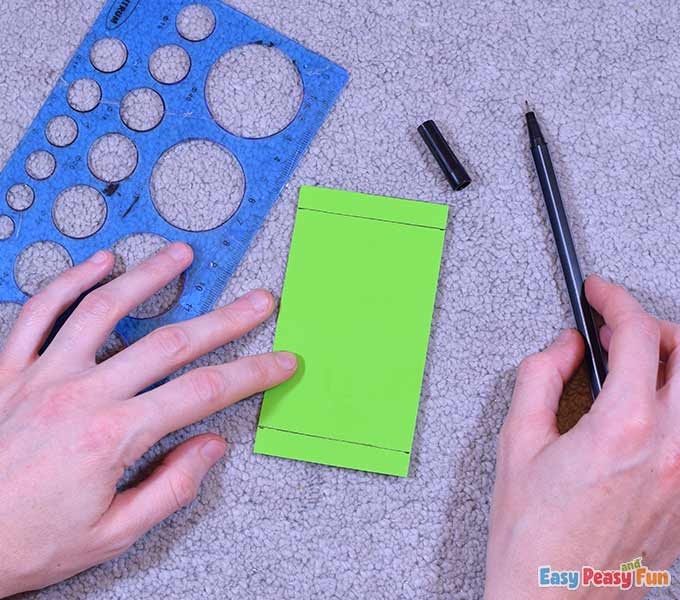
On the green paper, draw a rectangle with dimensions 4 x 2.4 inch / 10 x 6 cm and cut it out.
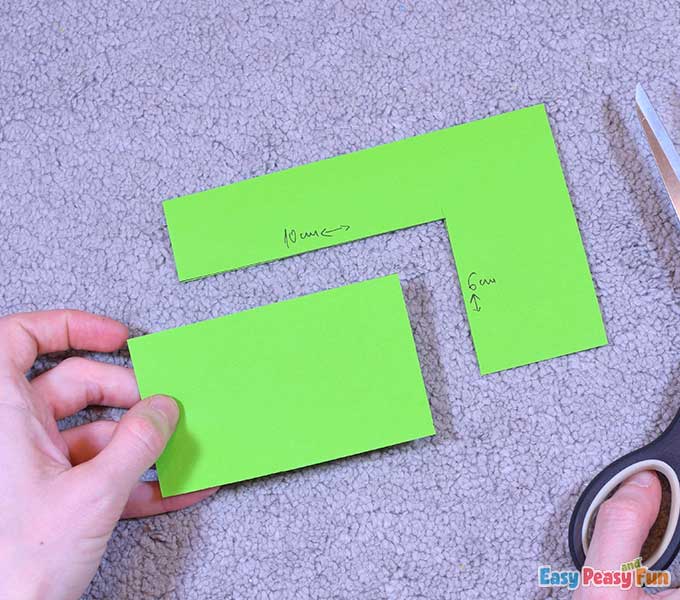
Mark a line at 1.6 inch / 4 cm.
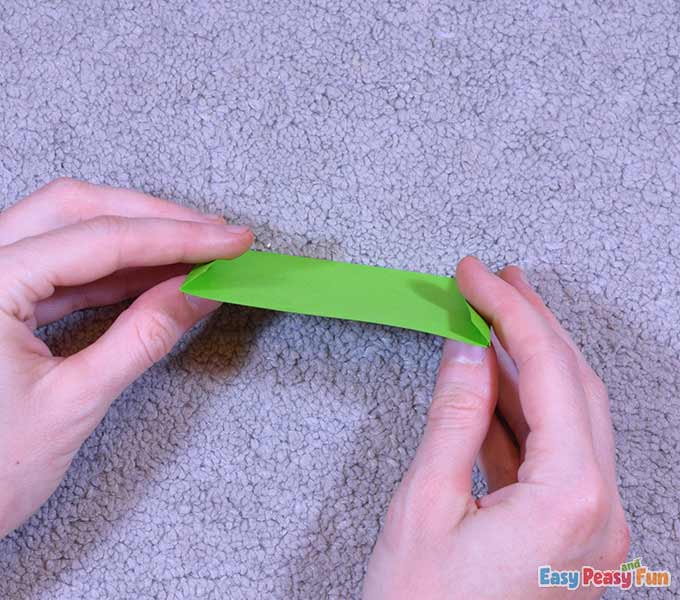
Fold the paper to a 90-degree angle.
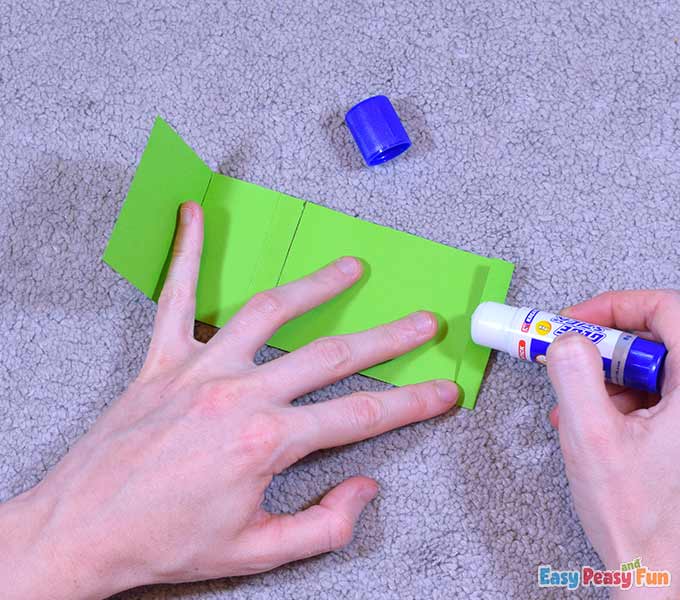
Draw a rectangle with dimensions 4.3 x 2.4 inch / 11 x 6 cm on green paper, and cut it out.
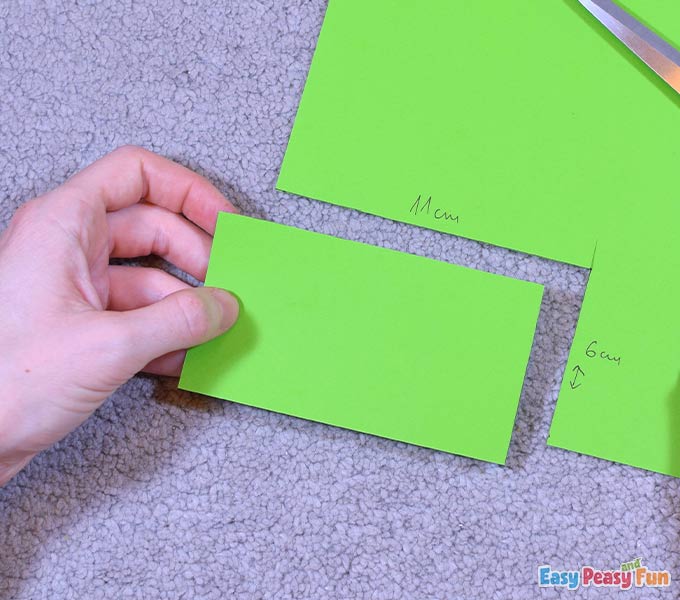
On each end, mark a line at 0.4 inch / 1 cm.
Fold these two flaps inward.
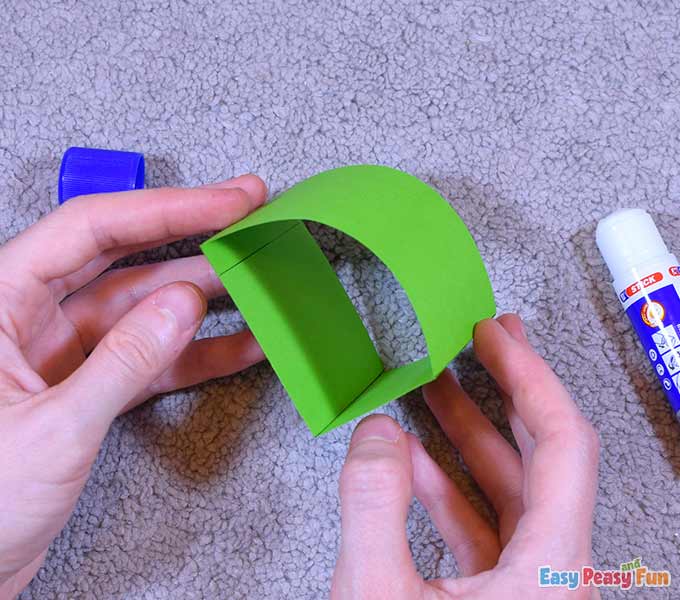
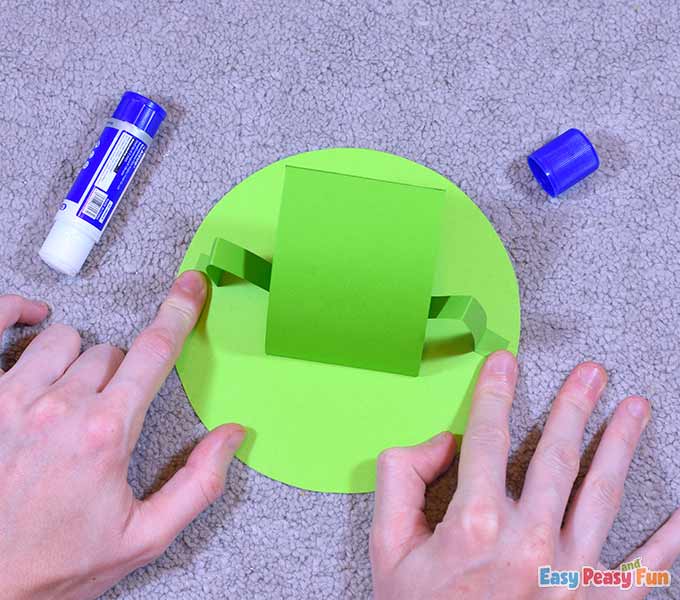
Start assembling the body.
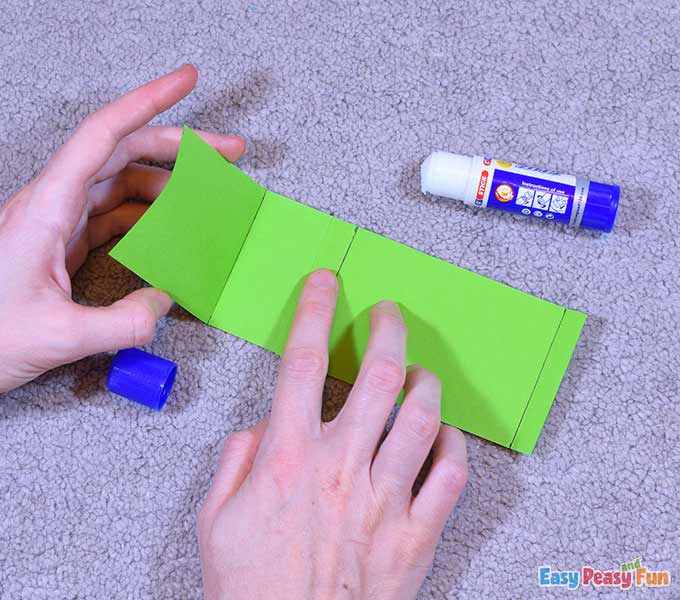
Apply glue, then bend and glue together.
The result is the frog’s body.
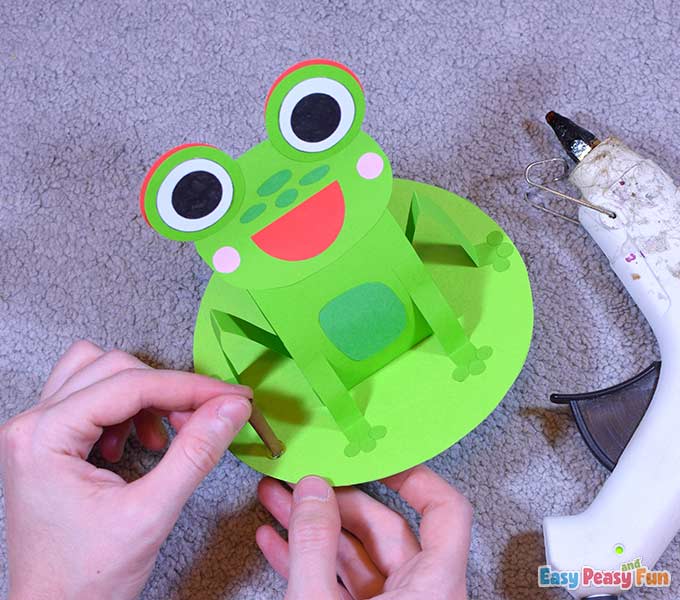
Glue the frog’s body on the lily pad.

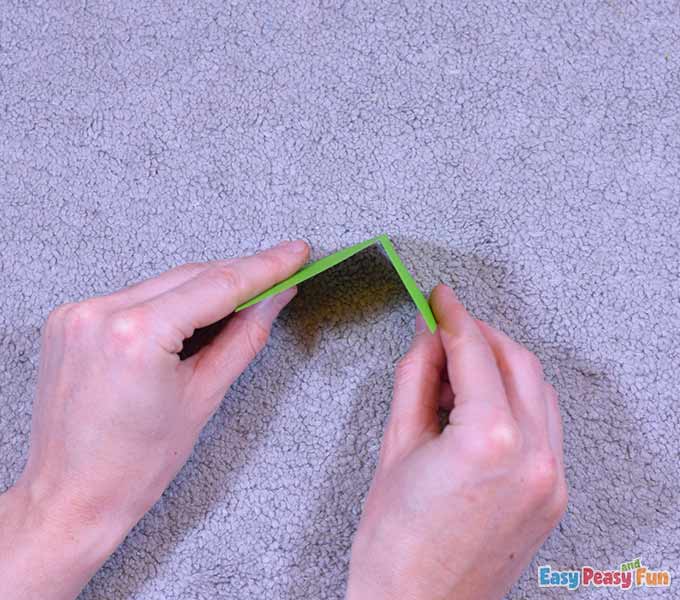
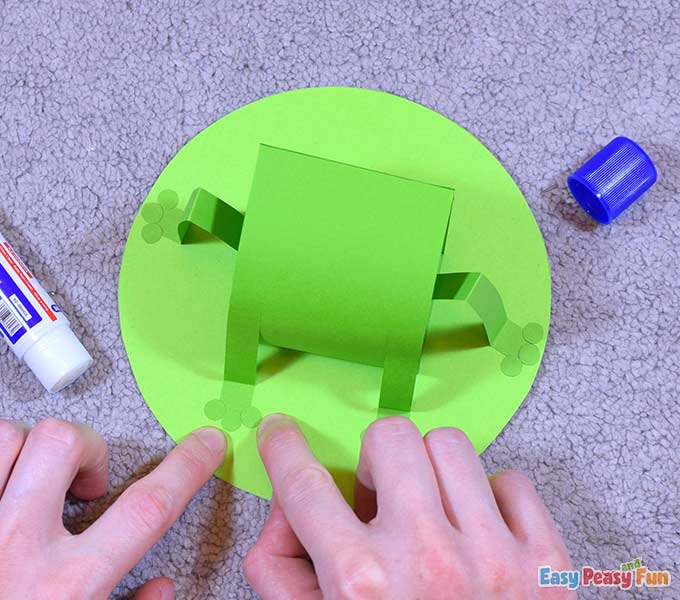
The Legs
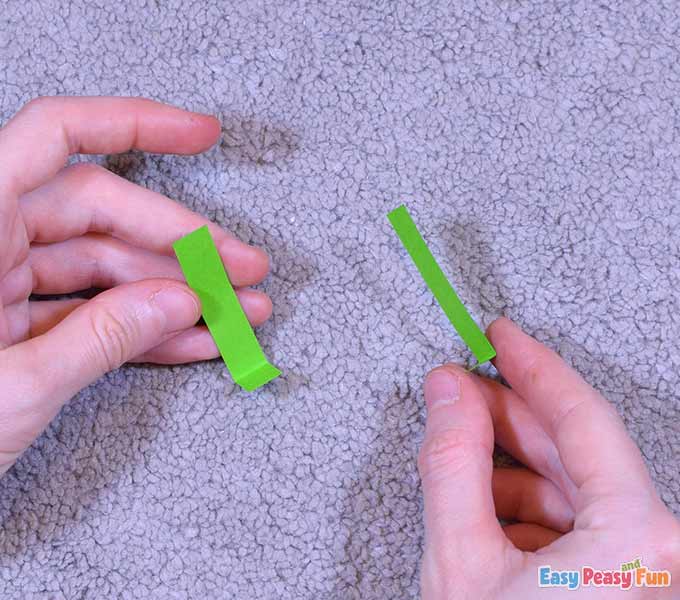
Draw two strips of 0.4 x 5.1 inch / 1 x 13 cm dimensions on green paper and cut them out.
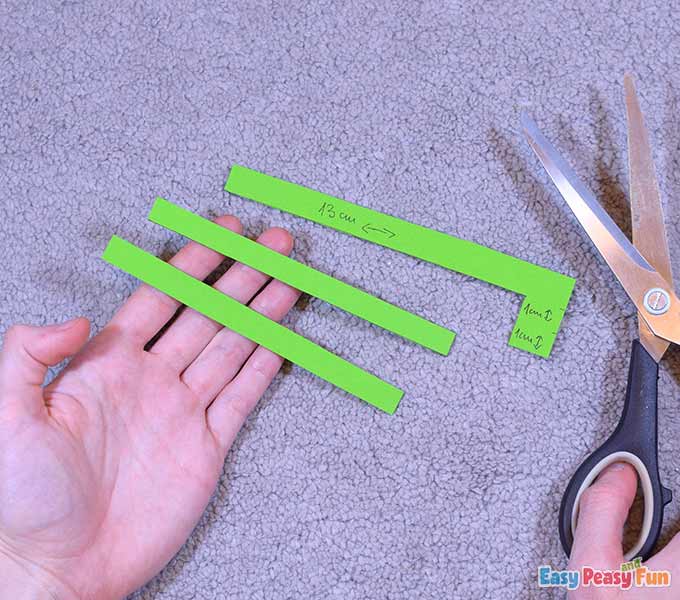
Form two back legs by folding the strips.

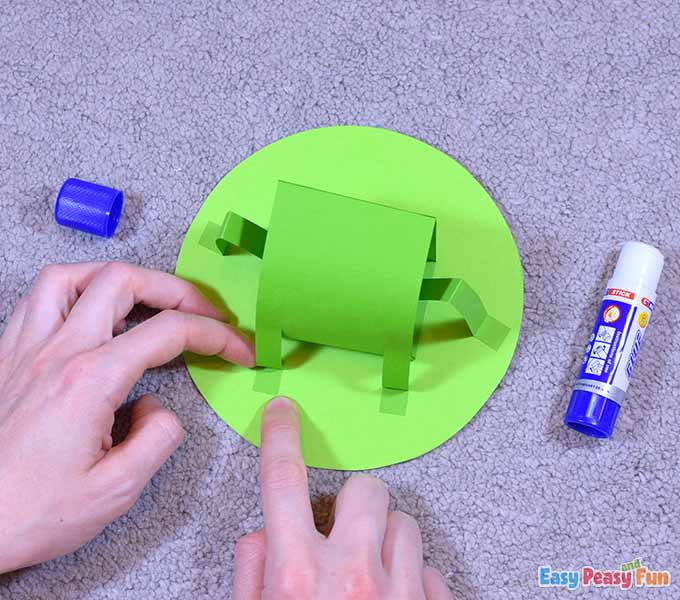
Glue the hind legs to the frog’s body.
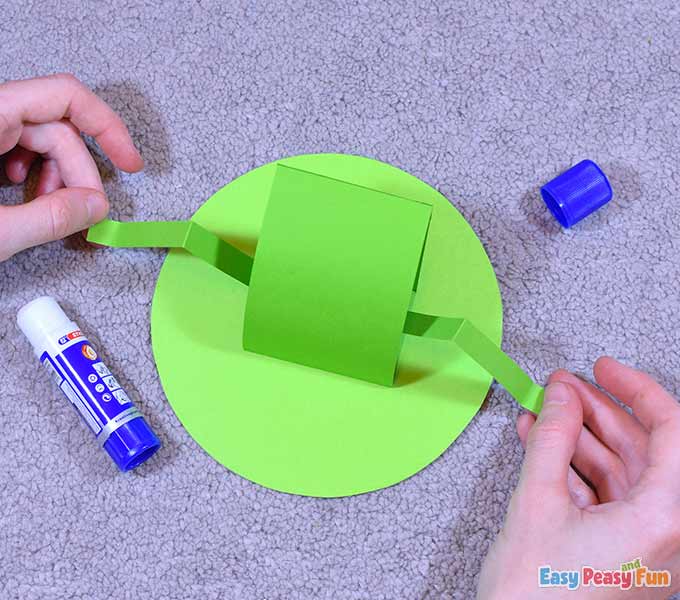
Glue the front part of the legs on the lily pad.
Draw two strips with 0.4 x 2.2 inch / 1 x 5,5 cm dimensions on the green paper and cut them out.

Make a fold on each strip to form the front legs.
Glue the forelegs on the frog and the front parts of the legs onto the lily pad.
The Toe Pads (0ptional but cute)
Use a hole puncher for these. If you don’t have a hole puncher but have patience, you can draw twelve tiny circles on the green paper, and cut them out.
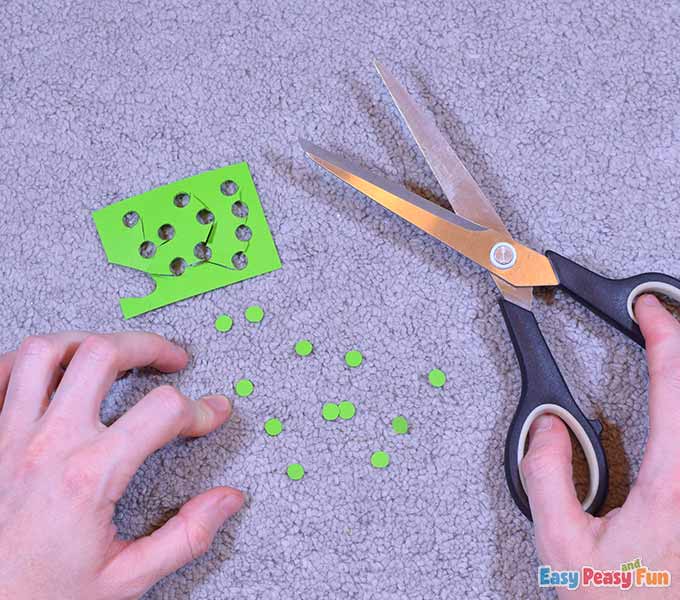
Glue three on each leg as toe pads.
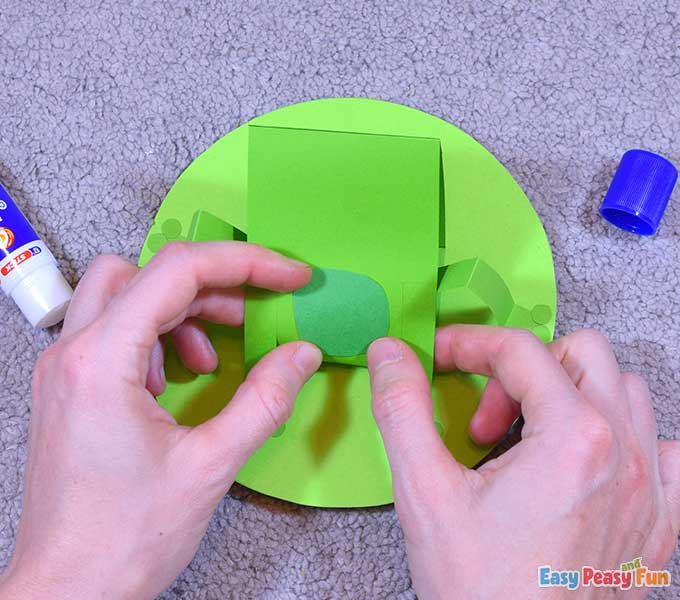
The Belly
Now go and grab the dark green paper and draw a rounded belly.
Cut it out and glue it on the frog’s body.
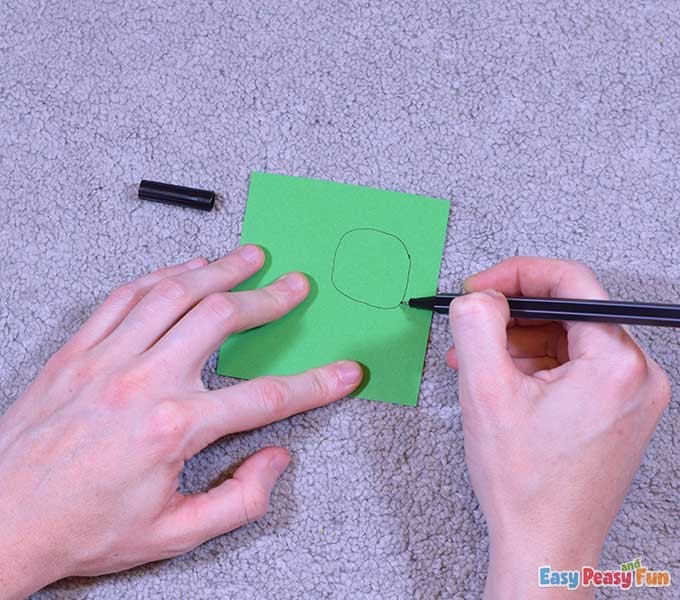
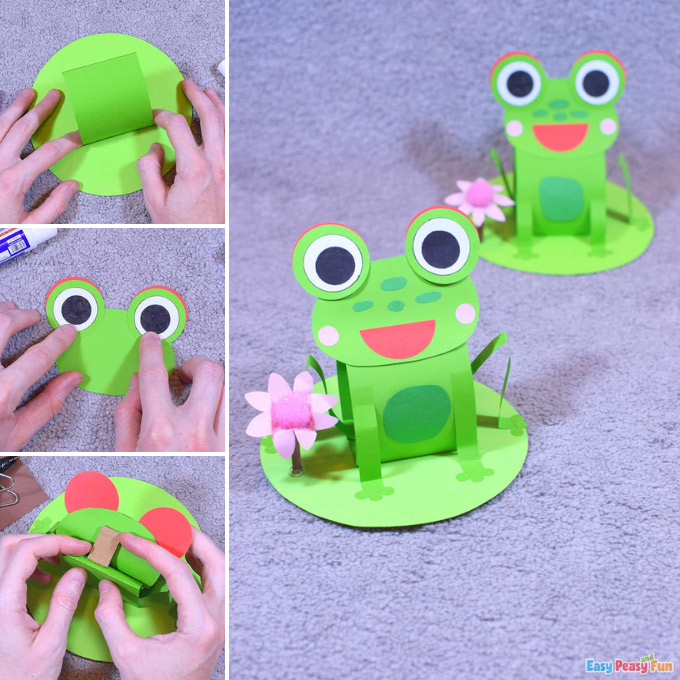
The Head
Now, draw an ellipse (approximately 2 x 3 inch / 5 x 8 cm) on the green paper and cut it out.
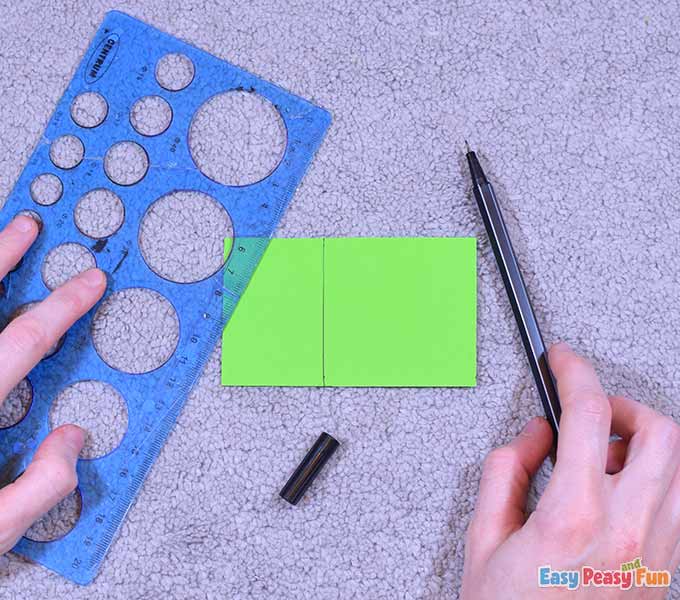
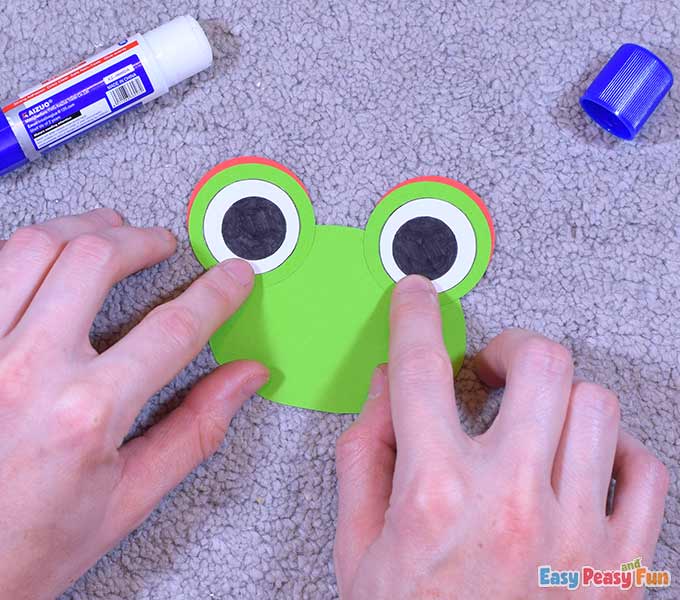
The Eyes
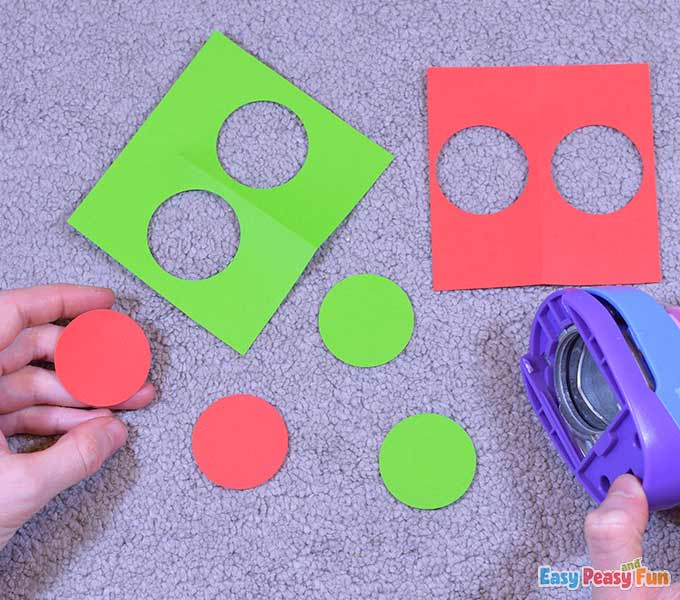
Punch out two green circles and two red circles with the circle puncher or draw the circles and cut them out, you can make them small or big, depending on how big you want the eyes of the frog.
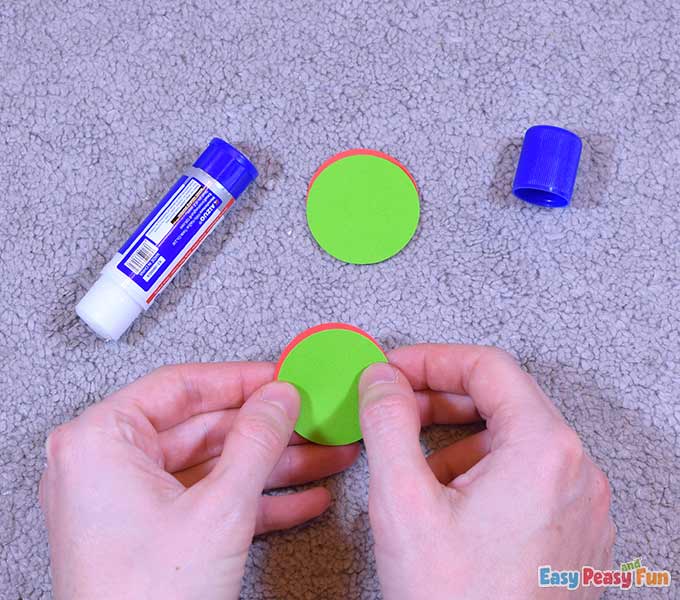
Glue them together in pairs, leaving a tiny part of the red circles peeking out.
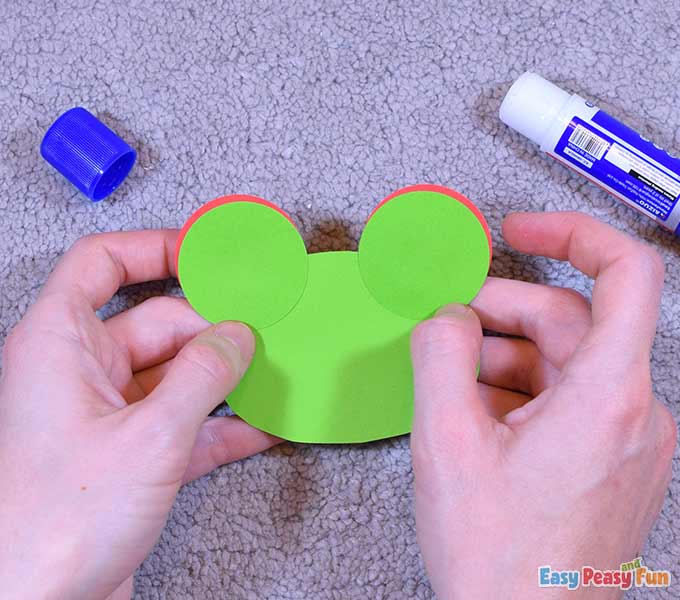
Glue them on the frog’s head.
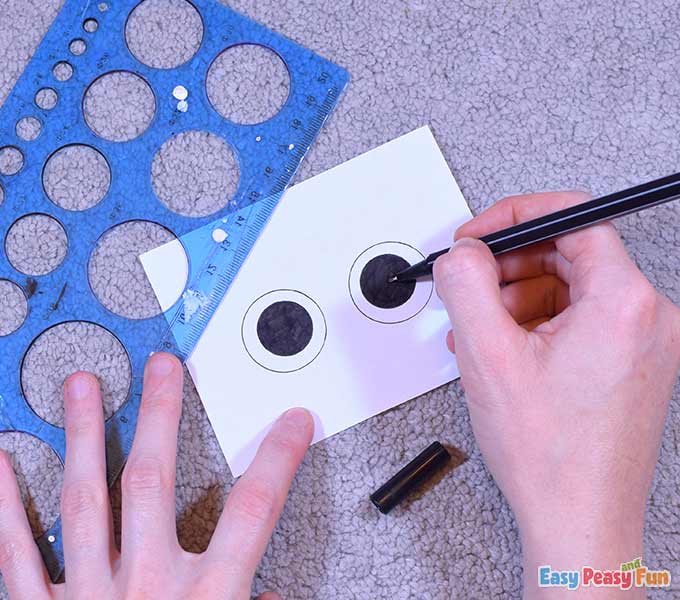
Draw two big black eyes on the white paper using the black liner and the ruler with circle shapes.
Cut them out and glue them on the green circles.
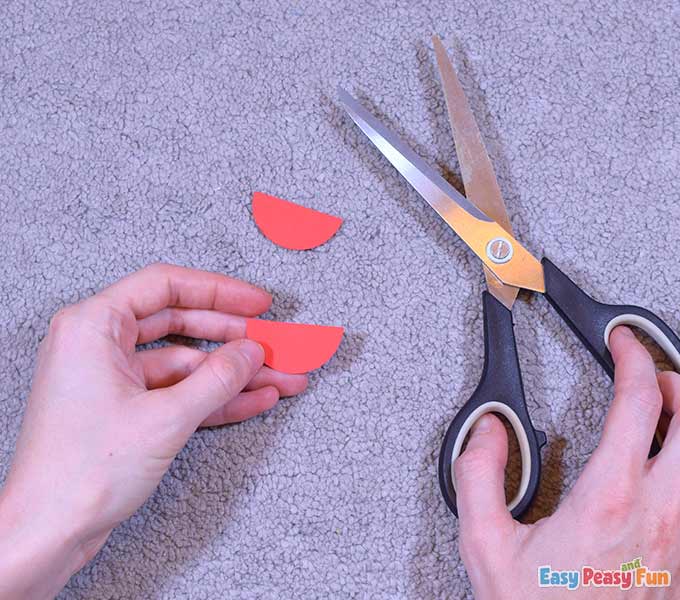
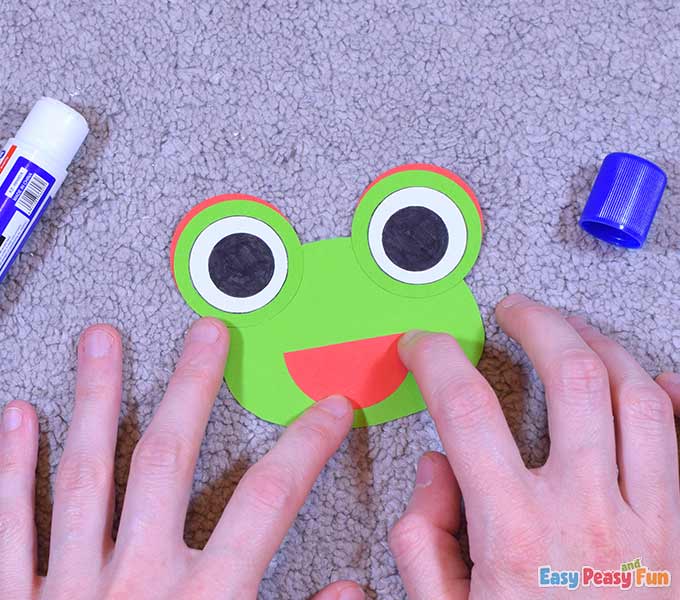
The Tongue
Punch out one red circle.
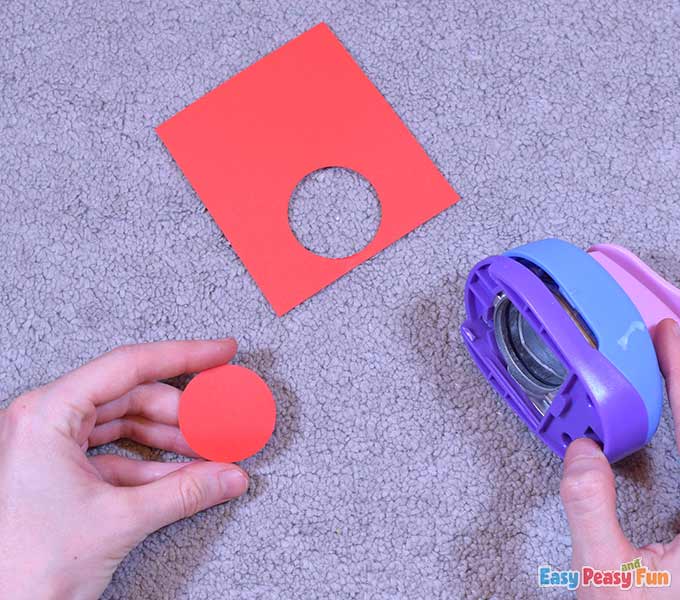
Cut it in half.
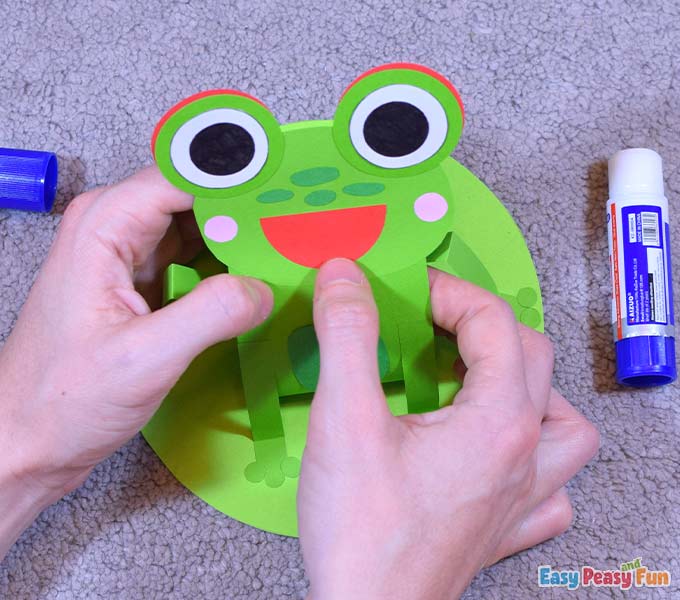
What you want to do now is glue one-half of it on the frog’s face as a smiling mouth.
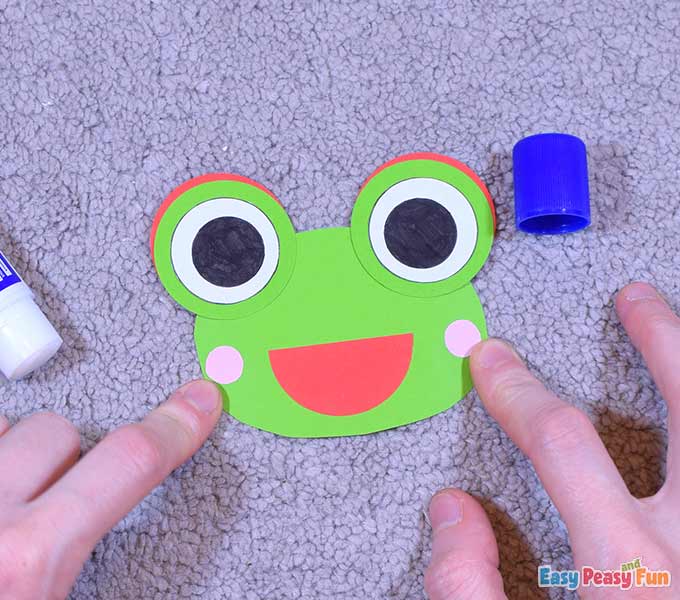
The Cheeks
On the pink paper, draw two small circles.
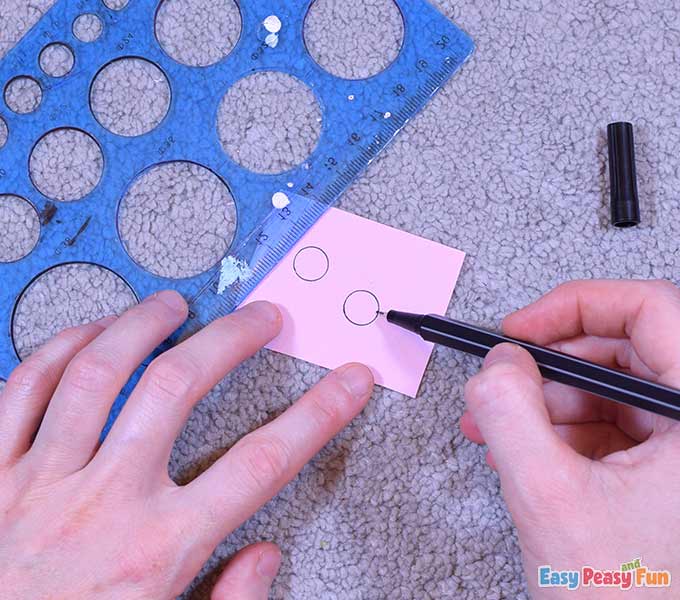
Cut them out and glue them on the frog’s face as cheeks.
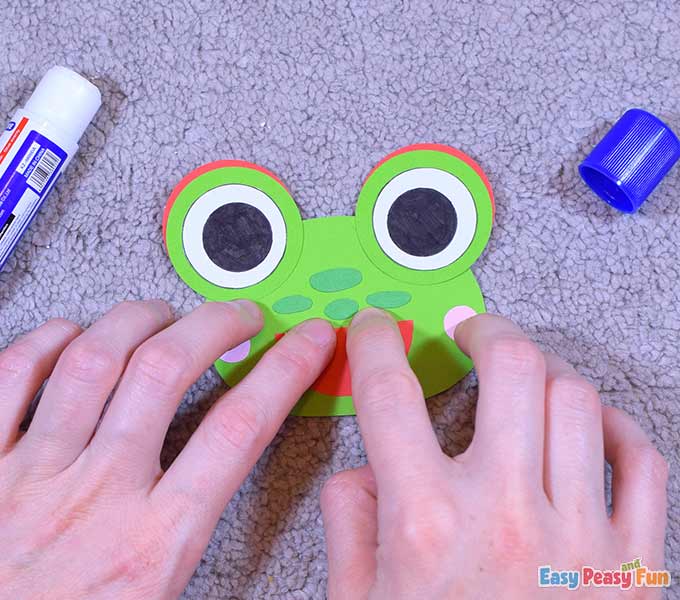
The Freckles
On the dark green paper, draw some rounded shapes.
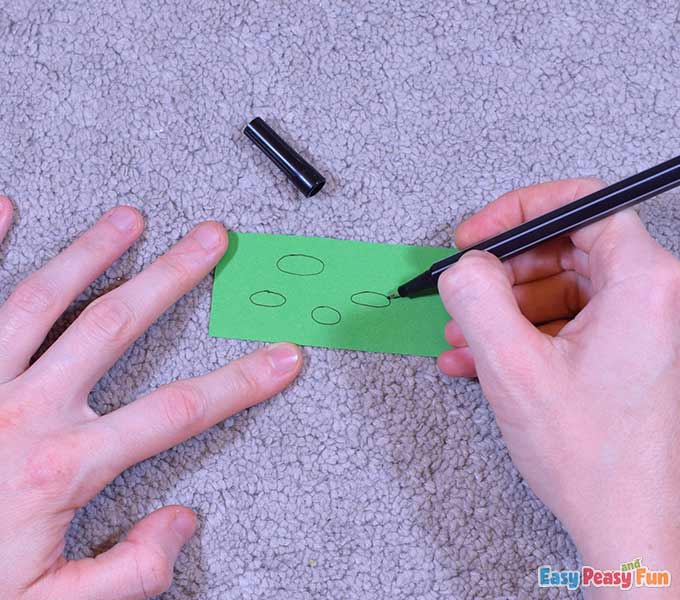
We will cut them out and glue them on the frog’s face as freckles.
Glue the head on the body.
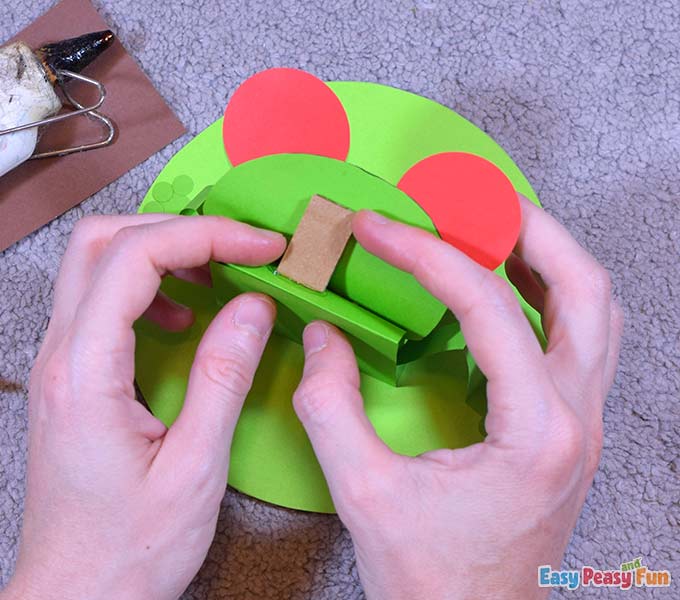
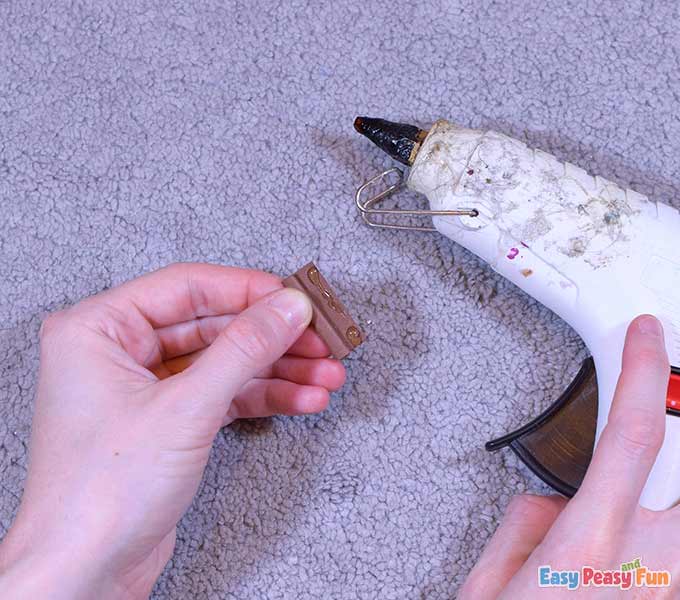
The Head Support Part
We wanted the head to stand straight, so we hot-glued a piece of cardboard behind the head to hold it straight.
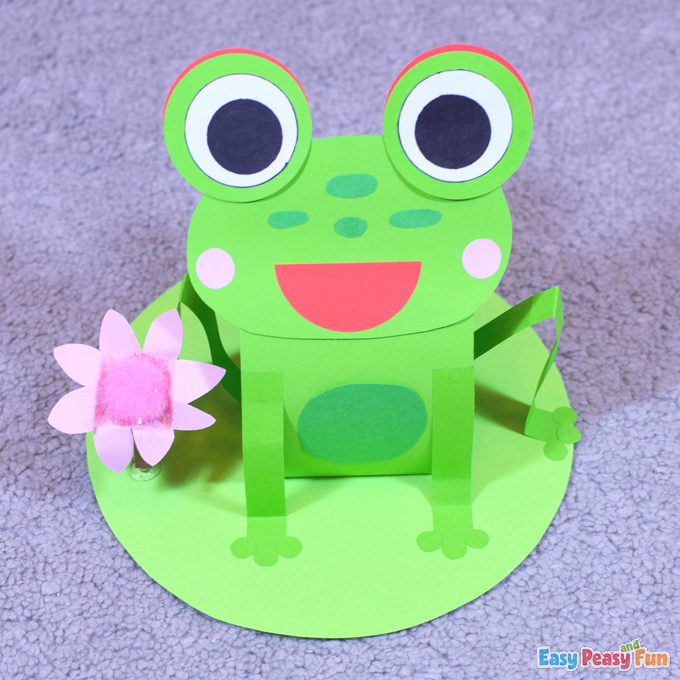
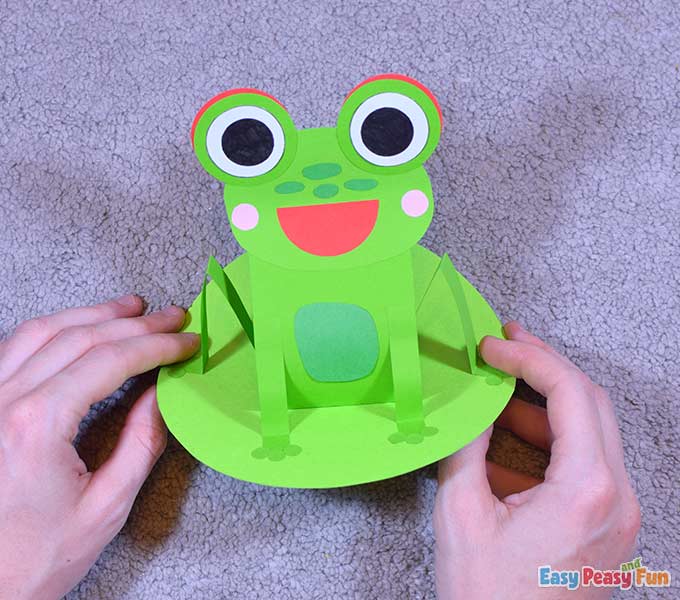
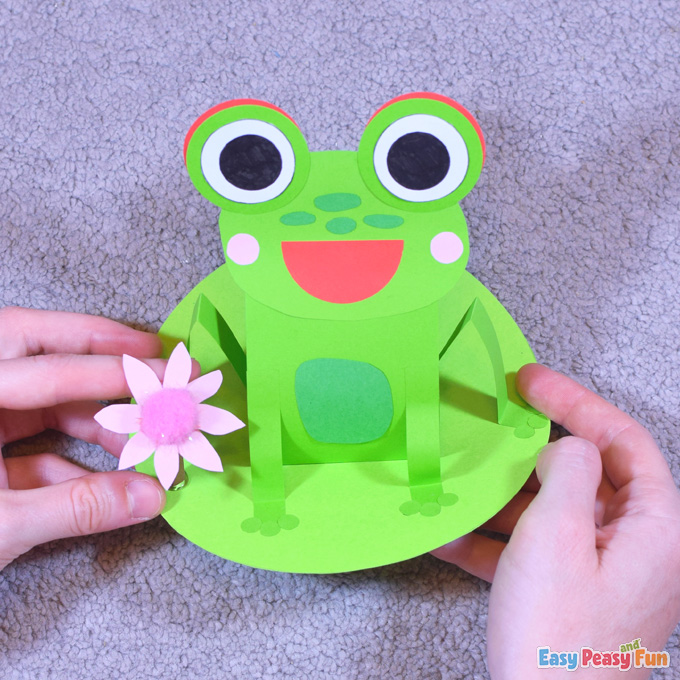
Our frog is complete.
The Water Lily (optional)
Cut out a piece of brown cardstock (1.2 inch / 3 cm high) to make the water lily.
Wrap it around itself and seal it with glue.
This brown piece will serve as a stem.

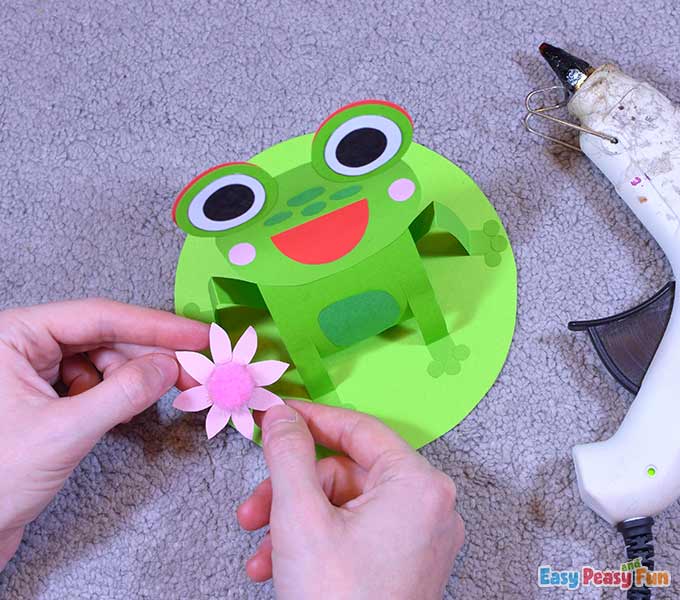
Glue the stem on the lily pad to the side using hot glue.
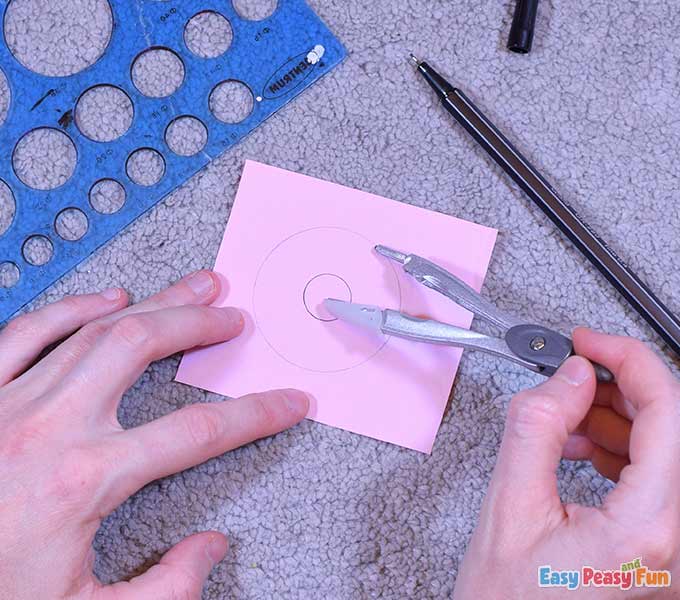
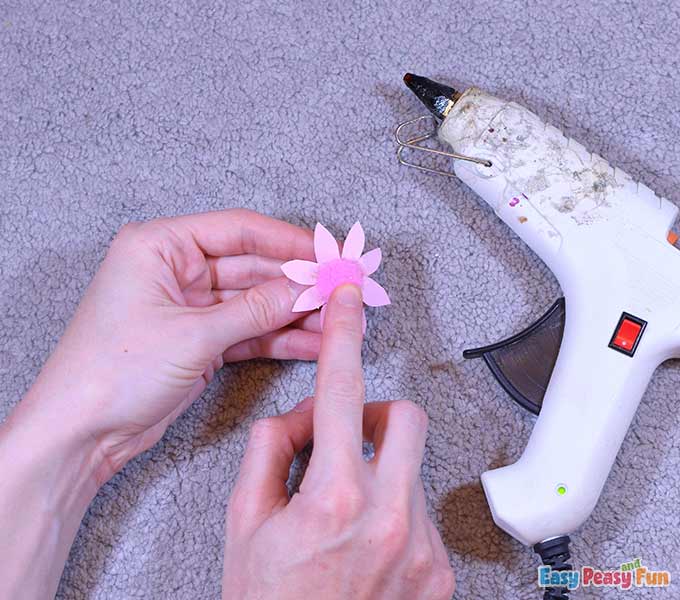
To make the flower part of the water lily, draw two circles on the pink cardstock, one inside the other.
Make sure the circles are centered.
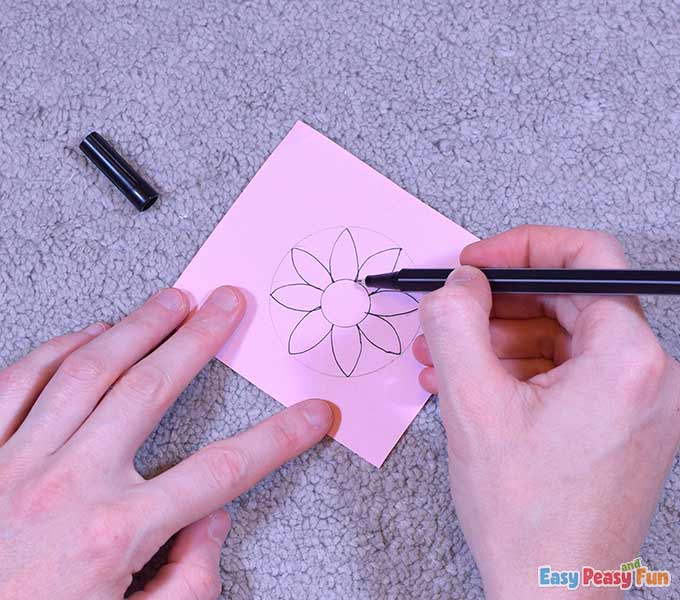
Draw eight flower petals starting from the smaller circle and going towards the bigger one, then cut out the flower part.
Make a crater in the center of the flower, apply some hot glue inside it, and attach the pink glitter pom-pom.
Glue the flower to the stem using hot glue.
All done! We hope you guys had fun!

Our frog is ready to jump from one lily pad to another and enjoy the day.
That is all for today.
Stay tuned for more!
Get Your Cute Paper Frog Template Here
Want instant access to all of our printable crafts, activities, and resources?

With thousands of crafts, activities, worksheets, coloring pages, and drawing tutorials to print, you will always have just the resource you need at your disposal. Perfect for parents and teachers alike!