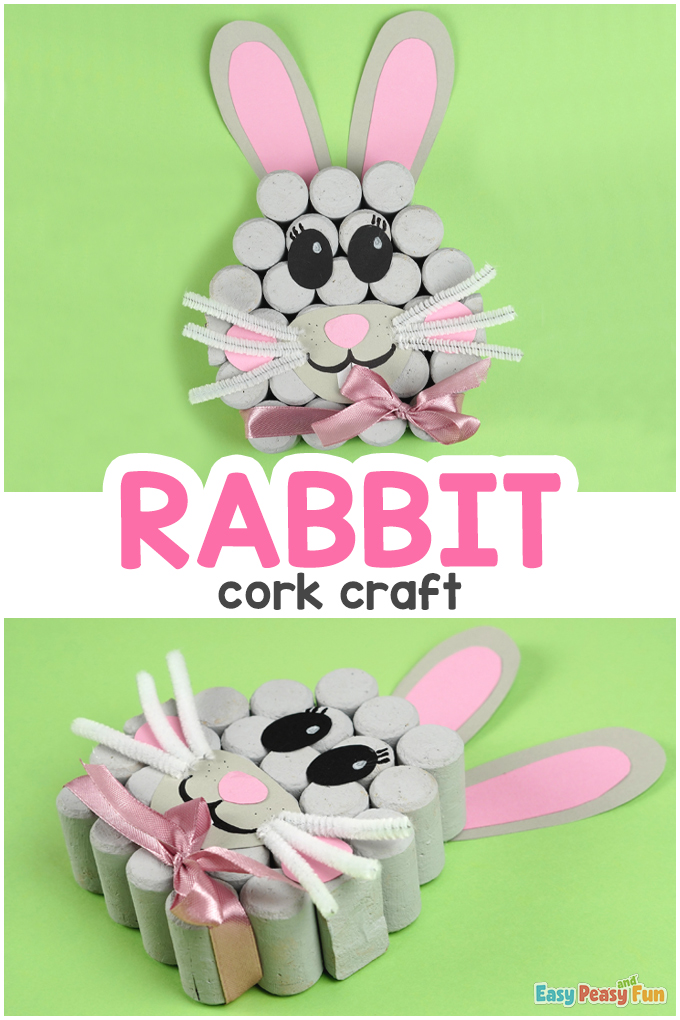
Whether you’re celebrating Easter or want to do a fun craft, this Cork Rabbit Craft is entertaining for kids, especially if you have a collection of corks and no idea what to do with them.
Rabbits are such fun animals, and this craft allows you to make something new out of the corks!
*This post contains affiliate links*
50 paper crafts your kids can actually do themselves

No fancy supplies — just paper, scissors, and a little imagination.
Be the first to get it on release day — and lock in the lowest price guaranteed.
We love Easter Crafts (have a look at our Cotton Ball Bunny Craft or try making your own Easter Wreath out of paper).
This cork rabbit craft is excellent if you’re looking for a great way to use some old corks!
You can use up old corks and craft supplies to create something unique!
How to Make the Cork Rabbit Craft
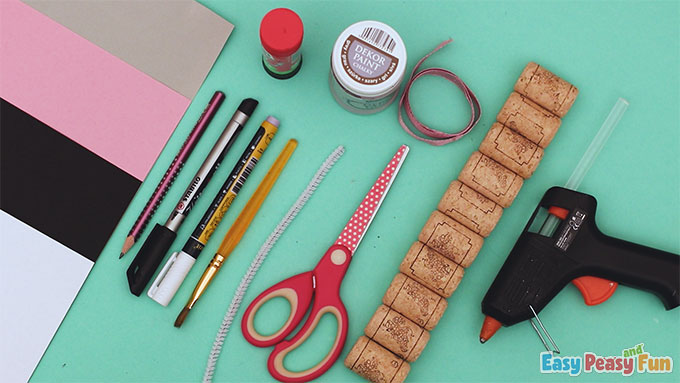
What you need:
- 26 wine corks
- hot glue
- scissors
- silk ribbon
- gray acrylic paint
- glue stick
- white pipe cleaners
- paintbrush
- pencil
- black marker
- white chalk marker
- color papers (gray, pink, white, and black)
Step by Step Tutorial
The Head
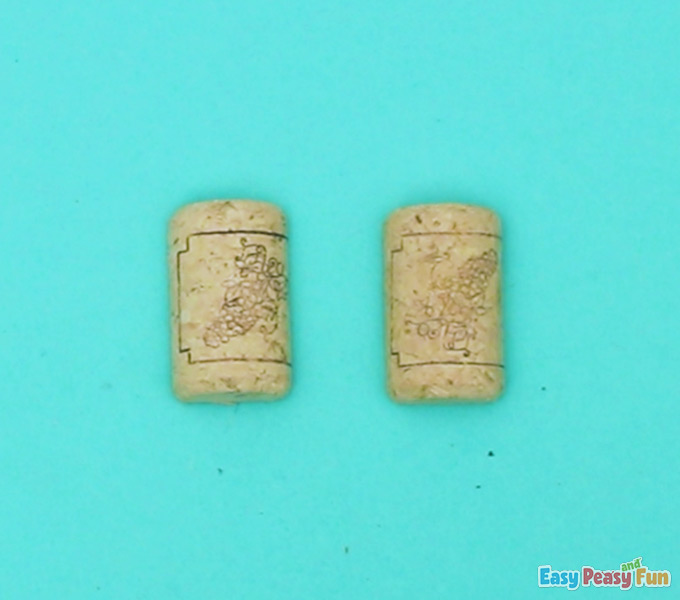
Cut a cork in half.
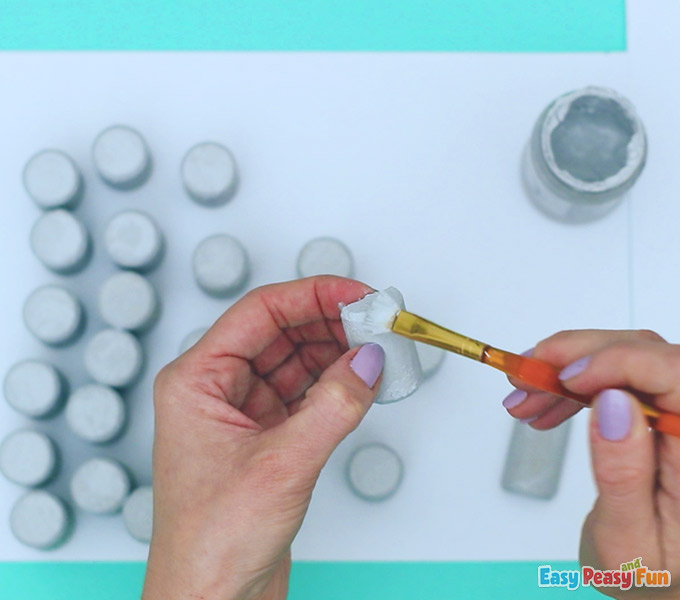
Paint all the corks and the two half corks gray.
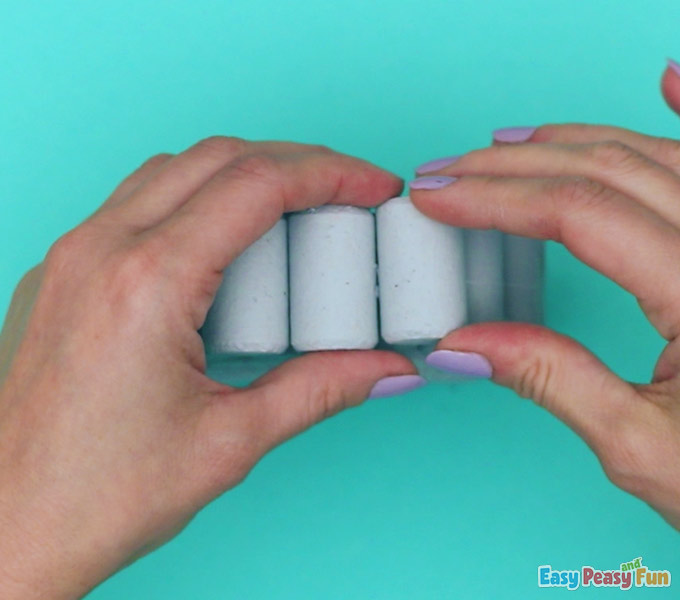
Add hot glue.
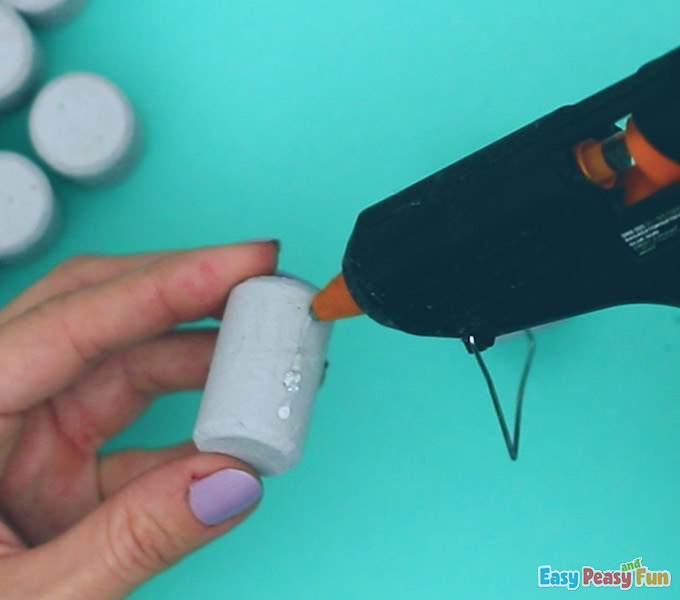
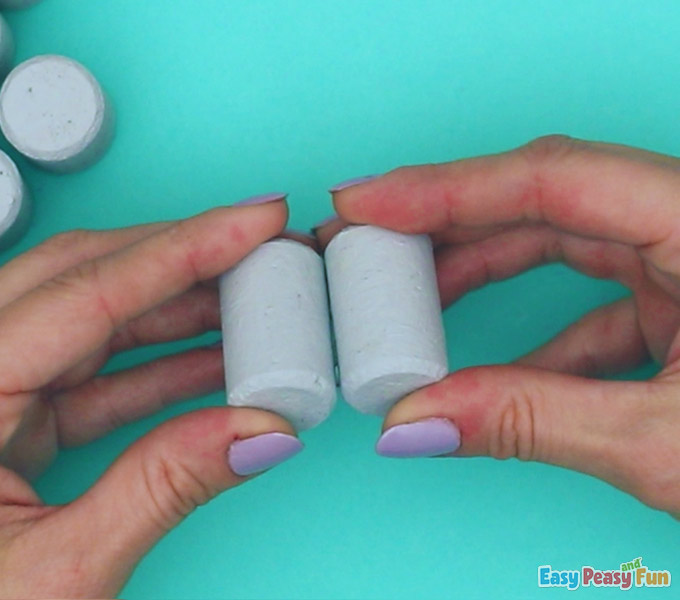
When it dries, glue two pieces together.
Make a row of four corks, then glue five corks on top.
Now glue four corks in the center and two halves on two sides.
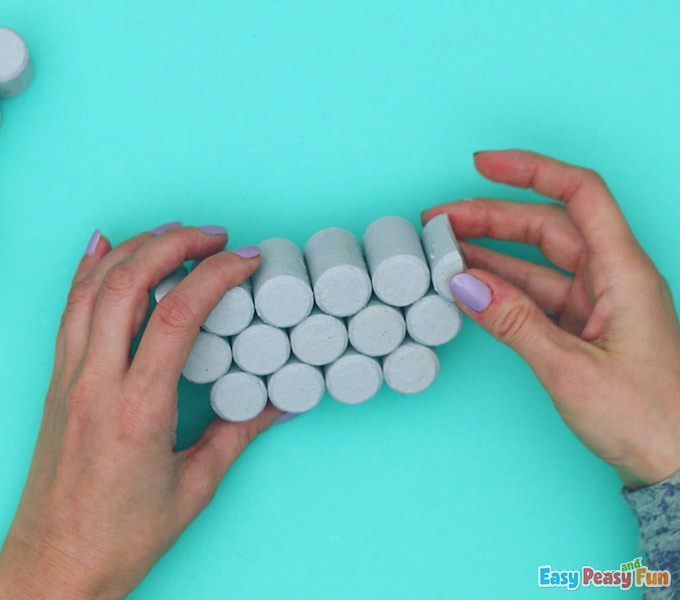
Continue by gluing five corks, then 4, and finally three on top.
Make sure you allow plenty of time for the corks to dry.
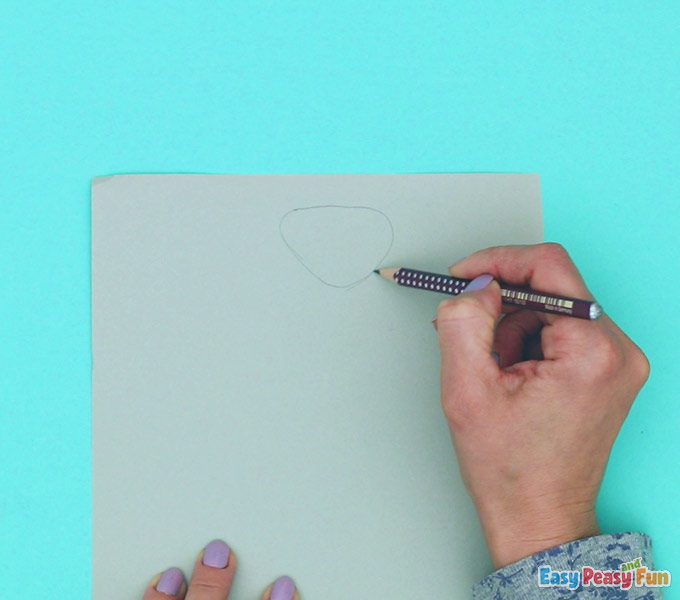
The Face
Trace the bunny’s face on a gray piece of paper.
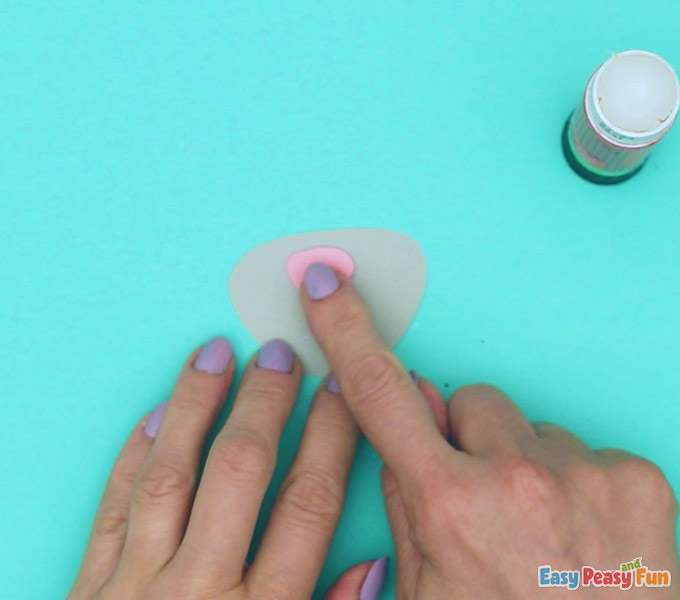
The Nose
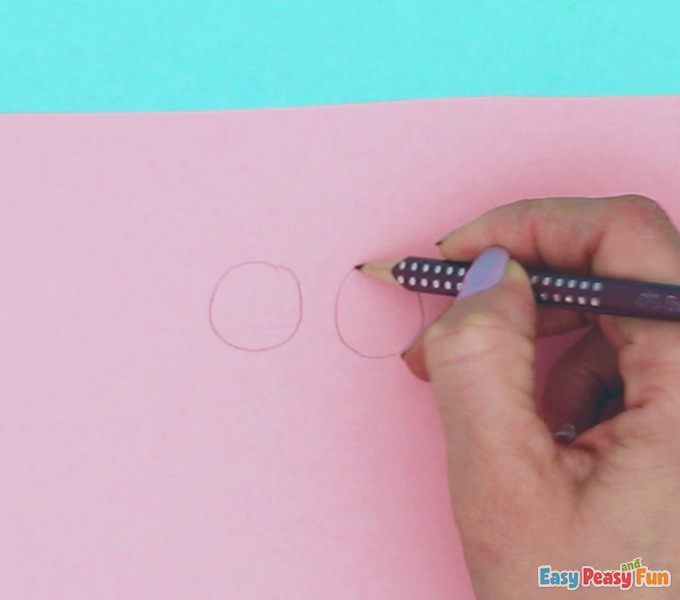
Draw the bunny’s nose on pink paper.
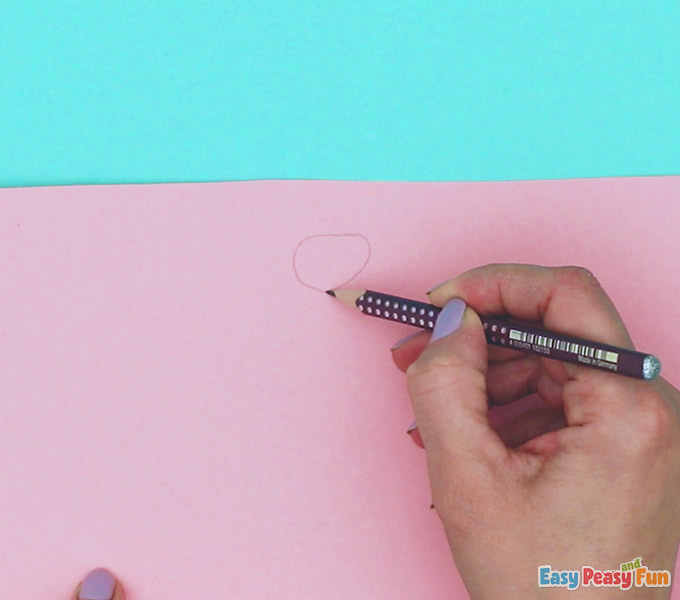
Glue the pink nose on the grey part of the face.
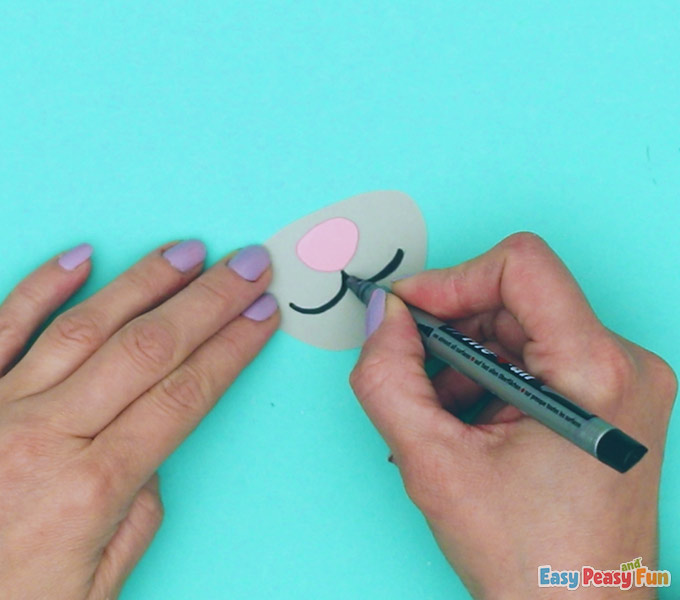
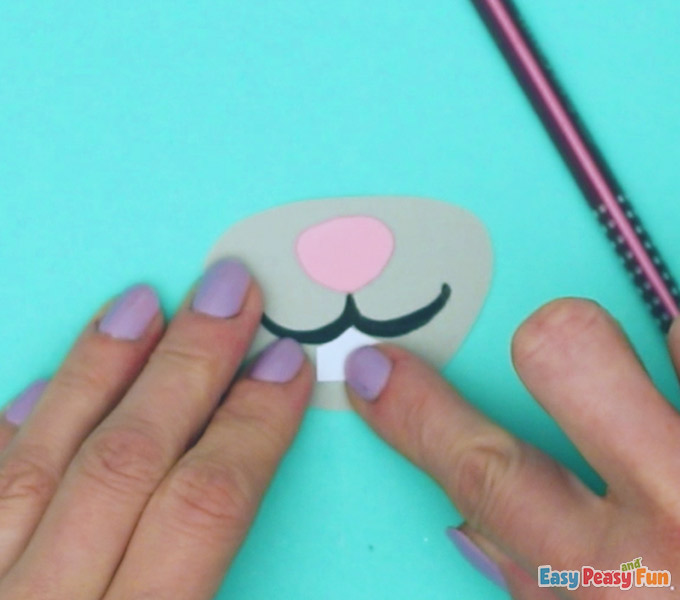
The Mouth
Draw the mouth on the bunny’s face.
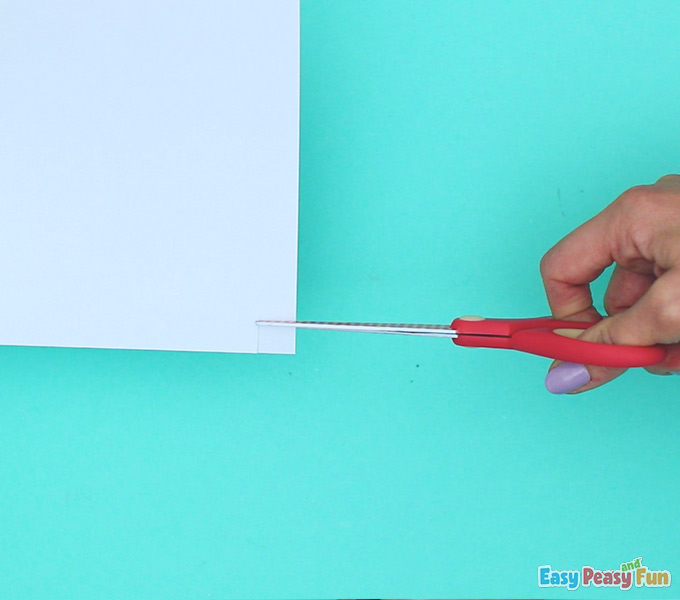
The Teeth
On white paper, cut out a rectangle and cut out.
Once it’s cut out, trace the mouth on the white rectangle. Those will be the teeth.
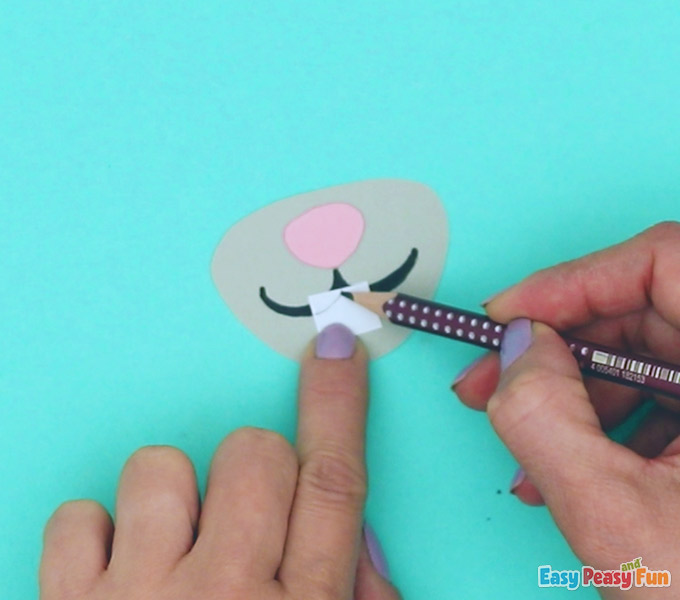
Cut out the part you outlined, and glue the teeth to the bunny’s mouth.
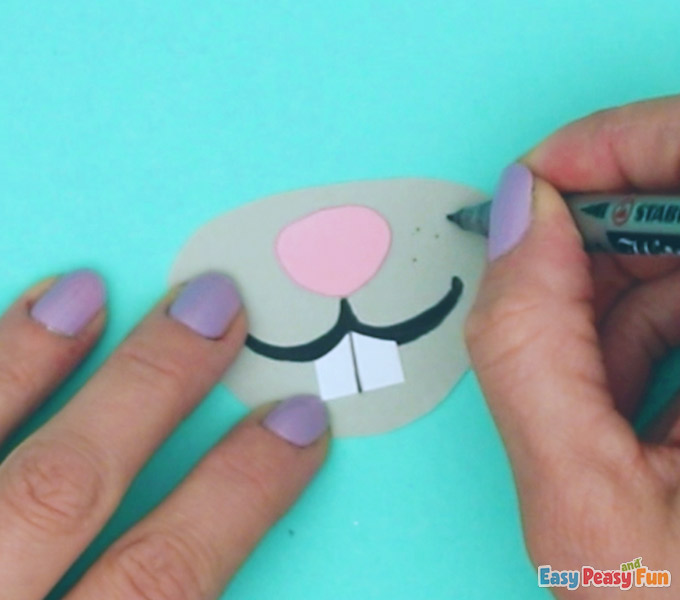
Make a line down the center of the teeth to look like there are two.
You can also add tiny freckles to the bunny’s face.
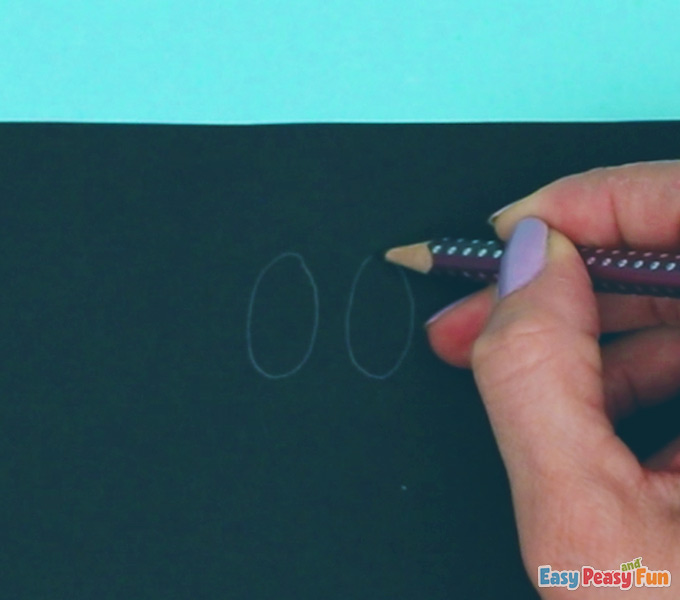
The Eyes
Draw two eyes on the black paper, and cut them out.
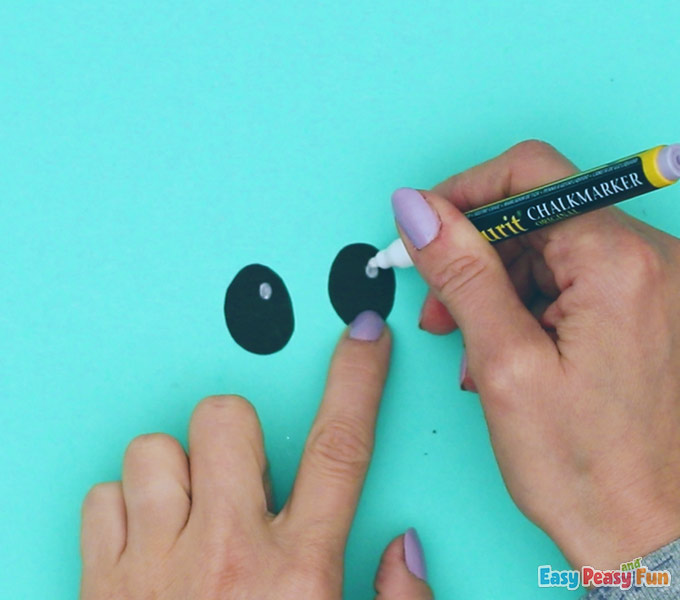
Draw white spots on the black eyes.
The Cheeks
Draw circles on pink paper; this will become the blush for the cheeks of our bunny.
Glue the nose and teeth onto the corks.
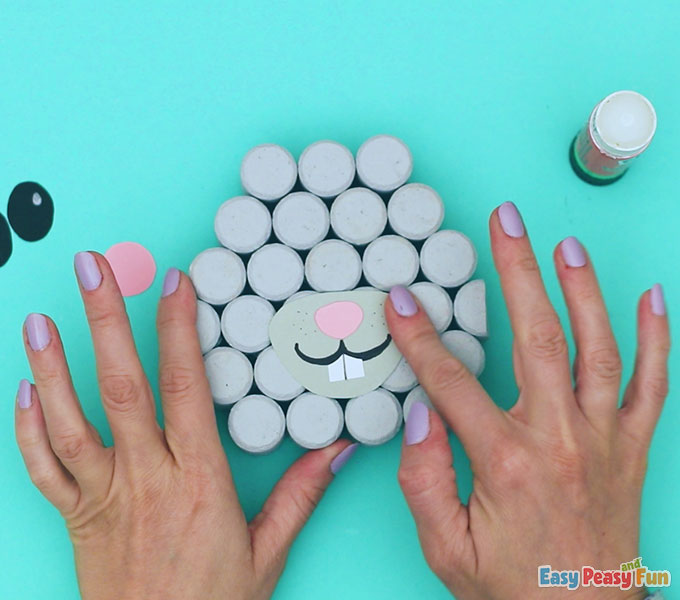
We’re going to add the eyes. Apply glue on the black ellipse-shaped eyes on which you draw two small dots with white chalk paint.
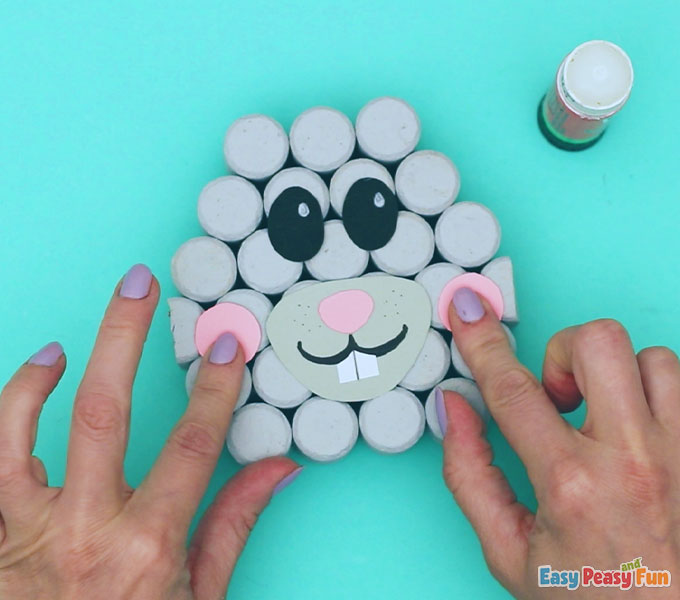
Glue the pink cheek blushes onto the sides.
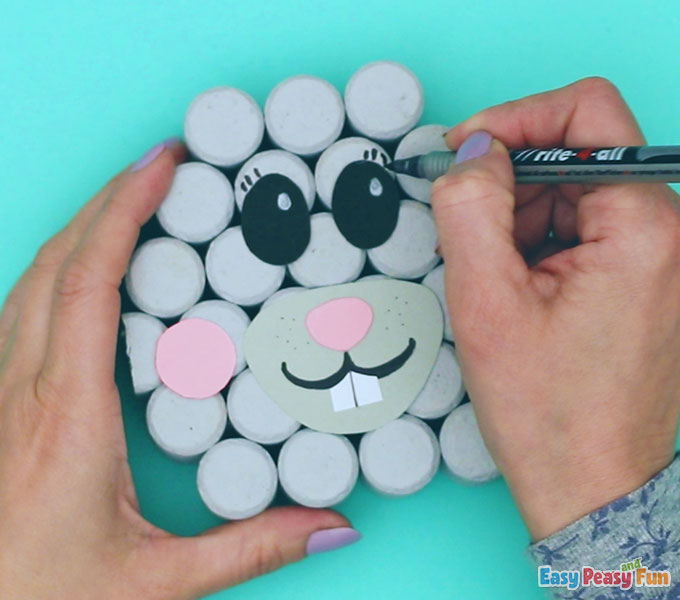
The Eyelashes
Now is a great chance to add a little detail to the bunny.
We’re going to draw eyelashes with a black marker.
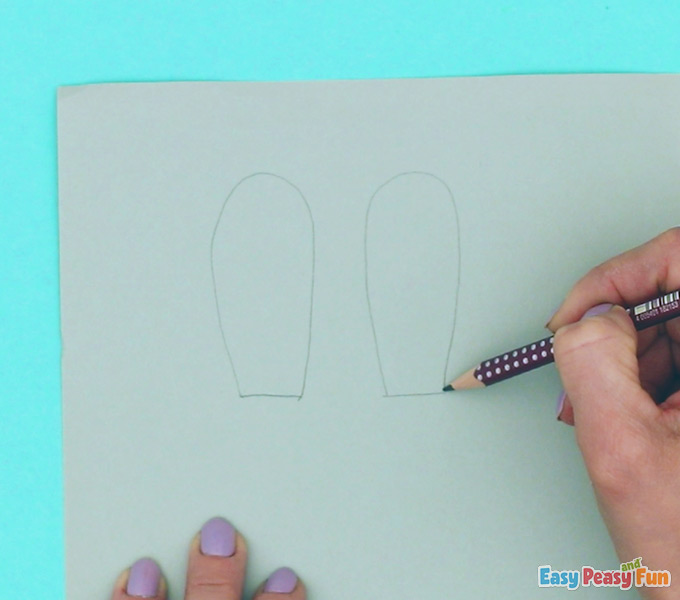
The Ears
Draw two ears on the gray paper, and cut them out.
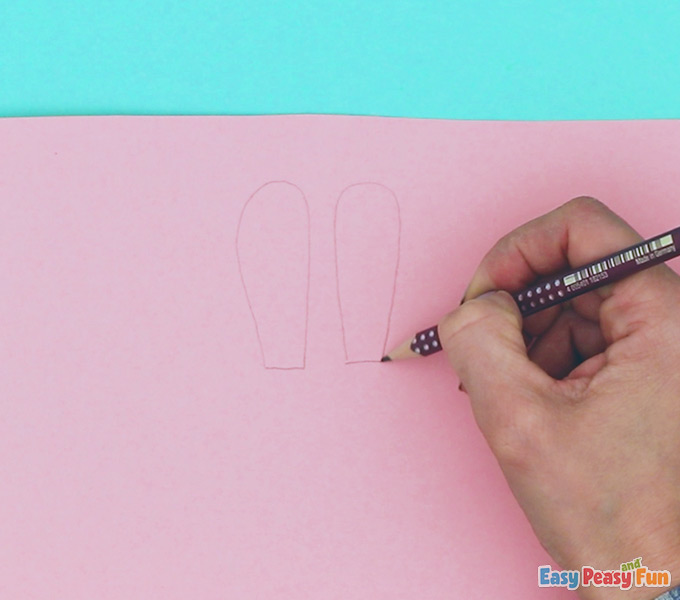
Trace the inside of the ears onto pink paper.
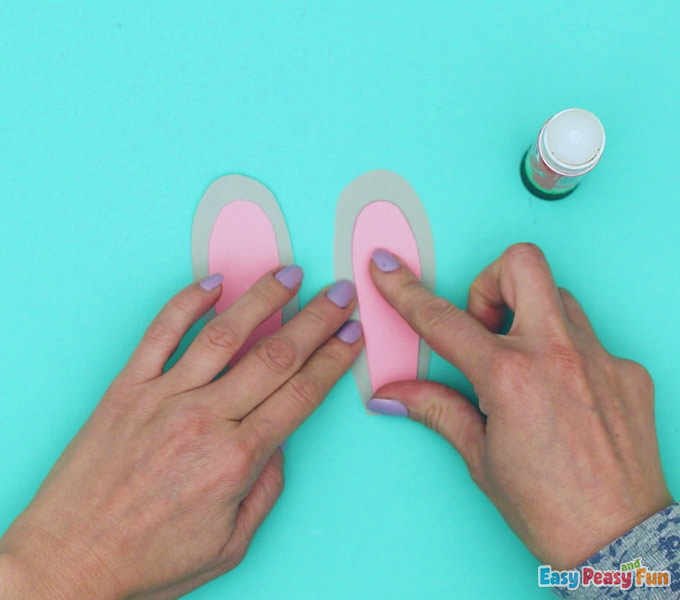
Glue the pink ears inside the gray ears you have already cut out.
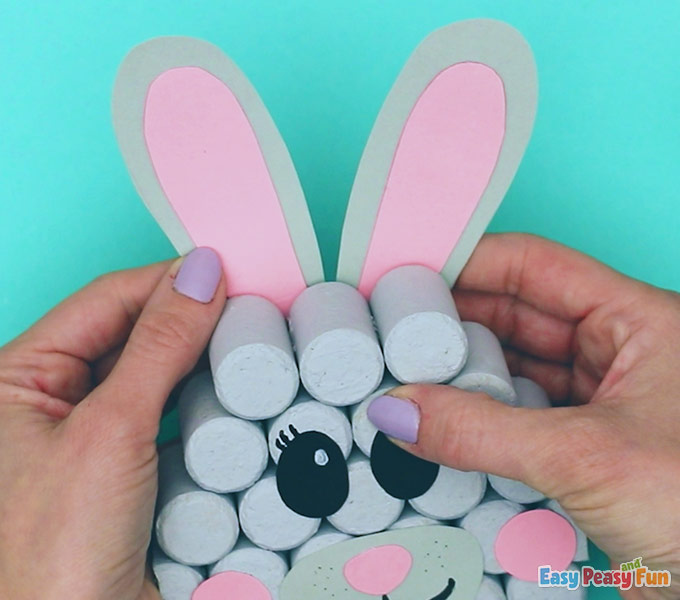
Glue the ears to the back of the rabbit’s head.
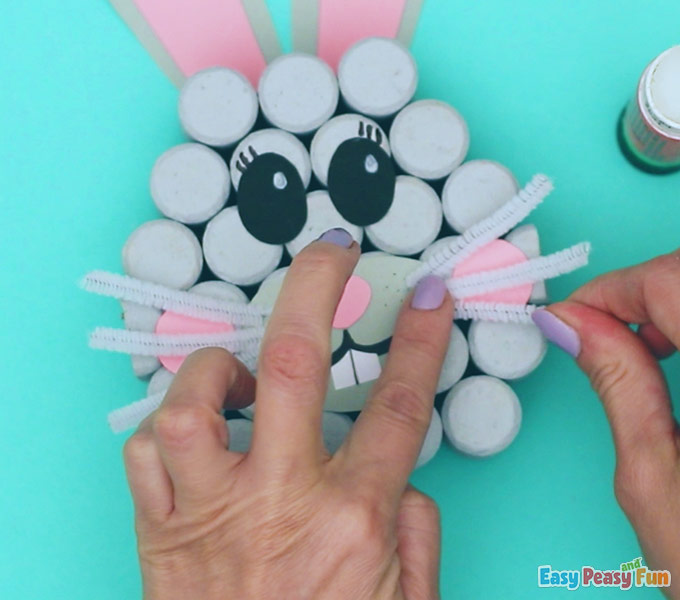
The Mustache
Cut small pieces of white chenille and glue them on as mustache.
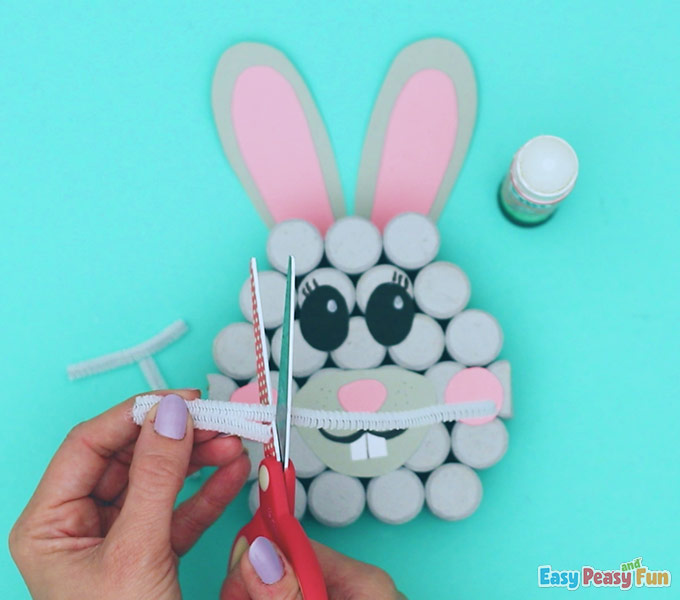
They will make an enjoyable addition to the bunny!
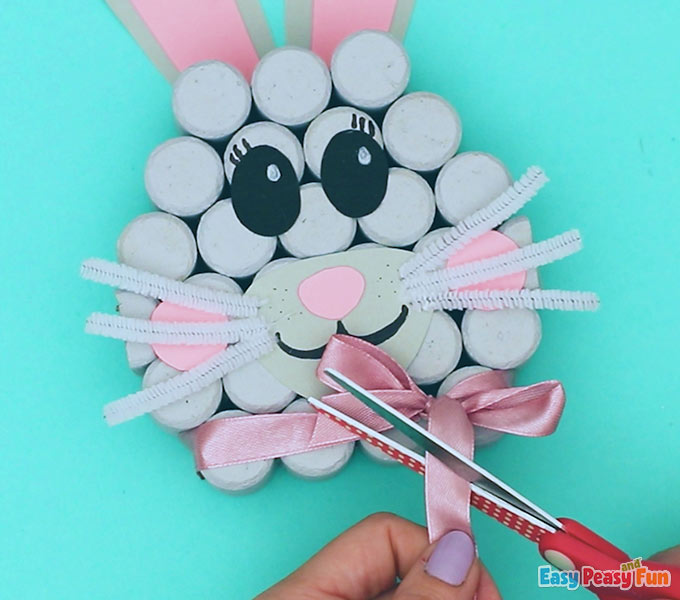
The Bow
Tie a pink ribbon into a bow around the neck.
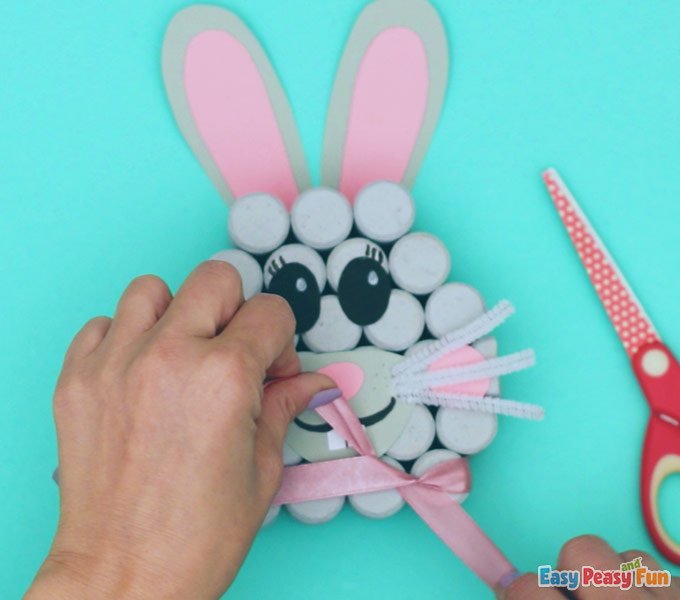
Cut the ribbon to make the bunny look complete.
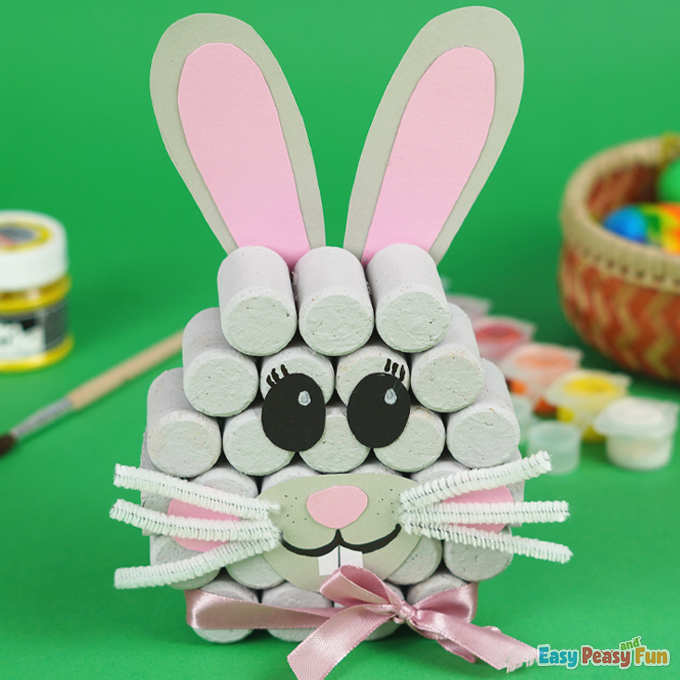
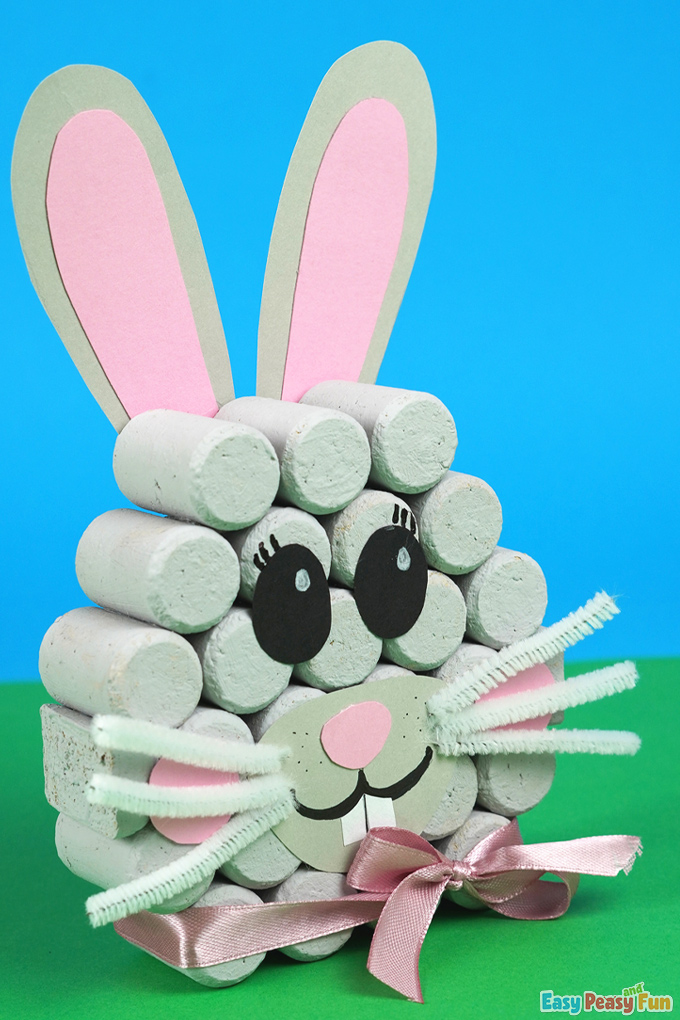
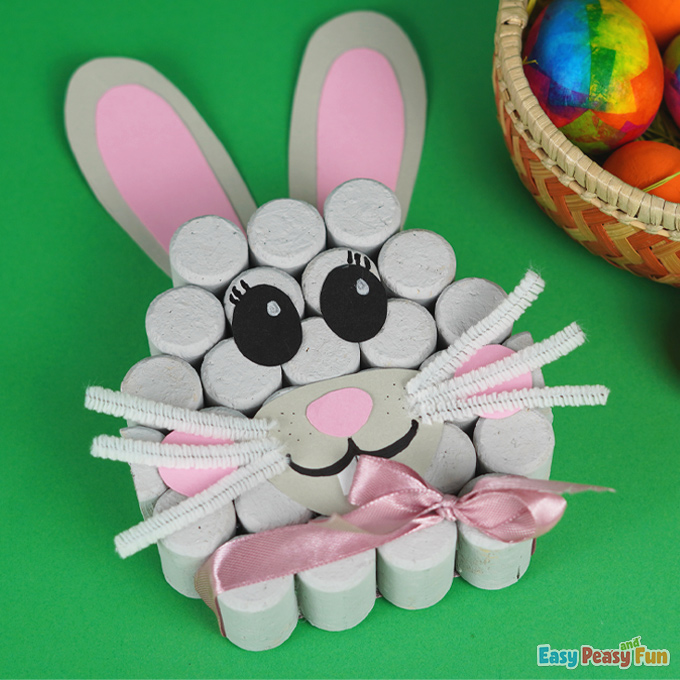
The final look of this cork rabbit craft is below!
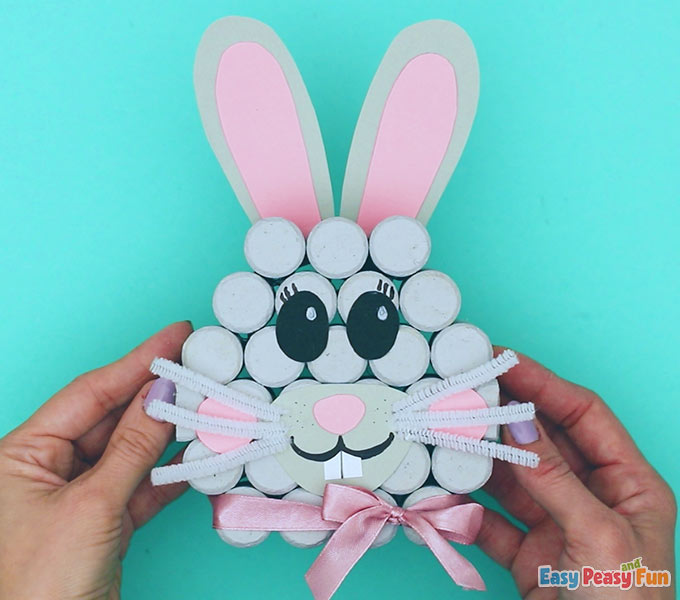
We love how it turned out.
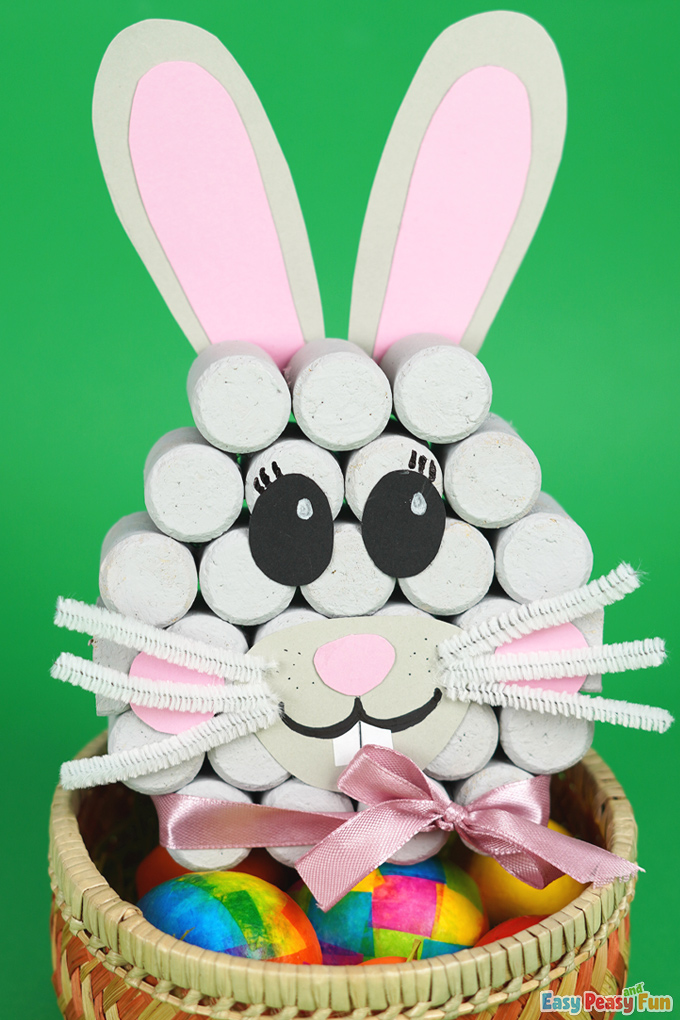
You can use more corks to make a whole family of bunnies.
Happy Easter!

Want instant access to all of our printable crafts, activities, and resources?

With thousands of crafts, activities, worksheets, coloring pages, and drawing tutorials to print, you will always have just the resource you need at your disposal. Perfect for parents and teachers alike!