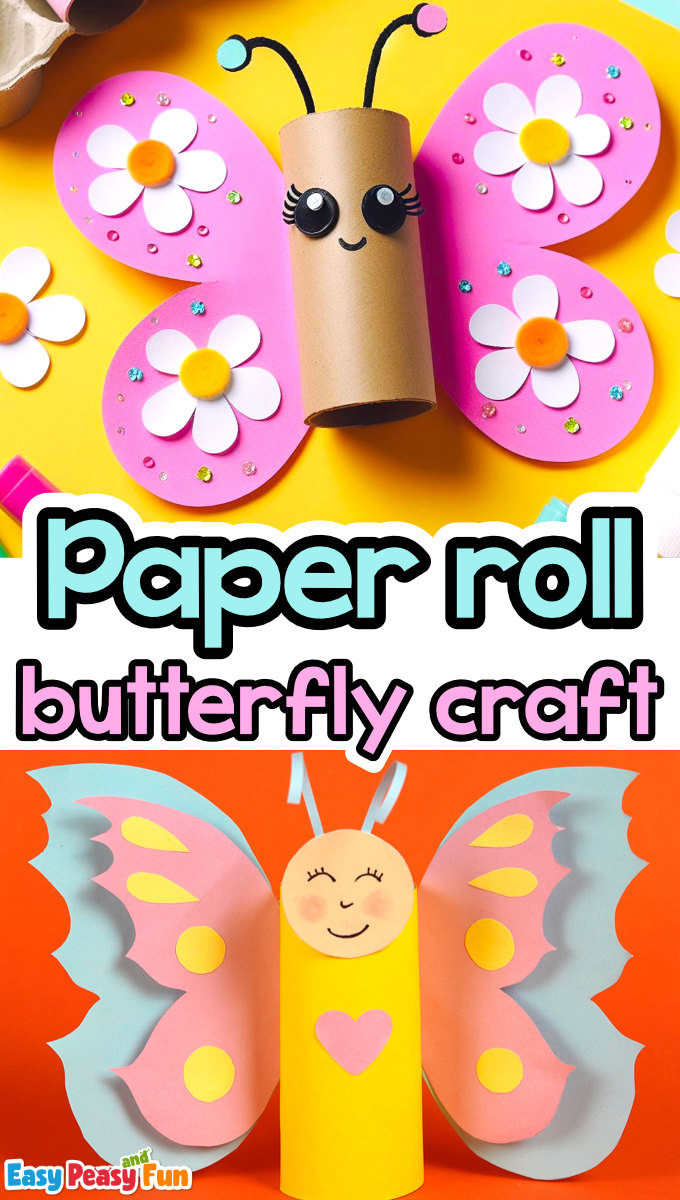
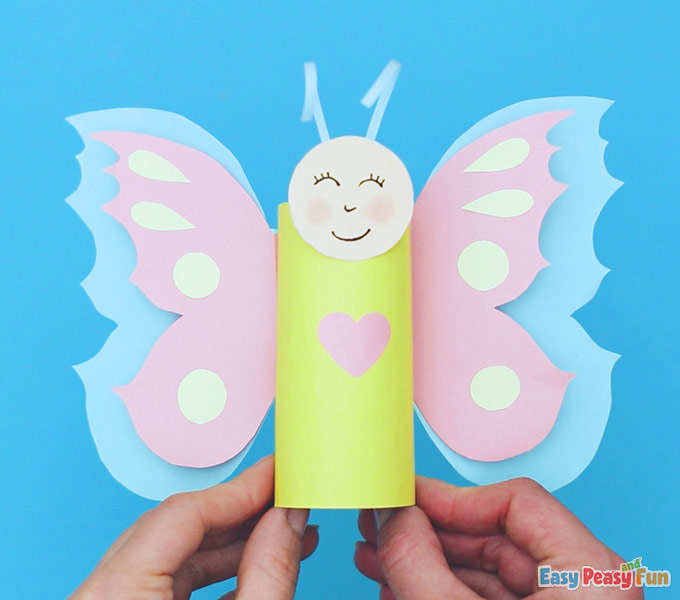
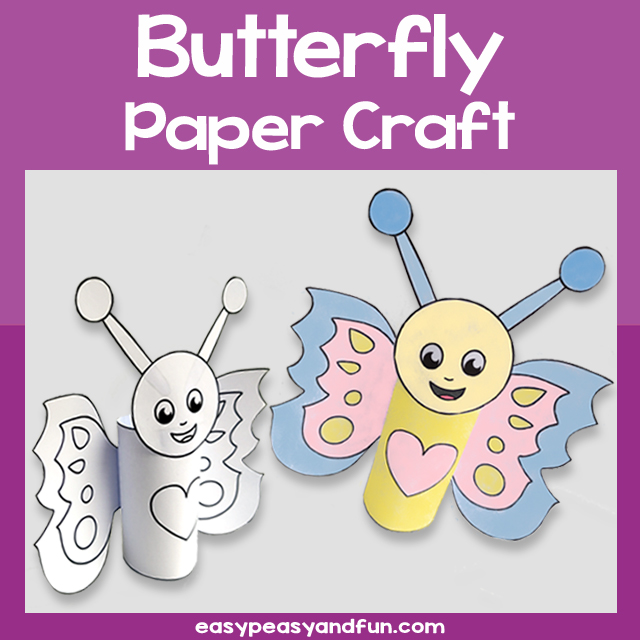
After the winter must come spring, and with it, a bunch of different bugs and animals awaking from their sleep. Let’s make a colorful Butterfly Paper Roll Craft and greet the season.
*This post contains affiliate links*
50 paper crafts your kids can actually do themselves

No fancy supplies — just paper, scissors, and a little imagination.
Be the first to get it on release day — and lock in the lowest price guaranteed.
Want to color these cute creatures? We got a set of Butterfly Coloring Pages for your students and a bunch of Butterly Coloring Pages for Adults as well.
And if your kids love butterflies so much they want to learn How to Draw a Butterfly on their own, we got an easy-to-follow tutorial.
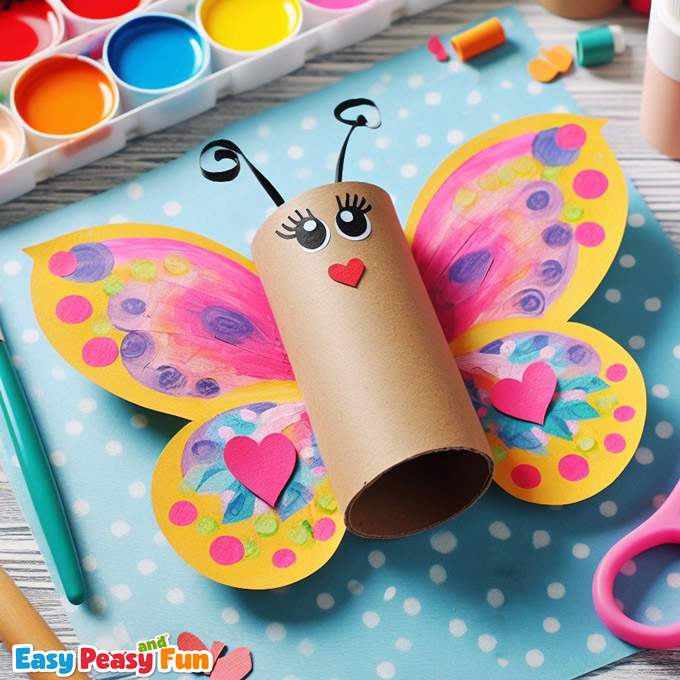
Spring will be here soon, and that means butterflies are everywhere. This Butterfly Paper Roll Craft is going to help you celebrate spring.
This craft is so fun because it’s so colorful and doesn’t require too much effort.
How to Make Butterfly Paper Roll Craft
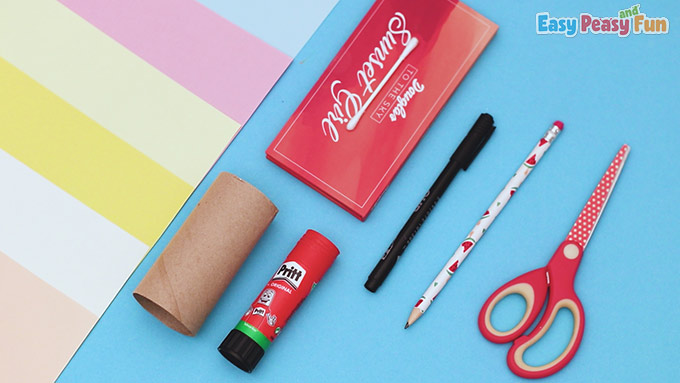
What you need:
- paper roll
- scissors
- pencil
- black marker
- glue stick
- blusher
- blue, pink, yellow, body-colored, white papers
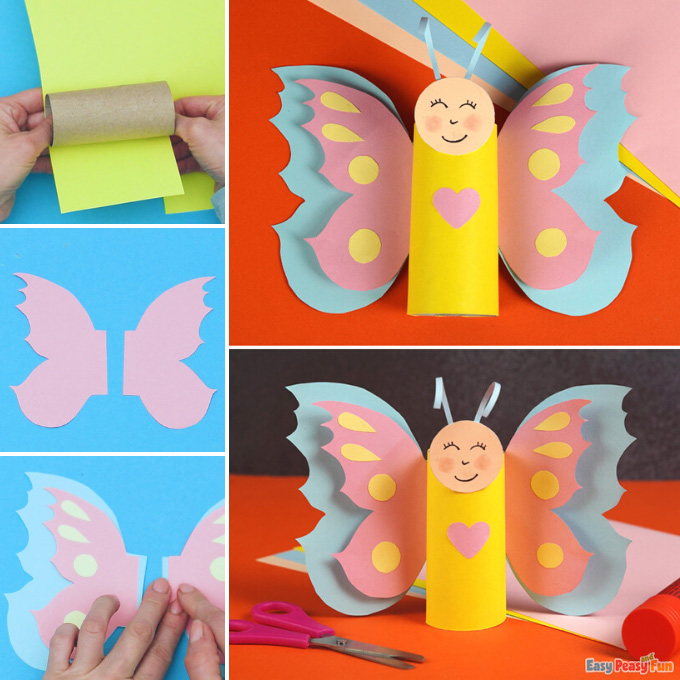
Step by Step Tutorial
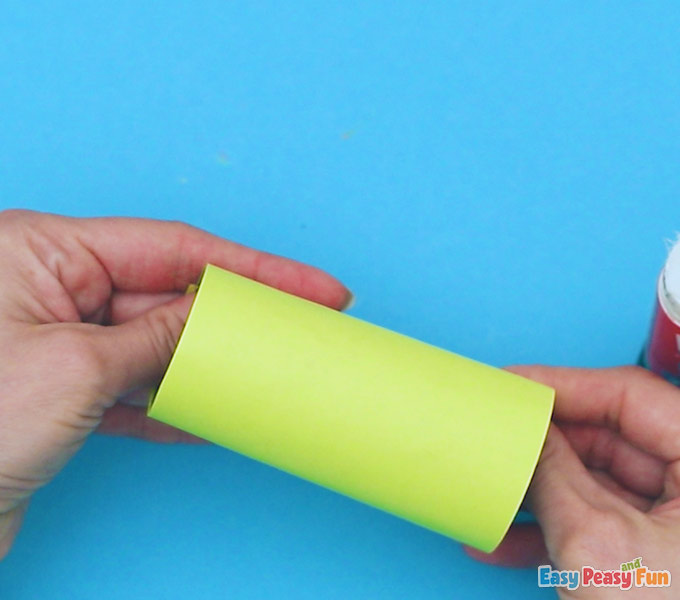
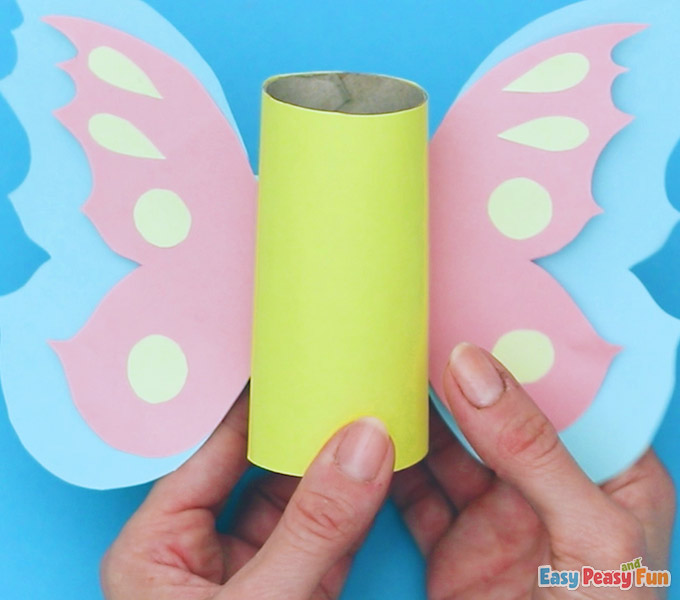
Cut a piece of yellow paper the size of a roll.
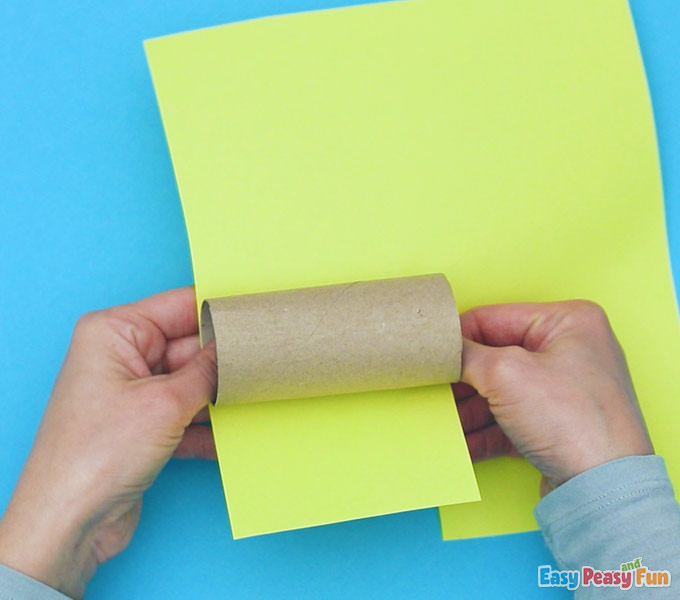
Go ahead and cut it out and glue it on the toilet paper roll.
On body-colored paper, draw a circle for the head.
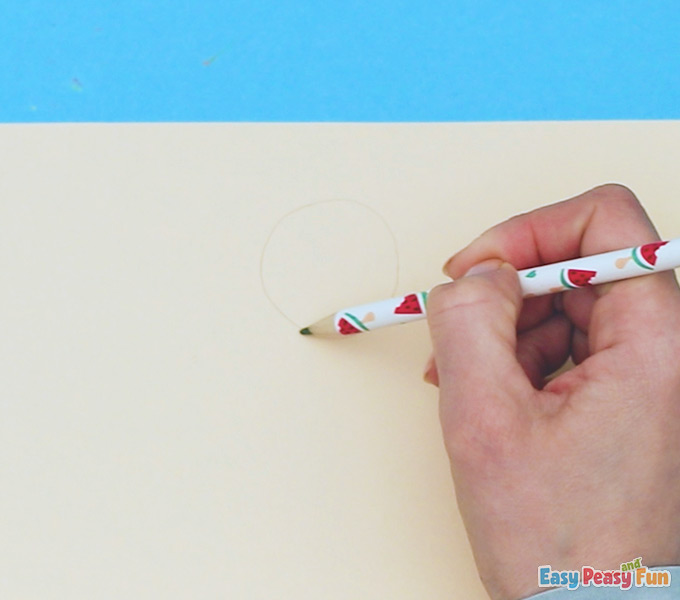
Go ahead and cut it out.
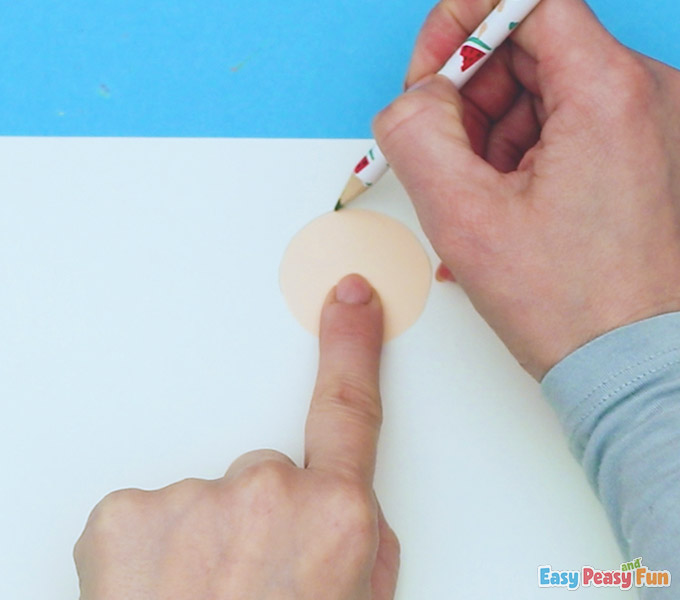
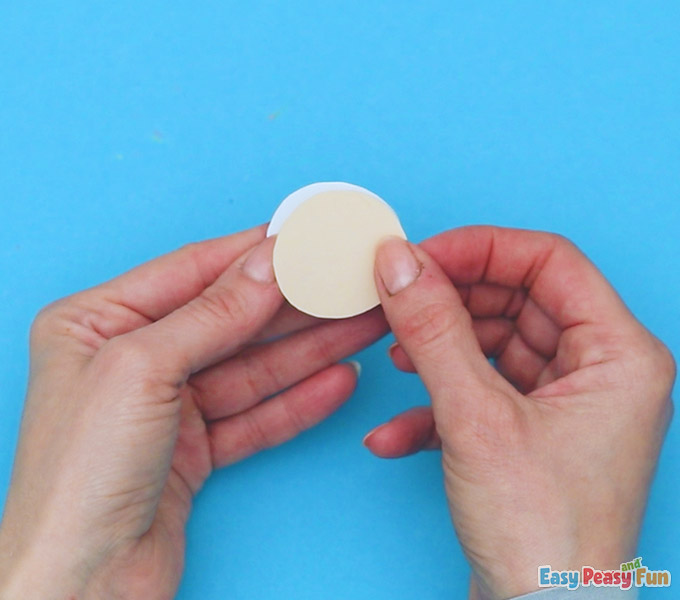
Draw a circle, but this time on white paper.
Place the two pieces of paper circles together like in the picture.
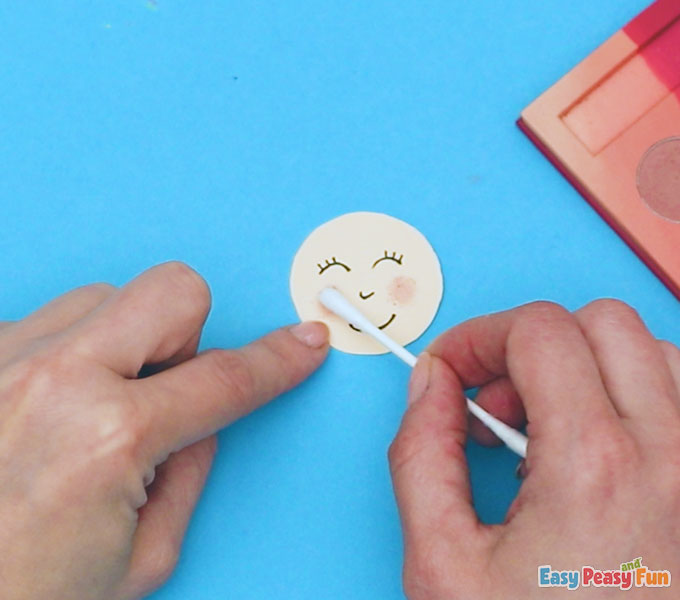
Draw eyes and mouth for the butterfly, make a red blush with blusher.
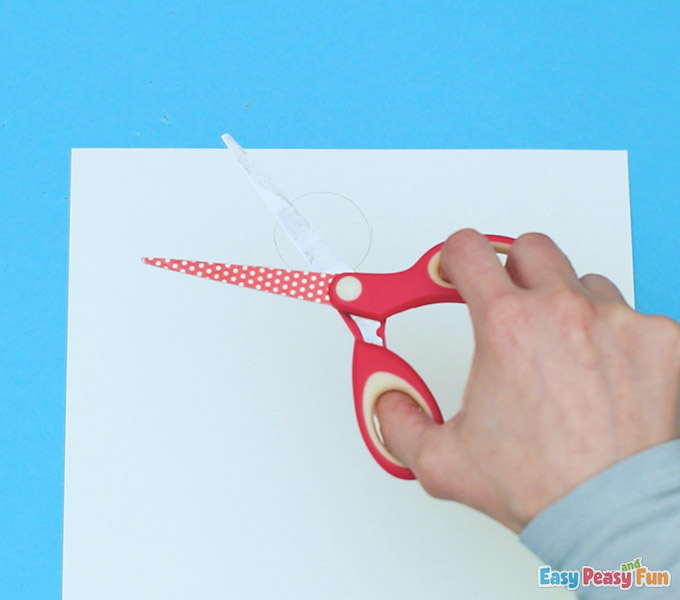
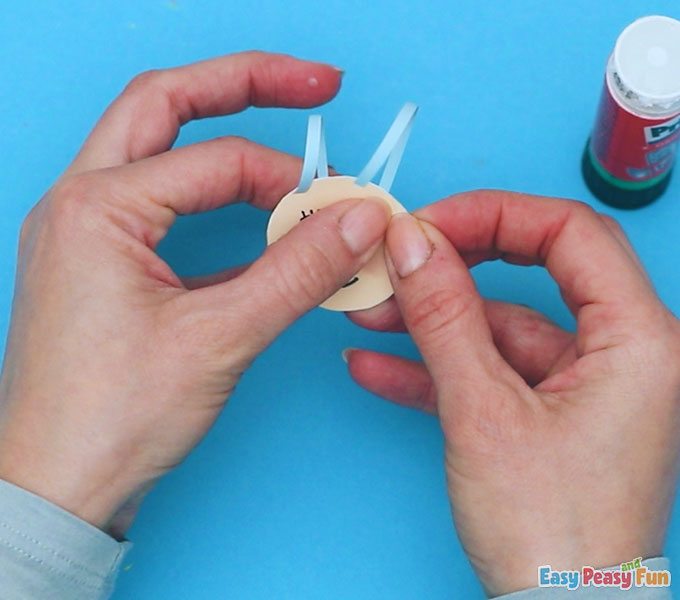
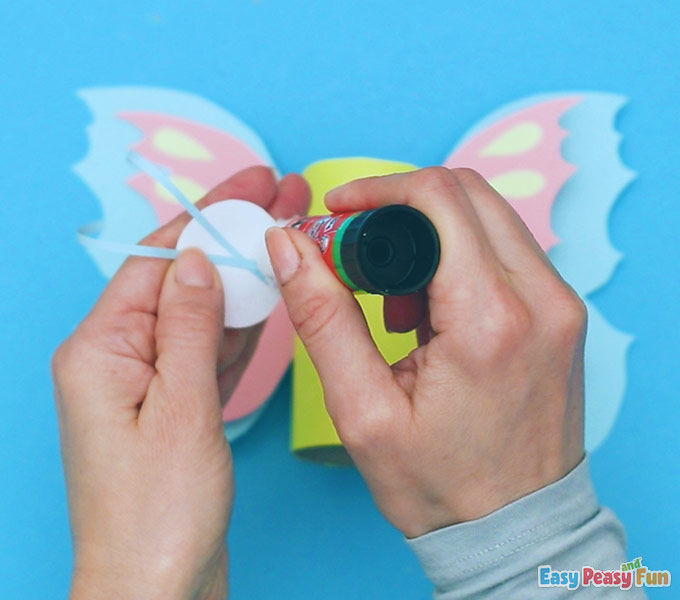
Cut two thin strips of blue paper; these will be the antennae, glue them on top of the head.
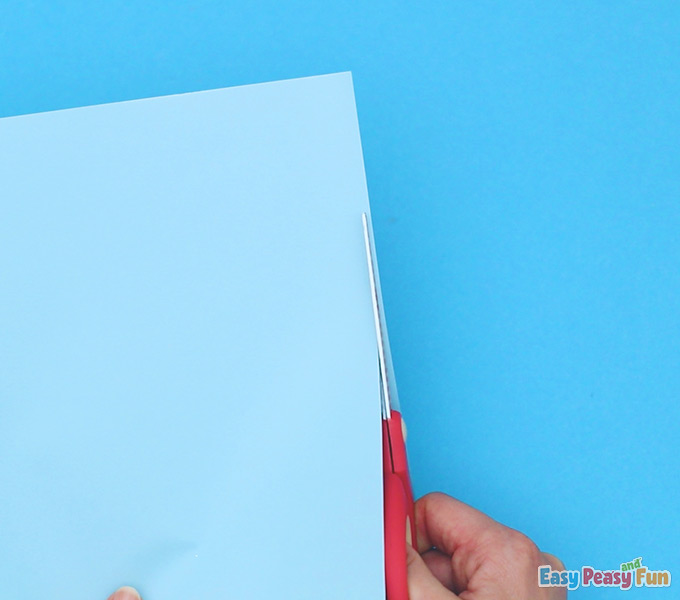
The strips should be super thin, like shown.

Curl the strip back and place glue on the end of the strip.
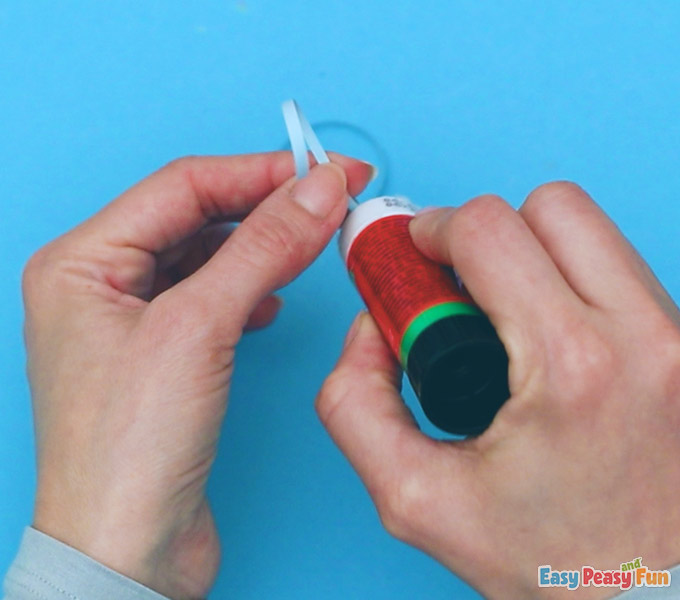
Add the antennae to the head of the butterfly.
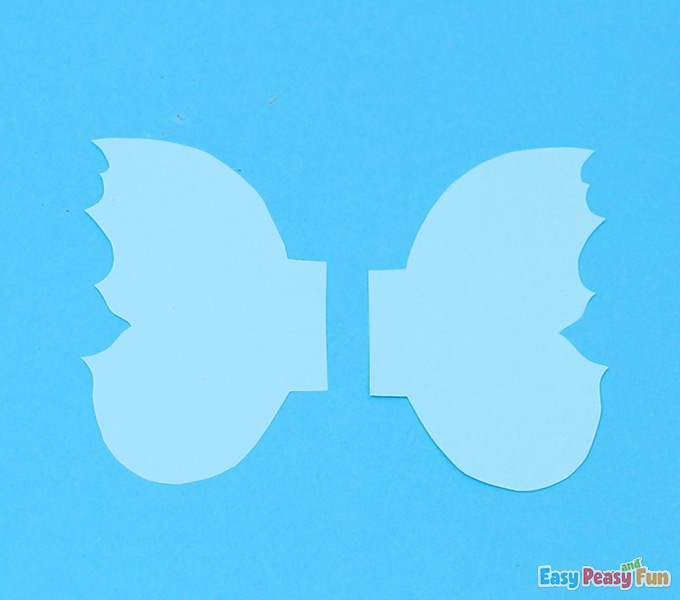
Draw the outer wings on blue paper.
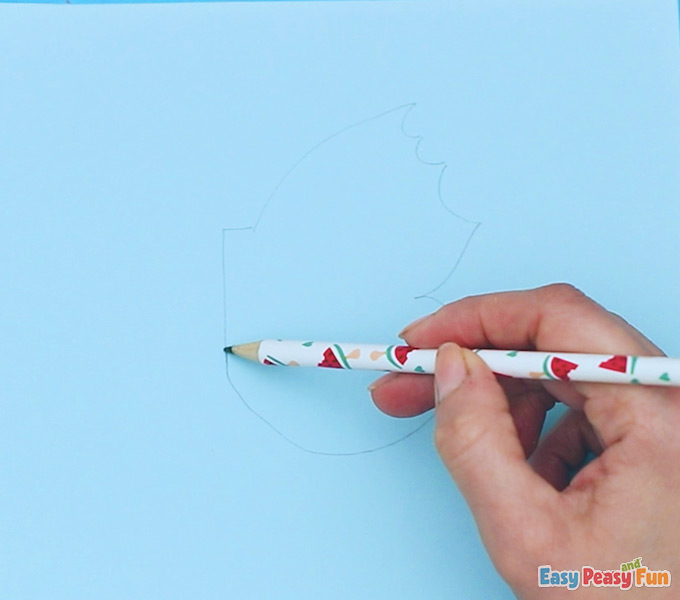
You should have two wings when done.
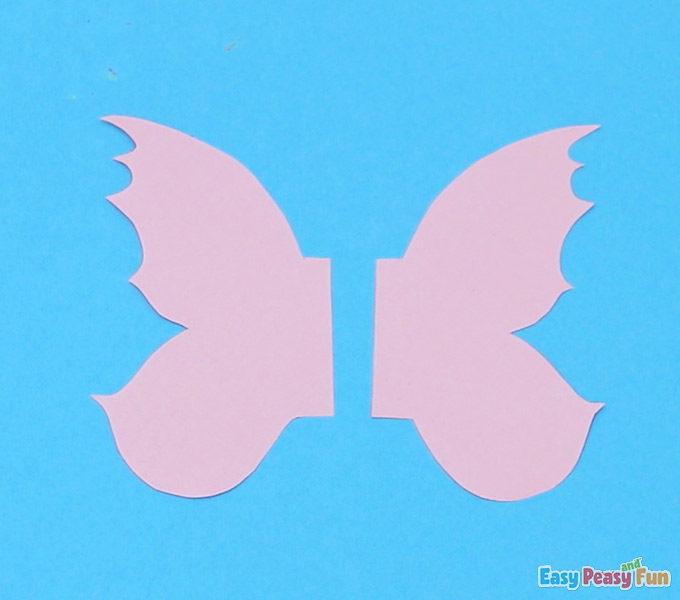
Then, on pink paper, draw two smaller wings cut them out.
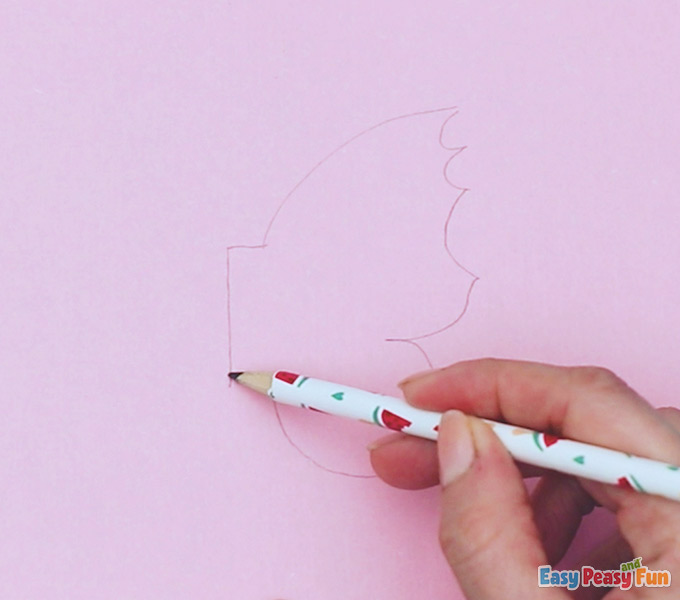
Remember, they should be smaller than the other wings.
For the wing, draw circles and drop shapes on yellow paper.
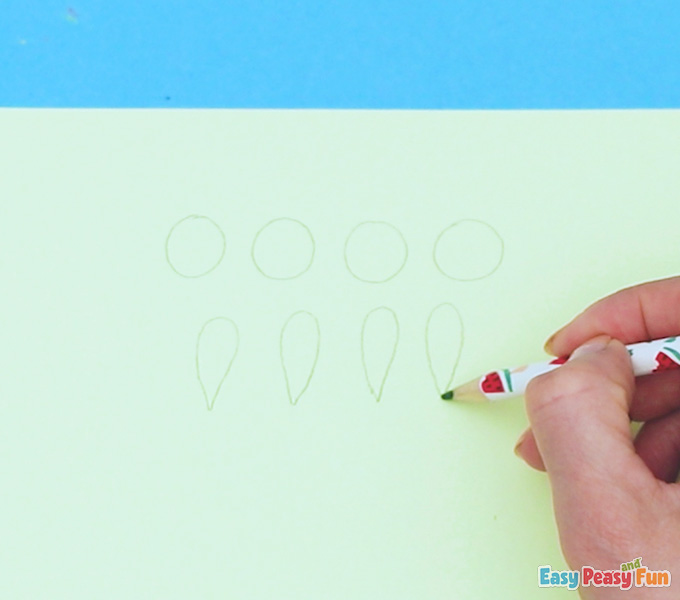
You are going to cut them out and then glue them on the wings.
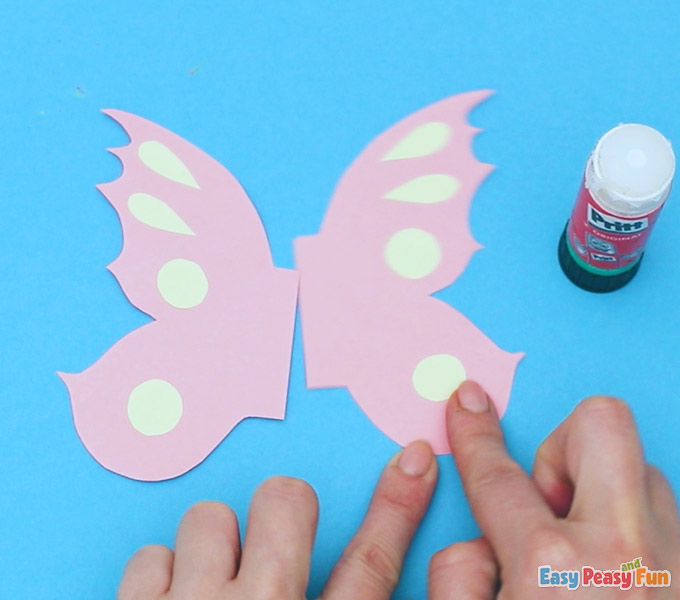
Add glue.
Place the pink wings on top of the blue wings.
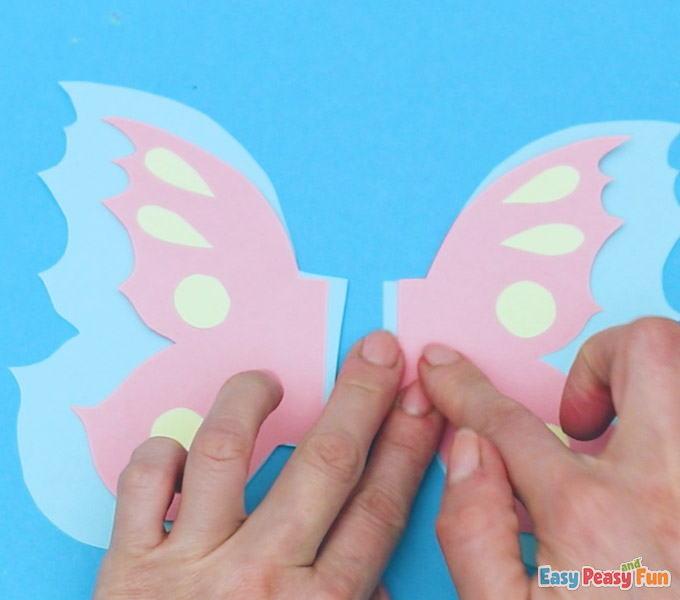
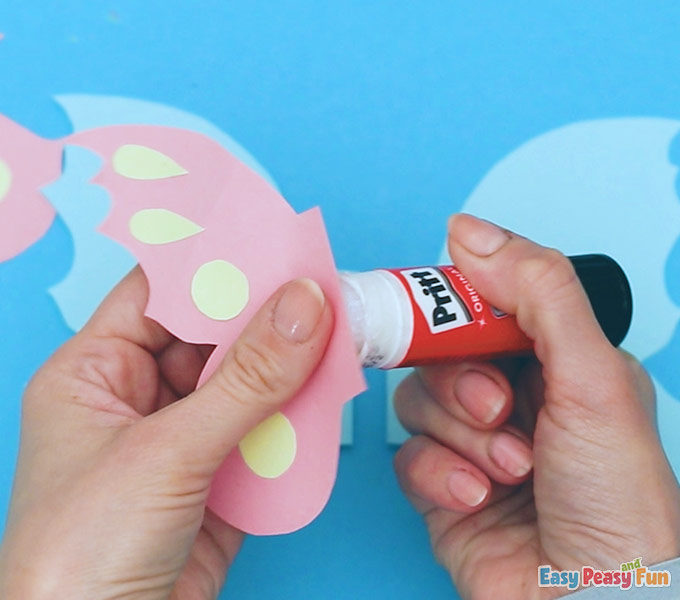
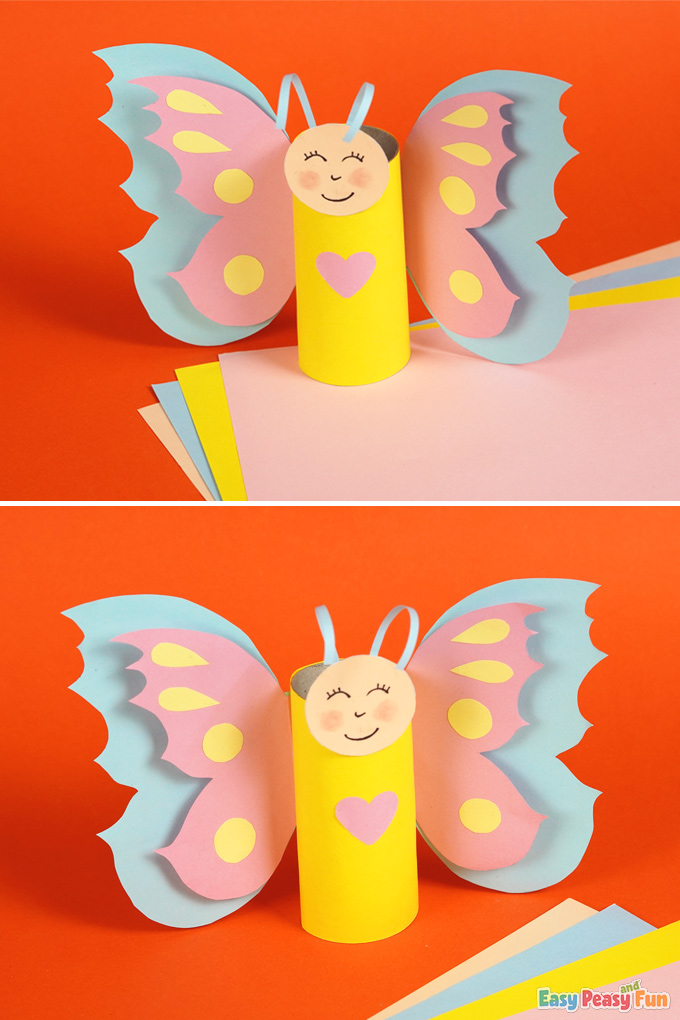
Fold the wings back just a little bit.
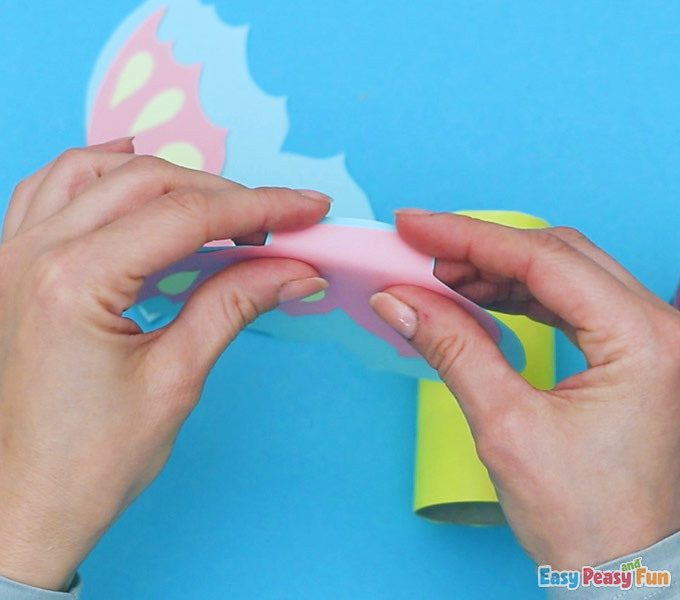
You will be gluing the wings onto the body of the butterfly.
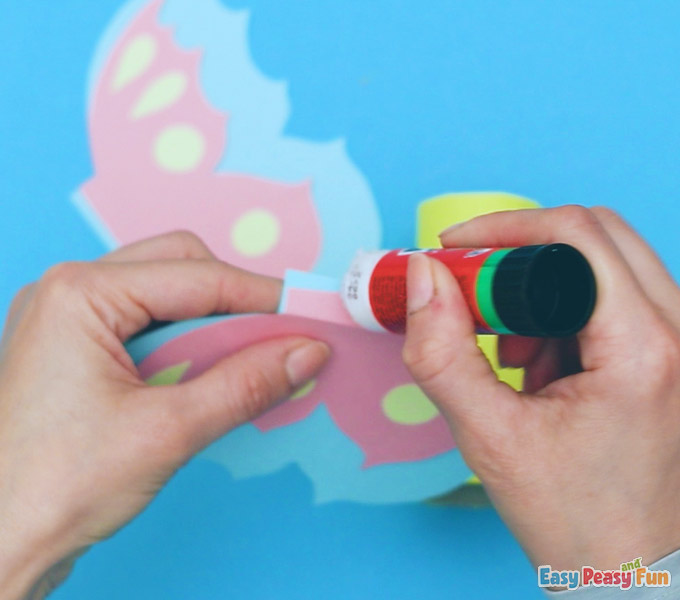
The wings should go to the back.
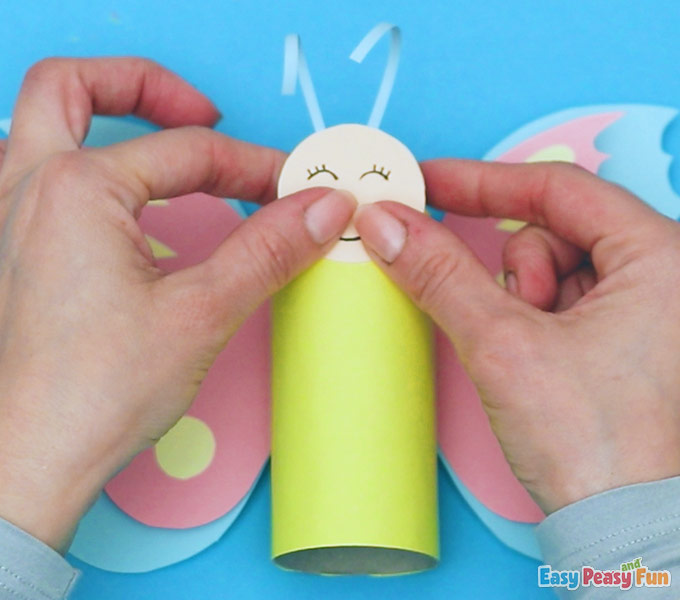
Now you can glue the head.
Make sure you press firmly so the butterfly’s head sticks to the body.
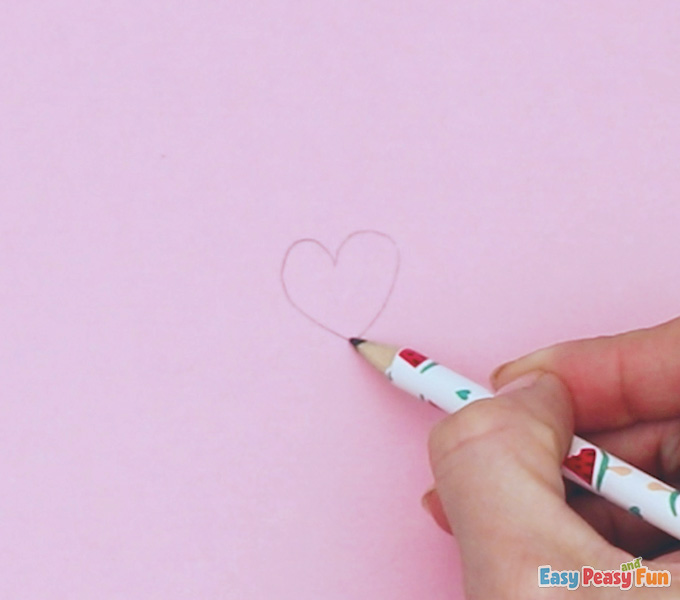
Draw a small heart on pink paper.
Glue the heart to the butterfly.
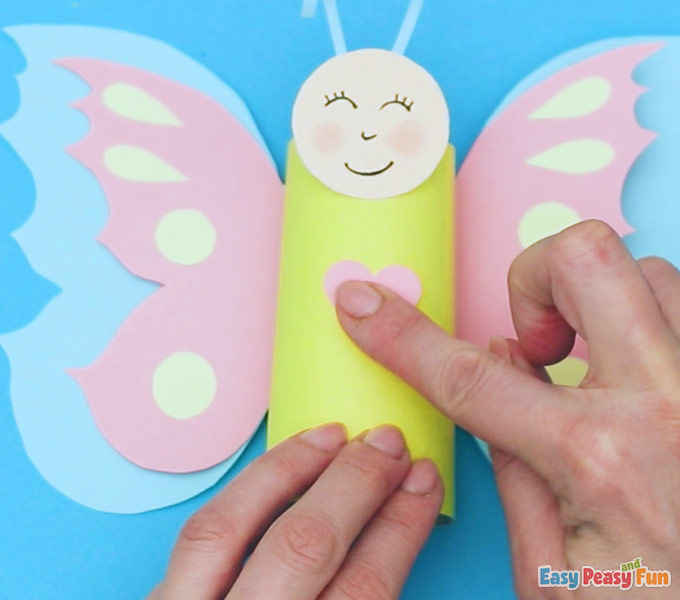
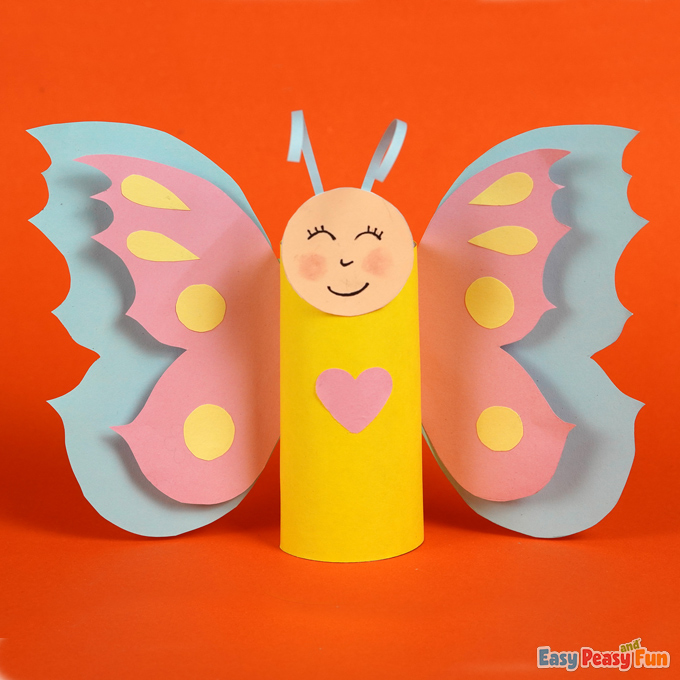
Congradulations, you just made your own Butterfly Paper Roll Craft.
Kids enjoy this craft so much!
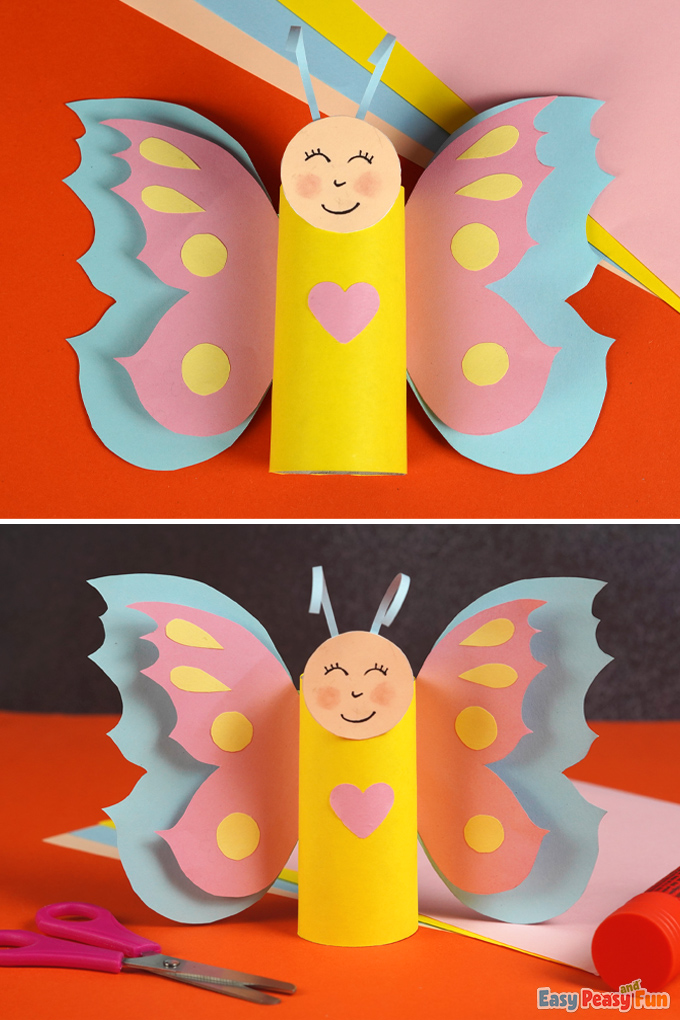
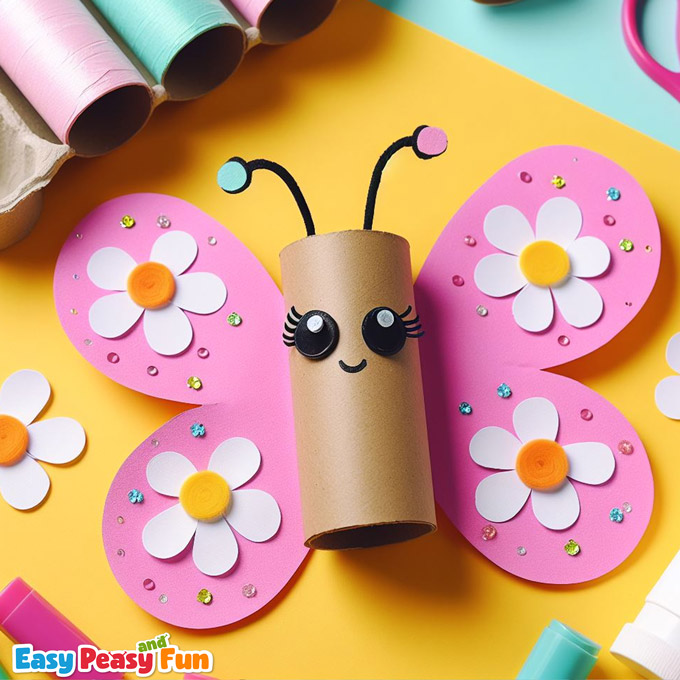
You can make as many as you like in different colors.
Enjoy the Spring!
Get Your Butterfly Paper Roll Craft Template Here
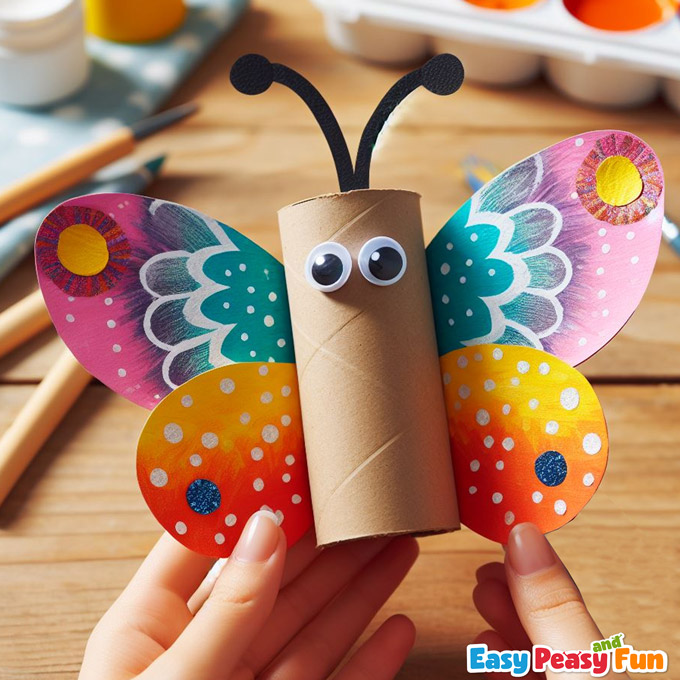
More Toilet Paper Roll Butterfly Ideas
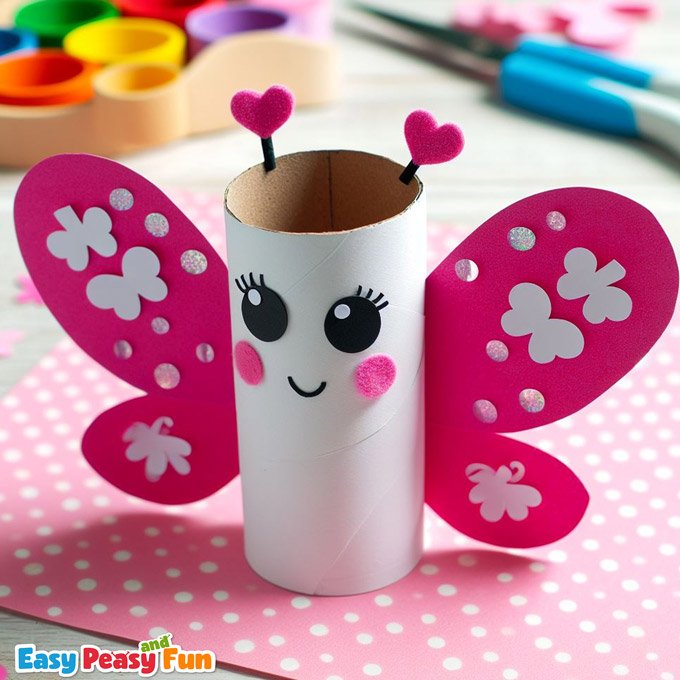
This is a great craft for unleashing your kid’s creativity. Have them paint the paper, adding different patterns and textures to make the wings.
It’s also great to use up all the leftover craft supplies from other projects; like felt and rhinestones.
All mediums work great for making the wings.
Want instant access to all of our printable crafts, activities, and resources?

With thousands of crafts, activities, worksheets, coloring pages, and drawing tutorials to print, you will always have just the resource you need at your disposal. Perfect for parents and teachers alike!