optional: coloring supplies if printing the black and white version
Step by step tutorial
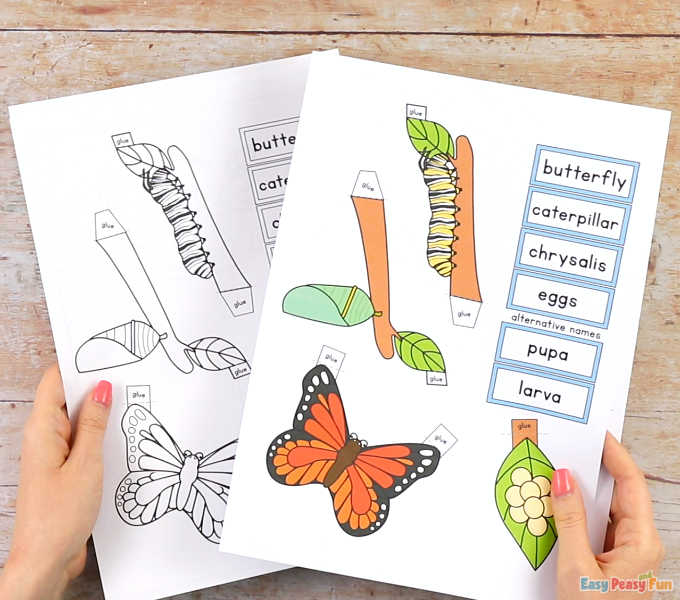
Print out the templates – the precolored one or the black and white. If you printed the black and white one, the first thing you need to do is to color it.
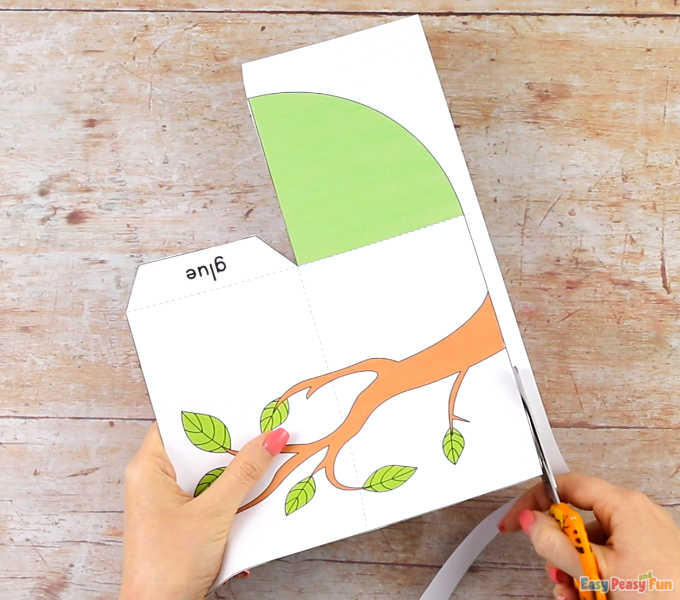
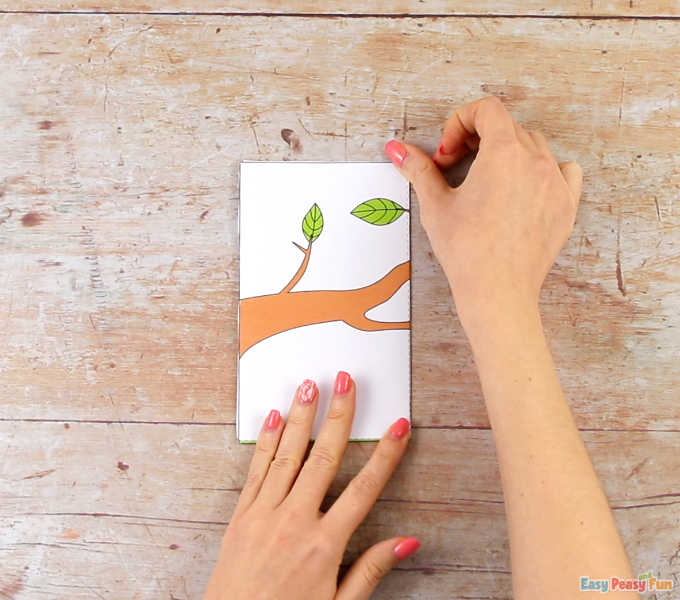
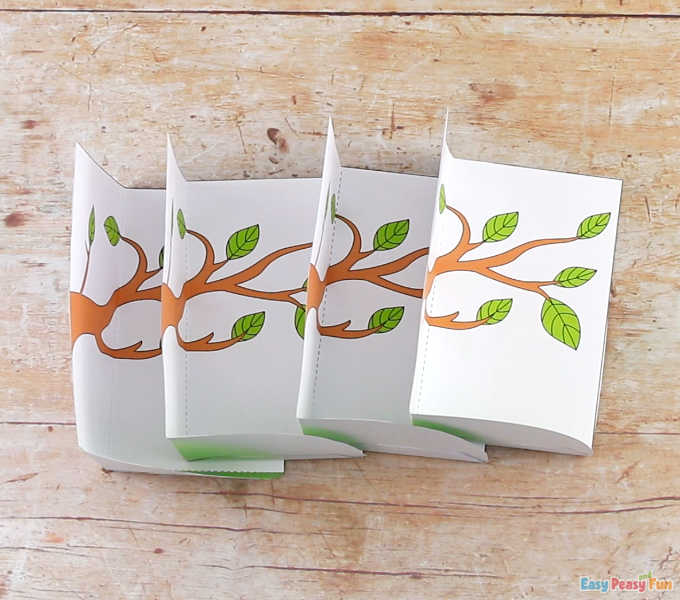
Cut out the 4 displays with the tree branch.
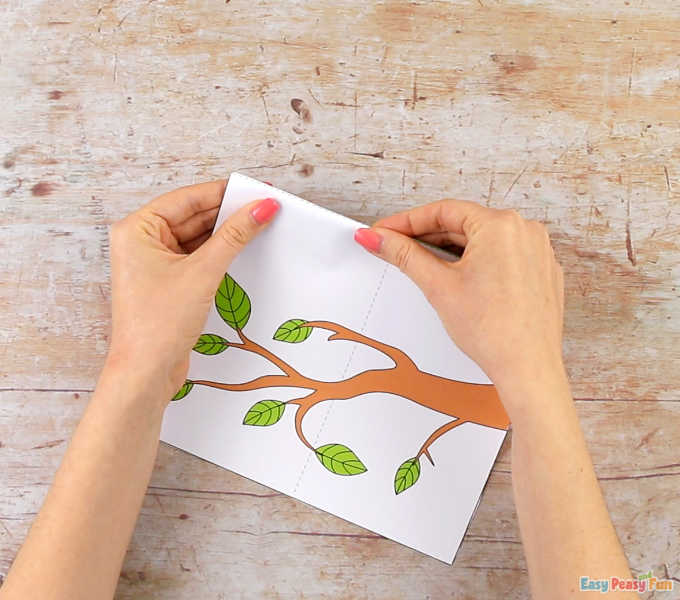
Fold along all of the dashed lines.
Make the folds nice and crisp.
Run your fingers through the folds – the nicer the folds, the easier the next steps.
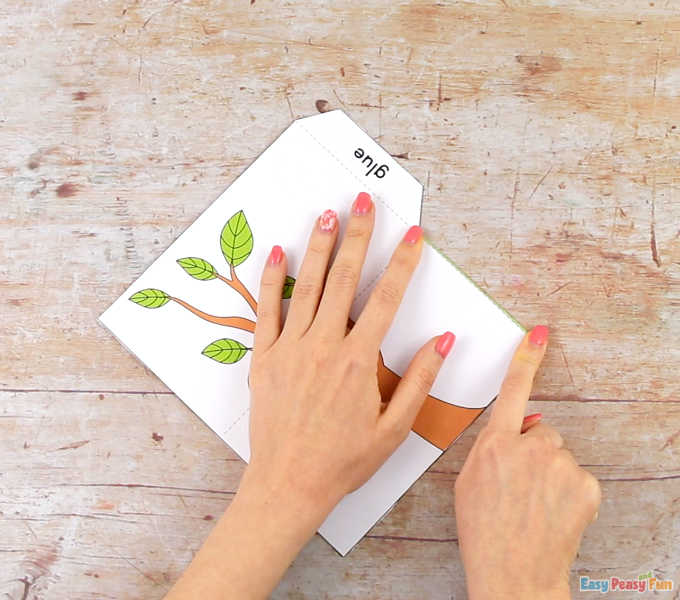
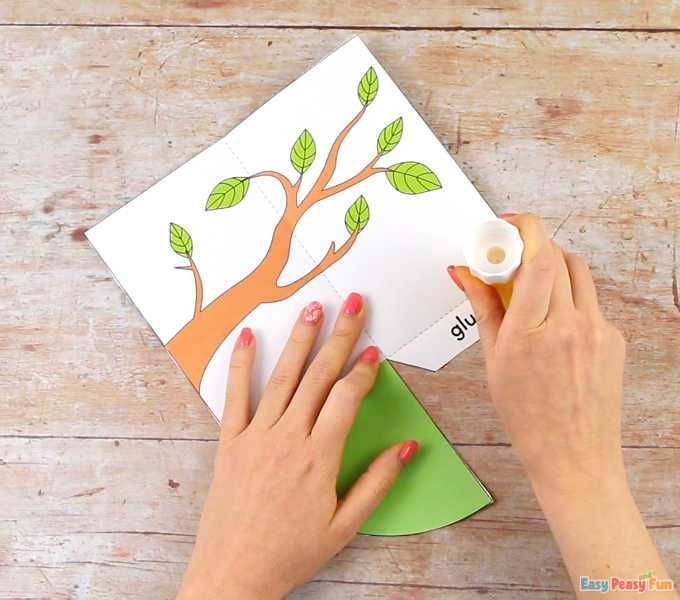
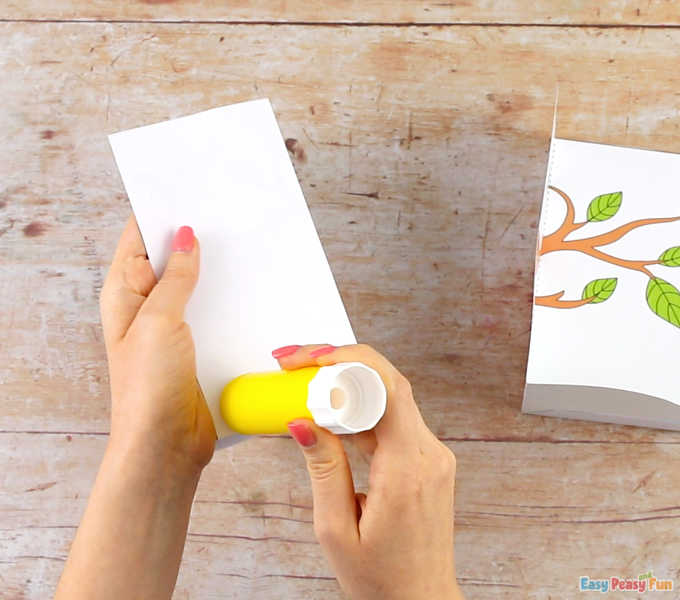
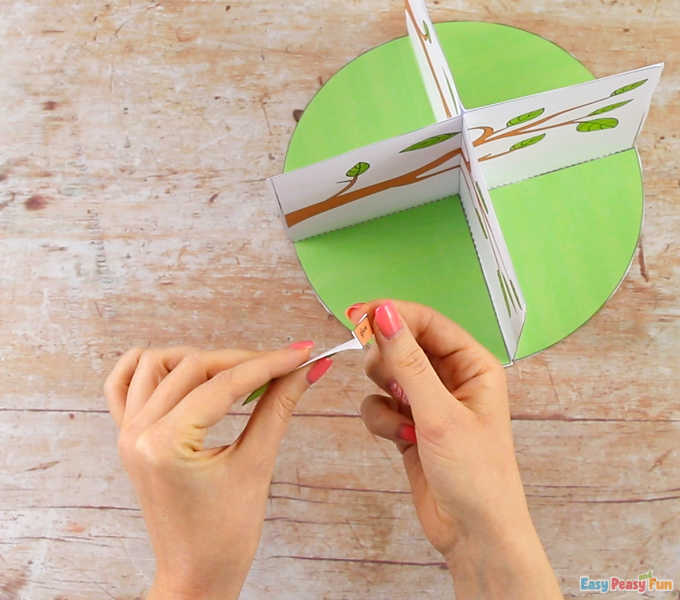
Apply glue on the area marked with the word glue.
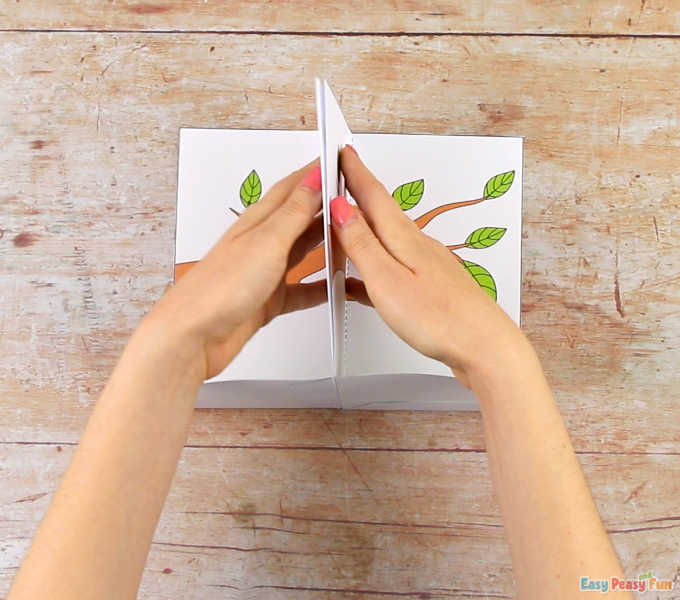
Stick the area with the word glue, under the green quarter circle part.
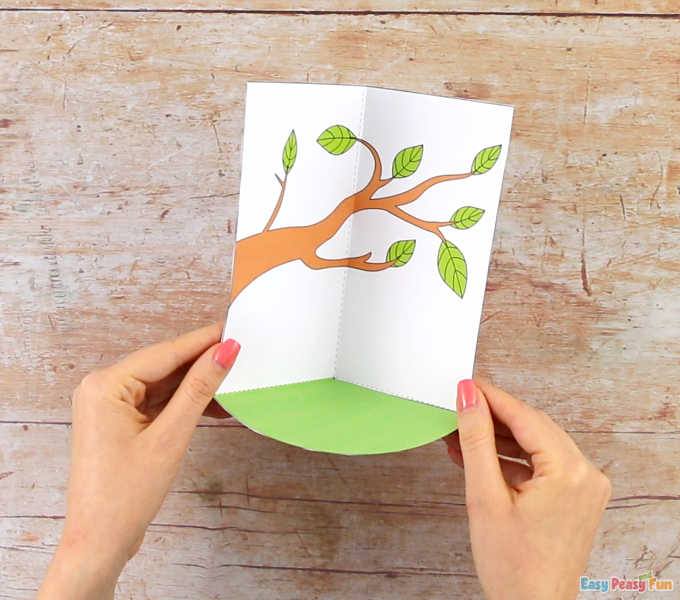
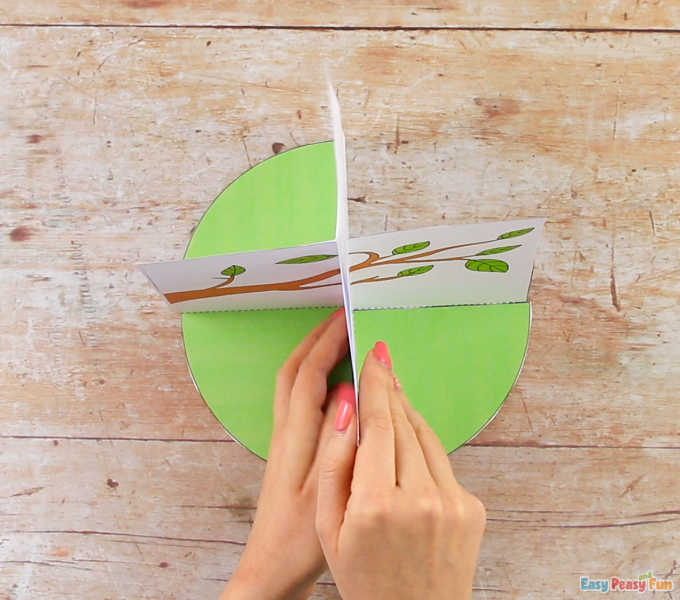
First quarter of your butterfly life cycle diorama is ready!
Make another 3.
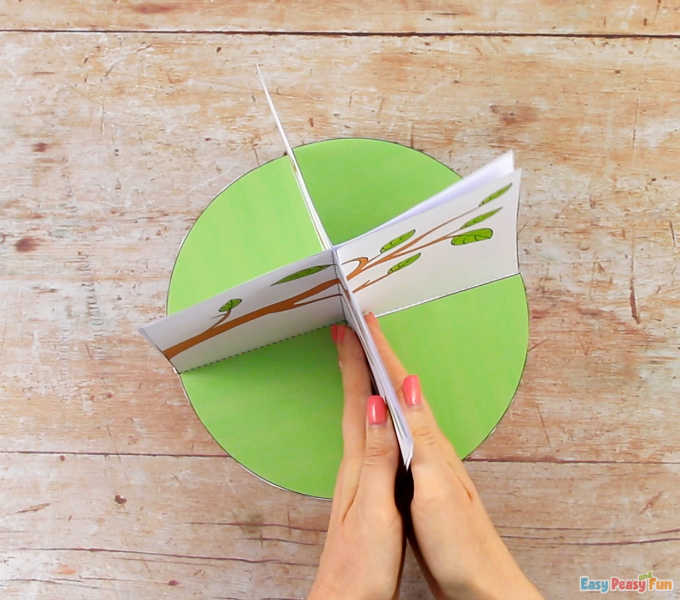
Now we need to glue them all together, apply glue on one rectangle part of the diorama.
Stick the two dioramas together.
Add the third one…
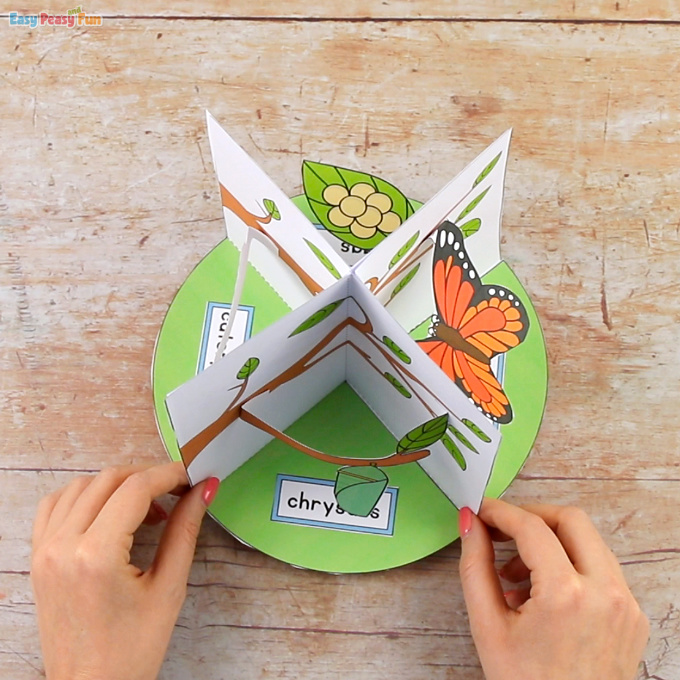
And the forth one to complete your 3D model.
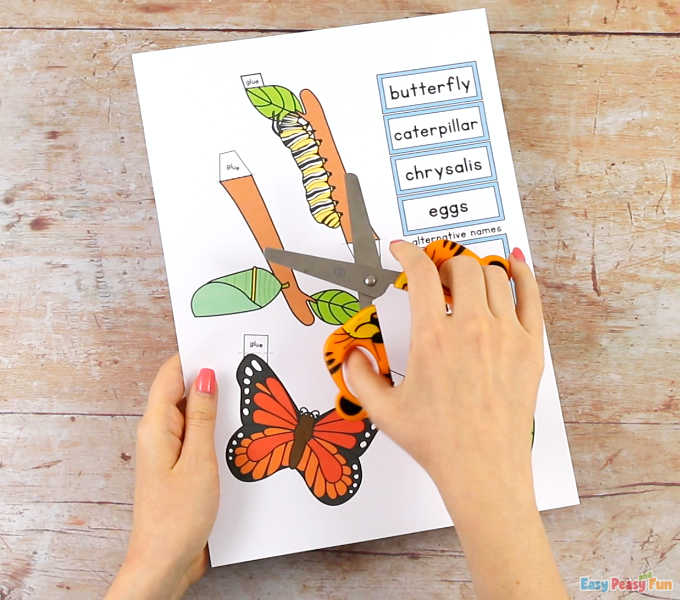
While the glue sets, move onto cutting the butterfly life cycle images.
We added the names of the stages (two versions for two of the words), you can cut those too and add them to your model or have it without word labels.
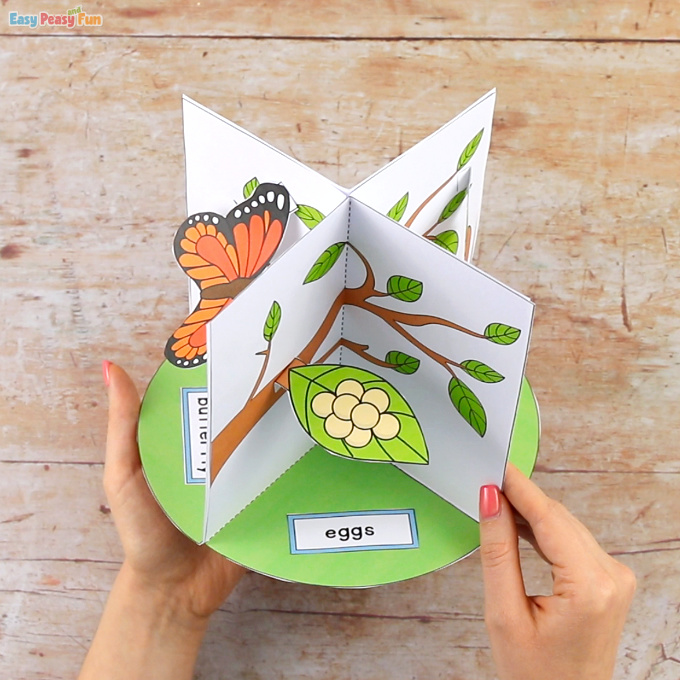
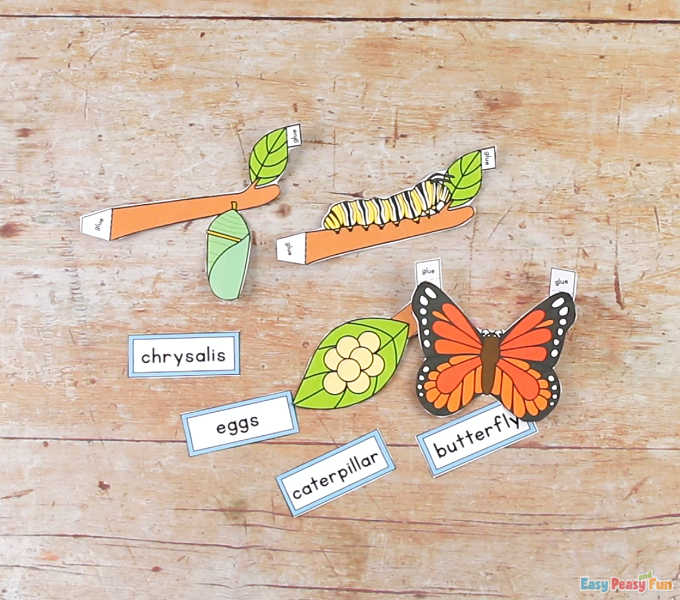
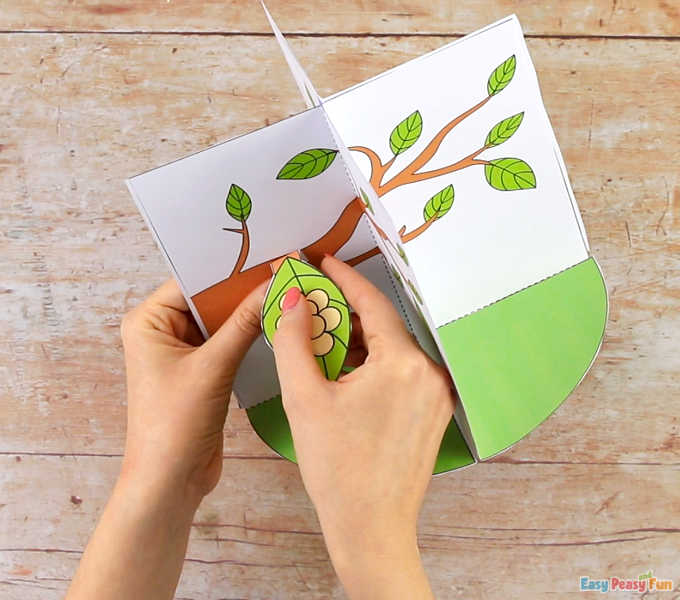
Let’s start with the eggs! Fold along the dashed line…
…apply glue on the area marked with the word glue and stick it in one of the 4 dioramas – attach it on the twig.
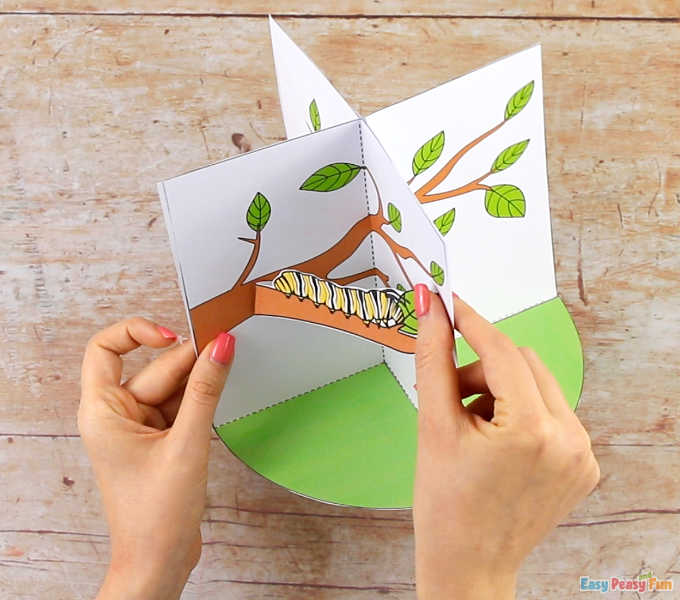
Do the same with the caterpillar.
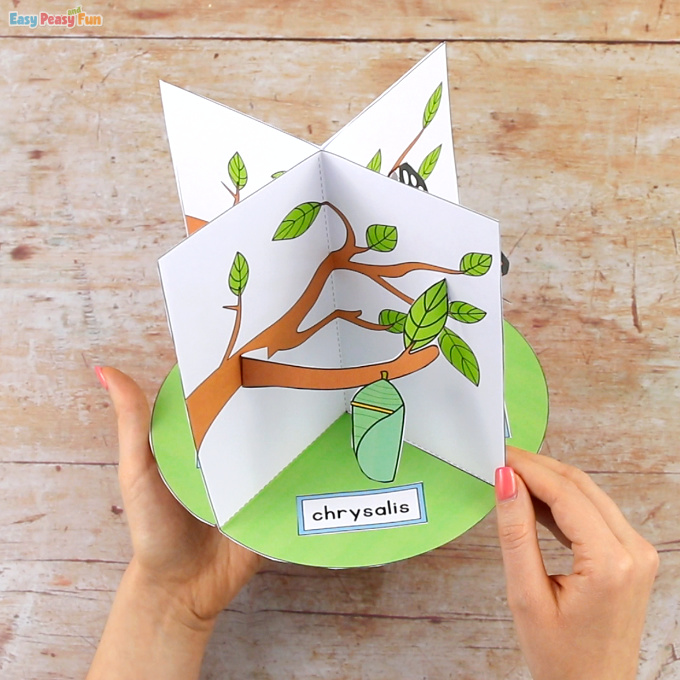
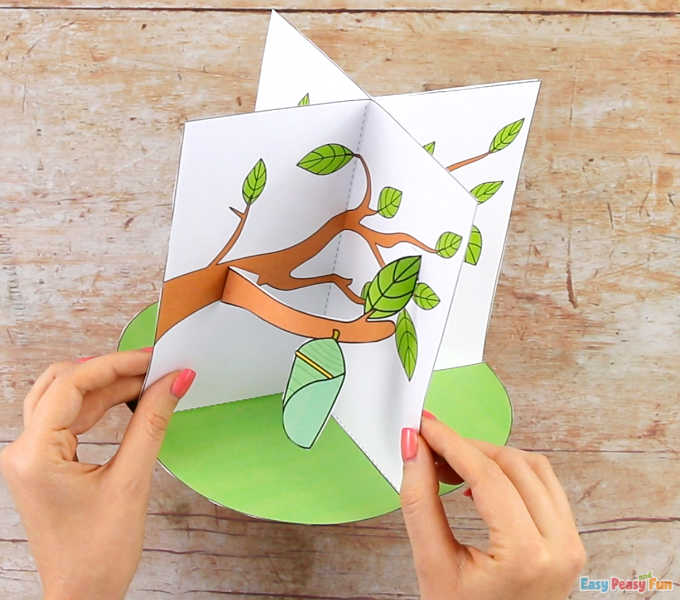
The chrysalis…
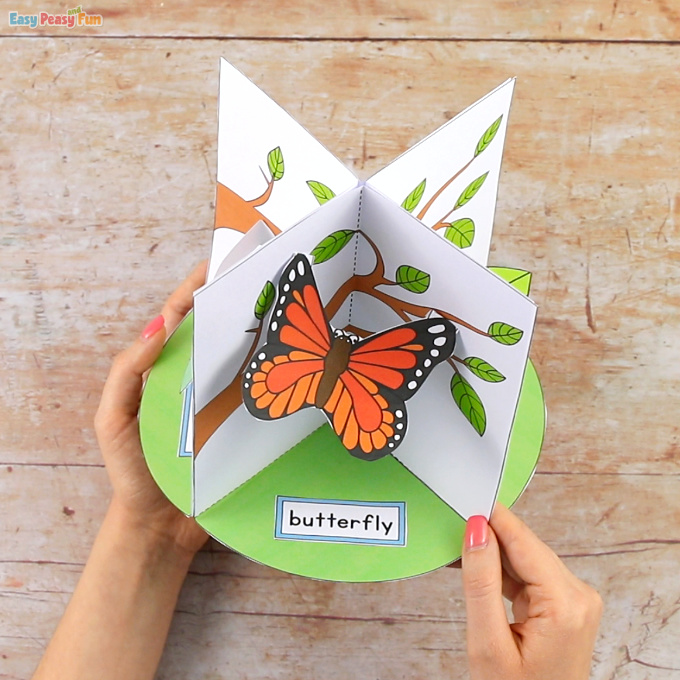
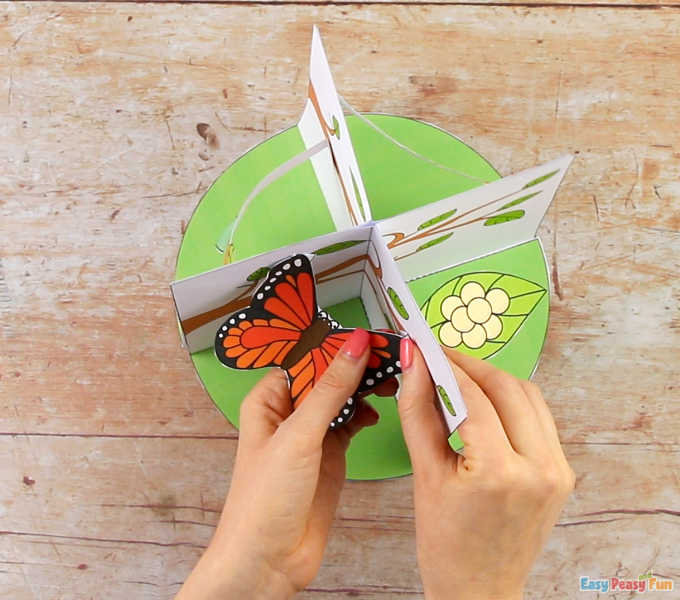
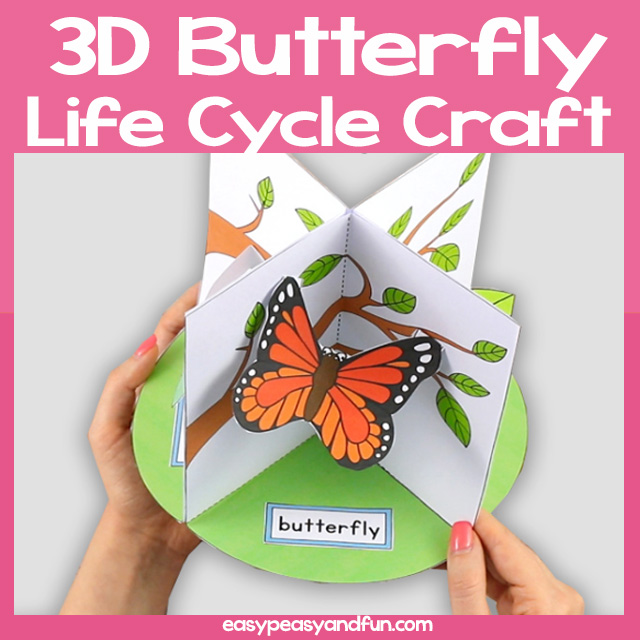
…and the adult butterfly.
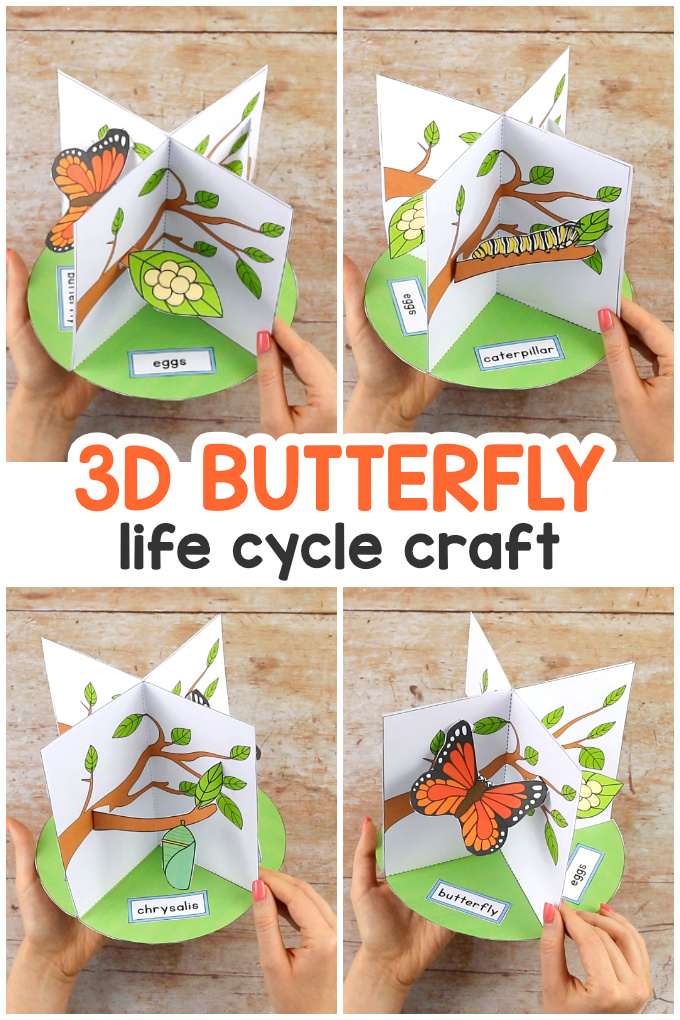
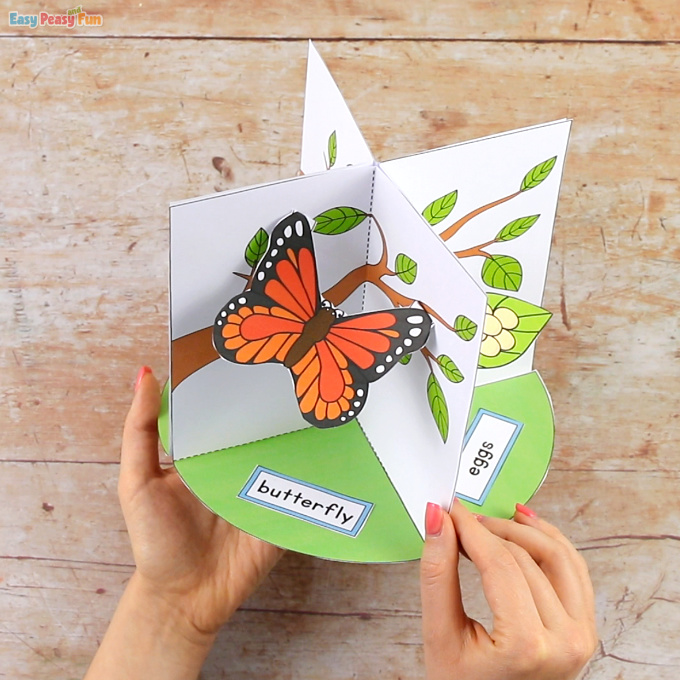
All done! Your 3D butterfly life cycle model is complete.
Want instant access to all of our printable crafts, activities, and resources?
With thousands of crafts, activities, worksheets, coloring pages, and drawing tutorials to print, you will always have just the resource you need at your disposal. Perfect for parents and teachers alike!