We made a cute little Easter bunny the other day and naturally a simple paper chick craft was bound to follow.
If you are on a hunt for a quick to do Easter craft idea, these cute little chicks are certainly your thing.
*this post contains affiliate links*
50 paper crafts your kids can actually do themselves

No fancy supplies — just paper, scissors, and a little imagination.
Be the first to get it on release day — and lock in the lowest price guaranteed.
We have another simple paper craft idea to share with you today. We’ve been loving all the diversity simple paper strips offer when it comes to crafting (and these chicks prove that).
Chicks truly are adorable little creatures don’t you think? And Easter is the time of the year when their popularity really, really peaks.
If you are in a need of a fun chick craft idea for a classroom these are your thing as you can easily “thread” them on a string and make a fantastic garland. You wouldn’t even need to limit yourself (well the kids) to sticking to yellow color for this project. Use pastels and have a nice variety of Easter chicks.
Naturally this is also a wonderful project to do with your kids at home.
Ready? Grab your scissors or a paper trimmer and let’s get this show on the road.
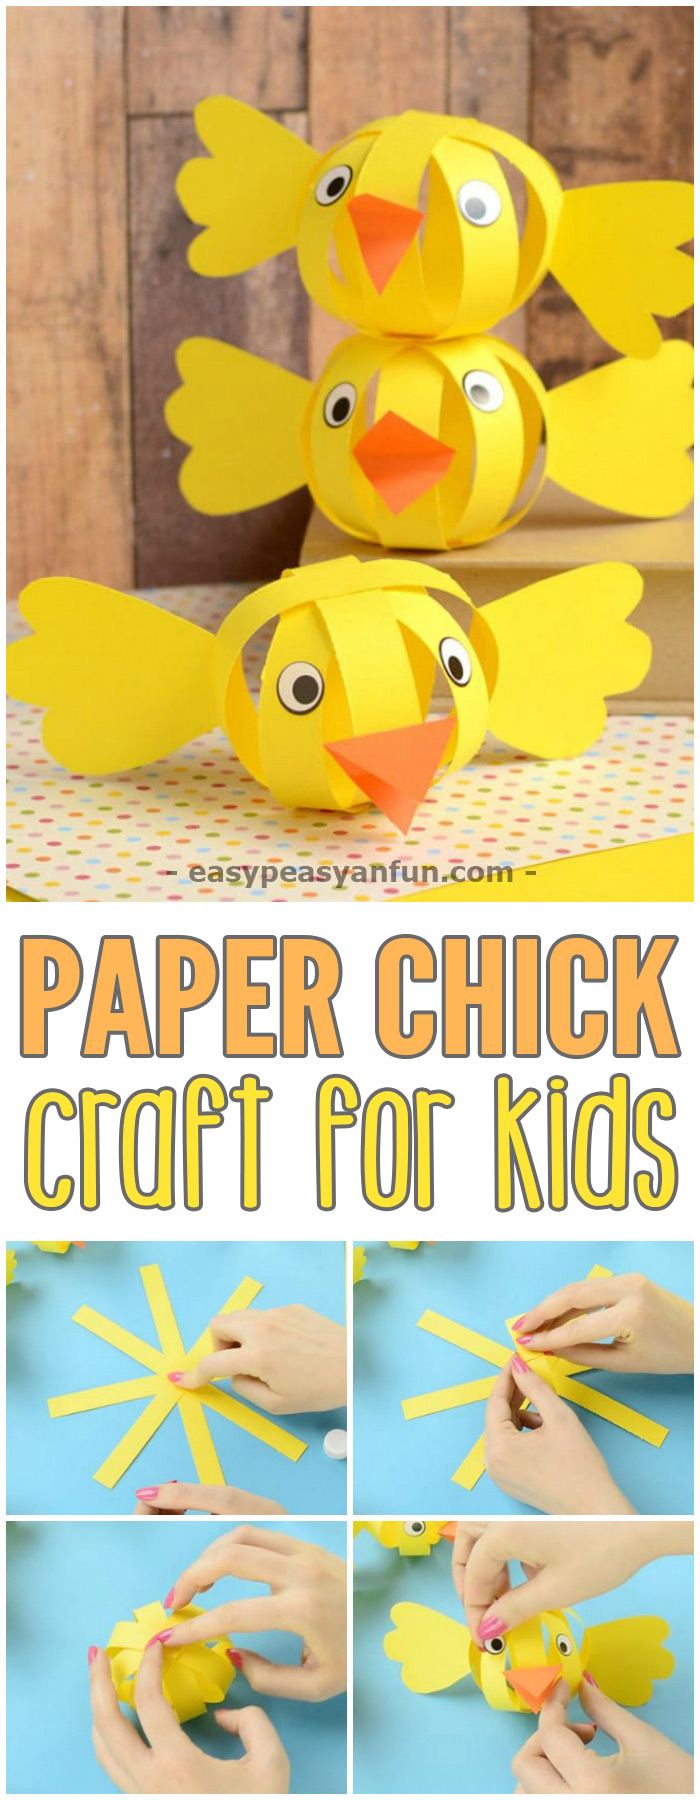
Simple Paper Chick Craft
What you need:
- yellow construction paper
- orange construction paper
- scissors or paper trimmer
- glue
- wiggle eyes stickers
We have prepared both video tutorial and photographed steps for making this little project, as we know some things are easier to follow by watching videos, while others are by following written instructions.
Watch The Easter Chick Craft Video Tutorial
Be sure to subscribe to our Youtube channel at the end of the video too!
Or Follow These Simple Step by Step Instructions
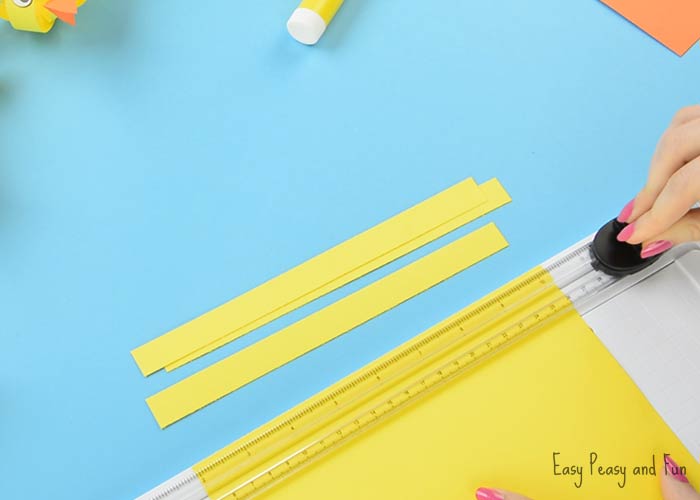
Start by cutting strips of yellow construction paper. We have cut ours across the width of a A4/letter sized paper. The strips were as wide as a finger.
You will need 4 strips of paper for each little chick.
If you are working with younger kids you can make the strips of papers wider and only use two.
Older kids on the other hand can make thinner strips and use more.
Gently fold the strips in half – do not crease.
This will make it easier to locate the middle.
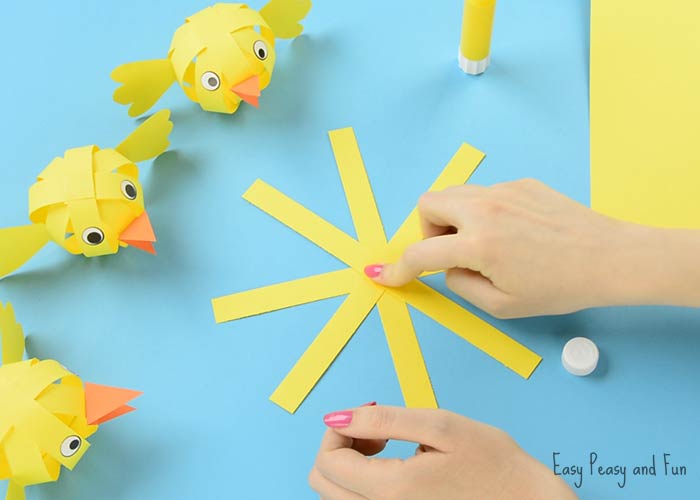
Apply glue at the middle of one paper strip.
Stick glue works out great with paper projects. White school glue will work good too but will need a little bit more time for it to set.

Glue another paper strip on the first one, making a cross.
Press down with finger for the glue to set.
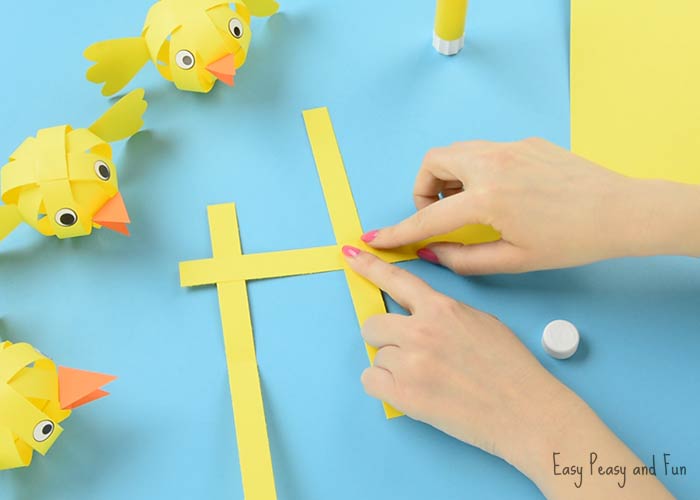
Glue on two more strips of yellow construction paper.
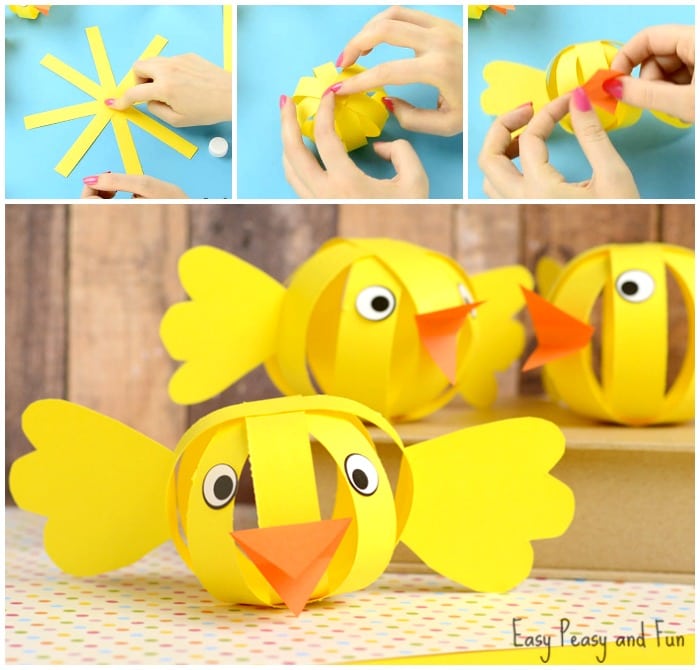
You should see a snowflake like shape now.
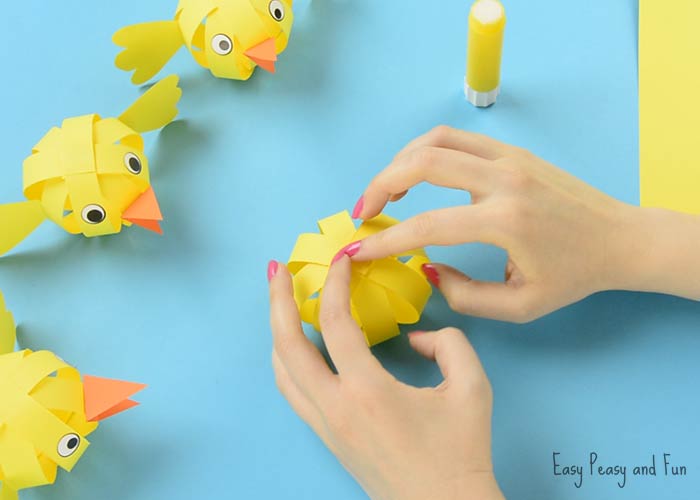
Time to make the chick ball :).
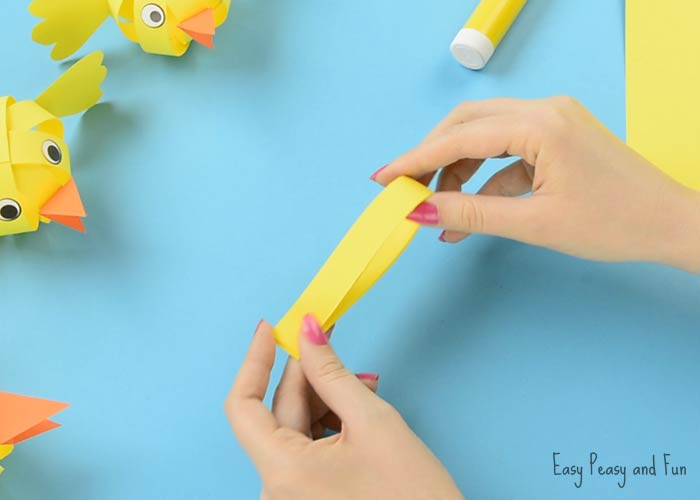
Apply glue on one strip of paper (one end) and take the other end and glue them together, making a circle.
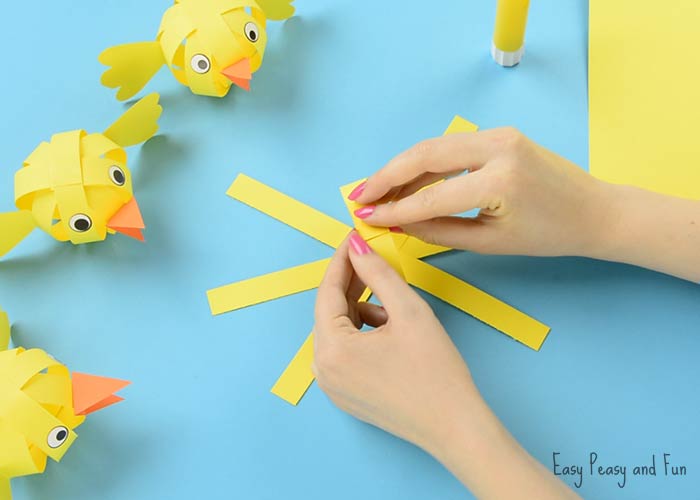
Repeat with all other strips of construction paper.
Once all strips are glued together a ball shape should form.
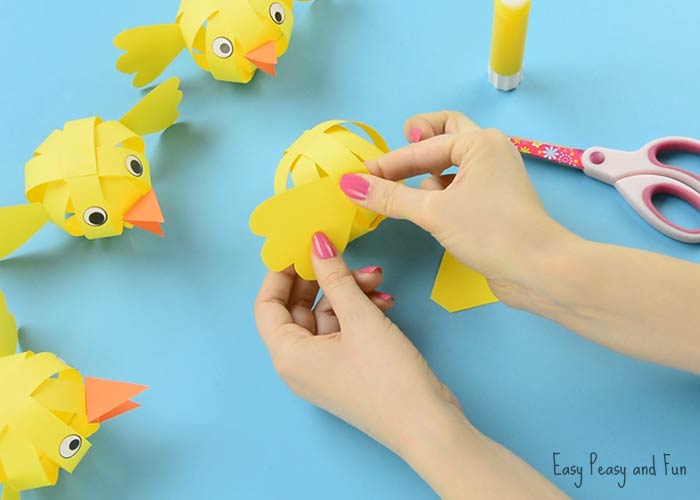
Cut two wings out of construction paper.

Glue the wings onto the ball. We glued them onto both sides of the same paper strip.
Fold a bit so the wings are nicely seen if you look the chick from the front.
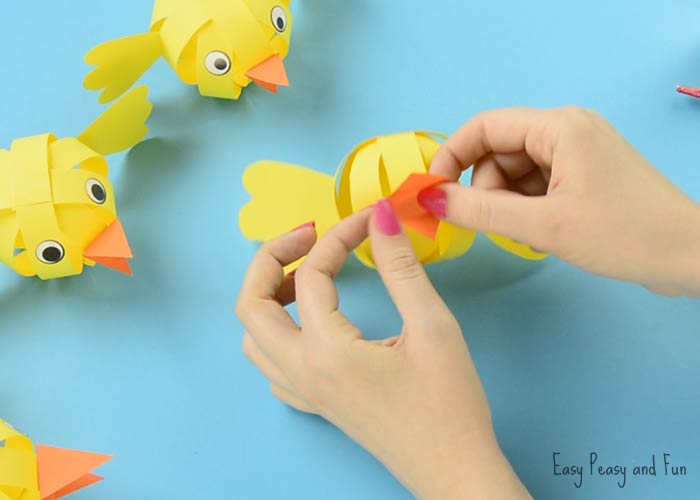
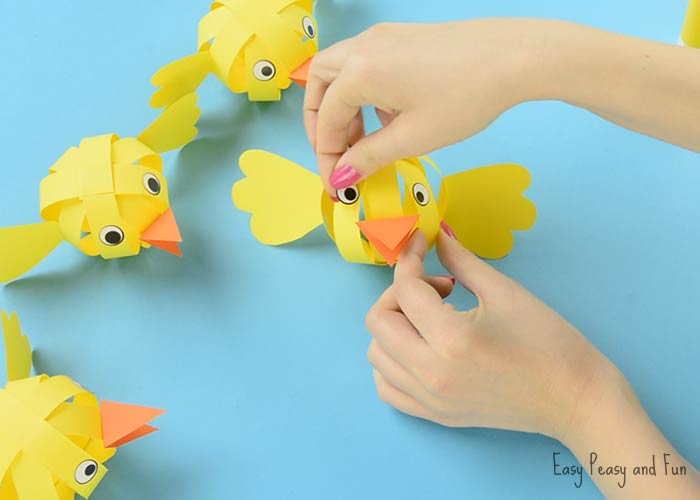
Cut a beak shape out of orange construction paper.
Glue the beak on the paper ball.
Last but not least add two wiggle eye stickers or draw your own eyes with a marker.
Stickers are always a bit more fun though.
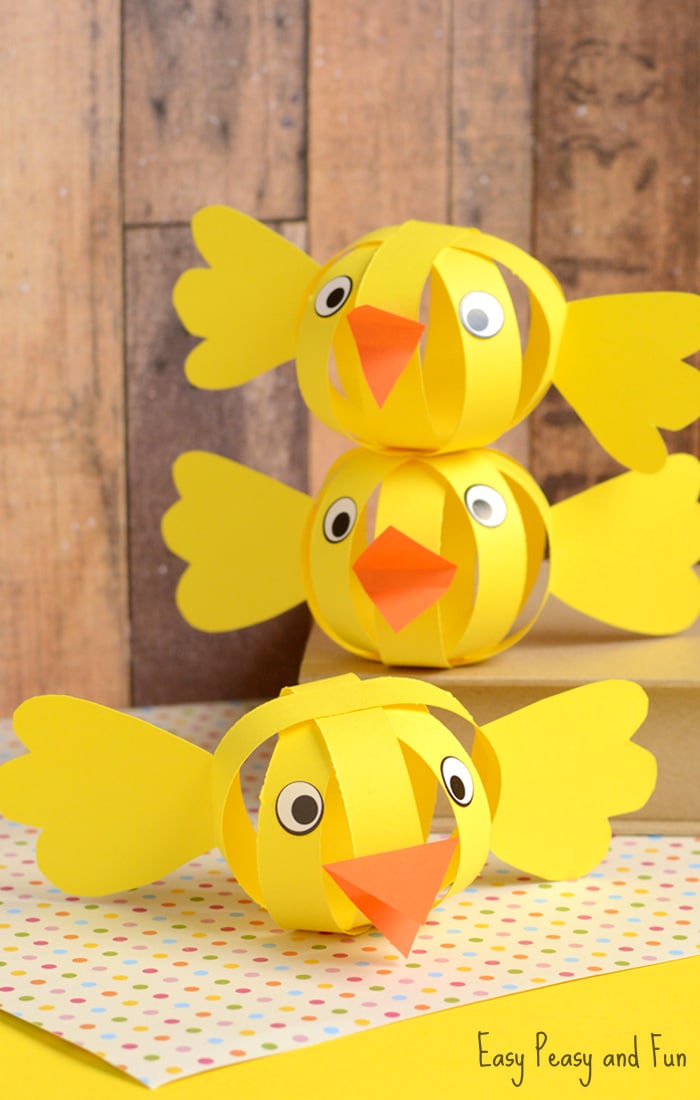
Your simple paper chick craft is all done!

Want instant access to all of our printable crafts, activities, and resources?

With thousands of crafts, activities, worksheets, coloring pages, and drawing tutorials to print, you will always have just the resource you need at your disposal. Perfect for parents and teachers alike!