Have you ever looked at a drawing that actually seems to move, shift, and follow you as you walk past it? Welcome to the magical world of reverse perspective art! It’s cool, it’s addictive, and with our free printable reverse perspective templates, super easy to make!
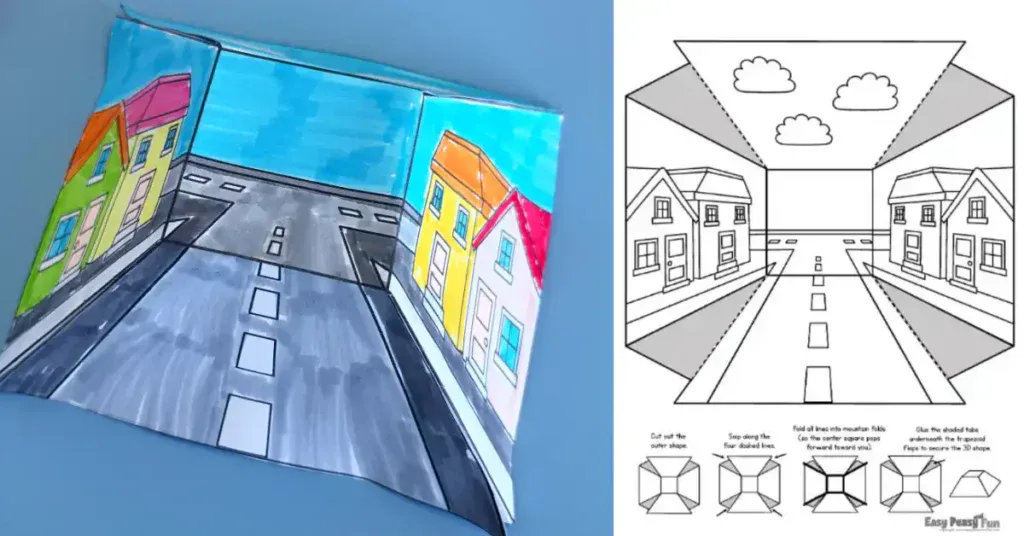
This mind-bending 3D optical illusion looks like a complex science experiment, but it is actually an incredibly easy paper craft that kids (and grown-ups!) will want to make over and over again. At first glance, it looks like a regular, flat coloring page. But once you fold it into shape, the center pops out toward you while your brain thinks it’s stretching away into the distance. The result? A stunning 3D illusion that brings the artwork to life!
To make jumping into this project as easy as possible, we’ve put together a free reverse perspective template PDF download pack. It features everything from a retro reverse perspective room to winding city streets and optical illusion tunnels.
One of the templates is also blank so your kits can attempt to make a design of their very own!
*This post contains affiliate links*
Hi, I'm Andreja from Easy Peasy and Fun — and I just wrote a book!
50 paper crafts your kids can actually do themselves
CRAFTS
I designed every project so kids can do it themselves — no fancy supplies, just paper, scissors, and a little imagination.
“If you need easy crafts to keep busy, Andreja delivers with this book!”
📚 As an indie author, your pre-order genuinely helps me — it counts toward first-week sales, which is how new books get noticed. Thank you!
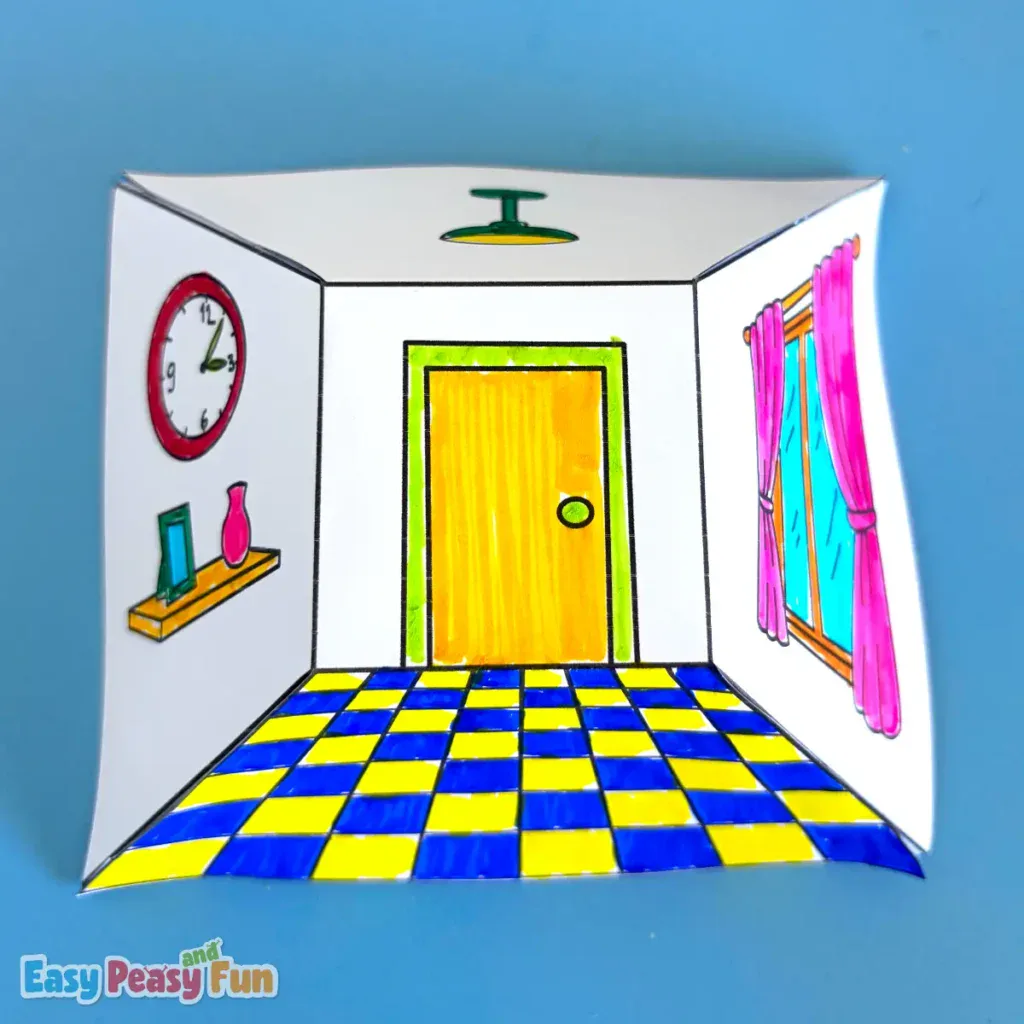
They’re perfect for building focus and patience, all while bringing flat drawings to life in a whole new way.
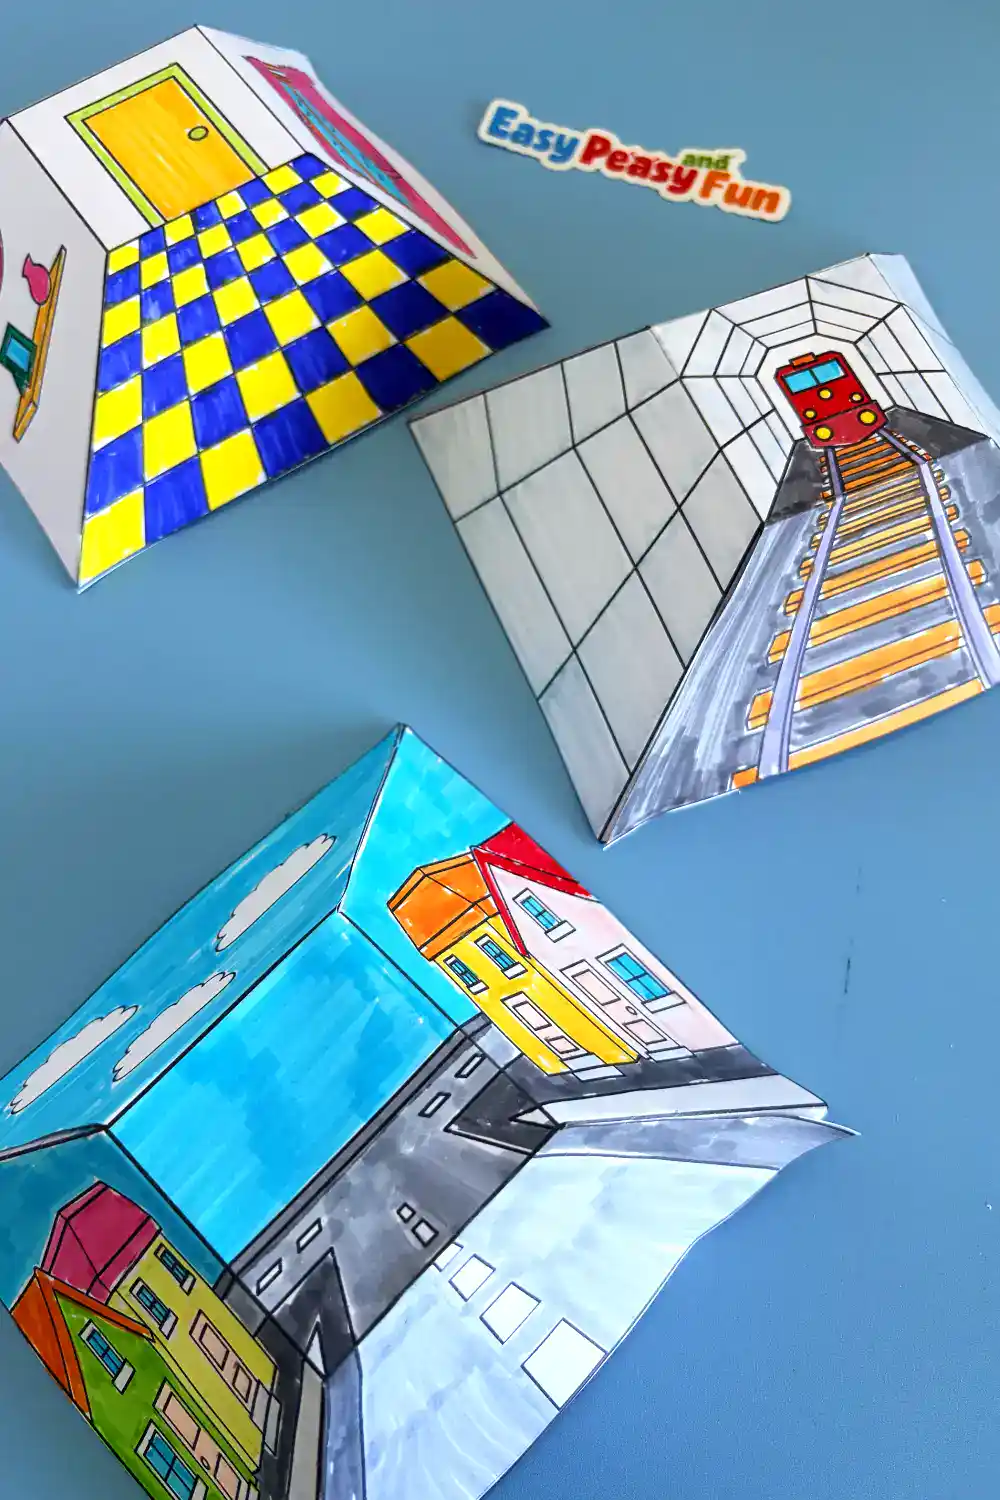
How to Make Your 3D Reverse Perspective Art
Before we dive into the paper-folding magic, let’s gather our crafting gear. Don’t worry, you won’t need anything fancy!
What You Need:
- Our Printable Reverse Perspective Templates (grab them below!)
- Heavier print paper / cardstock works out best, although plain print paper is OK too.
- Coloring Supplies (markers are best, as the colors really stand out, but other medium can be used as well)
- Scissors
- A Reliable Glue Stick
Step-by-Step Instructions
Step 1: Prep Your Space
Clear off a flat workspace and lay out all your supplies. Having your templates printed and your coloring tools within arm’s reach makes this project a total breeze!
The templates are perfect for larger groups as well, as simplified instructions are included on each and every sheet.
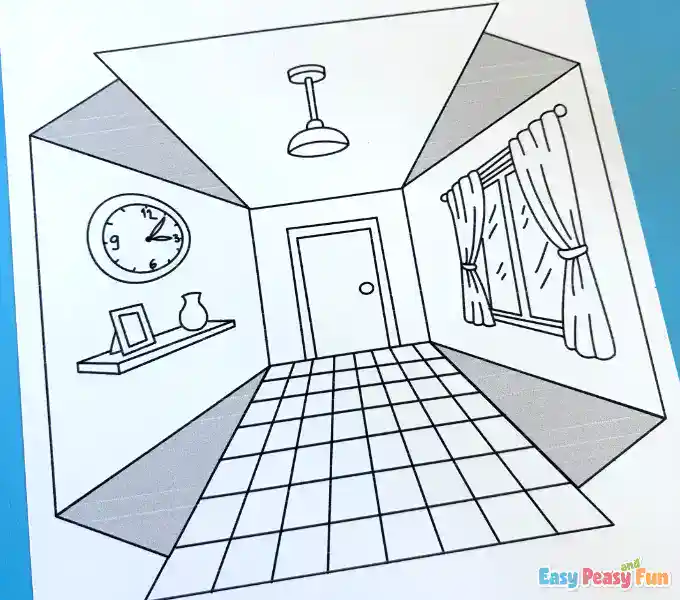
Step 2: Color the Templaet
Color in the design before doing any cutting or folding. It is much easier to color on a flat piece of paper.
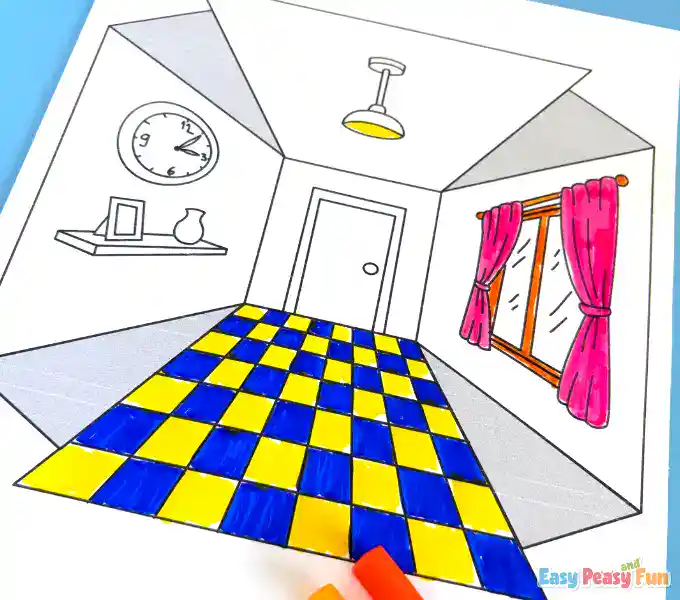
Markers, crayons, or colored pencils all work great, but as previously mentioned, markers will make it really pop.
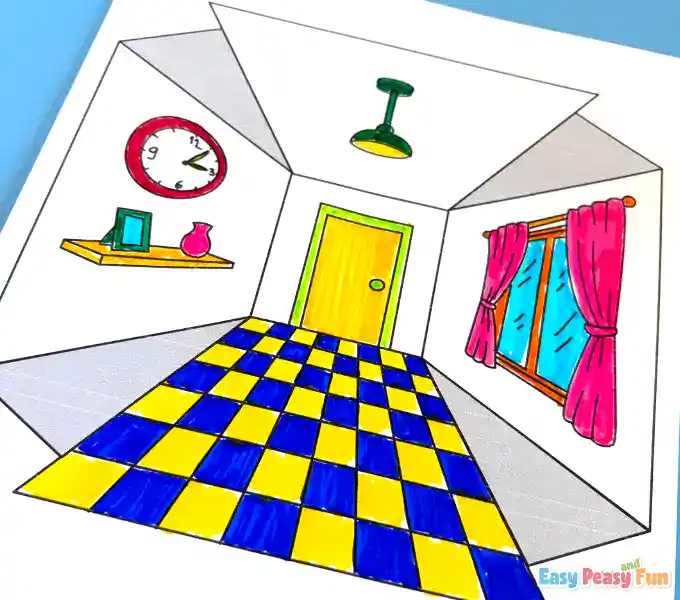
Step 3: Cut Out the Shape
Carefully cut along the solid outer border lines. Take your time around the corners to ensure a clean edge for folding later.
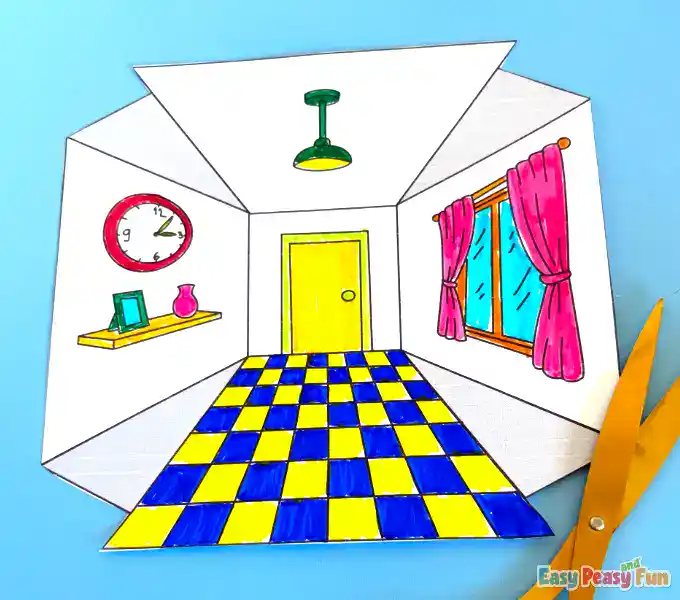
Step 4: Cut the Slits
Locate the dotted lines inside the template. Use your scissors to make precise cuts directly along these dotted lines to create the slits.
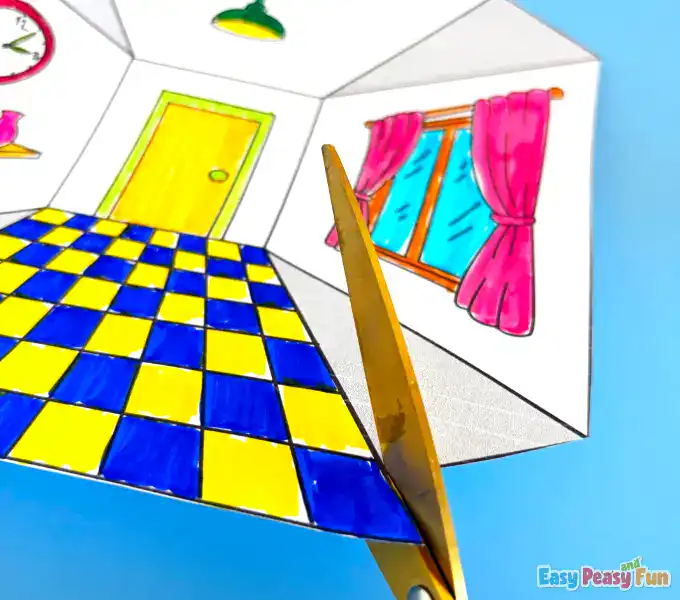
Step 5: Fold the Lines
Fold along the remaining solid lines.
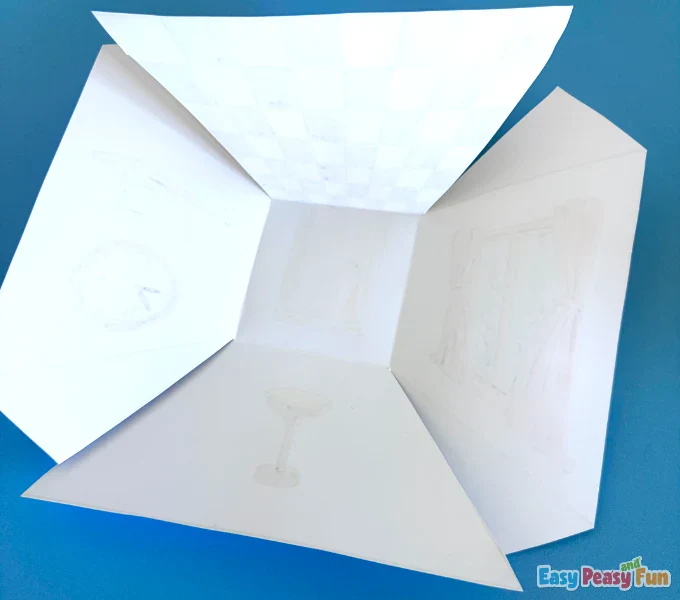
This includes the square in the very center and the four diagonal lines extending out to the corners.
Step 6: Bring the Corners Together
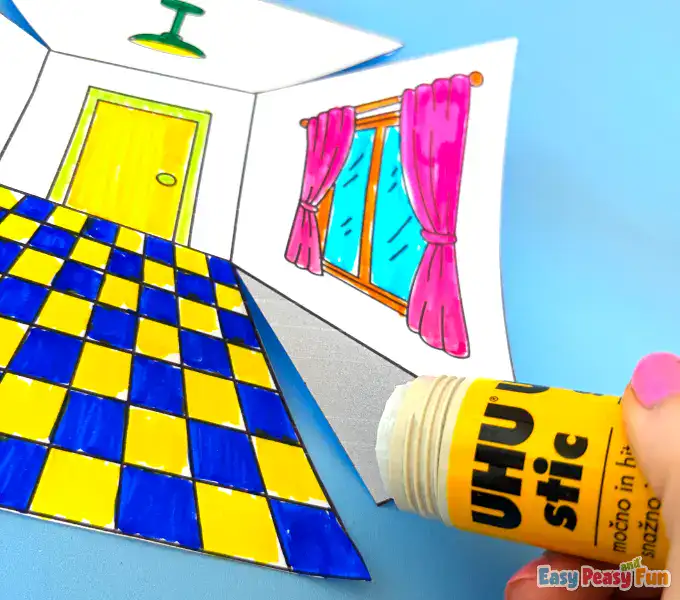
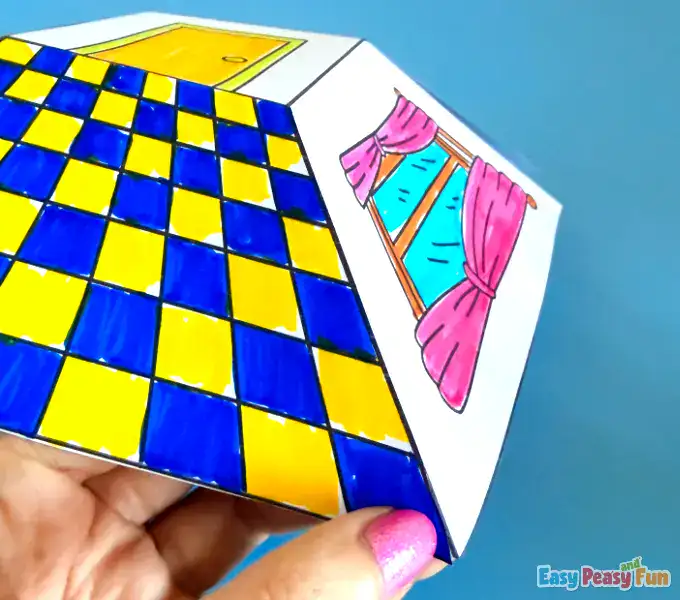
Overlapping the slits you cut in Step 4, bring the edges together. This will cause the center square to push backward and the outer edges to push forward, creating the inverted 3D shape.
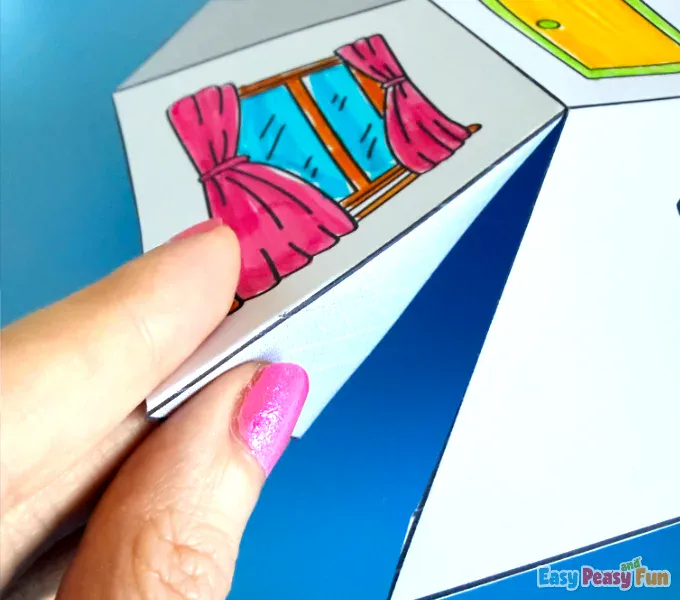
Step 7: Glue to Secure
Apply a small amount of glue to the overlapping tabs to secure the shape in place. Hold the paper for a few seconds until the glue sets.
Step 8: View the Illusion
Set your finished project on a flat surface or mount it to a wall. Move around to see the perspective shift. Or if you want an even more impressive effect, close one eye.
Free Printable Reverse Perspective Art Templates
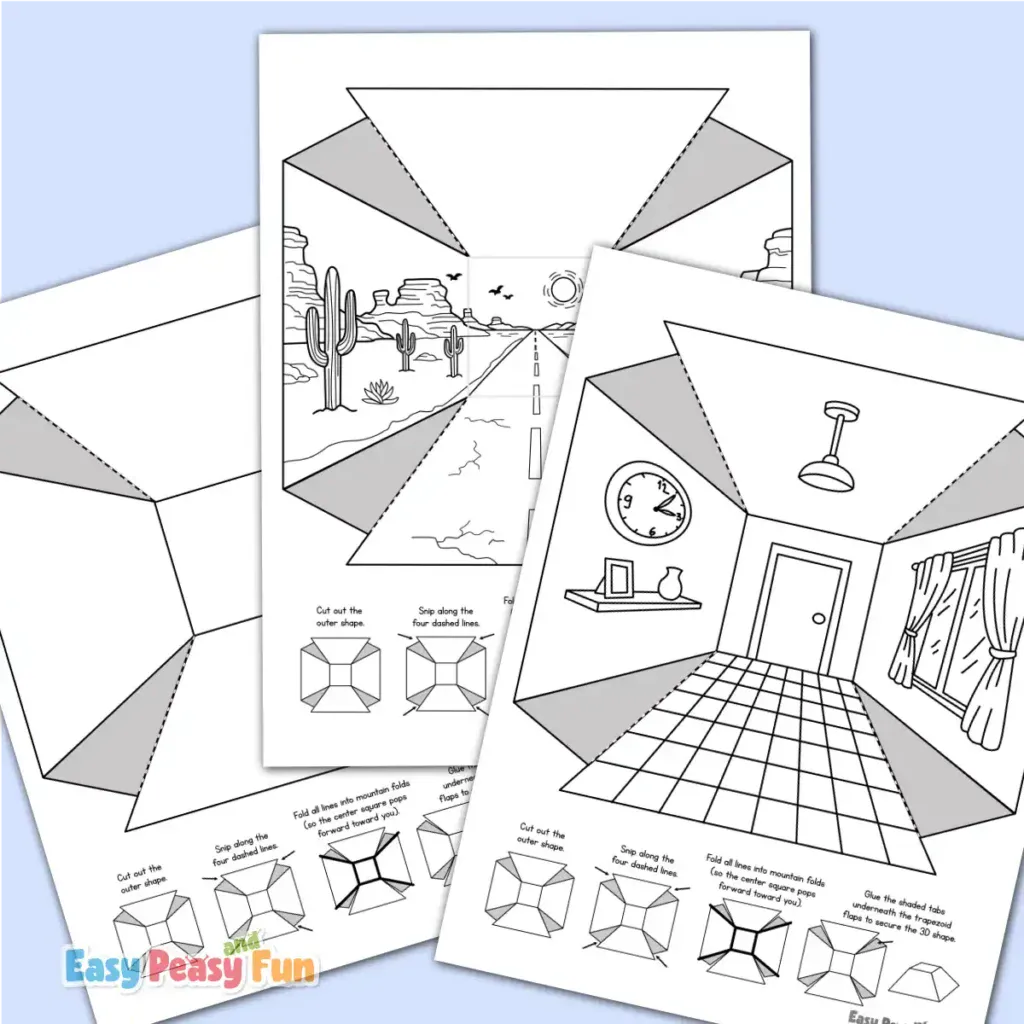
You can preview the 7 reverse perspective art templates below and grab the whole set after the preview.
Art Gallery 3D Illusion
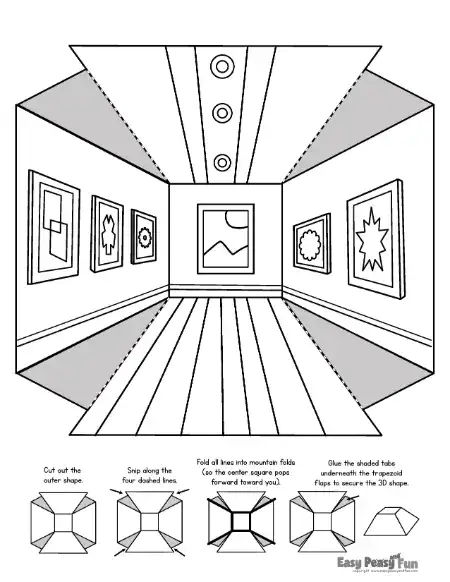
Bring a miniature museum to life with this art gallery reverse perspective template. Kids can color the tiny masterpieces on the walls, creating an interactive 3D museum display that appears to shift angles as you walk past.
Desert Highway Perspective Trick
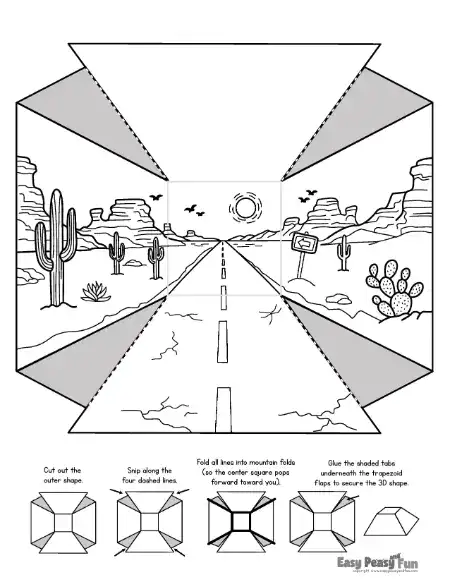
This desert road optical illusion craft features a scenic highway disappearing into the horizon, flanked by mesas and cacti. It is an excellent visual aid for teaching students about vanishing points and horizon lines in classic landscape art.
3D Train Tunnel Coloring Page
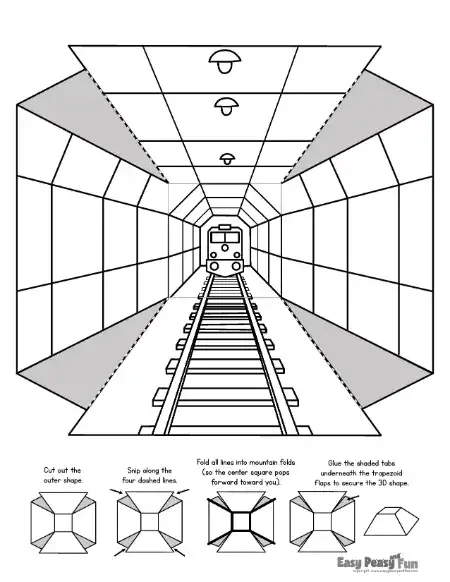
All aboard for a mind-bending geometry project! The train tunnel reverse perspective craft uses radiating architectural lines to mimic a deep underground subway track. It offers a strong, high-contrast depth effect that makes the 3D illusion pop instantly.
Interior Room & Hallway Illusion
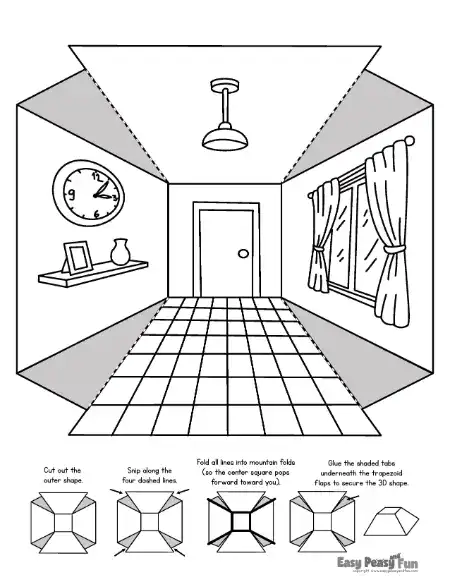
Step inside a cozy interior design with the 3D hallway reverse perspective art. This layout is a fantastic STEAM activity for kids to practice drawing indoor perspectives, turning a flat coloring sheet into a realistic, hollow room.
3D Village Street Scene
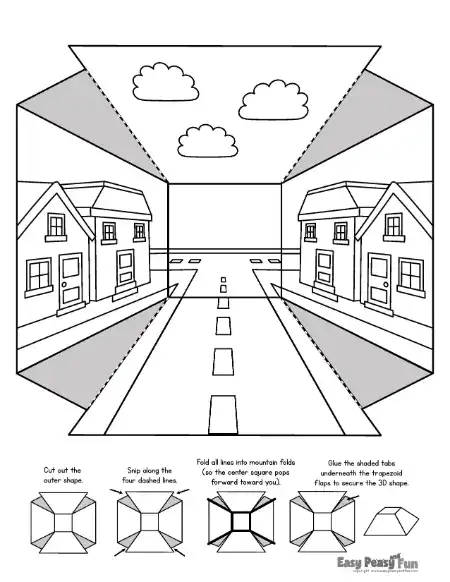
Build a miniature neighborhood using the 3D street reverse perspective template. Featuring charming houses and sidewalks stretching into the distance, it’s a highly engaging printable project for elementary school students.
Converging Grid Room Template
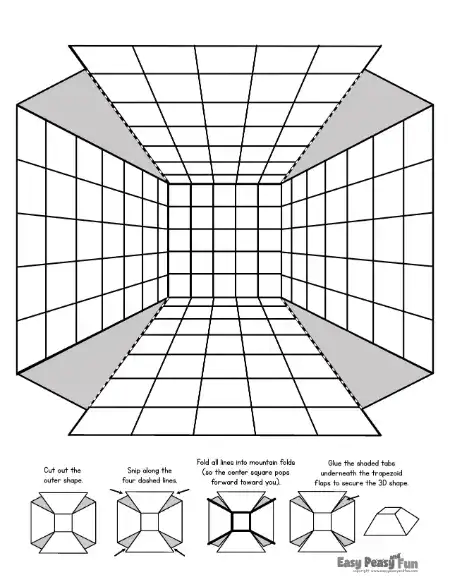
Sharpen your students’ spatial reasoning with the grid room reverse perspective layout. Covered in a precise matrix of lines, this architectural printable helps children visualize how parallel lines converge in 3D space.
Blank DIY Reverse Perspective Template
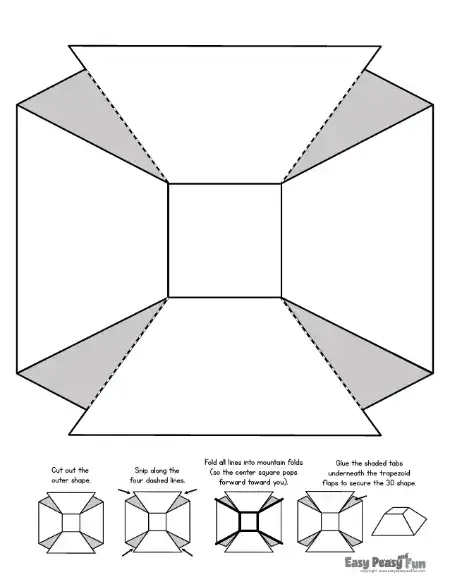
Ready to design your own custom optical illusion? The blank reverse perspective template gives you the exact geometric folding guidelines you need without any pre-drawn art. Use it to sketch a custom fantasy castle, secret hideout, or sci-fi room from scratch!
Want instant access to all of our printable crafts, activities, and resources?
With thousands of crafts, activities, worksheets, coloring pages, and drawing tutorials to print, you will always have just the resource you need at your disposal. Perfect for parents and teachers alike!