Perler Beads have been around a long time and are a classic kid’s craft. They are fun even for us adults, too, and you may find yourself jumping in and creating along with the kiddos.
Using them for teaching kid’s art is a great way to break up doing things with paper and you can utilize them as a lesson in color theory if you want to make it more educational.
*this post contains affiliate links*
50 paper crafts your kids can actually do themselves

No fancy supplies — just paper, scissors, and a little imagination.
Be the first to get it on release day — and lock in the lowest price guaranteed.
Teach them a little on using primary colors, contrasting colors and complimentary colors before they start so that they will think some about the color choices they make.
It is also just a nice, laid-back lesson for them that other than organizing the supplies and doing the ironing and cleaning up, is easy to teach and they will come up with some amazing designs.
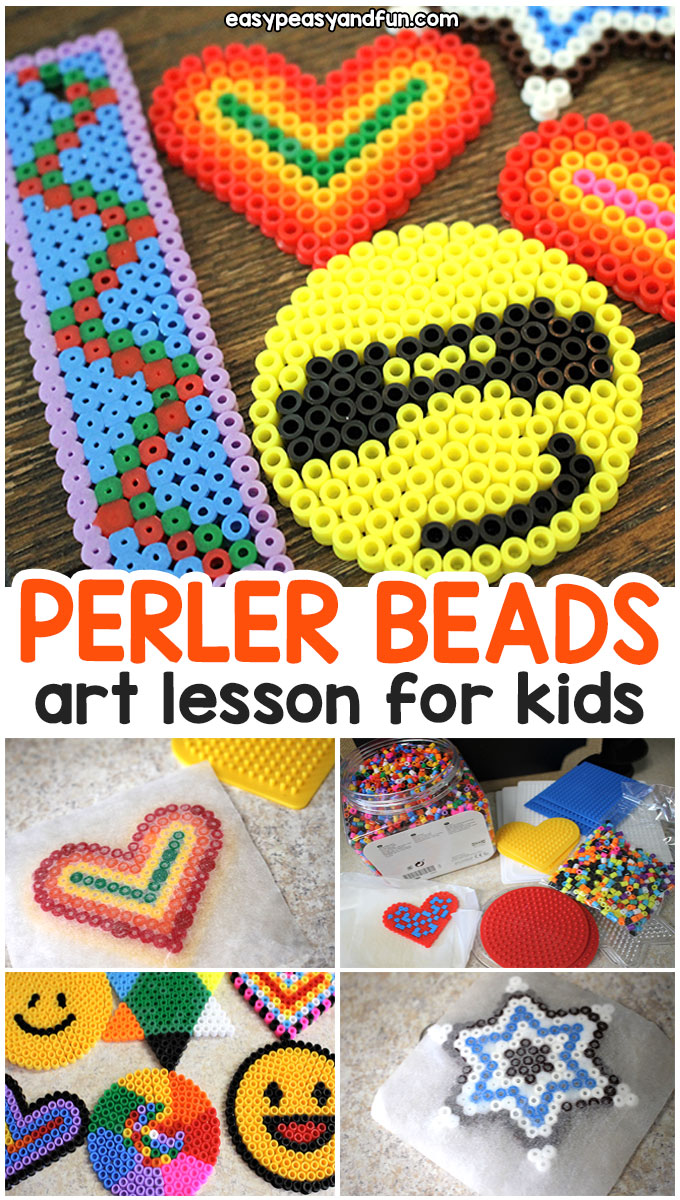
Perler Beads for Kids Art Class
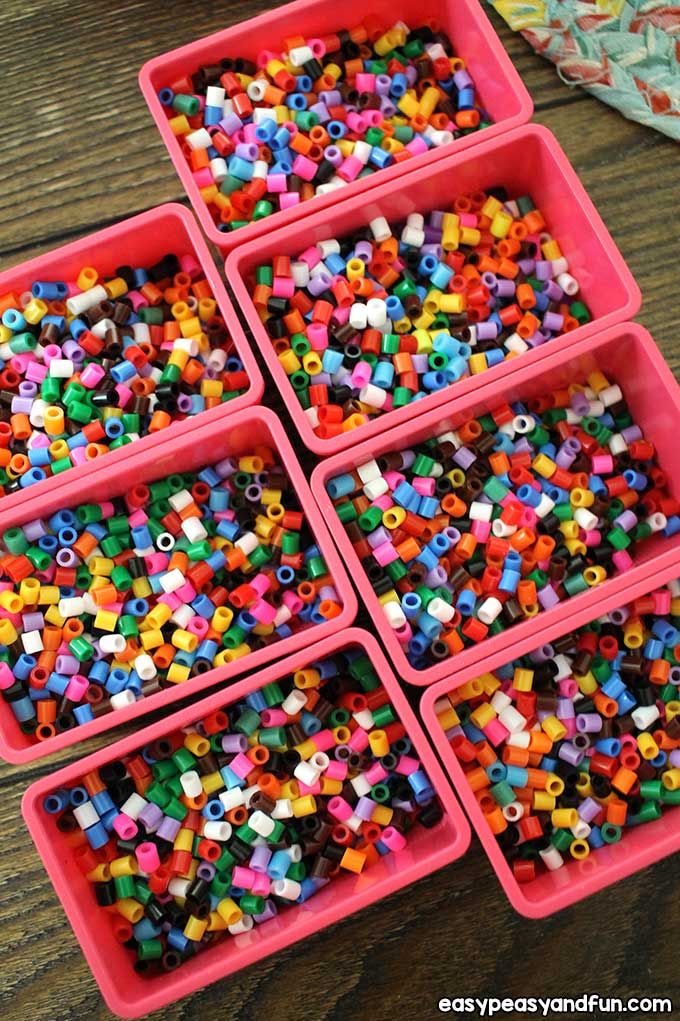
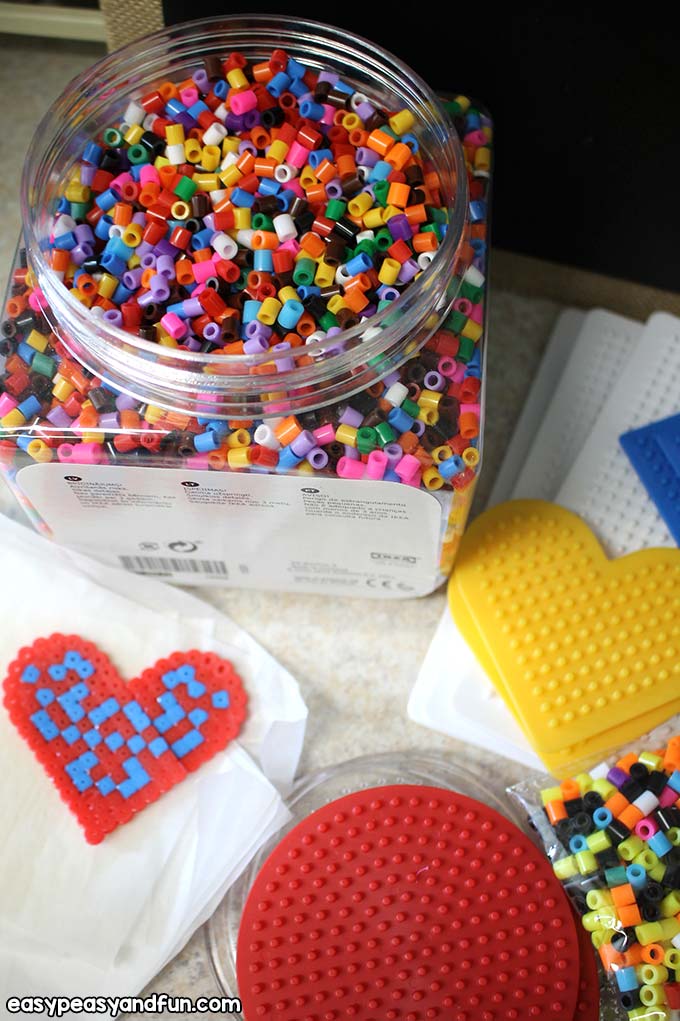
What you will need depends on the number of kids who are making them, of course, so choose plenty of beads and bases to use if you have very many.
You will need:
- tub of mixed colored Perler beads
- small bins or bowls to put some in for each child
- tweezers for several of the kids – not all will want to use them
- organizing bin for sorting colors into
- iron
- wax paper

Step by Step Instructions and Tips
To begin, go over any instructions you have for them before handing out the beads. I have found that they tune out if their hands are already in the beads and they miss most of the directions.
I always instruct them a few things, keeping it short and sweet so they have plenty of time to work.
Most kids will decide very fast what they want to make and for the ones who need a visual example. You can get many patterns of of Perler’s website.
I will plug in my iron once they start working. Be sure they know it is there and it is hot. I requested that no kids go to the counter it was on at all.
Some still did and it made me a nervous wreck when they did it, but they are so curious! Turn the iron on medium heat, not high.
Get the Patterns
Suggest characters or logos, or emojis, and you can find just about anything you can think of online.
Many will even have a pattern laid out for you to make it easy.
Depending on their age, they may need your help. My pre-k through 1st graders had the hardest time, and it was mainly with knocking back over the beads after they set them on the bases.
Tell them to work from the center out, and it helps you not spill the beads off the base as much.
I will say, I taught this to 30 kids and 90% of them did it their own way anyway. However the few who really listened my instructions got to make more creations than the others because it is more efficient.
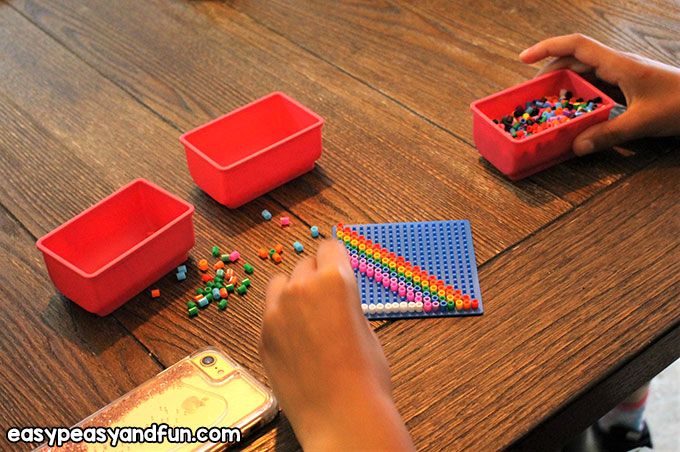
Tell them to choose the colors they need before they begin, in their head, and then start to pick out those color beads from the bin they are given.
If they have trouble working from the center, then the next best thing is to create the outline of the item and then go into the center and work out.
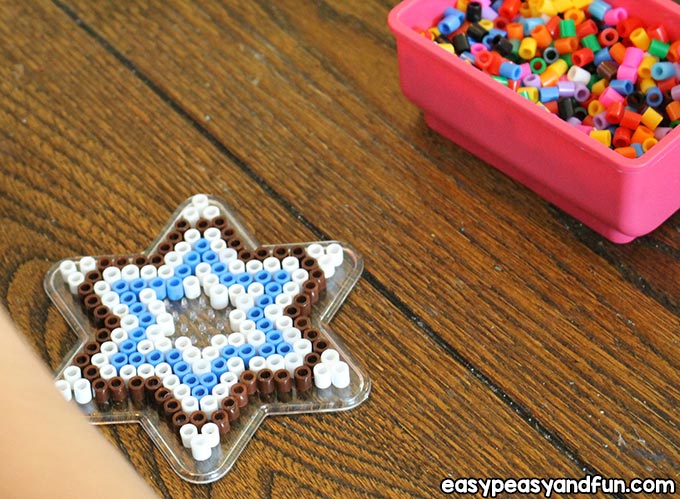
I have several bases and most came in a mixed set where are larger square bases, those are great for letting them create their own shape on.
The key with an odd shape though is that the beads cannot be out there single, and not touching another bead.
If the image has points on it, there has to be a triangle, or the bead won’t have anything to adhere to and melt together.
The smaller shapes work best, because they allow the kids to know what they are working towards and it is not huge, so it won’t take too terribly long to create.
Most of my classes were able to finish and then do another afterward.
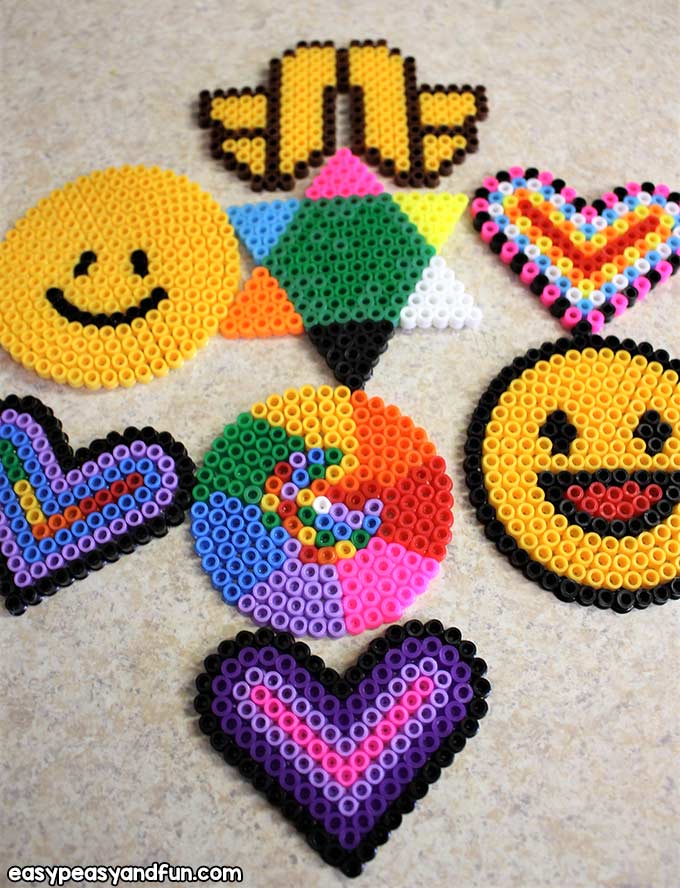
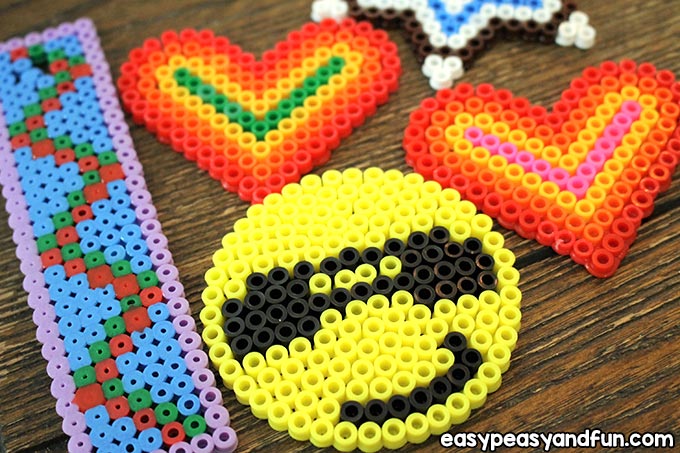
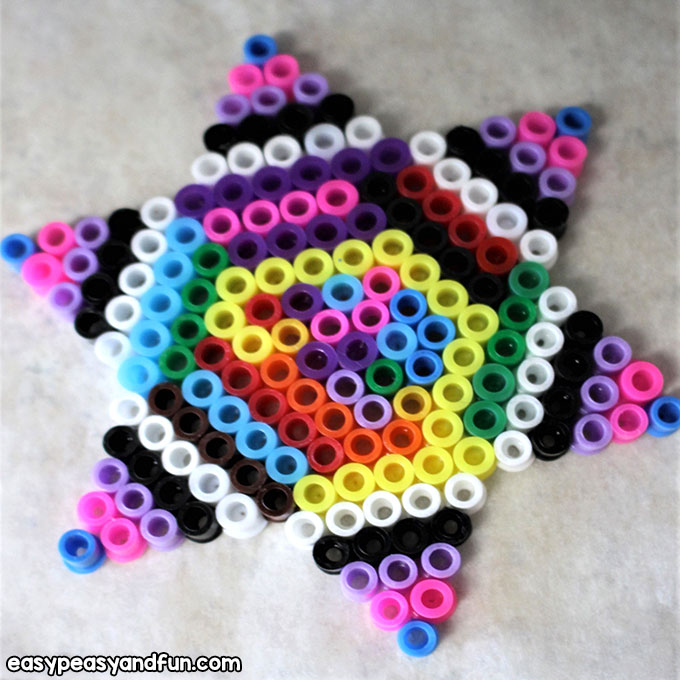
There were circles, squares, hearts, and stars.
If someone doesn’t have any specific ideas, doing bright colors in rows on one of those shapes makes a very cool design, and even just mixed, random colors will too.
Placing the Beads
The tweezers work great for placing the beads on the base, but you first need to turn the bead on its end in order to be able to pick it up, so it still takes fingers too.
Once they get the hang of it, they will be able to work faster, so just encourage them that it takes a few minutes to get in a groove and then it picks up and isn’t as tedious.
The end result is worth the work!
Now, once they have their design finished, tell them to call you over. Avoid having them walking across the room with their work. Many kids will spill the design and it ends badly.
Little kids especially are the ones I had this happen to and they appear totally devastated. Not only does this make one unhappy child it also disrupts the entire class.
You will then have to re-do the whole thing, so be sure they understand this and why you’re asking them to just call you and you will come and get it from them.
Ironing the Artwork
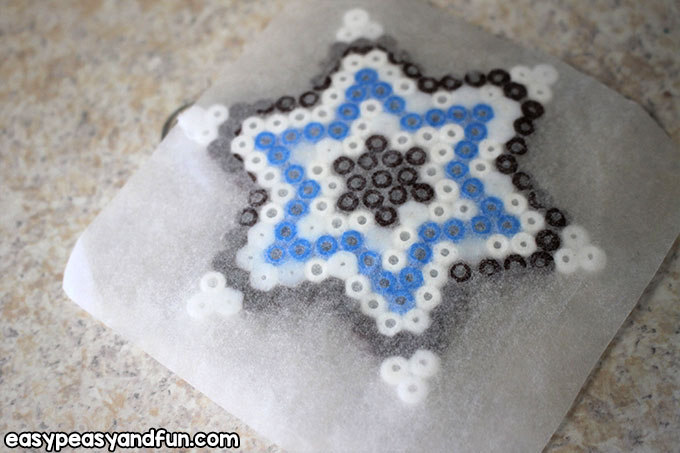
Now for the ironing part – place a piece of the wax paper over the top of the beads and be sure it fits all the way across the beads.
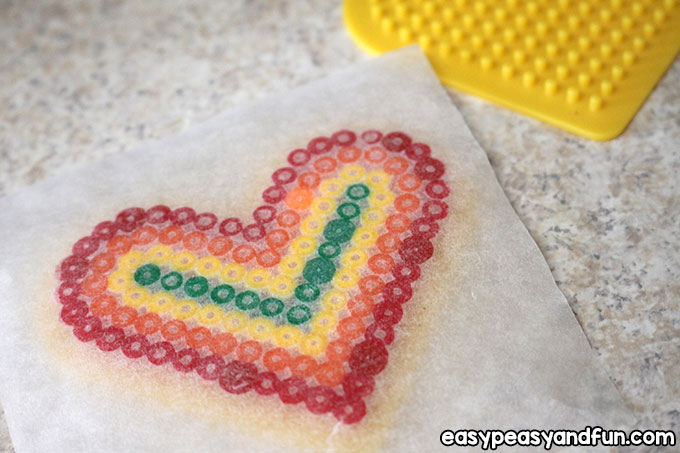
If the iron touches any beads with no paper between it will melt the plastic and it will be stuck to the iron.
My bases and beads came with pa re-cut wax paper that was already the correct size for the bases. So far, they have held up well and I haven’t had to replace any yet.
Take Turns
The way that I have found that works best to melt the beads is to take it in a few turns. I have ruined a couple of these before by letting the iron stay in one spot too long. Getting them too hot will ruin them too. It’s best to know your iron and the beads beforehand.
What you want is for the beads to maintain their shape on the front. They should look like they aren’t touching from that side.
The back will have a melted look where they are all touching and slightly flatter. If you do it too long or too hot, they will start to change shape.
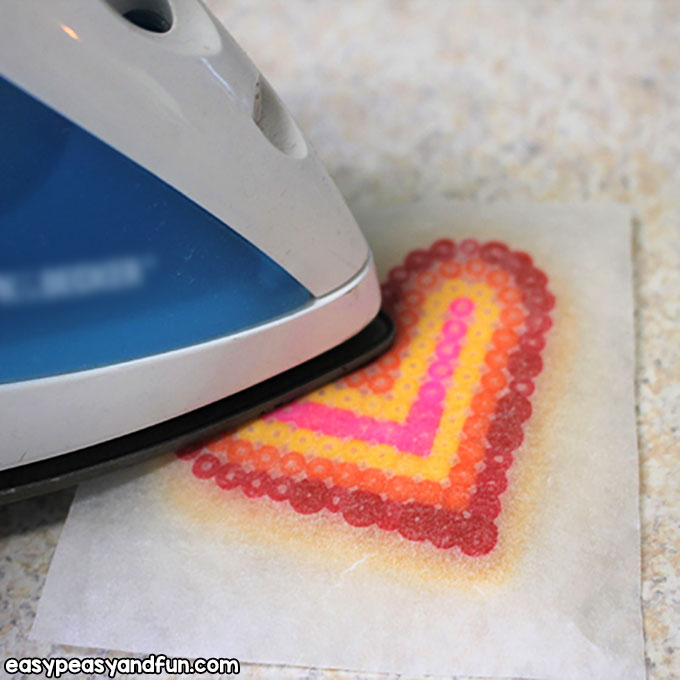
Take the iron and go in small circles over the wax paper, so that the iron doesn’t stay still. Let it get hot all over and then lift off the iron for about 30 seconds and then repeat.
After I do this a couple of times, I will lift up the paper to see if it looks consistently melted all over. If any beads are not stuck together yet, keep going. Sometimes all but just a few will be melted, and you’ll just have to do that one area again.
Let it Cool
Let it cool off with the paper on it for a good minute or two, and then pull the paper off carefully. It should easily come off, leaving you will the design.
Then you can pull the beaded design off the base carefully and set it aside to cool all the way down. This is a good time to inspect it one last time to be sure all beads are attached.
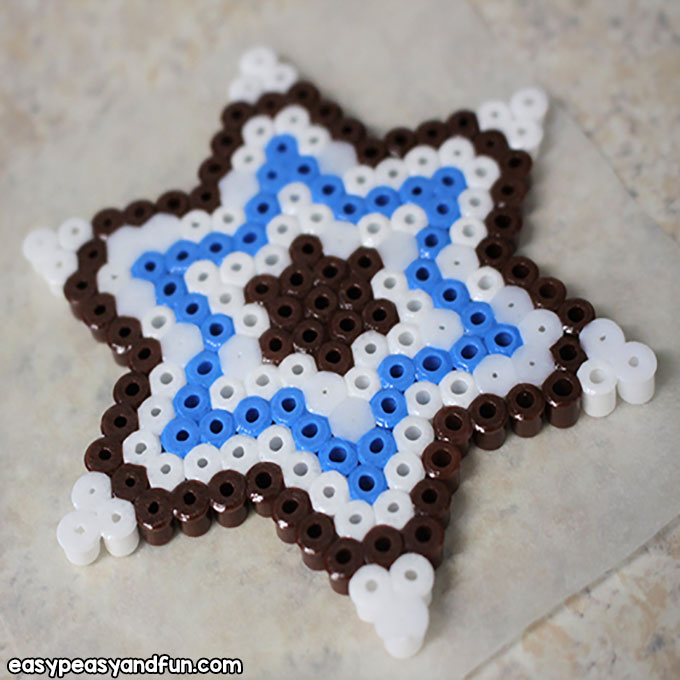
Once it’s nice and cool you can let them take it.
Be sure to stress to them that these are really meant to look at, and not to play with. They do break fairly easily.
One Last Tip
The last tip I have that has really helped me is that as kids are sorting their beads and looking for specific colors, I encourage them to communicate with each other and help each other out.
Give your friend the color she needs as you find it and vice-versa.
Then, at the end or middle of class, even, start putting the sorted colors into an organizer bin so that they are already started for the next person who needs that color.
You don’t want to organize them all by color ahead of time because it is too hard for all the kids to be over one bin of beads. They need their own. This does help for the next class or next time you do them again though.
So get creative and have fun!

Want instant access to all of our printable crafts, activities, and resources?

With thousands of crafts, activities, worksheets, coloring pages, and drawing tutorials to print, you will always have just the resource you need at your disposal. Perfect for parents and teachers alike!