We’ve got an easy craft you can make with your kids for Easter. Bunny in Carrot Paper Craft is perfect for kindergartners and older kids.
We’re sure it will bring a bunch of smiles to their faces.
*This post contains affiliate links*
50 paper crafts your kids can actually do themselves

No fancy supplies — just paper, scissors, and a little imagination.
Be the first to get it on release day — and lock in the lowest price guaranteed.
When Easter is approaching, we are so happy. We really love making Easter Crafts. They are so invigorating, bringing us so much joy.
You can learn How to Draw a Bunny and incorporate your own one into this craft. After your carrots are done, you can enjoy our Easter Counting Coloring Pages.
We are playing with split pins lately.
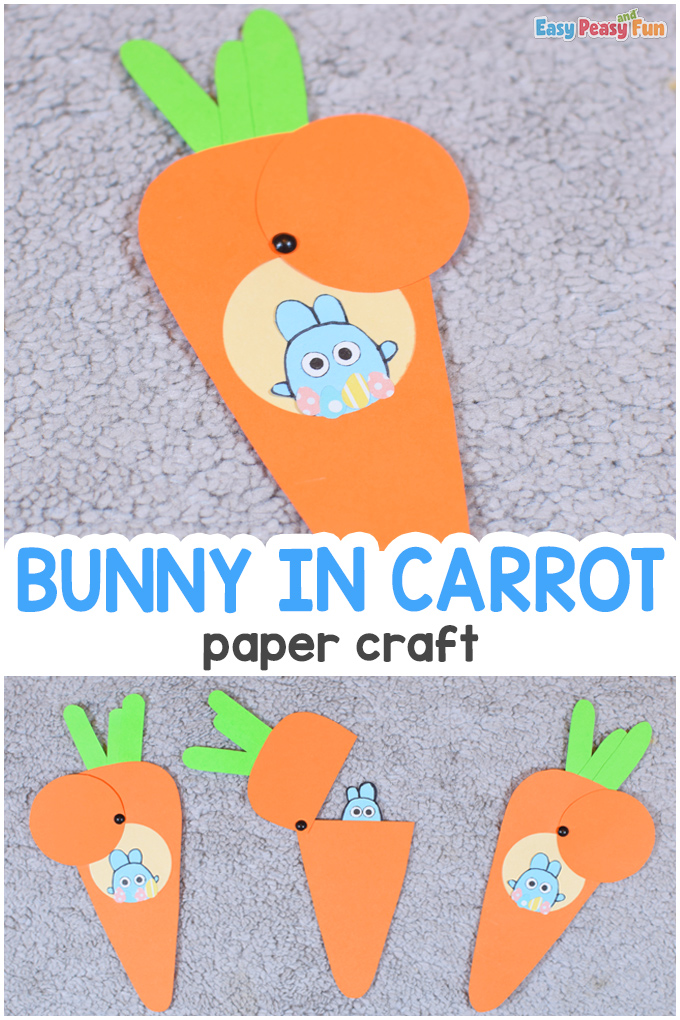
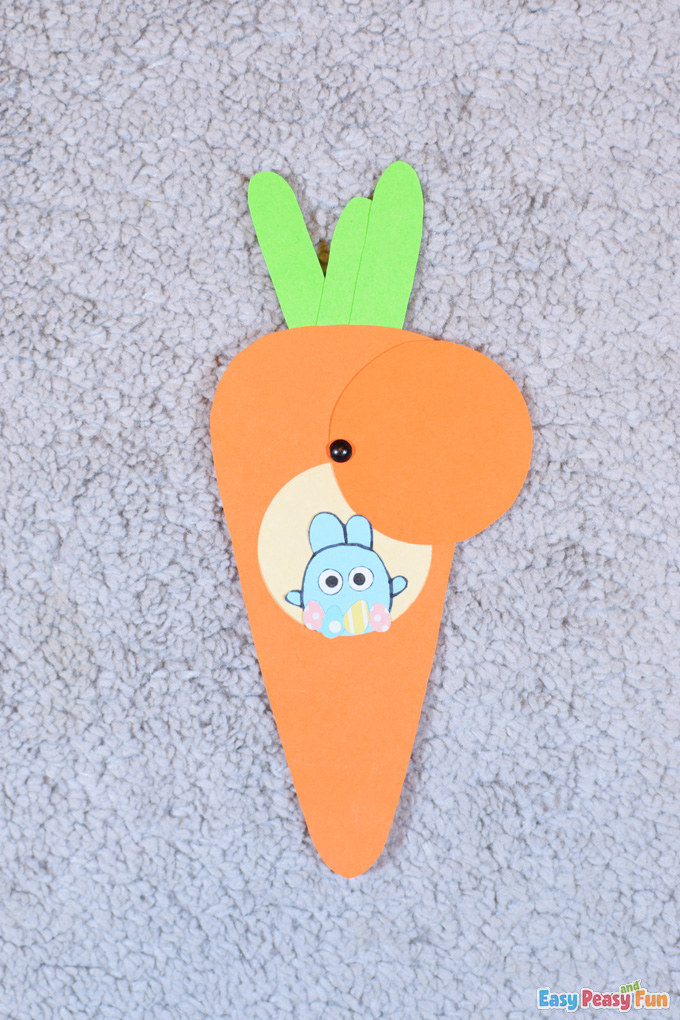
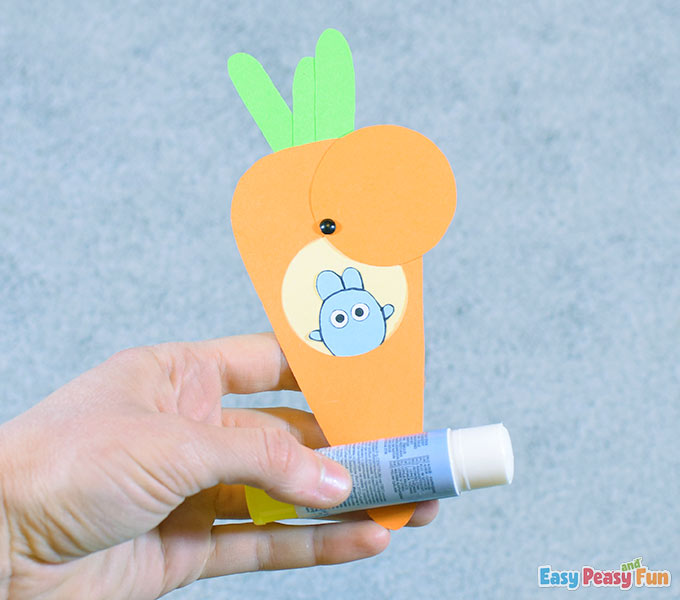
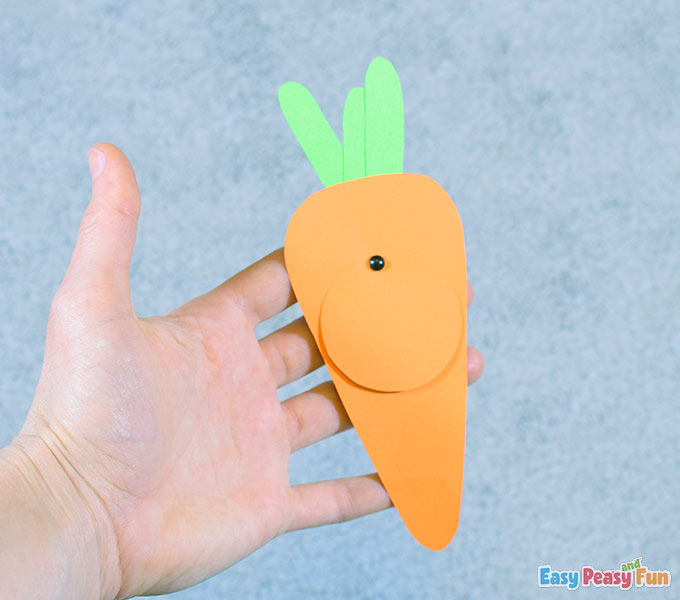
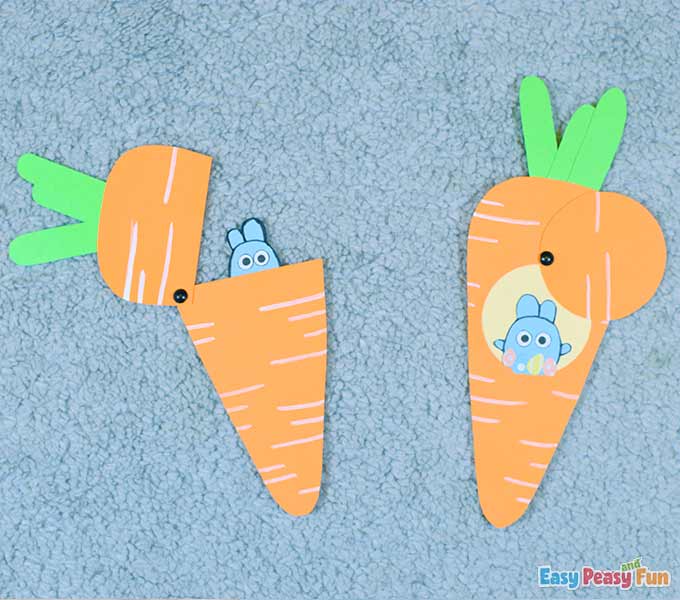
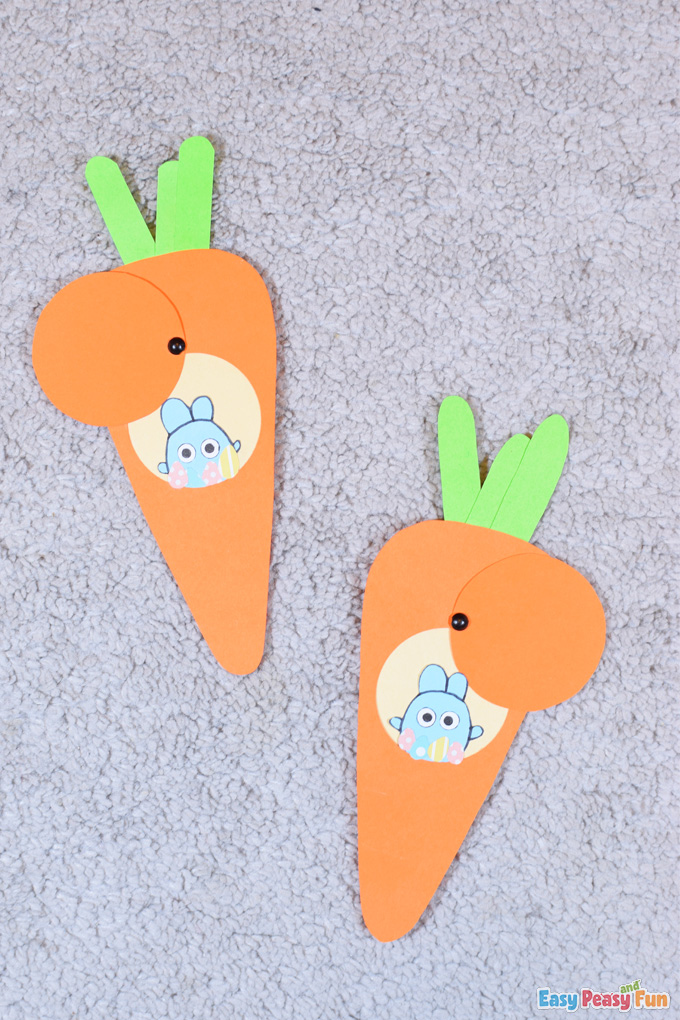
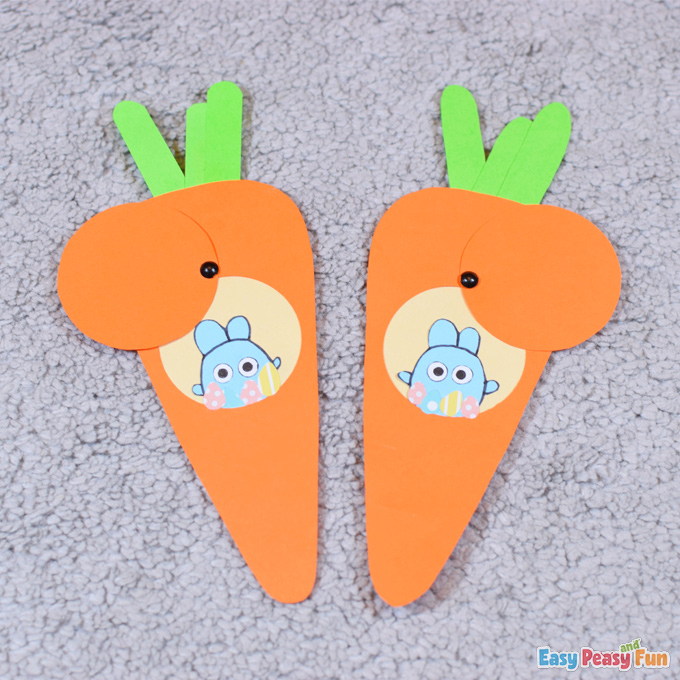
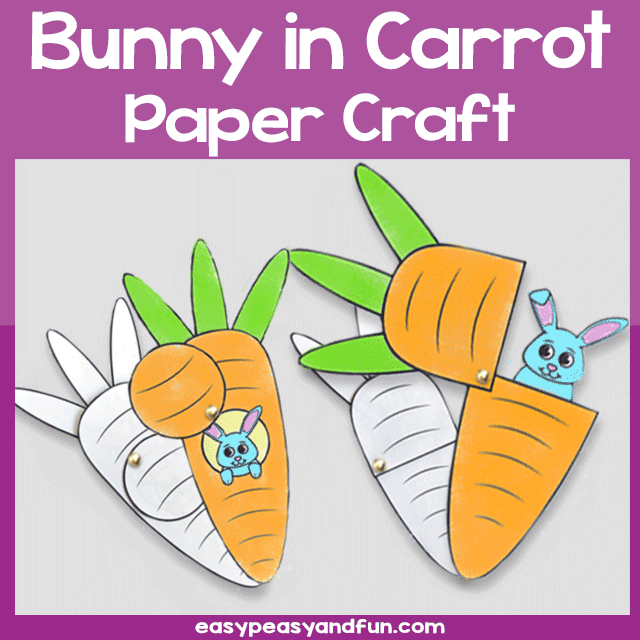
We found a way to use them in this craft today – we hid the Easter bunny inside the carrot, and when you open the carrot, the bunny peeks out holding a bunch of Easter eggs.
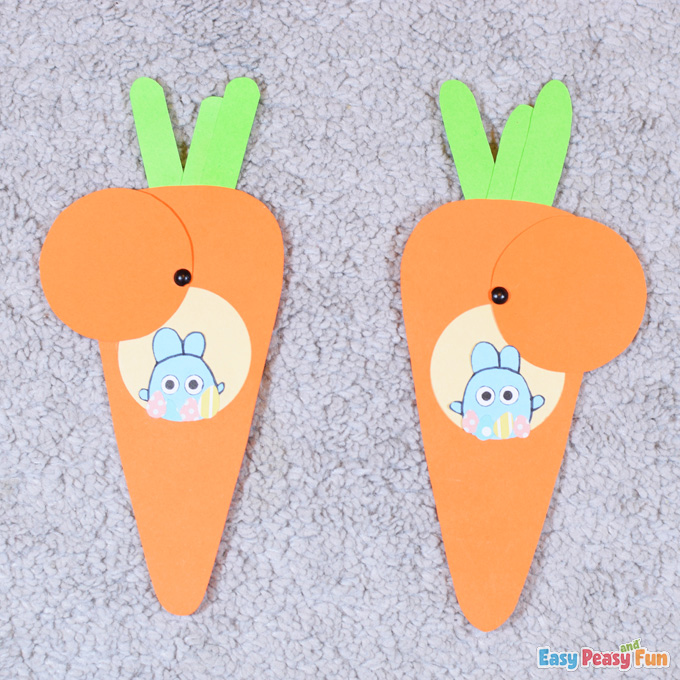
It is an adorable craft.
Bet you like to join us in crafting this project today, so grab your tools, and let’s go!
How to Make This Bunny in Carrot Paper Craft
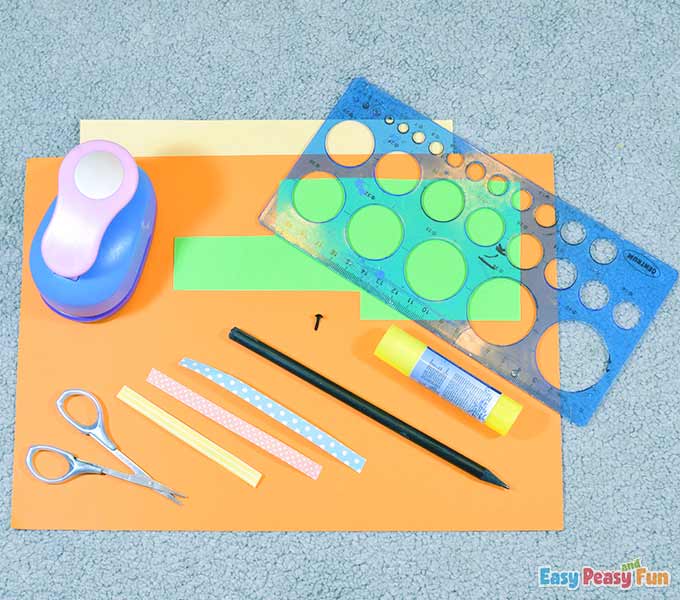
What you need:
- orange cardstock
- pale orange color paper
- green color paper
- split pin
- glue
- scissors
- circle puncher
- ruler with circle shapes
- pencil
- white paper
- light blue paper
- washi tapes
- black marker
- white marker or white gel pen or white pencil (optional, if you like to give the carrot some texture at the end)
Step by Step Tutorial
The Carrot
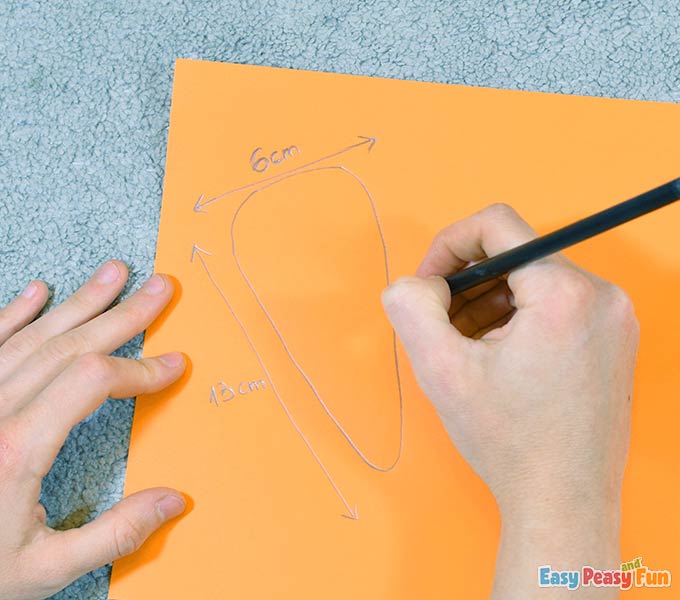
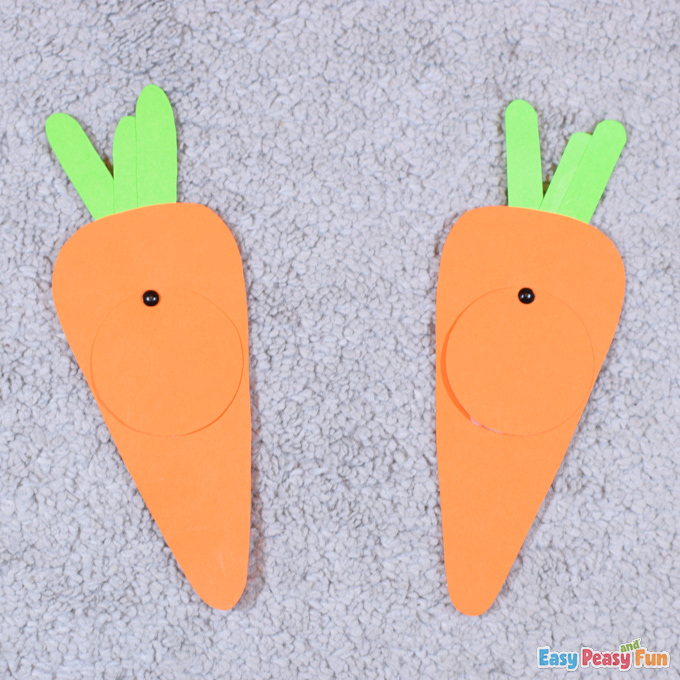
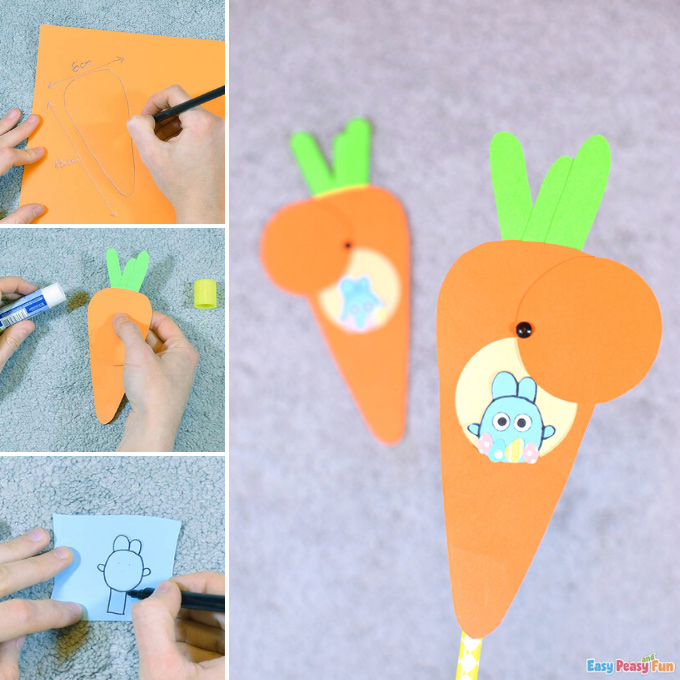
On the orange cardstock, draw a carrot. We provided dimensions so you can see approximately how big it is.
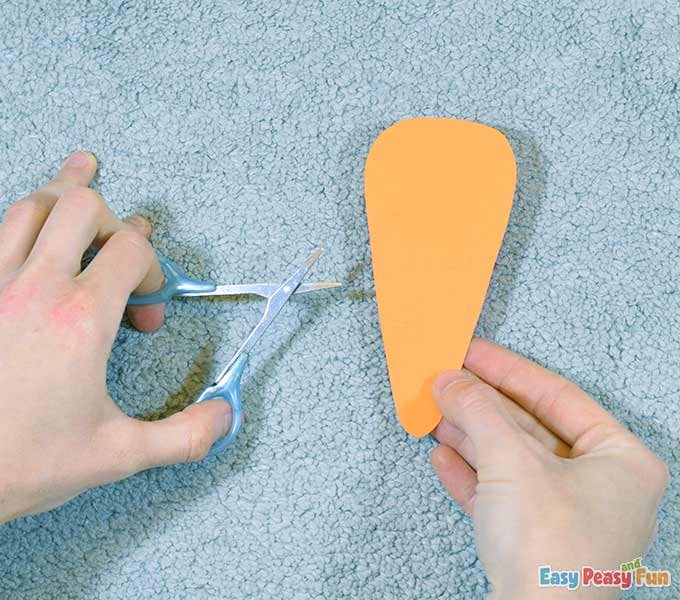
Cut out the carrot.
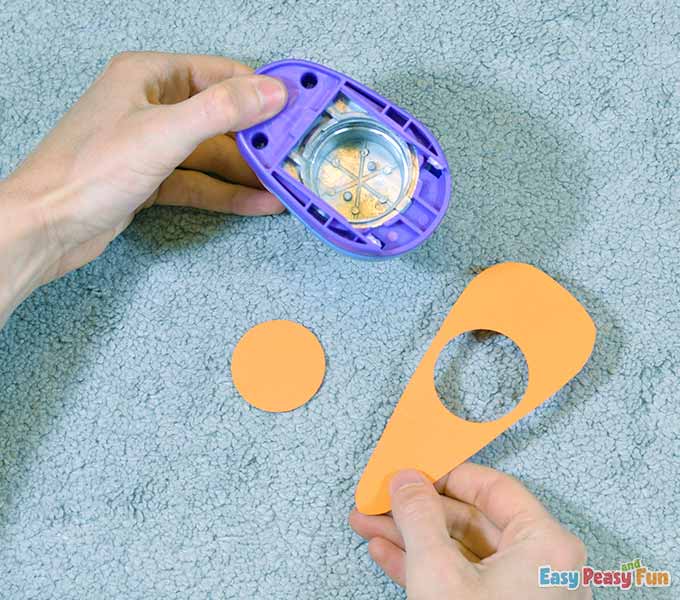
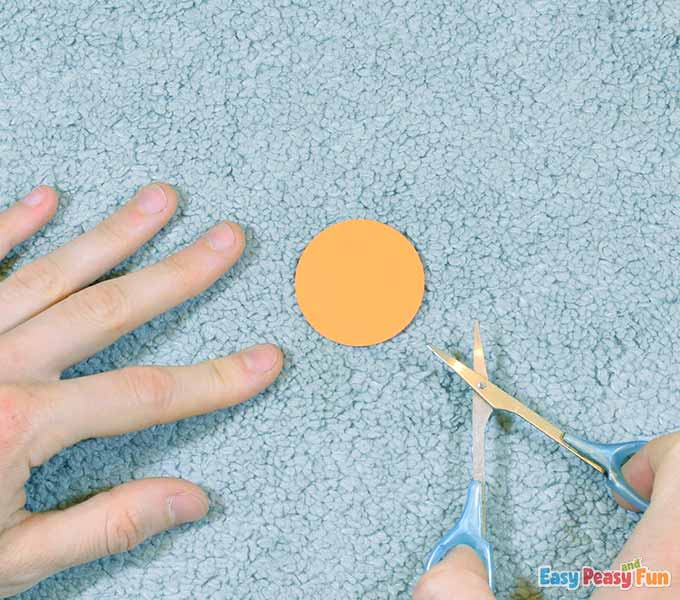
Punch a circle on the carrot (the circle should start approximately 3 cm apart from the carrot top).
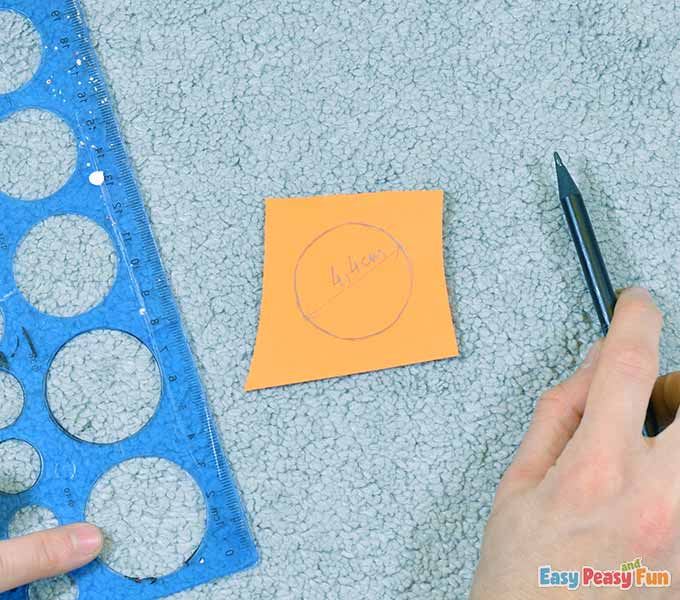
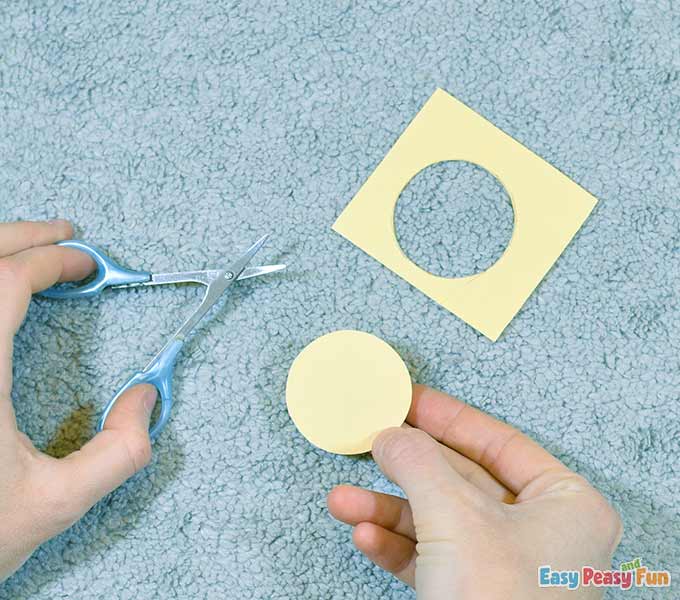
Draw a bigger circle than the one that you already punched. This bigger one has a 4,4 cm diameter. We used the ruler with circle shapes to draw it.
Cut out the circle.
 The Mechanism
 The Mechanism
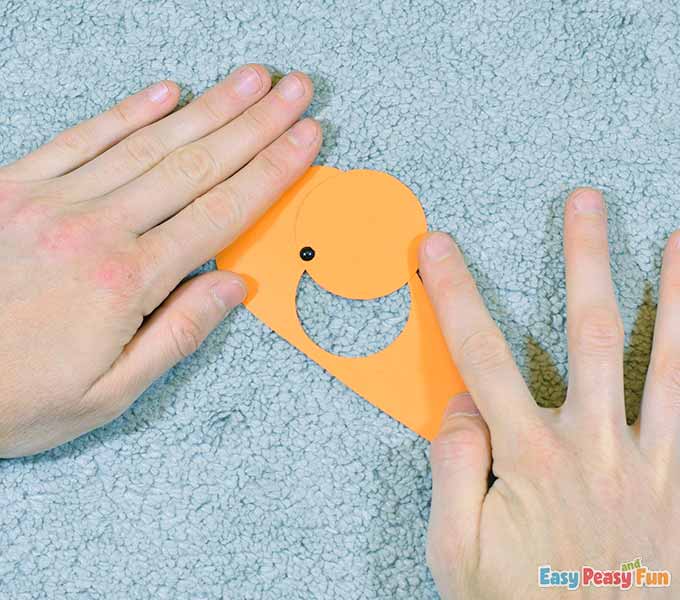
This circle should be big enough to cover the carrot hole and have enough free space to push a split pin through the top of it.
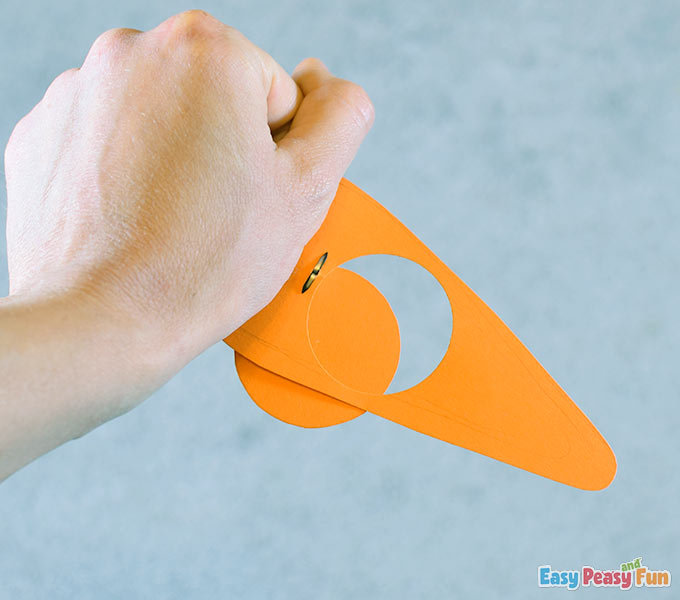
Now push a split pin through the top of the circle and then through the carrot.
Split the ends of the pin, so the circle stays attached to the carrot.
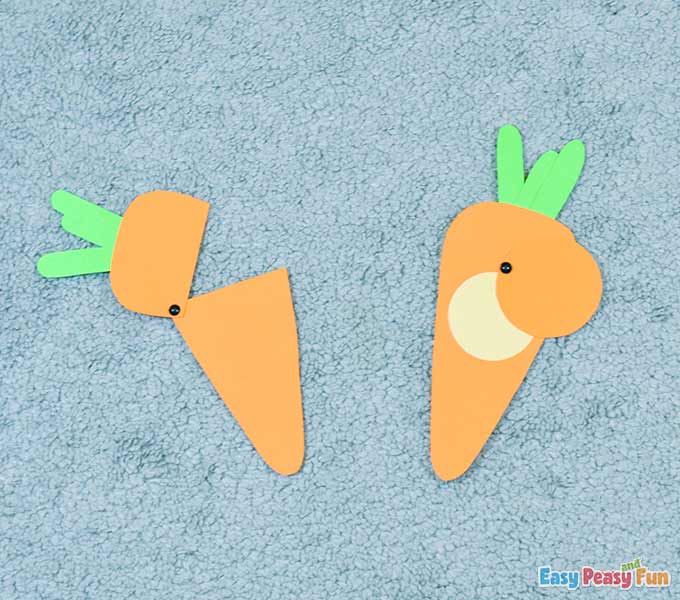
If you want to make this other carrot you see in the picture, divide it into two parts and push the split pin through one side of the carrot as shown.
That way, it will open on the side.
The Carrot Leaves
 The Carrot Leaves
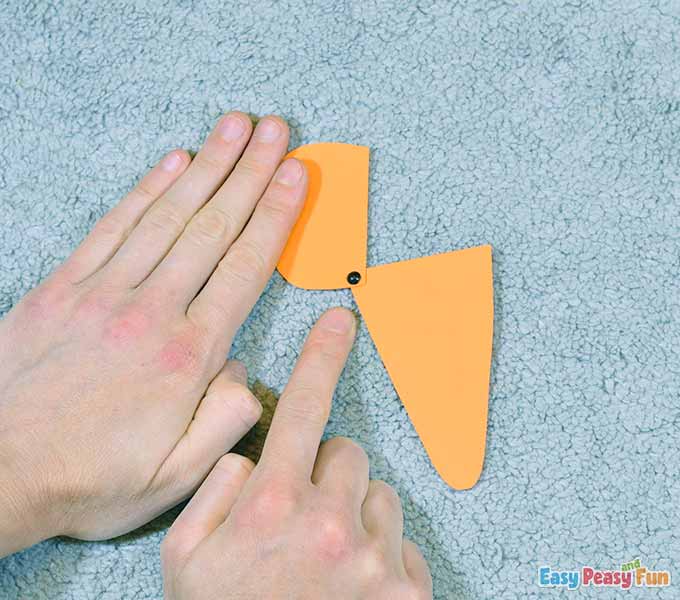
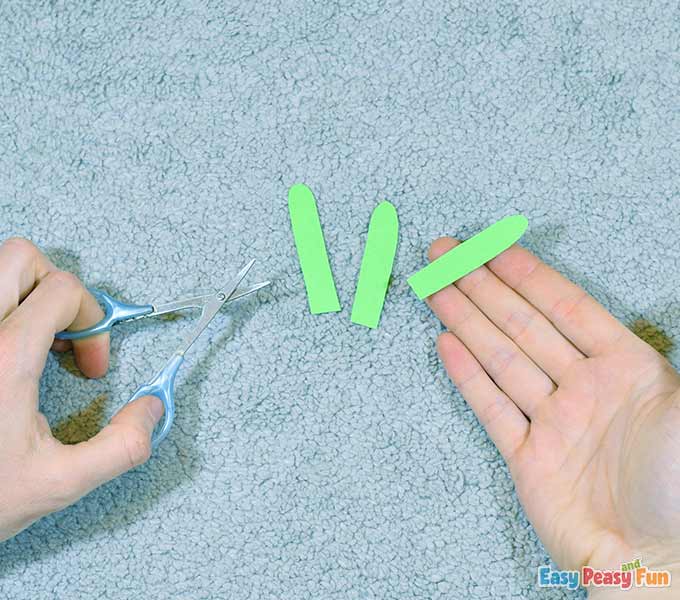
Draw three carrot leaves on the green color paper.
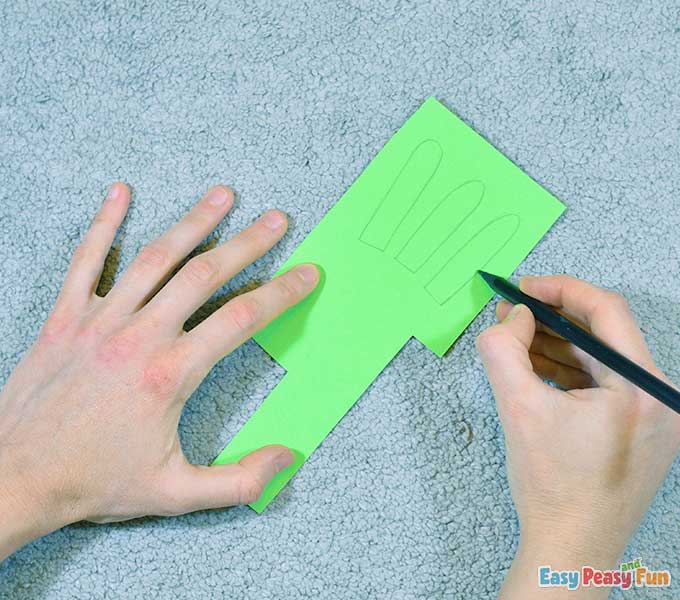
Cut them out.
Arrange the leaves as we did in this picture and glue them together.
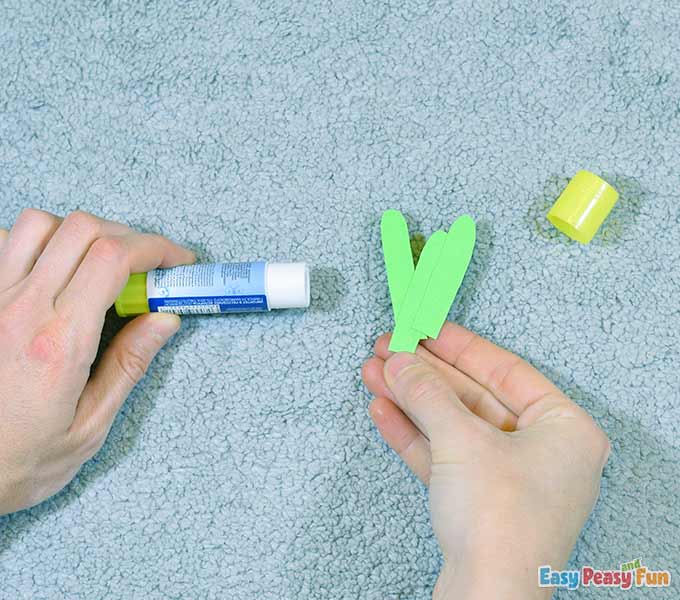
Then glue the leaves on the carrot.
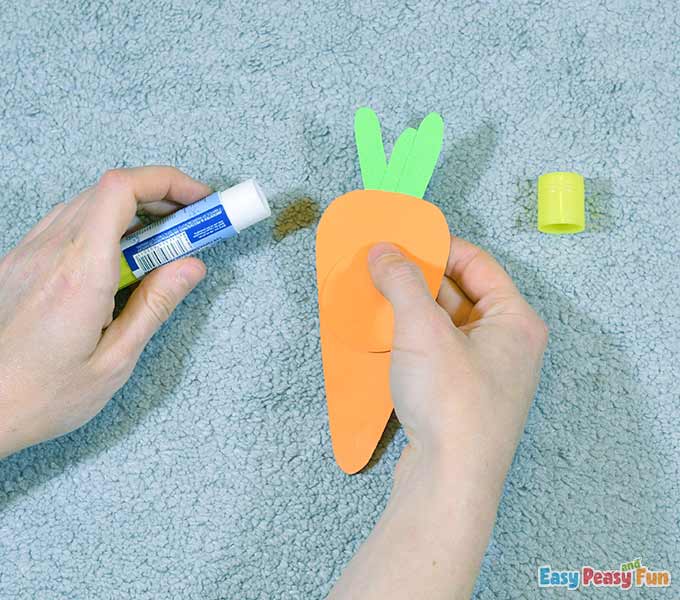
This is how the back part of the carrot should look like.
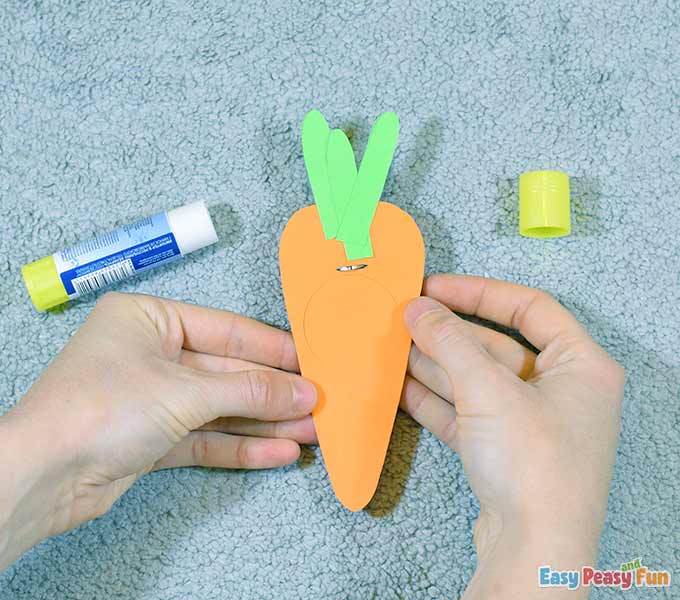
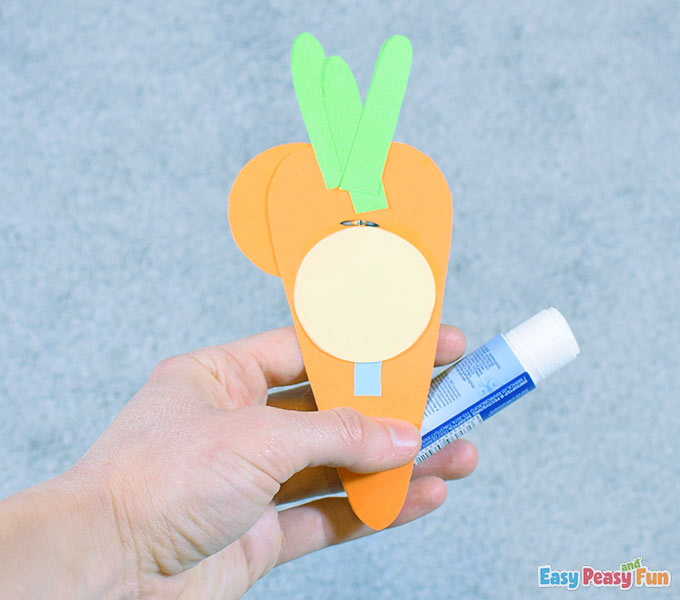
Now draw a 4,4 cm diameter circle on the pale orange color paper.
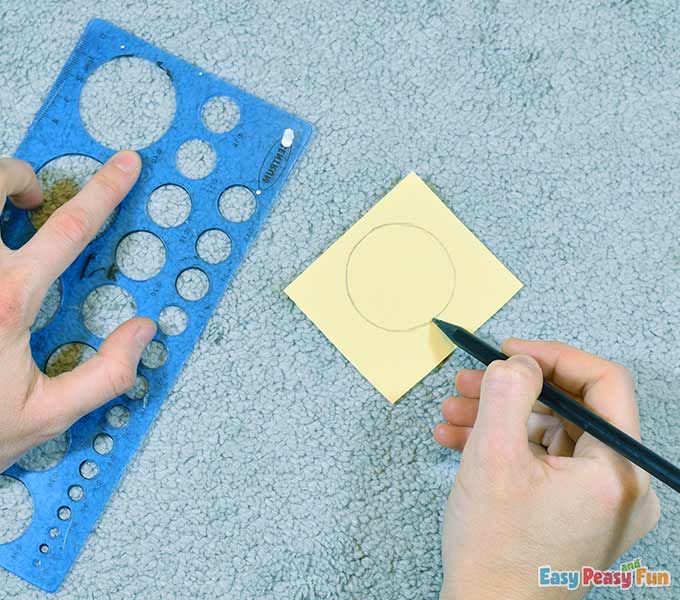
Cut it out.
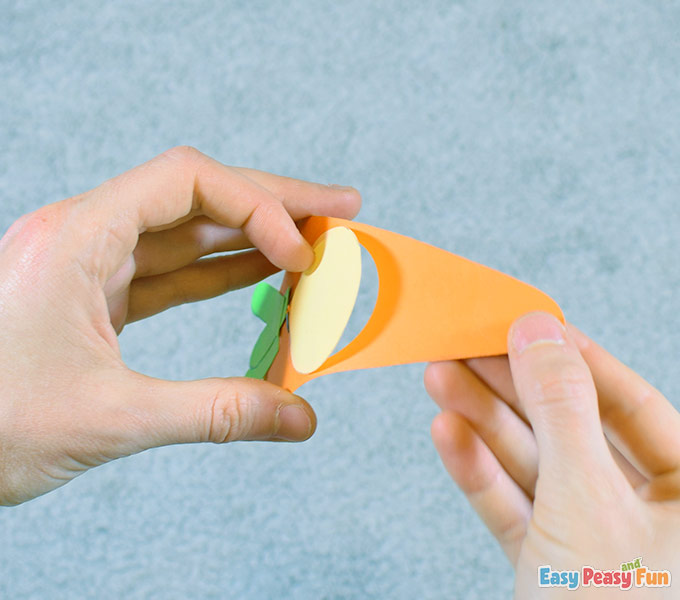
Apply some glue on the backside of the carrot, around the punched circle hole, but only on the top of it and its sides.
Leave the bottom part of the punched circle hole glue-free.
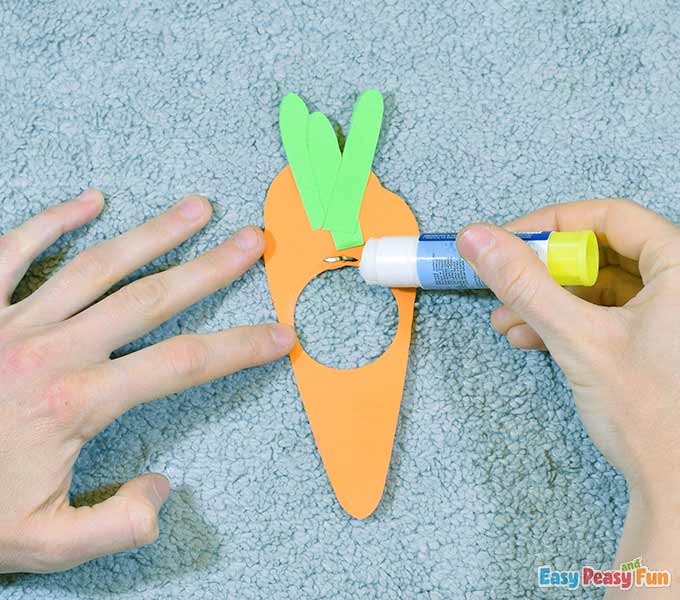
Attach the pale orange circle on.
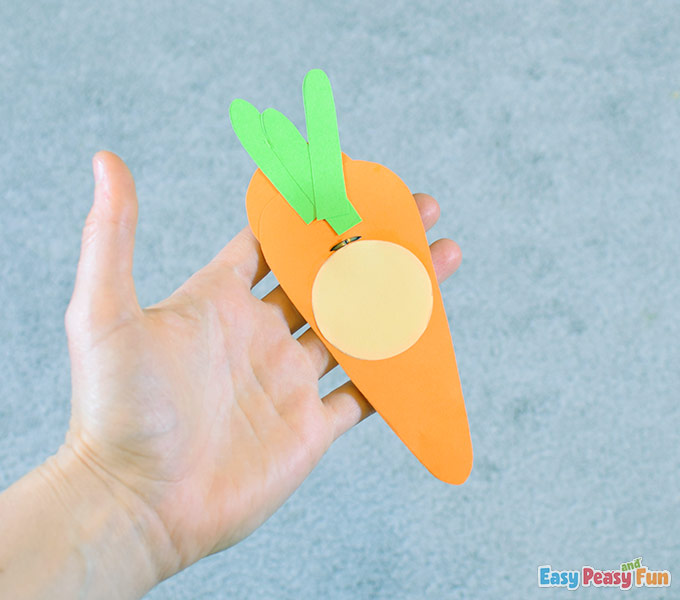
Do you notice the glue-free part in this picture? Did you do the same?
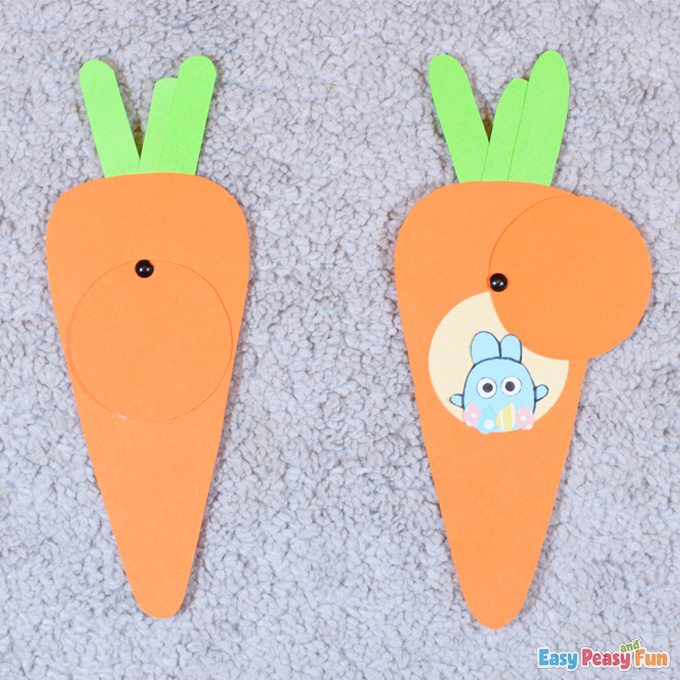
Ok, so this is how both of the carrots should look like by now.
The Bunny
 The Bunny
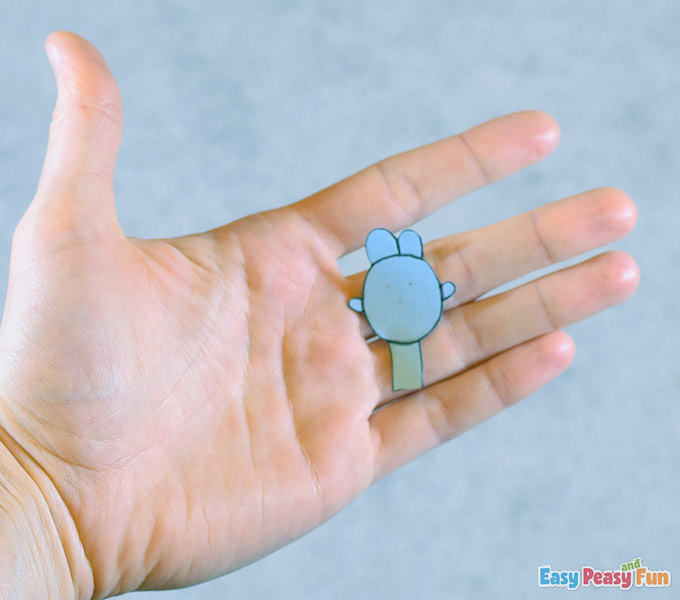
Draw a bunny on the light blue color paper.
You notice that we also drew a vertical stripe at the bottom of the bunny.
This stripe will help to connect the bunny to the carrot.
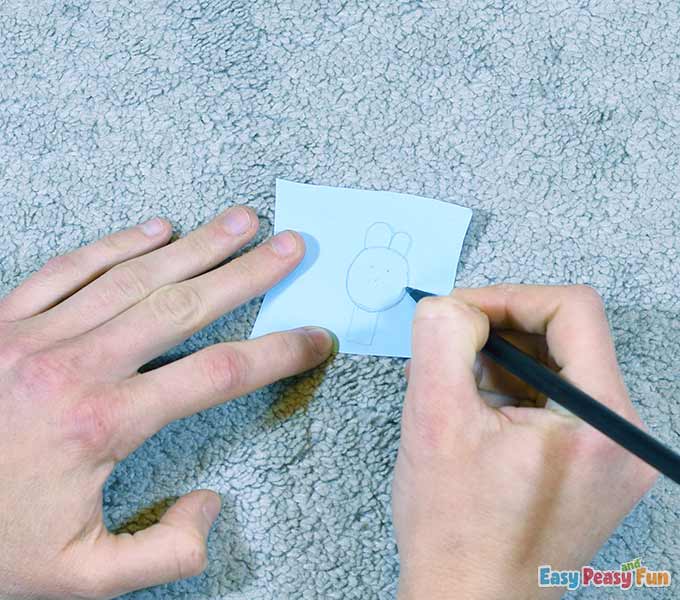
Outline the bunny with the black marker.
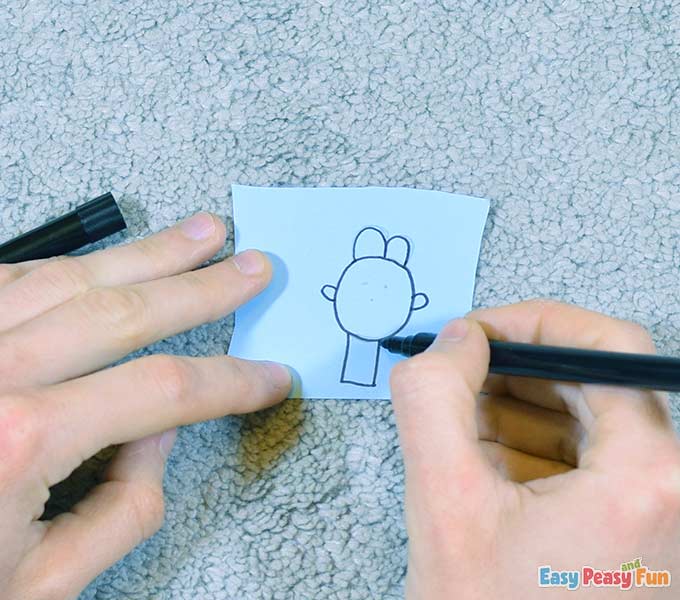
Cut it out.
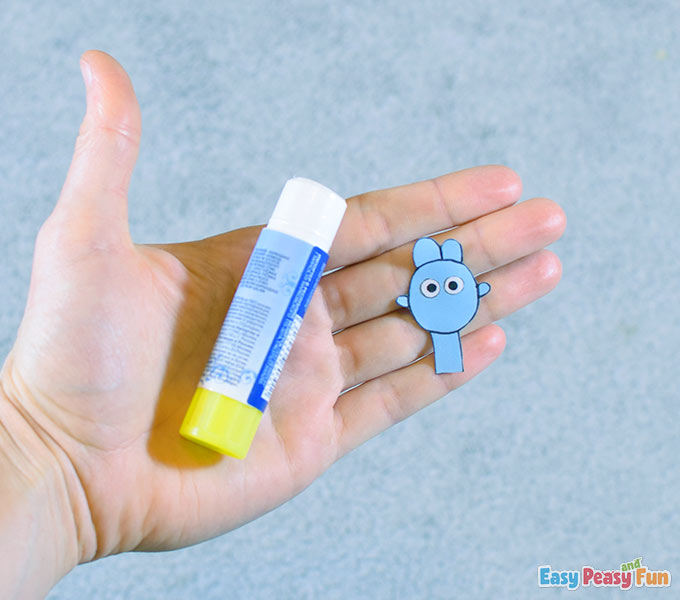
Draw two tiny bunny eyes and cut them out.
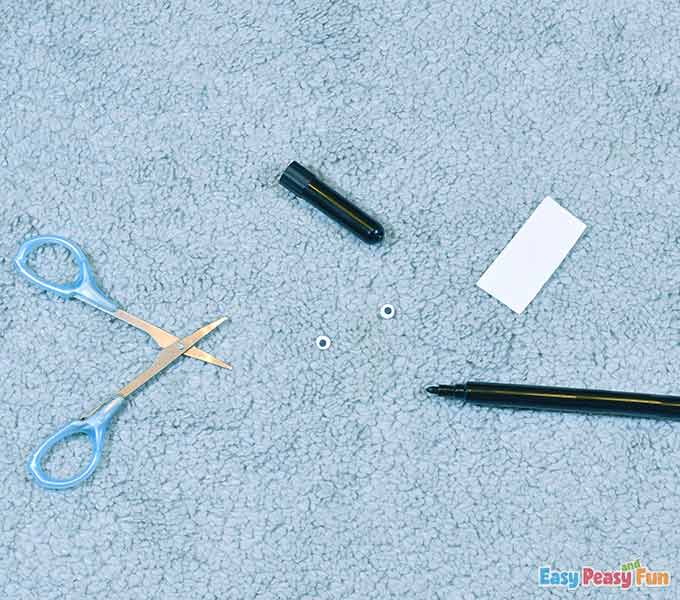
Attach the eyes to the bunny.
Glue the bunny inside the carrot.
Make sure you do not apply glue to the stripe yet. We will do that later.
Take the washi tapes and cut a few tiny eggs.
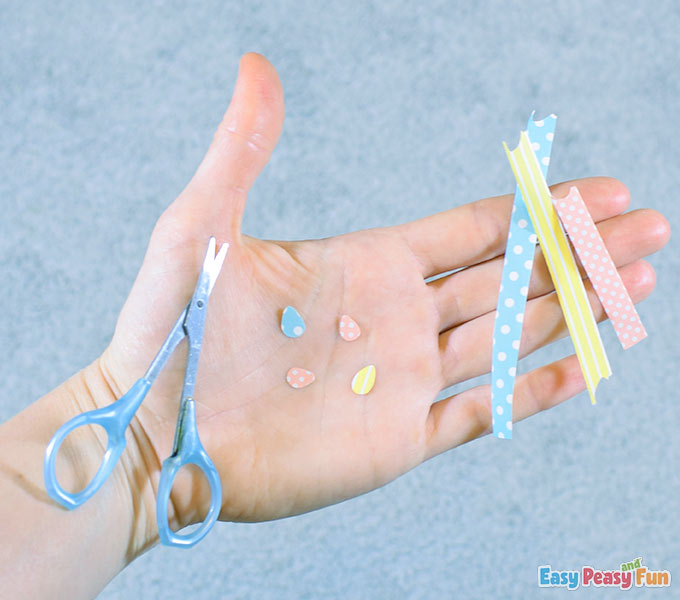
Glue the eggs inside the carrot, too, covering part of the bunny.
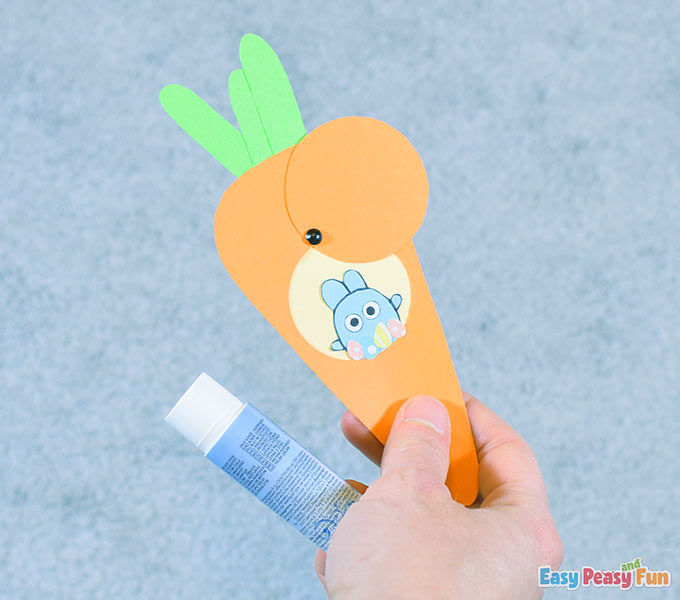
Apply some glue on the light blue stripe now and glue it to the carrot.
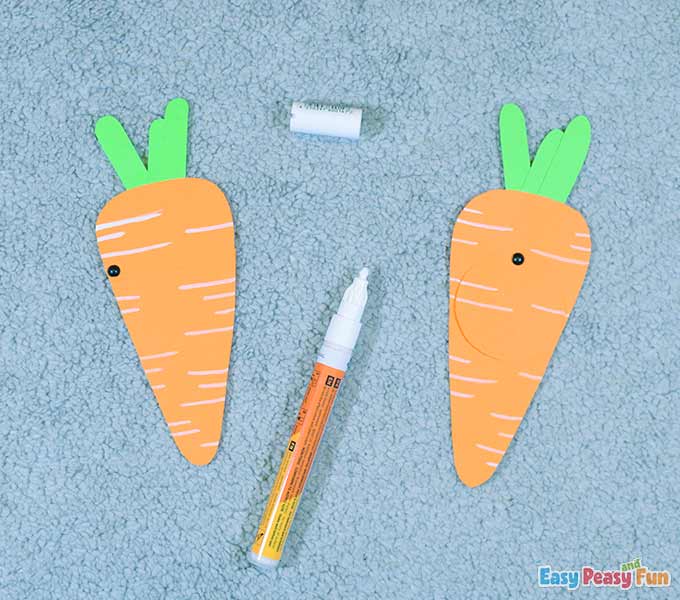
If you want your carrot to look even prettier, you can add texture to it with a white marker, a white gel pen or a white pencil, or even a black marker.
This step is optional; you can leave the carrot-like it is if you decide to.
 Now open your carrots.
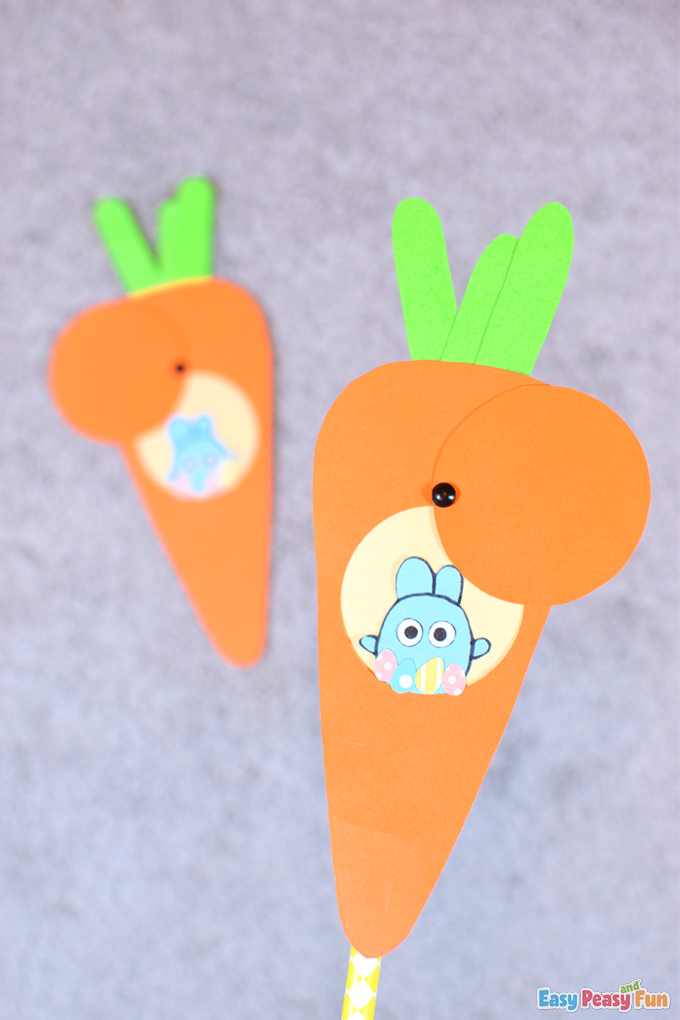
Done!
Happy Easter!
We hope you love this craft.
It is so amusing for us, and it is definitely one of our favorites!
Aren’t they cute?
Have fun crafting!
Get Your Bunny in Carrot Paper Craft Template Here
Want instant access to all of our printable crafts, activities, and resources?

With thousands of crafts, activities, worksheets, coloring pages, and drawing tutorials to print, you will always have just the resource you need at your disposal. Perfect for parents and teachers alike!