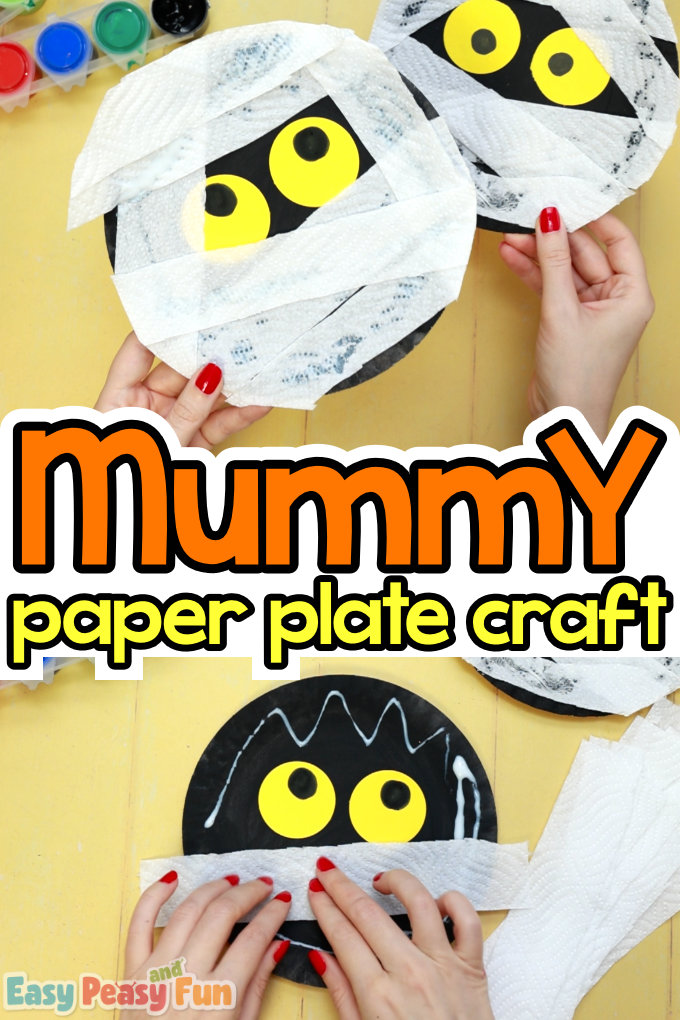
You don’t need many supplies to make this fun paper plate mummy craft; you most likely have everything you need already at hand.
This is a fun and frugal Halloween craft for kids that can easily be done in the classroom with larger groups of kids as well as at home. These can also be used as cool decorations.
Paper plate crafts are really great for crafting in the classroom; they are cheap, you don’t need many supplies to get the whole class crafty, and you can easily display the finished works on your classroom wall or bulletin board.
How to Make the Paper Plate Mummy Craft
What you need:
- paper plates
- black paint
- yellow paper or yellow paint
- white paper or white tissue paper (toilet paper, kitchen paper towels work out great)
- scissors
- glue
- paintbrush
Step by Step Tutorial
We’re working with mini paper plates, which are great for simple projects like this one. To start, have your kids paint the paper plate with black paint.
Black will give a nice contrast to this craft, although other great options would also be gray, brown, green (and all colors in between).
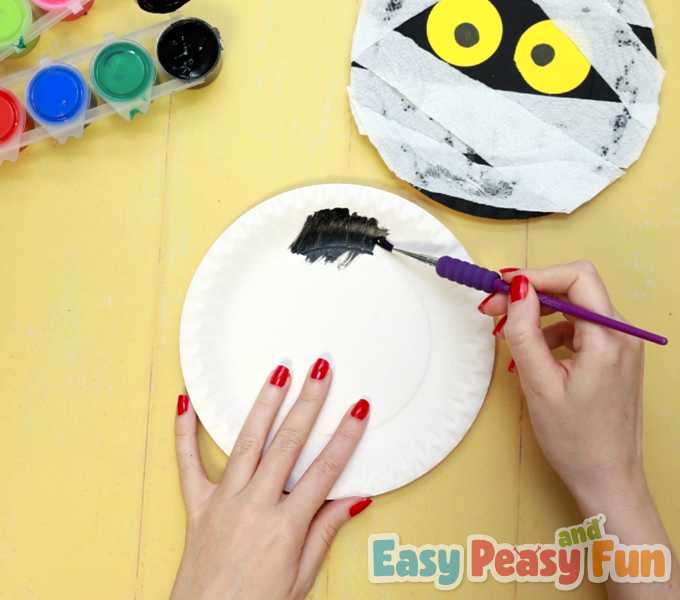
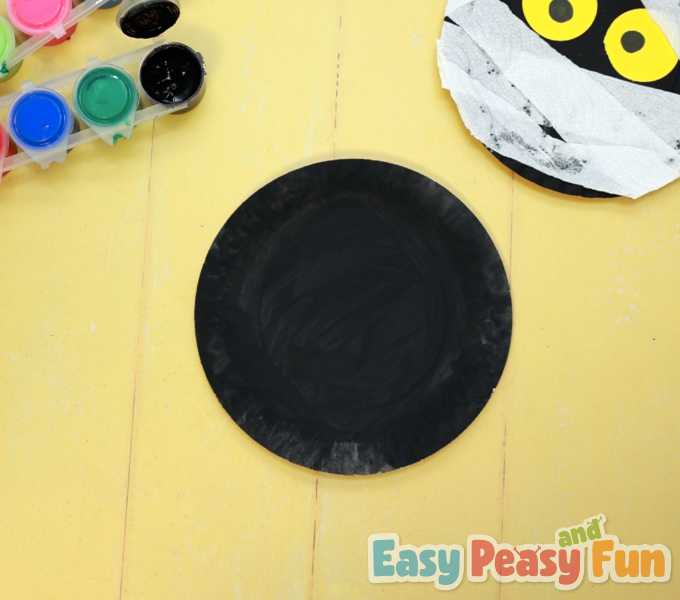
Set the paper plate aside once it’s fully painted and move on to making other parts of this craft as you wait for the paint to dry.
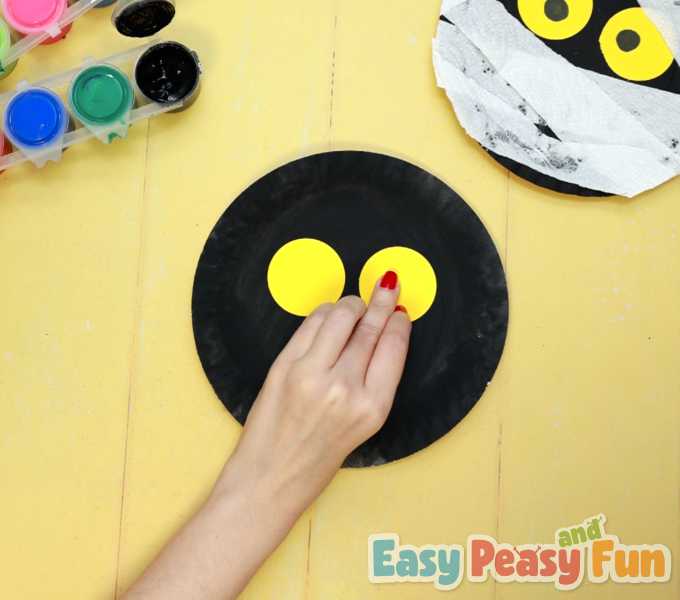
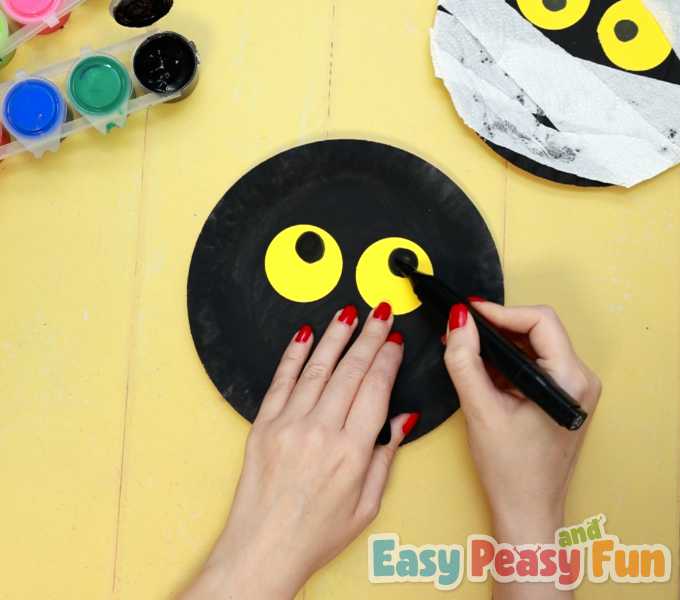
We made the eyes from yellow paper. Using a paper punch is a great way to make them, and kids absolutely love punching paper.
If you don’t have a paper punch, you can either cut the circles out of paper with scissors (use a round object as a stencil or freestyle it). You can also have the kids paint the circles directly on the paper plate – a round sponge brush is perfect for the occasion.

Glue the yes on the paper plate (they don’t need to be yellow either; white, lime green, red or any other color works out just as well).
Draw black dots inside the eyes to make the pupils.
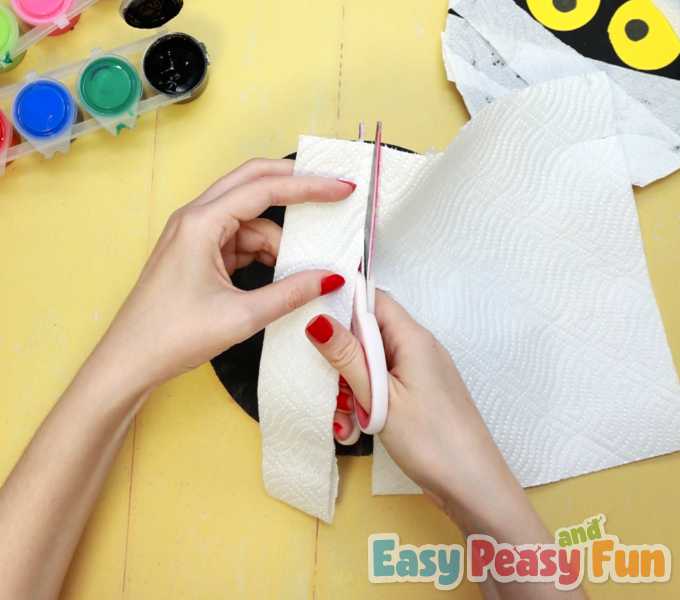
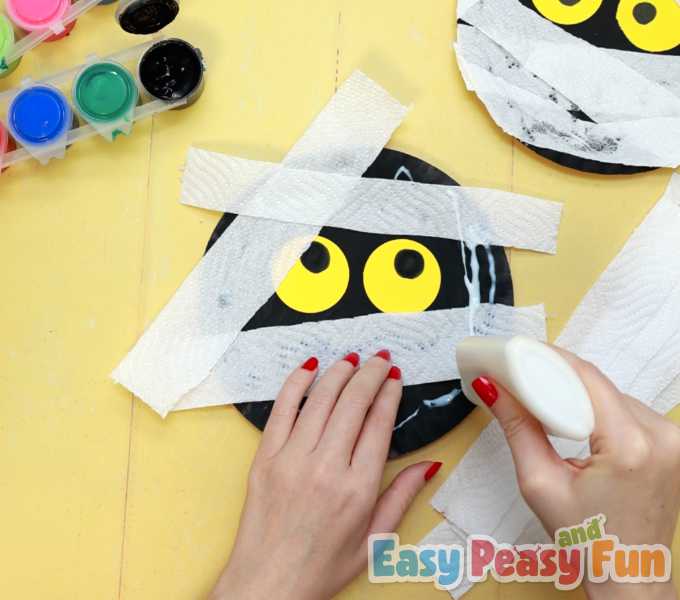
Next, come to bandages. We used paper kitchen towels to make them, Cut along the paper towel to make thinner strips.
Apply glue directly on the paper plate.
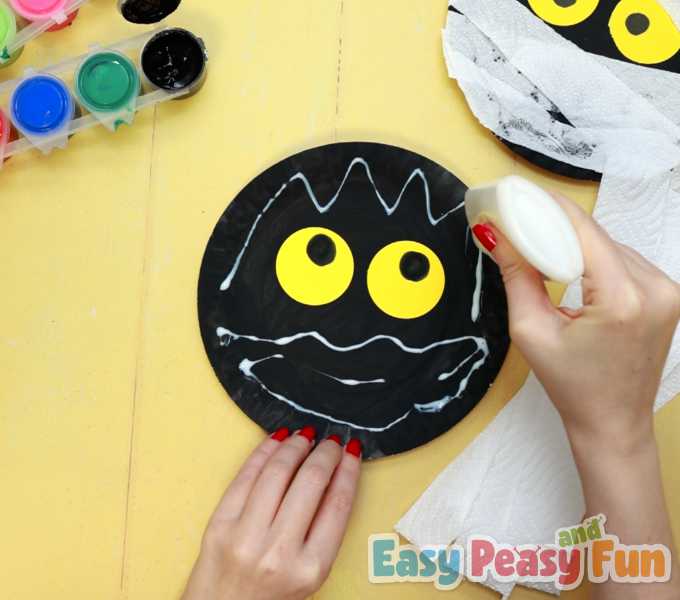
Glue the first paper strip on the paper plate.
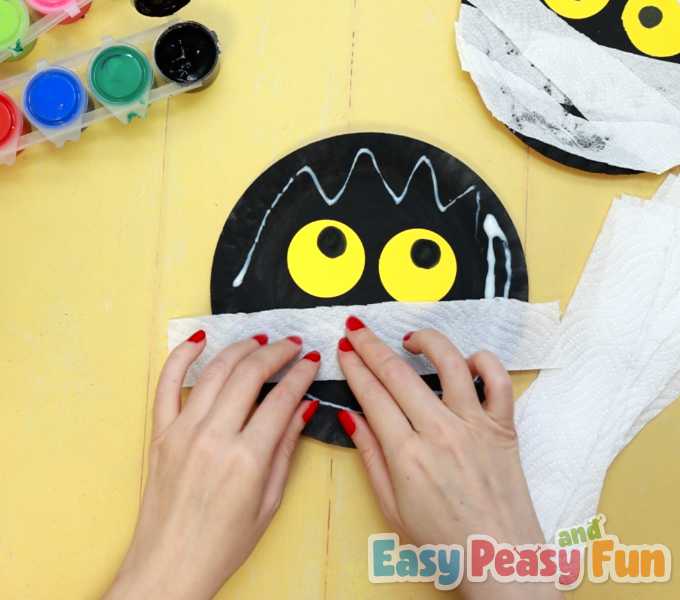
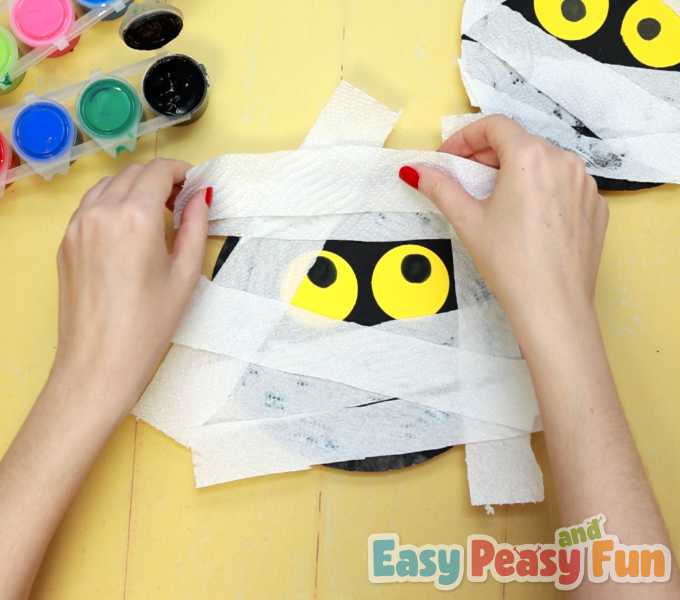
Continue adding more, also adding more glue where needed.
Add as many as you like.
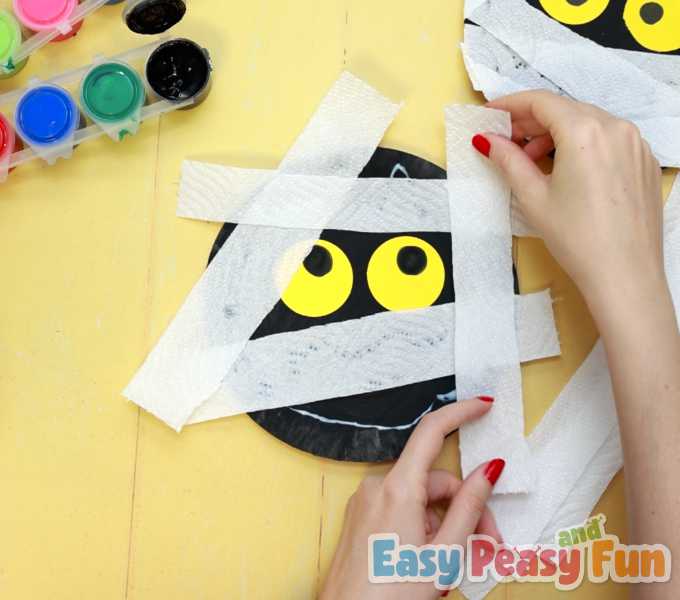
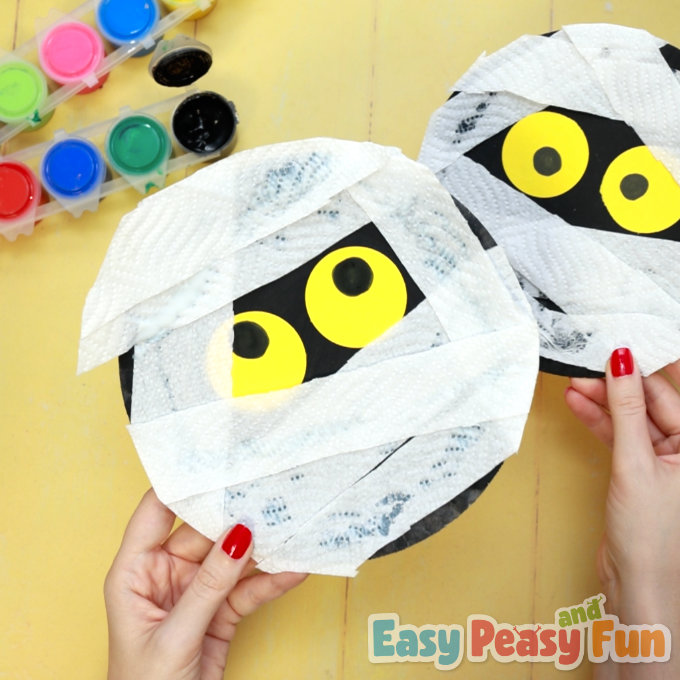
The only thing to keep in mind is to not cover the eyes as you go.
Allow the glue to dry a little and then cut off any extra paper strips.
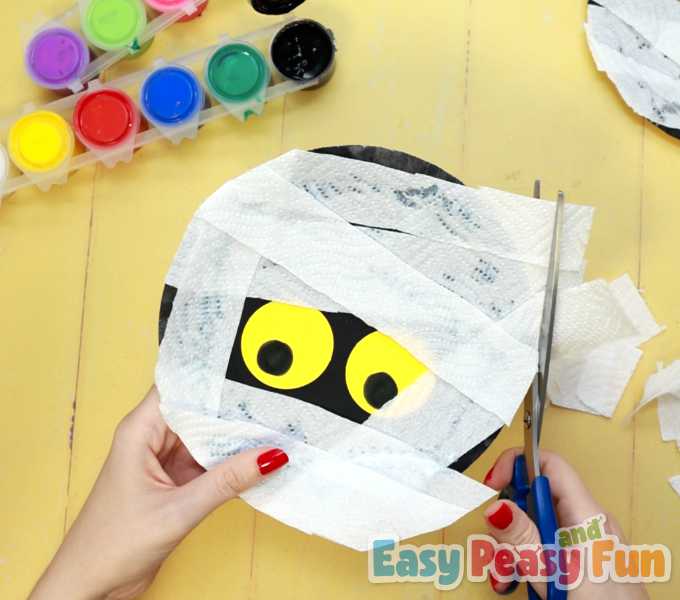
All done, your paper plate mummy craft is complete.
Want instant access to all of our printable crafts, activities, and resources?

With thousands of crafts, activities, worksheets, coloring pages, and drawing tutorials to print, you will always have just the resource you need at your disposal. Perfect for parents and teachers alike!