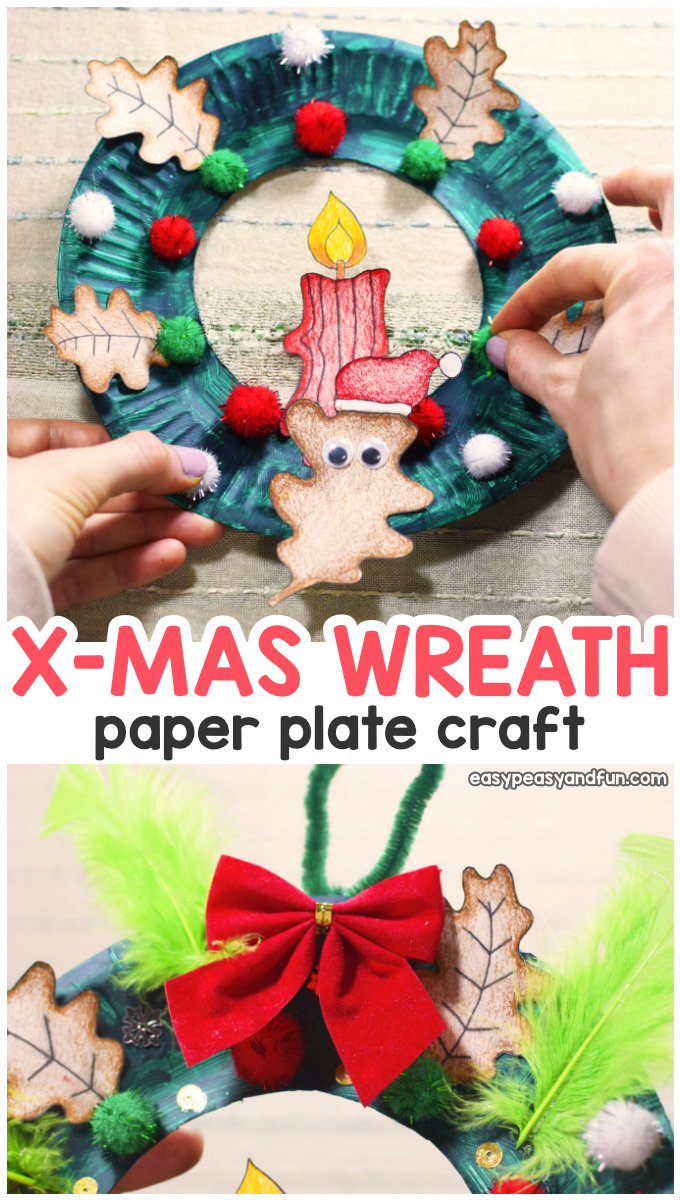
There are many ways you can make a Paper Plate Christmas Wreath, the one we are sharing today is perfect for a snow-less Christmas as it also features some fall leaves!
While we all want snow for Christmas, sometimes the weather just won’t cooperate.
*this post contains affiliate links*
Is it winter already? Gosh, indeed it is and here comes our favorite holiday of them all, Christmas. Who doesn’t love Christmas and Christmas crafting? What a great time, huh?
Sitting in the warmth of our homes beside a sparkly giant Christmas tree filled with decorations, eating crunchy cookies and receiving awesome gifts from our loved ones.
And what is more satisfying than making our own Christmas decorations and hanging them around our homes?
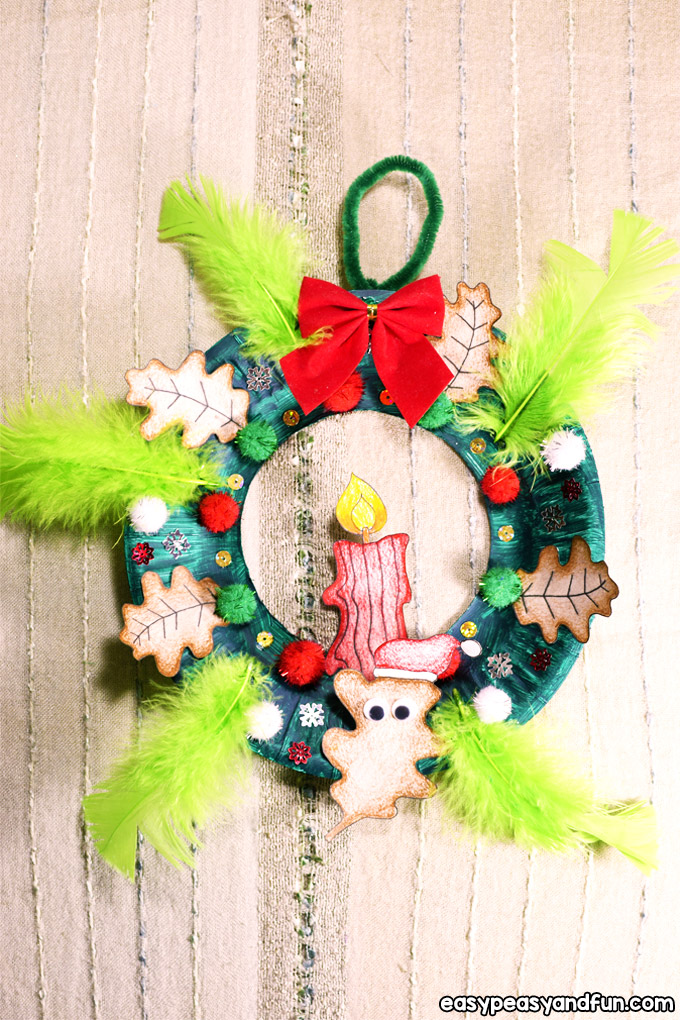
And today’s project would be a paper plate Christmas wreath.
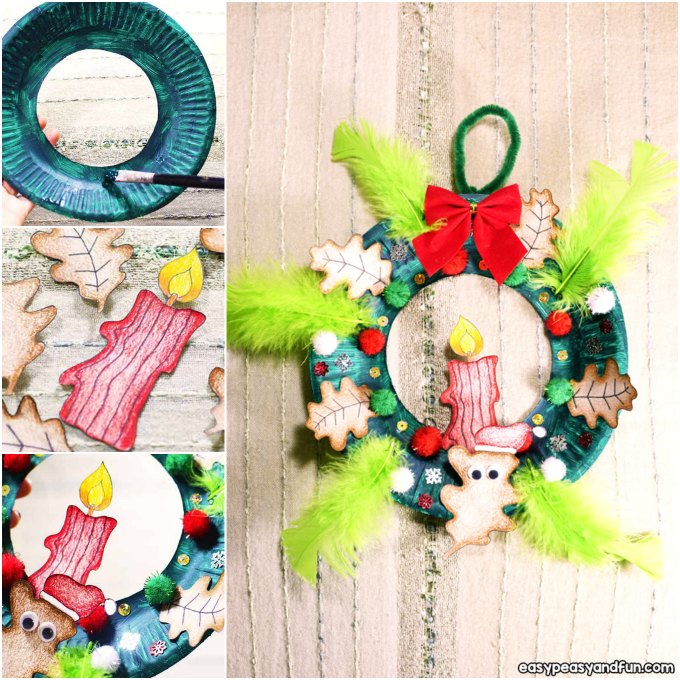
How to Make Paper Plate Christmas Wreath
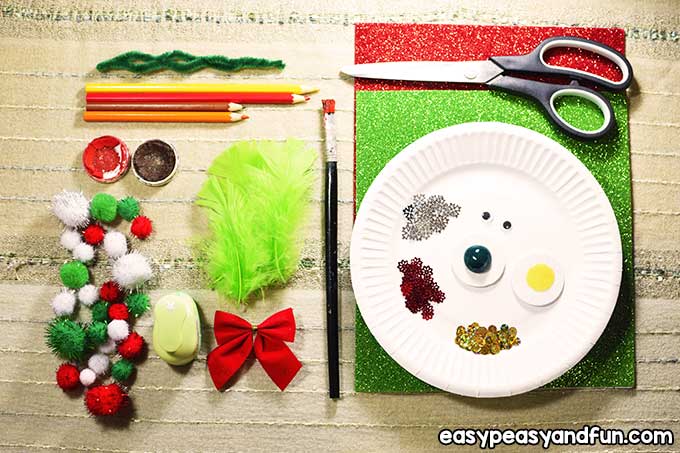
What you need:
- one paper plate
- some green acrylic color
- watercolors (brown, red)
- colored pencils (yellow, orange, red, brown)
- pom poms (green, red and white ones)
- plastic beads (silver, gold, and red ones)
- five green feathers
- one red bow
- a red self-adhesive foam sheet
- a green self-adhesive foam sheet
- one-star perforator
- scissors
- glue
- a brush
- oak leaves and a candle (from the printable PDF provided)
- two self-adhesive googly eyes
- one green chenille stick
Step by Step Instructions
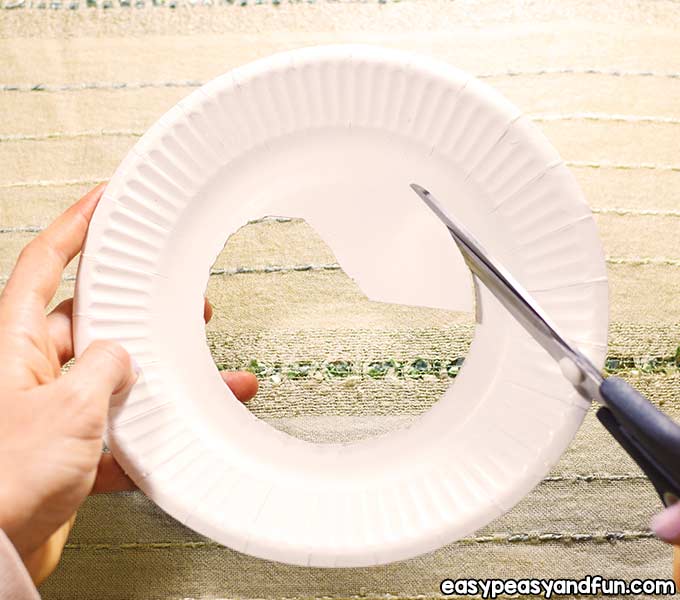
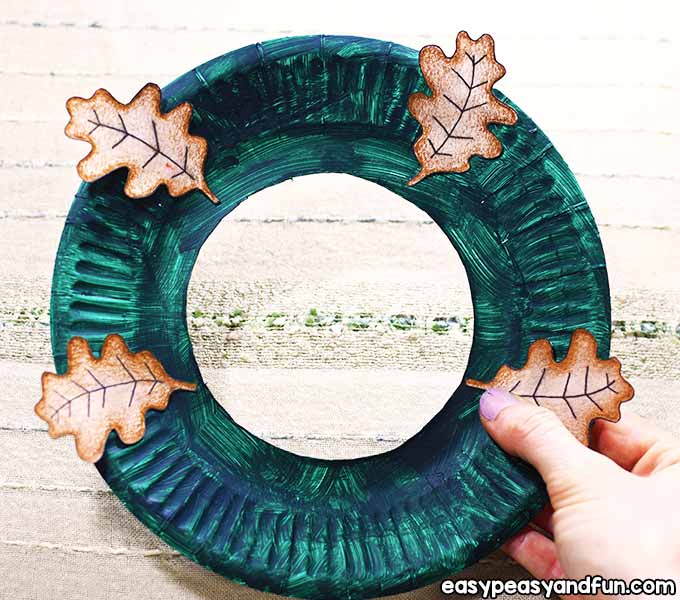
Cut out the circle in the middle of the paper plate using your scissors.
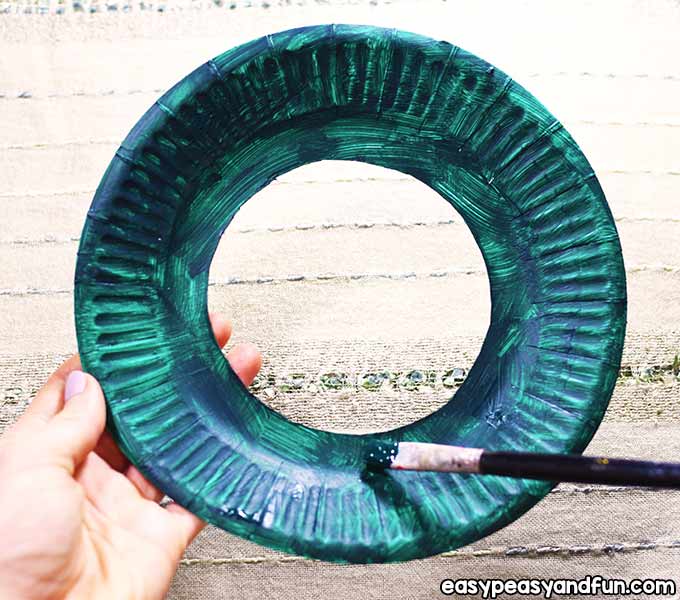
Paint the rest of the paper plate with the green acrylic color.
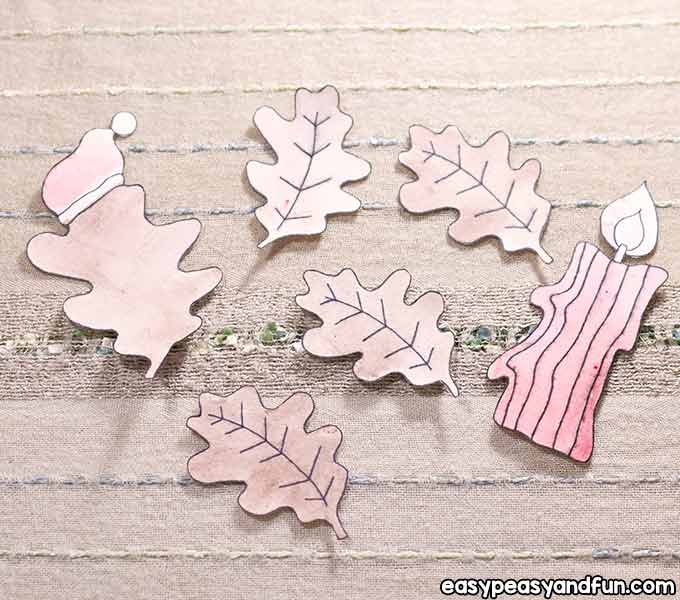
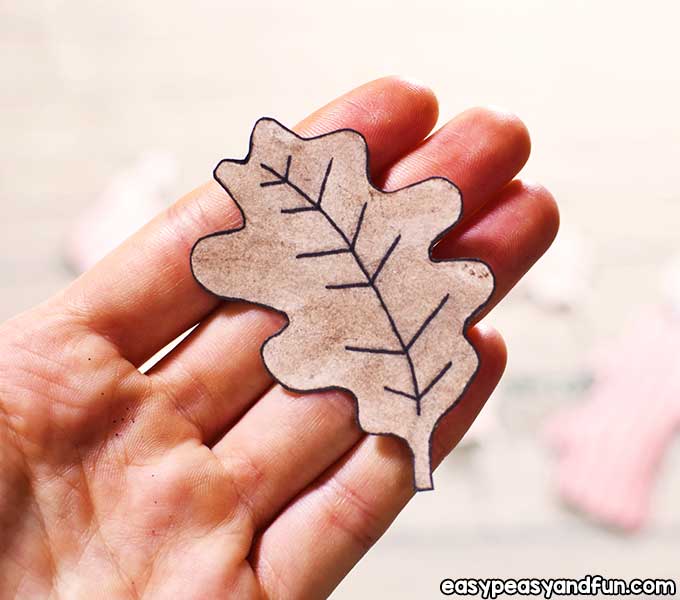
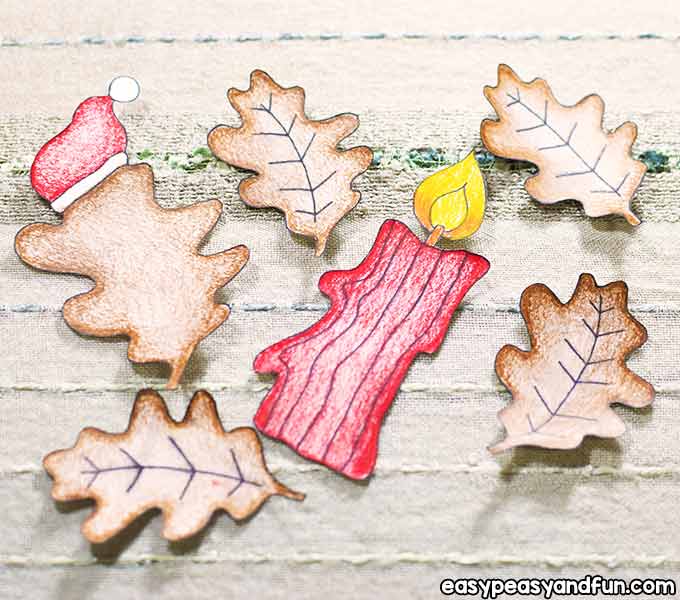
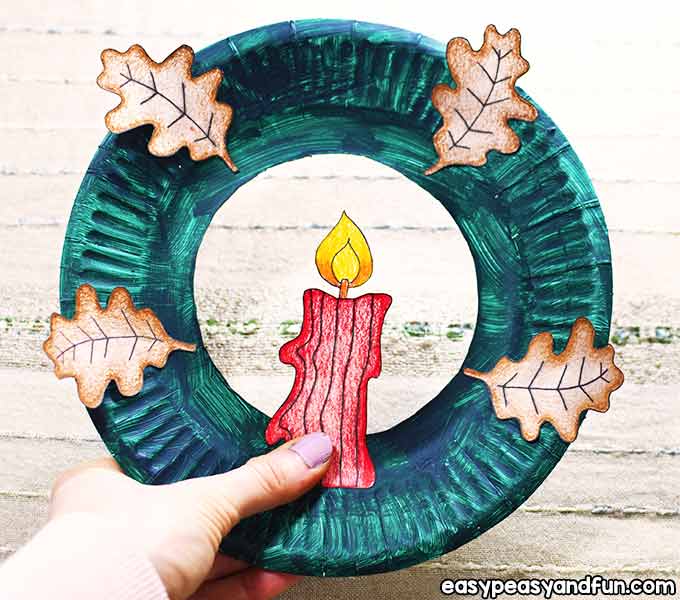
Print and cut the oak leaves and the candle (use cardstock).
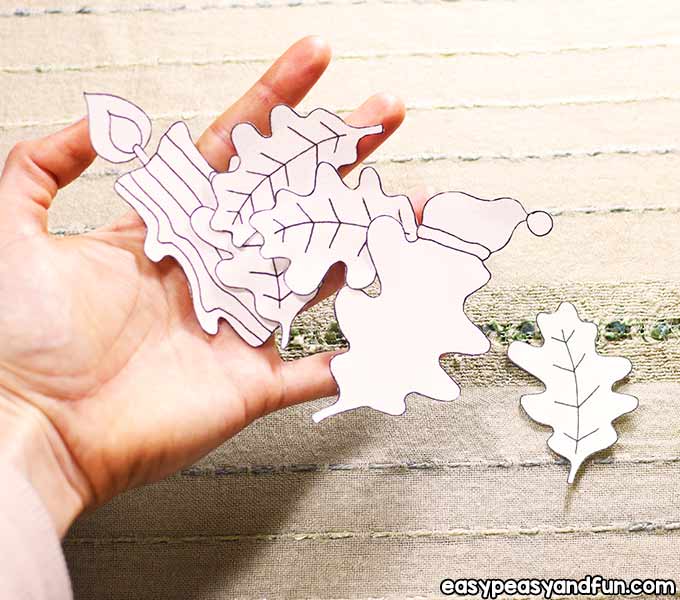
Color them with watercolors first and then using colored pencils, color their edges.
Outline them nicely …
… and give them a bit of a shadow along the edges with your color pencils …
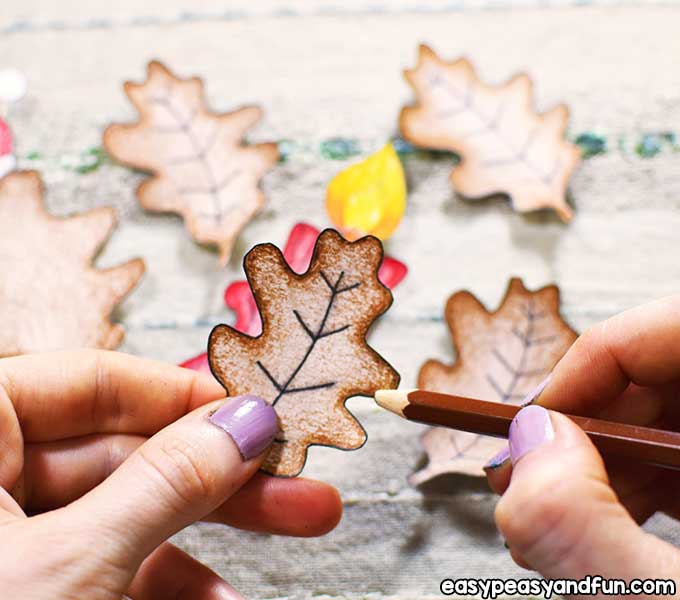
… so they’ll look neat.
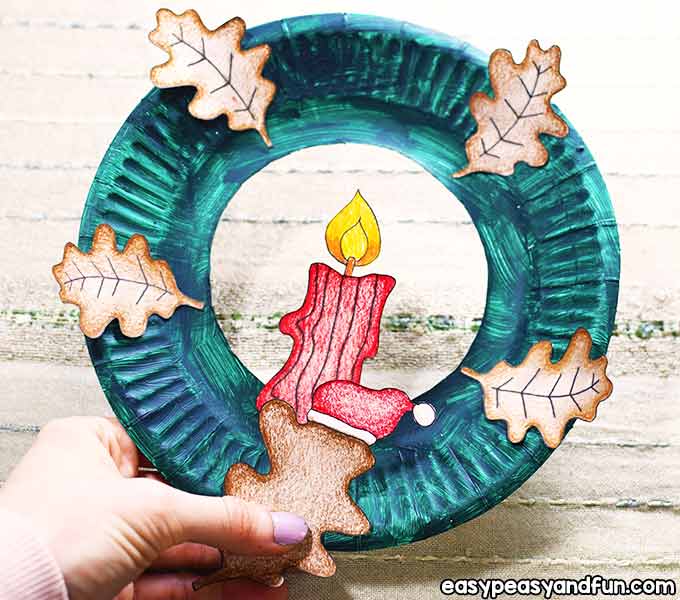
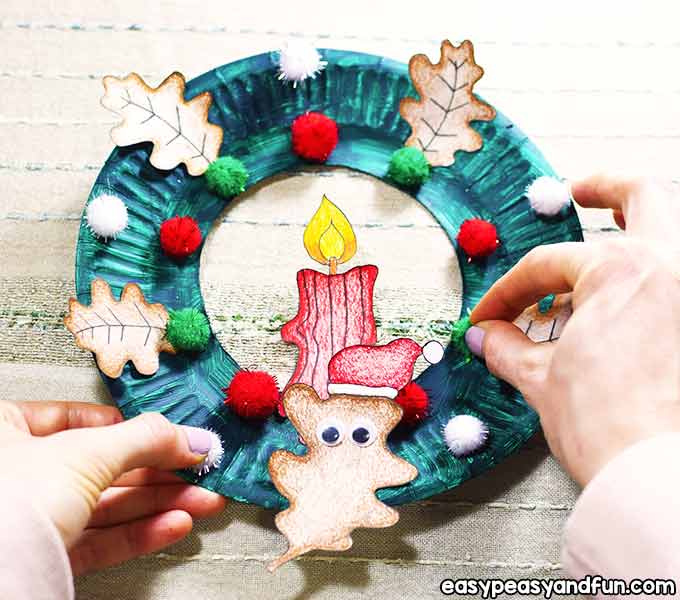
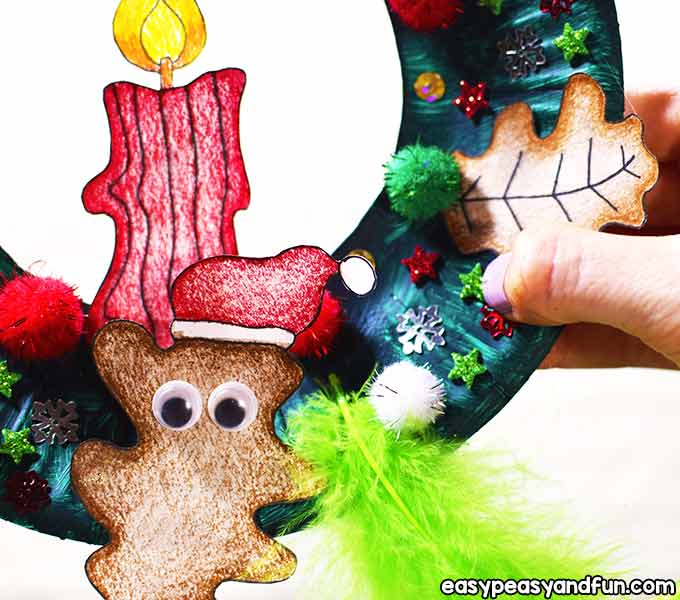
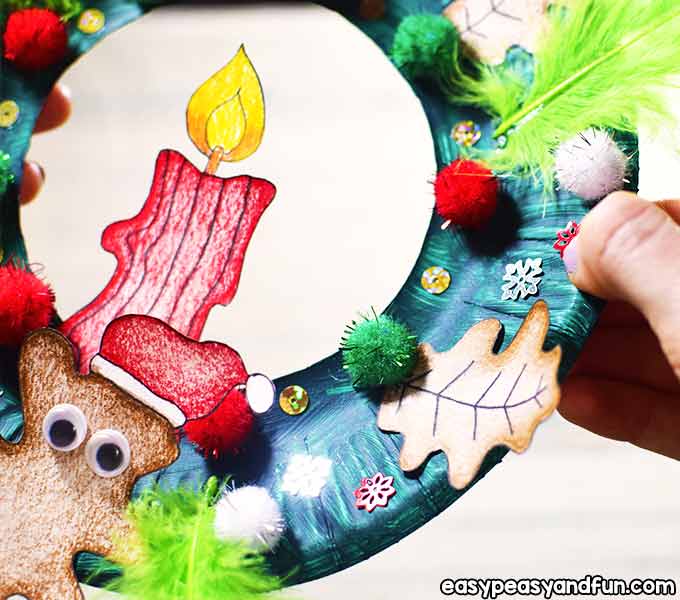
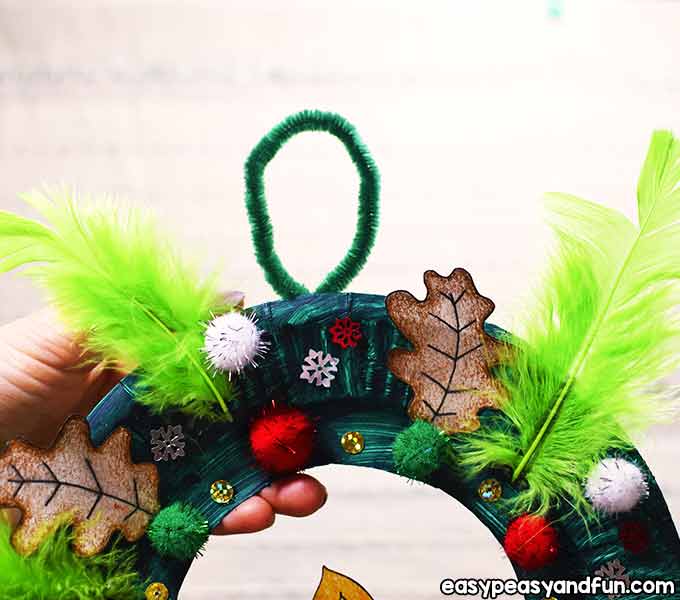
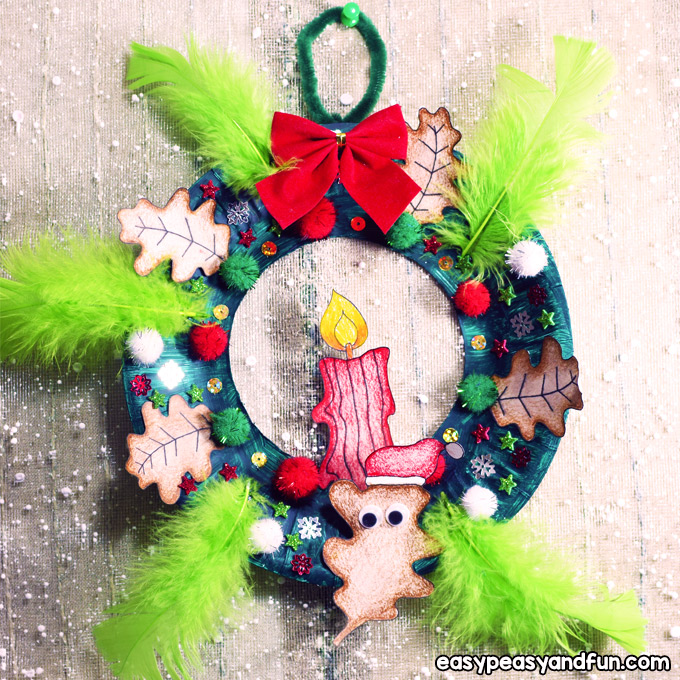
Glue the oak leaves on the wreath …
… then apply some glue on the candle and place it in the middle of the wreath.
Take the oak leaf that has a Christmas hat on it, and glue it in front of the candle.
Place the two googly eyes on the main oak leaf that has a hat.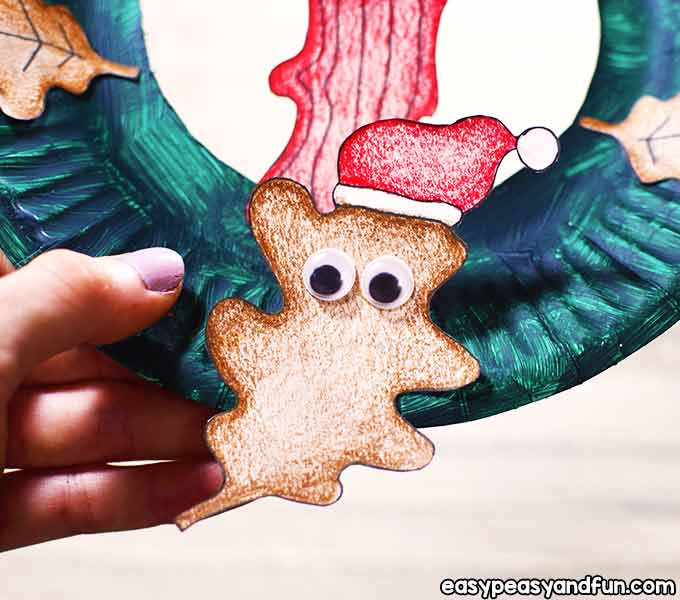
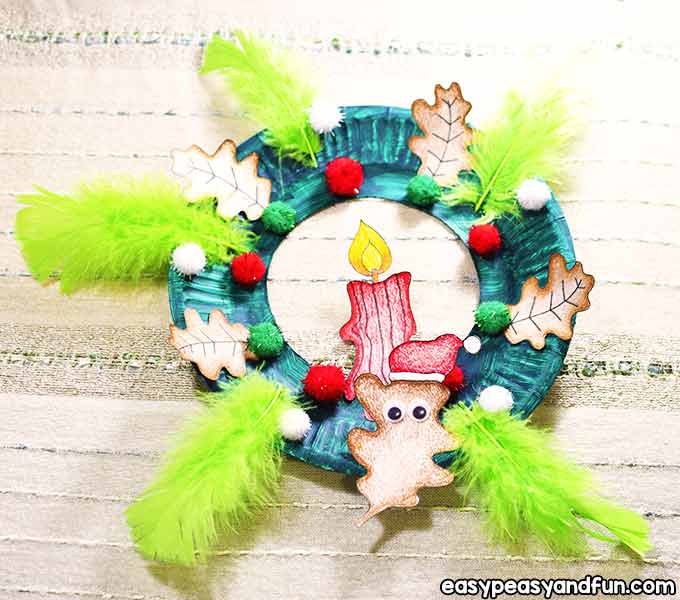
Put some glue on the pom-poms and arrange them around the wreath.
Apply some glue on the green feathers and arrange them around the wreath, leaving equal space between them as shown in the picture.
Use your star perforator to cut out some green and red stars from the self-adhesive foam sheets and then place the stars on the wreath.
Glue as many plastic beads around the wreath as you want to.
Take the green chenille stick, form a drop-like shape and twist the end …
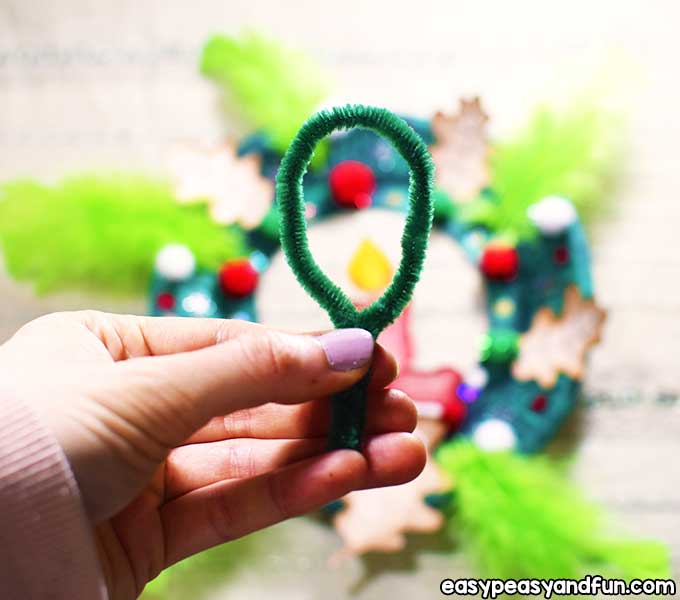
… then glue it on the back of the paper plate.
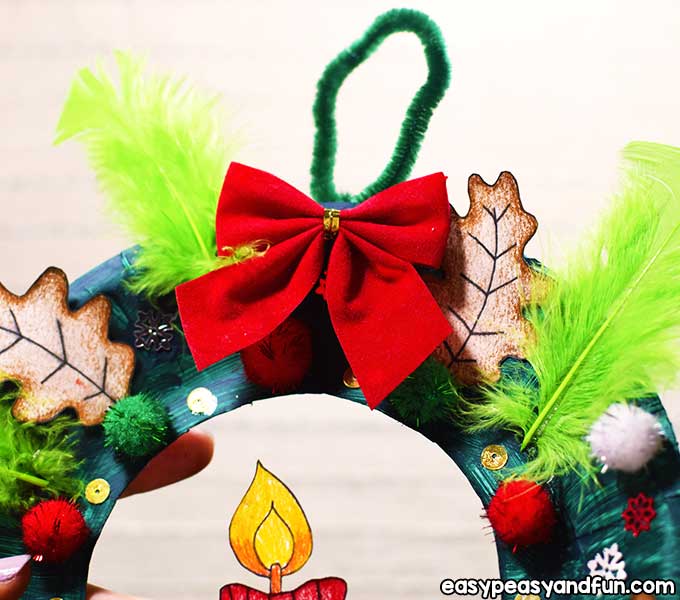
Take the red bow, apply some glue on the back of it and glue it on the upper part of the paper plate, in the middle.
Done!
Where are you planning to hang this paper plate Christmas wreath now?
We will be so happy to hear from you, so feel free to send us photos of the craft you made.
Happy crafting and stay tuned!
Grab the Templates for this Craft here
Get this freebie here: Template for Christmas Wreath
Want instant access to all of our printable crafts, activities, and resources?

With thousands of crafts, activities, worksheets, coloring pages, and drawing tutorials to print, you will always have just the resource you need at your disposal. Perfect for parents and teachers alike!