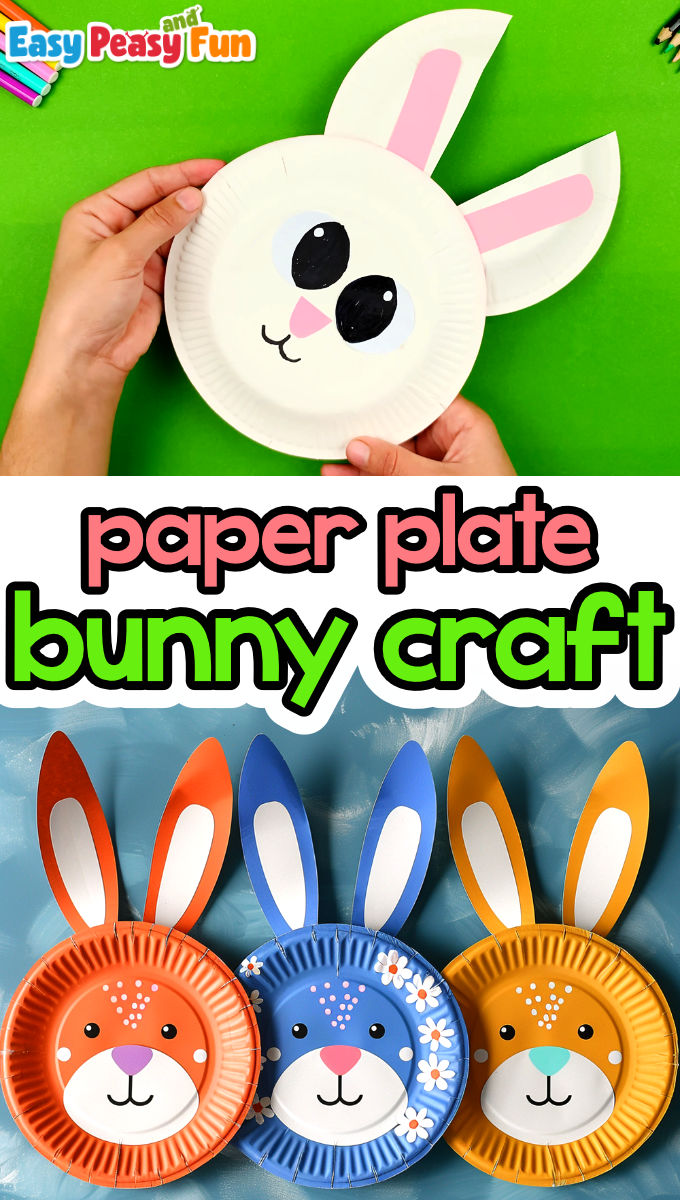
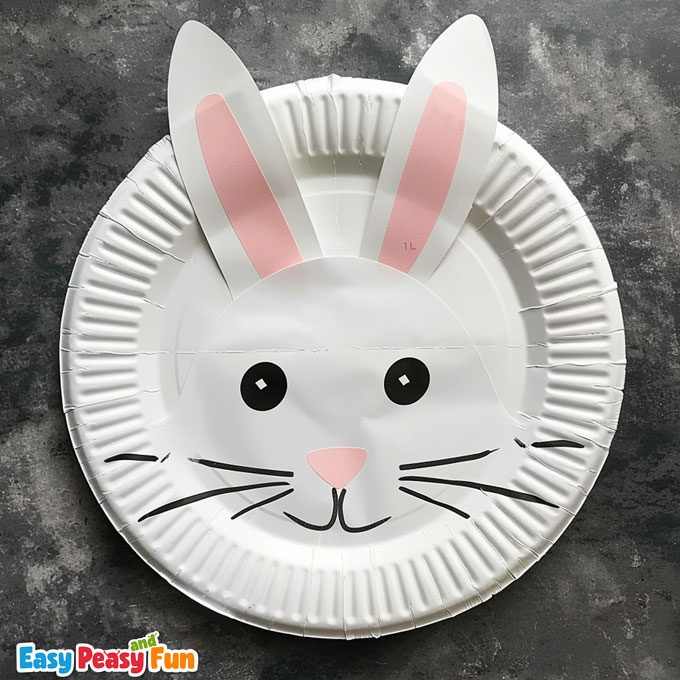
Inexpensive and fun, that’s what paper plate crafts are all about! In this tutorial, we will show you how to make a simple paper plate bunny craft that’s perfect for easter.
This is a great project to make with the kids in the classroom as it’s a quick one and easy to follow. Once done, these paper plate bunnies can be showcased on a bulletin board, making for the most wonderful Easter display.
*This post contains affiliate links*
50 paper crafts your kids can actually do themselves

No fancy supplies — just paper, scissors, and a little imagination.
Be the first to get it on release day — and lock in the lowest price guaranteed.
You can keep it simple if you need a quick Easter craft and have the kids leave the paper plates white, or you can have the kids paint their paper plates, making the craft even more adorable.
How to Make the Paper Plate Bunny Craft
What you need:
- scissors
- glue
- two paper plates
- white paper
- pink color paper
- black marker
- white chalk marker (optional)
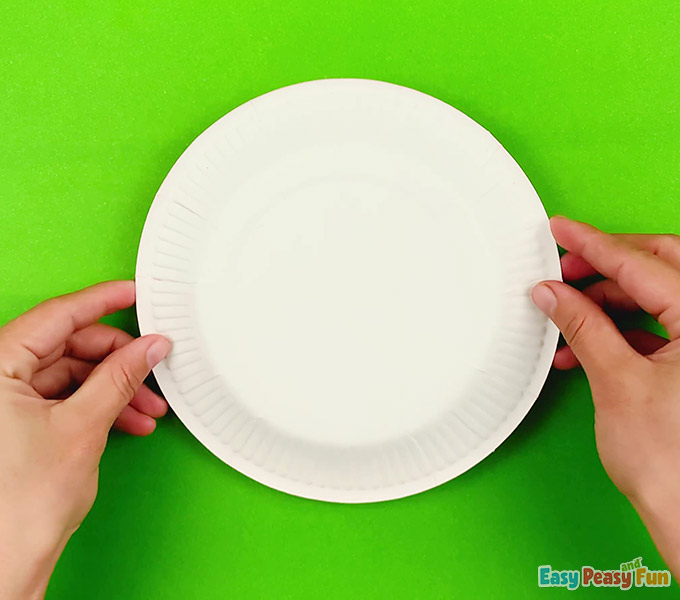
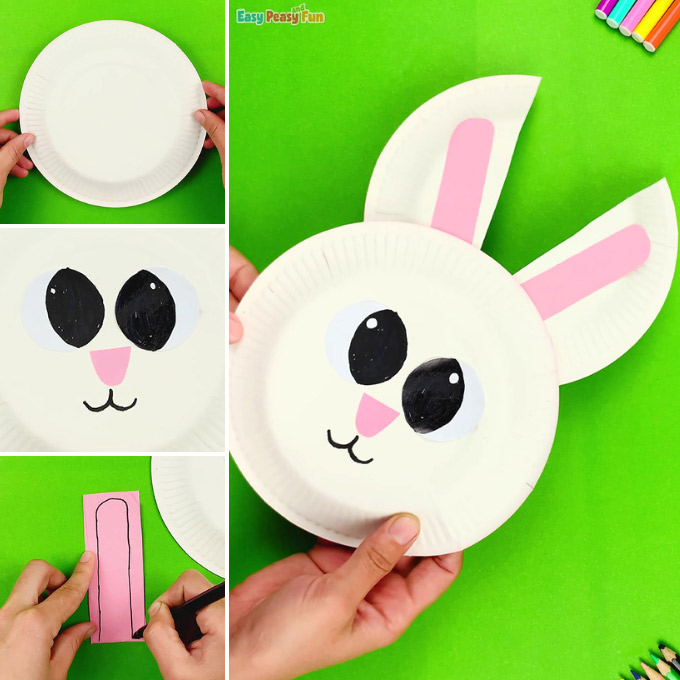
Step by Step Tutorial
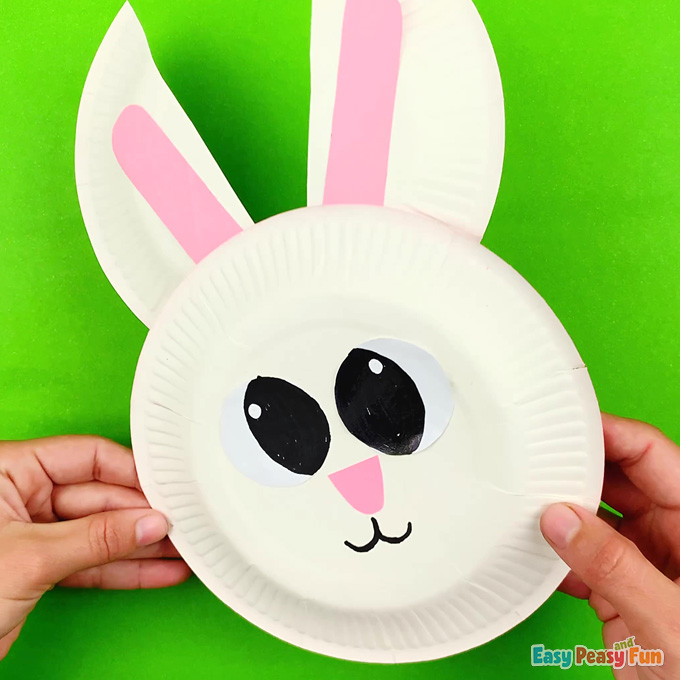
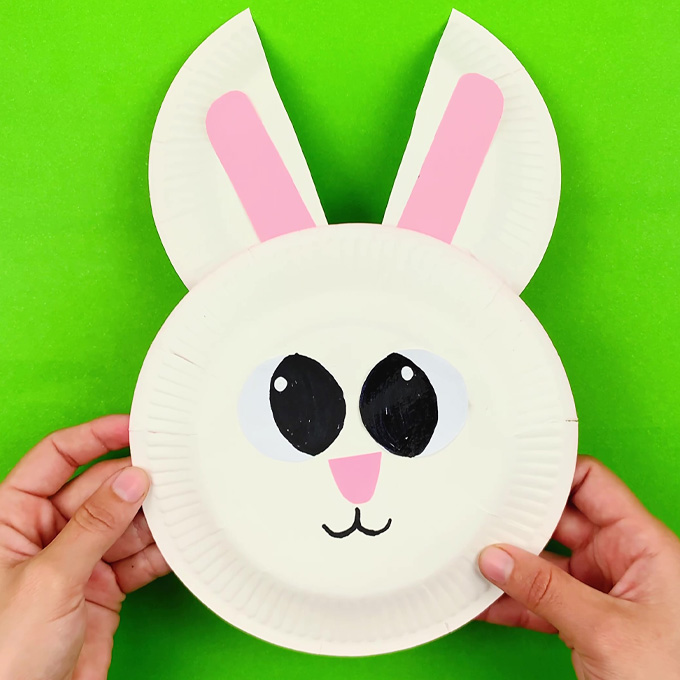
You can leave the paper plate as is, as many bunnies are white. You can also have the kids paint the paper plates (all colors work our great).
If you have a paper punch, punch out a bunch of white circles (especially handy if your kids painted the paper plates). These circles will be used to make the eyes.
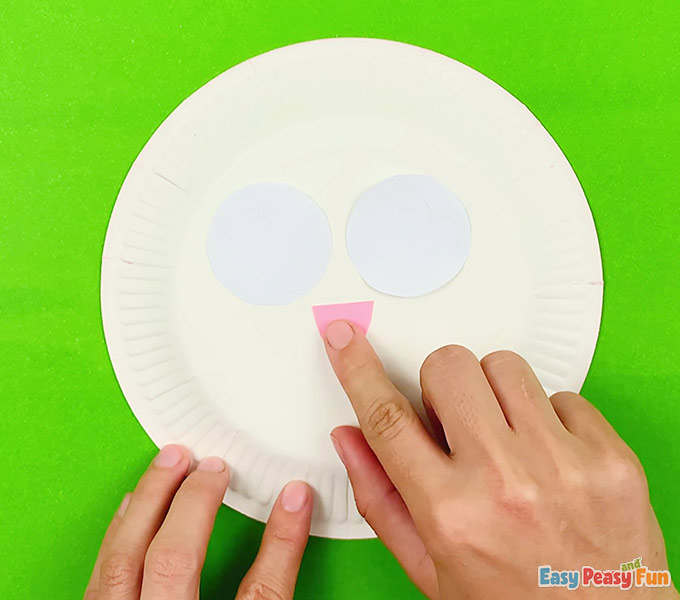
Cut out a triangle or oval shape from the pink paper for the bunny’s nose.
Glue the eyes and nose onto the paper plate.
Make the eyes with the black marker.
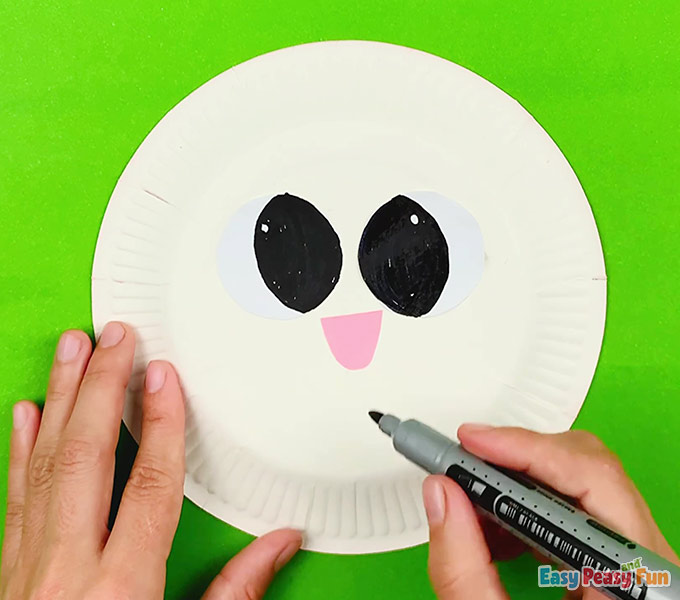
Have the kids draw the mouth, too!
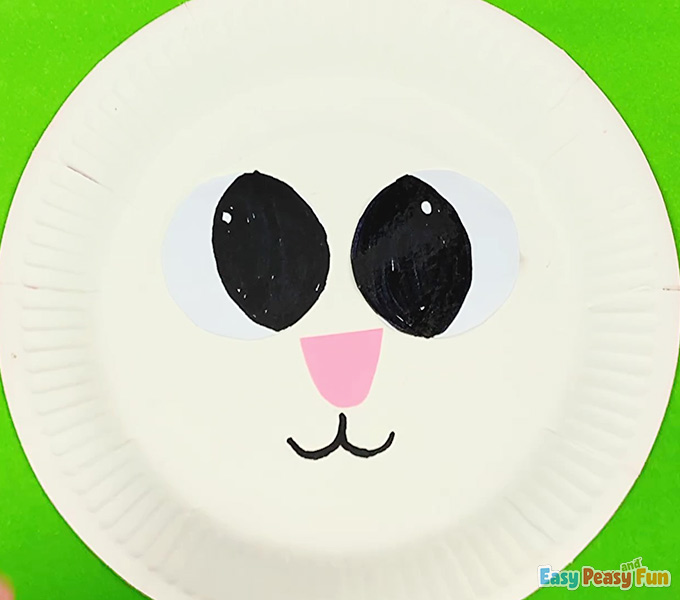
You can also have the kids draw white spots inside the eyes.

Now it’s time to create those adorable bunny ears!
You can cut parts of the ears out of colored paper, or you can have the kids paint the pink part on the paper plate directly.
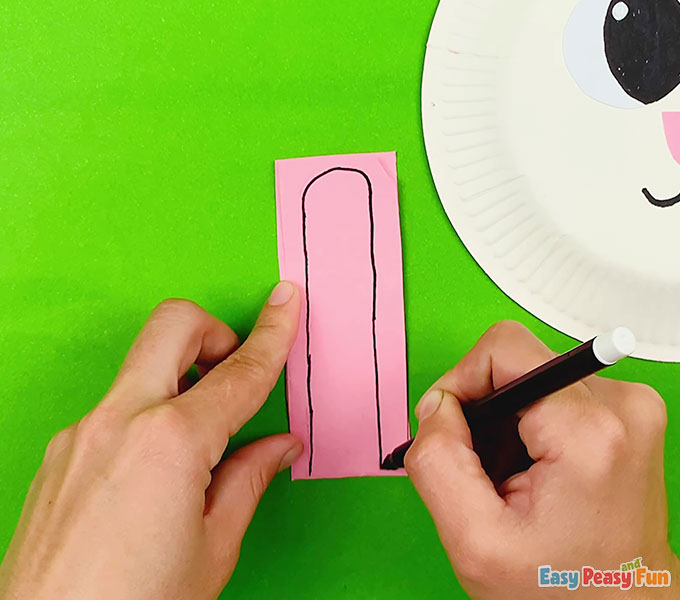
It will look perfect either way.
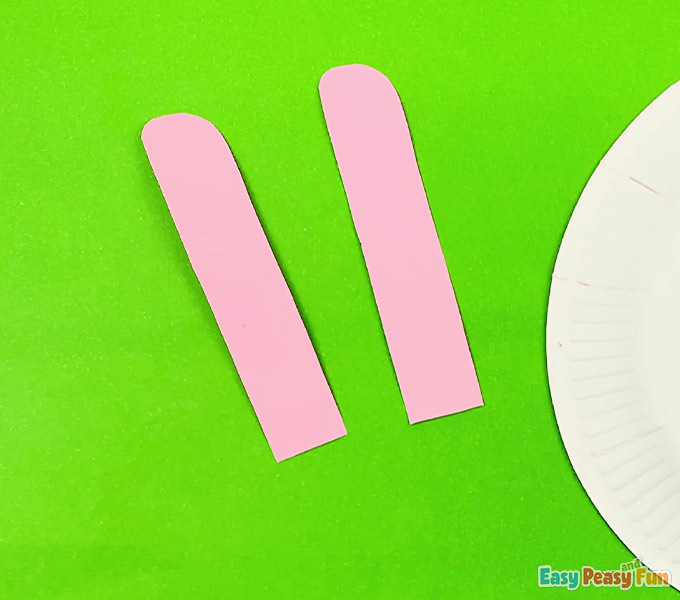
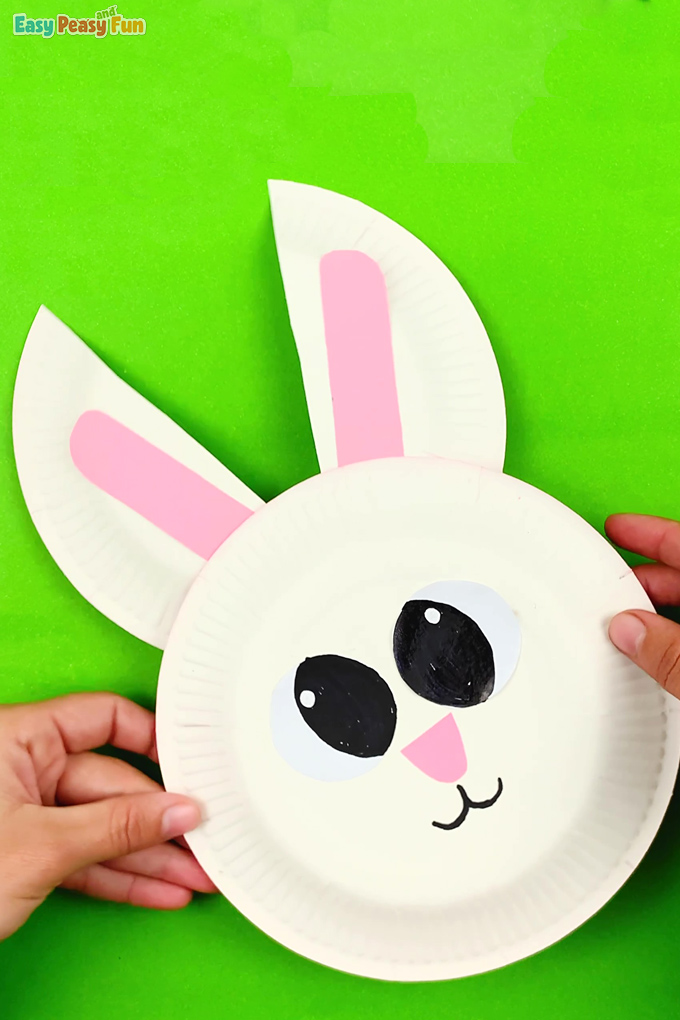
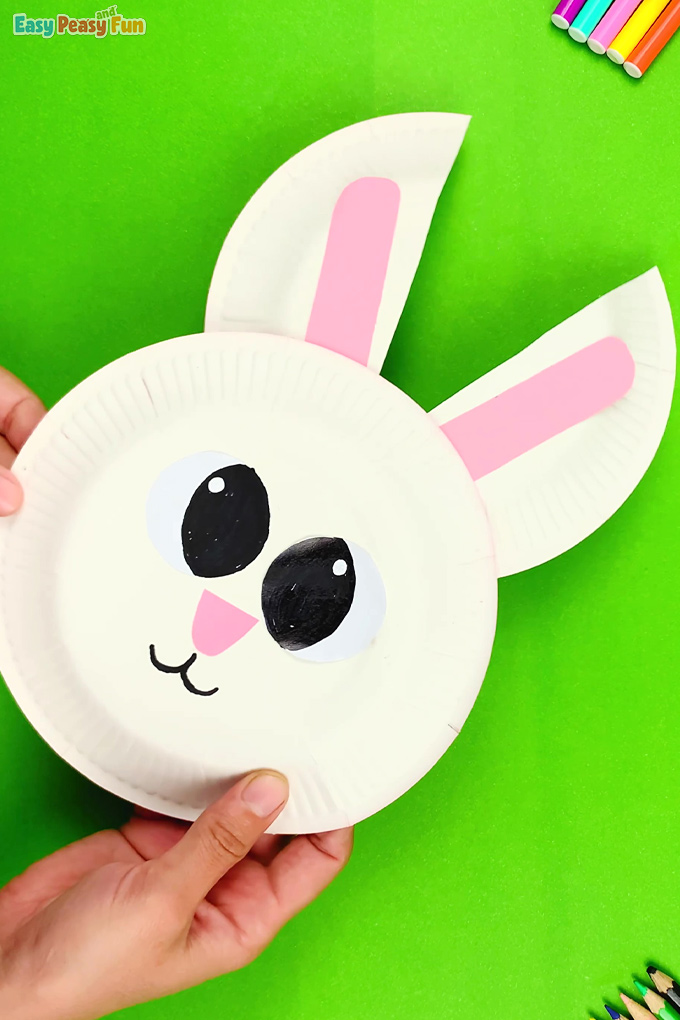
Grab another paper plate and cut it in half (and trim a little). These will be the bunny’s ears.
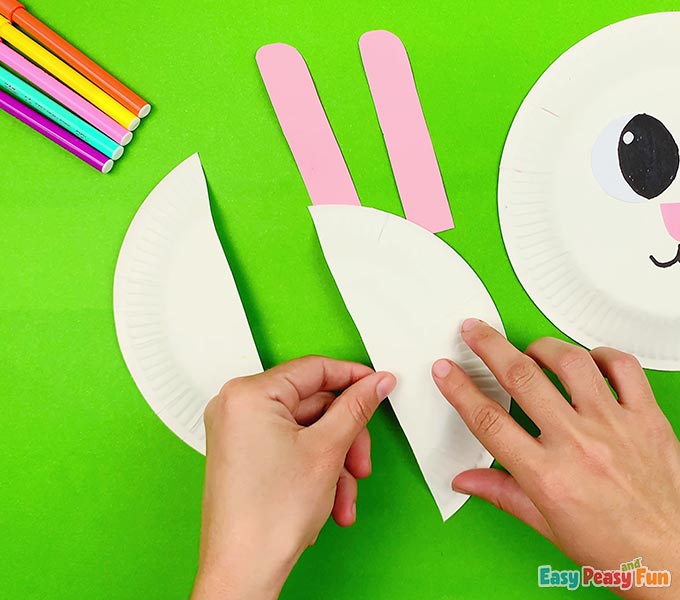
Have your child glue the pink ear shapes onto the top of each half.
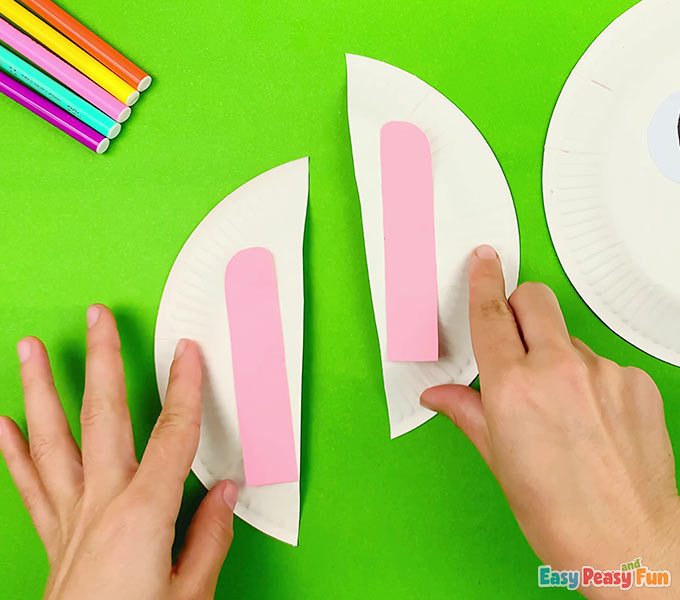
Then, glue the entire bunny’s earbehind the bunny’s head.

Your paper plate bunny now has the sweetest ears.
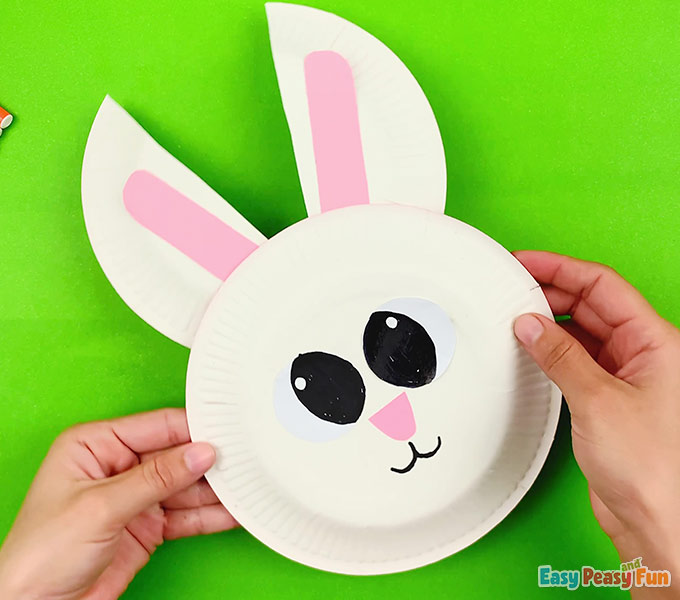
With the bunny’s face and ears all in place, kids can optionally add some final touches (they could use colored markers to draw whiskers).
With just a few simple steps, you and your little ones have created an adorable paper plate bunny that will bring smiles all around.
Display it proudly or share it with friends and family to spread some Easter crafts love.
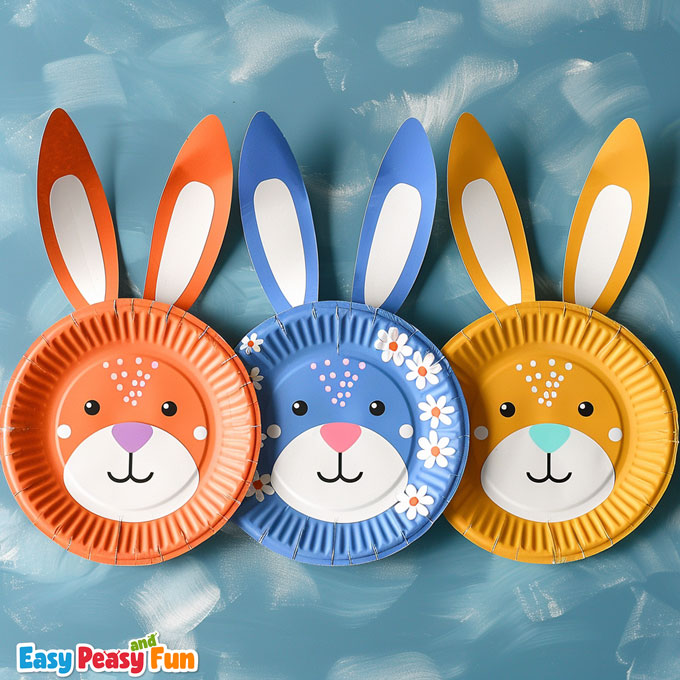
You can use colored cardstock instead of second paper plate to make the bunny ears as well. While the white bunny is simple to make, we think colored ones look even cuter.
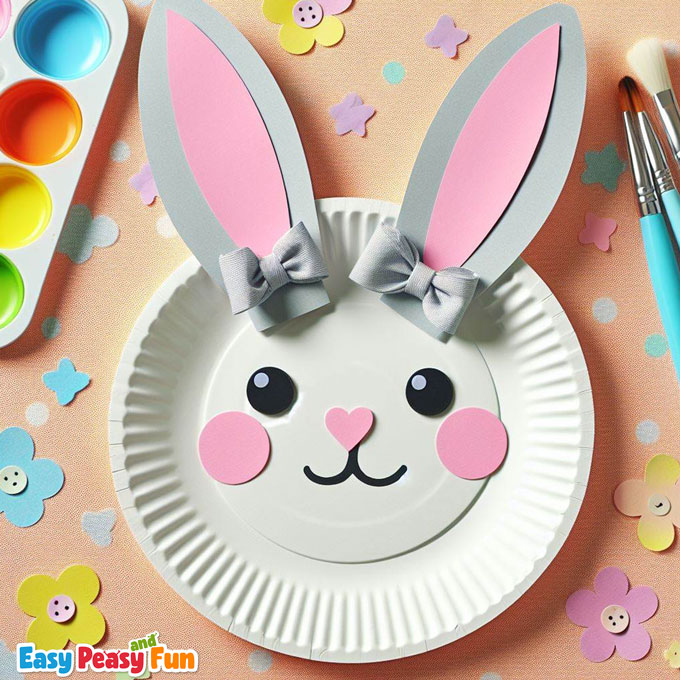
You can also accessorize the bunnies by adding bows or flowers to their ears.
Why not add bunny feet for extra cuteness?

Happy crafting!
Want instant access to all of our printable crafts, activities, and resources?

With thousands of crafts, activities, worksheets, coloring pages, and drawing tutorials to print, you will always have just the resource you need at your disposal. Perfect for parents and teachers alike!