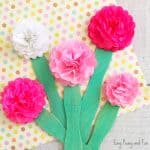
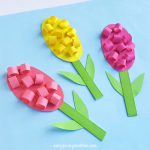
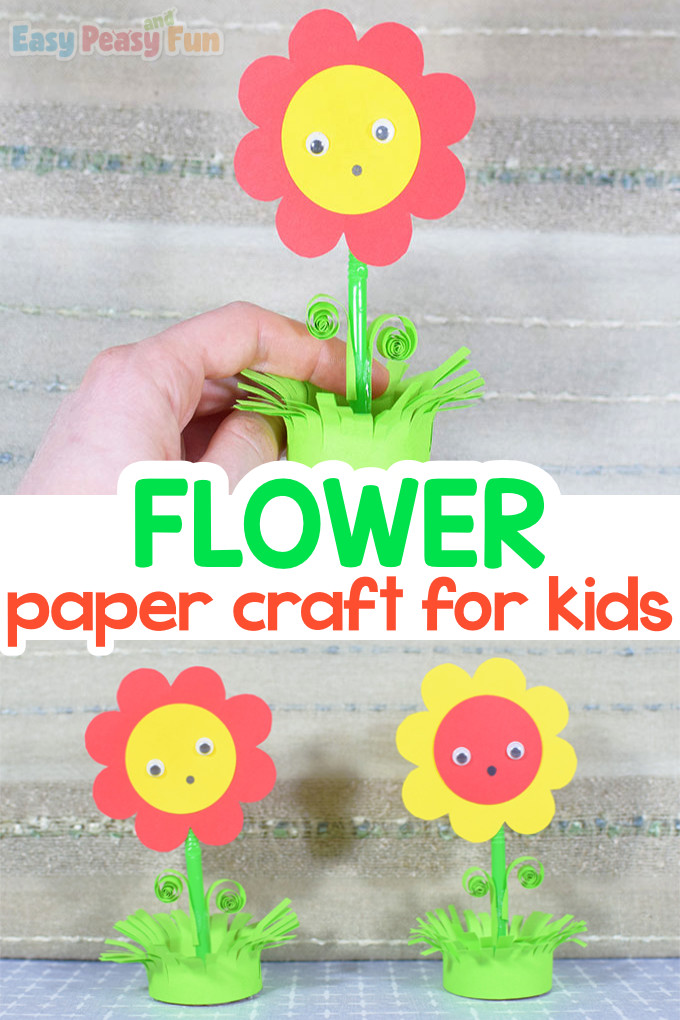
Love spring and creating different paper flowers? Today we will show you how to make a gorgeous little paper flower in a pot craft.
You won’t be able to stop at just one so you will have a whole garden of them in n no time.
*this post contains affiliate links*
Flowers are a great theme for Spring Crafting as they bring so much joy and freshness (take a look at the Printable Frog Puppet or have fun creating a Paper Bee Craft).
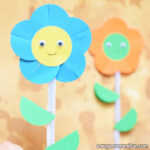
We like to make the flowers animated – with eyes and mouth, then pretend that they are alive and that they can talk.

If you’re ready to make this flower in a pot with us, grab your tools and let’s go!
How to Make Flower in a Pot Paper Craft
What you need:
- green color paper
- scissors
- hot glue
- glue
- circle puncher
- ruler with circle shapes
- self-adhesive googly eyes
- black liner
- 2 color papers of your choice (we used red and yellow color paper)
- plastic green straw
- dark orange cardstock (you can use green and brown cardstock too or any other color)
- cupcake liner (optional – if you don’t want to craft the pot yourself, just glue the cupcake liner on a circle cardstock and there you have a pot)
Let’s craft!
Step by Step Tutorial
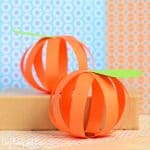
The Grass Pot
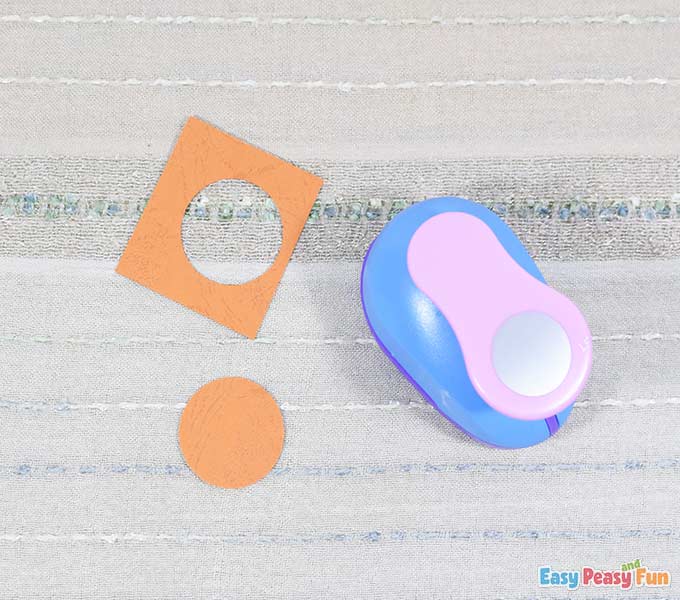
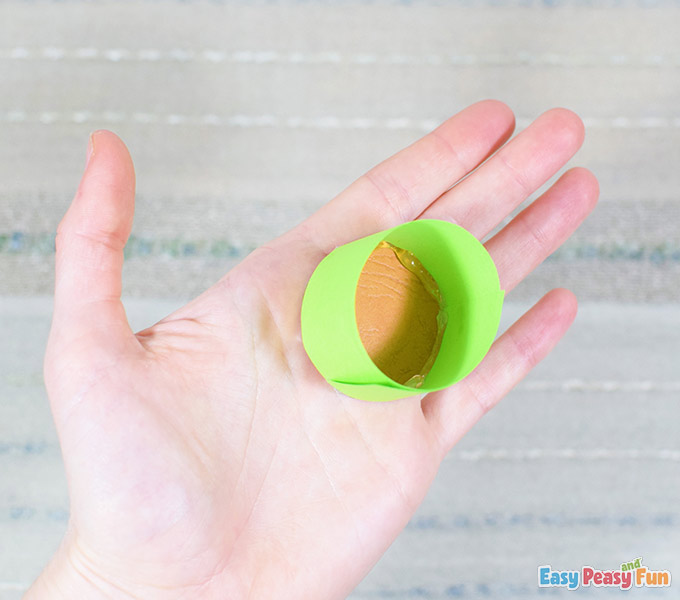
Punch one circle out of the dark orange cardstock.
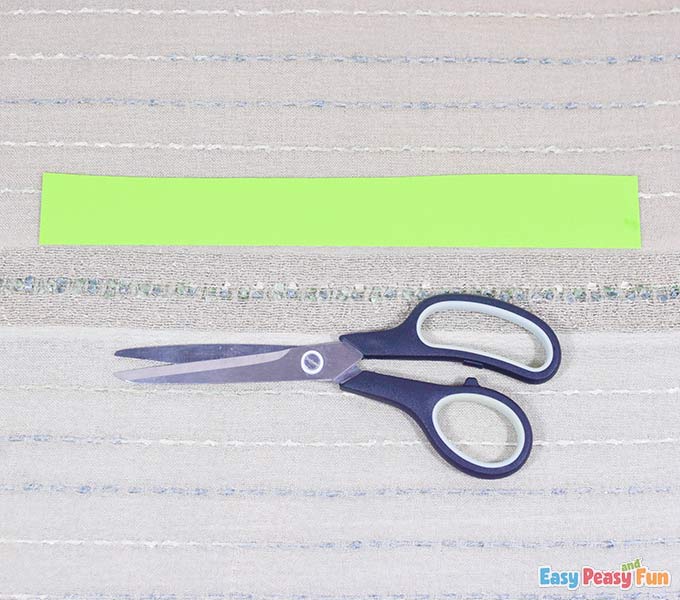
Cut out a 3 cm wide green strip (A4 portrait – cut vertically) using scissors.
Put some hot glue on the corners of the orange cardstock circle and start wrapping the green strip around it.

Wrap a full circle, then continue wrapping until there no strip is left.

Seal the ends of the strip with hot glue.
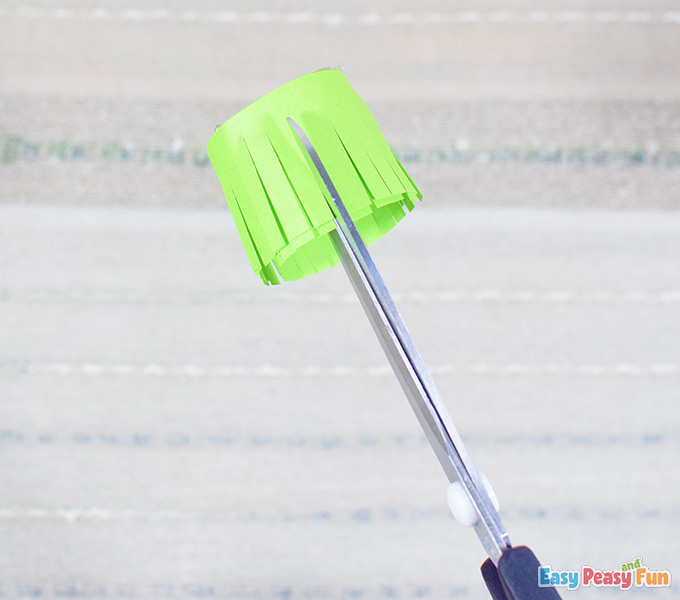
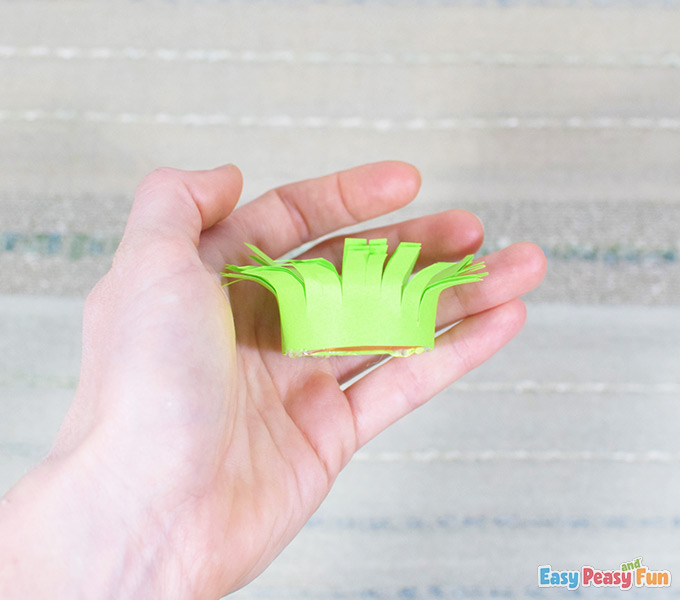
Take your scissors and start cutting strips towards the dark orange cardstock.
Stop cutting approximately 1 cm from the circle so you don’t destroy the pot.
Spread the strips outwards with your fingers.
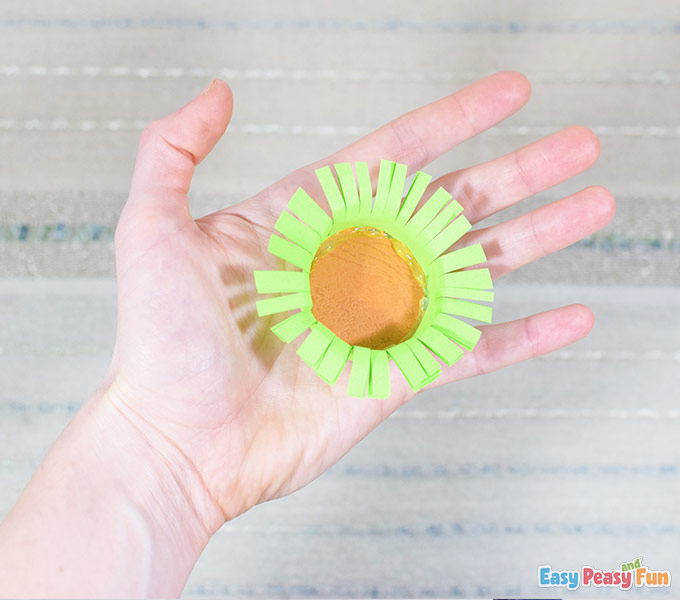
This is how the grass pot looks from the profile view.
The Stem
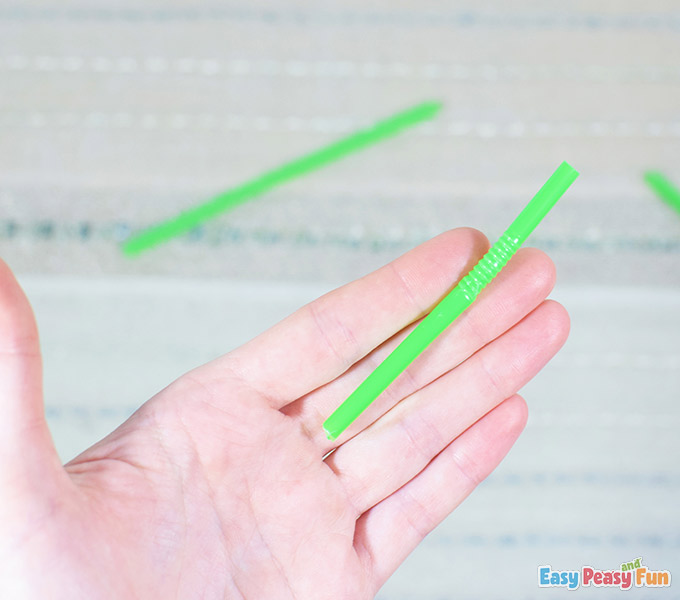
Take the plastic green straw and cut off the ends. Make the straw 8 cm or 9 cm long.
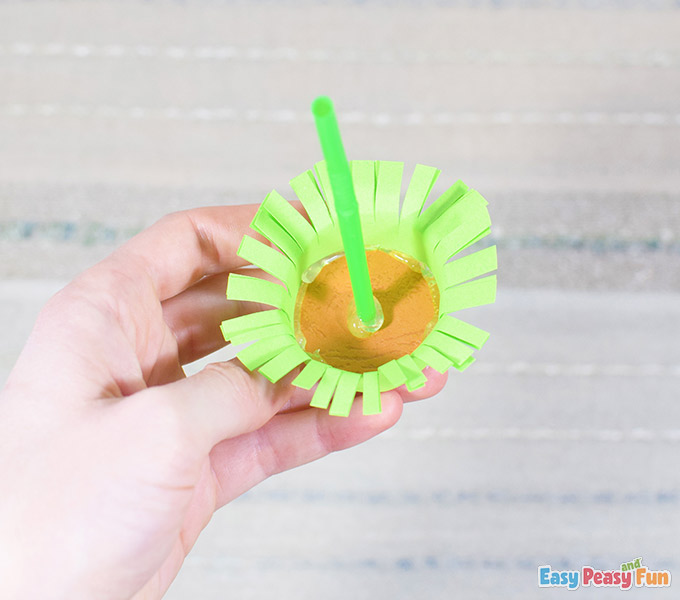
Apply a hot glue dot inside the pot (in the middle), then attach the straw on.
Hold the straw straight and wait until the glue is set.
The Leaves
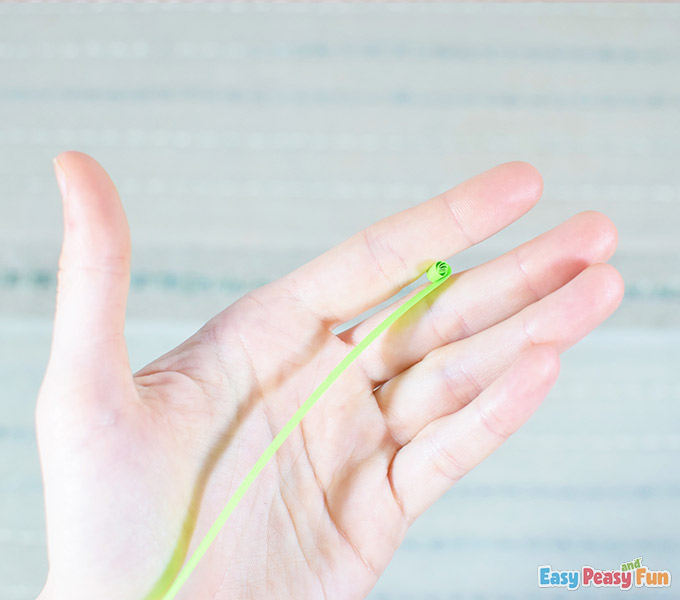
Cut out two green strips.
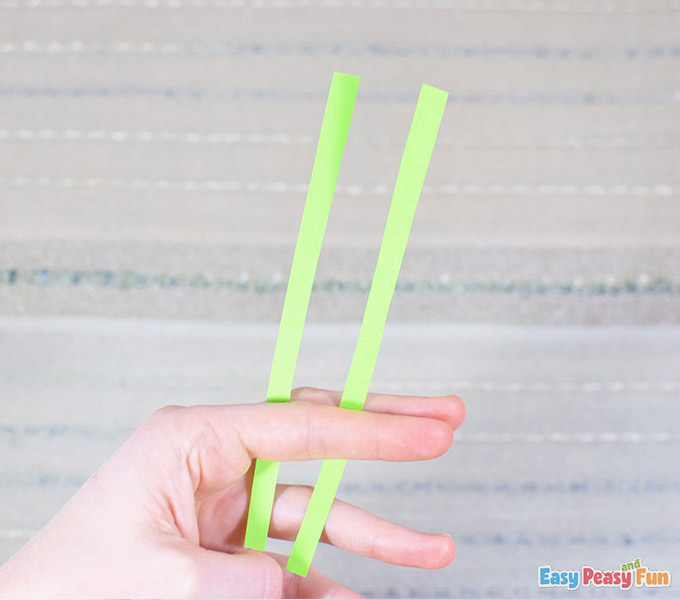
Start rolling the strips.
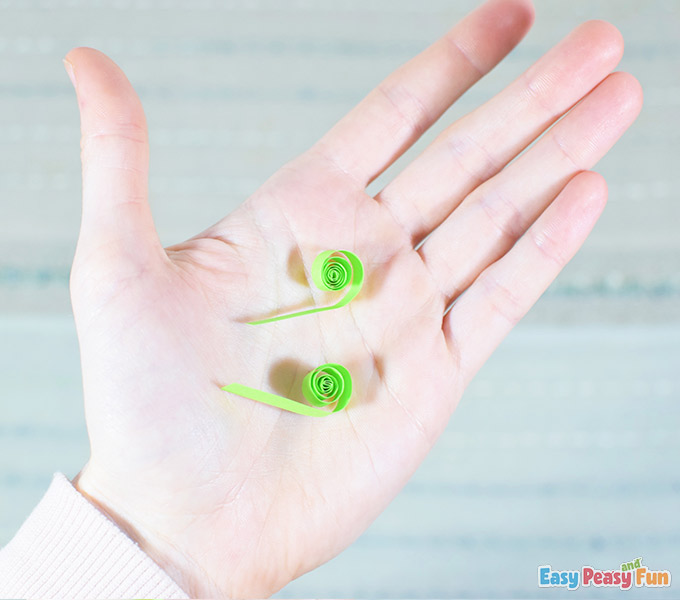
This is how the rolled pieces should look. They will serve as leaves.
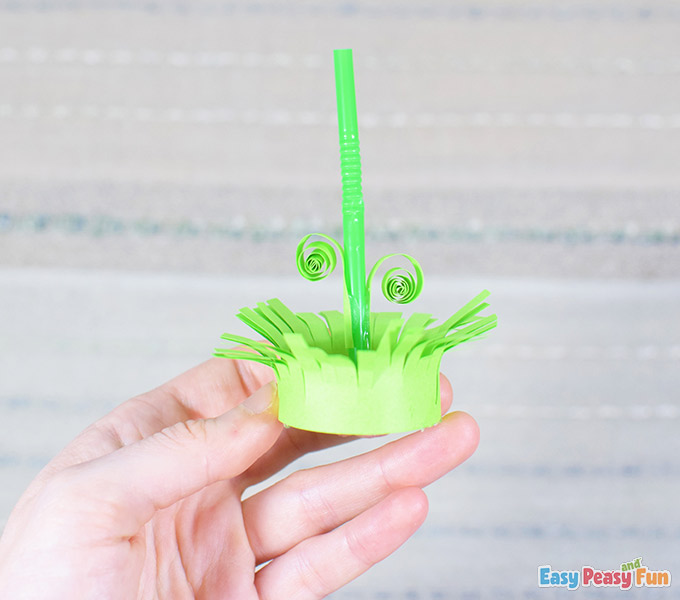
Apply some hot glue on both sides of the plastic straw and attach the leaves on.
We like to have one leaf higher than the other one.
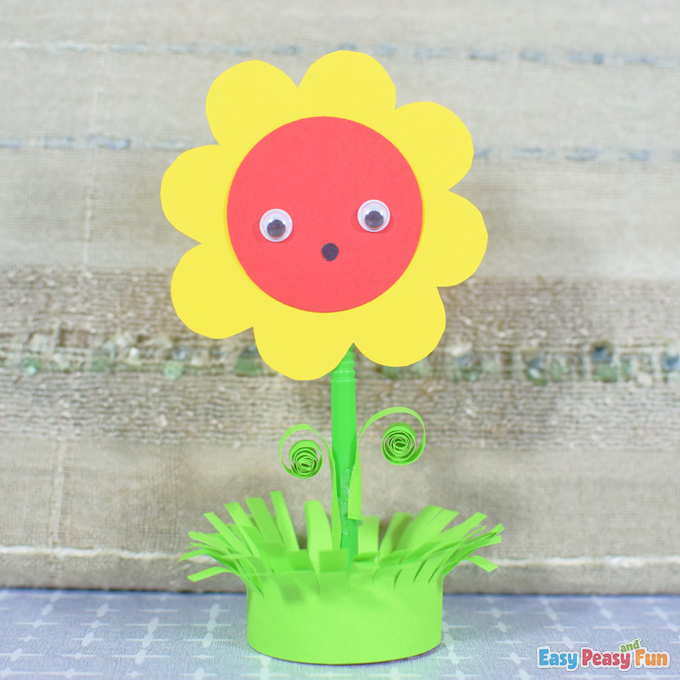
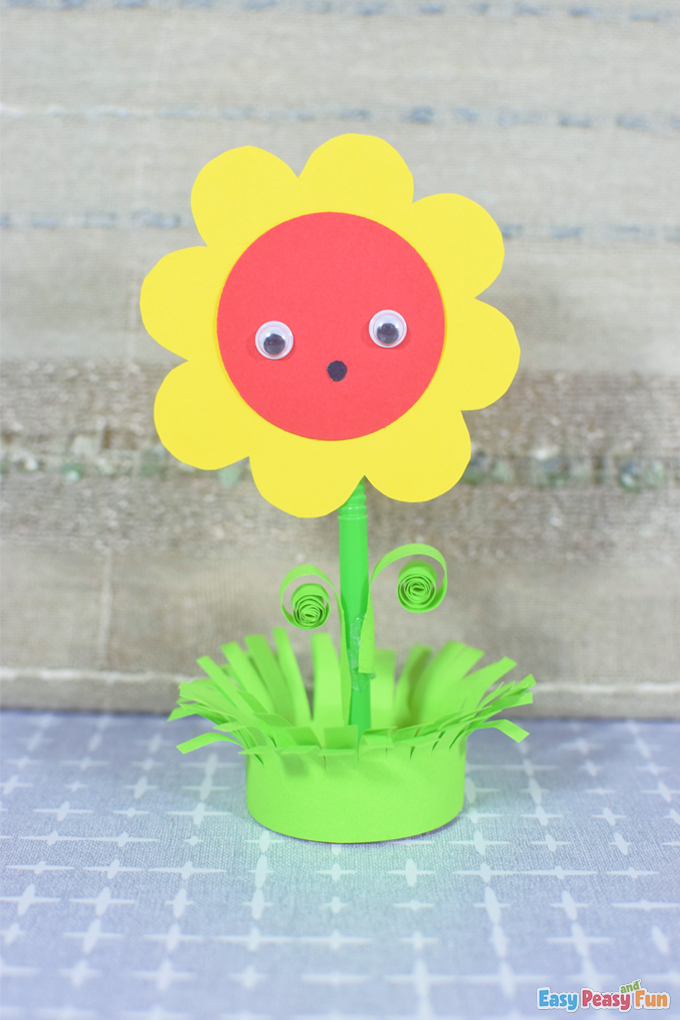
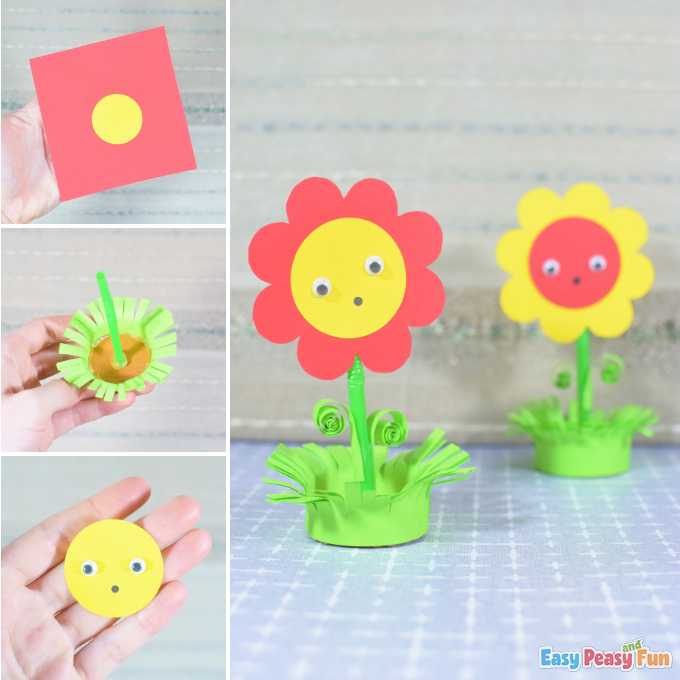
The Flower
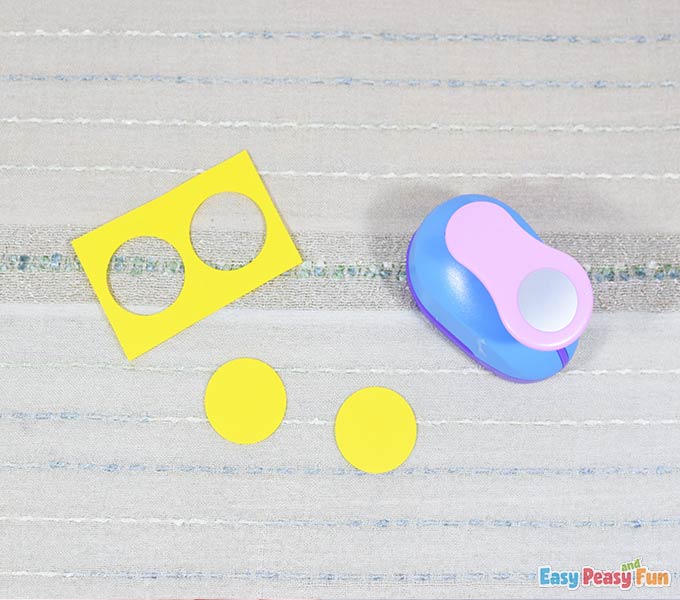
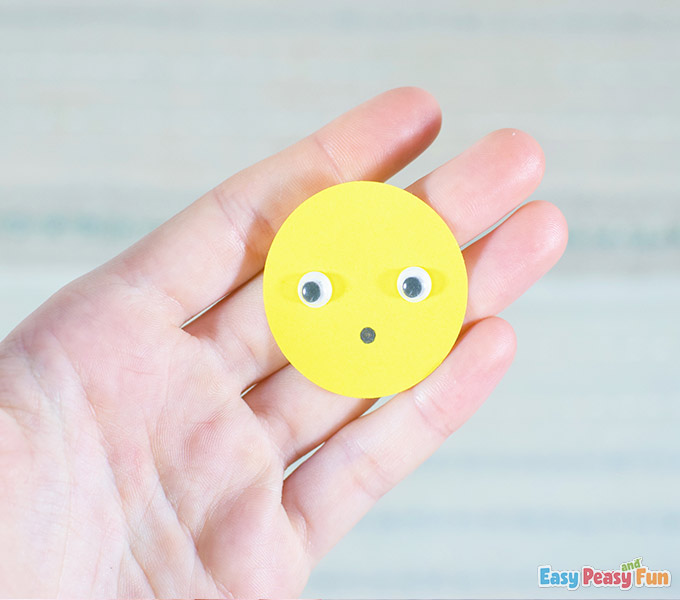
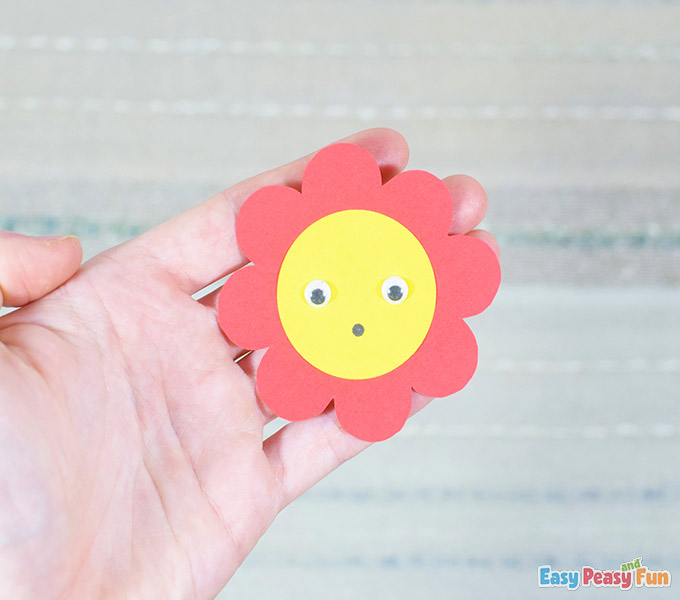
Punch out two circles (use the color paper you chose for this project).
Take one circle, attach the googly eyes on, and draw a circle mouth.
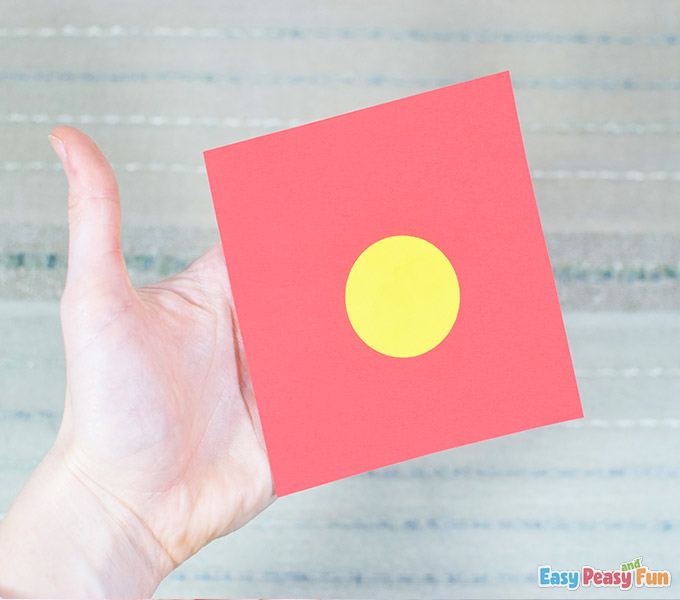
Glue the other circle on a different color paper.
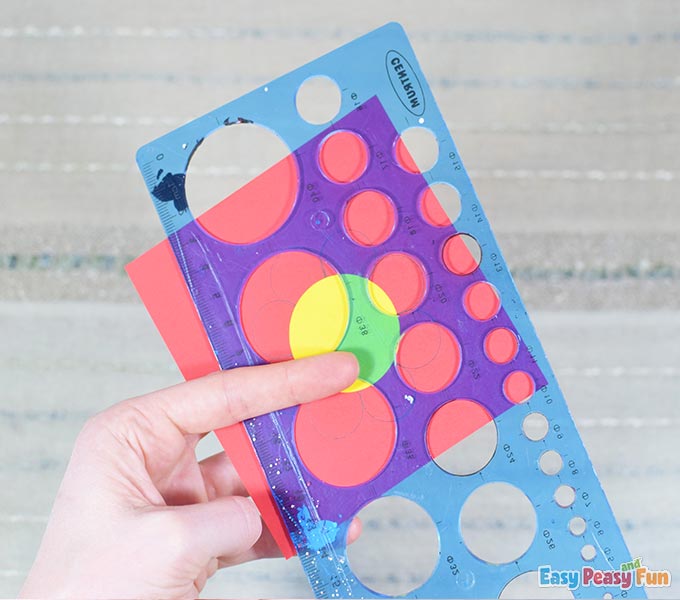
Start drawing circles around with the ruler with circle shapes and a black liner. The diameter of the circles is 2 cm.
This is how the flower should look like after you complete the circle.
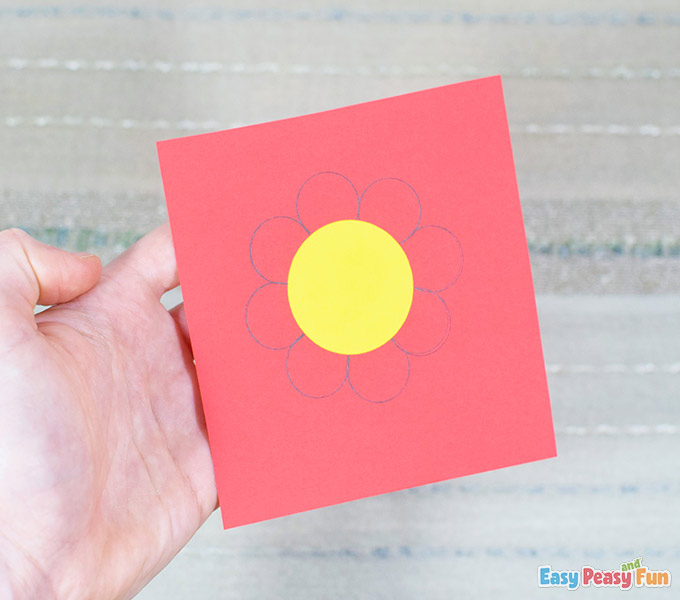
Cut out the flower shape using scissors.

Glue the circle with the eyes and the mouth on the front side of the flower.
Apply some hot glue on the straw (the stem) and attach the flower on.
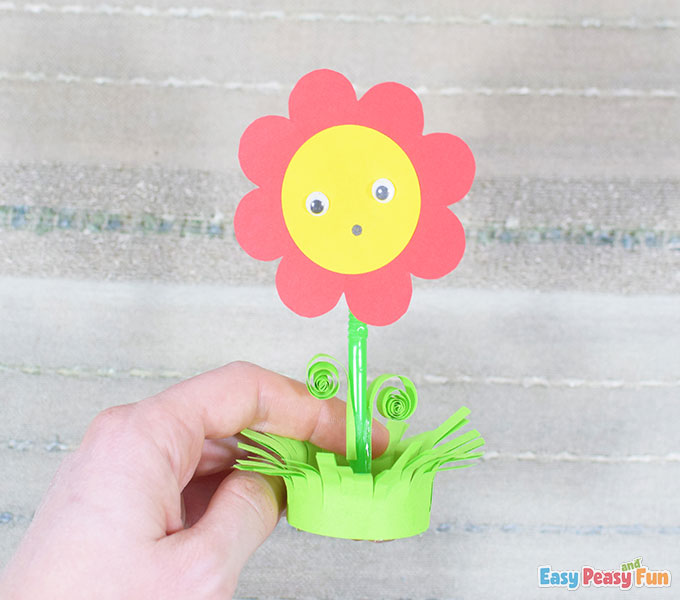
Done!
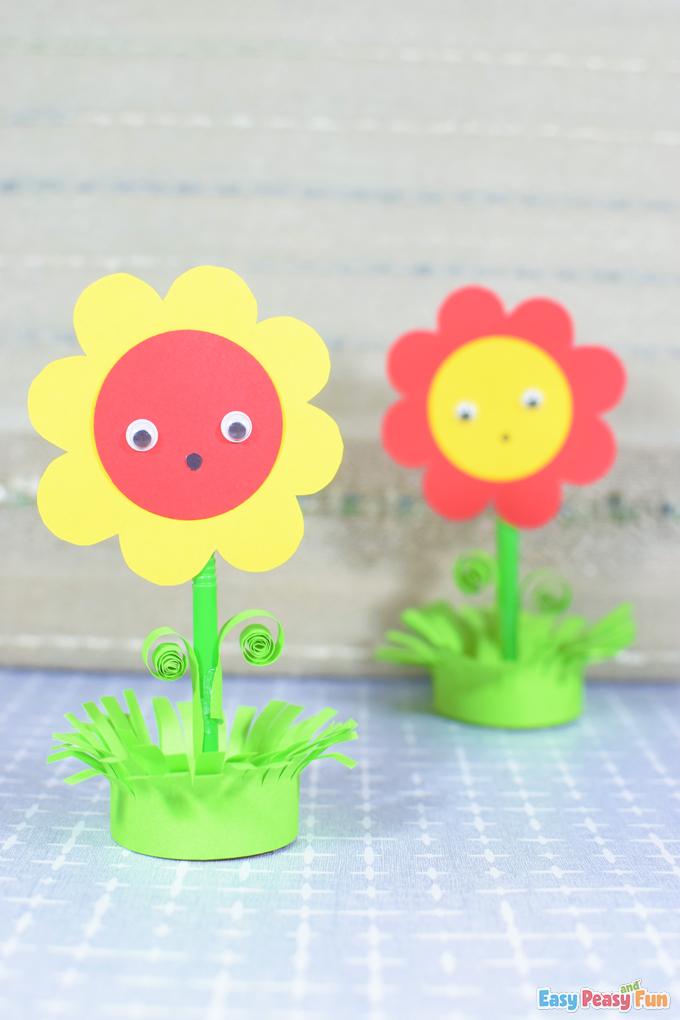
Hope you find these flowers cute.
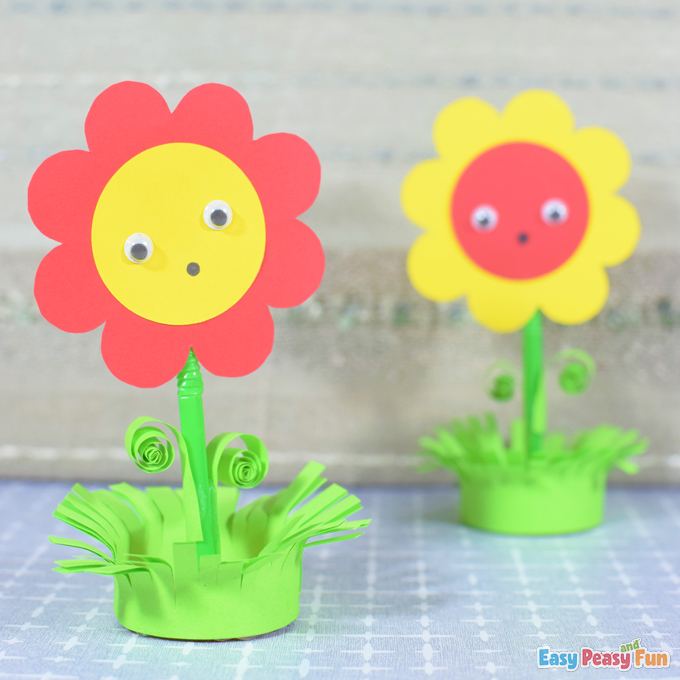
Have fun!
Want instant access to all of our printable crafts, activities, and resources?

With thousands of crafts, activities, worksheets, coloring pages, and drawing tutorials to print, you will always have just the resource you need at your disposal. Perfect for parents and teachers alike!