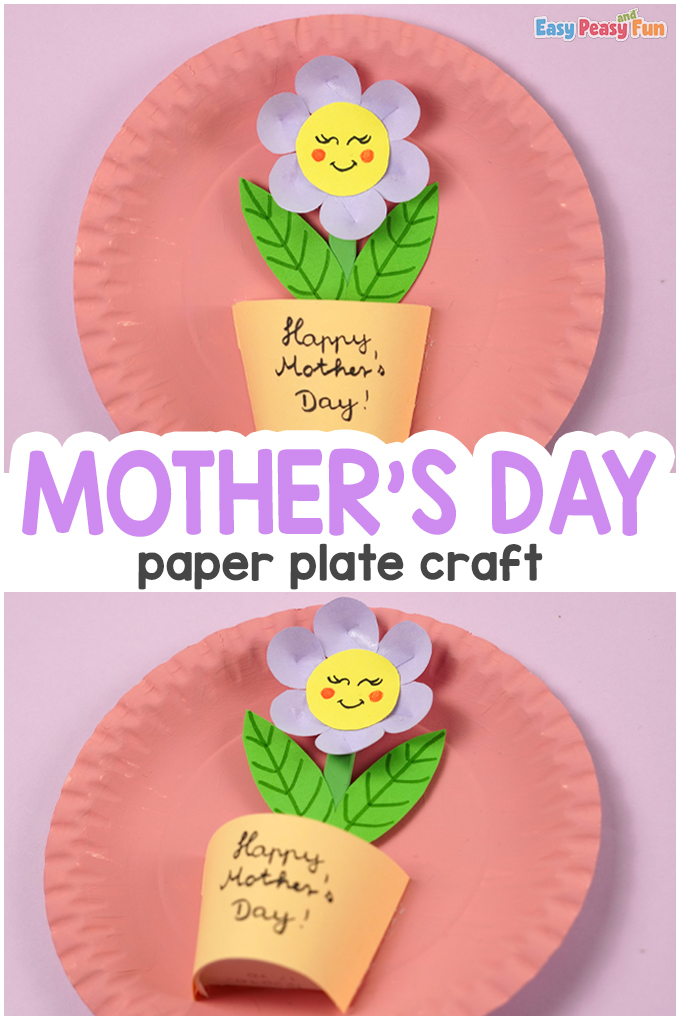
This Mother’s Day Paper Plate Craft is fun for so many reasons. Let your child express their love with this paper plate craft.
Make an adorable paper craft to celebrate one of the most important days of the year – Mother’s Day!
*This post contains affiliate links*
50 paper crafts your kids can actually do themselves

No fancy supplies — just paper, scissors, and a little imagination.
Be the first to get it on release day — and lock in the lowest price guaranteed.
We love making different Mother’s Day Crafts for Kids (have a look at the Flower Mother’s Day Card, or create a Handprint Butterfly Mother’s Day Craft)
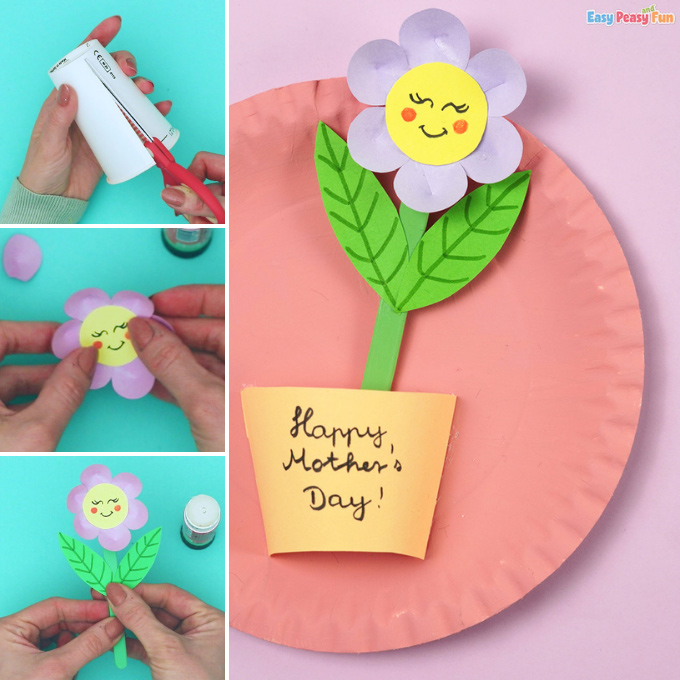
How to Make the Mothers Day Paper Plate Craft
What you need:
- paper plate
- paper cup
- pencil
- scissors
- glue stick
- paintbrush
- acrylic paint (green and peach)
- craft stick
- markers (black, green, and pink)
- color papers (green, purple, yellow, and peach)
Step by Step Tutorial
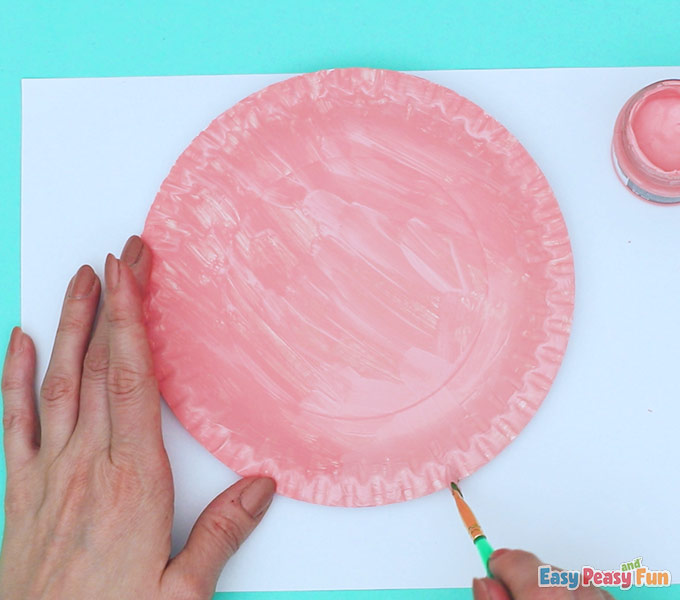
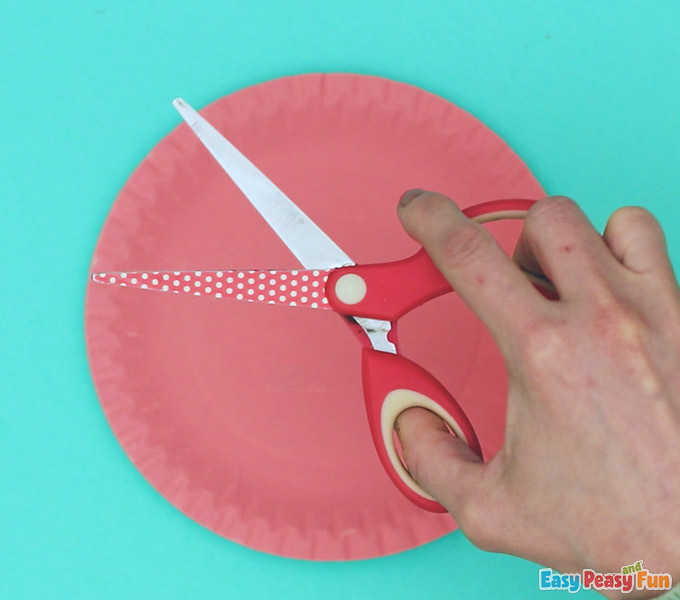
Grab your paper plate and paintbrush, and give the plate a beautiful pink color.
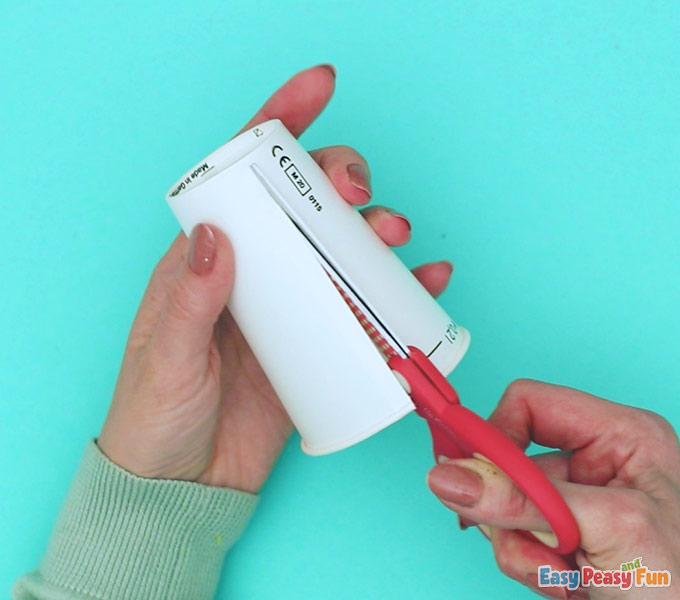
The Pot
Grab your scissors and cup, cutting a slit through the side of the paper cup.
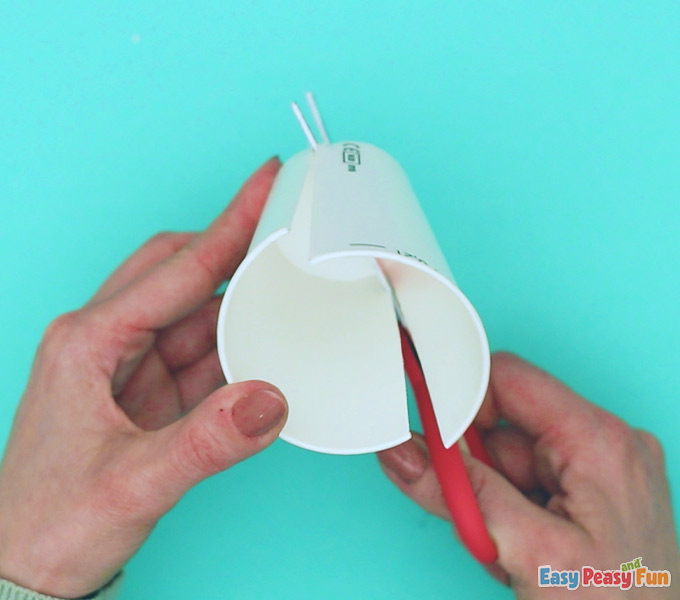
After cutting a slit on one side, continue cutting a slit of the same length on the opposite side.
We need to cut the cup in half vertically.
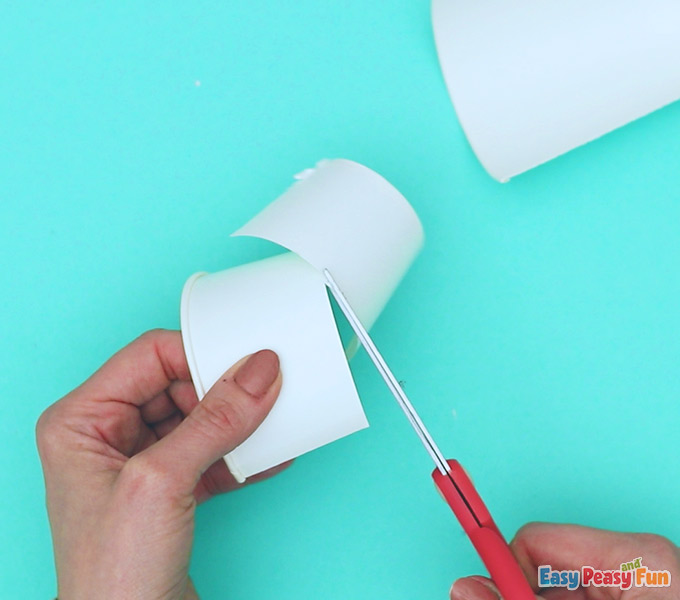
Cut horizontally across each piece.
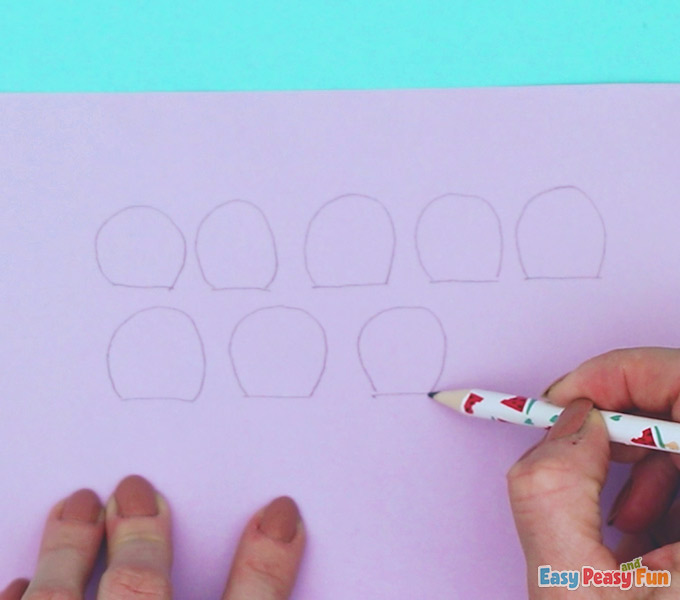
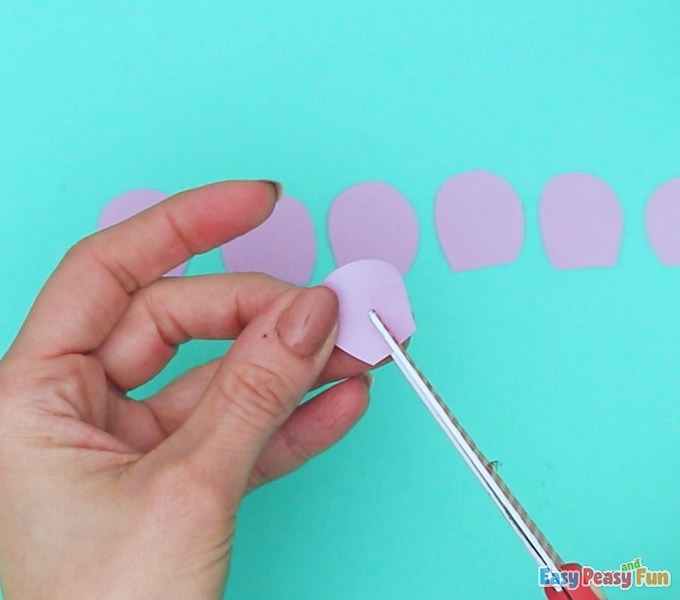
The Flower Petals
Draw flower petals with a pencil on your purple paper.
Cut a slit in the center of each purple petal after cutting them out from the paper.
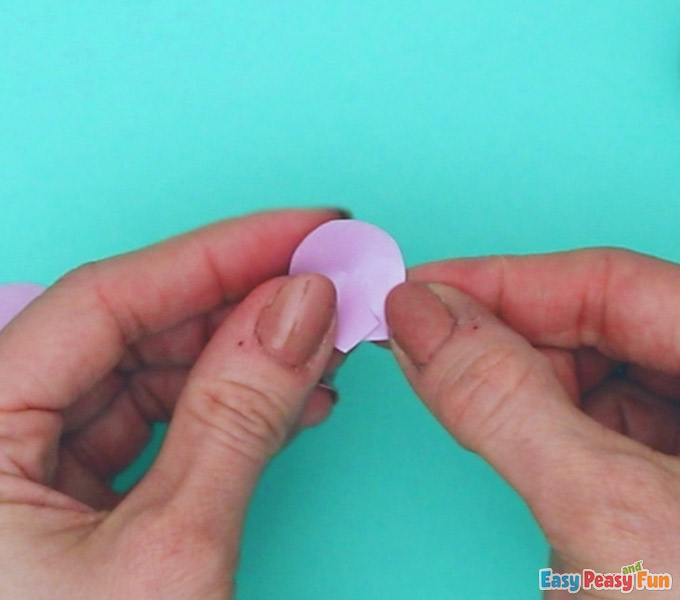
Gently bend the purple petals inward to create a more realistic appearance, then glue.
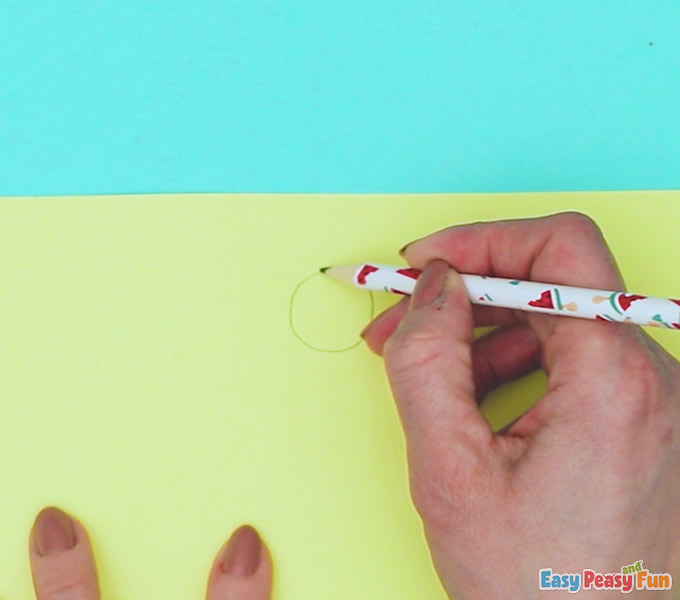
Grab your pencil and draw a circle on the yellow paper.
The Stem
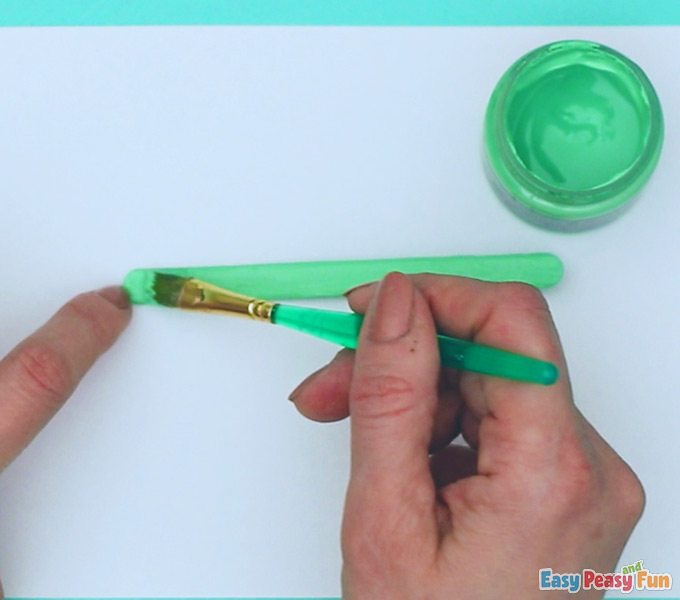
Begin covering your craft stick in green.
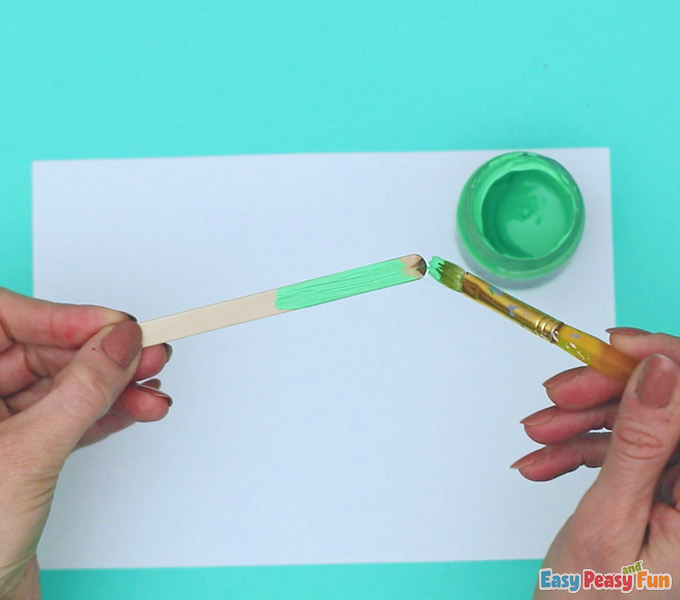
Cover the whole stick.
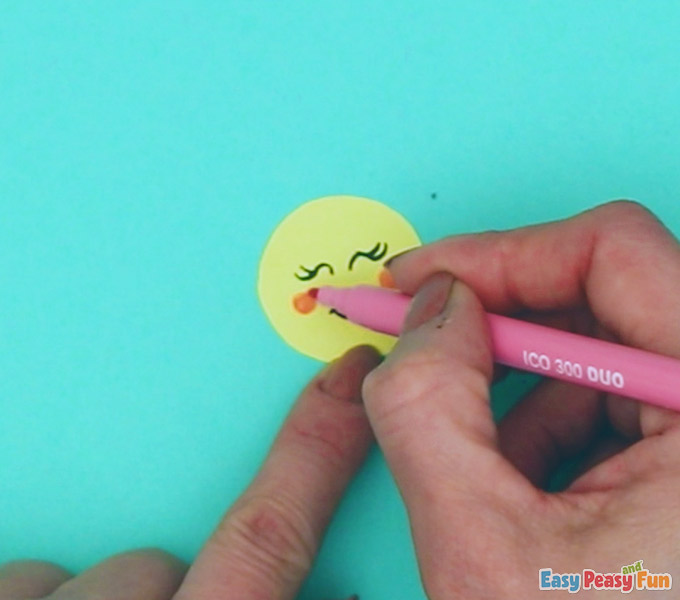
The Face
Cut out your yellow circle and draw a face on it with your markers.
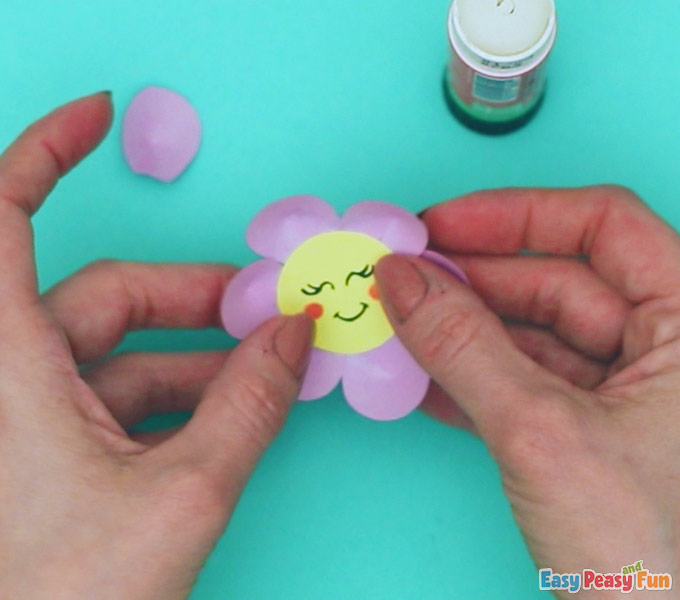
Paste the purple petals to the back of the flower’s face.
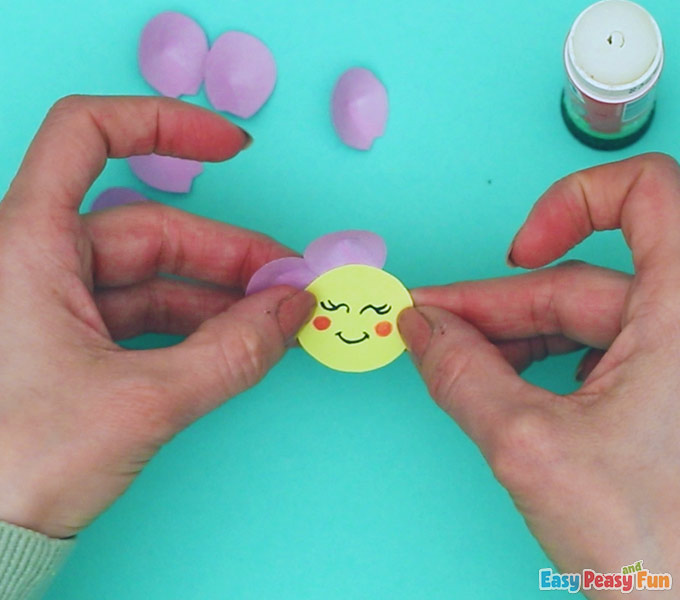
Continue adding petals until it looks like a beautiful flower.
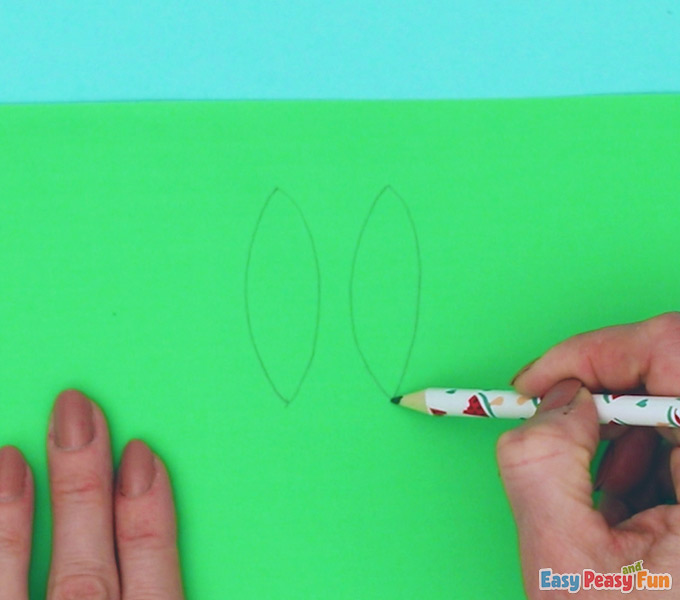
The Leaves
Draw two leaf-shaped pieces on your green paper.
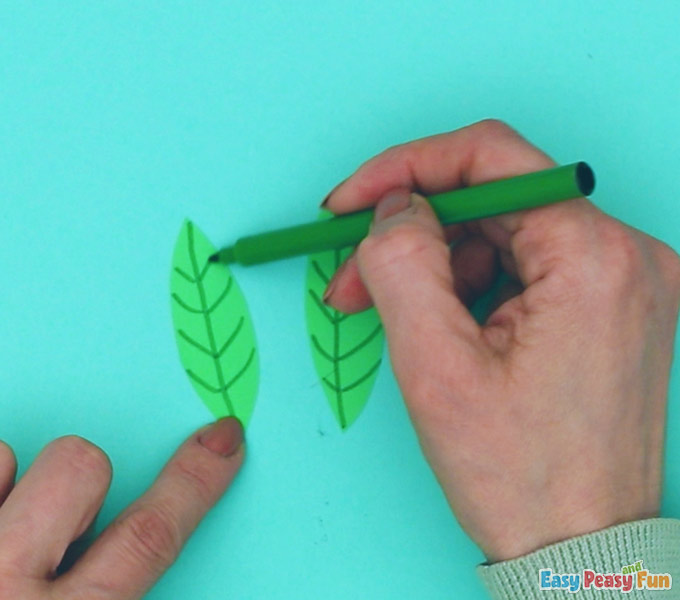
Cut them out and use your green marker to add lines and veins to the leaves.
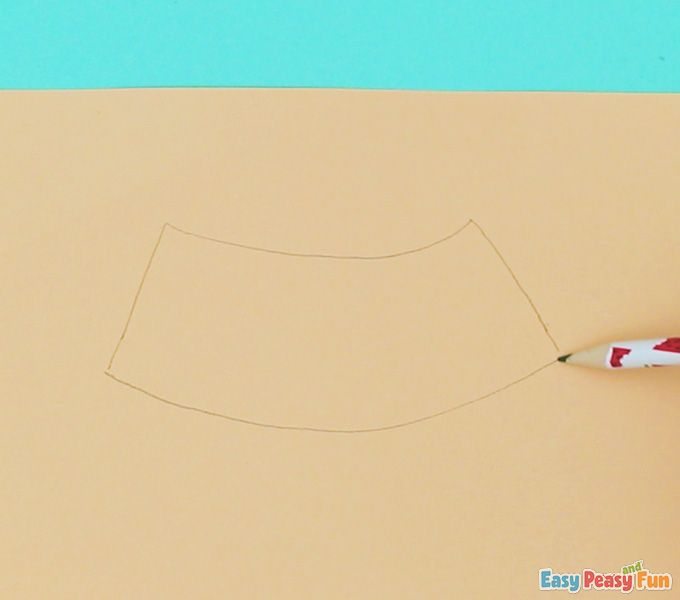
Draw your next shape on the orange paper.
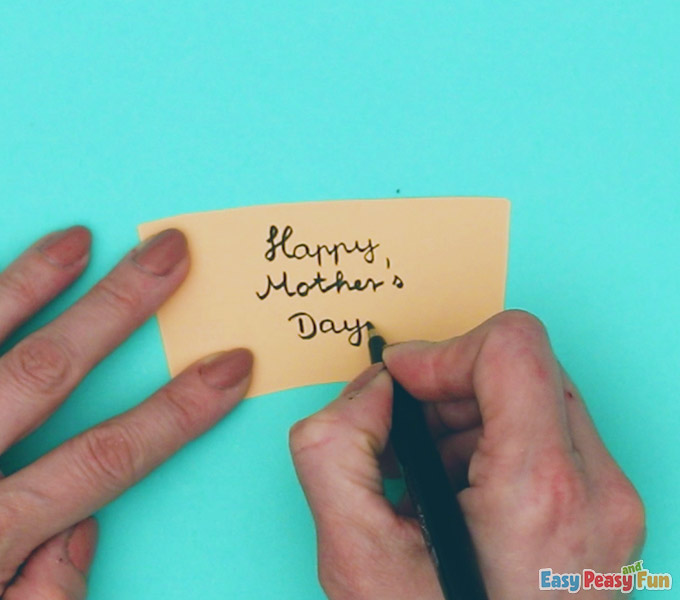
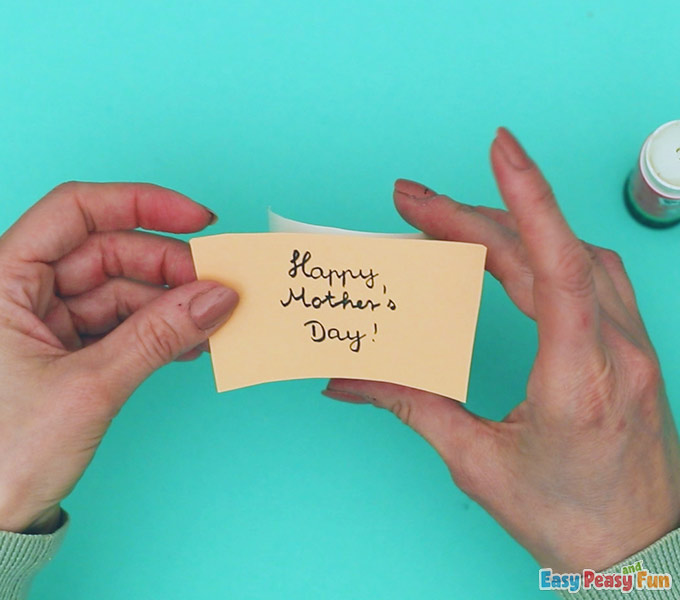
Write the Happy Mother’s Day message with a black marker.
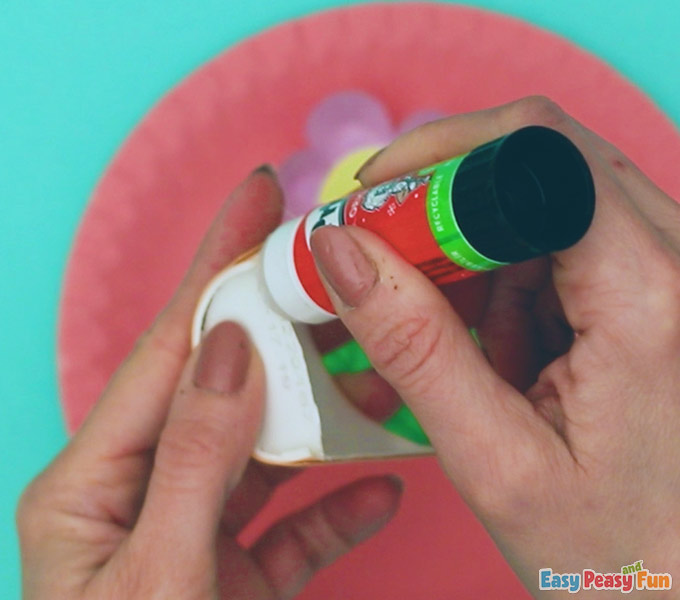
Grab your glue stick and apply glue it to the white piece of cup you cut out earlier.
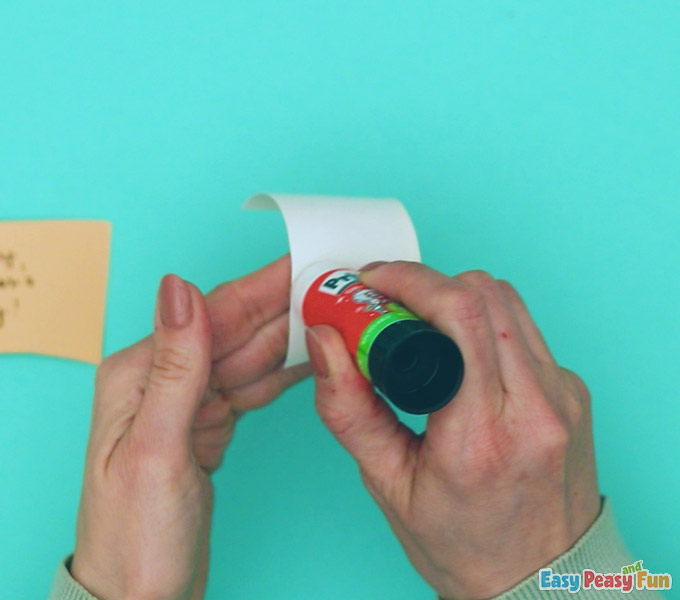
Paste your message to the piece of the cup.
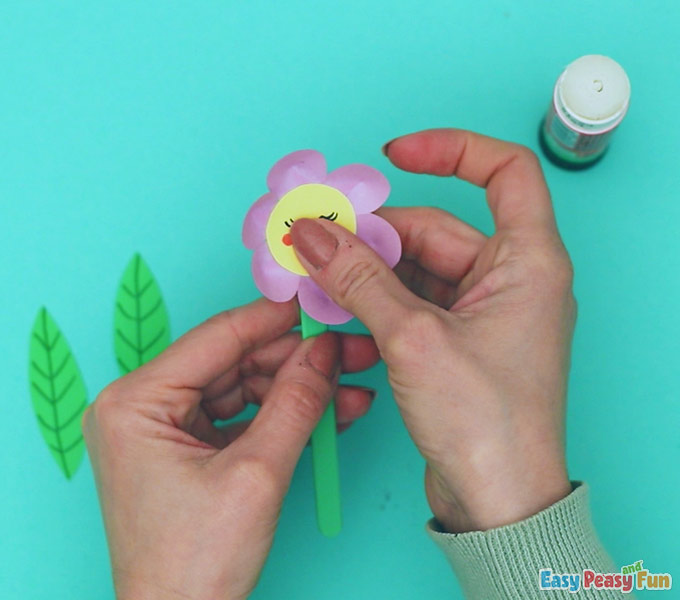
Glue your green popsicle stick to the back of the flower.
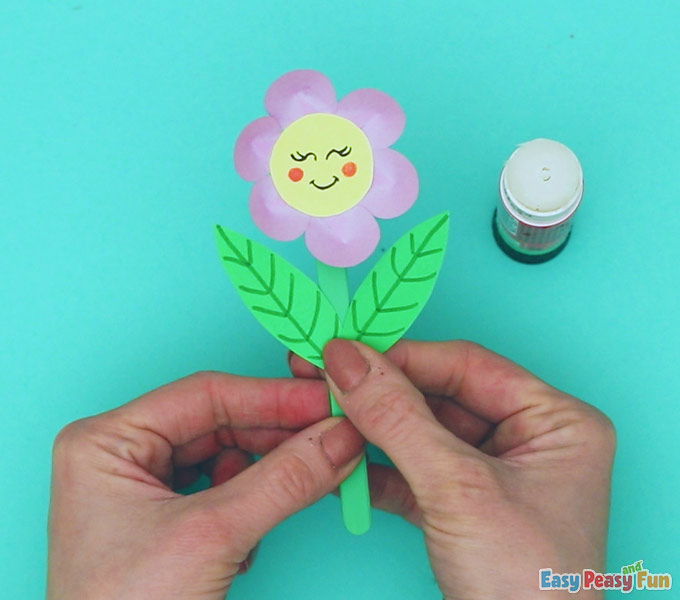
Glue the leaves to the craft stick directly beneath the flower.
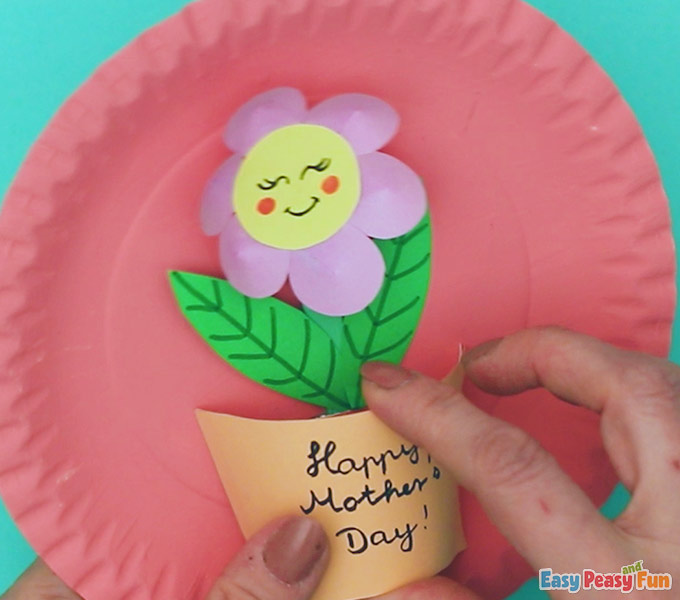
Pull your scissors back out and cut a small horizontal slit in the bottom of the plate.
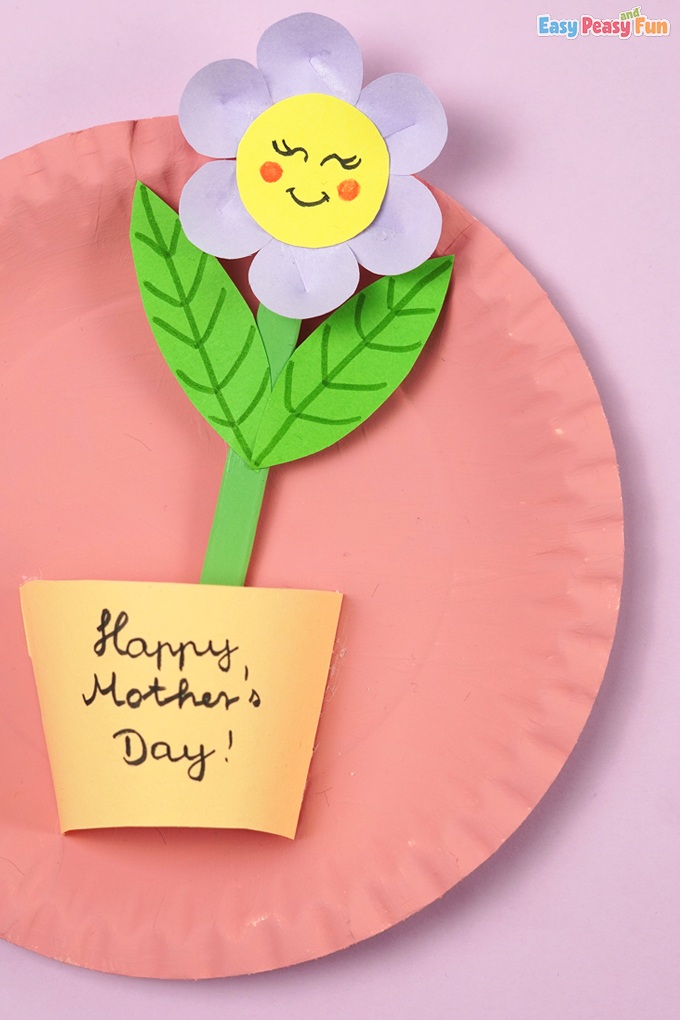
Stick your flower into the opening.
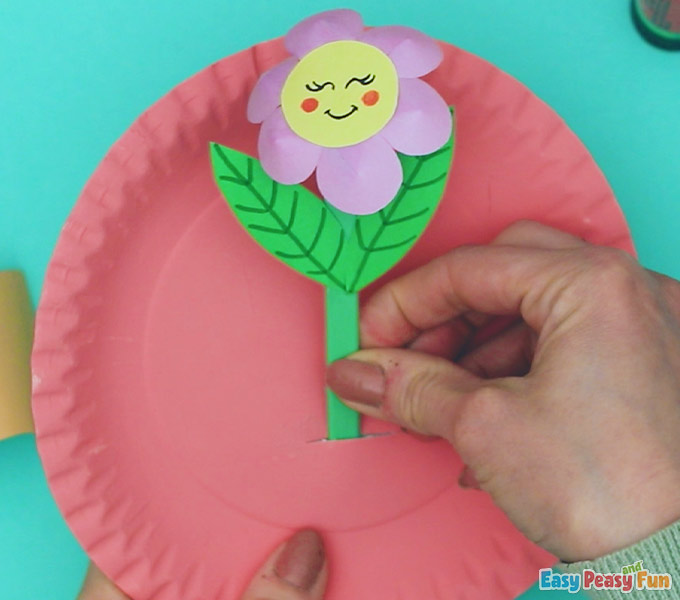
Push it down further to make it look like the flower is popping out of the plate.
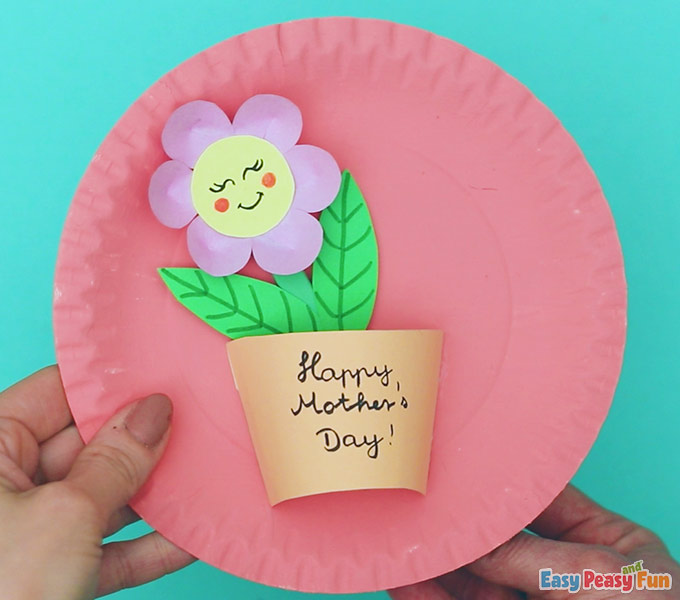
Add glue to the back of your paper cup.
Paste your message under the flower.
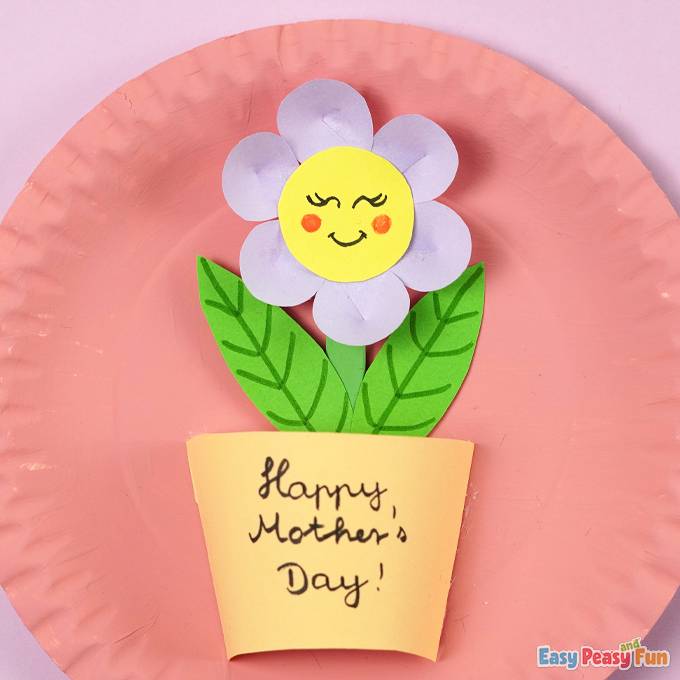
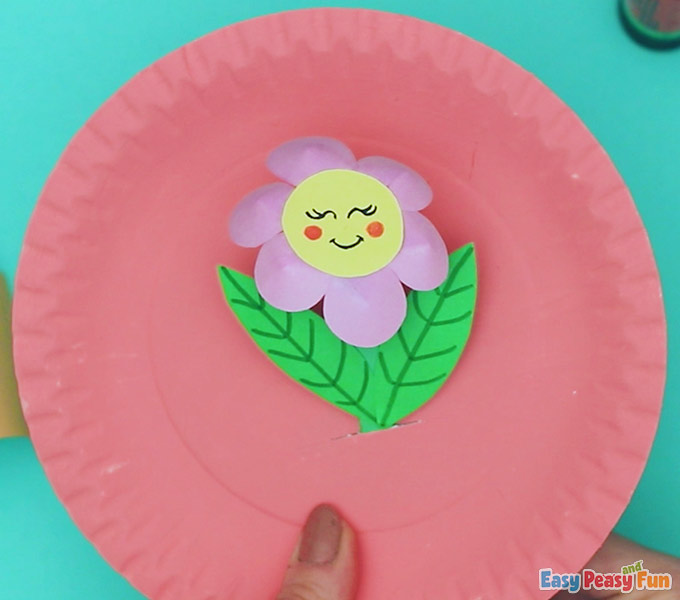
It should look like a flower pot!
Now, you have the cutest craft to make with kids.
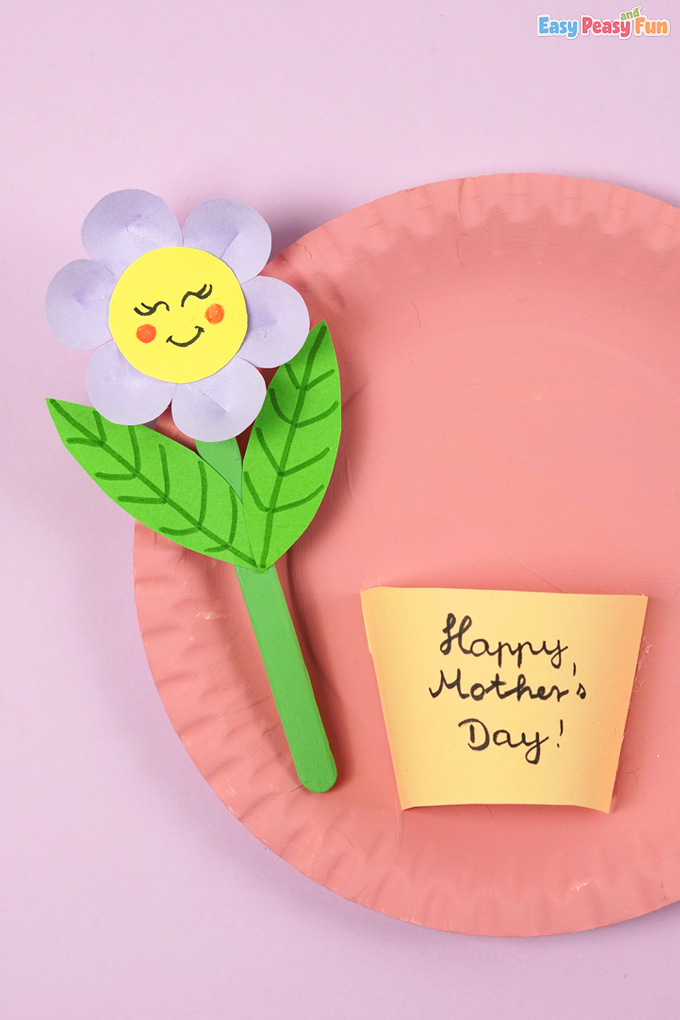
Try it out and see how the flower moves.
Feel free to customize this flower to your liking by using a different paper color for your flower petals.
You can always take the flower out of its pot and put it back in.
It’s perfect for teachers, babysitters, and anyone else who wants to make a thoughtful homemade present for their mother!
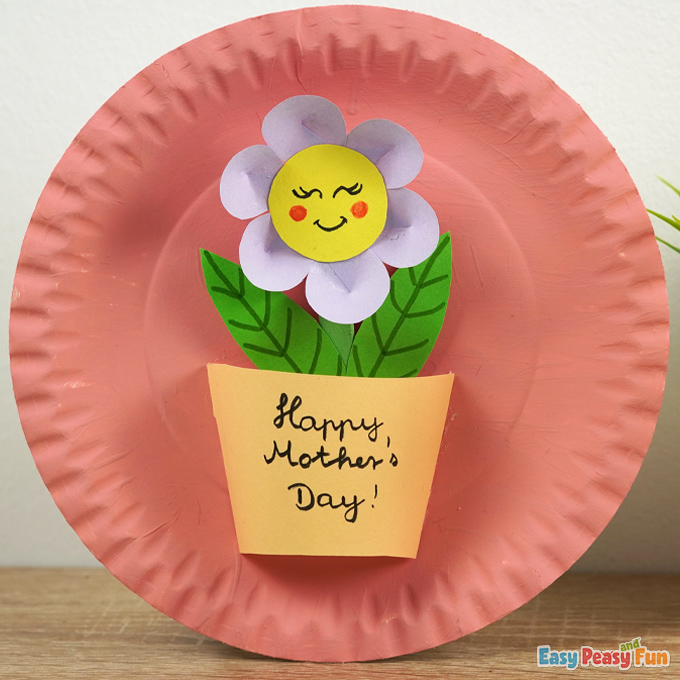
Enjoy!

And happy crafting!
Want instant access to all of our printable crafts, activities, and resources?

With thousands of crafts, activities, worksheets, coloring pages, and drawing tutorials to print, you will always have just the resource you need at your disposal. Perfect for parents and teachers alike!