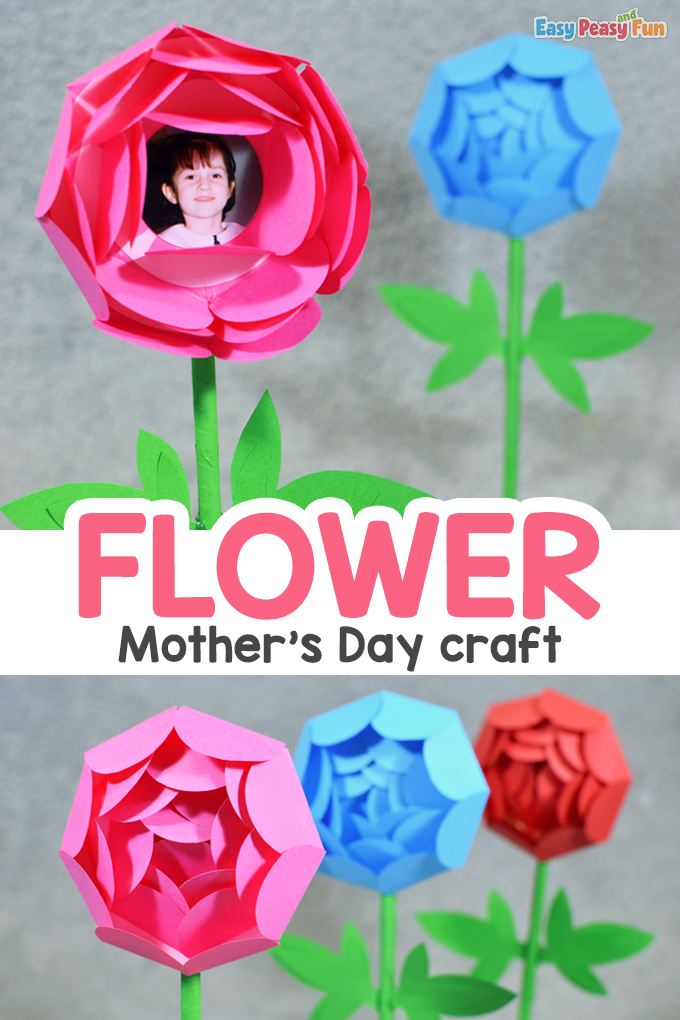
We’re going to show you how to make a Mothers Day Paper Flower that hides a wonderful surprise inside. If you want to make a craft to surprise your mom, this paper peony will be perfect.
Follow the step by step tutorial and you’ll soon have the most wonderful DIY mother’s day gift you could think of.
*This post contains affiliate links*

My New Craft Book is Available for Pre-Order!
Discover 50 super simple paper crafts for kids using low-cost materials.
Pre-Order on Amazon 🚀We love exploring and making different Mother’s Day Crafts for Kids (check out our Rocket Mother’s Day Craft and make a Twist and Pop Mother’s Day Card).
We are so happy to guide you through the process of making this craft. It’s a wonderful peony surprise flower!
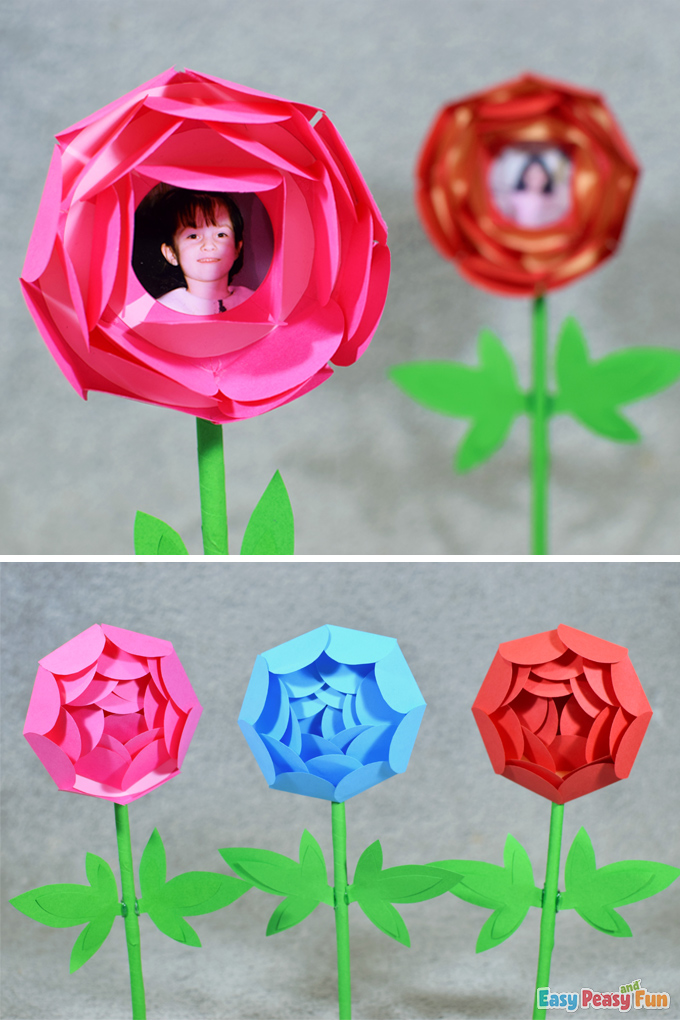
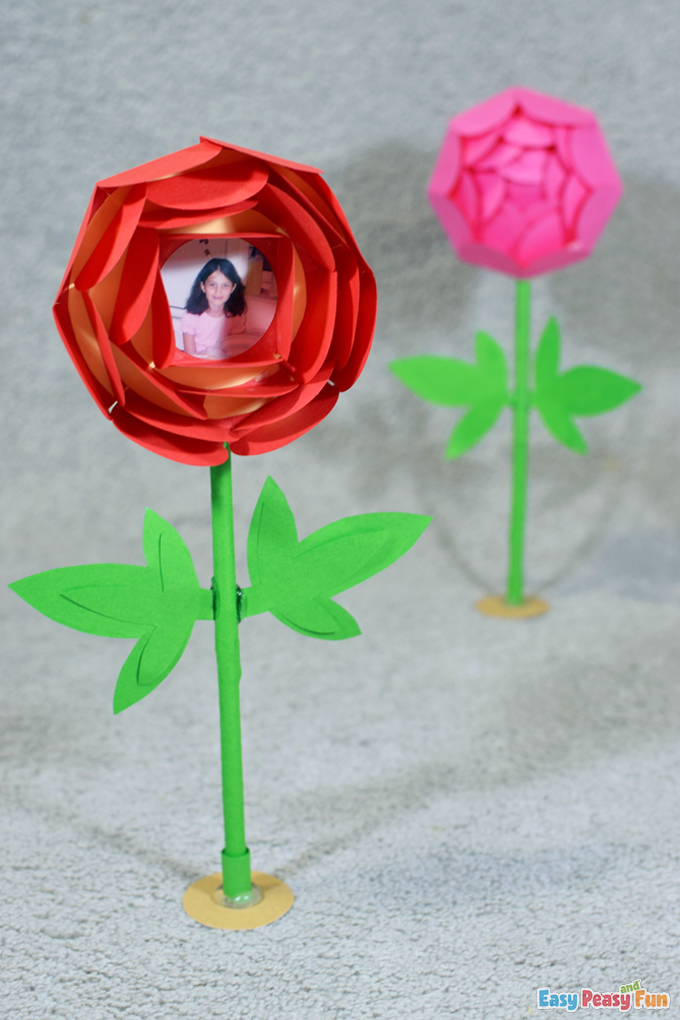
That’s right, it hides a photo or a hidden message inside.
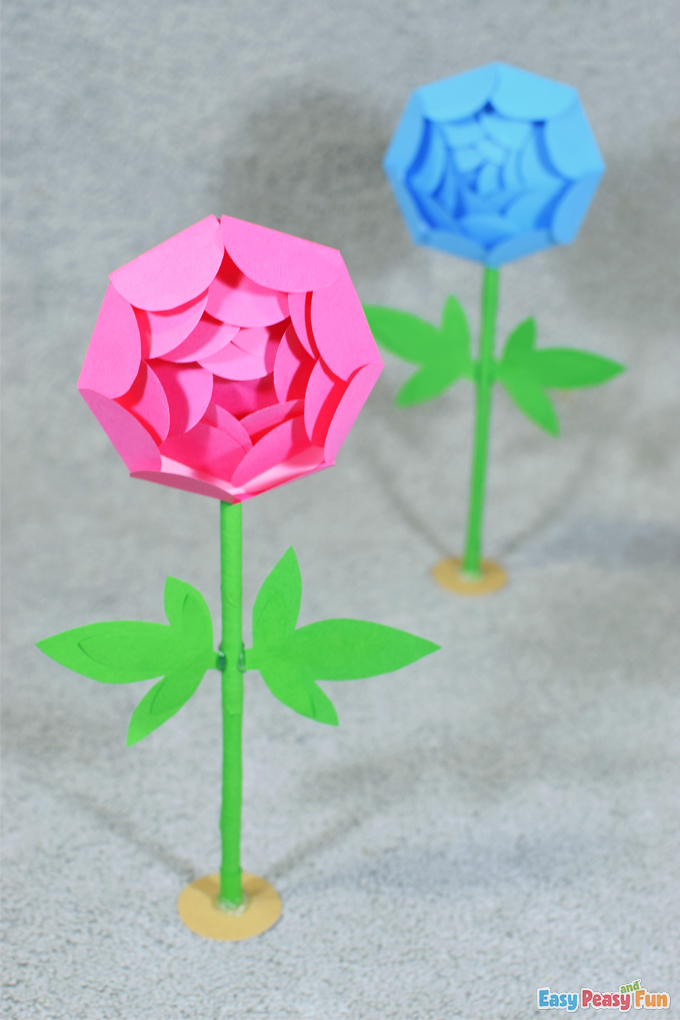
We are crazy about peonies.
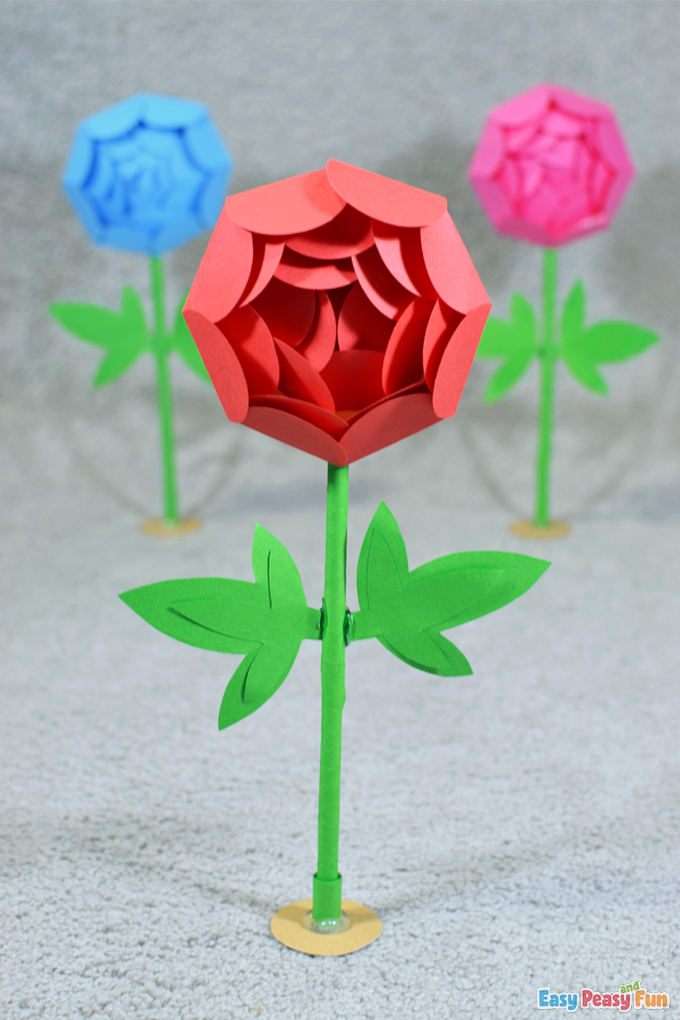
They are so big and luxurious with dense flower leaves, plus they smell so lovely.
We call them flower balls, and they are one of our favorite flowers for sure.
What do you say about crafting one for your mum and letting her know that she is profoundly and dearly loved, huh?
How to Make Mothers Day Paper Flower
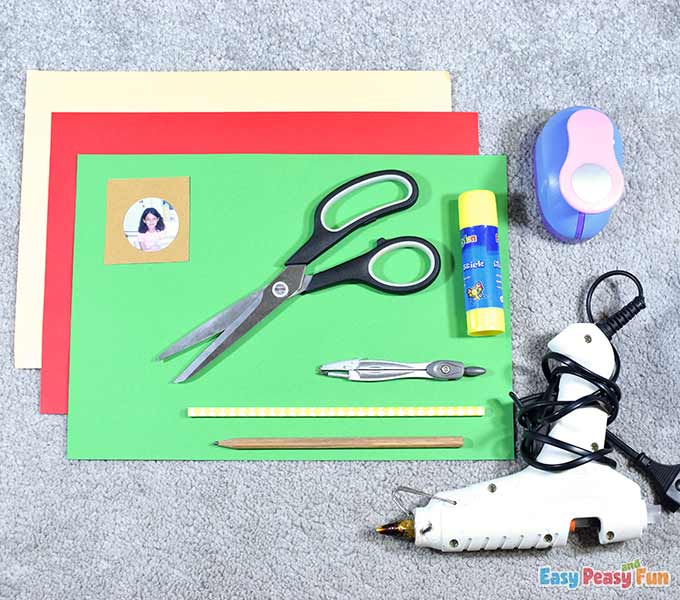
What you need:
- light red cardstock
- red color paper
- green color paper
- brown cardstock
- glue
- scissors
- hot glue (+a hot glue gun)
- pencil
- bow compass
- circle puncher
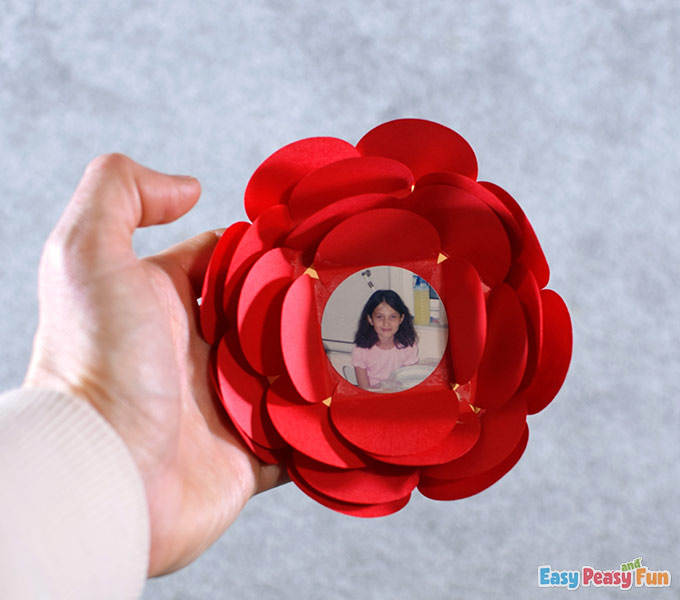
- photo of you smiling or being silly (you can also make this flower without a picture inside if you want to, but the image is what makes this peony a surprise peony)
- black liner
- straw
Step by Step Instructions
The Flower
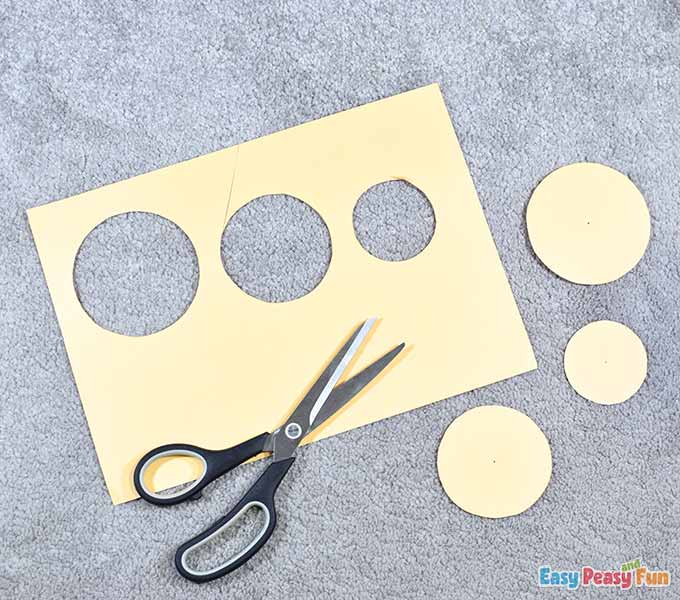
Take the bow compass and draw three circles on the light red cardstock.
The diameters of the circles should be 8,6 cm, 7,6 cm, and 5,6 cm.
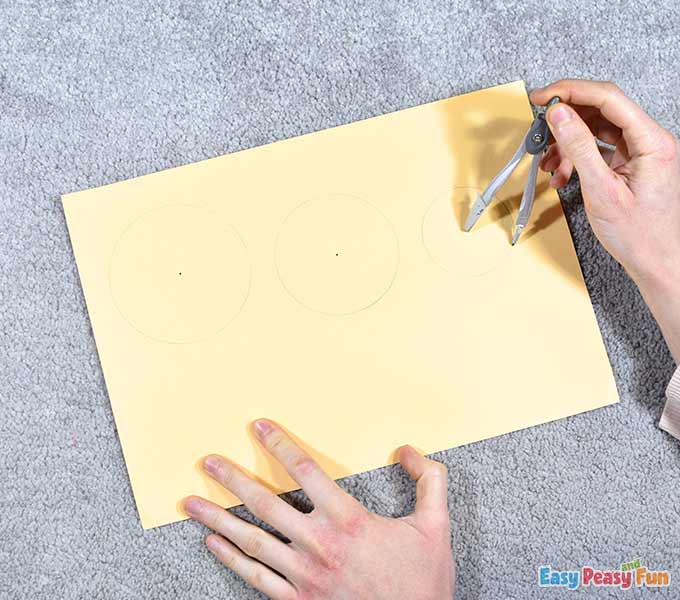
Cut out the circles.
The Photo
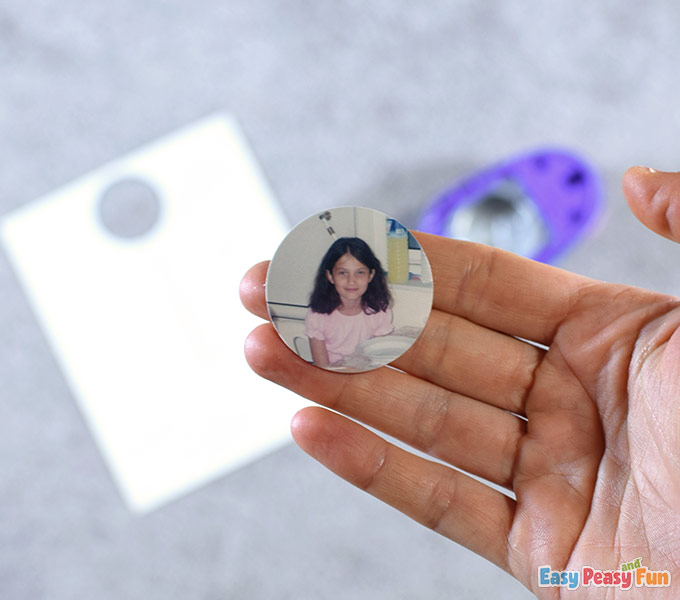
Take a photograph and punch your smiling or silly face out. The diameter of the circle puncher should be 3,8 cm.
If you don’t have a circle puncher this size, go on and form a circle on the photo with the bow compass, then cut the circle out.
If you do not want to use a photo, punch out a light red circle instead. But to make this peony a surprise peony, the picture is needed.
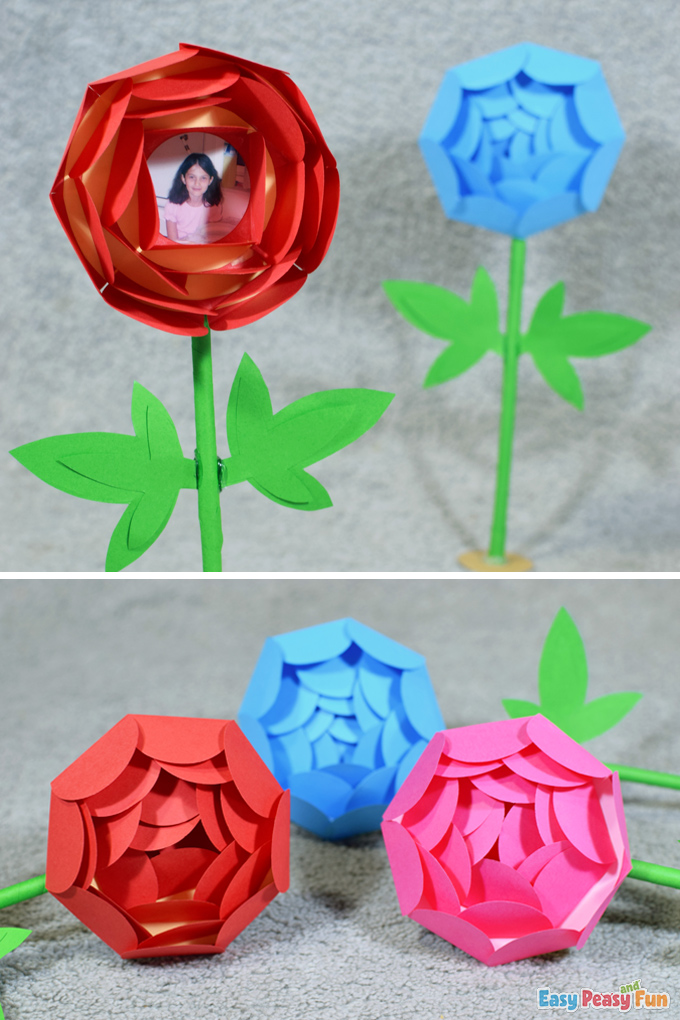
The Petals
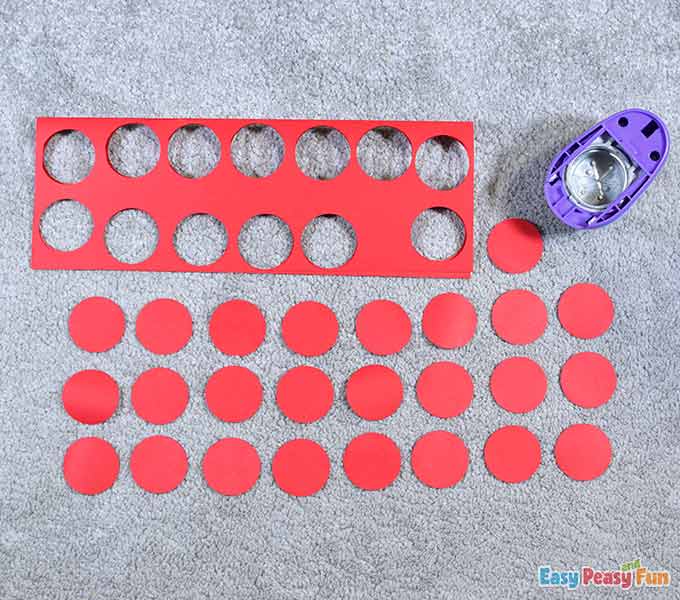
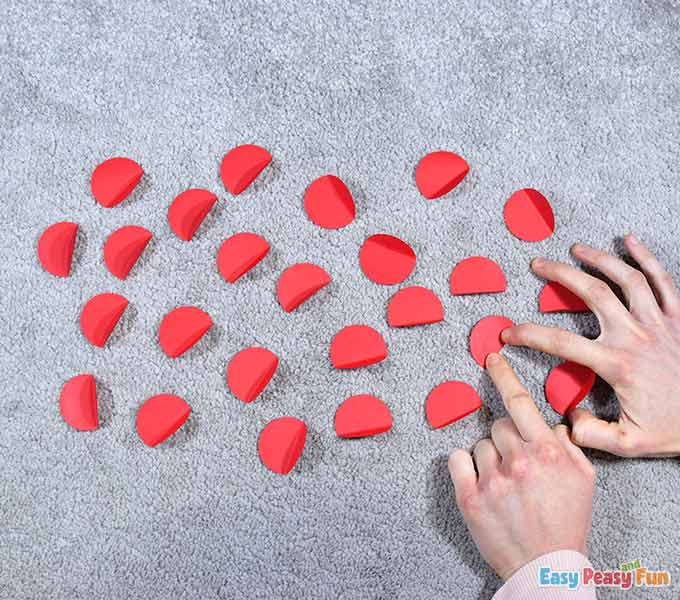
Punch out twenty-five red circles. Again, if you don’t have a circle puncher this size, form the rings with the bow compass, then cut them out.
Fold the circles as shown in the picture. Make sure you do not fold them in half, but less.
Apply some glue on the smaller (folded) parts of the circles. Take the most giant light red circle and start attaching these red circles to it.
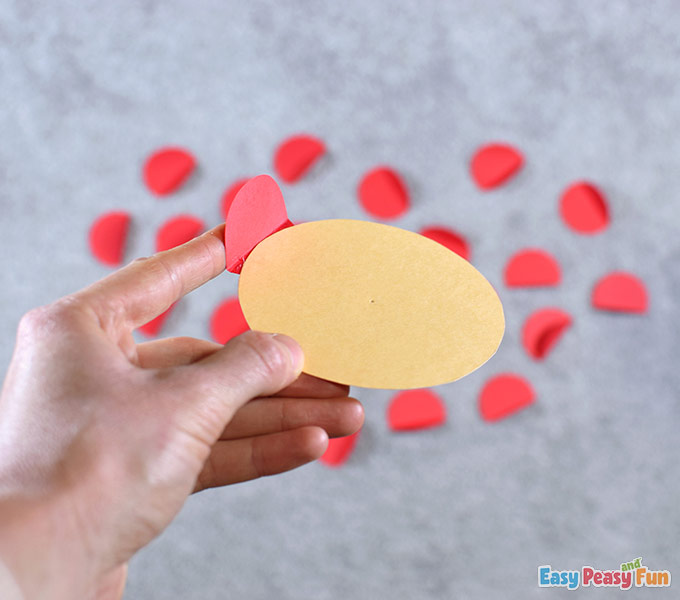
You should glue eight small red circles to the biggest light red circle as shown.
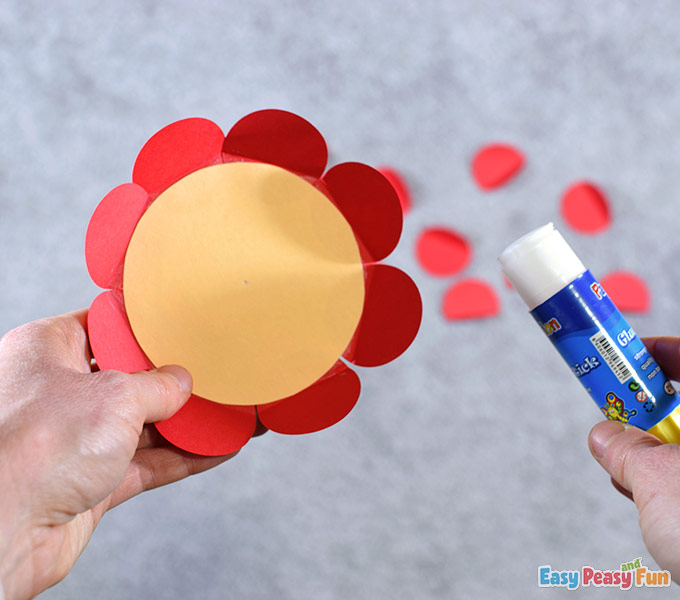
Press the circles inward, so you get this closed flower part you see in the picture.
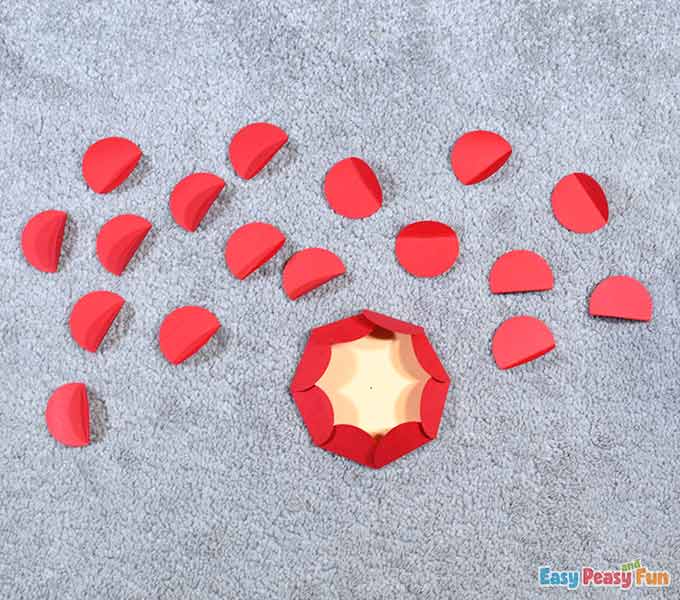
Repeat this step with the remaining two light red circles. Attach seven red circles to the bigger-sized light red circle and then attach six circles to the smaller light red circle.
Close them afterward. We have four remaining red circles on the table now.
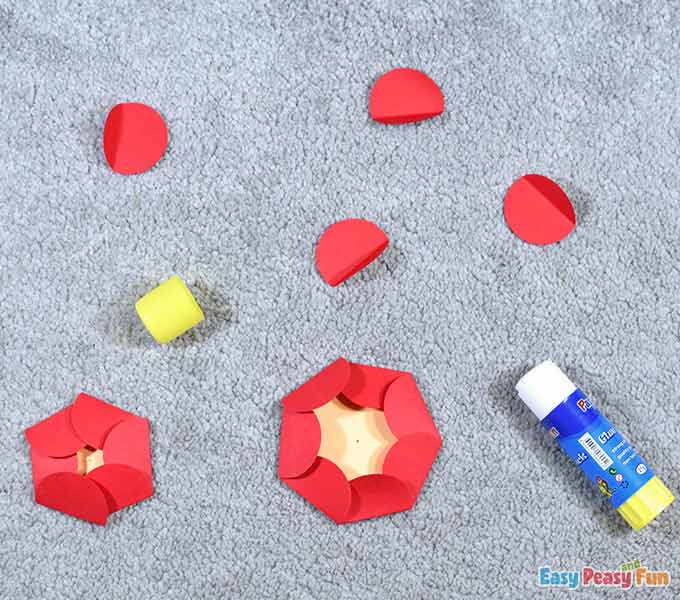
Glue these four red circles around the photo circle (or glue them around the light red circle if you decided not to use a photo).

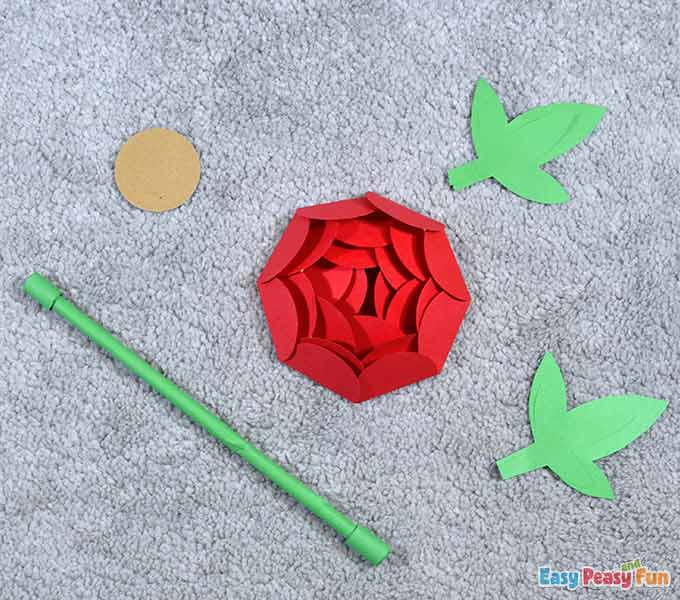
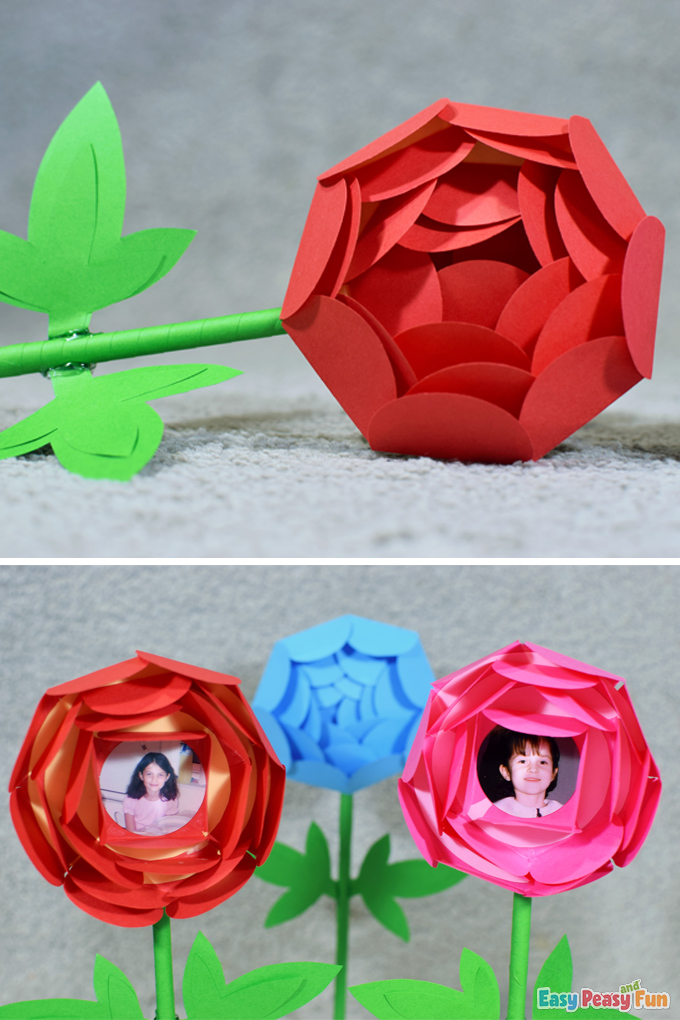
These are the four flower parts we have crafted so far.
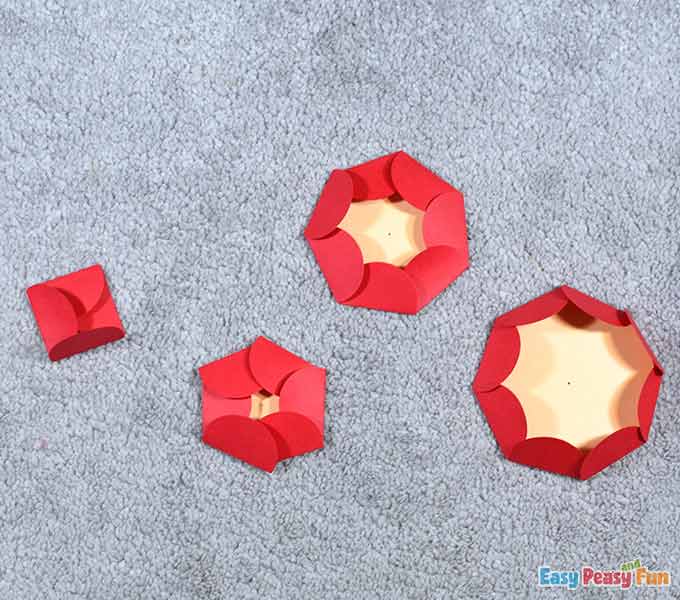
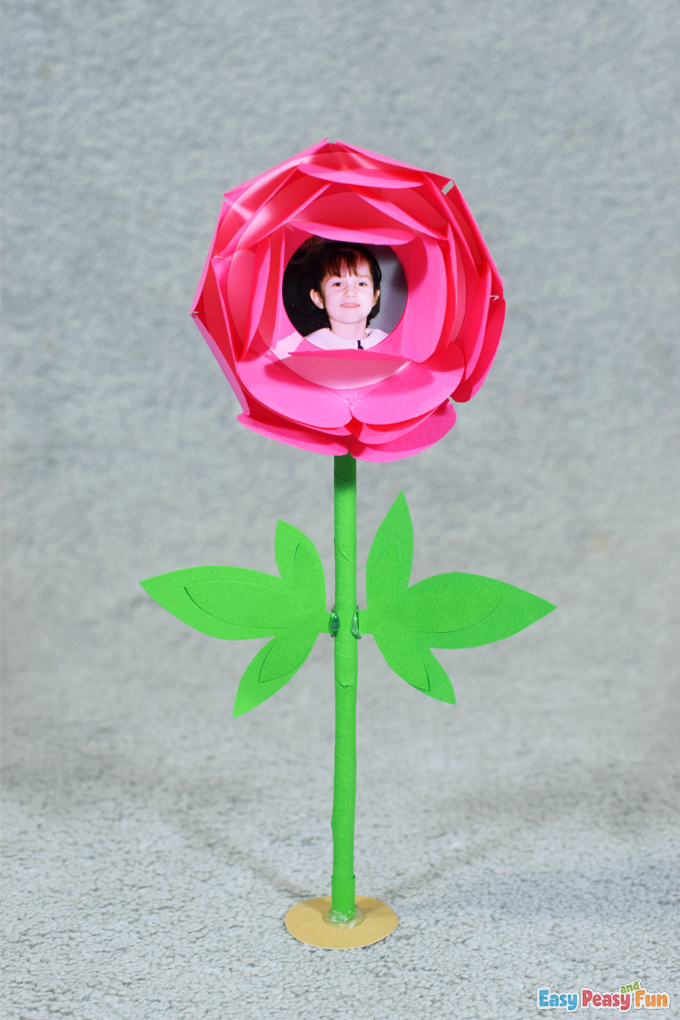
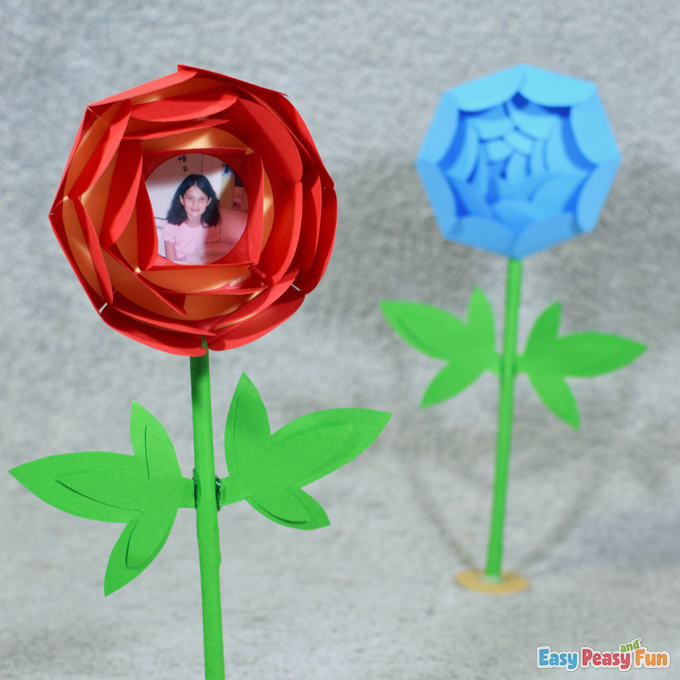
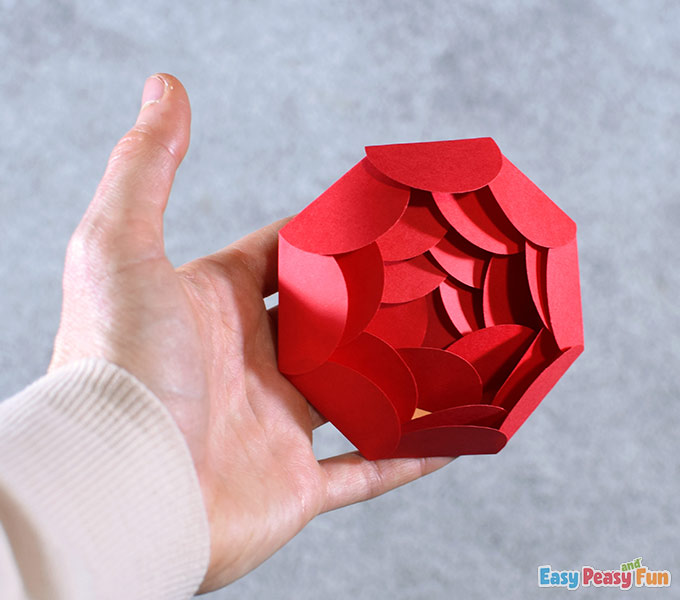
Go on and glue them one inside the other. That’s how you form the flower.
Beautiful, isn’t it? Now close the flower and leave it aside.
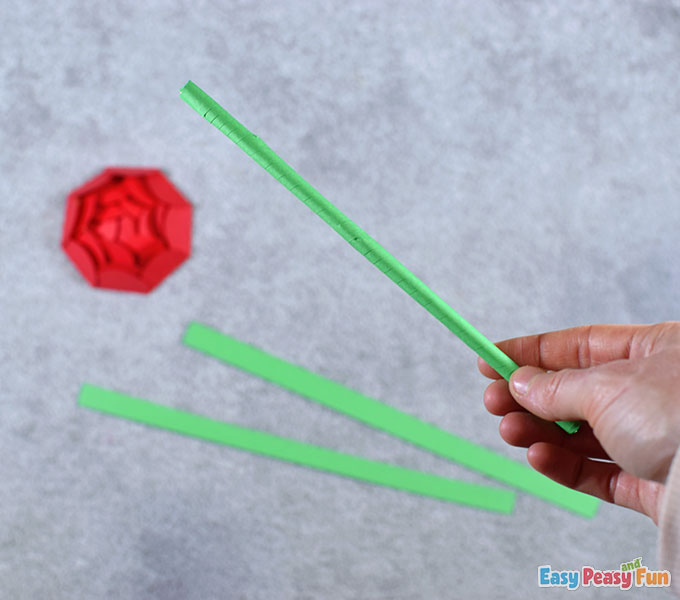
The Stem
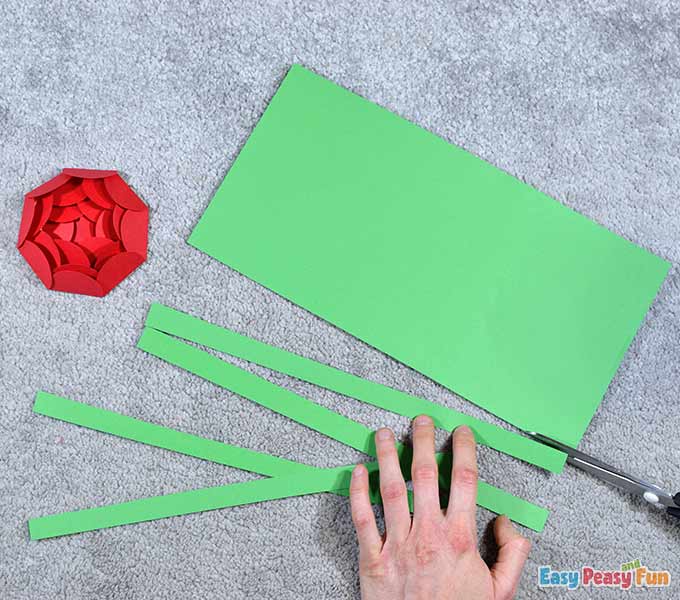
Take the green color paper and cut out four long strips approximately 1 cm wide.
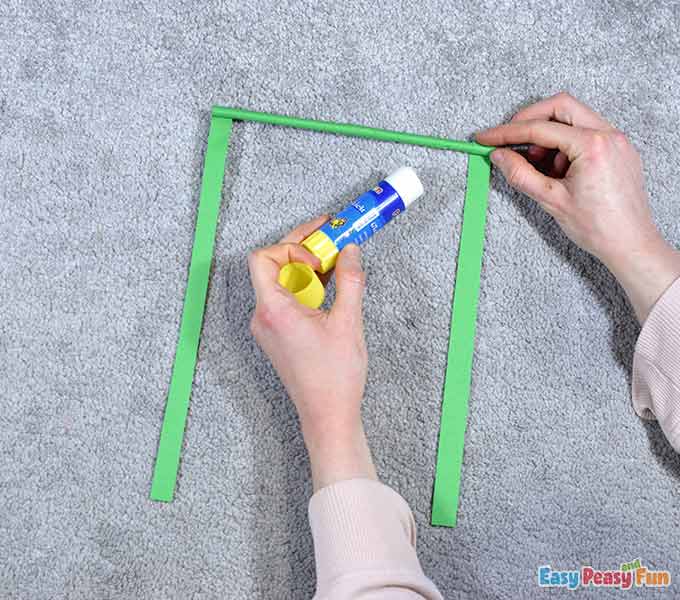
Apply some glue on the first strip.
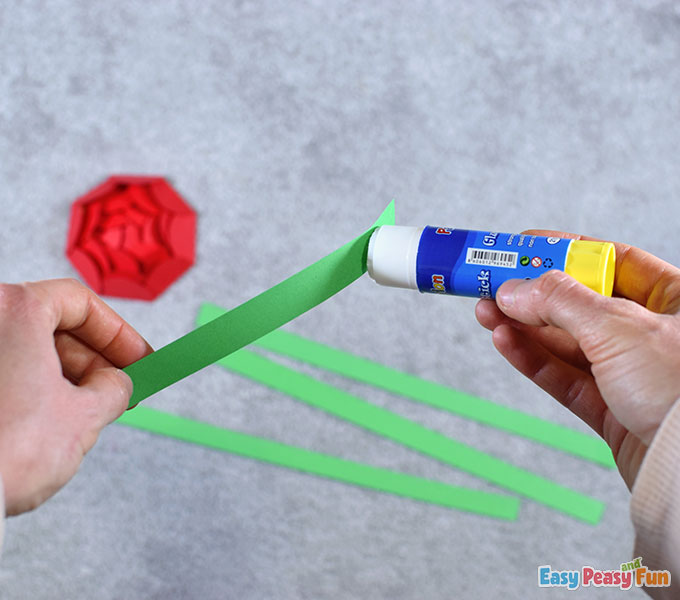
Start wrapping this strip around the straw.
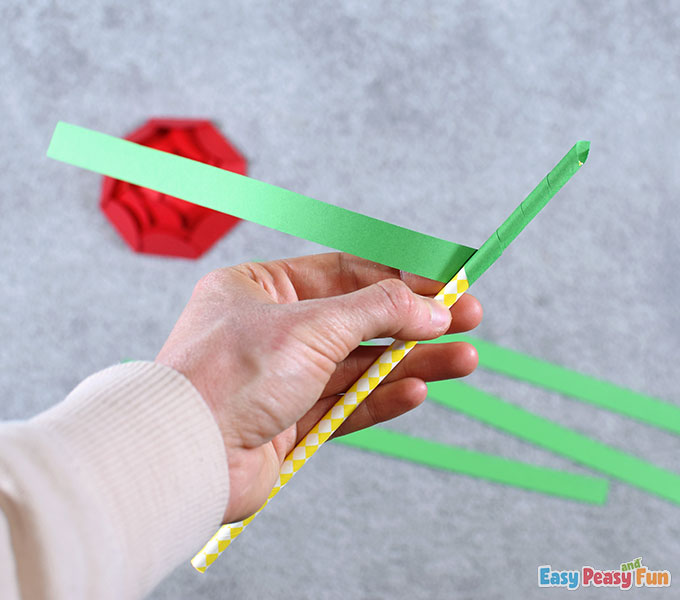
When you are done with the first strip, continue with the second one.
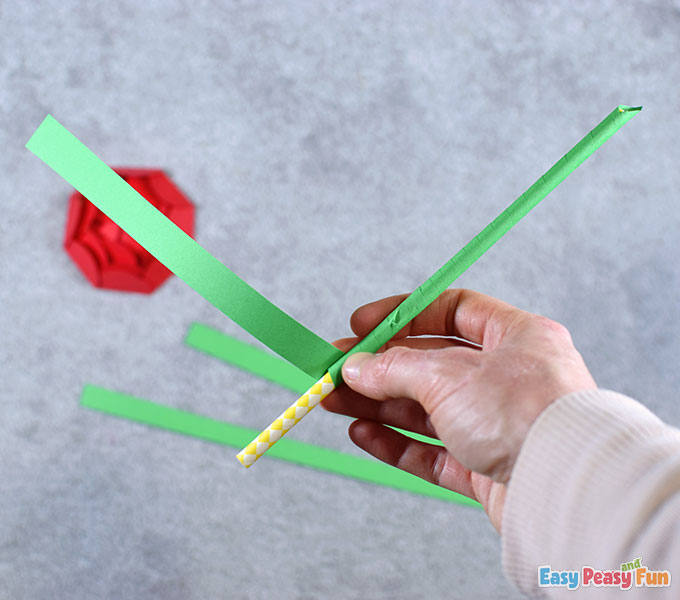
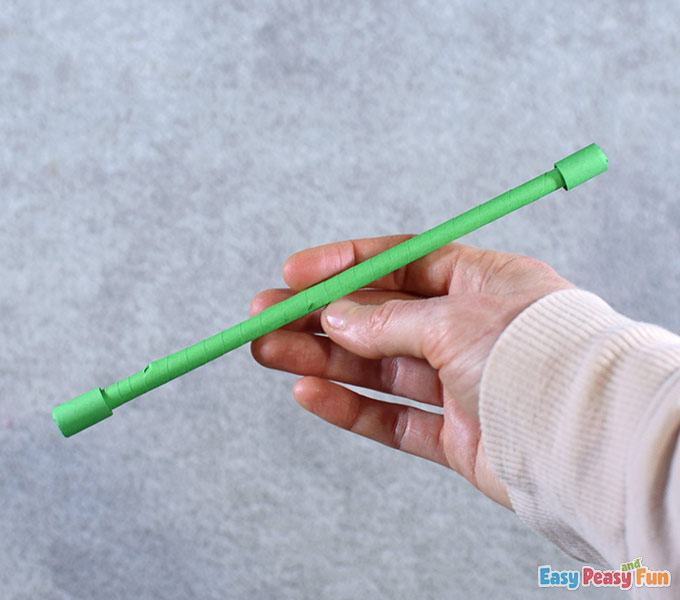
We have the stem ready.
Take the remaining two green strips and wrap them around the stem’s ends.
Finished! Now we move on to the leaves.
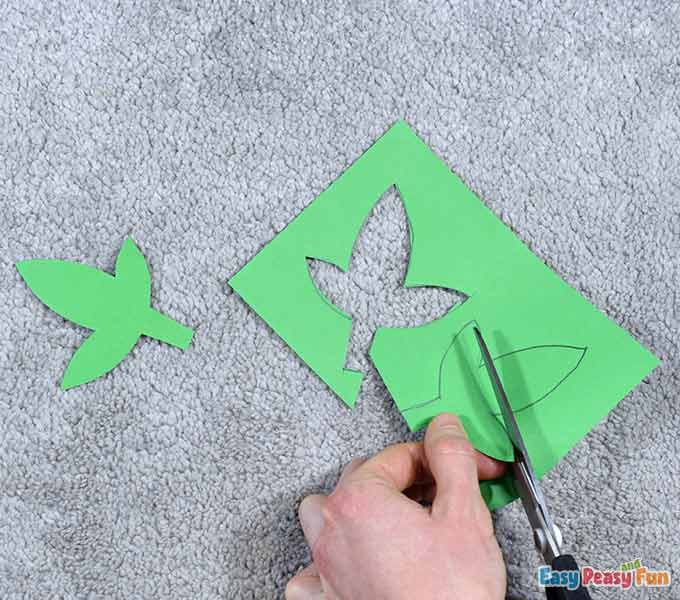
The Leaves
On green paper, draw some peony leaves. Make two branches with three leaves on each one.
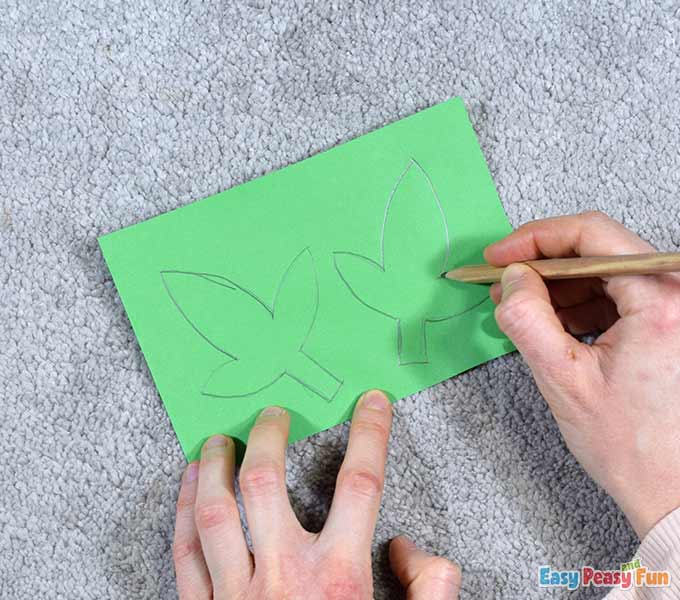
Cut the leaves out using scissors.
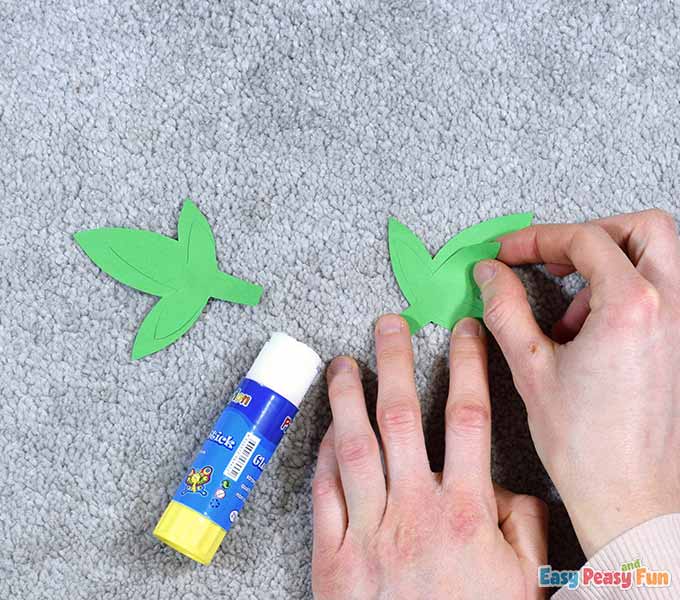
Now take one branch with leaves and trace it two more times on the green paper.
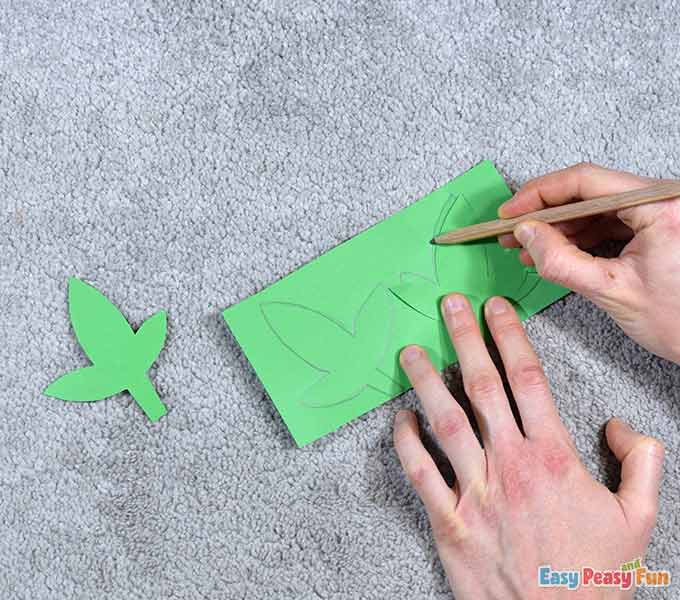
Draw smaller leaves inside the bigger ones.
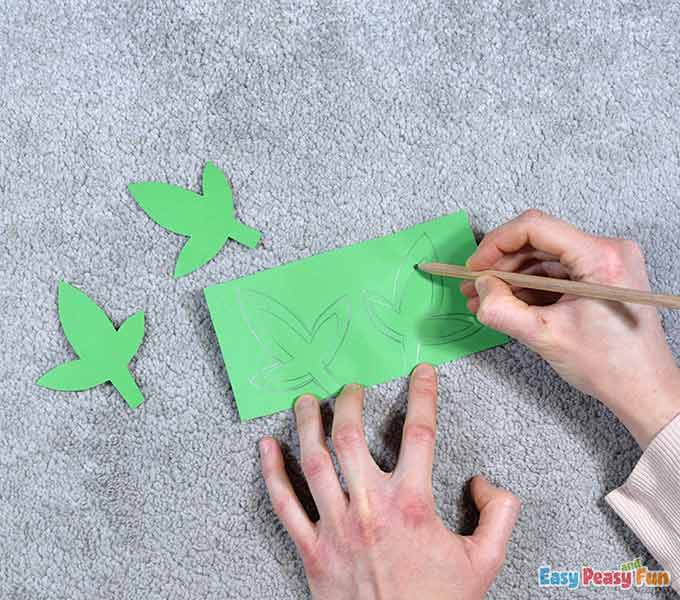
Cut the branches with the smaller leaves out.
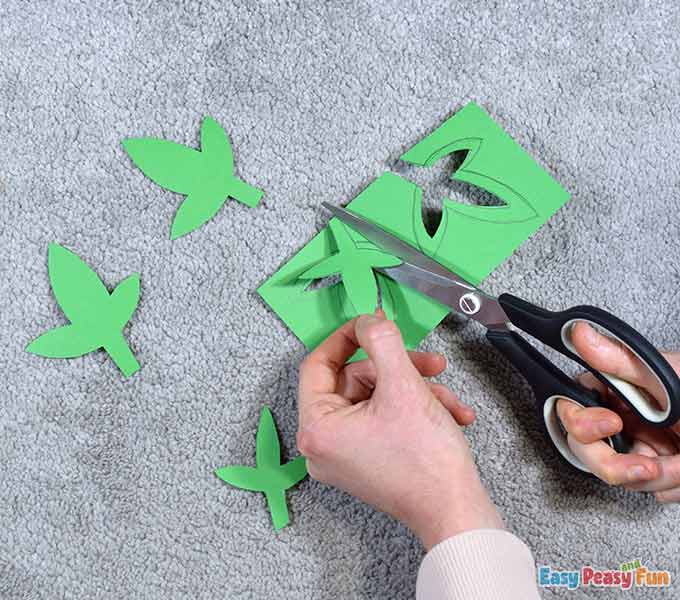
Let’s see now. You should have two bigger branches with leaves and two smaller ones.
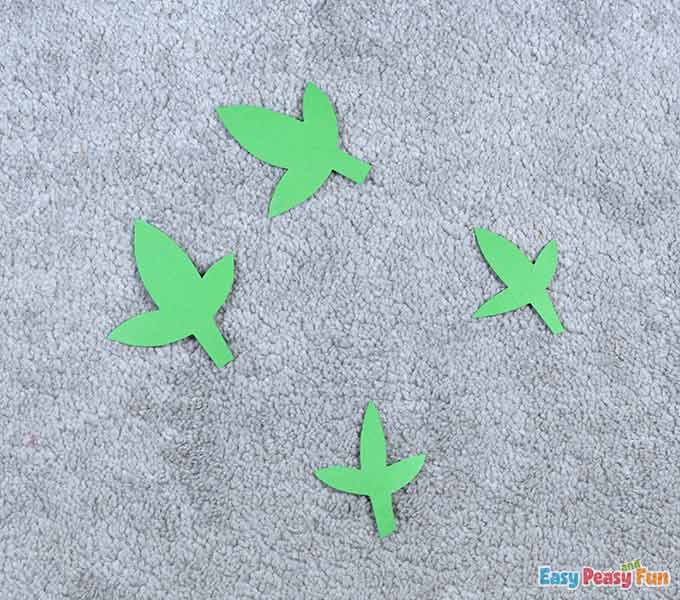
Glue the smaller branches with leaves on top of the bigger ones.
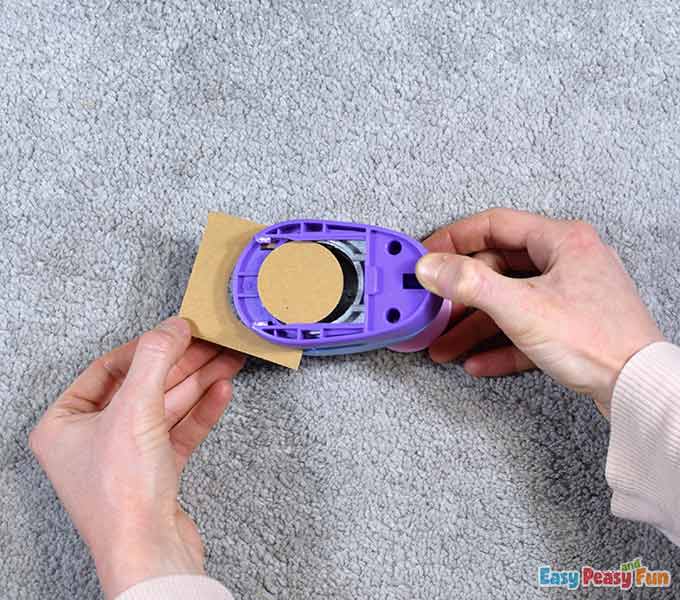
The Pedestal
Take the circle puncher and punch out a circle in the brown cardstock.
If you don’t have a circle puncher with a 3,8 cm diameter, take the bow compass, form a circle, and then cut it out.
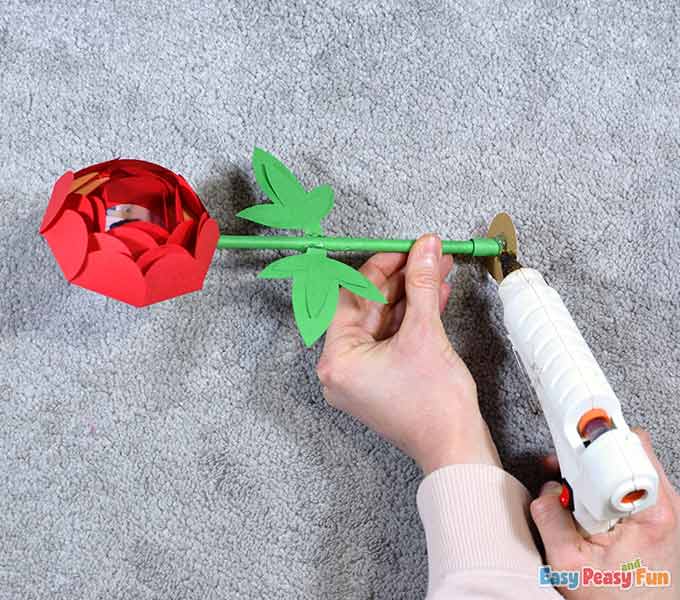
These are all the parts we need to start assembling the flower now.
First, we glue the stem on the back of the flower using some hot glue.
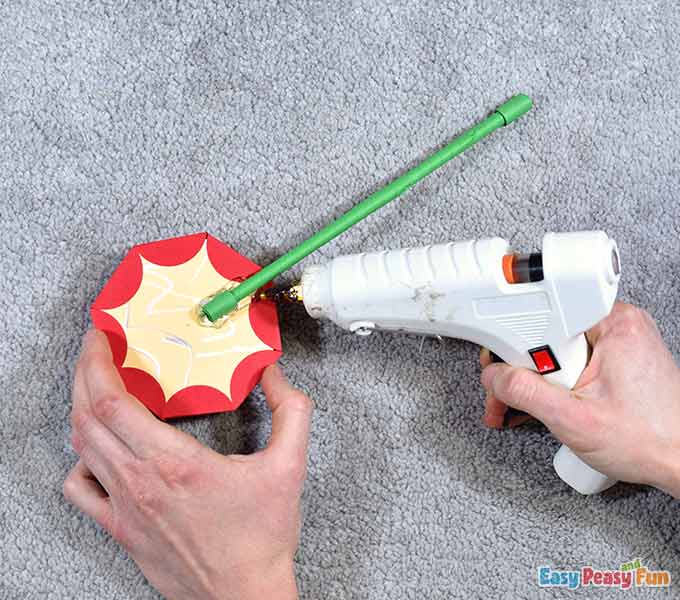
After the glue sets, we continue gluing the branches with the leaves on the stem.

Then we apply some glue to the bottom part of the stem, and we attach it to the brown circle. Finished!
Now open the flower and write a short message inside like “Love you mum” or “Mum, you’re the best” or “Thanks mum for everything.”
This step is optional.
You don’t have to write anything inside the flower if you don’t want to.
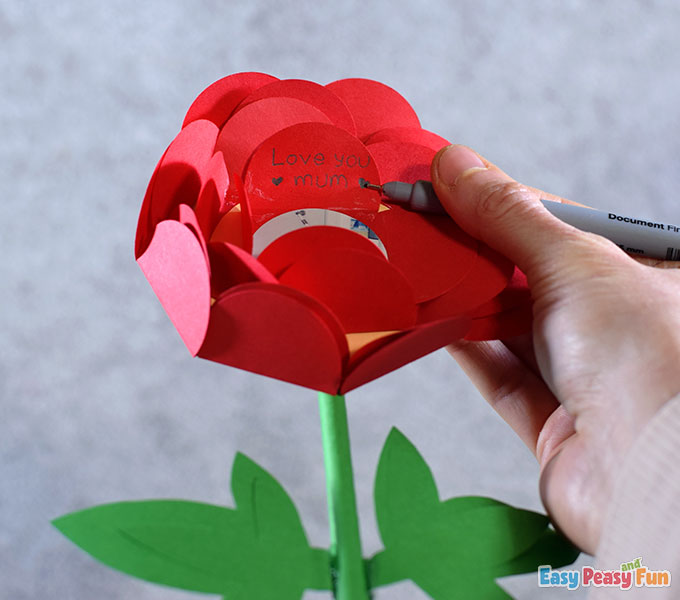
The last thing to do is to close the flower.
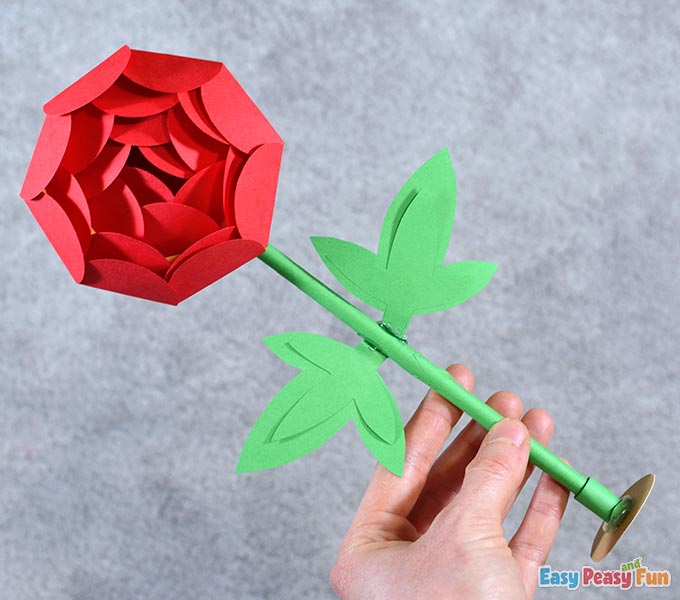
Your Mothers Day paper flower is all done!
We assembled our peony! Yaay!
Now we wait for our mums to arrive home, and we gift them these surprise peonies.
Aren’t they lovely? We adore them! We hope you adore them too!
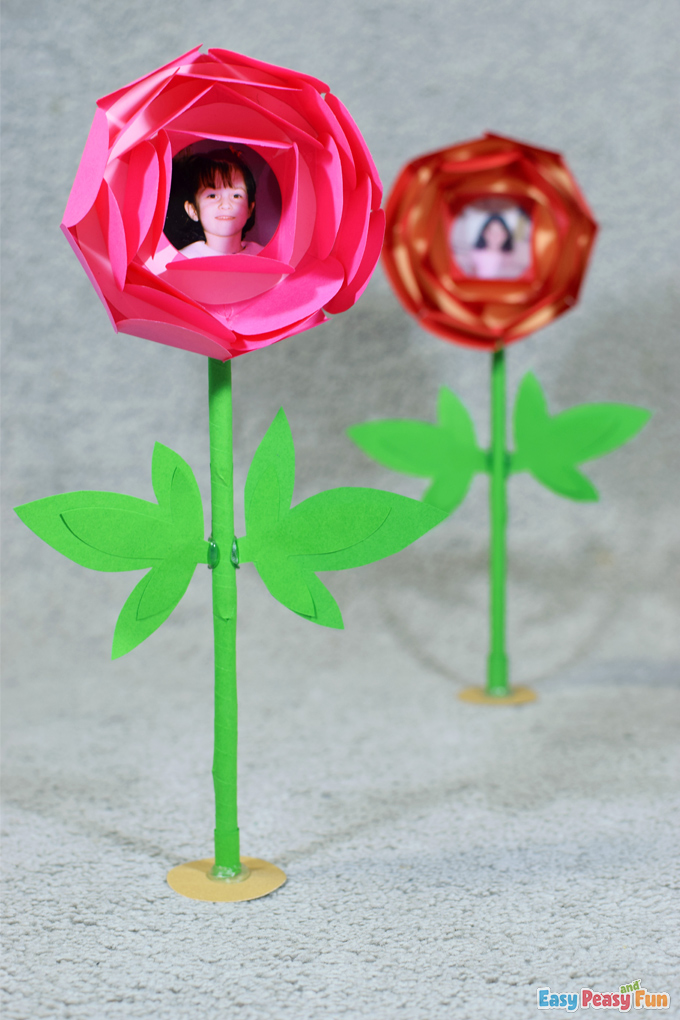
Happy Mother’s Day!
Want instant access to all of our printable crafts, activities, and resources?

With thousands of crafts, activities, worksheets, coloring pages, and drawing tutorials to print, you will always have just the resource you need at your disposal. Perfect for parents and teachers alike!