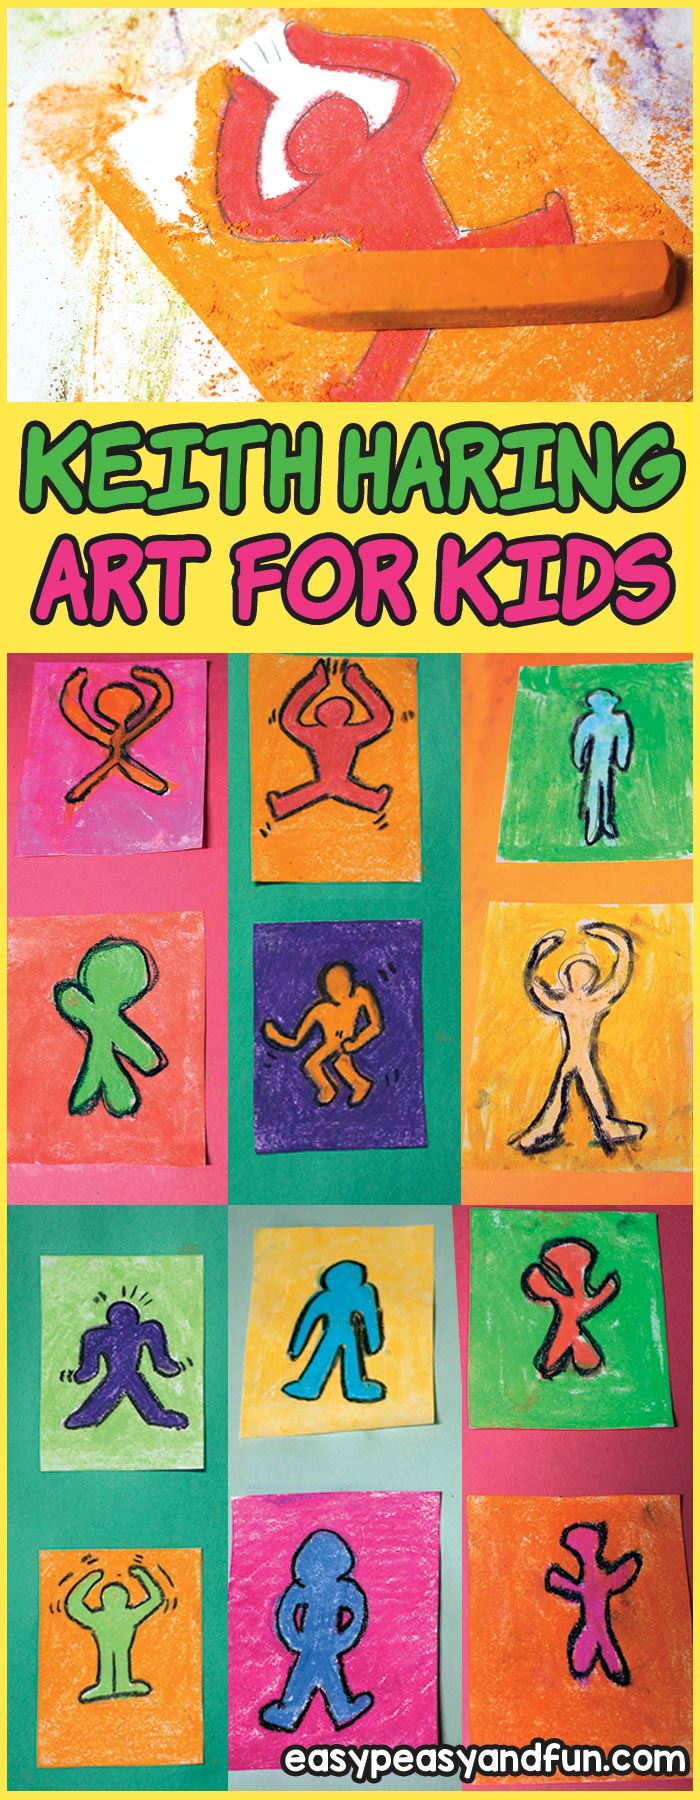
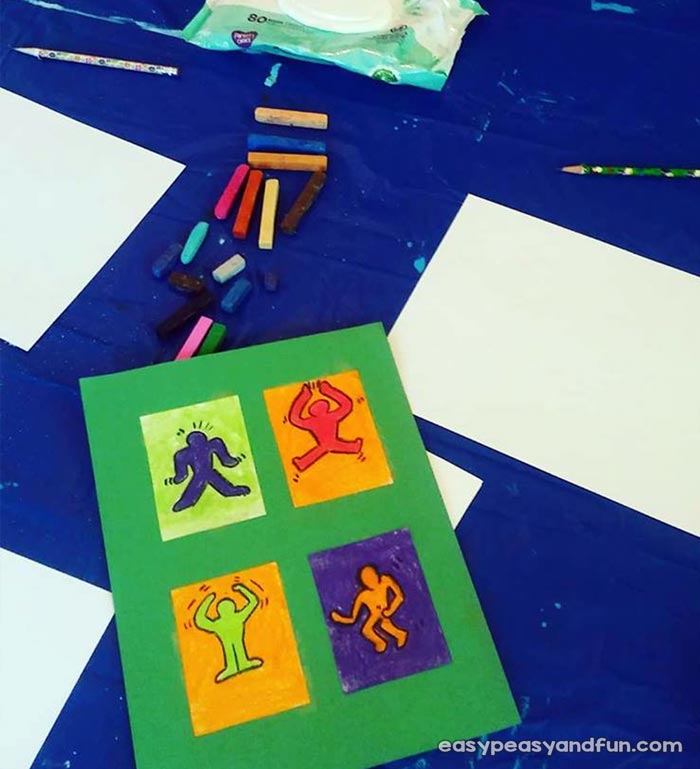
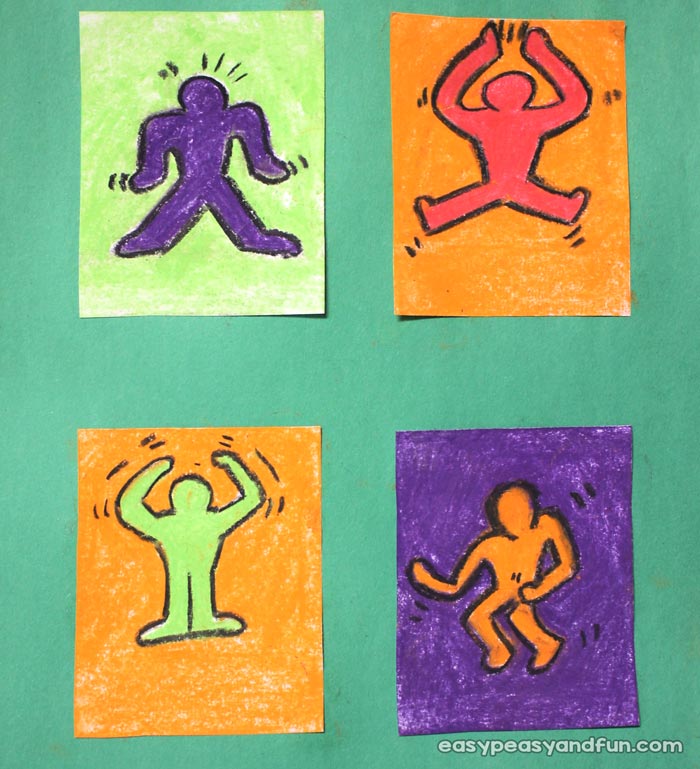
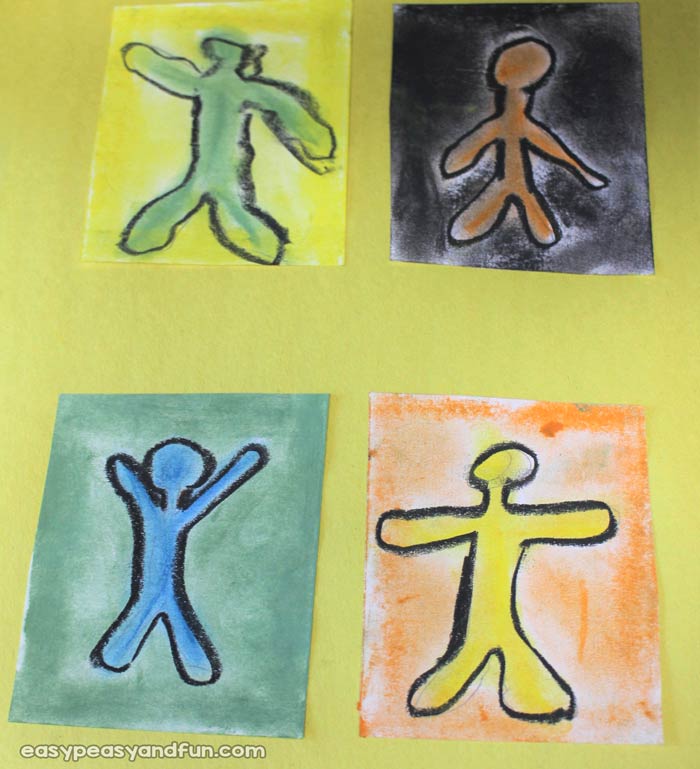
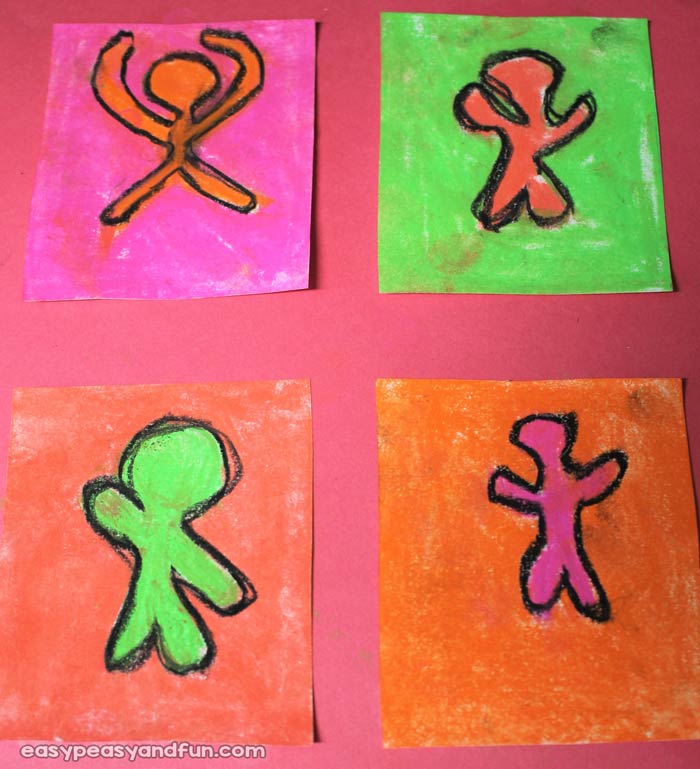
Let your kids or students explore pop art and graffiti like style with this Keith Haring art for kids project with step by step instructions and all of much information about the artist to include in your lesson.
Keith Haring is an important artist to include in your lessons if you teach art to your kids, or a group of kids. His art has such an iconic style and there has been no one since him who rivals it.
Keith Haring Art for Kids – Exploring Pop Art With Chalk Pastels
This lesson can be easily taught to just your own children in your home, or to a group. It is an easy but enjoyable one, and it gives them room to be creative, while homing in on their drawing skills. It also uses chalk pastels, which aren’t as commonly used and it’s a great way to introduce those and show what the true hues of color look like because they are as vibrant as any art medium can get.
I am going to give you some tips and tricks on the lesson to make it easier for you, and cover teaching it to different ages. But first, let’s talk a bit about Haring so that you can share some art history with them in your lesson as well.
Starting the Art Lesson with Information About Keith Haring (Kid Friendly)
Keith Haring was born in Pennsylvania in 1958. He was drawing at an early age, and he learned it from his father. Cartoons were a big influence on him and he sharpened his skills when he went to school for commercial art in 1976 but figured out quickly that is wasn’t for him.
He then worked on his own to develop his own style of art and he even had his own solo exhibit in 1978.
He moved to New York City and enrolled in the School of Visual Arts and it was here that he found the place he felt at home. The artists there not only did their art at school but took it to the streets. His art became something that you could see in the subways and on the streets in the city, and he felt compelled to be a public artist, not just one who puts their work in a museum.
He became very popular in the 1980’s when he could be found drawing on the subway walls and ceilings. People became used to seeing his artwork and he called it his laboratory.
His style of outlining became one that we instantly recognize today. He opened his own shop called the “POP shop” in 1986 where the walls were covered with his art and you could purchase merchandise with the iconic images on it. He did murals, drawing workshops for kids and also did work to help many great foundations for children and adults.
Sadly, he died in 1990, at too young of an age, but his legacy lives on.
Art Lesson Tips
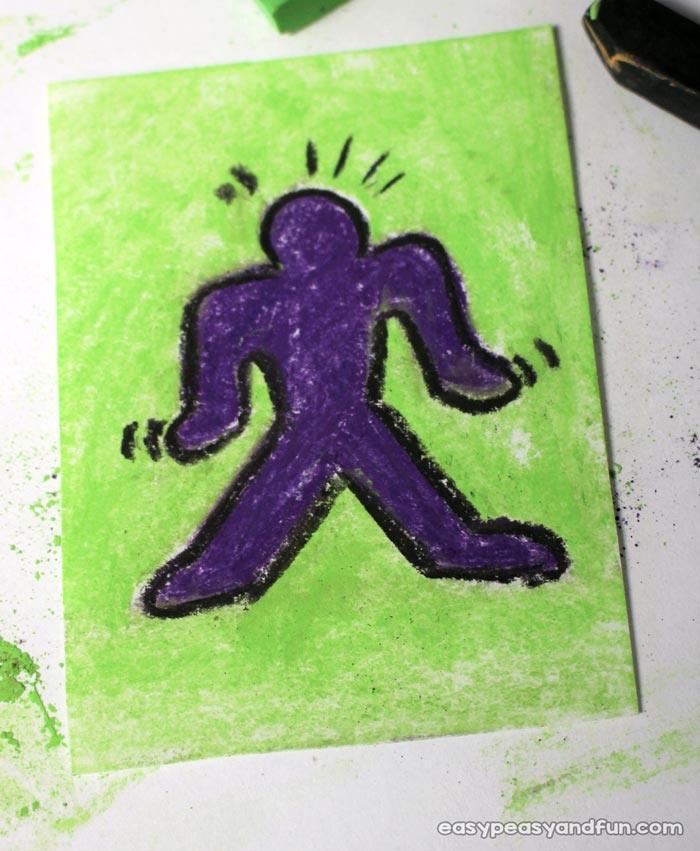
So, for the lesson at this point, after reading them some info about his life and showing them some examples of his work, point out the thick cartoonish outlines he used. Make sure to include the lines he put around the people or objects that put emphasis on the movement as well.
Little lines will make a big difference in their drawings for this, in addition to the people. Even though it is a small thing, it makes a big difference. So explain to them that they are going to create their own series of people.
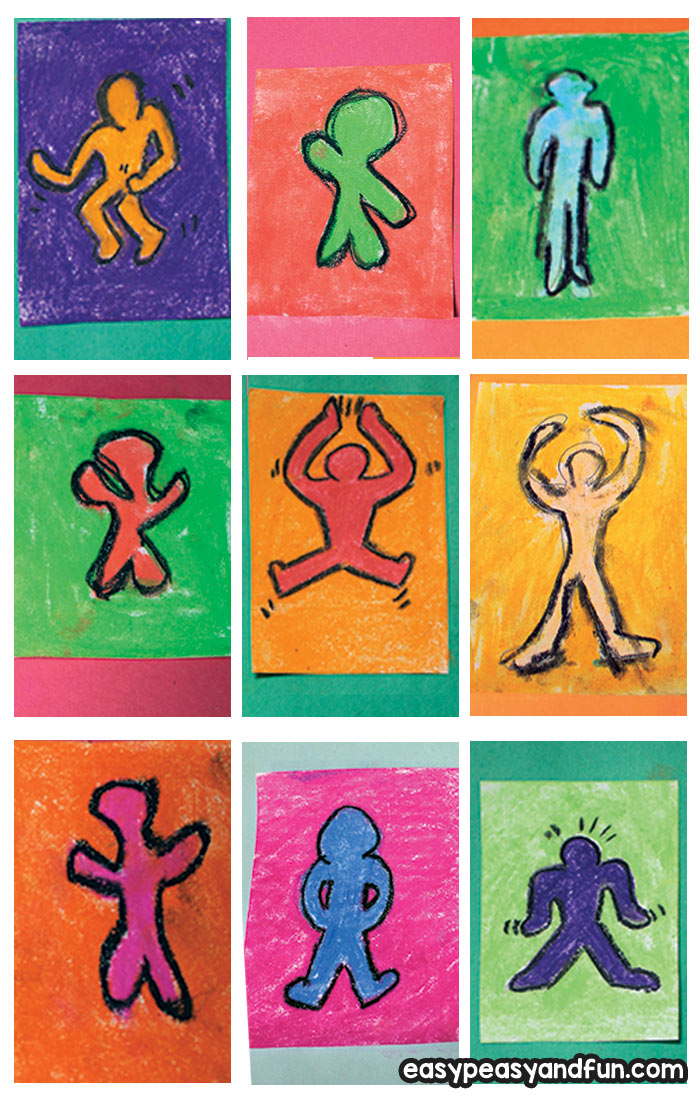
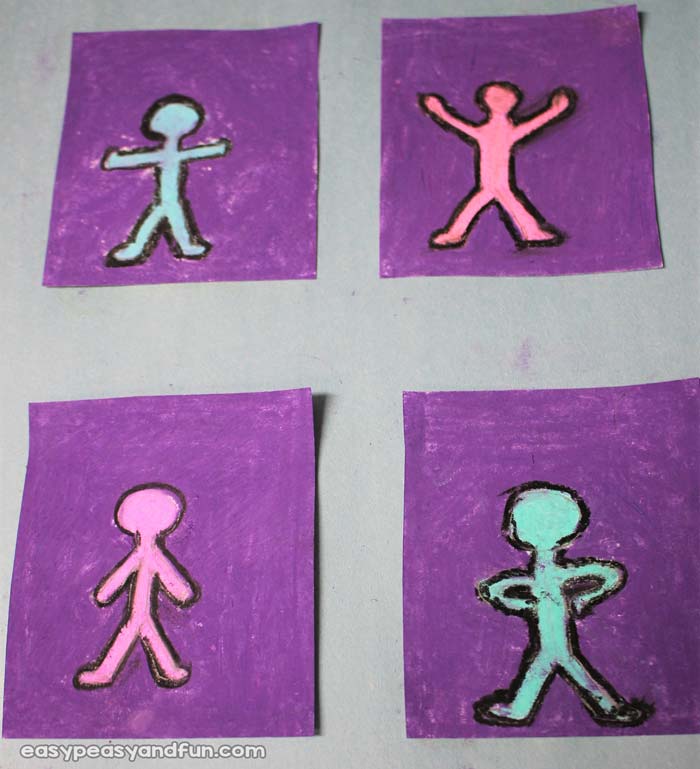
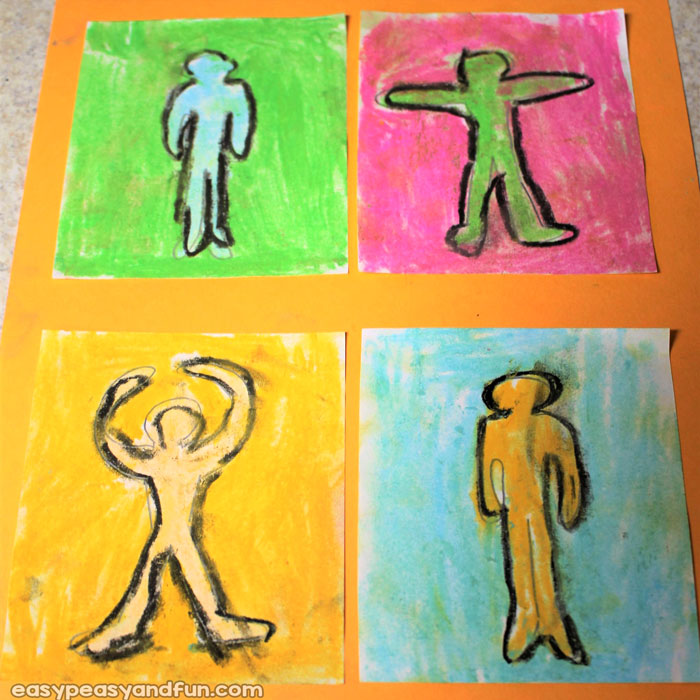
They can be making movements in a series, like jumping jacks for example, or they can be just 4 random poses of their choice. (For the younger kids, preschool through 1st grade, I pre-traced a set of people doing the jumping jacks for them prior to them coming to class, so all they had to do was color them in with the pastels.)
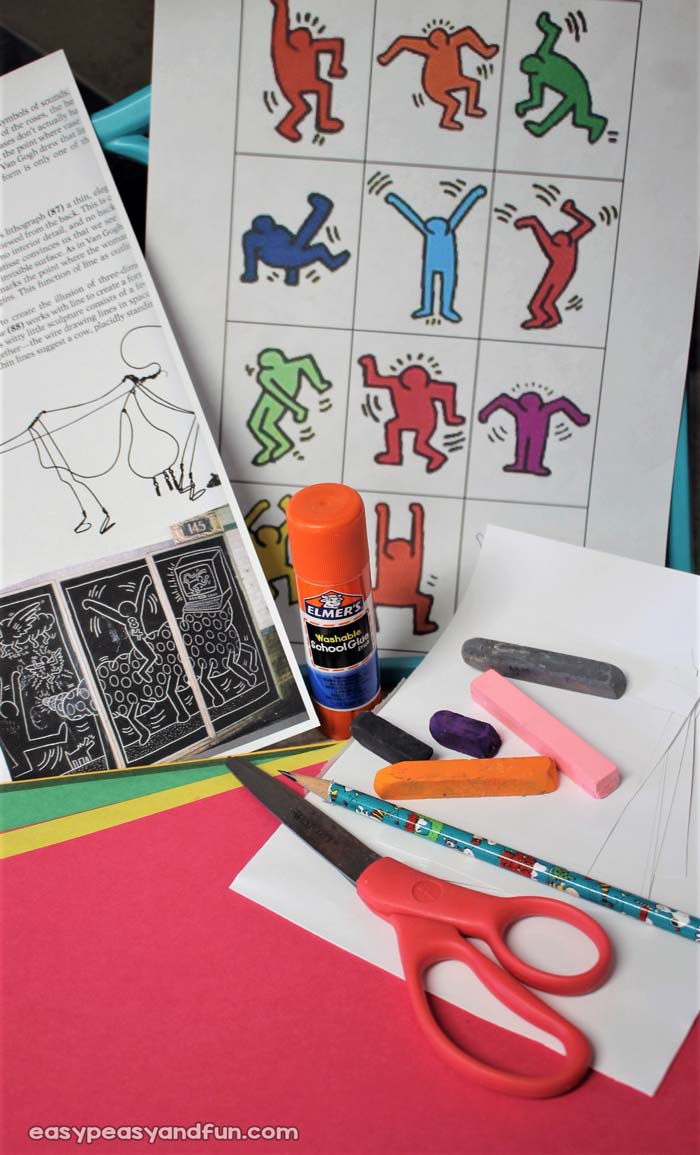
Keith Haring Art for Kids Materials Needed
What you will need for each child:
- 1 piece colored construction paper in color of their choice
- 1 piece white paper/ 2 for older kids
- 4 small pieces of white paper that you will pre-cut ahead of time
- Pastels in various colors, and for sure a black pastel for the outline
- Pencil
- Eraser
- Glue stick
- Cover up
And for you – Put down a plastic tablecloth over the workspace, which makes cleanup super easy and protects your table.
Step by Step Instructions for Keith Haring Art for Kids – Pop Art Lesson Idea
Before class, cut a set of 4 rectangular pieces of white paper, all in the same size, for each child. They need to be later glued on top of the construction paper and you will want to make them a size that leaves a good amount of border showing all the way around.
For the younger kids this is where you would pre-trace the images on for them. I did one set in pencil and then the rest of them I traced so they would all be the same shapes.
Let them choose a color for their bottom paper and then let them know to be thinking of that color to coordinate the pastels they use with it.
Drawing the figures
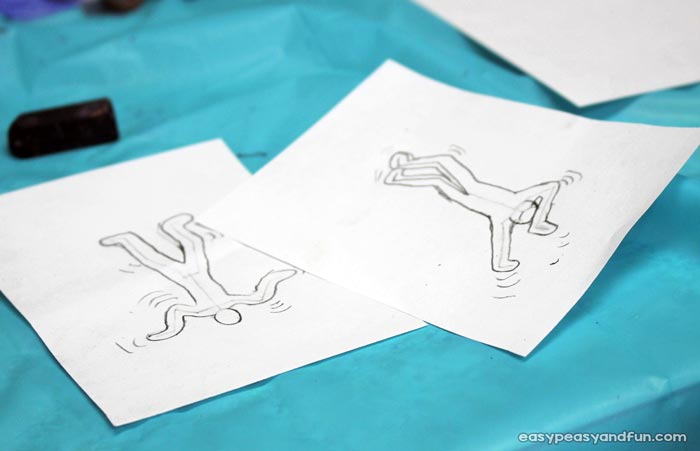
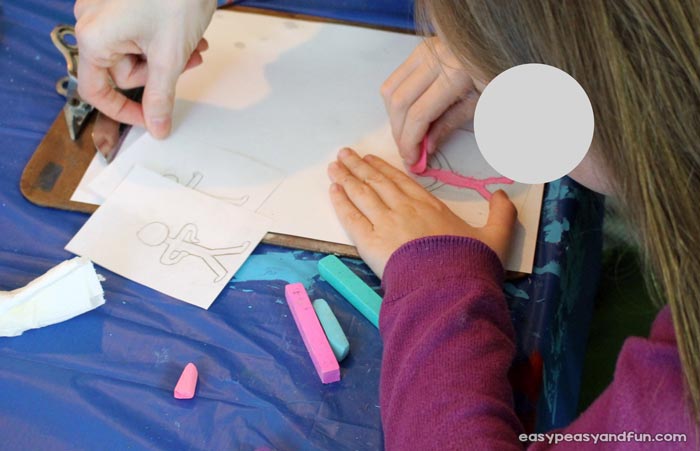
Have them create their own figures in different poses. Tell them to imagine the pose or even have another child pose for them if it helps. If they have trouble with the cartoon shape of the figures, they can first draw a stick figure and then draw around it to get the shape. Then have them erase the stick figure part. They will need to draw lightly as they possibly can, so that indentations of the pencil won’t show through the chalk later.
One tip is to draw the head first, so that the body follows suit and is the right size. If they draw the head too big, the body won’t all fit on the paper either, so just be sure to show them an example.
 Coloring With Chalk Pastels
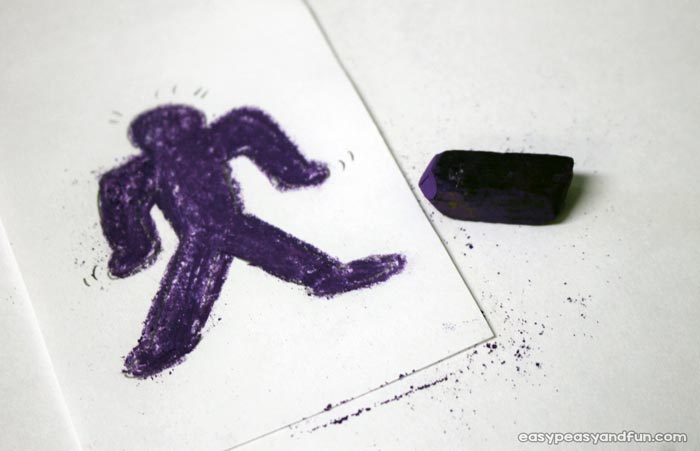
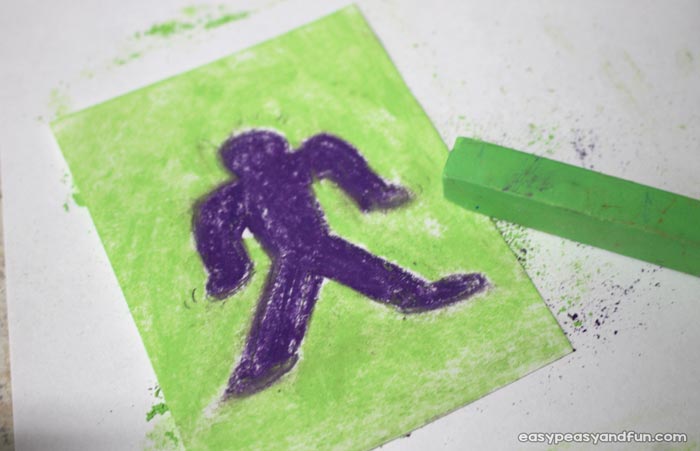
Once they have the figures drawn, they will use the pastels to color them in. They should use one color for the figure and one for the background.
Using the edge of the pastel, holding it the way you would a pencil, you can get a thin line, which works well for both the skinnier areas on the figure and the outlining part. Then, using the wider side of the chalk, you can color in areas easier and faster.
Have them put down a piece of white paper under their workspace and as they color with the pastels, they can tap the drawing paper on the bottom one to catch the chalk dust. This prevents the dust from getting blown all over the table.
They will likely need to color one coat of chalk on and then go back in and fill in any white spots. Some of the kids won’t want to do that and prefer the color loose.
Once both the figure and the background are colored in, then, the outlining should be done.
Emphasise using the edge or corner of the pastel to get a thinner line. For the younger kids, I did their outlines for them, because it is harder with small hands to control the square shaped chalk like a pencil.
Make the Pop Art Collages
At this point, I glued on the figures for them, because it is easy to smear the chalks. So just ask them ahead of time in which order they want their figures to be glued on the page.
When I glued them down, I rolled the glue on the construction paper, so I wasn’t turning over the chalk drawing, and then I used a glue stick container to roll over the paper to help me smooth it out and get it stuck to the glue, this worked better than using my fingers and smearing it.
The glue stick container is a perfect size to use for this trick.
Now, they are ready to take home.
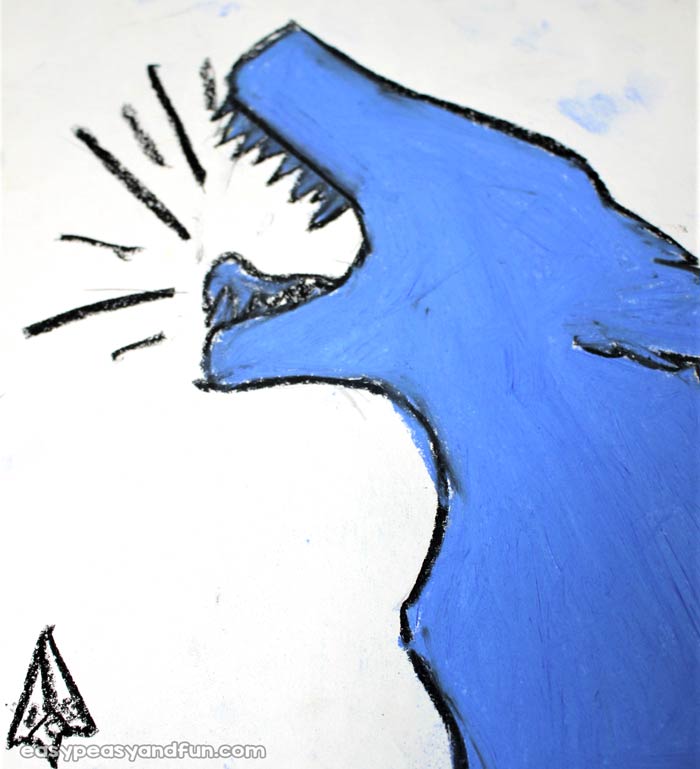
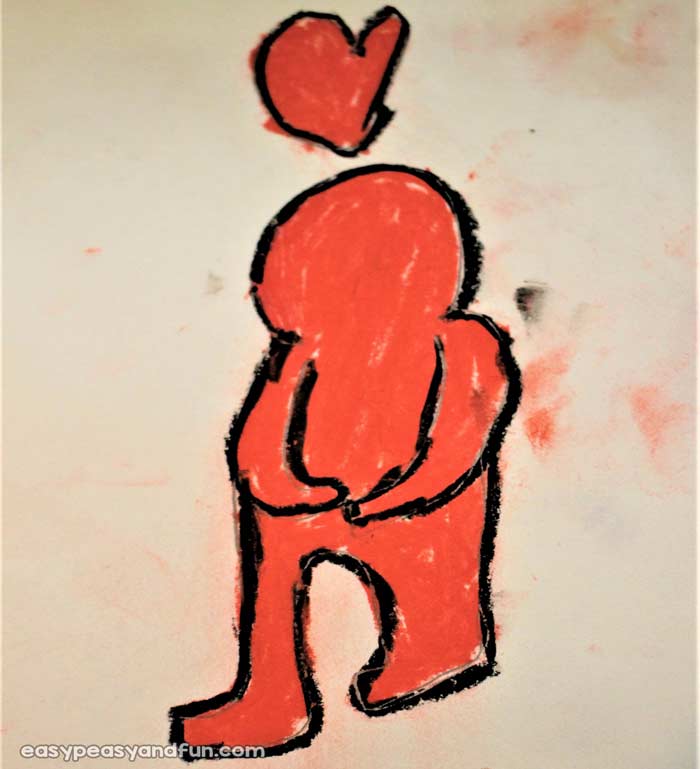
For my older kids, who are 5th through 8th grade, I also had them create one large figure or drawing in the same style, but it didn’t have to be a person.
The other piece of white paper is for that. I wanted to help sharpen their drawing skills a bit more and give them opportunity to try the same thing on a larger scale. Many chose not to do it, or ran out of time, but the ones who did came up with some great drawings.
As far as storing the pastels, you can send them home with a piece pf paper over the top of the chalk drawings, or just suggest that they store it that way, or spray it down with mod podge clear coat spray to preserve it. (If you have the space and time to spray them yourself, it is helpful to do that for them, but it stinks and needs good ventilation, plus time to dry and not stink up their car on the way home!)
Want instant access to all of our printable crafts, activities, and resources?

With thousands of crafts, activities, worksheets, coloring pages, and drawing tutorials to print, you will always have just the resource you need at your disposal. Perfect for parents and teachers alike!

