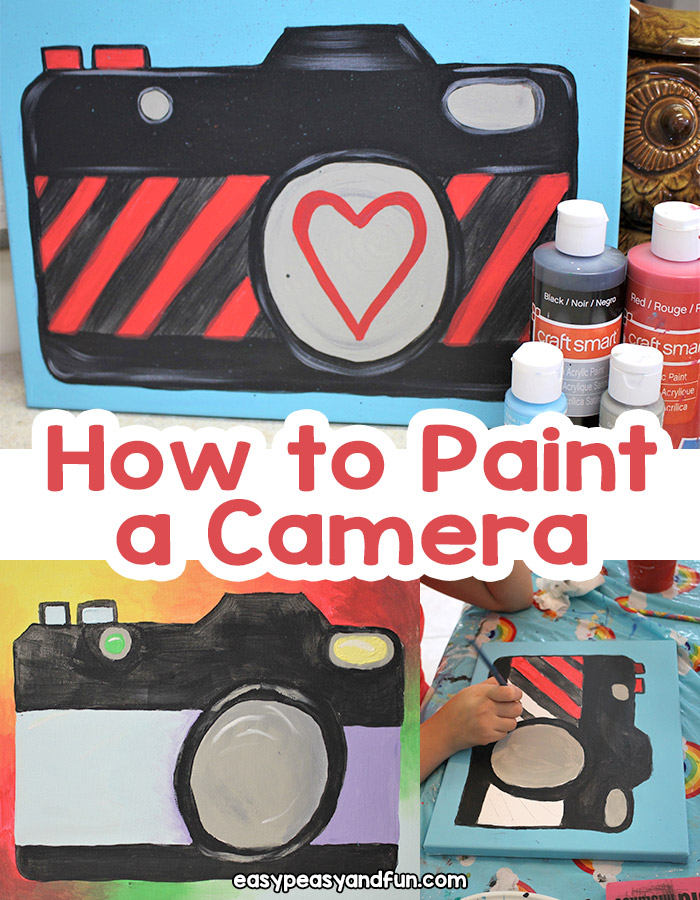
In this easy acrylic painting for beginners art lesson we are going to show you how to paint a camera.
The tutorial is suitable both for kids and grownups and is one of the easier painting project you can make (great to enter the wonderful world of painting).
*this post contains affiliate links*
50 paper crafts your kids can actually do themselves

No fancy supplies — just paper, scissors, and a little imagination.
Be the first to get it on release day — and lock in the lowest price guaranteed.
Canvas paintings are a great way to incorporate both drawing and painting skills for adults or children. They allow you to get creative and make the painting your own, even if you do it along with a group, too.
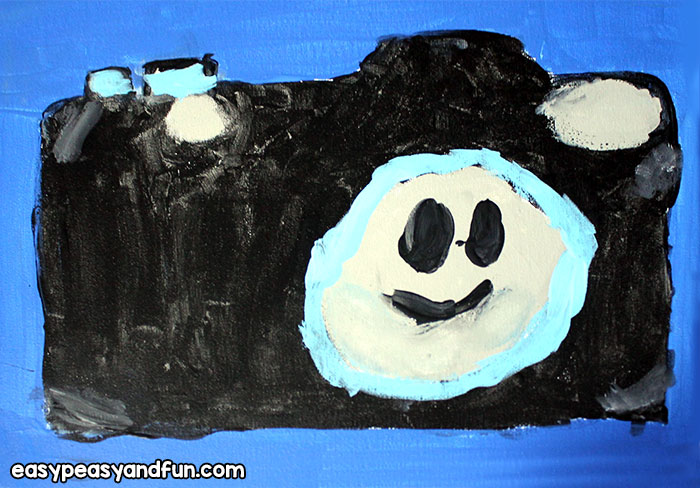
There is something very fun about having several people paint the same thing, and then seeing the results at the end, and how each person puts their own personal touches on it, as well as color choices they make.
A camera is an easy subject that everyone can identify with, at least to a degree…even if for the younger ones, they only see a phone camera!

If you are doing this as a lesson at home, with just one or two kids, then I would suggest you not over purchase paint colors, maybe even choose ahead of time before you buy, unless you already have paints. If you’re teaching a group, you will want to have plenty of options, and if nothing else, black, white and primary colors so they can be mixed to make other colors.

How to Paint a Camera
What you will need:
- 12” x 16” canvas
- Pencil, ruler, and eraser
- Paper towels
- Palette or paper plate
- Acrylic paints in chosen colors
- Cup of water
- Paintbrushes in a few sizes, from about a 1” down to a tiny one for detailing
- Easel if you like
Directions
I would suggest putting down a disposable tablecloth to protect the surface first and then just toss it afterward, or when it’s worn out if you do many art projects.
If you are having people draw their own camera, wait to put out the easels and water..etc. If you are like me, and teaching a small group, I draw the images ahead of time on the canvases, so the kids can just paint and not have to sketch, so that part is optional.
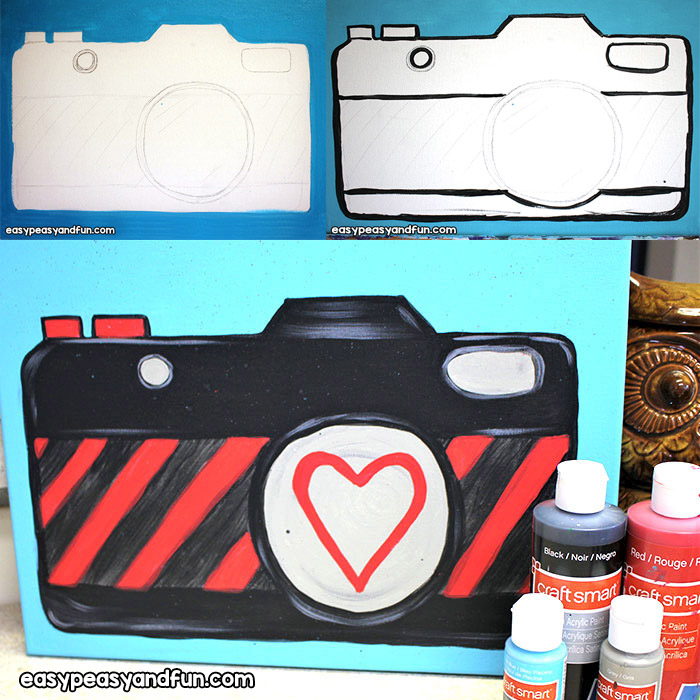
Step by Step Camera Painting Tutorial
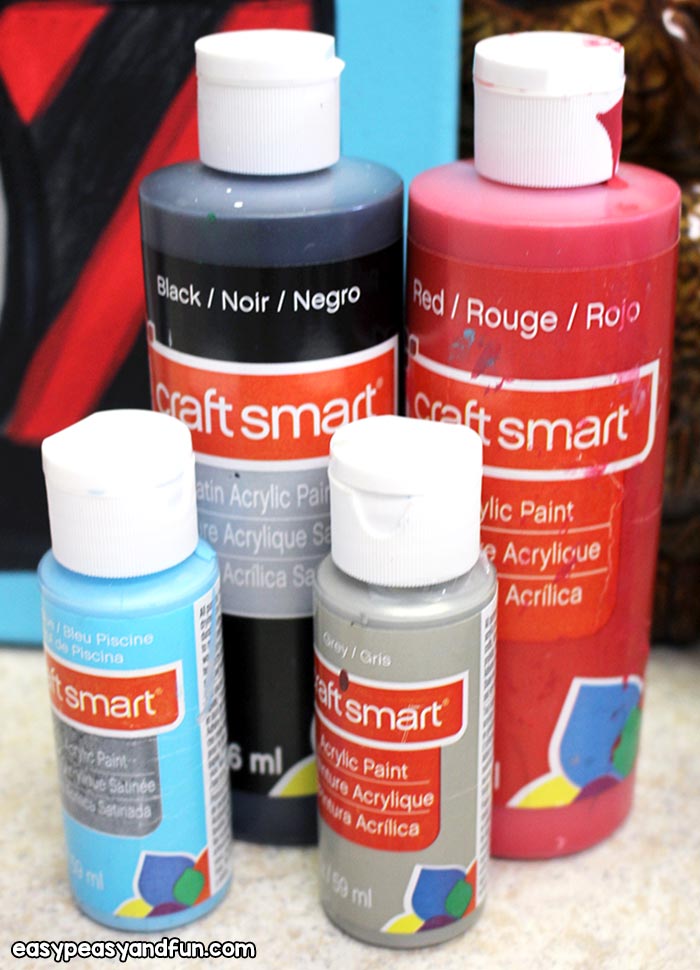
When I teach canvas painting, I always give everyone black and white, so that even if they aren’t using them directly, they can learn to shade and tint with them, and use the white for small highlights, which make a big difference in a painting.
For this camera, I also gave everyone gray for the lens areas, but you can always mix black and white for that too.
Have colors chosen by each person for the camera center area – where I put the stripes, and it can be one or two colors, up to them. Some kids will end up adding several, but I’d start them out with just 2.
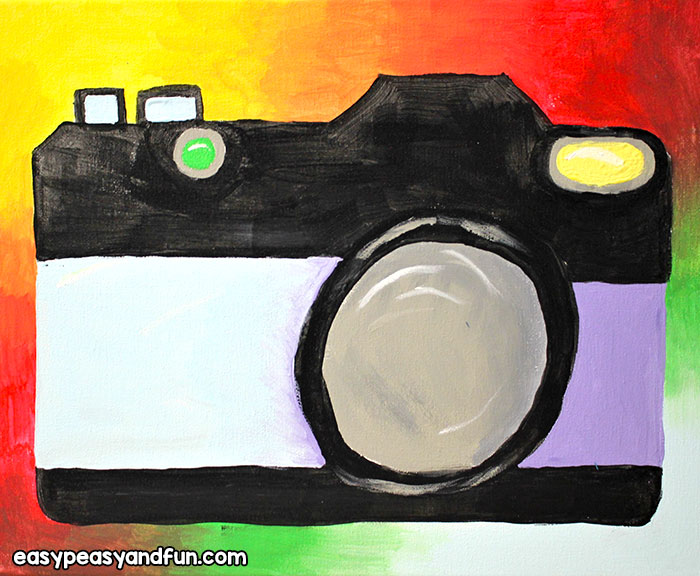
Then, also a background choice. Make it a good contrasting color to the other color choice so it really pops when you paint it.
Painting the Camera
Now you are ready to paint!
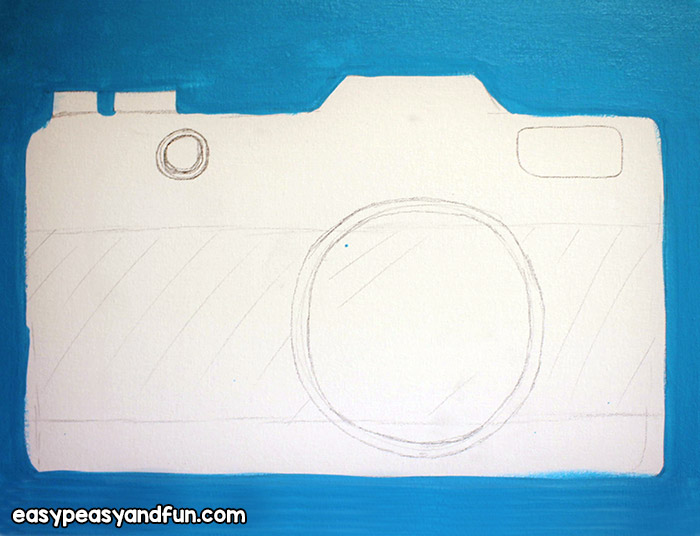
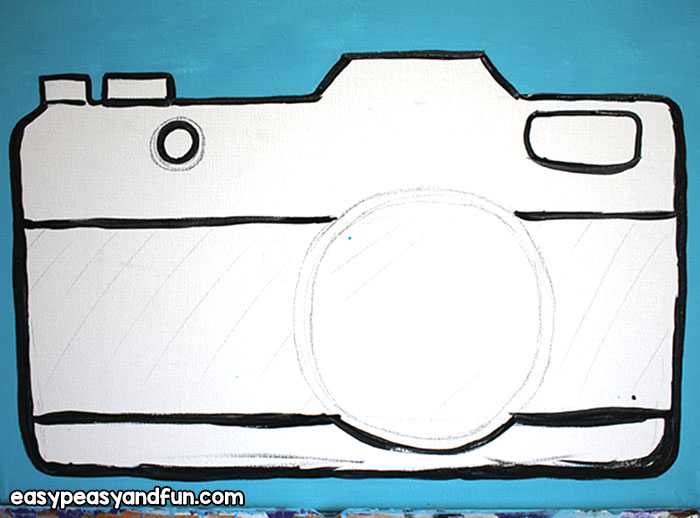
Use the ruler and make a large rectangular shape in the center of the canvas but leave a little more room at the top of the canvas than the bottom so you can add on the camera buttons and viewfinder. Then, come back in and add a couple of buttons and an angled piece on the top for the viewfinder.
For the lens, draw a circle to the right center of the camera and then another just inside of the first so it has an edge. If you want to, use a compass or use a small bowl or plate to trace around so you get a perfect circle.
Then, take the ruler and draw in a section beside the lens on both sides by adding lines from the lens out to the camera edge at the top and the bottom (see photos) and draw in a couple of small circles on the front top of the camera for lenses/ buttons to add interest.
If you are doing multiples of these yourself, use transfer paper and tracing paper to make a traced copy and then transfer it to the other canvases if you need to save time and want them all to be the same size.
Start painting
Start by painting in the background. Then, go in and use a big brush to paint it fully. Be sure to get the outer edges on the canvas as well.
This may need another coat, but let it dry a bit and work on the camera in the meantime, and then you will be able to really tell if it needs just touching up or a full coat. If you see any white canvas popping through, cover it for sure.
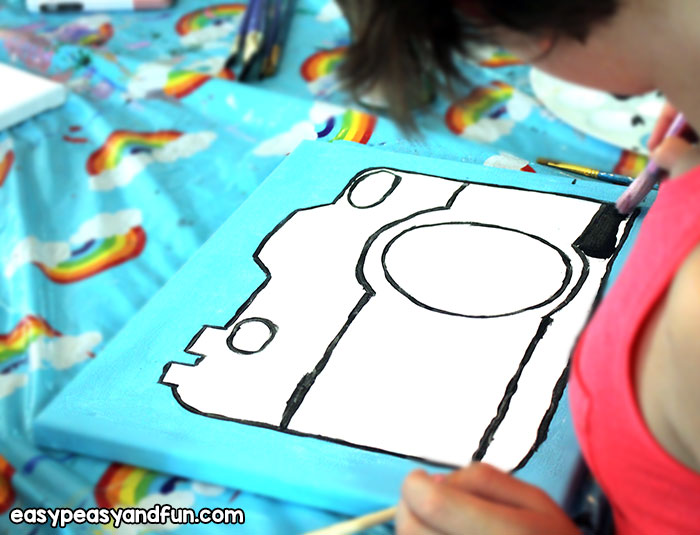
For the camera, outline the outside edge of it in black with a thin brush so that the line between camera and background is separated.
Then go in and outline the lenses and the middle section also. This part can be confusing once you start painting if you don’t have lines established to help you stay in place.
Some of the kids I taught didn’t do this part and they ended up painting black over areas they could’ve added some color to and they were frustrated. Show them the photo with the outlines if it helps. I leave pictures up on the laptop as we go so they have an example unless I am painting it as well.
Next, paint in the black part of the camera. This will need two coats to be good and black, so if you do one of these, and then switch back to your second background coat while it dries, it works well.
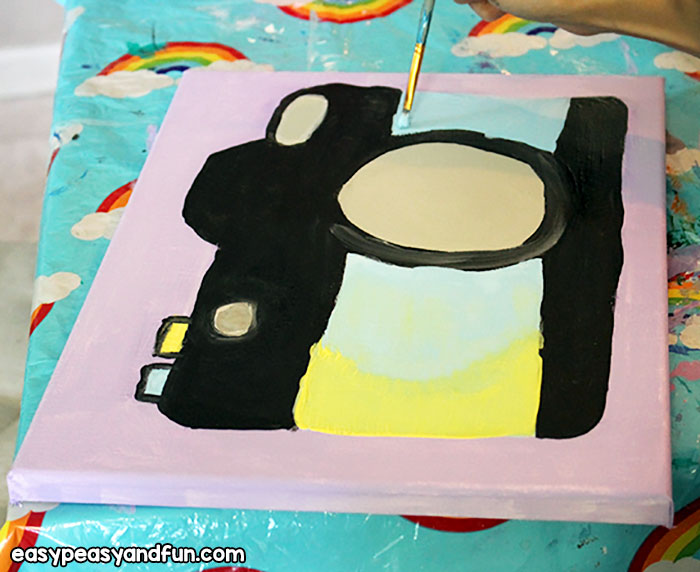
Once you get both background coats done, and the black on the camera, you can do the middle part of the camera in whatever style you’ve chosen.
If you are doing stripes, you may want to pencil them in first. Same for really any pattern, just to be sure it fits well.
Now paint that section in. If it needs a layer to dry a bit before adding the next, go in and paint the gray lenses in the meantime.
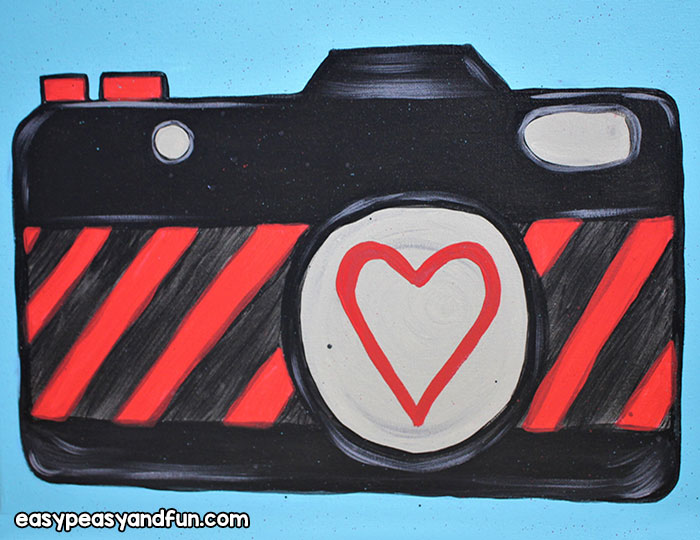
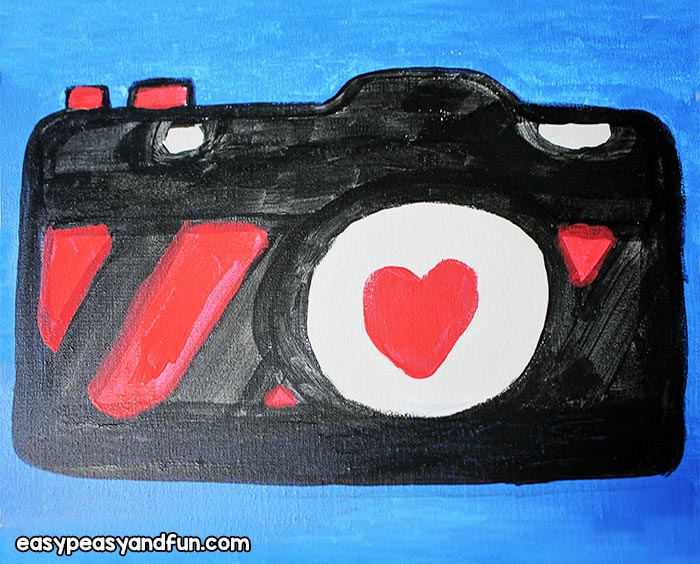
Last parts to finish off the camera are the lenses in a good solid gray, along with a white highlight, or if you are adding a heart as I did.
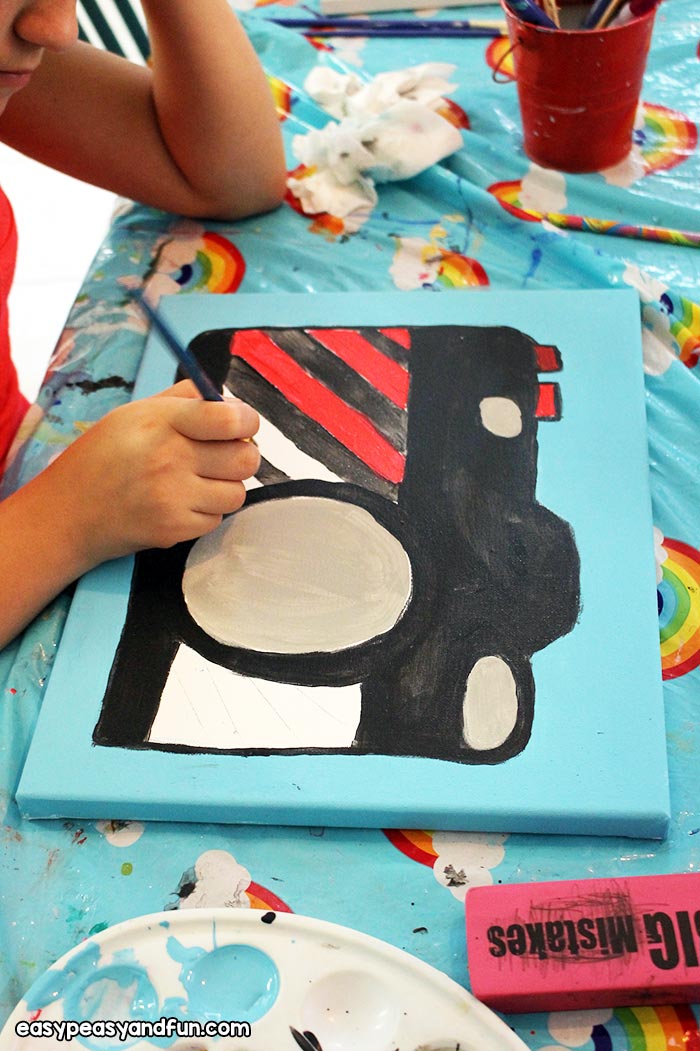
Also, add in anything else to your middle section to finish it off, and then do a highlight area on the top corners of the camera, along with the top edges, and over the lenses a little. This helps make the camera look more 3-D, and not so flat.
Also, add one to the bottom corner too if you’d like. They can be gray or white, or a combination of both.
Now, check over everything, including all the outside edges – Don’t forget the bottom! Add any touch-ups and then let her dry.
Enjoy painting or teaching this, and make sure to make it your own!
Kids’ Camera Canvas Painting
Want instant access to all of our printable crafts, activities, and resources?

With thousands of crafts, activities, worksheets, coloring pages, and drawing tutorials to print, you will always have just the resource you need at your disposal. Perfect for parents and teachers alike!