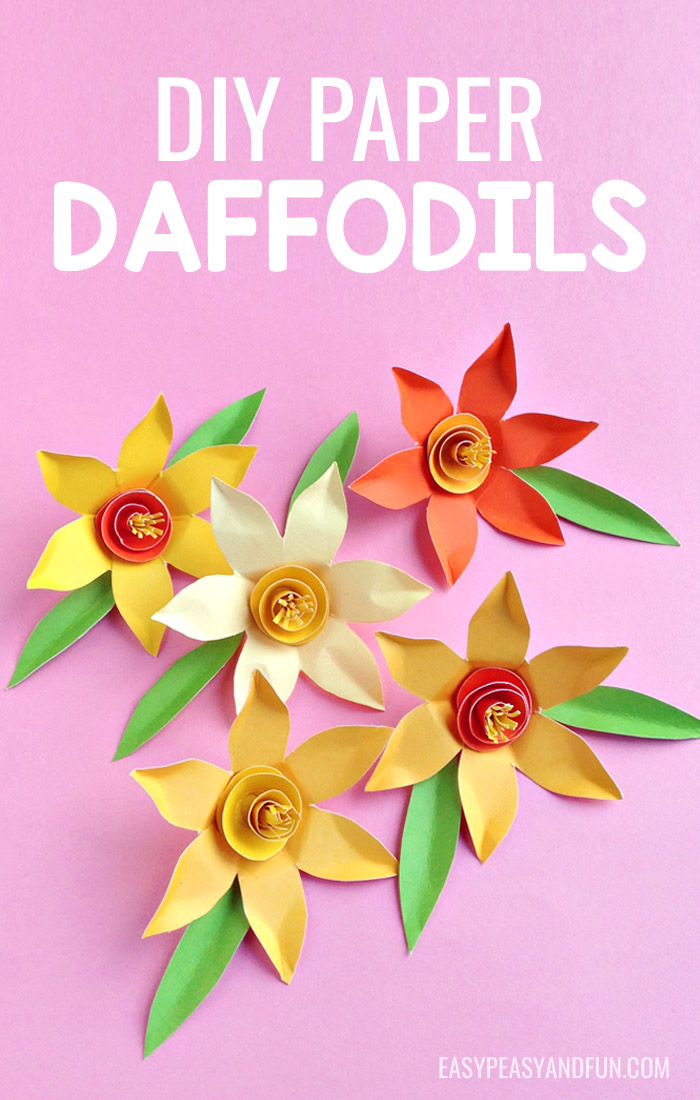
Learn how to make paper daffodils with our easy to follow step by step tutorial and a printable template to make things even easier.
These are a great spring project for older kids and adults as they do require a bit of skill (not much but as the pieces are small it’s not as suitable for younger kids).
Daffodils are one of the prettiest flowers that bloom in spring. They are the symbol of rebirth and new beginnings so it’s no wonder they go hand in hand with spring.
We do love this flower craft idea as it can be really versatile project.
It can be a wonderful spring craft for older kids to make, it is a great decoration – just imagine a DIY spring wreath made out of these paper daffodils. You could use them as decorations on your spring table. They would look wonderful on your spring bulletin board. Need to make your room prettier? Why not use them as wall decals. So many fun ways to use these as they are just so pretty.
And what’s even better (best even 😉 is that these are “fail proof”. You and your kids can make this one picture perfect by using our template (you can grab it at the end of this tutorial. While we do love a very DIY approach, sometimes a good old template makes all the difference. Print it and make your paper daffodils.
Ready? Let’s craft!
How to Make Paper Daffodils
What you need:
- our printable template (you can grab it at the end of this tutorial)
- construction paper or scrapbooking paper in “daffodil” colors
- green construction paper or scrapbooking paper
- glue
- scissors
- pencil to trace the template
Step by Step Instructions
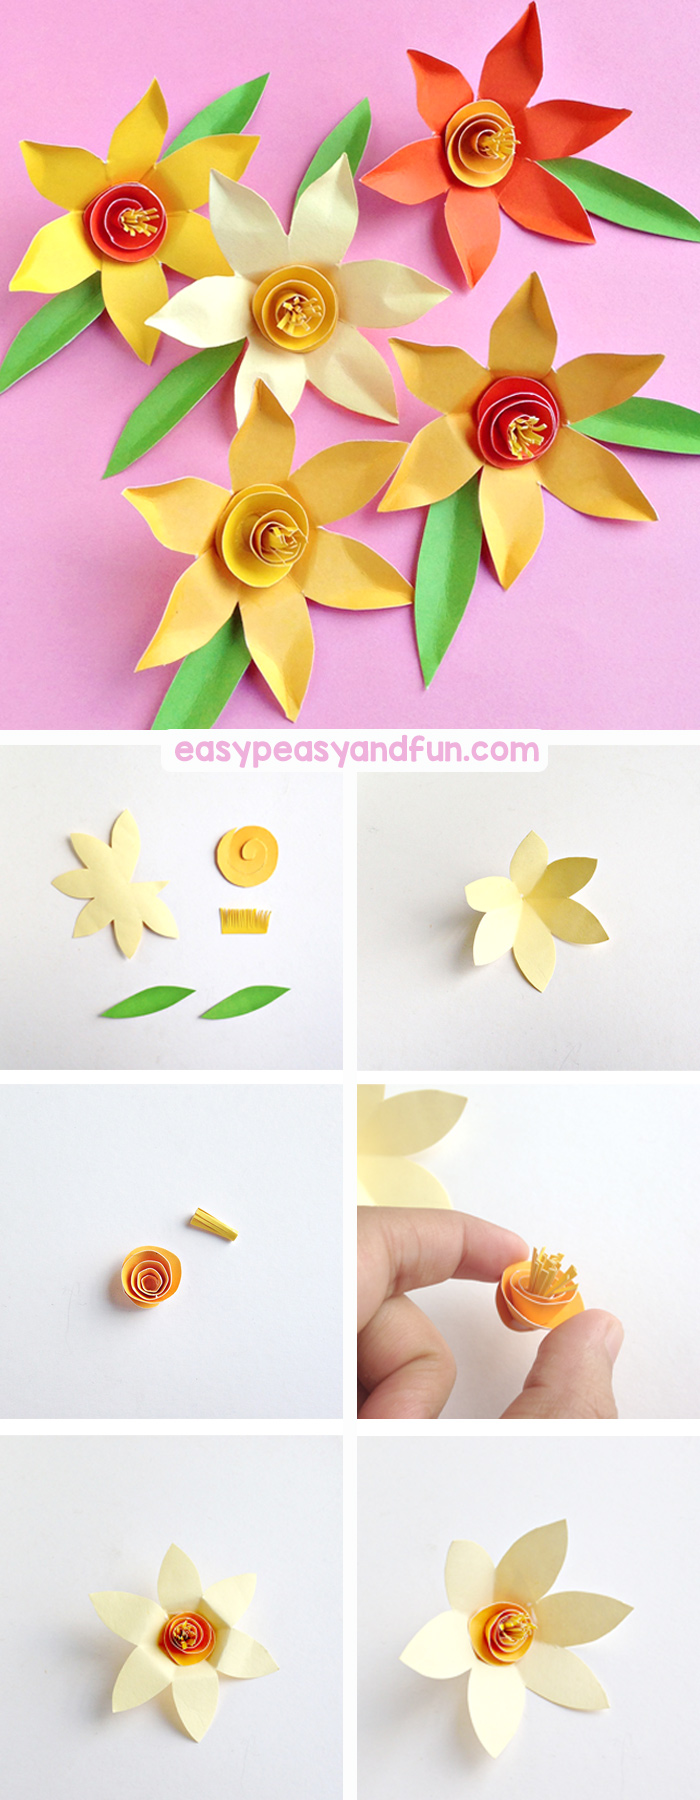
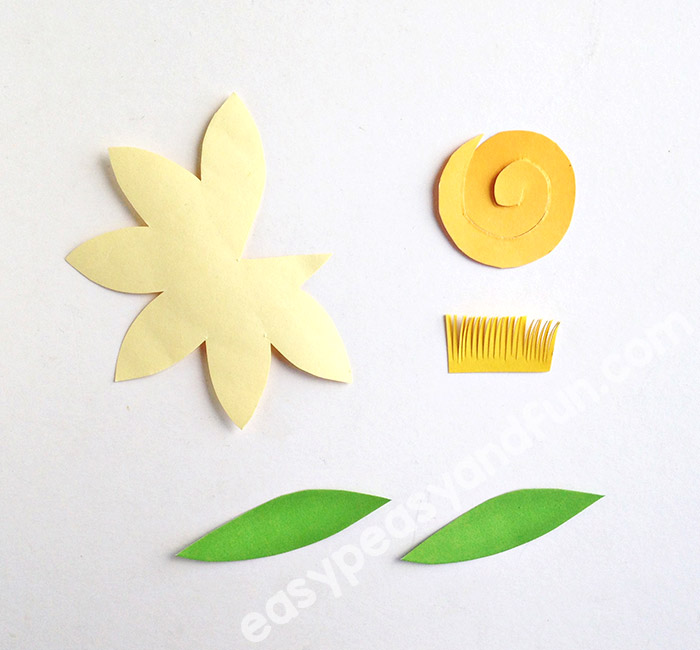
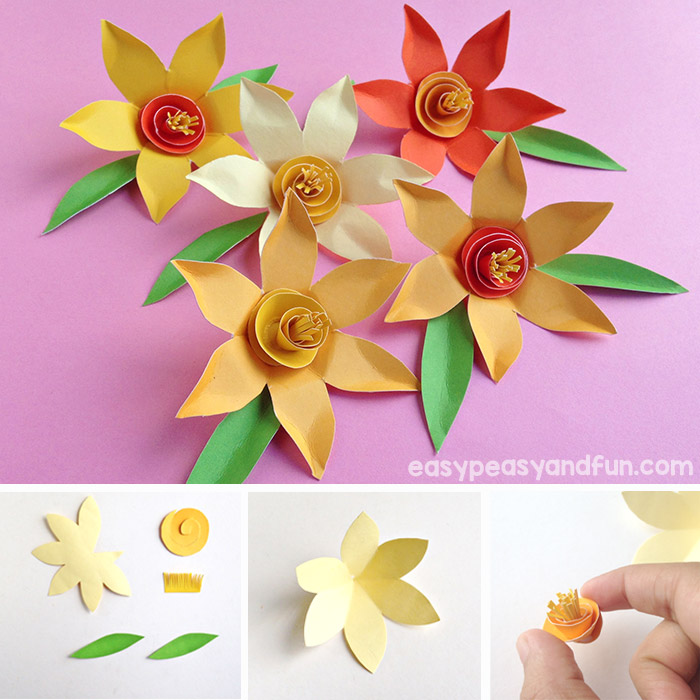
Print out our template (you can grab it at the end of this tutorial). Cut out the pieces and trace the shapes to matching papers.
Trace the leaves on green paper, the flower on one of the “daffodil” ones, choose another darker “daffodil” shape for the spiral and yellow for pistil. Cut out the parts, cut fringes on the small rectangle (see photo below).
Let’s make the petal. Take the flower part and make folds between every petal.

Apply a small amount of glue on the “half petal” shape.
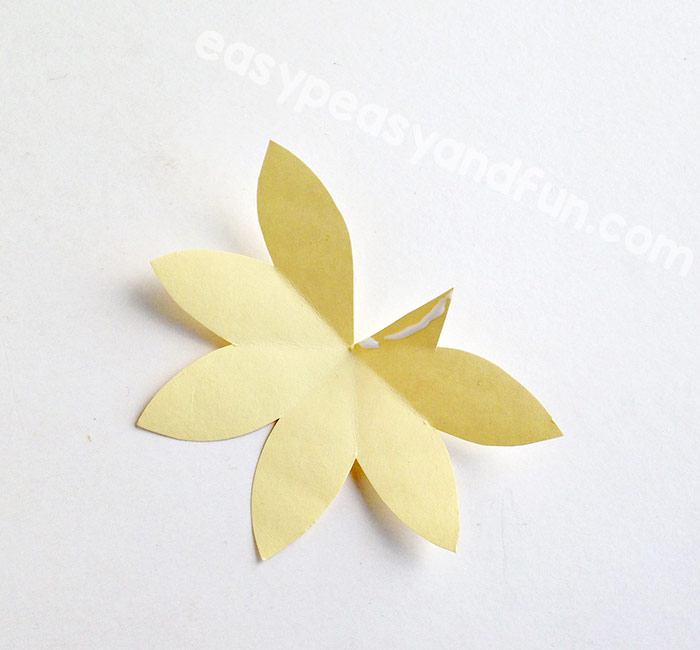
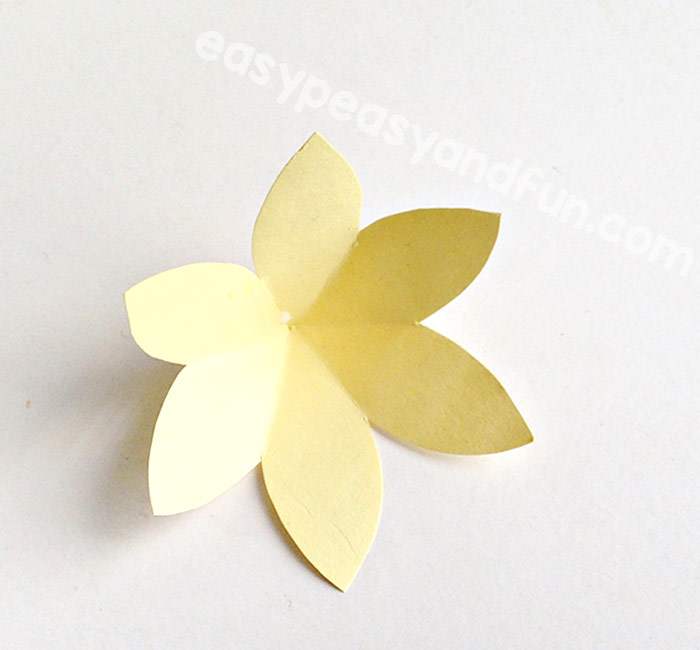
Push the “half petal” part with the glue under the petal on it’s left. This will create a flower shape.
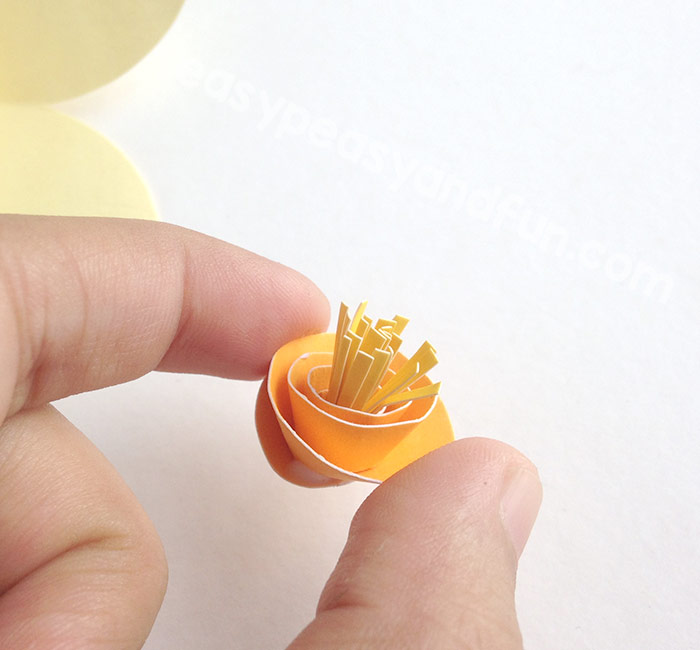
Now to make the inner petals. Take the spiral and start rolling it from from it’s outer side towards the center.
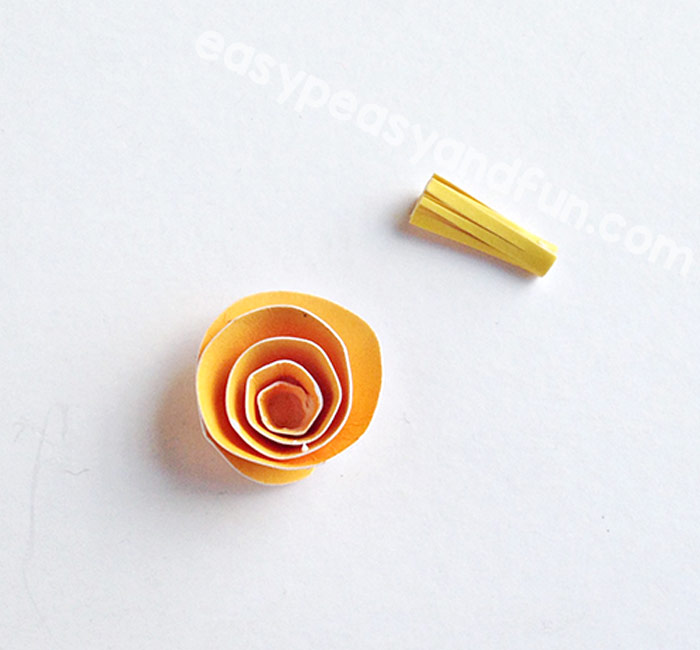
 As you reach the center, apply a small amount o glue to the end of the spiral and push it under the rolled “flower”. Hold together for a while for the glue to set.
 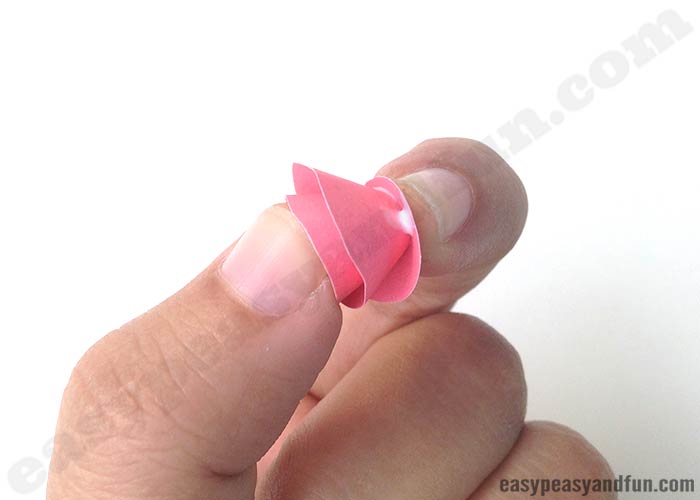 Now take the rectangle and roll it together into a small tube (glue!).
 Dip the center part of the flower in a bit of glue and stick it into the rolled petals part.
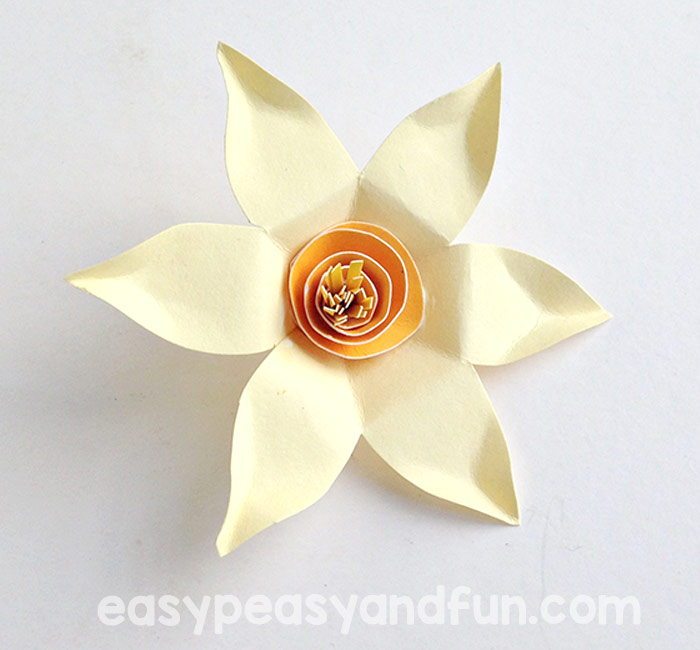
Apply a generous amount of glue in the middle of the large petal and press the small spiral petal on the glue. Let the glue set.
 Finishing touches
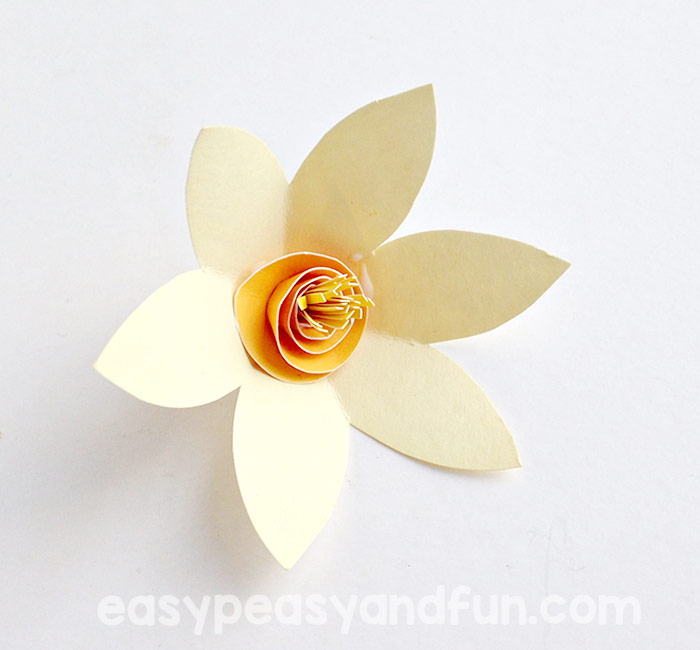
Time to make the paper daffodil even fancier. Fold each of the petals backward a bit.
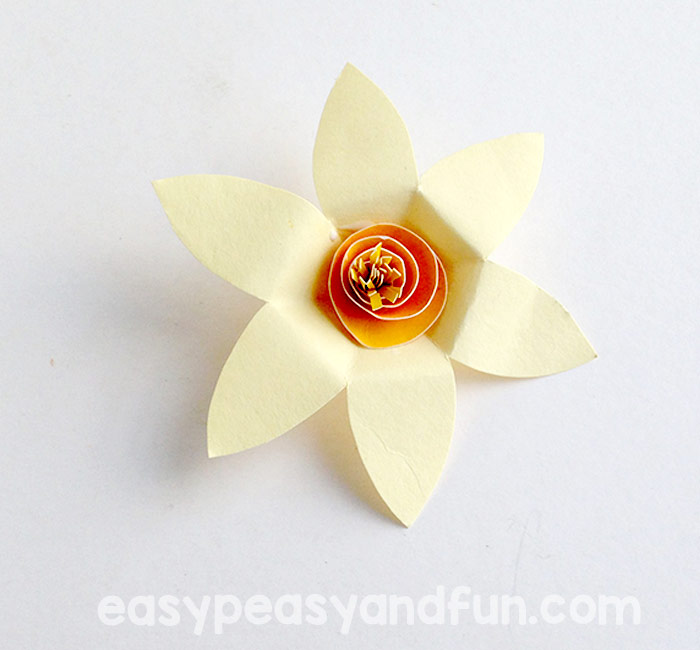
Grab the sides of the tip of each petal with two fingers and squeeze it. This will make a nice textured pointy tip.
 Stick a leaf or two on the bottom.
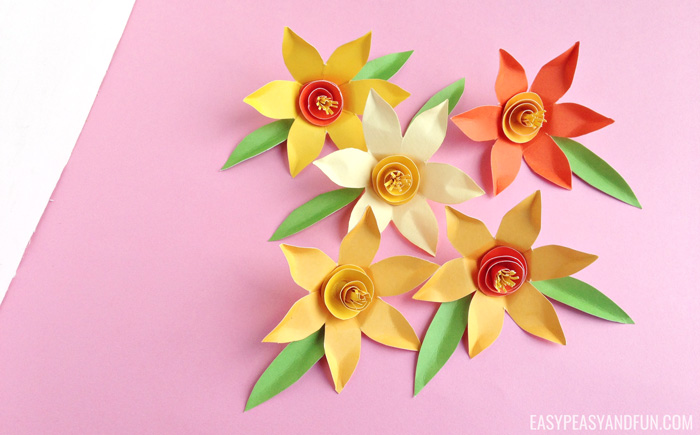
All done! You learned how to make paper daffodils. 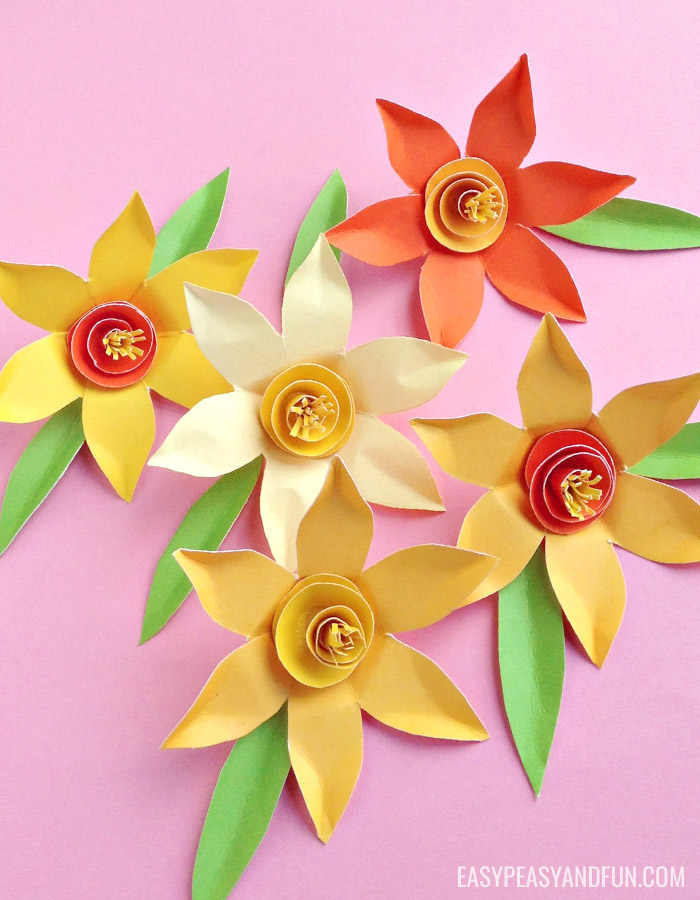
Don’t stick with just one color, use a nice variety and make a whole bouquet of wonderful paper daffodils.
Want instant access to all of our printable crafts, activities, and resources?

With thousands of crafts, activities, worksheets, coloring pages, and drawing tutorials to print, you will always have just the resource you need at your disposal. Perfect for parents and teachers alike!