In this guide, you’ll find a clear step-by-step tutorial, the secret meanings behind the number of stars you give, and I’ve even included a free printable origami star diagram at the bottom of this post so you can keep the instructions right on your craft table!
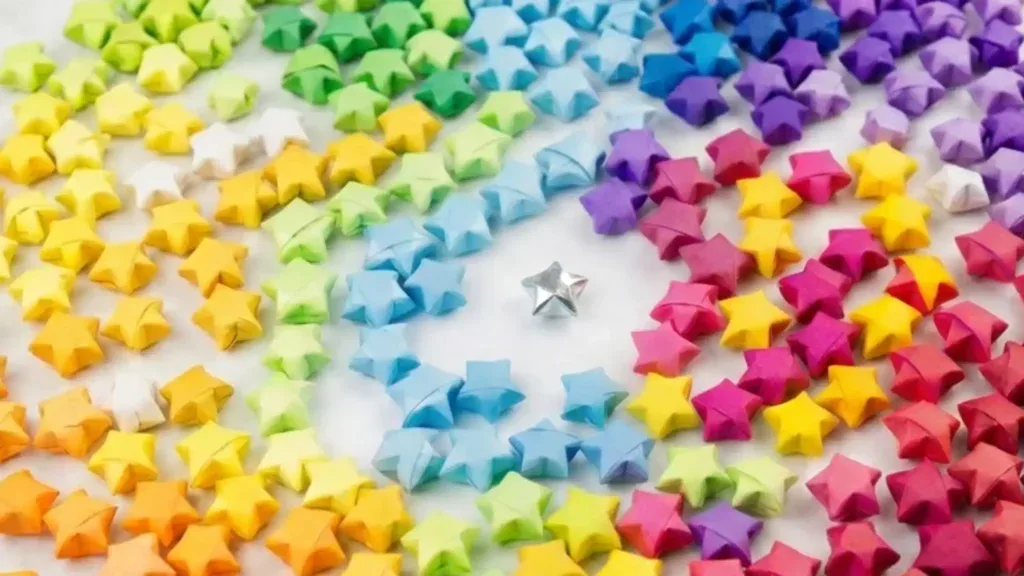
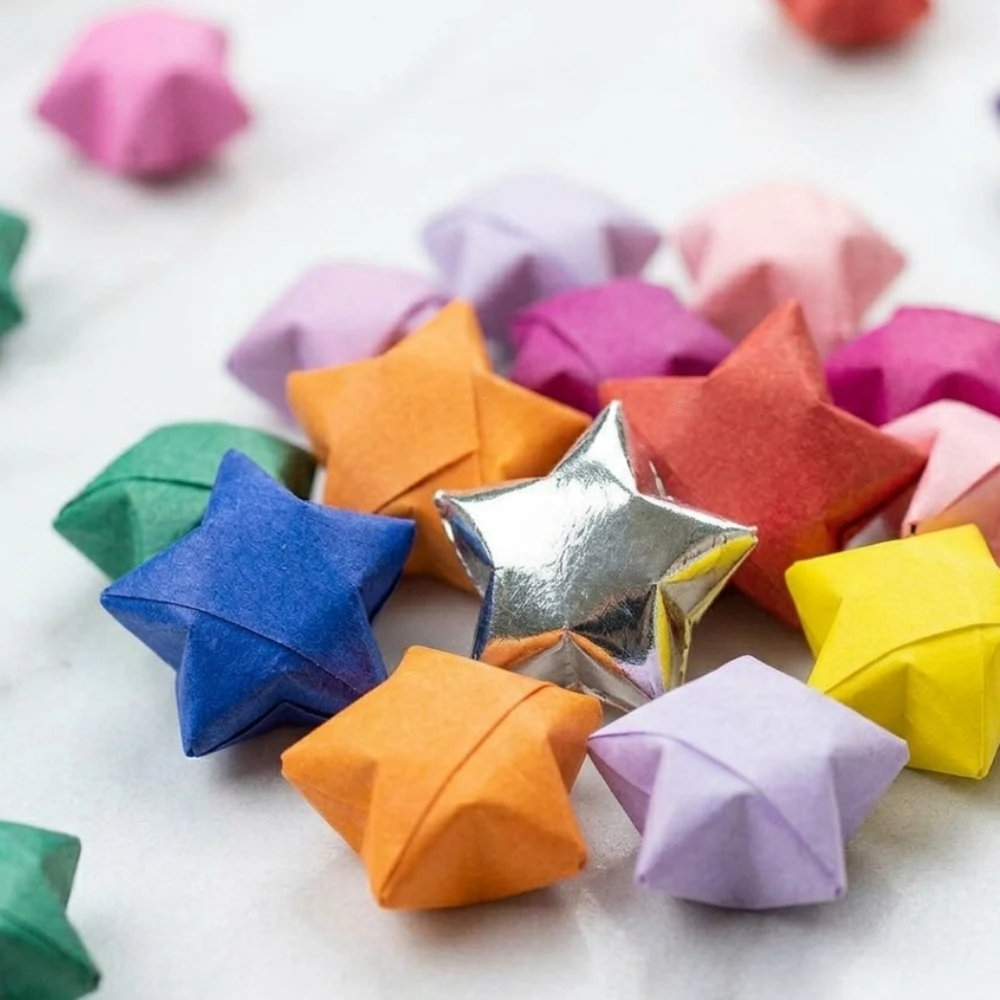
If you want to do a fun little craft with your kids, then we’re going to teach you how to make Origami Lucky Stars. These tiny 3D paper stars are also well known as wishing stars—once you make them, go ahead and make a wish!
*this post contains affiliate links*
50 paper crafts your kids can actually do themselves

No fancy supplies — just paper, scissors, and a little imagination.
Be the first to get it on release day — and lock in the lowest price guaranteed.
What is the Origami Lucky Star Meaning?
Before you start folding, it’s helpful to know that these aren’t just pretty decorations. In many cultures, giving a jar of these stars is a symbol of love and good luck. The number of stars you give actually has a specific origami lucky star meaning:
| Number of Stars | Meaning |
| 1 Star | You are the only one. |
| 2 Stars | Happy couple. |
| 99 Stars | May your friendship/love last forever. |
| 100 Stars | 100% luck and prosperity. |
| 365 Stars | A whole year of blessings and good wishes. |
| 520 Stars | “I love you” (a popular numerical pun). |
How to Make Origami Lucky Stars
Supplies You’ll Need
One of the best things about this craft is that you can make lucky stars with paper you already have at home.
- Lucky Star Origami Folding Paper: You can buy pre-cut packs which come in beautiful gradients and patterns.
- DIY Strips: If you’re making your own, use a ruler and scissors to cut strips of regular printer paper or colorful construction paper.
- Ideal Dimensions: Aim for strips that are roughly 1 cm wide by 25–30 cm long (approx. 1/2 inch by 11 inches).
How to Make Lucky Stars Step by Step
Follow these easy instructions to create your first 3D star.
You can grab the printable PDF lucky stars diagram at the end of this tutorial.
Step 1: Create the Loop
Hold your paper strip and make a loop at one end, similar to how you would tie a basic knot. Cross the short end over the long end.
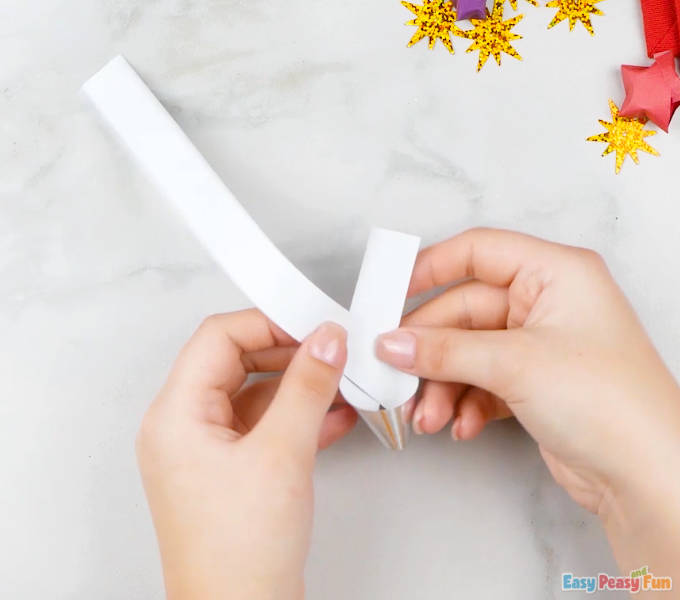
Step 2: Tie the Knot
Feed the short end through the loop. Pull it gently but firmly to create a flat pentagon shape. Be careful not to tear the paper! Crease the edges flat once the pentagon is snug.
Step 3: Tuck the Short End
You will have a tiny “tail” left over from your knot. Fold this short end inward. If it’s a bit too long, you can trim it with scissors or fold it over. It should be tucked away inside the pentagon.
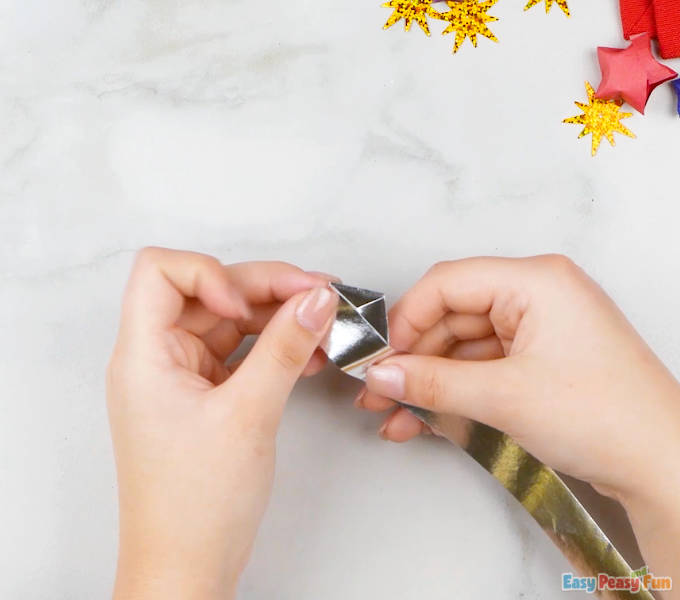
Step 4: Wrap the Long Strip
Now, take the long remaining strip of paper and begin wrapping it around the pentagon. Follow the natural edges of the shape—the paper will naturally want to wrap across the opposite side.
- Note: Keep the wrap firm but don’t pull so hard that you crush the hollow center.
- Continue wrapping until you have only an inch or two left.
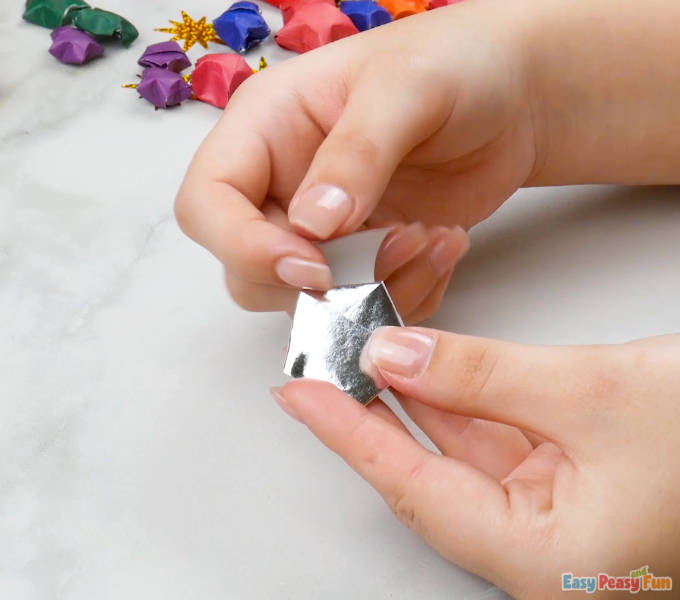
Step 5: Secure the End
Tuck the very end of the strip into the small “pocket” created by the previous folds. You have now completed a flat pentagon. This is how you make a paper star without glue!
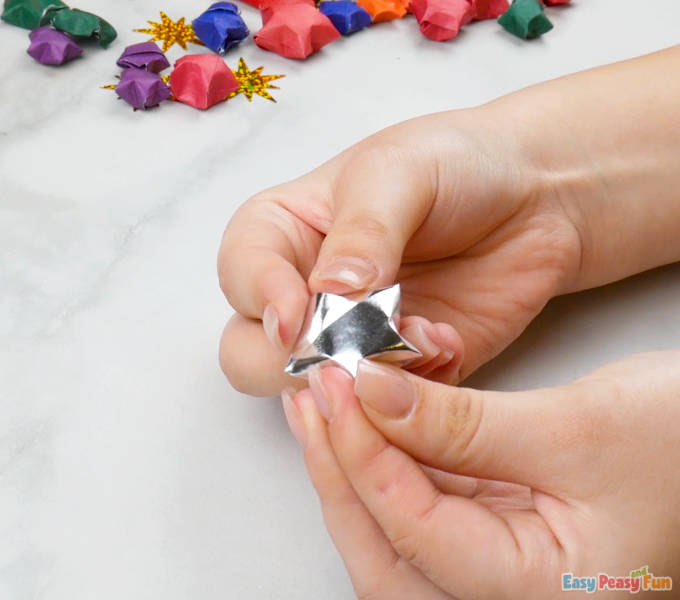
Step 6: The “Puff” (Making it 3D)
This is the most satisfying part! Hold the pentagon between your thumb and forefinger. Use your other thumbnail to gently push in the center of each of the five flat sides.
- The star will “inflate” into a 3D paper star.
- If it won’t puff, ensure your paper wasn’t wrapped too tightly in Step 4.
Troubleshooting: Why are my stars flat?
If you’re struggling to get that perfect 3D look, check these three things:
- Paper Weight: If the paper is too thin (like tissue paper), it won’t hold the “puff.” If it’s too thick (like heavy cardstock), it’s too hard to indent.
- The Wrap: If you wrap the strip too loosely, the star will collapse. If it’s too tight, there is no air inside to allow for the inflation.
- The Pinch: Make sure you are pushing in the sides of the pentagon, not the corners!
Creative Ways to Use Your Lucky Stars

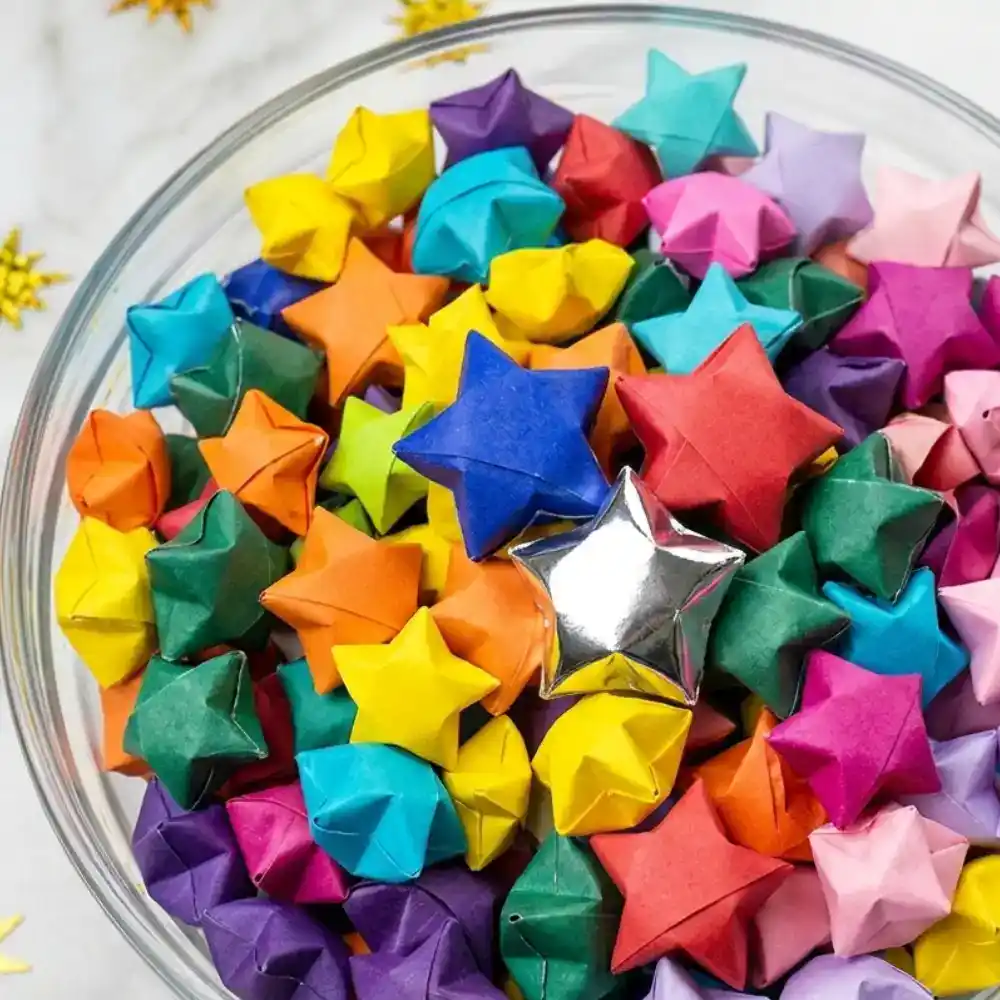
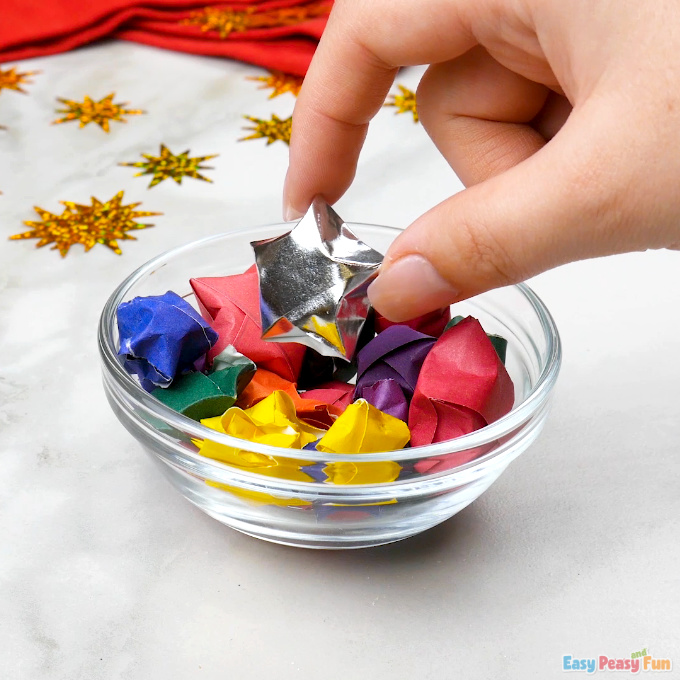
Once you have a bowl full of these colorful stars, here is what you can do with them:
- The Wishing Jar: Fill a glass mason jar and give it as a birthday or graduation gift.
- Paper Jewelry: Use a needle and thread to string them into earrings or a necklace.
- Table Scatter: Use them as eco-friendly confetti for a party or wedding.
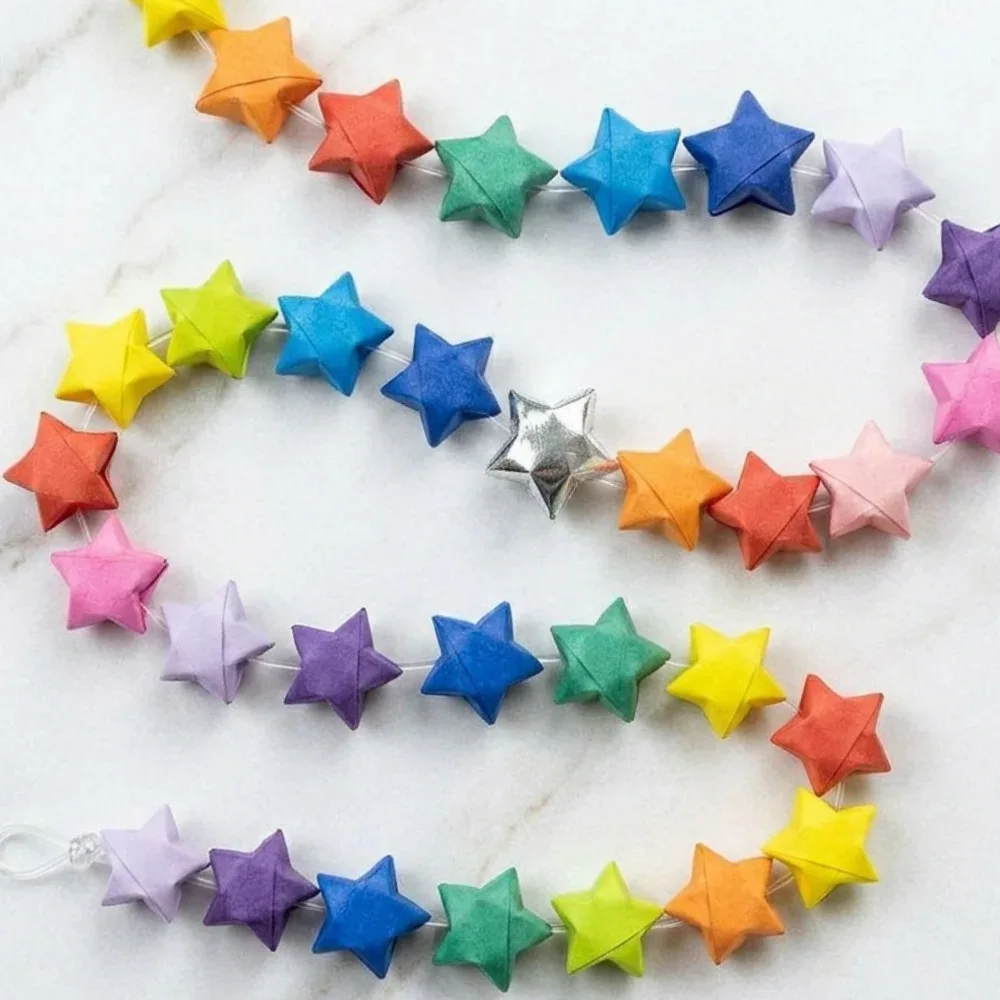
- Lucky Star Garland: String hundreds of them together to hang in a bedroom or nursery.
Frequently Asked Questions
Can I make these with regular A4 paper? Yes! Simply cut a strip 1cm wide along the long edge of an A4 sheet.
Do I need glue for origami stars? No. Authentic origami uses folding techniques to secure the paper. These stars stay together perfectly on their own if tucked correctly.
How many stars should I put in a jar? For a small jar, 100 stars looks great. For a standard mason jar, you will likely need 365 stars to fill it!
Free Printable Origami Lucky Star Diagram
Sometimes it is easier to have the instructions right in front of you while you fold! To help you master the “puffing” technique and the perfect knot, I’ve created a handy one-page printable lucky star folding guide.
This diagram is designed to be printer-friendly so you can:
- Use it in a classroom or library setting.
- Keep it in your craft kit for reference.
- Share it with friends at a craft party.

Want instant access to all of our printable crafts, activities, and resources?

With thousands of crafts, activities, worksheets, coloring pages, and drawing tutorials to print, you will always have just the resource you need at your disposal. Perfect for parents and teachers alike!