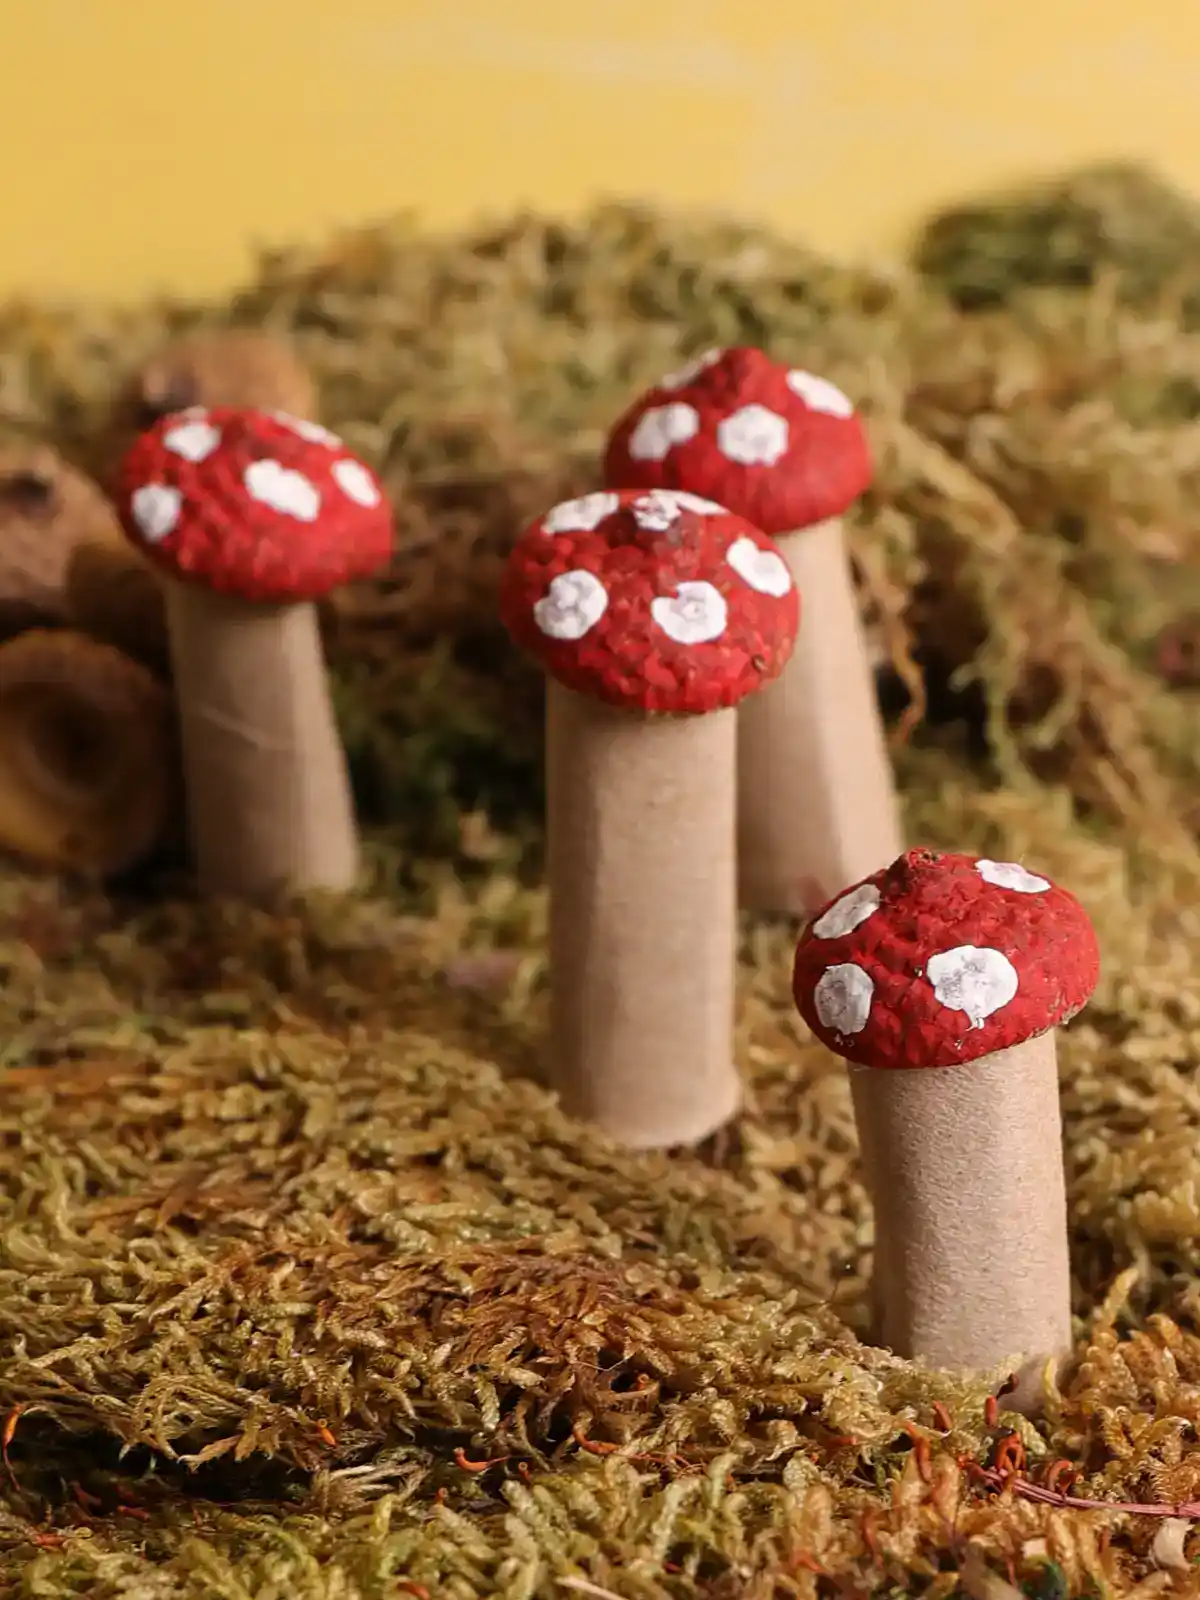
Fall is the best time of year to head outside, gather crafting materials straight from nature, and bring them inside for a cozy afternoon project. If you have ever collected a handful of acorns and wondered what to do with them beyond leaving them in a bowl, these acorn mushrooms are perfect – and I’ve thrown in some recycling too!
What I love most about this fall craft is that it appeals to all ages, it’s fun for the whole family!
*This post contains affiliate links*
Hi, I'm Andreja from Easy Peasy and Fun — and I just wrote a book!
50 paper crafts your kids can actually do themselves
CRAFTS
I designed every project so kids can do it themselves — no fancy supplies, just paper, scissors, and a little imagination.
“If you need easy crafts to keep busy, Andreja delivers with this book!”
📚 As an indie author, your pre-order genuinely helps me — it counts toward first-week sales, which is how new books get noticed. Thank you!
If you love nature crafts, this one should be on your list.
This acorn craft also makes a great classroom project.
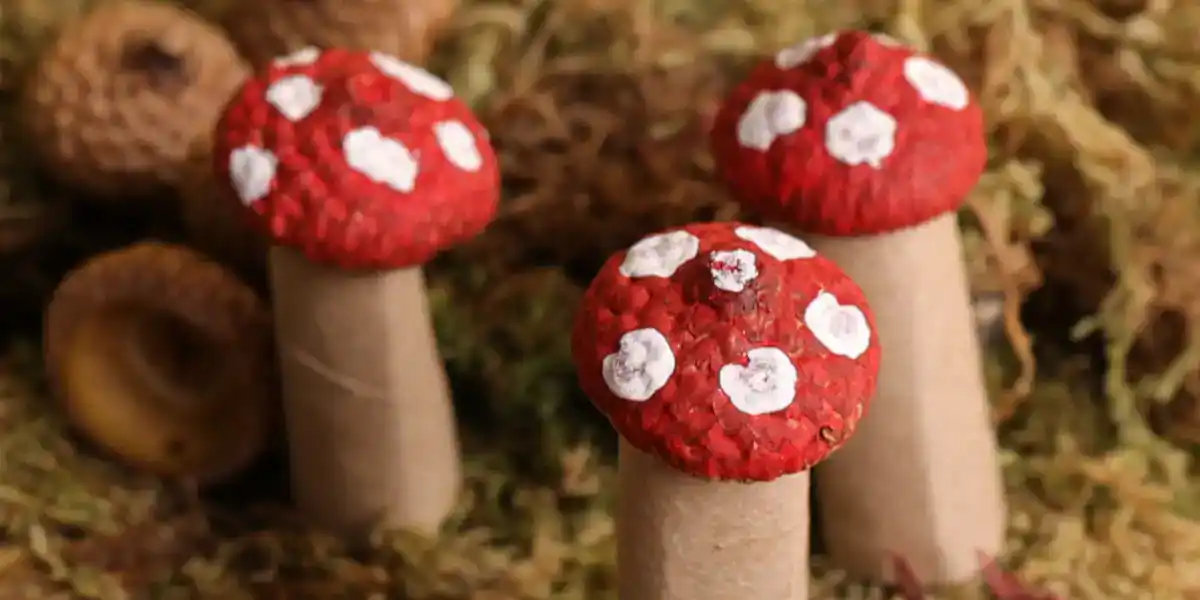
How to Make Acorn Mushrooms
What you need:
- acorn caps
- acrylic paint (red and white)
- paintbrush and Q-tip cotton swab (optional)
- toilet paper roll
- scissors
- liquid glue (or hot glue)
Tip: When collecting acorn caps, go for larger ones, especially if you are working with younger children. This will make the acorn mushrooms look cooler as well as making it easier for kids to make them.
Step by Step Tutorial
Clean the acorn caps if needed, you can wash them, but if you do allow them to dry completely before starting to work on them.
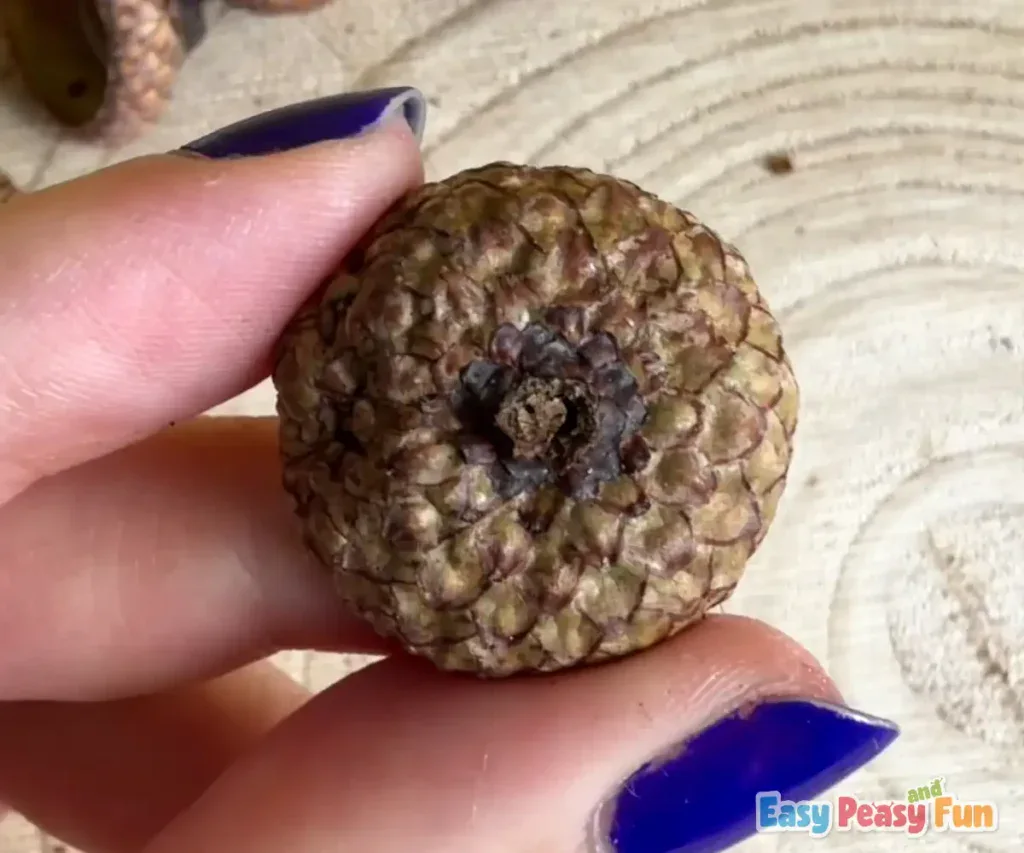
Using a paint brush (or an acrylic brush pen), paint the acorn cap with red paint.
Slowly cover the whole surface.
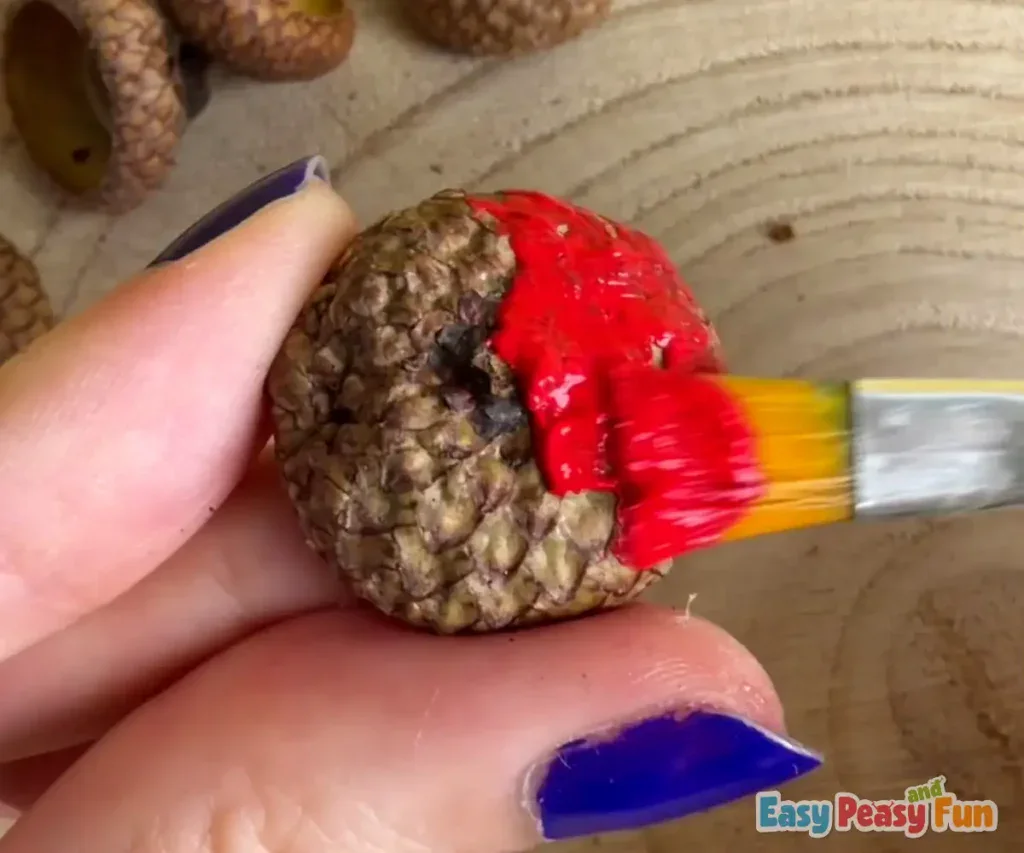
Allow the paint to dry before you continue.
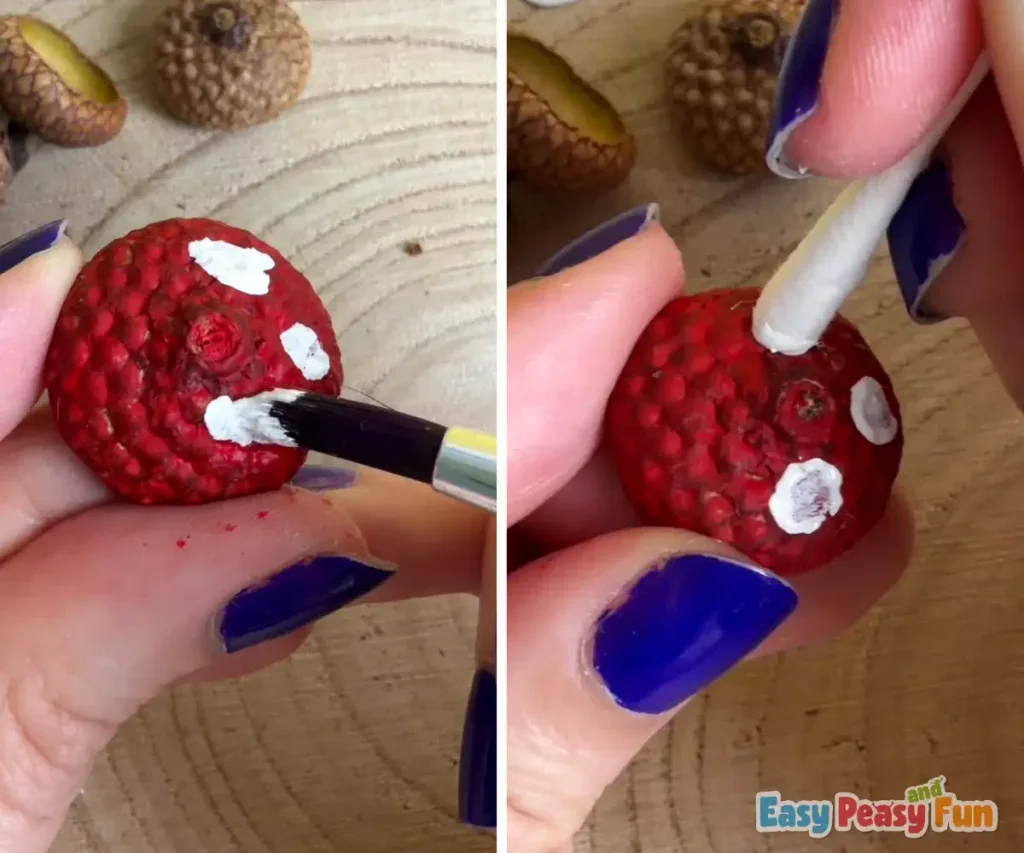
Dip a paintbrush or cotton swab into white paint to dab on dots. Using a Q-tip will make the process a whole lot easier, and kids do like painting with these a lot.
To make the mushroom stems, I cut the toilet paper roll in half.
Instead of a toilet paper roll for this craft, you can also use a paper kitchen towel roll or even cereal boxes and the like.
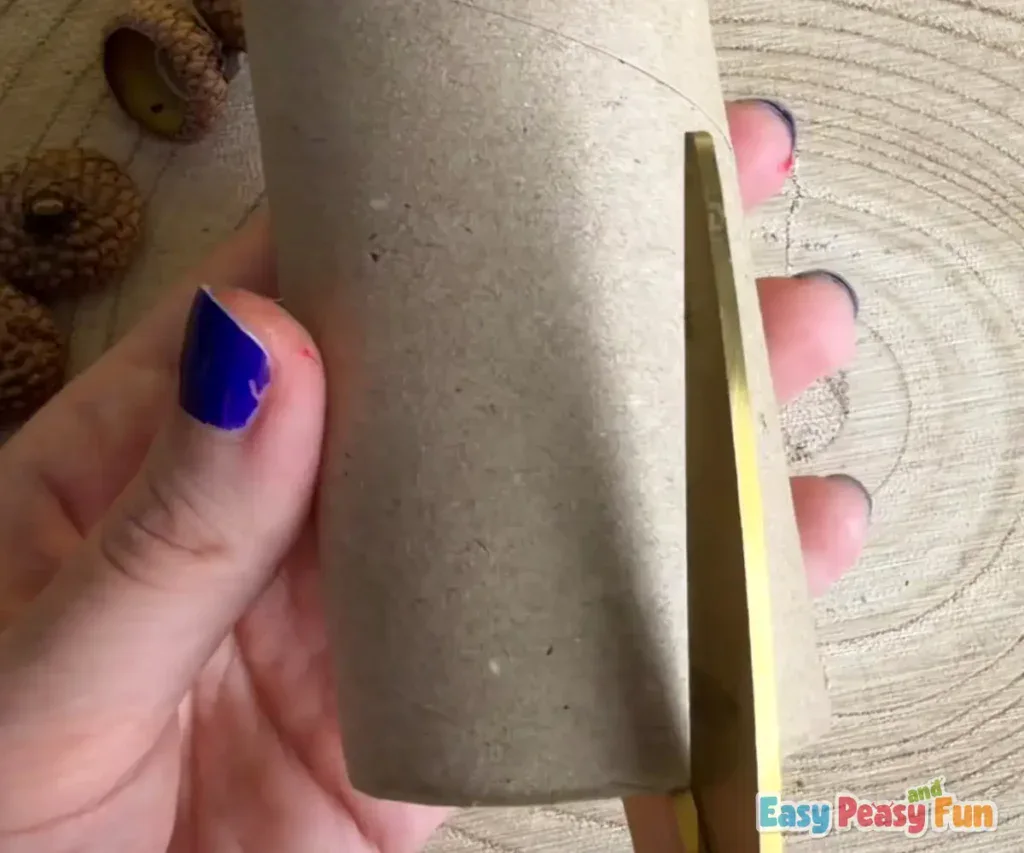
Then cut the half to the desired stem length (I made a variety of lengths).
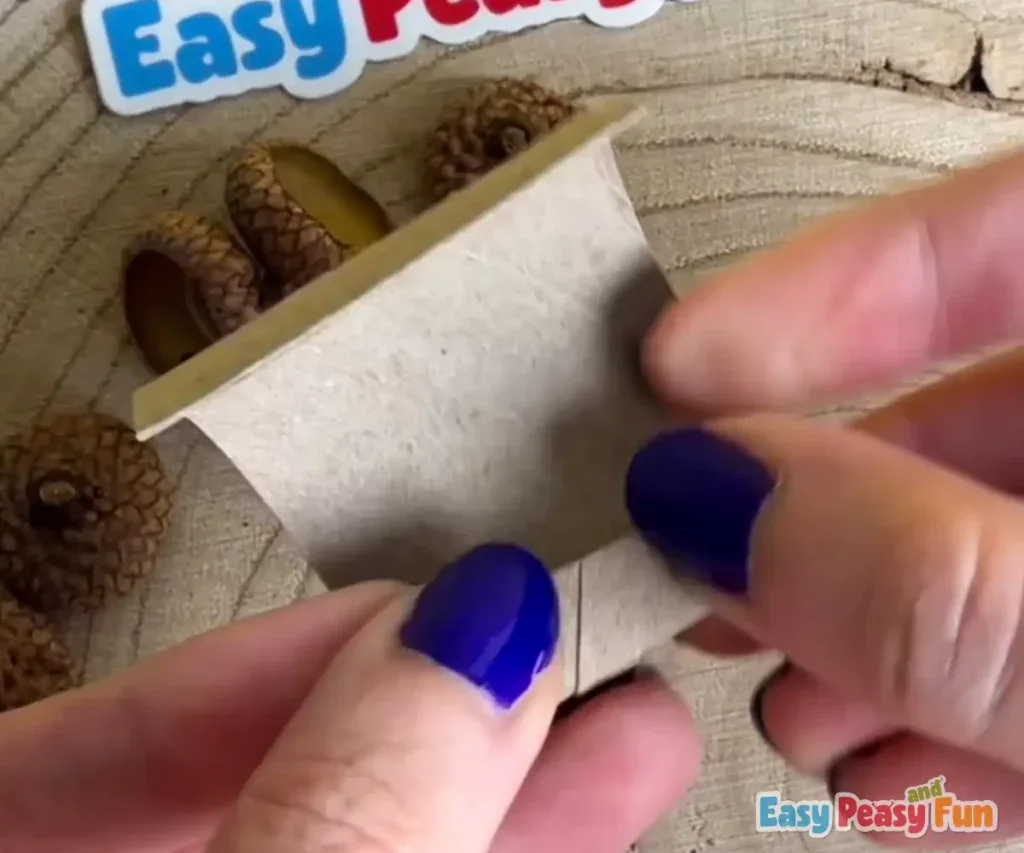
Gently roll and bend the cardboard strip so it starts taking on a cylindrical shape.
Apply glue and secure it.
Tip: Use a clothespin to hold everything in place while the glue dries.
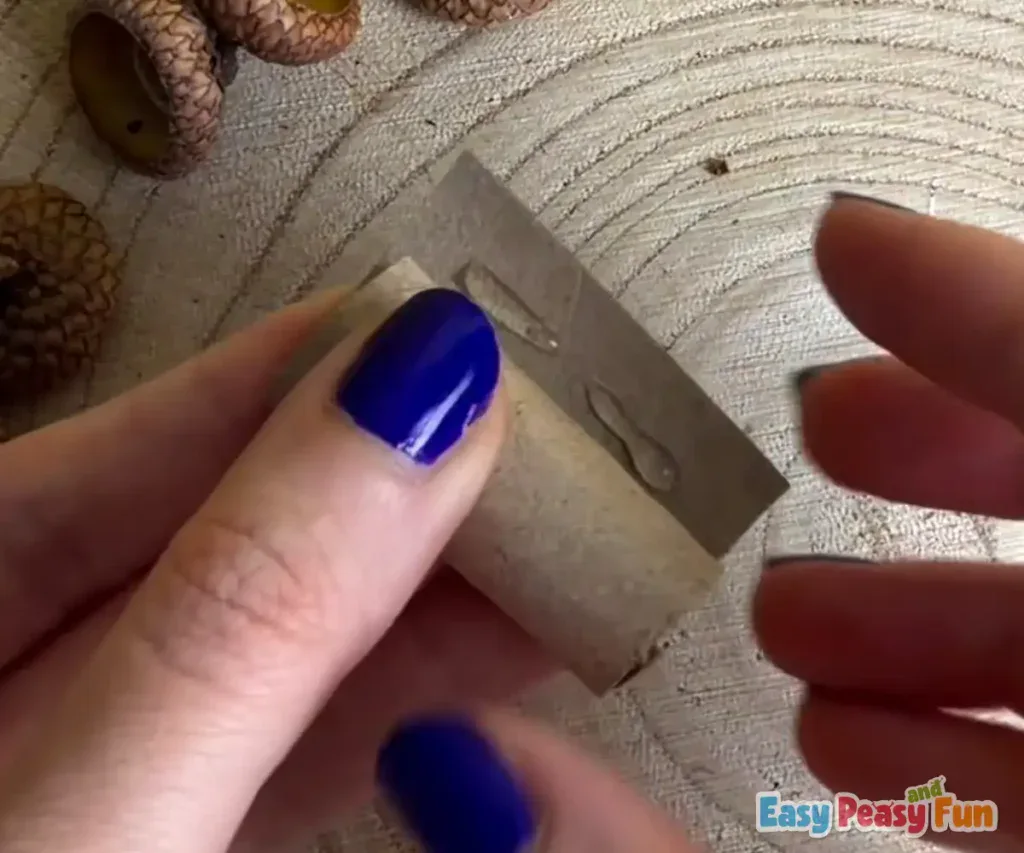
Squeeze a dab of glue right into the hollow underside of your colorful painted cap.
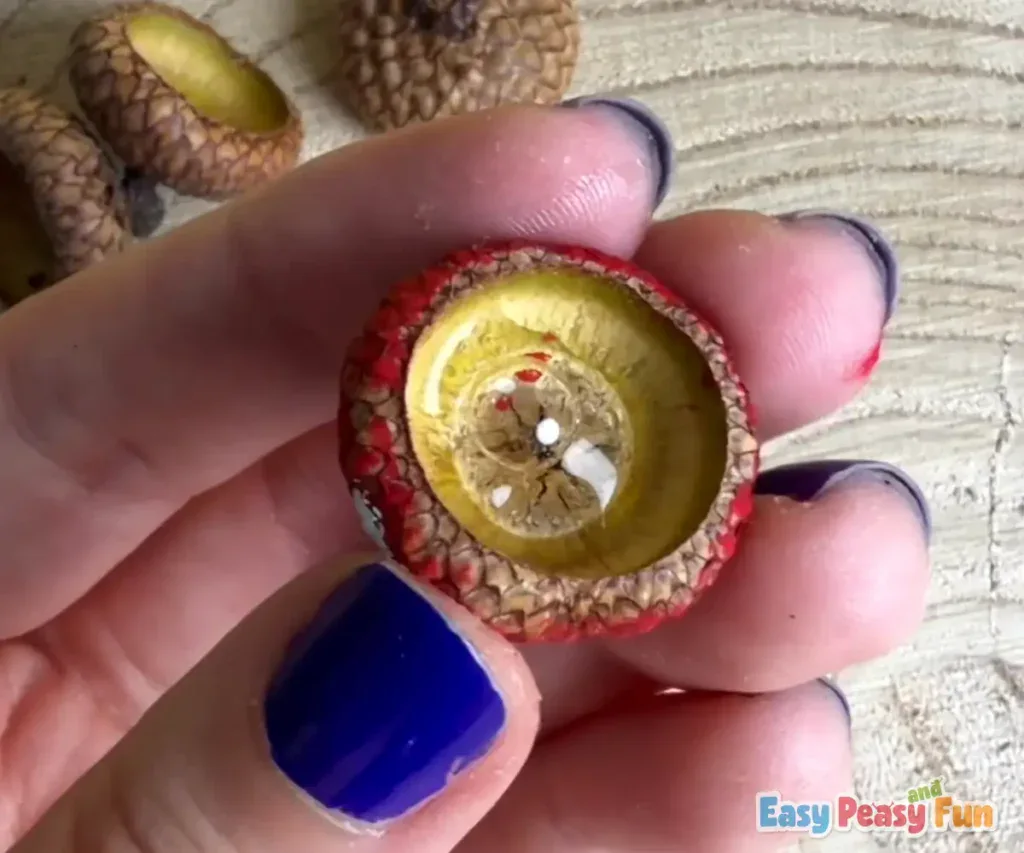
Press your rolled cardboard stem firmly into the glue so everything holds together.
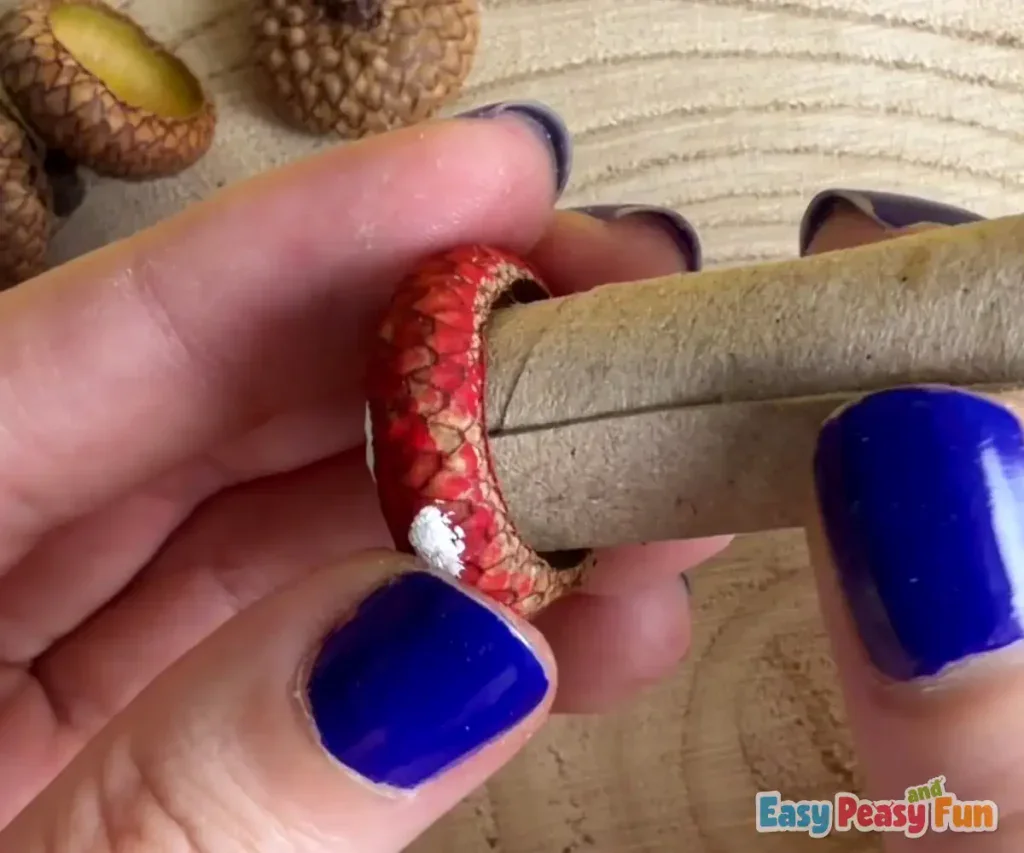
Give your adorable little mushroom a moment to dry, and watch how cute your homemade forest friend turns out!
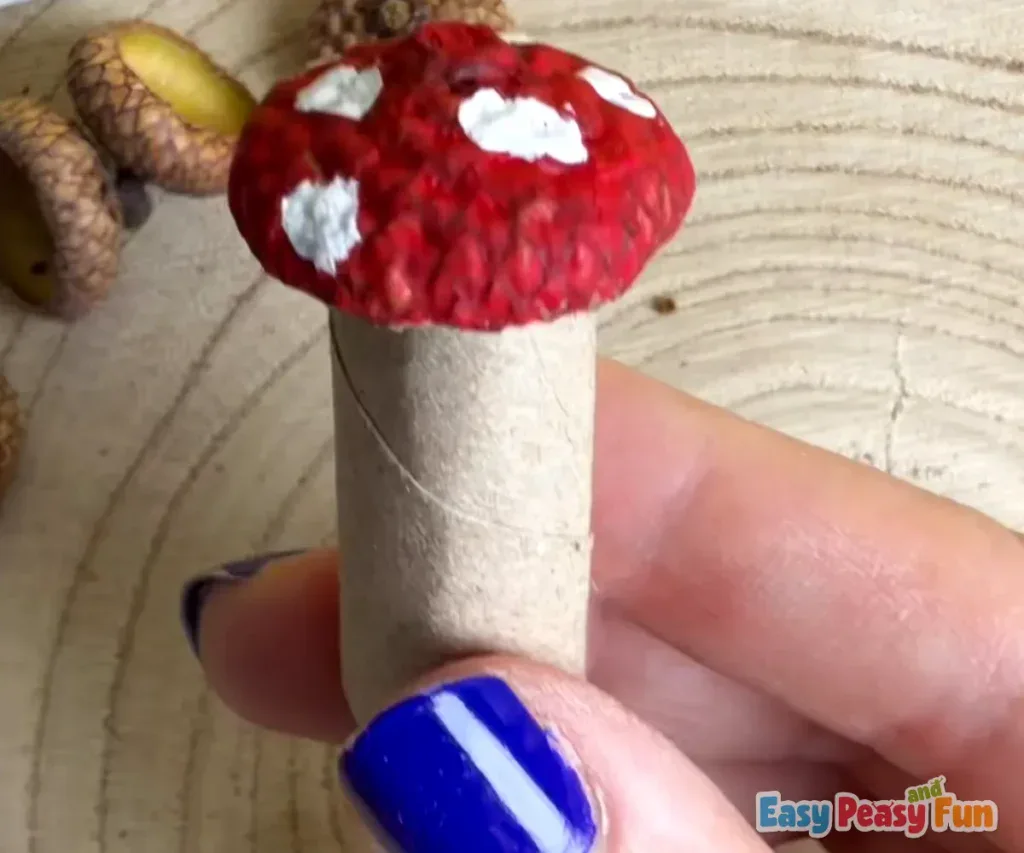
Look at how cute they are all lined up! You can make a whole magical forest family using different-sized caps.
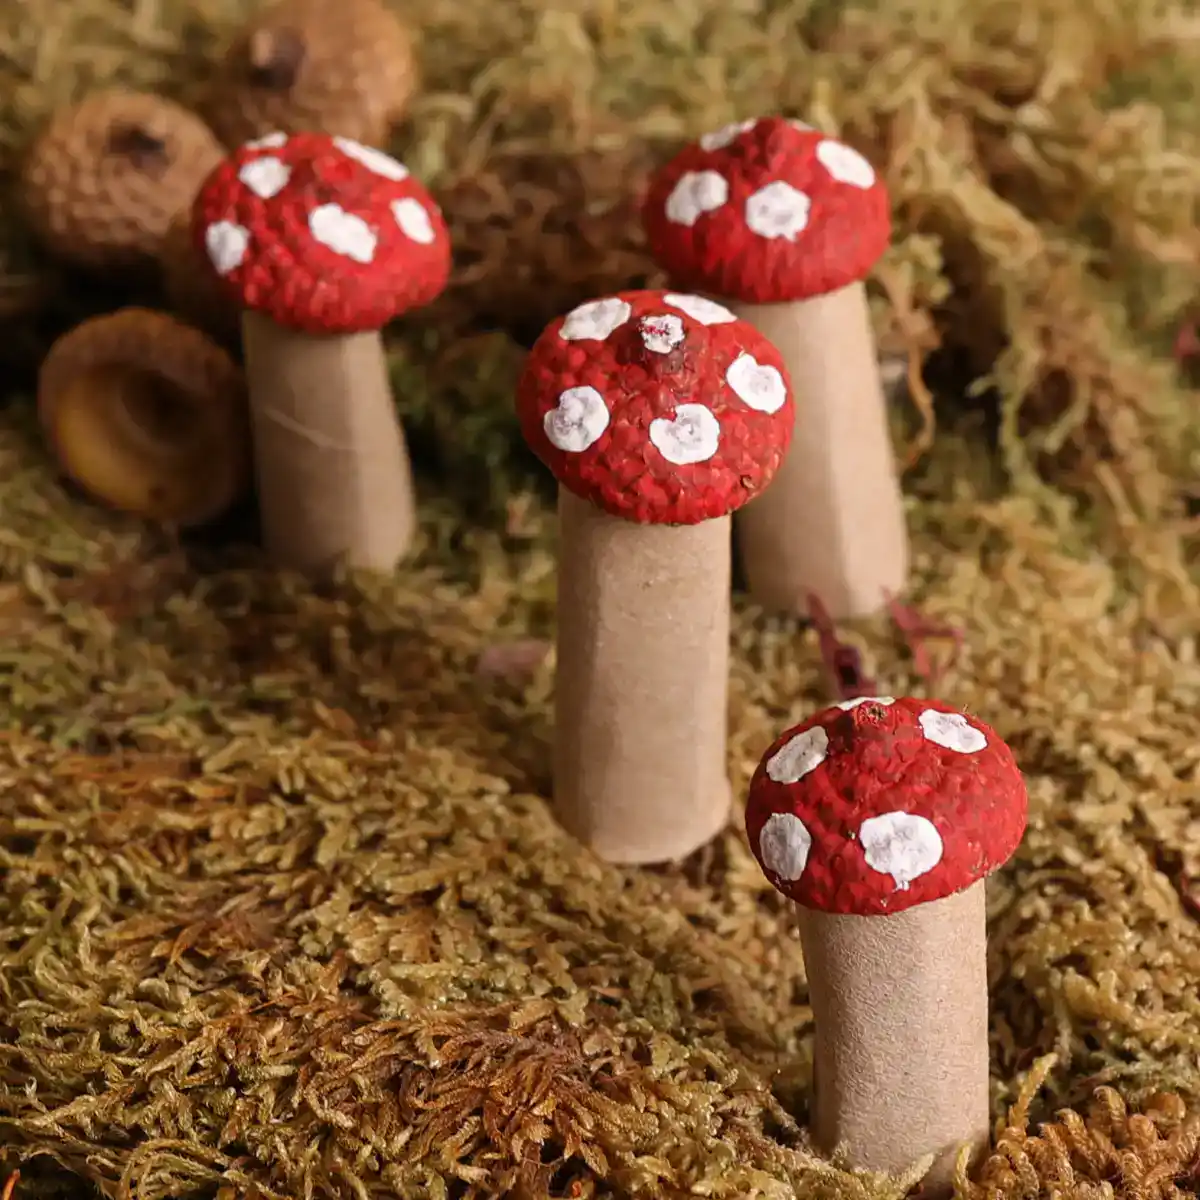
These sweet little woodland friends look wonderful gathered together on a nature table or tucked into a cozy seasonal display.
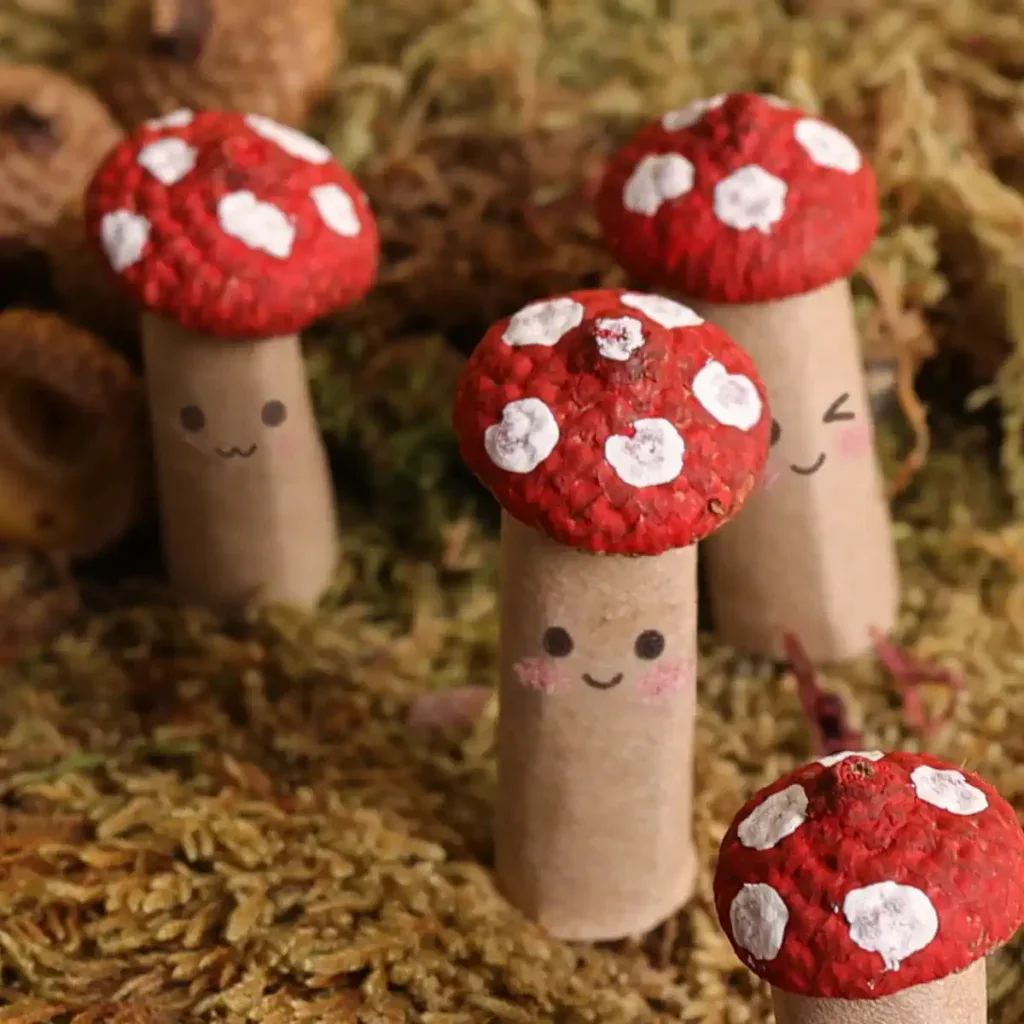
You can even give the mushrooms cute little faces.
Want instant access to all of our printable crafts, activities, and resources?
With thousands of crafts, activities, worksheets, coloring pages, and drawing tutorials to print, you will always have just the resource you need at your disposal. Perfect for parents and teachers alike!