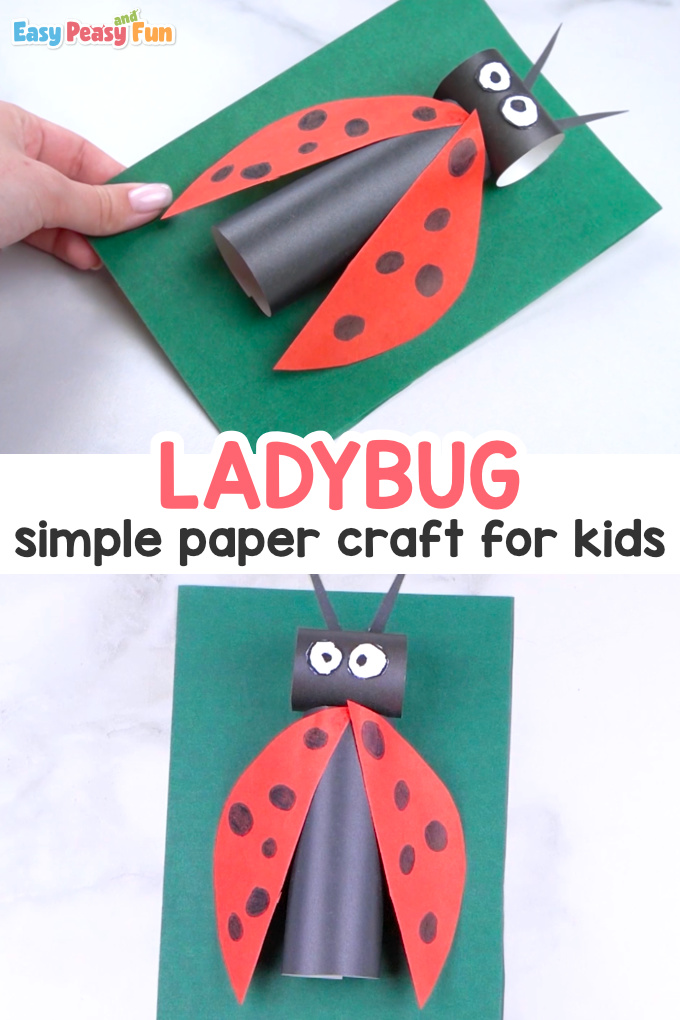
Most people are in awe of ladybugs when they see them. The next time you see a ladybug, perhaps it will inspire you to make this Paper Ladybug Craft. If you’ve never made one before this tutorial will help.
Sometimes these types of crafts can look intimidating, but they don’t have to be. Follow along as you learn to make a fun new craft!
*this post contains affiliate links*
50 paper crafts your kids can actually do themselves

No fancy supplies — just paper, scissors, and a little imagination.
Be the first to get it on release day — and lock in the lowest price guaranteed.
There is just something about a ladybug that makes everyone feel joyful inside. Not only are they beautiful, but they are also supposed to be good luck. Bring colorful ladybugs and good luck into your home with this fun tutorial.
Don’t worry about this being a tough one. You can easily guide your child through this craft as they have tons of fun. You could also do a ladybug unit as you make this craft together. Learning more about ladybugs allows your child’s curiosity to pique! They will ask your lots of questions.
How to Make a Paper Ladybug Craft
What you need:
- Different colored construction paper
- Glue
- Scissors
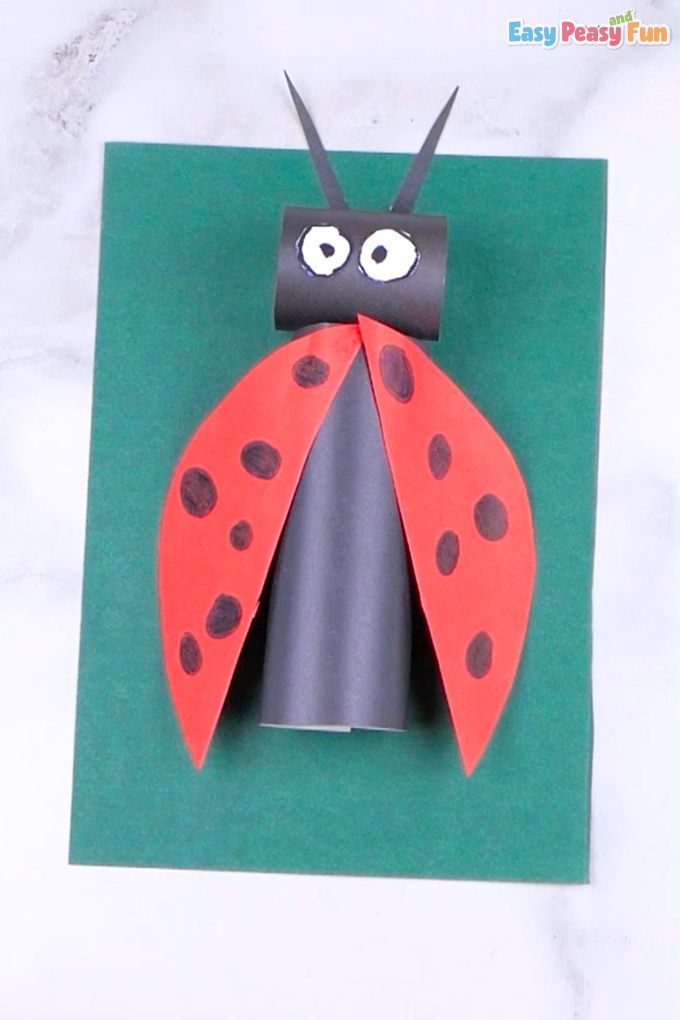
Your child will feel inspired every single time they are working on a new craft. Plus, it’s the eyes on this ladybug are so cute!
Step by Step Tutorial
Go ahead and gather all of the materials, so that you can get started on making the cutest ladybug craft ever!
You can even complete a “model” for your child, so they can see the final look of the ladybug. Sometimes it’s nice for a child to have a visual, so they know what the end result should be.
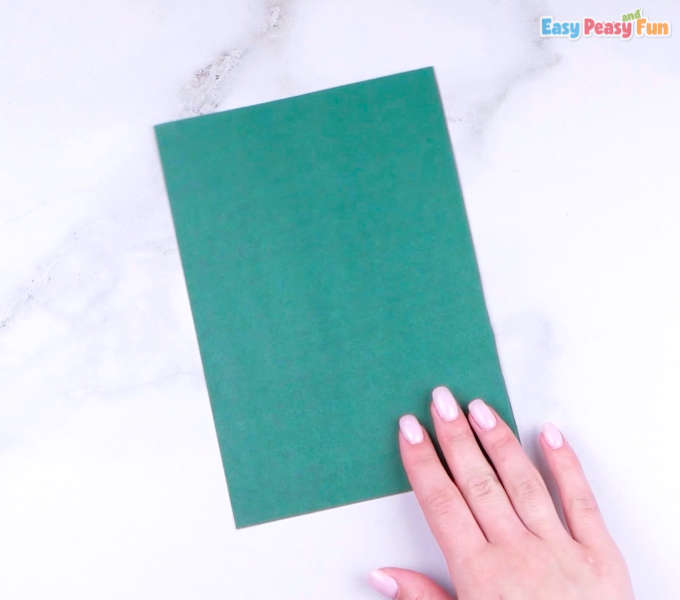
Take the half sheet of green paper and lay it flat. This is going to be what you glue the ladybug to!
Go ahead and roll up a square sized piece of black construction paper.
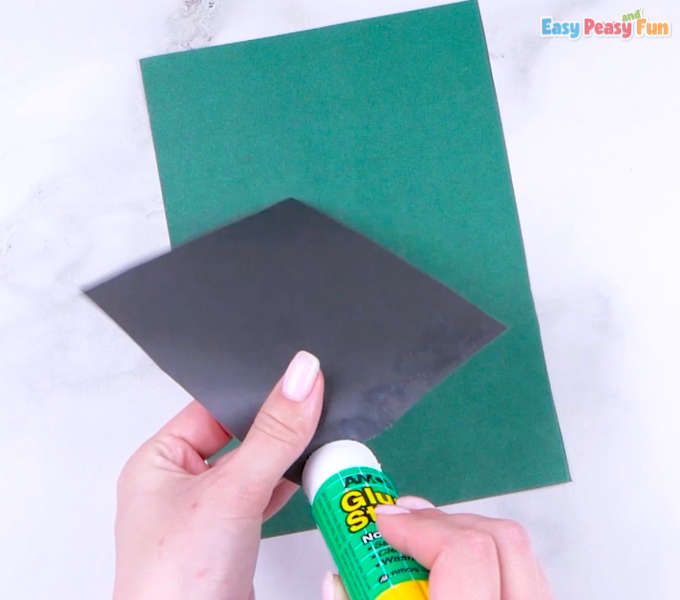
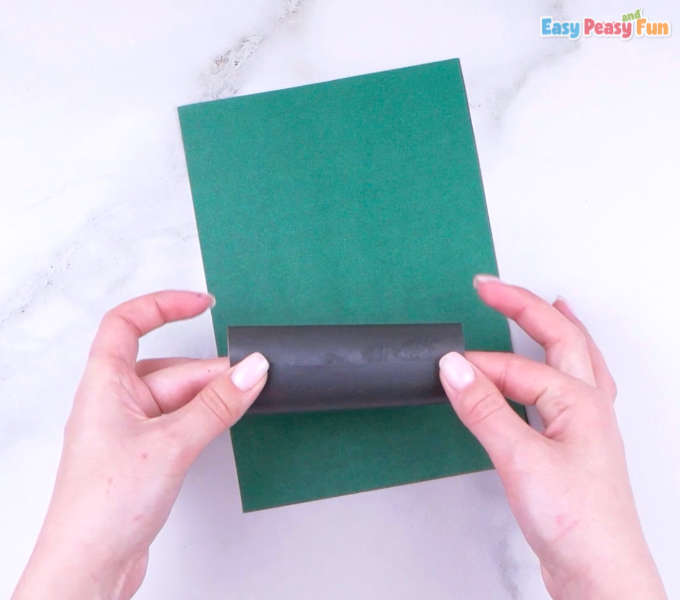
You can glue it or tape it, whatever works best.
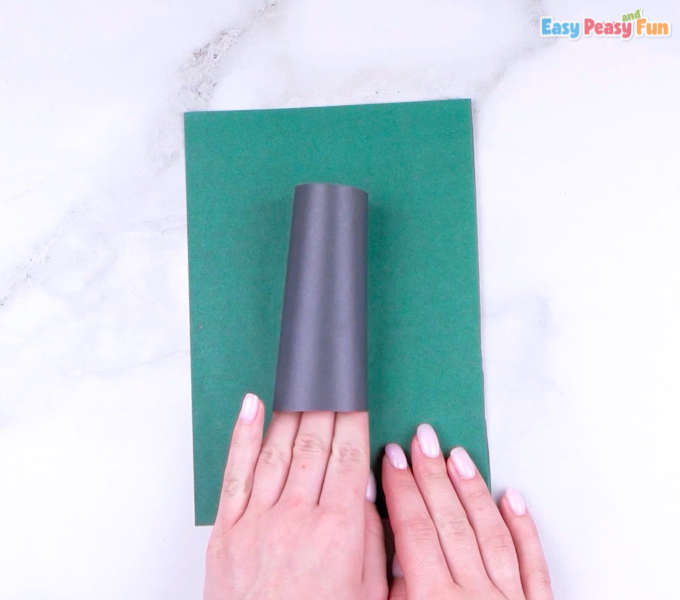
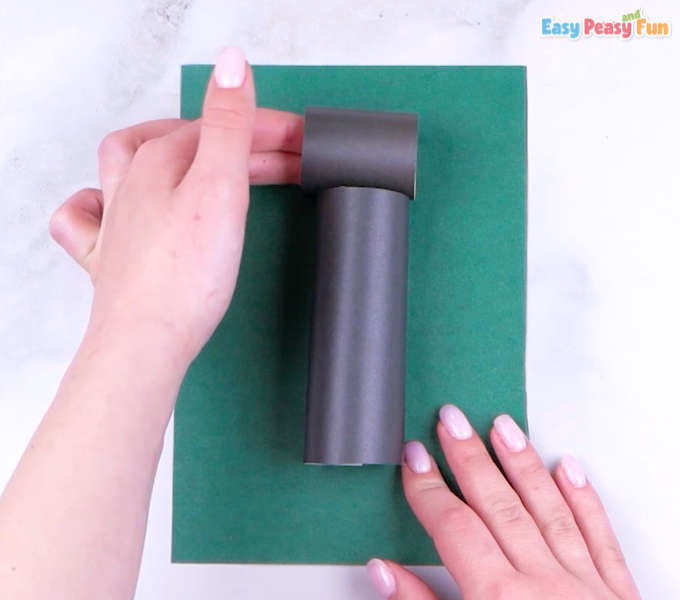
You are going to tape the black tube to the green paper. Again, you can glue it or tape it.
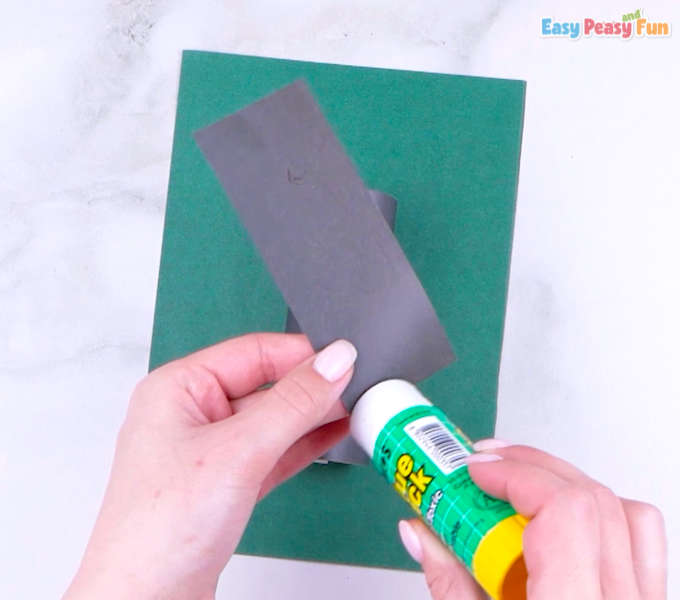
You are then going to take an even smaller piece of black construction paper and roll it up. You will glue the ends together as shown below.
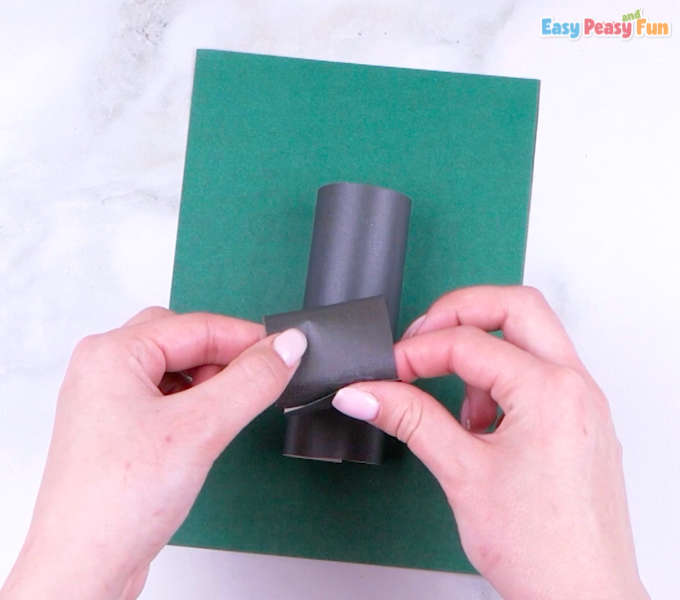
This will become the head of the ladybug.
The head is an important part of this ladybug because it is what makes the ladybug look so friendly.
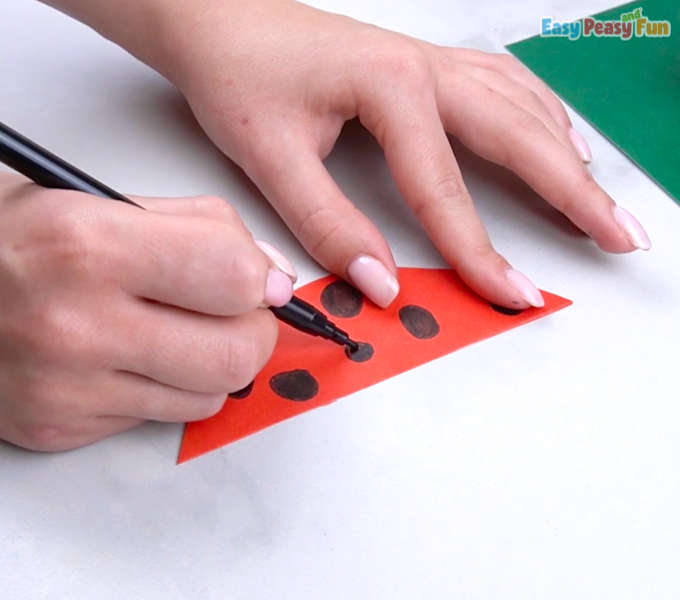
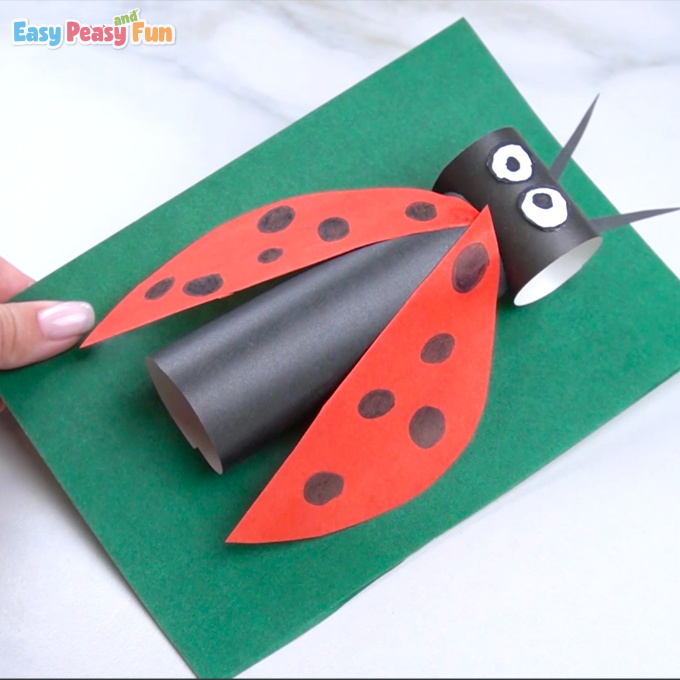
Take red construction paper and cut out a half-circle. You will want to do this twice. Have your child create little black circles on the red wings.
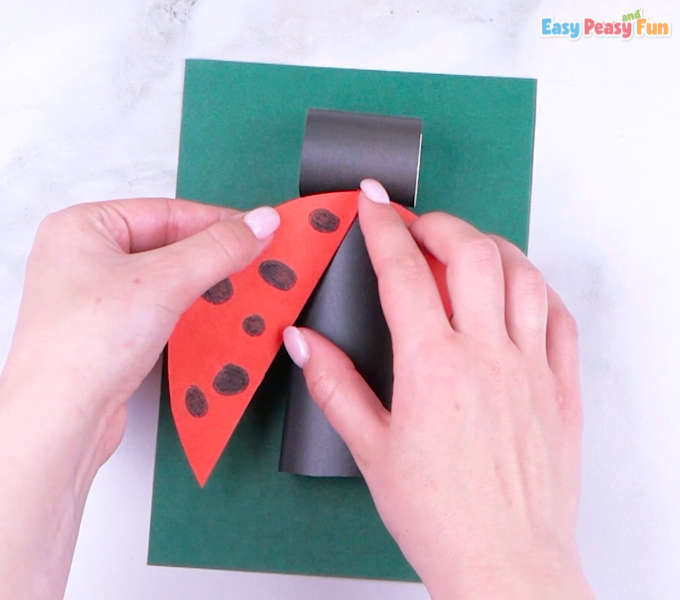
The half circles will then be glued to the black tube. You will want to glue them at a diagonal.
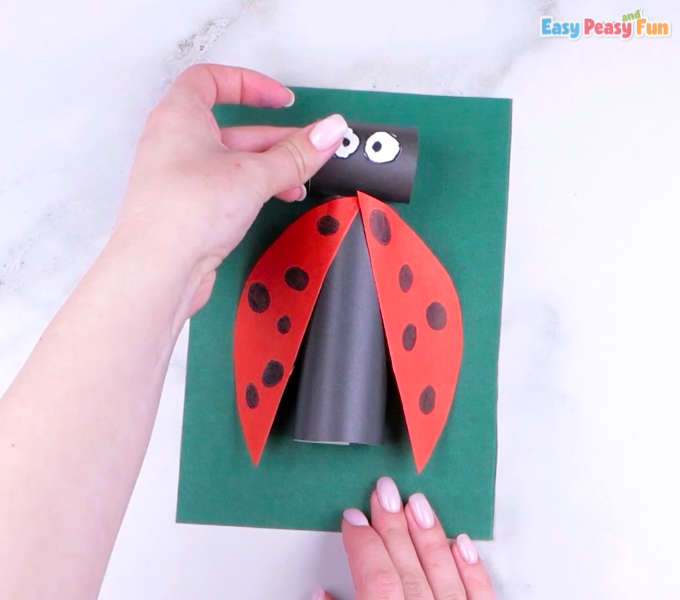
Last but not least, don’t forget to cut out some fun eyes for this little guy as well as antennae!
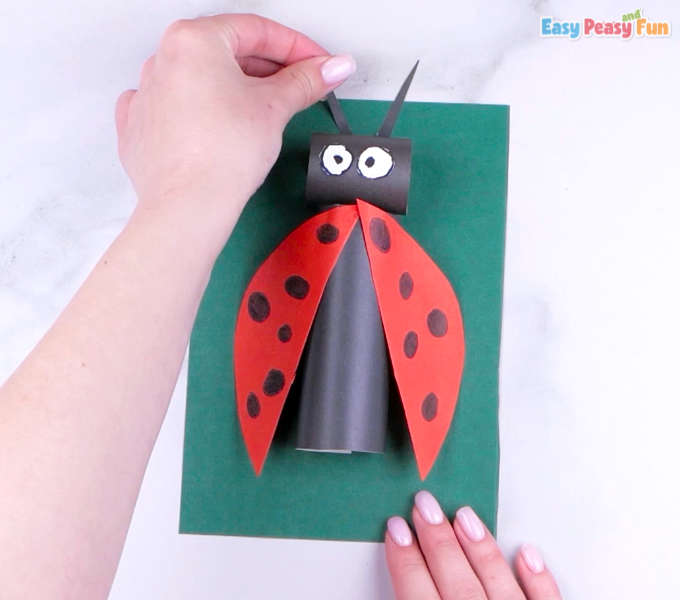
All done.
Want instant access to all of our printable crafts, activities, and resources?

With thousands of crafts, activities, worksheets, coloring pages, and drawing tutorials to print, you will always have just the resource you need at your disposal. Perfect for parents and teachers alike!