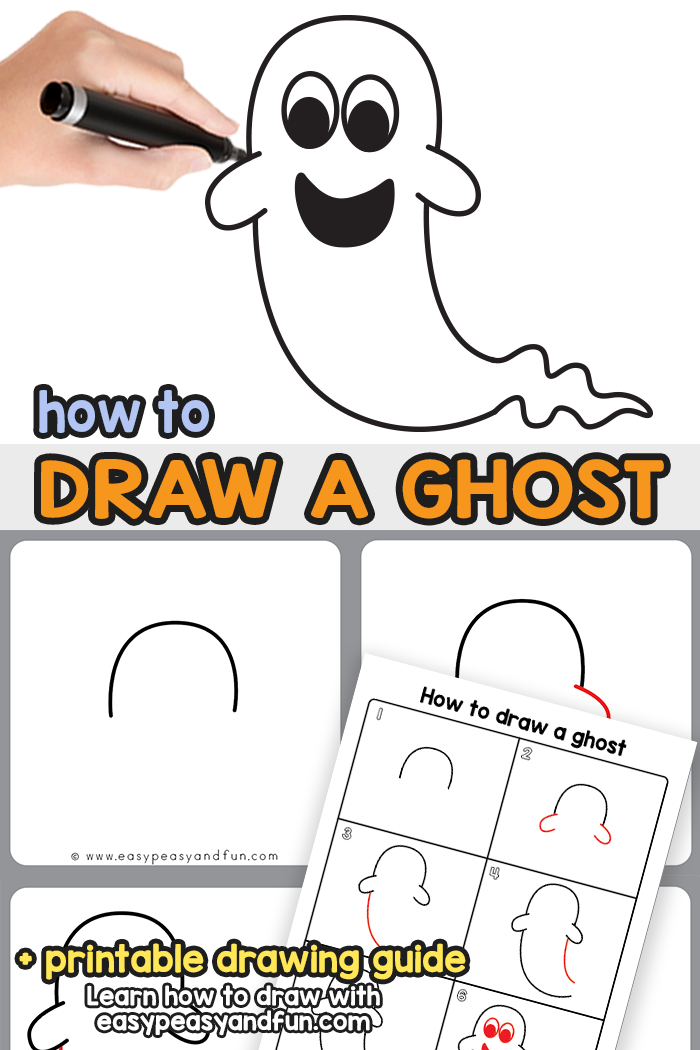
In today’s drawing tutorial, you are going to learn how to draw a ghost.
Just follow our easy step by step ghost drawing instructions and you’ll be drawing friendly (or scary) ghosts in no time.
*this post contains affiliate links*
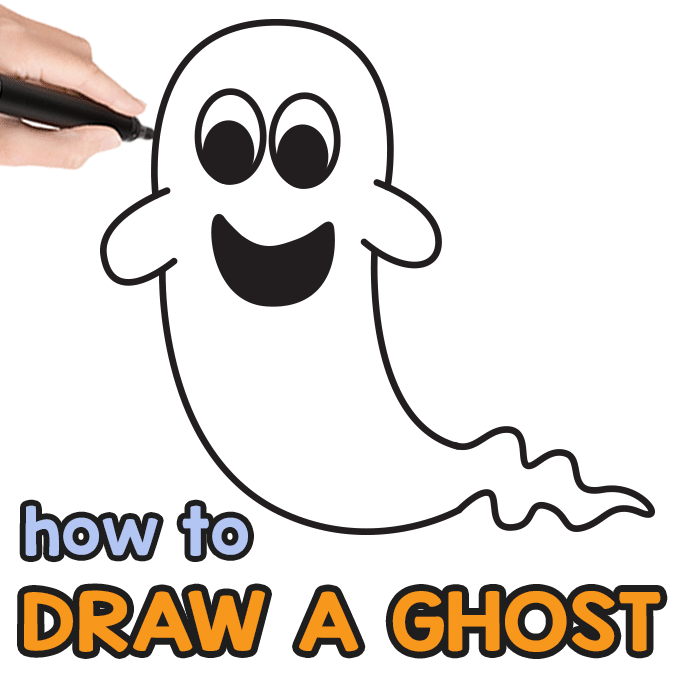
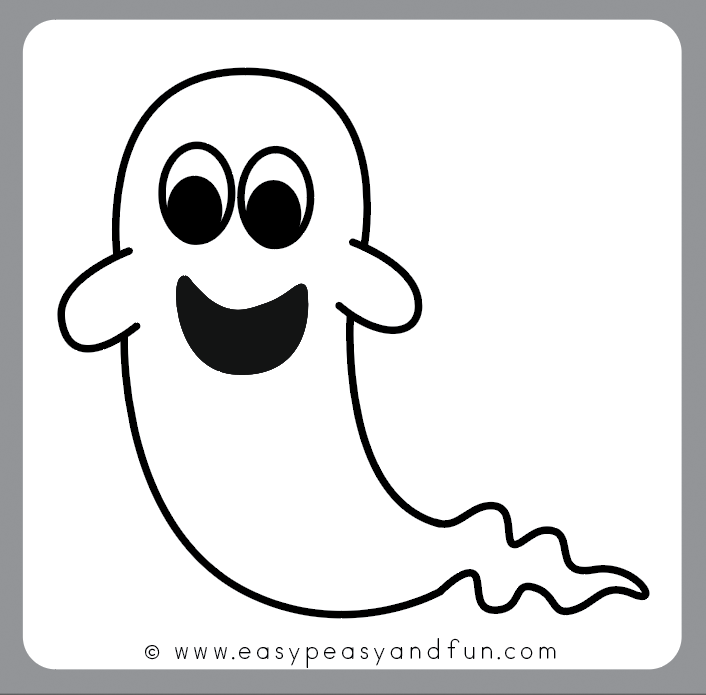
When it comes to drawing a ghost, it’s all about it’s facial expressions – you can make a scary ghost, a friendly one, silly looking one… It’s all in the face. That said, we’ll be drawing a friendly, not scary ghost.
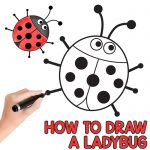
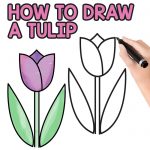
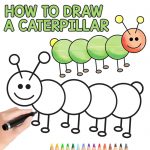
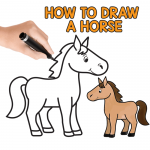
Love learning how to draw? Check out more of our drawing tutorials.
How to Draw a Ghost
What you need:
- our printable template (optional)
- paper
- pencil or black marker
Step by Step Ghost Drawing Instructions
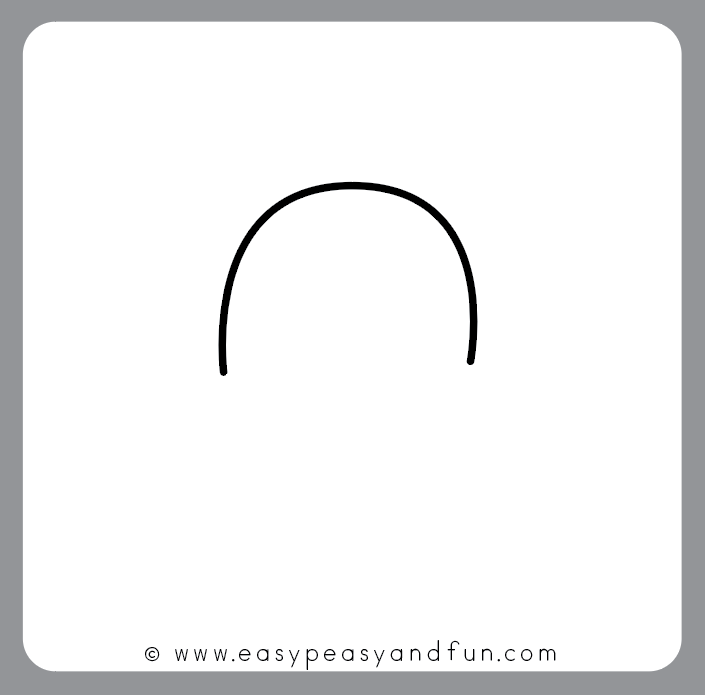
Step 1
Start by drawing a curved shape (like a upside down letter U). This will be the top part of the ghost’s head.
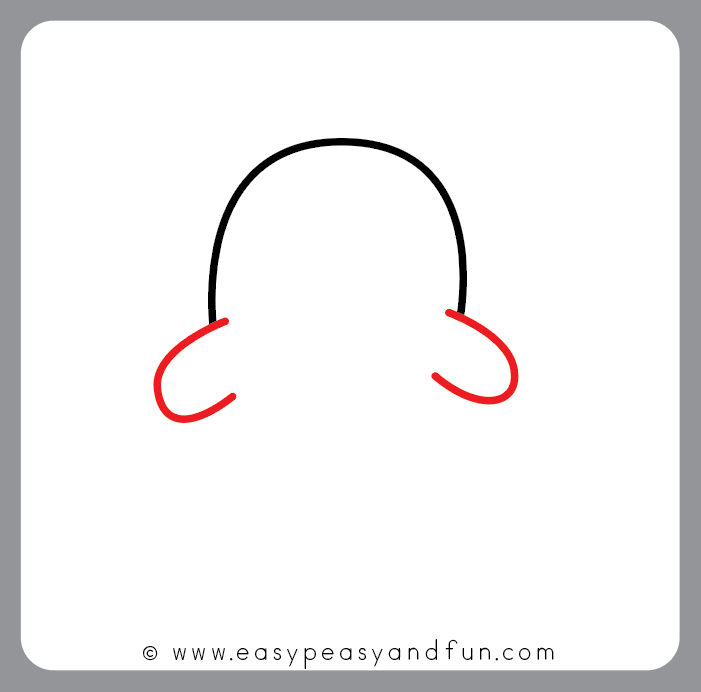
Step 2
Draw hands – you can keep them simple, with drawing “U” shapes, or make them more detailed.
Step 3
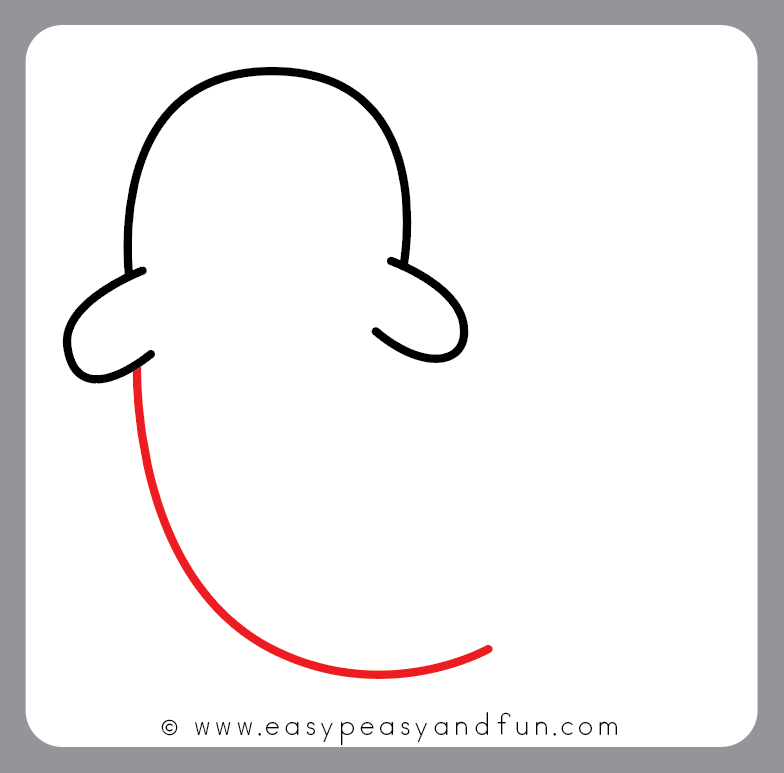
Let’s start working on the body. Start on the left side, drawing a curved line from the hand downwards.
Step 4
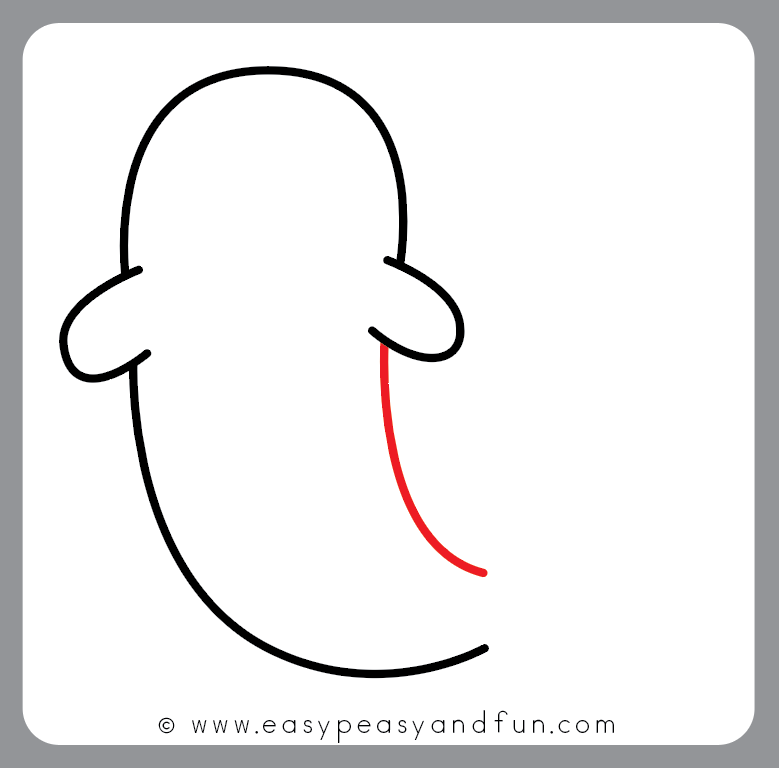
Now move to the right side and draw another curved line, ending it above the first one.
Step 5
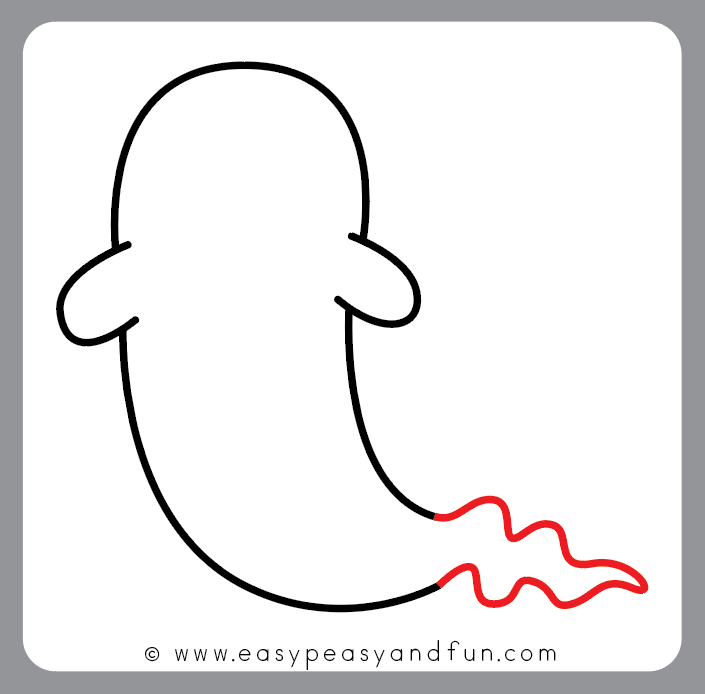
Complete with the wiggly “tail”.
Step 6
Now comes the face. If you want your ghost to look happy, draw “normal” eyes, and a “moon” shaped mouth. This way your ghost won’t look scary at all.
If you want a scary one, color the eyes all black and draw the “moon” shape with it’s end points turned downwards. You can even add a diagonal line on top of the eyes to make the ghost look angry. Scary isn’t it.
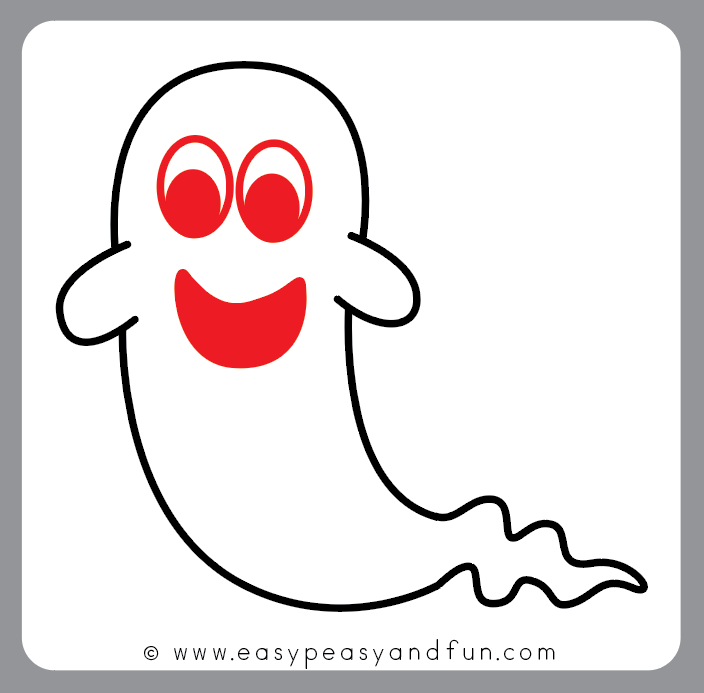
All done, you have learned how to draw a ghost!
Get Printable Ghost Drawing Guide
Get it here –> Ghost Drawing Guide Printable
Want instant access to all of our printable crafts, activities, and resources?

With thousands of crafts, activities, worksheets, coloring pages, and drawing tutorials to print, you will always have just the resource you need at your disposal. Perfect for parents and teachers alike!