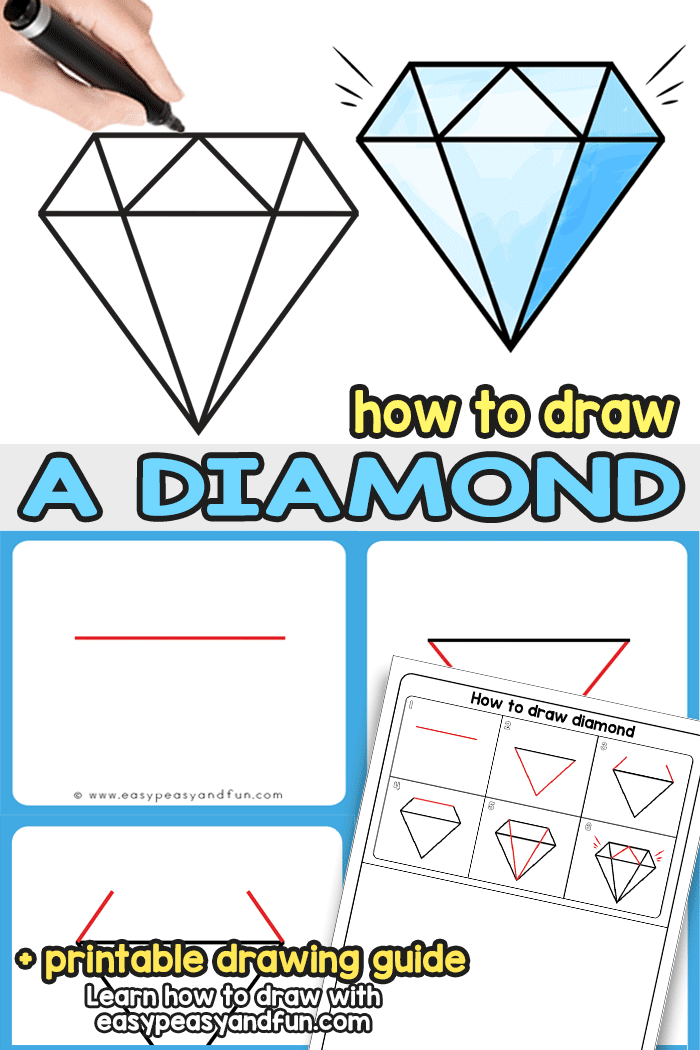
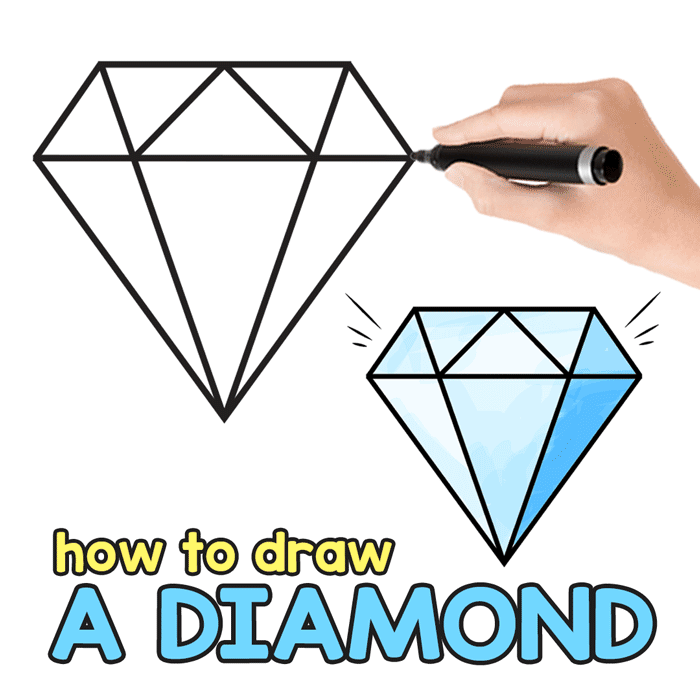
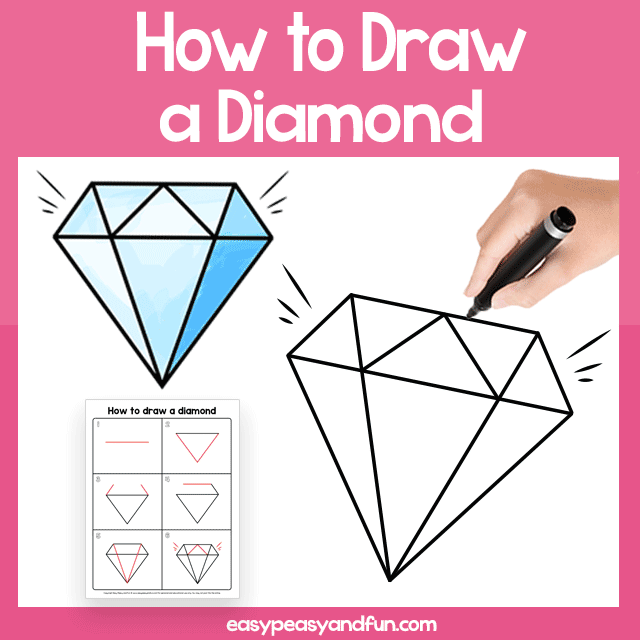
Ever wondered how to draw a diamond? This step by step diamond drawing tutorial makes things super easy and you will be drawing them on your own in no time. As we also offer a directed drawing printable with all the steps included, you can just print and draw wherever you go (or use in the classroom with your kids).
See all of our how to draw tutorials for all ages
*this post contains affiliate links*
50 paper crafts your kids can actually do themselves

No fancy supplies — just paper, scissors, and a little imagination.
Be the first to get it on release day — and lock in the lowest price guaranteed.
Diamonds are pretty spectacular, and a nice little object to draw! You could draw them on their own, or use them to enhance your other creations – like if you made an unicorn drawing, you could also add a few diamonds around (or on) the unicorn to make it more magical.
This is a fool proof tutorial, as with all of our tutorials, this one too was tested with different age groups and skill levels and the end result was perfect each and every time!
You can easily transform this 2D picture into a 3D diamond too, with some clever coloring and shading (you can scroll to the bottom of the page to see how we colored ours).
How to Draw a Diamond Step by Step Tutorial
What you need
- our diamond directed drawing printable (optional, but you can grab it at the end of this tutorial, save it to your computer or print and use straight away).
- paper
- pens – pencil or marker
- optional: coloring supplies – different shades of blue work best
Diamond Drawing Instructions
Step 1
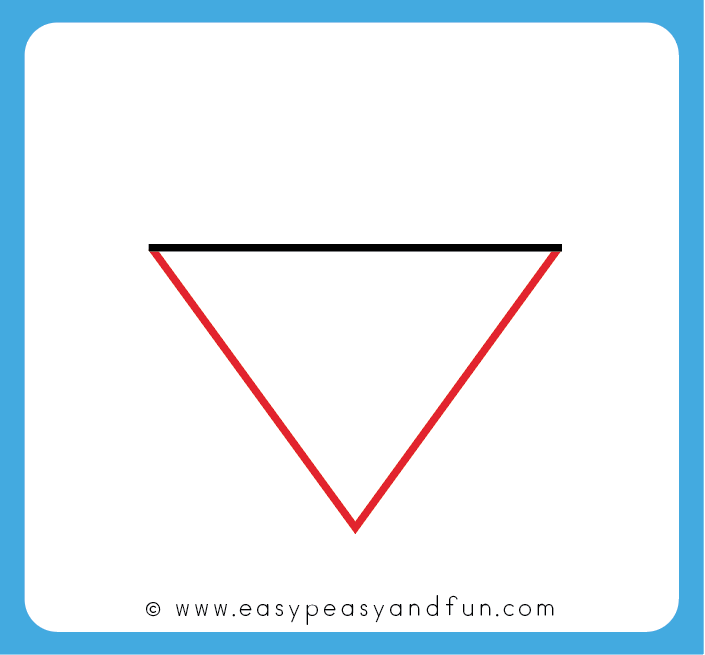
Start by drawing a straight line, from left to right (or other way around if you find it easier).

Step 2
Draw two diagonal lines, joined together at a bottom (you should see a triangle forming).
Step 3
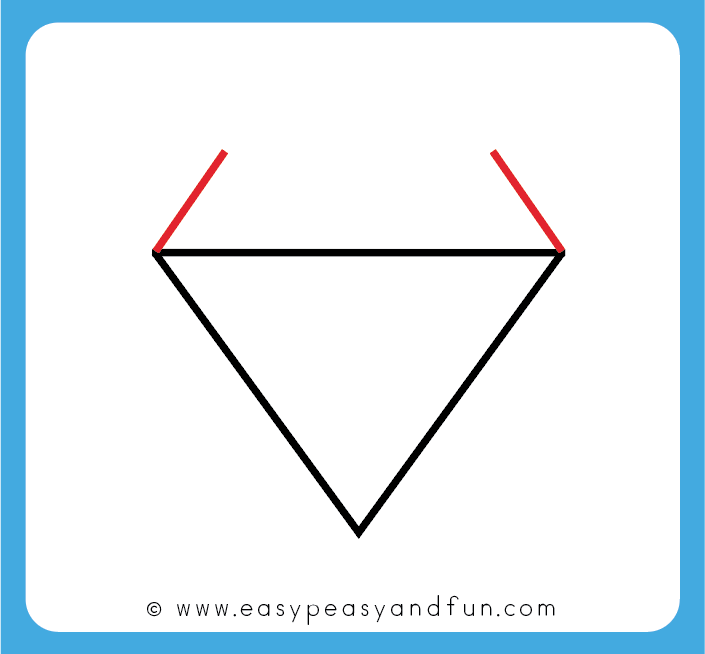
Continue by drawing two diagonal lines at the top (think “trapezoid”).
Step 4
Connect the loose ends with a straight line. You can already see the diamond shape.

Step 5
Connect the top corners to the bottom one, by drawing two straight diagonal lines – from top to bottom (or other way around).
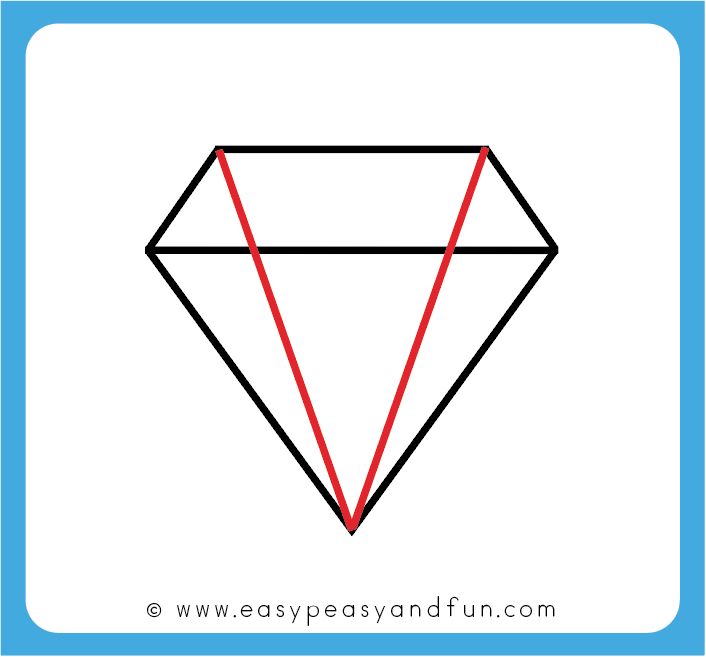
Step 6
Lastly draw a “triangle” in your diamond drawing. Start from the point where the diagonal line you have drawn in the previous step crosses the horizontal line. From that point, draw a line that touches the top of the diamond (line) in the center. Continue by drawing a line from that center point to the crossing of the other diagonal and horizontal line.
To give your diamond drawing some bling, you can also draw a few lines next to it, to represent the sparkle.

Congratulations! You have learned how to draw a diamond.
Color
Now to make your diamond drawing really special, color it. When you color your diamond use different shades of blue (or other color) to give your drawing extra dimensions.

Get the How to Draw an Diamond Directed Drawing Printable
Happy drawing!
Want instant access to all of our printable crafts, activities, and resources?

With thousands of crafts, activities, worksheets, coloring pages, and drawing tutorials to print, you will always have just the resource you need at your disposal. Perfect for parents and teachers alike!
This is fun to do