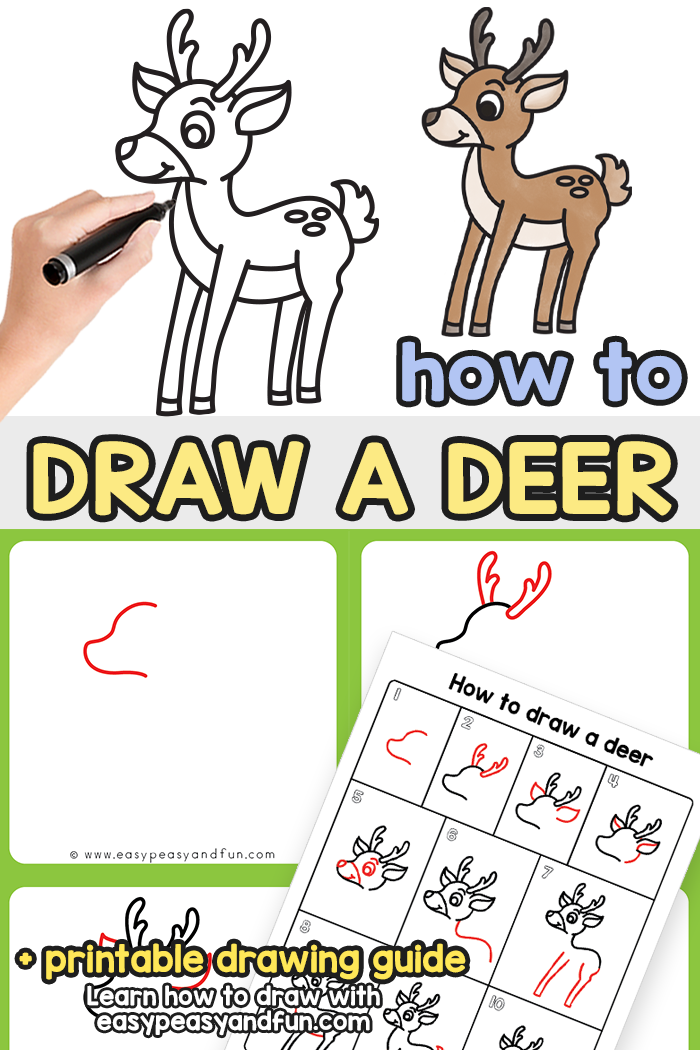
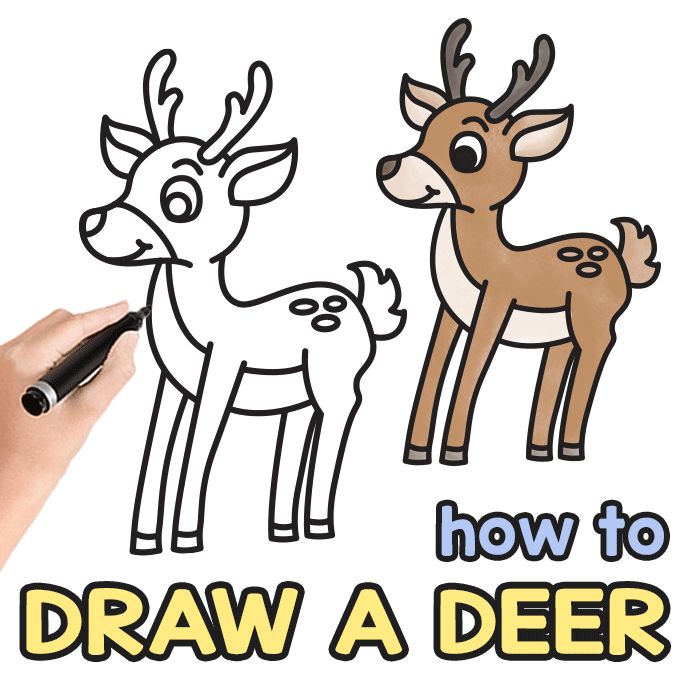
Deer are a beloved favorite animal for many people. Have you ever considered drawing one? This tutorial is going to teach you how to draw a deer.
Don’t worry, you are going to have a ton of fun with it! Drawing a deer is easier than you ever thought possible.
*This post contains affiliate links*
50 paper crafts your kids can actually do themselves

No fancy supplies — just paper, scissors, and a little imagination.
Be the first to get it on release day — and lock in the lowest price guaranteed.
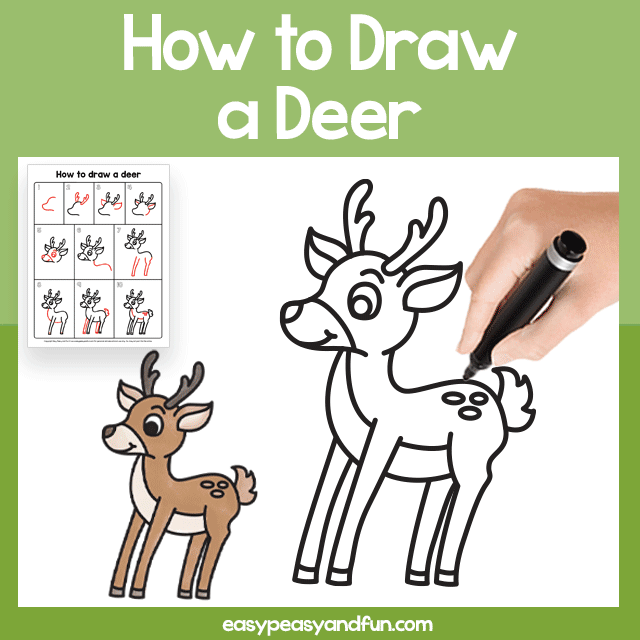
How to Draw a Deer Step by Step
Once done with this deer drawing tutorial why not have your kids color in some fall coloring pages.
What you need:
- our printable drawing guide (optional)
- pencil or black marker
- paper
Step by Step Deer Drawing Instructions
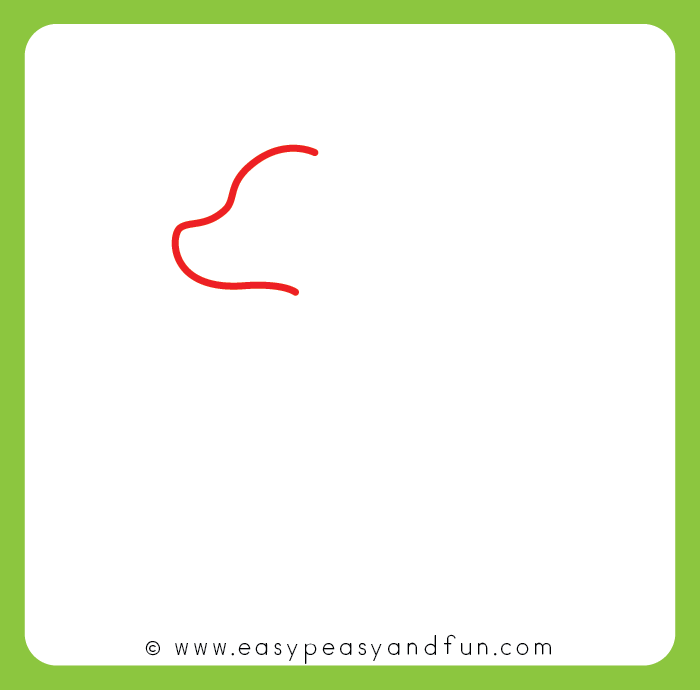
Step 1
Start by drawing the head of the deer as shown.
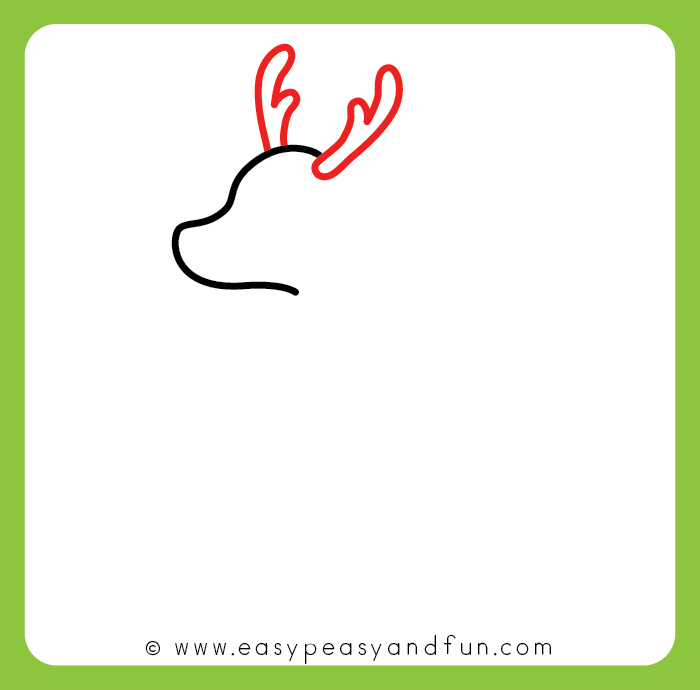
Step 2
This may be a difficult part of the drawing, but it’s quite simple if you take your time. Draw one antler on each side of the deer’s head.
Step 3
A deer needs ears! Add an ear on each side of the deer’s head.
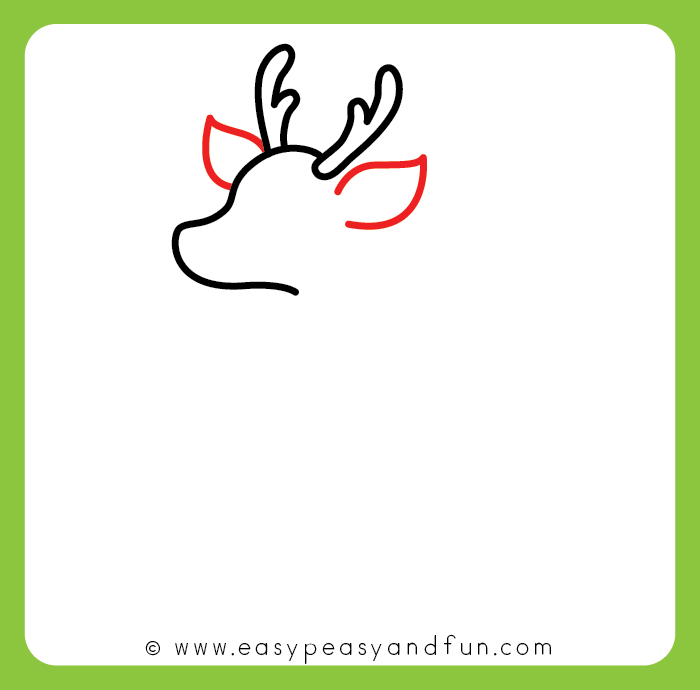
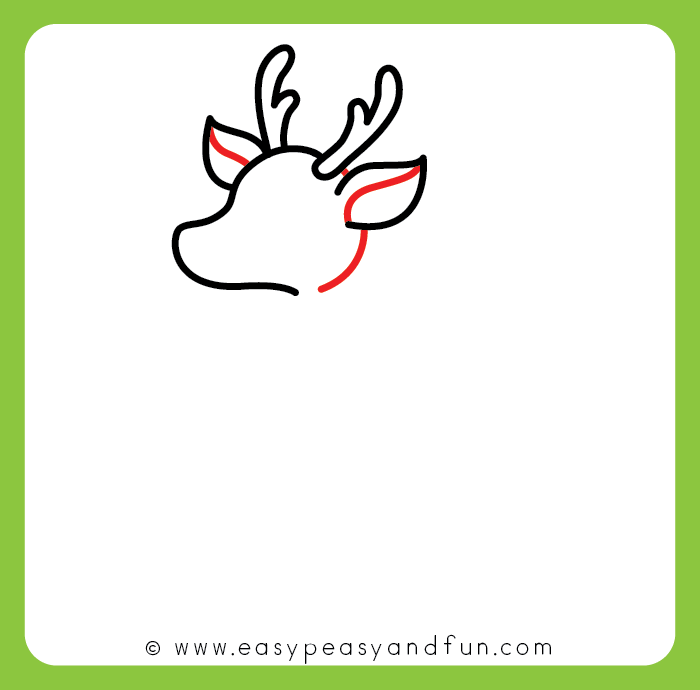
Step 4
Complete the deer’s head by adding part of the circle to the head. Also, add lines inside of the ear, with a little curve.
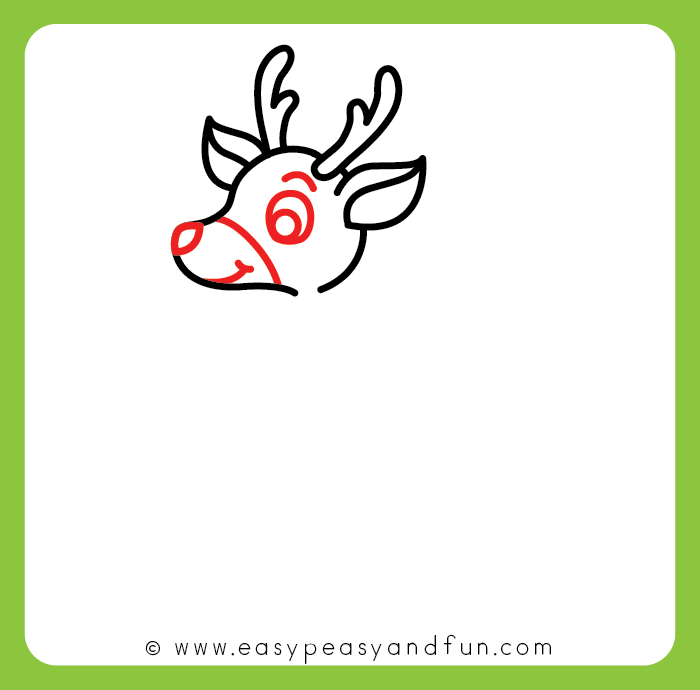
Step 5
The fun part is here! This is where you get to add the details to the face of the deer. Add an eyebrow, eye, nose, mouth. You can also add a line separating the top part of his face from the bottom.
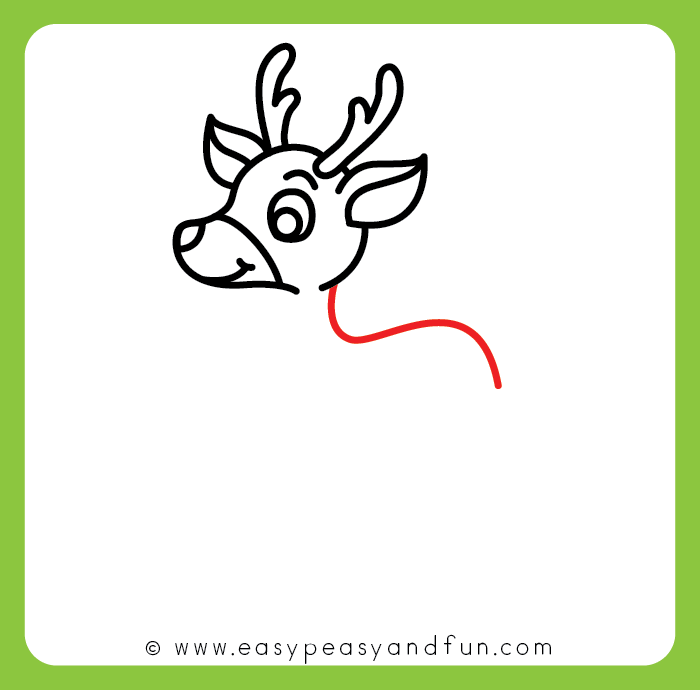
Step 6
Start drawing his body.
Step 7
You are then gong to draw the legs on the deer.
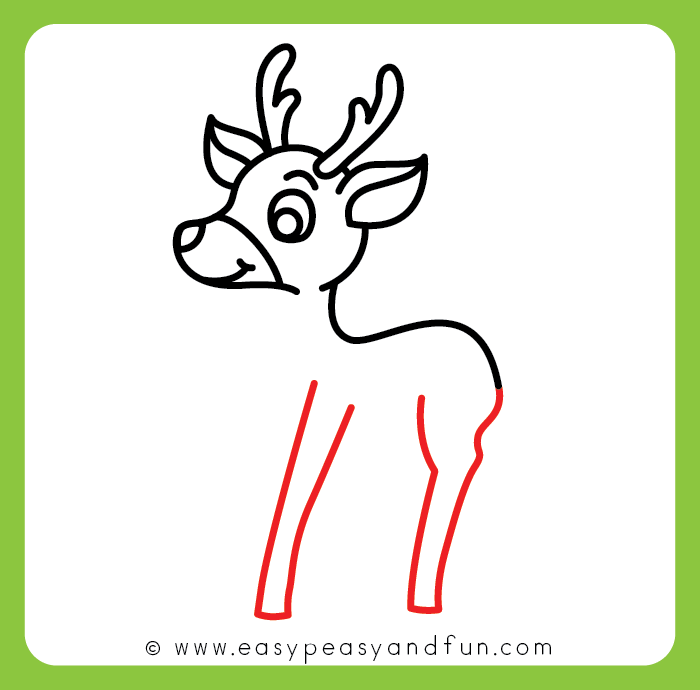
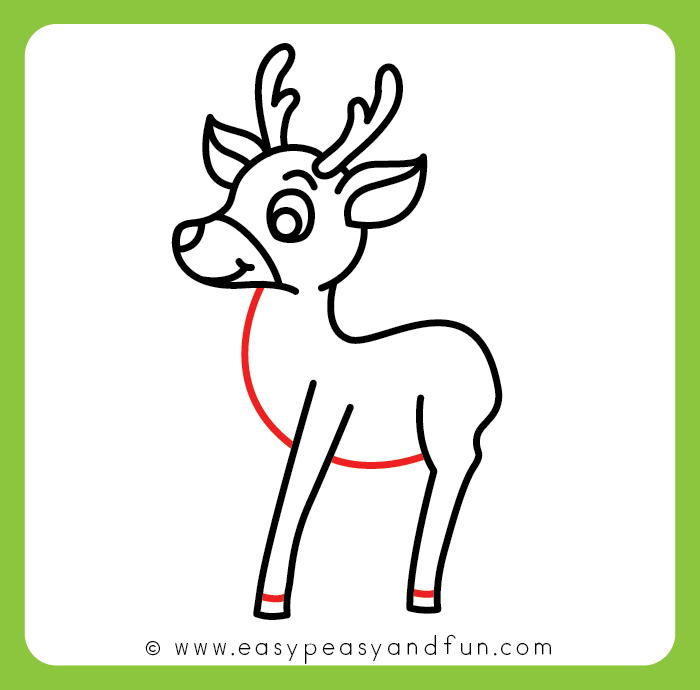
Step 8
The deer you’re drawing also needs a belly! Start from the top of the deer and go to the bottom to create the body.
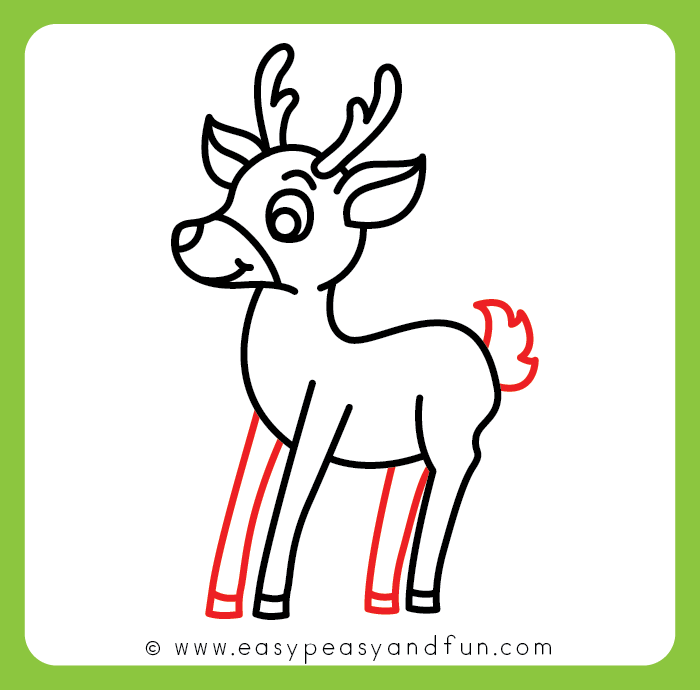
Step 9
Tale time! A fluffy tale only takes a few seconds to create.
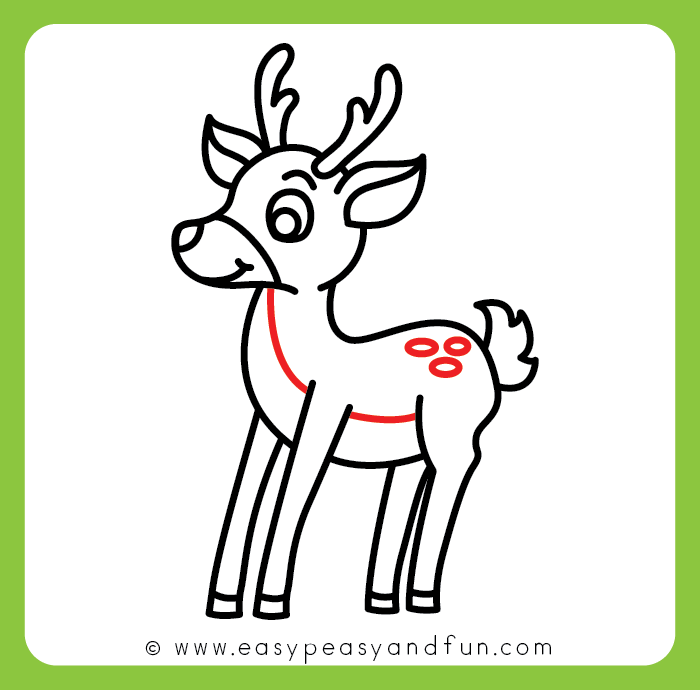
Step 10
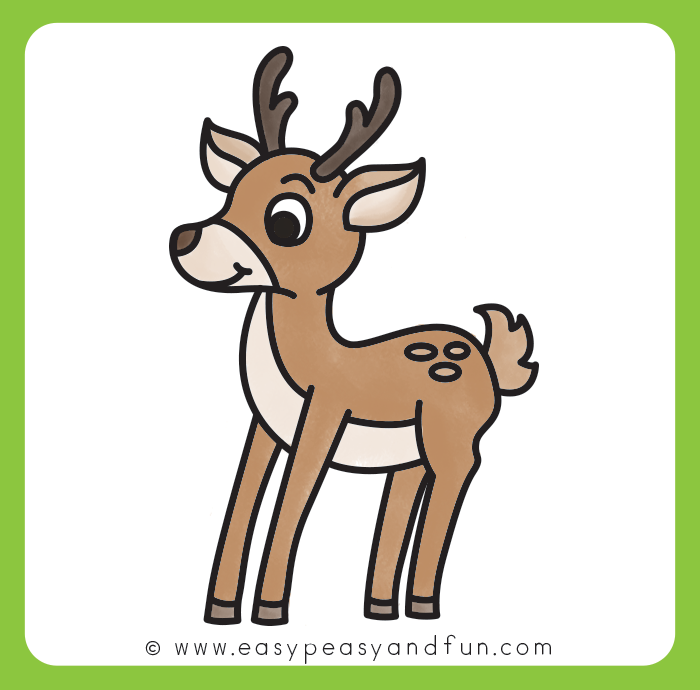
You can finish the deer’s body by adding another line as shown. Don’t forget to add a few spots to help distinguish this deer from the others.
Step 11
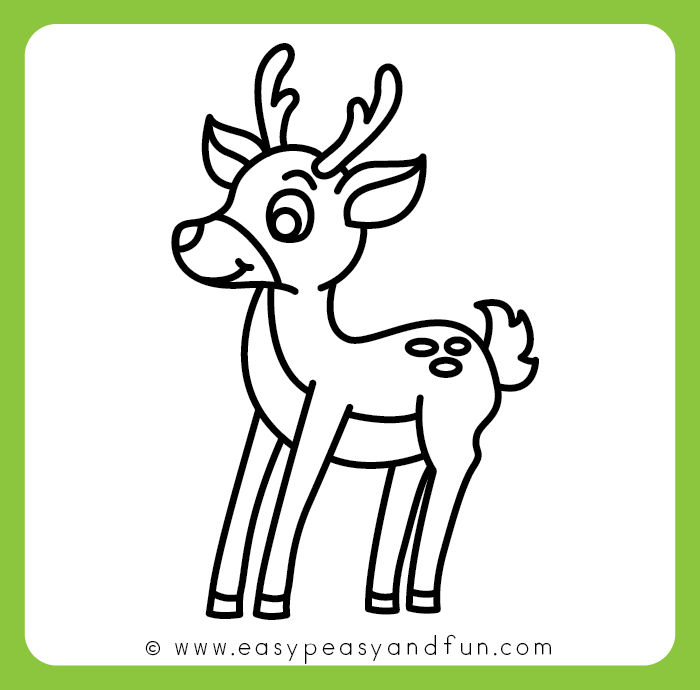
The final look of this deer is simple, yet fun. This tutorial will teach you how to draw a deer in no time!
Step 12
Get the How to Draw a Deer Printable Here
Want instant access to all of our printable crafts, activities, and resources?

With thousands of crafts, activities, worksheets, coloring pages, and drawing tutorials to print, you will always have just the resource you need at your disposal. Perfect for parents and teachers alike!