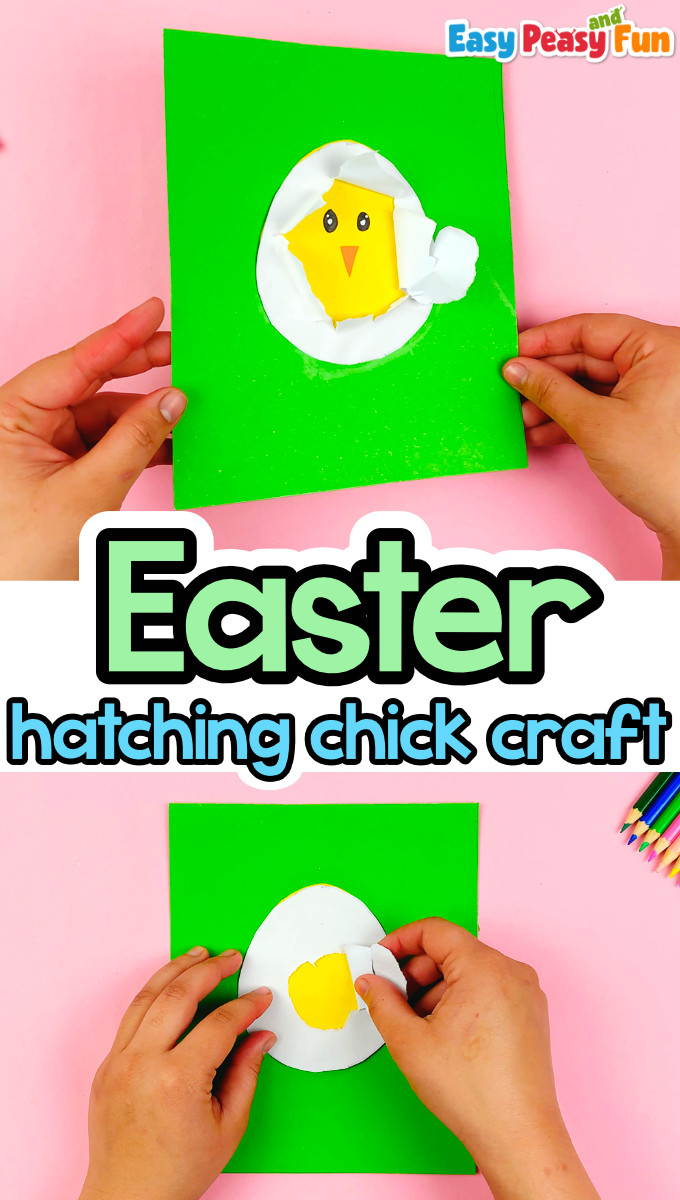
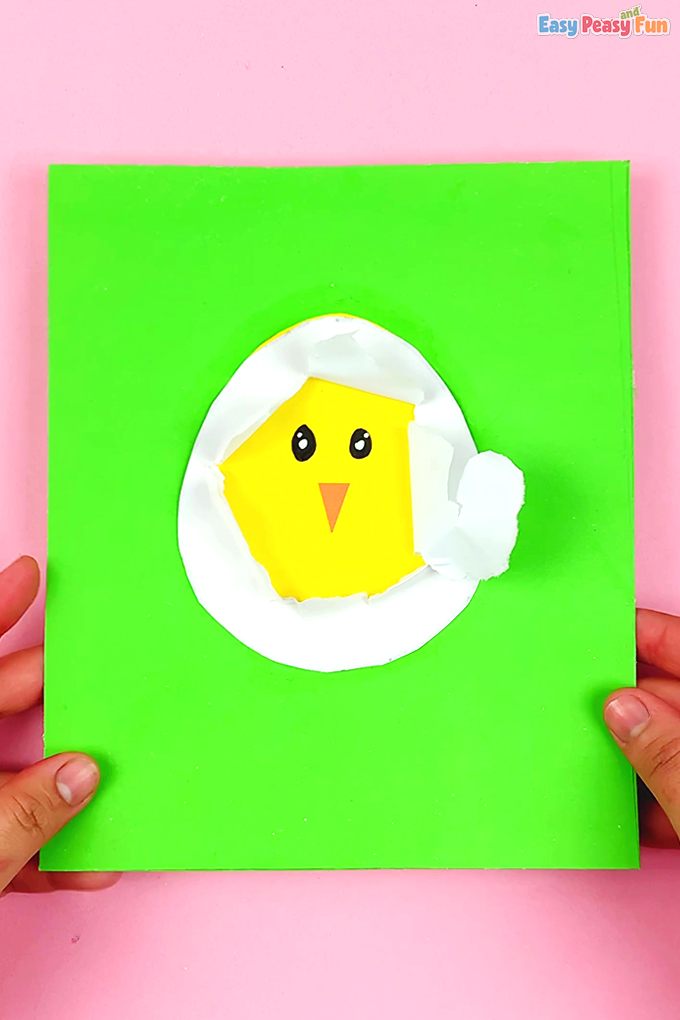
This hatching chick easter craft is great both for making a fun-looking Easter card to give out to friends and family and as a fun decor for your home or classroom display.
A bunch of these, in many colors, can make the coolest-looking bulletin board display for your classroom.
*This post contains affiliate links*
Hi, I'm Andreja from Easy Peasy and Fun — and I just wrote a book!
50 paper crafts your kids can actually do themselves
CRAFTS
I designed every project so kids can do it themselves — no fancy supplies, just paper, scissors, and a little imagination.
“If you need easy crafts to keep busy, Andreja delivers with this book!”
📚 As an indie author, your pre-order genuinely helps me — it counts toward first-week sales, which is how new books get noticed. Thank you!
This is one of the easiest Easter craft ideas for kids and it is suitable for kids of all ages. If you are working with younger kids, you will need to do a little prep as they might struggle with cutting but they will love the tearing part of this DIY project.
How to Make the Hatching Chick Easter Craft
What you need:
- scissors
- glue stick
- cardstock (green)
- color paper (yellow and orange)
- white paper
- black marker
- white liner
Step-by-Step Tutorial
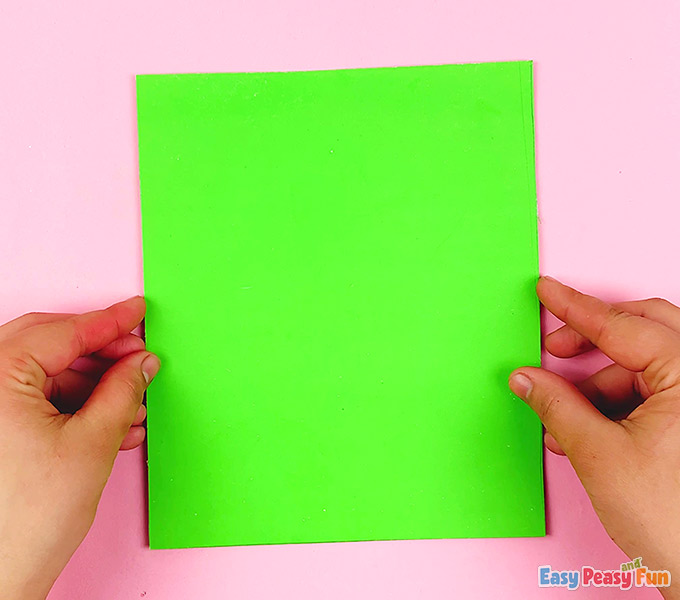
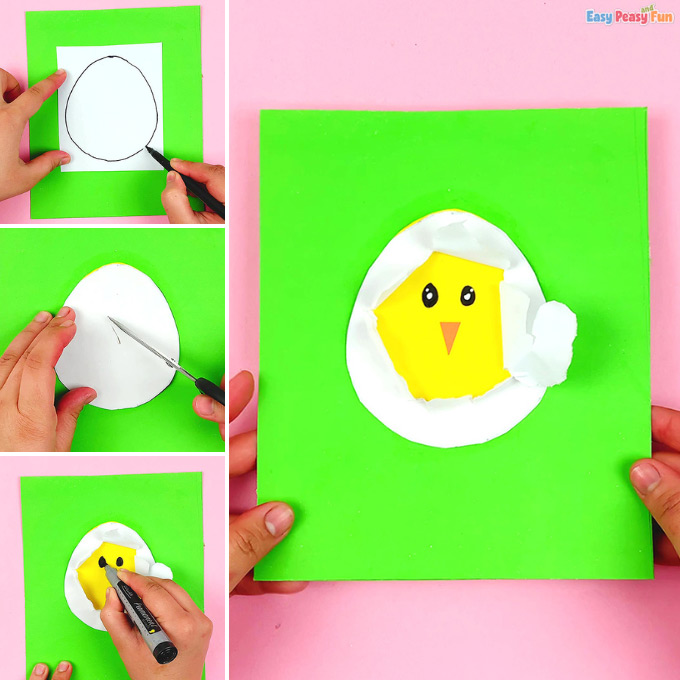
Cut and prepare the base. We used green cardstock to make it look like the hatching egg is laying on the grass, but other colors are great as well.
Moving on, have kids grab the white paper and draw an egg shape on it.
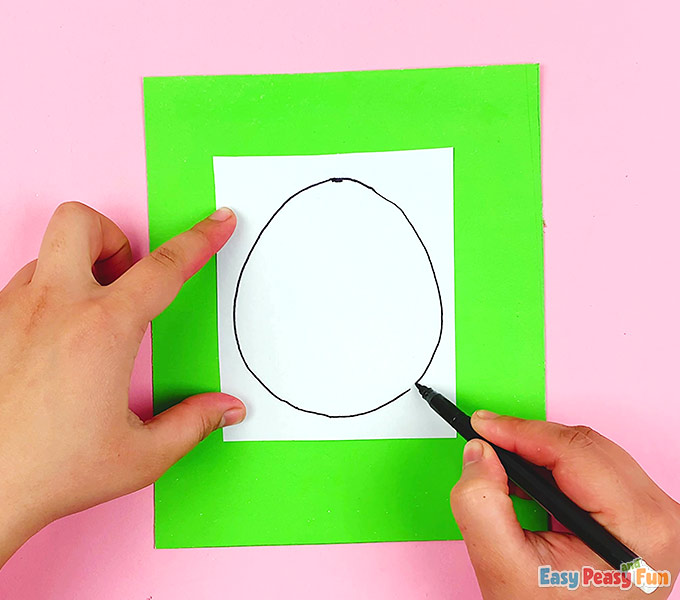
Once the egg is drawn, have them carefully cut it out.
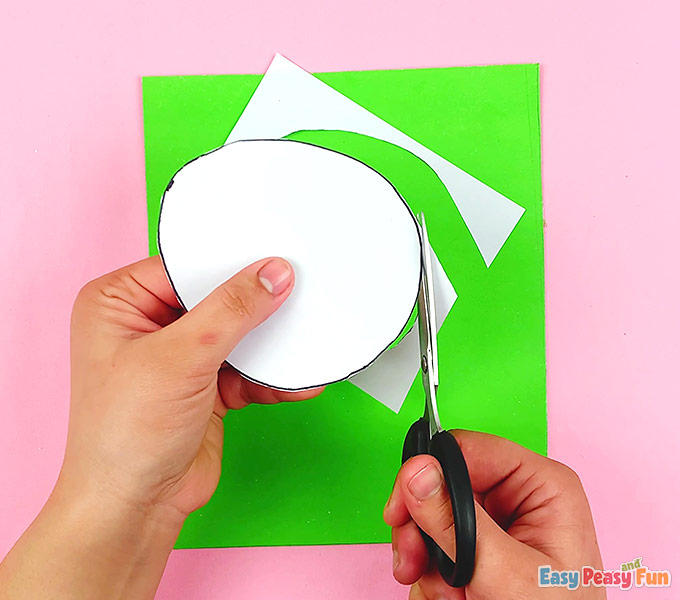
Now trace the first shape on yellow paper to create another egg shape that’s the roughly the same size
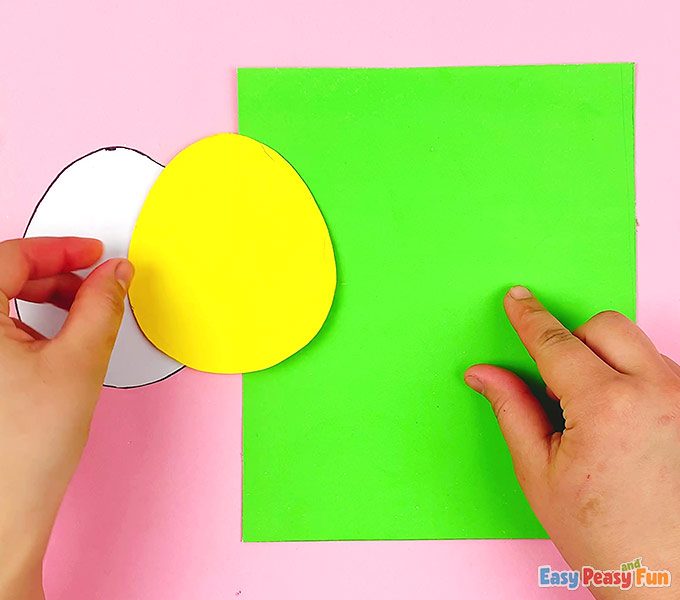
Apply glue on the yellow egg (or directly on the cardstock).
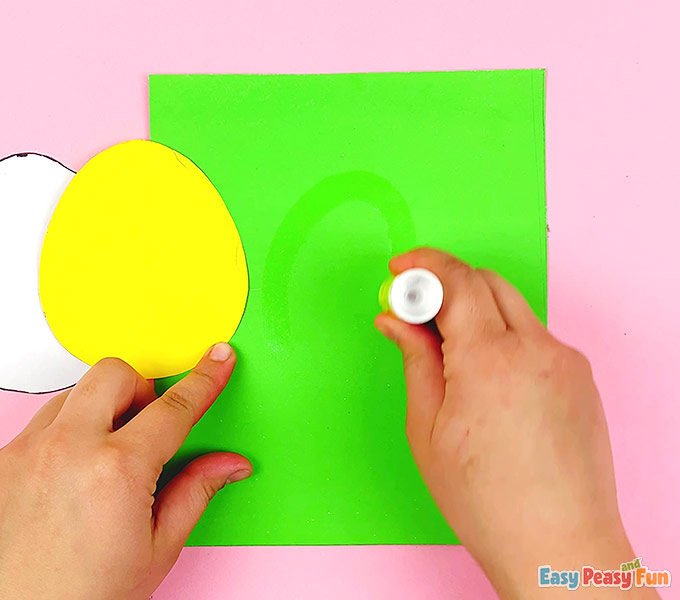
Stick the yellow egg onto the green base.
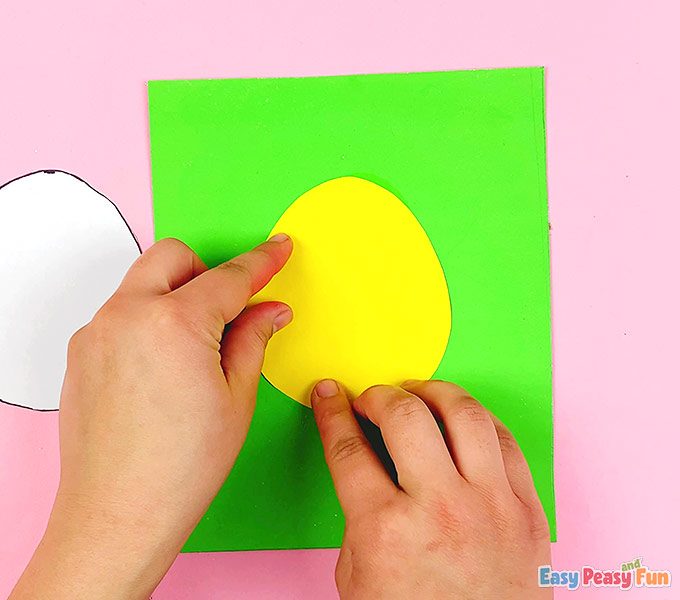
Apply glue on the edges of the yellow egg shape.
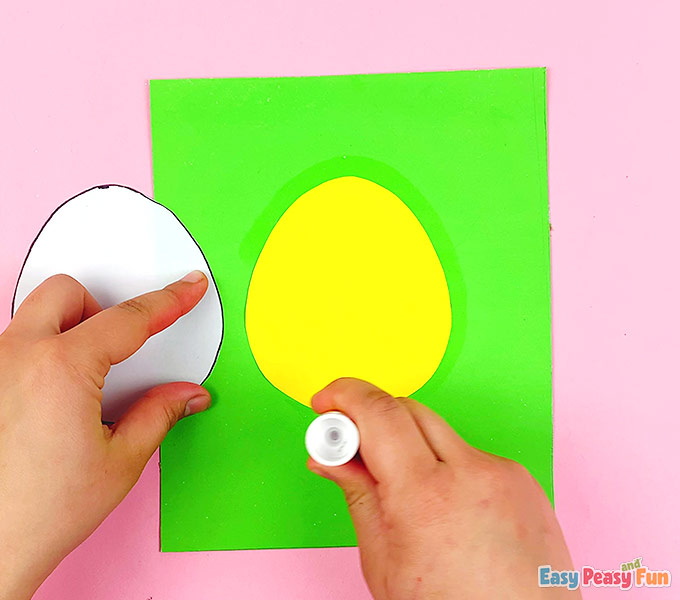
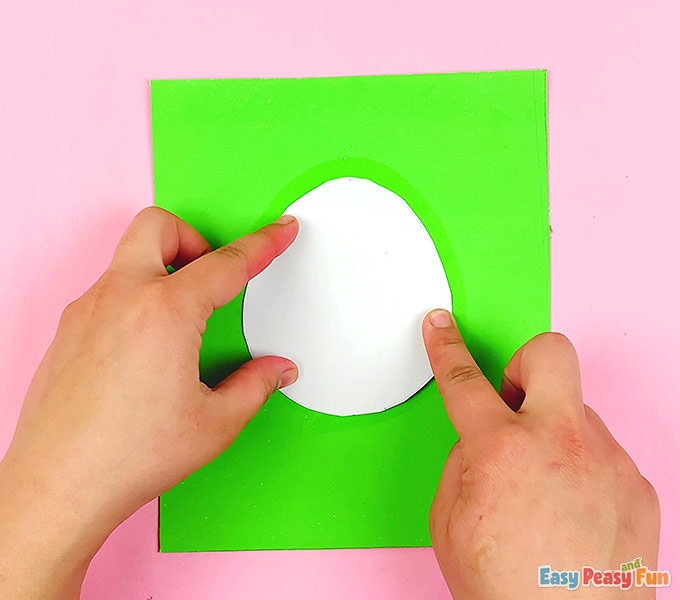
Have them place it on top of the yellow egg.
Now make a small incision (you make this for younger kids) in the middle of the egg.
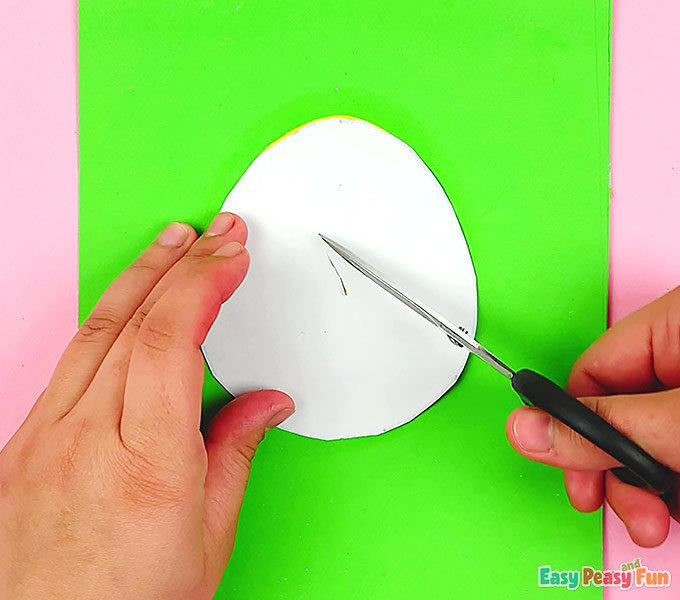
Have your little ones use their fingers to gently tear up the eggshell, leaving behind torn paper pieces.
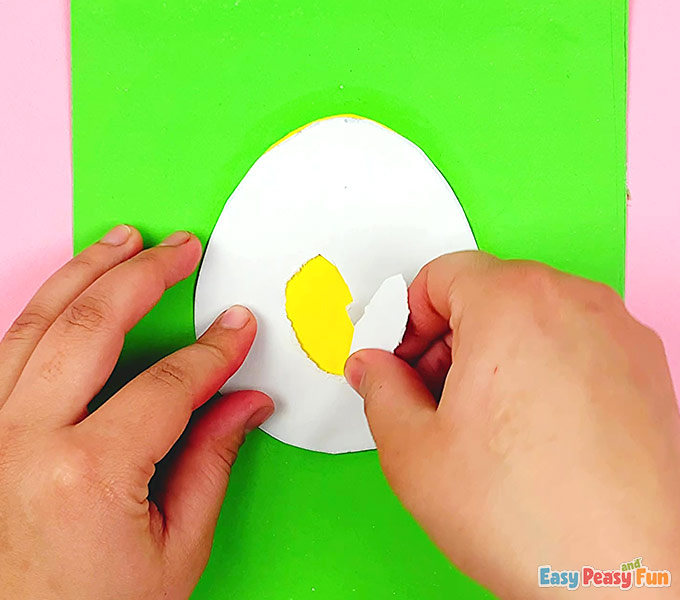
The egg has cracked!
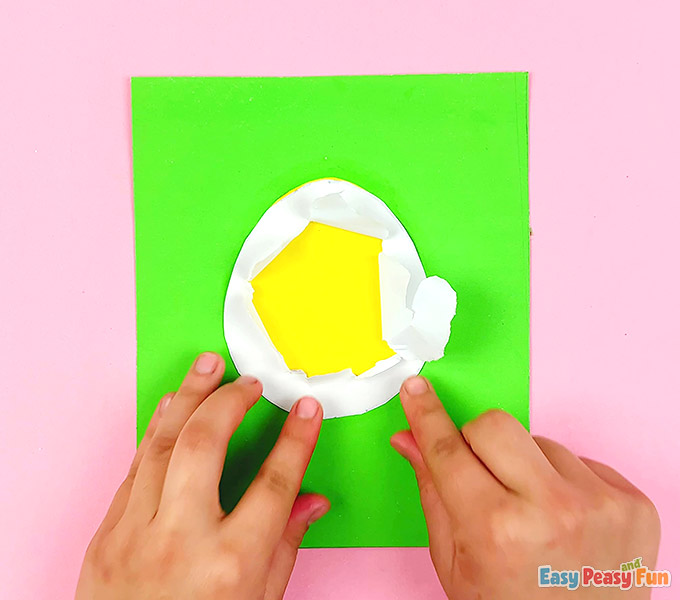
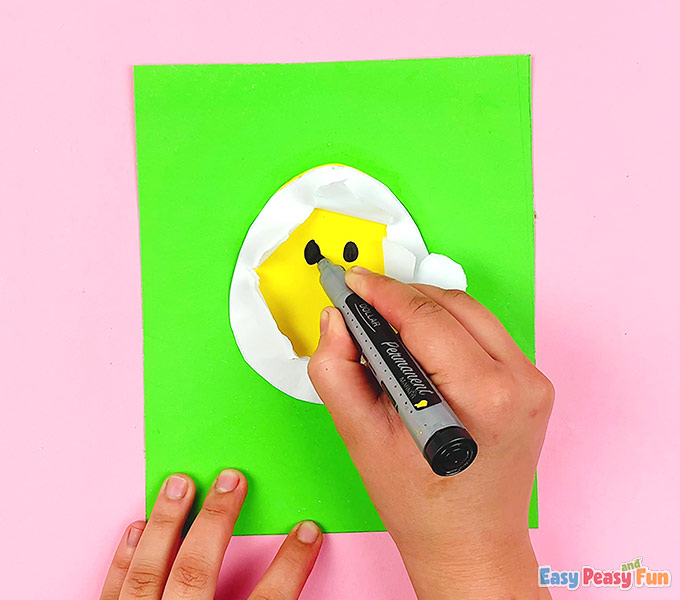
Have the kids draw cute eyes on the egg with a black marker (or use googly eyes).
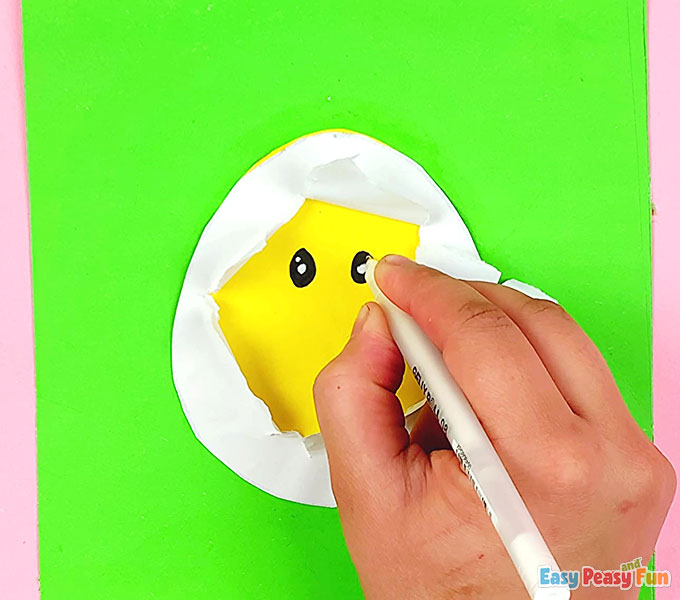
You can even add white dots inside (either use white ball pen or white chalk markers).
Next, cut a tiny triangle from the orange paper to create the chick’s beak. You can also use orange marker.
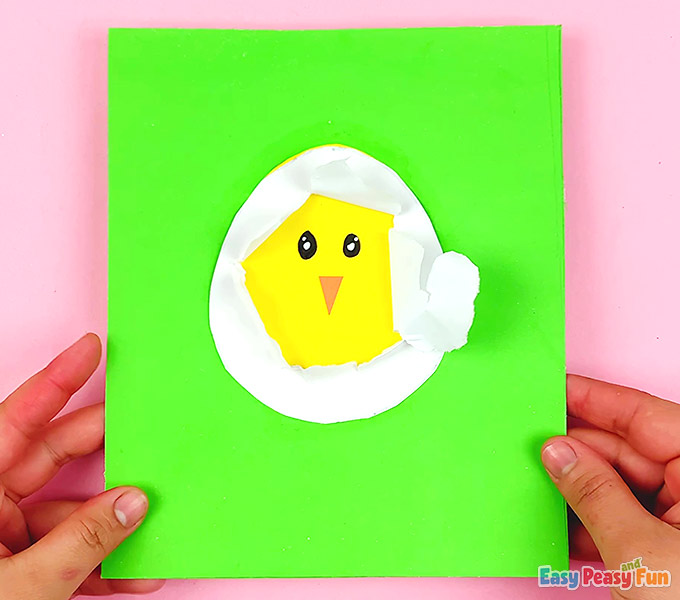
All done! You’ve successfully created a charming hatching chick Easter craft.
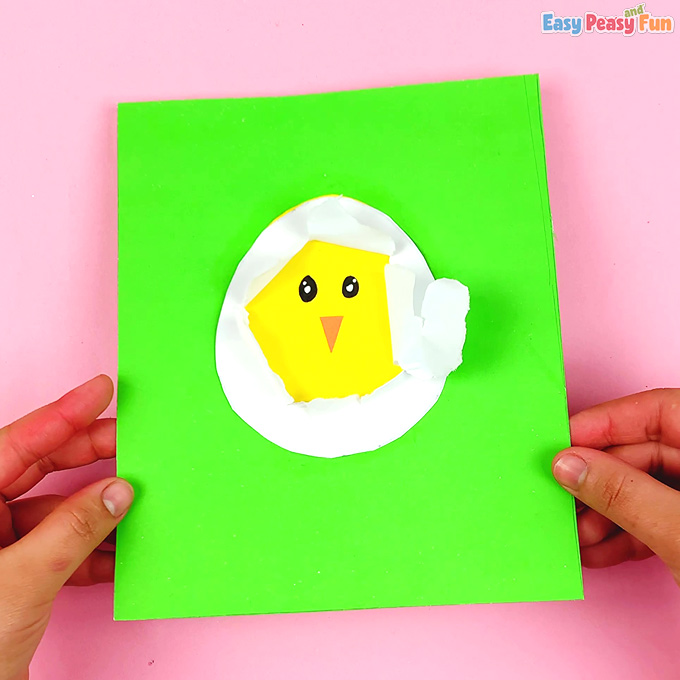
Kids can personalize it by adding decorations or writing a sweet Easter message.
Want instant access to all of our printable crafts, activities, and resources?
With thousands of crafts, activities, worksheets, coloring pages, and drawing tutorials to print, you will always have just the resource you need at your disposal. Perfect for parents and teachers alike!