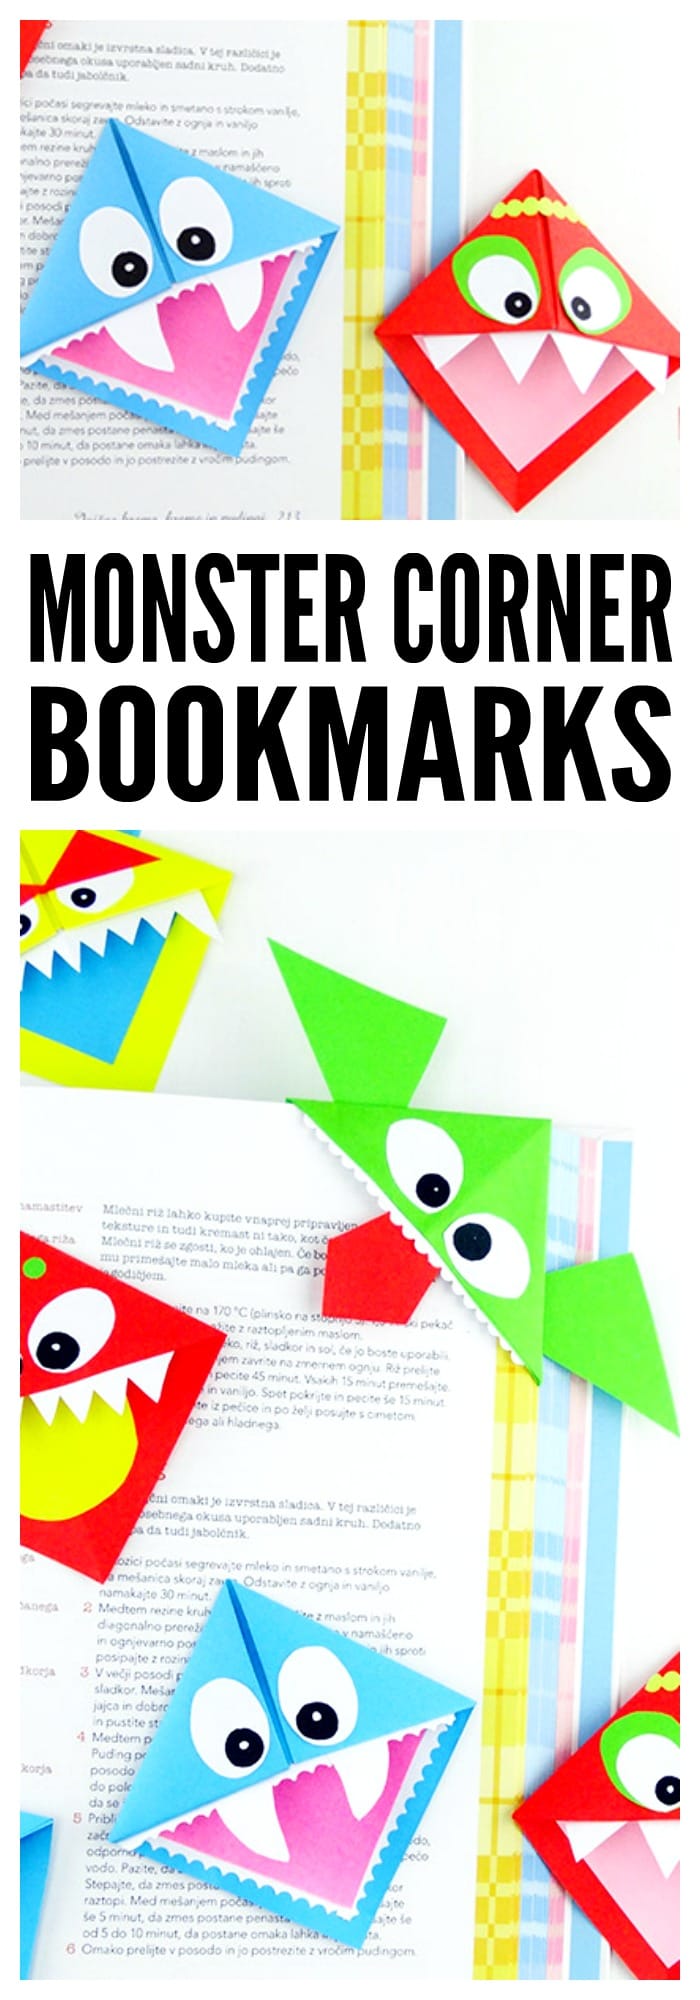
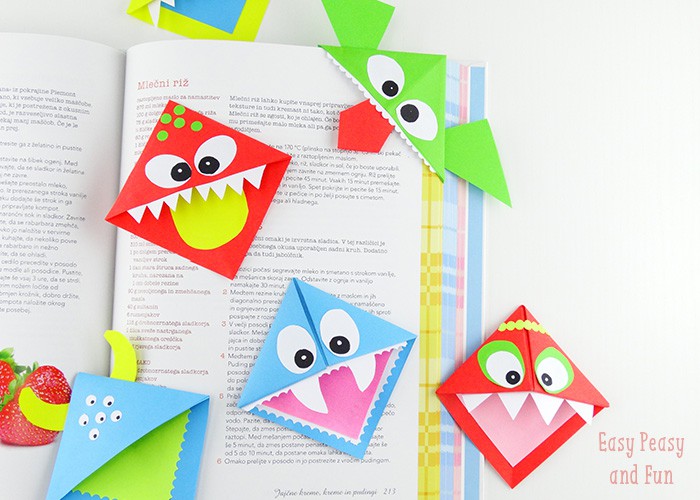
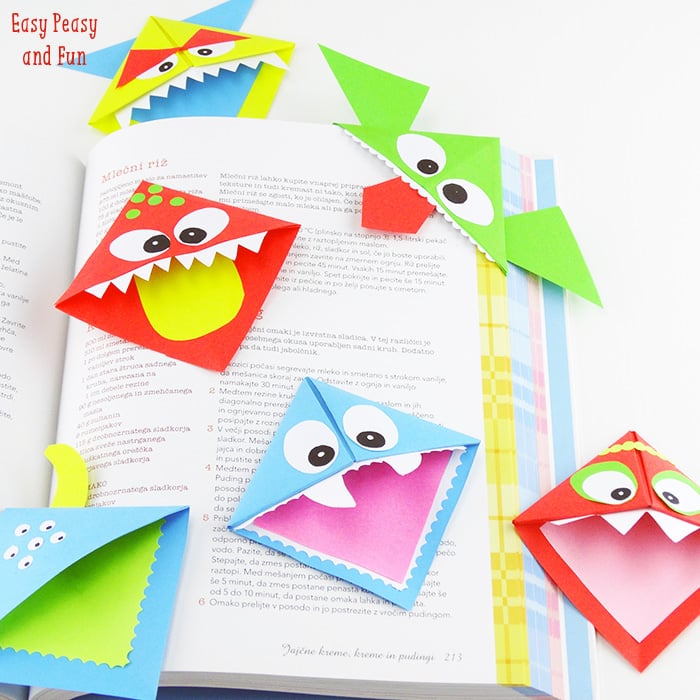
Books will be a whole lot more fun when your kids make their own cute monster DIY corner bookmarks!
Aren’t these just the cutest thing ever? This is also a great beginner origami for kids!
*this post contains affiliate links*
Hi, I'm Andreja from Easy Peasy and Fun — and I just wrote a book!
50 paper crafts your kids can actually do themselves
CRAFTS
I designed every project so kids can do it themselves — no fancy supplies, just paper, scissors, and a little imagination.
“If you need easy crafts to keep busy, Andreja delivers with this book!”
📚 As an indie author, your pre-order genuinely helps me — it counts toward first-week sales, which is how new books get noticed. Thank you!
If you love origami, these bookmarks are one of the easiest crafts kids can make.
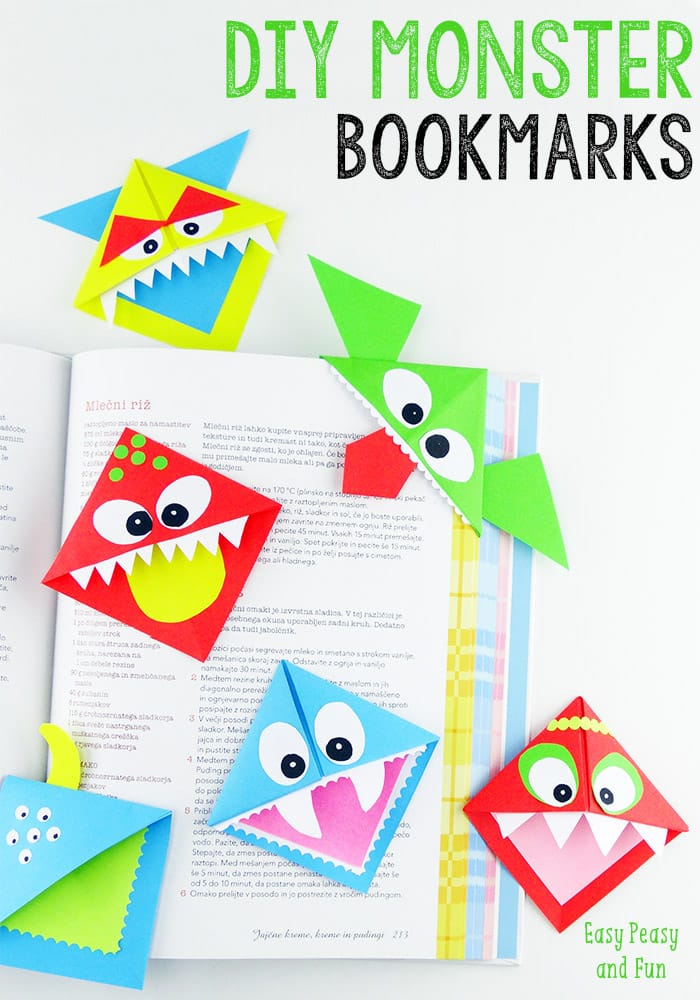
Now there are actually two ways to make these – one super easy, and not technically origami, as you’ll see in the photo tutorial here, and a proper origami folding, that’s perfect for beginners.
Let’s do this!
How to Fold a DIY Corner Bookmark
The Easy-Peasy non Origami Way to Make a Corner Bookmark
You will need a sheet of paper (preferably origami paper), scissors, decorations, and glue to make the monster or any other creature your heart desires.
Start by folding the paper in half.
Fold the left and right corners to the center point. Cut off the excess part and cut through the middle so that you get two triangles.
Unfold them – you’ve gotten yourself two squares that will soon turn into two monster bookmarks!
Fold the square in half – you’ll get a rectangle – fold in half again, and you’ll get a smaller square. Unfold it.
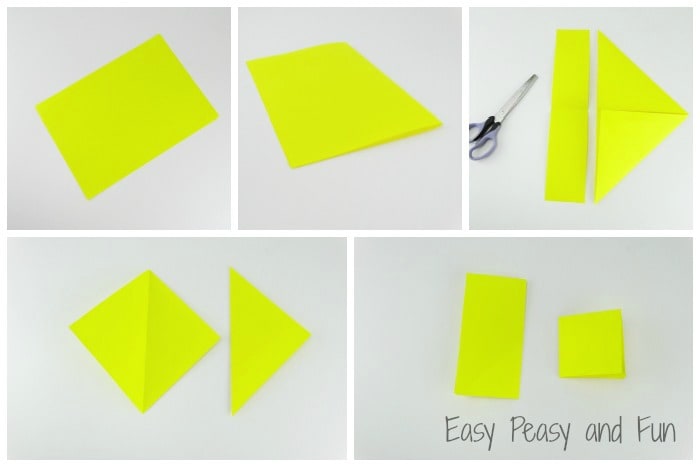
As you’ve unfolded the small square, you’ll see 4 small squares inside the unfolded square – cut one out as shown in the picture below.
Now cut the two adjacent squares from the one you’ve cut out, as shown in the picture (diagonally through the square).
Fold the little triangles inward – apply some glue to the inner one, and you’re done!
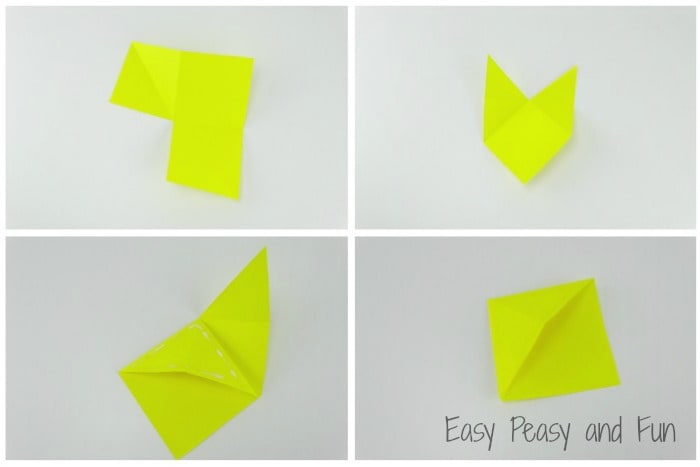
Well, all that’s left to do is to cut some eyes, tongues, teeth, tentacles, horns… And glue them onto your monster!
Traditional Origami Corner Bookmark
Fold the square paper or origami paper in half diagonally (keeping the colored side on the outside).
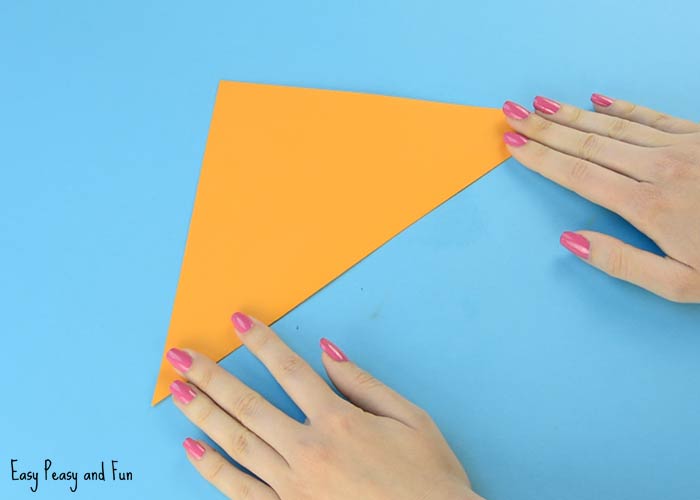
Grab the top corner of the folded triangle (one layer of paper only) and fold one layer to the bottom. You will see a white rectangle form.
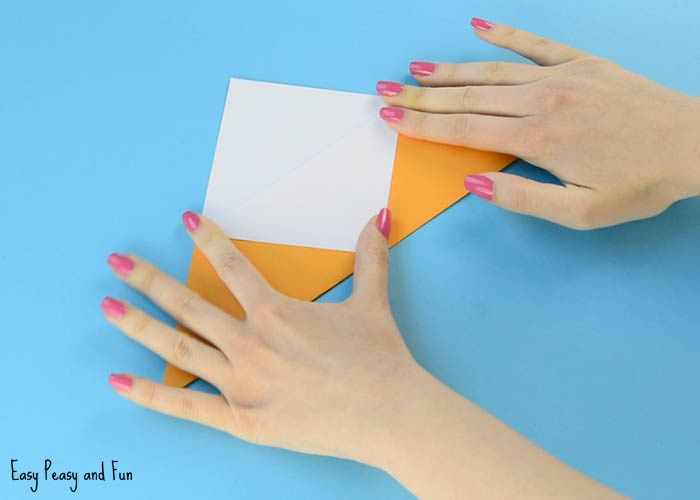
Next, grab hold of one of the corners, either the left or the right (we’re going with left). Fold the left corner to the bottom middle of the triangle. Repeat with the other corner.
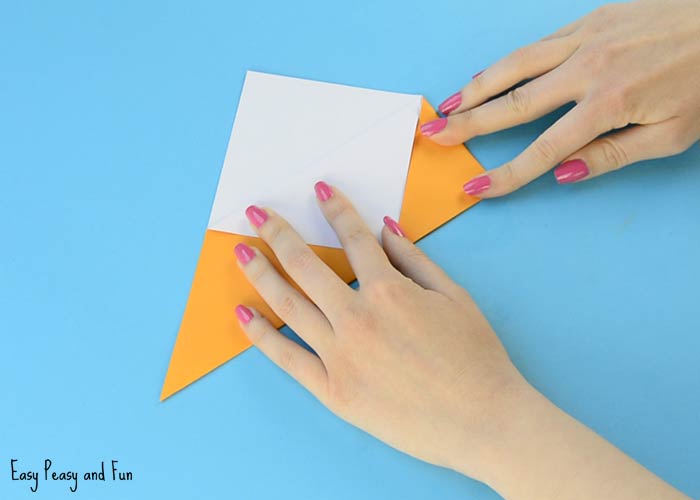
Run your fingers across the new folds to make them super crisp and unfold them both.

Now bring the same two corners to the top of the triangle. Run your fingerts across the folds.
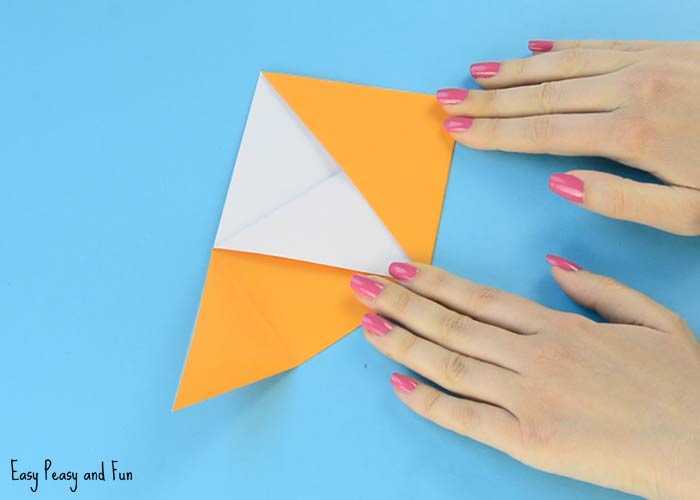
Tuck the corners (now on top of the triangle) inside the pocket that has formed.
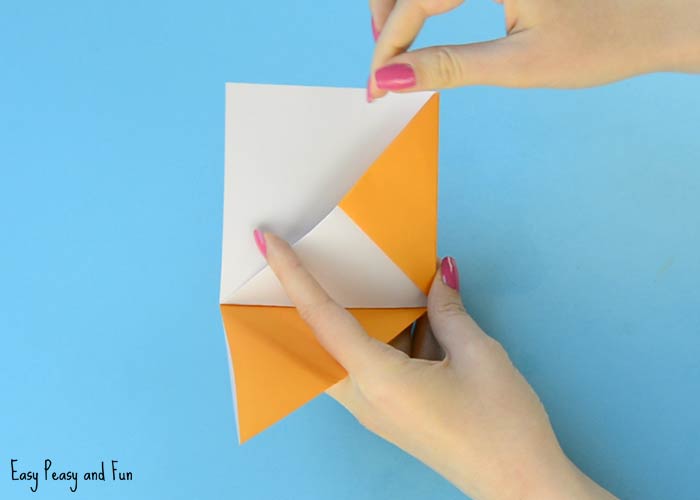
You have your corner bookmark base ready!
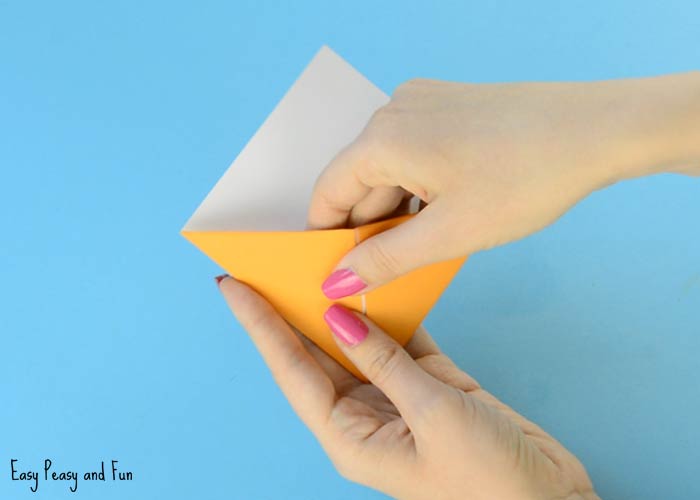
All that’s left is to decorate it to make the silliest monster around!
Want instant access to all of our printable crafts, activities, and resources?
With thousands of crafts, activities, worksheets, coloring pages, and drawing tutorials to print, you will always have just the resource you need at your disposal. Perfect for parents and teachers alike!
Love these! They are super fun 🙂 sharing
PERFECT
very nice for schools and etc but avery perfect……………….
Lepo!
Make these all the time and give them to my friends at school their perfect for books and gift and many more
All nice book marks are there
Is so cute U fold 20of them and I give it to my teacher and friends you help a lots
Tanks 😎😀
this was a really fun make thanks for giving me this idea