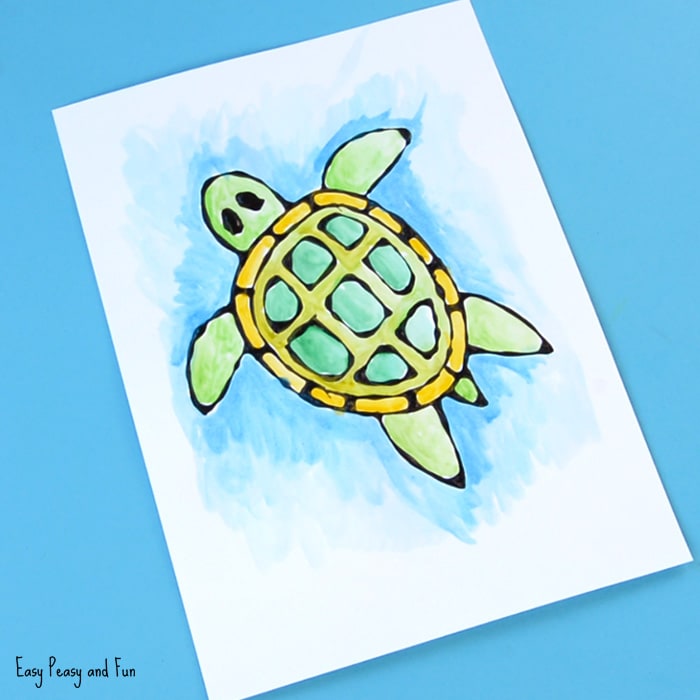
Have you ever made resist art with your kids? It’s super fun to do and it becomes even more fun if you use black glue. We made this turtle black glue resist art to get your creativity going (there are tons more ideas for other ocean animals to be found at the end).
*this post contains affiliate links*
50 paper crafts your kids can actually do themselves

No fancy supplies — just paper, scissors, and a little imagination.
Be the first to get it on release day — and lock in the lowest price guaranteed.
This arty project can be done with any color of glue so you can simply use your regular white glue but we think it looks even more amazing if you use black glue (stained glass much?).
We do know some brands have black glue for sale but it’s easier to make one by yourself than to go hunting the shops for it (at least that was our case).
Don’t know how to make black glue? It’s insanely easy. All you need is your regular white glue and some black acrylic paint. Pop open the cap of your glue and add some black paint (easiest if it’s in tube, if not you can make a funnel out of paper to help you). Mix with a skewer or a toothpick (or anything you can fit through the glue bottle neck). Add more color if needed. And that’s it! You made your black glue!
Now let’s make some glue resist art!
How to Make Turtle Black Glue Resist Art
What you need
- a sheet of paper (heavier paper is best as the glue will wrinkle regular paper)
- a pencil
- black glue (regular white glue + black acrylic paint)
- hair dryer
We have a how to draw a turtle step by step tutorial to help your kids with drawing the turtle and we also have a printable Turtle Template you can use to trace your turtle.
Watch the Video Tutorial
Or Follow These Step by Step Instructions with Tips and Tricks
You first need to make the glue (or buy the black glue). You need to stir in some black acrylic paint (less is better) into white school glue and mix it well (we used a skewer).
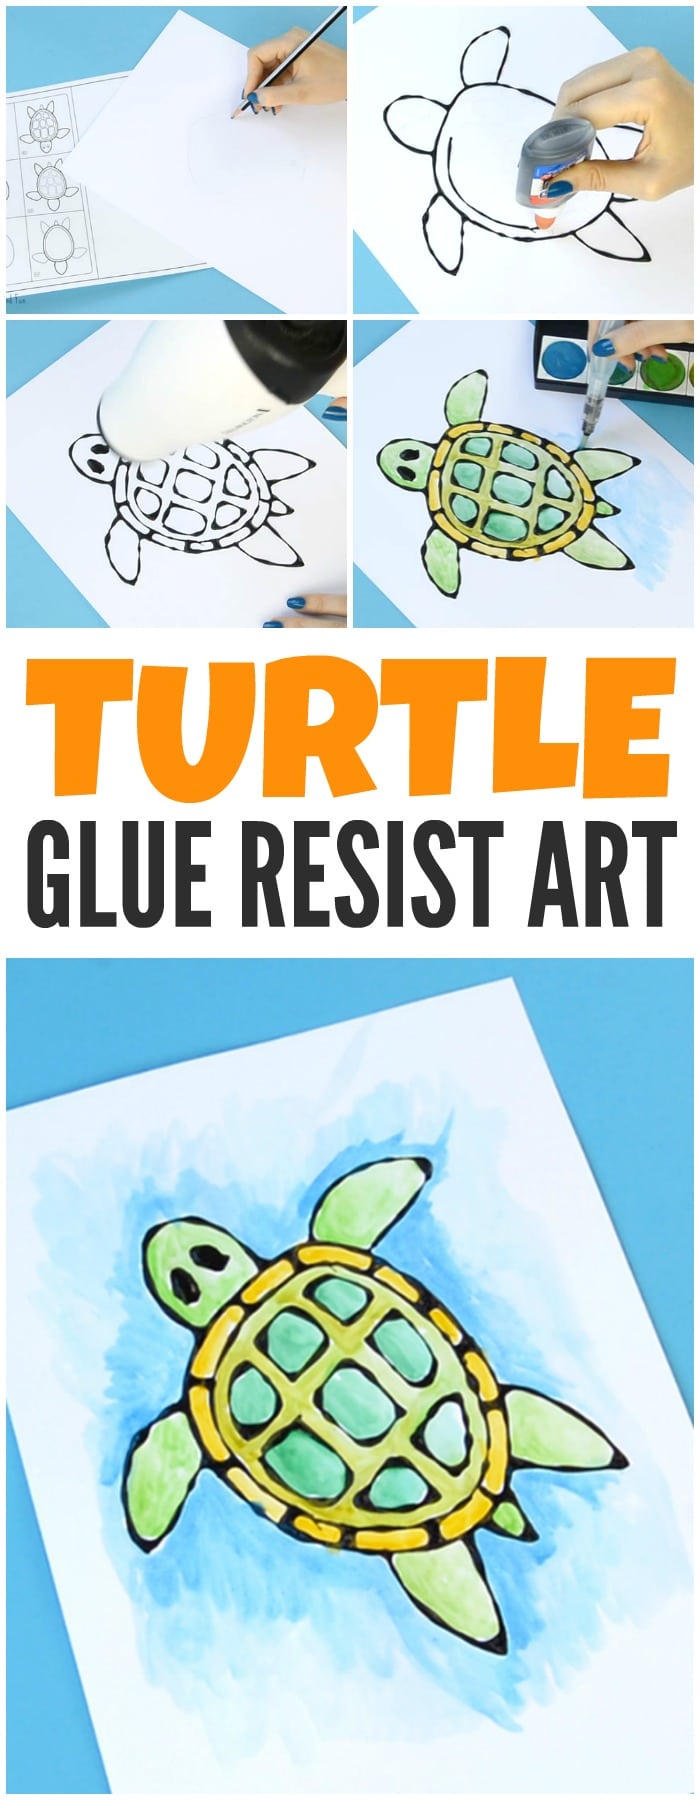
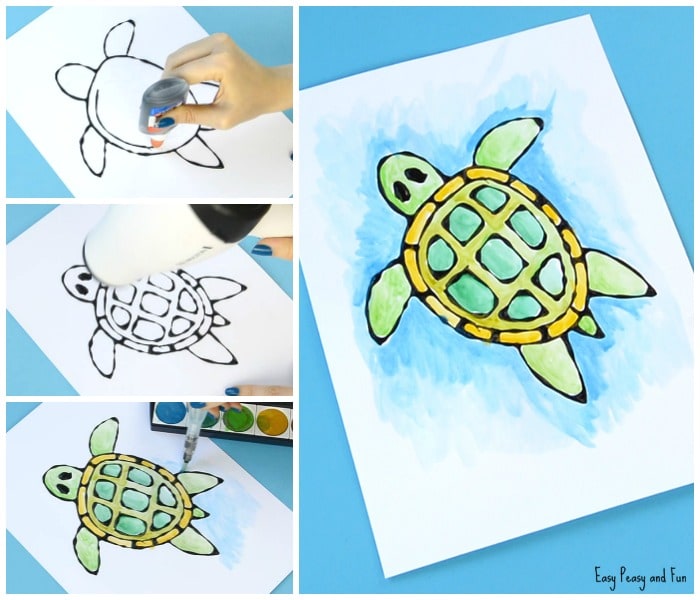
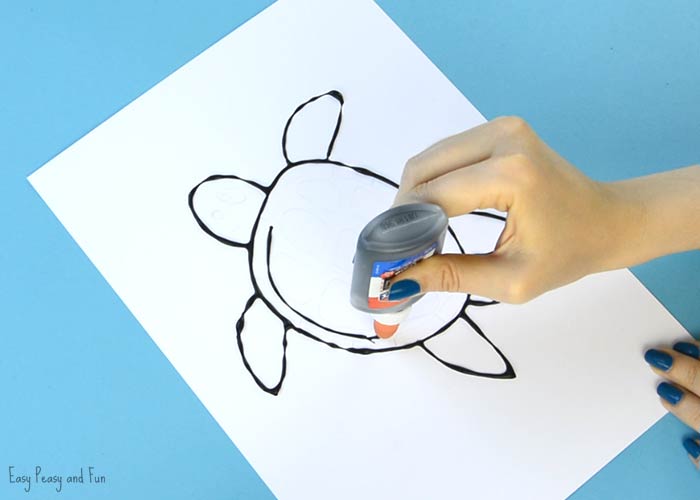
Start by drawing the turtle with a pencil.
We used a 160gsm paper for our project (watercolor paper or construction paper will work out nice too).

We have a step by step drawing printable available on our website and this is what we used to draw our turtle.
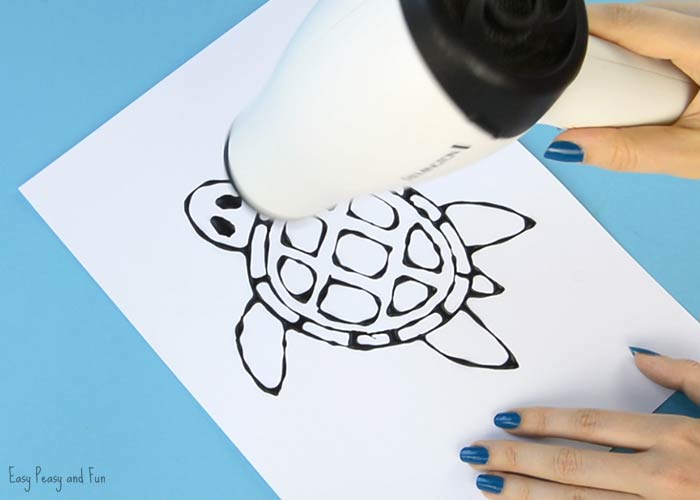
Once you have drawn your turtle take the black glue and trace the pencil lines. Take your time.
Time for the glue to dry! You can step away and leave it to dry for a day or two OR take the fast route like we did and dry it with a hair drier.
But be careful how you go about it. We first let the glue dry on it’s own for a couple of minutes. When you start with the hair dryer start with a low heat and minimum power, also keep your hair drier at a good distance from the project – you don’t want to blow away the glue. As the glue dries you can move in closer and even increase the temperature and blowing power.
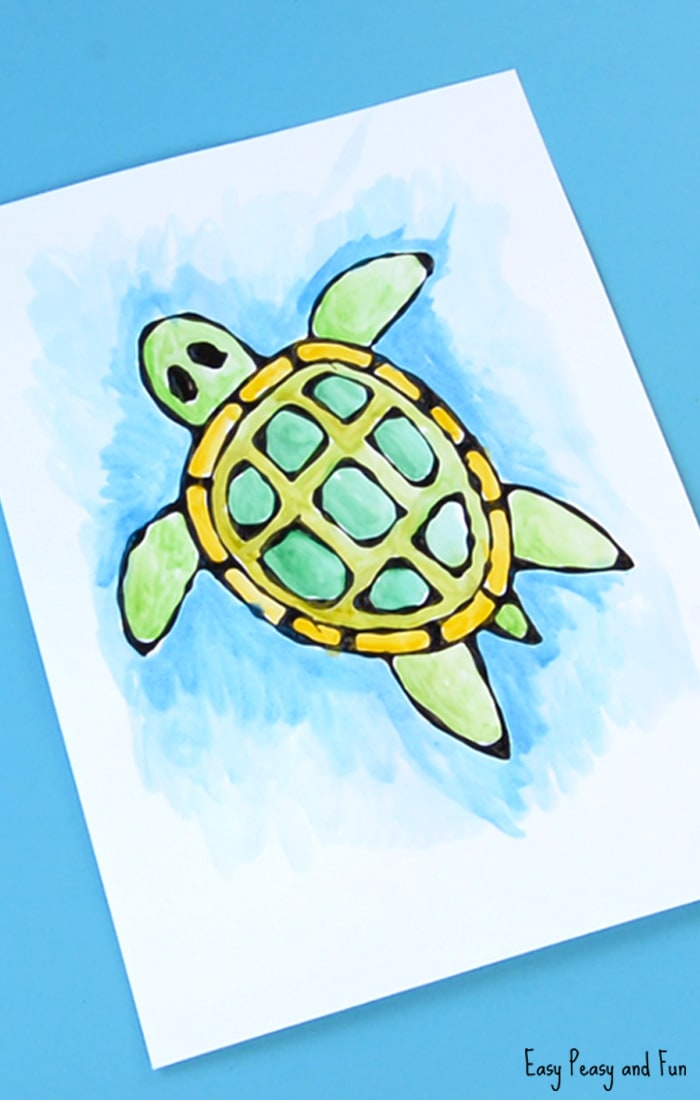
Once you dried the glue comes another fun part. Coloring! You could use a variety of mediums but watercolors are the best!

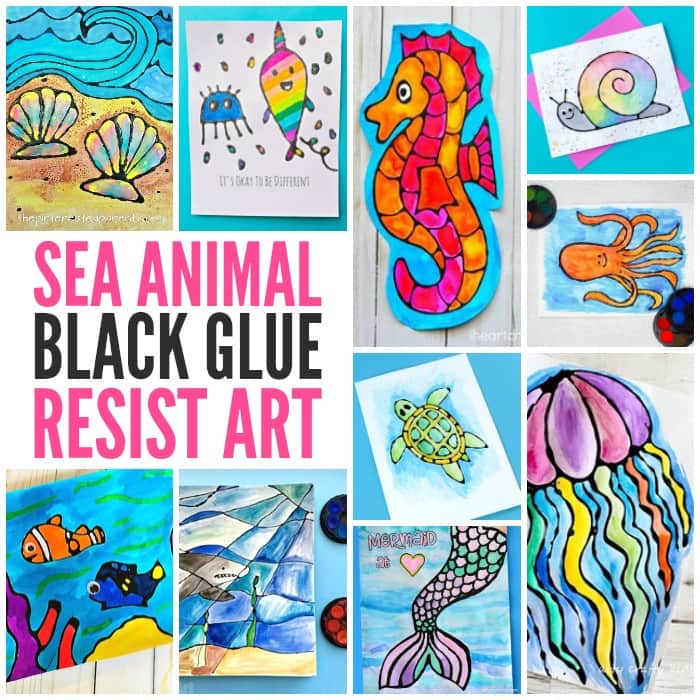
More Black Glue Resist Art Ideas from The Black Glue Crew
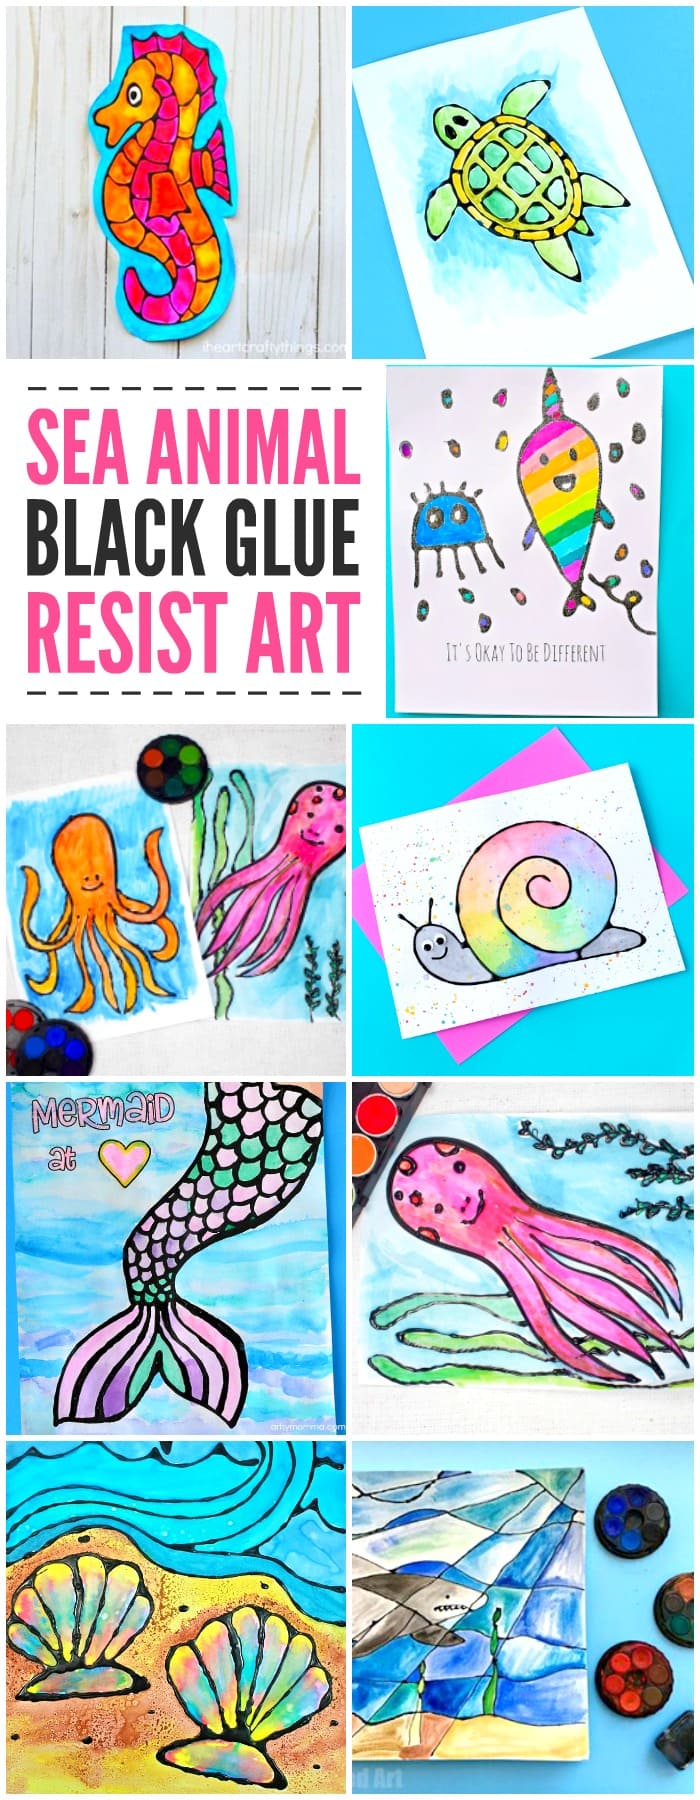
Seahorse by I Heart Arts and Crafts
Octopus by Mum in the Madhouse
Rainbow Fish by The Best Ideas for Kids
Sea Shells by The Pinterested Parent
Rainbow Narwhal by hello, Wonderful
Dory and Nemo Inspired by Sunshine Whispers
Snail by Fireflies and Mud Pies
Want instant access to all of our printable crafts, activities, and resources?

With thousands of crafts, activities, worksheets, coloring pages, and drawing tutorials to print, you will always have just the resource you need at your disposal. Perfect for parents and teachers alike!