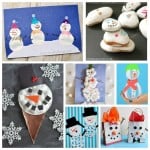
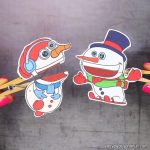
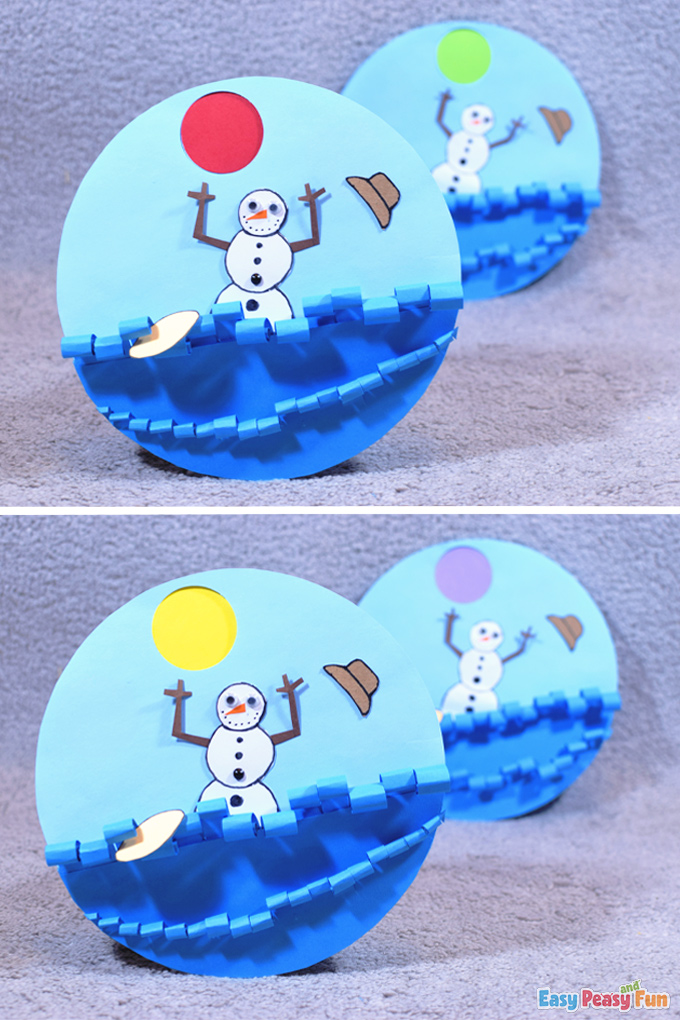
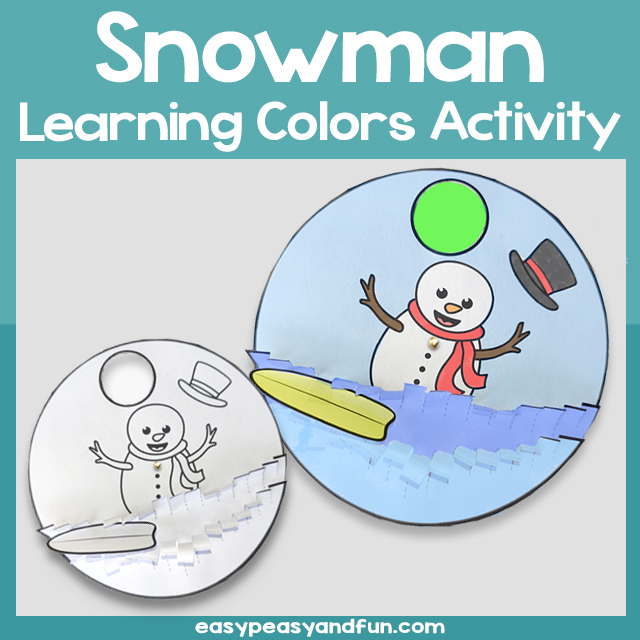
Learning warm and cool colors is fun with our Snowman Learning Colors Activity.
Students will be getting to know complementary colors, naming the primary and the secondary colors, and naming the colors, in general.
 *This post contains affiliate links*
If you need your kids to learn about colors, we got a neat Printable Colors Quiet Book for them.
And if they love snowmen so much, they can learn how to draw one on their own with our Snowman Step by Step Drawing Guide.
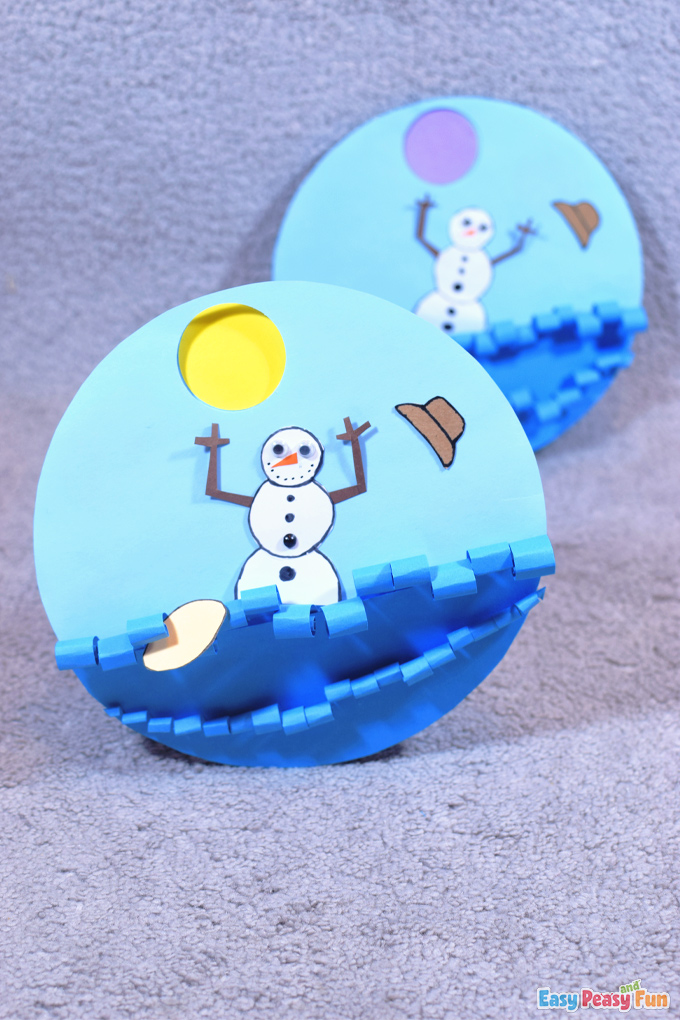
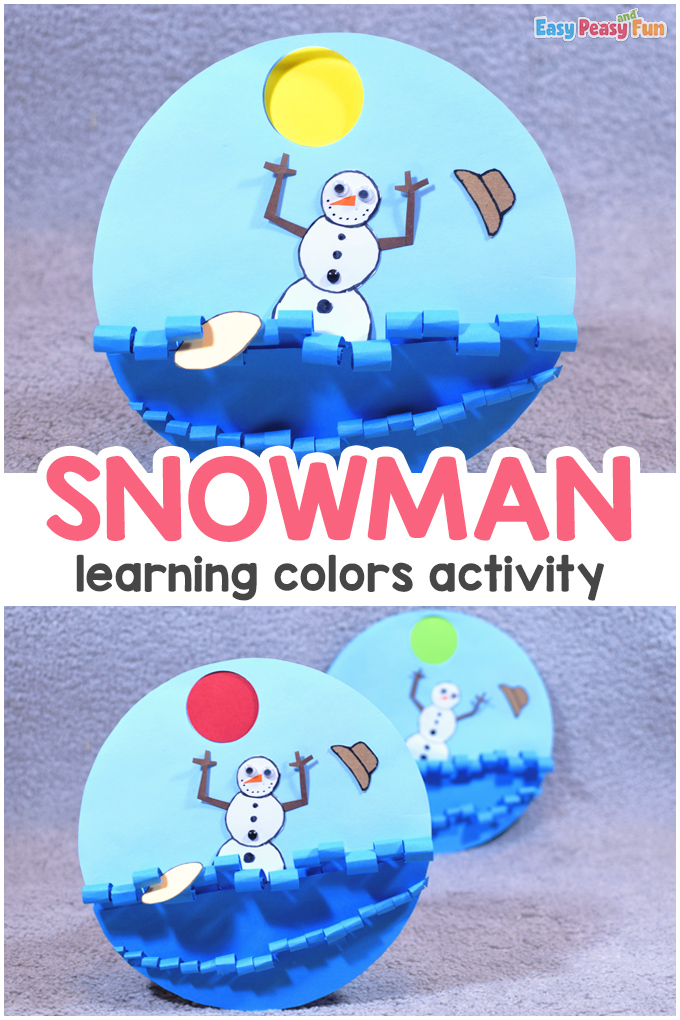
There are six colors. Three of them – the yellow, the orange, and the red one – are found on the left side of the circle (the light blue circle is the CLEAR SKY), and the other three colors: purple, blue, and green, are on the right side of the light blue circle.
The colors on the left side of the light blue circle represent the SUN, and the colors on the right side of the light blue circle represent the MOON.
We assume that you’ve already learned about colors in general and about primary and secondary colors from other crafts we’ve posted.
The Primary and Secondary Colors
Yellow, blue and red are the primary colors, and if you mix them two by two by two, you get the secondary colors – green (by mixing yellow and blue), purple (by mixing blue and red), and orange (by mixing yellow and red).
Notice that the color circles are arranged in this way – the first color on the left side of the light blue circle is complementary with the first color on the right side of the circle.
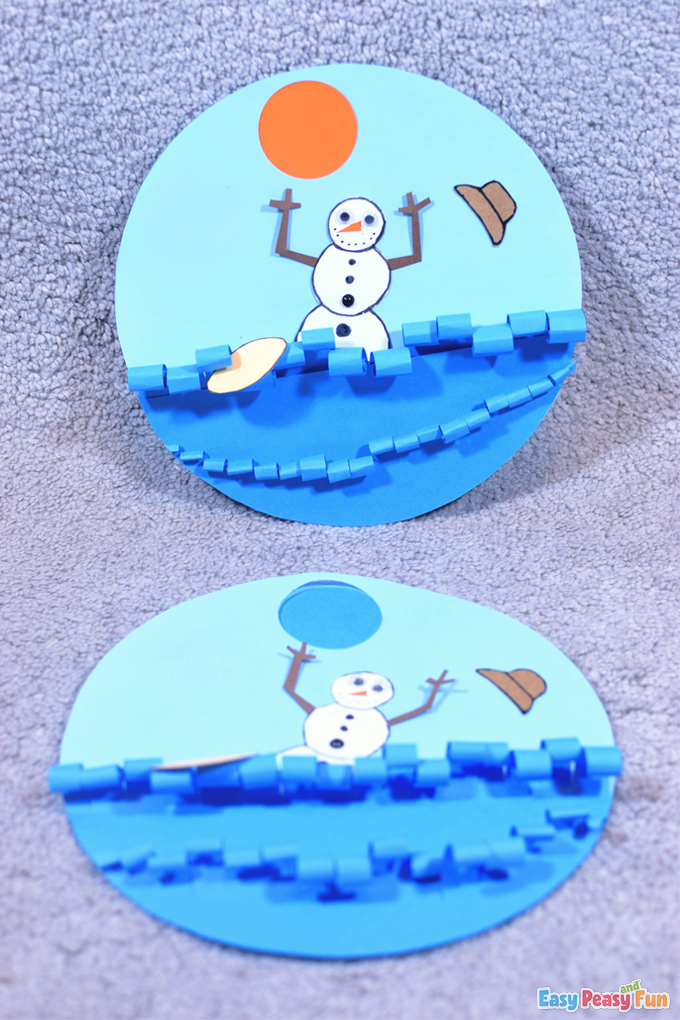
The second color on the left side of the light blue circle is complementary to the second color on the right side of the circle.
The third color on the left side of the light blue circle is complementary to the third color on the right side of the circle.
Here is an experiment you can do by yourself to try and figure out which are primary and secondary colors – try and mix two by two by two of these six colors together, and you will find out without difficulty.
With this summer wheel, learning about colors can’t be easier.
Let’s go!
How to Make a Snowman Learning Colors Activity
What you need:
- white cardstock
- light blue cardstock (two A4 sheets)
- dark blue cardstock
- light blue and dark blue color paper
- red, green, yellow, orange, purple color paper
- dark and light brown cardstock
- pale orange cardstock
- split pin
- googly eyes
- glue
- pencil
- black marker
- scissors
- circle puncher
- compass

Step by Step Tutorial
The Color Wheel
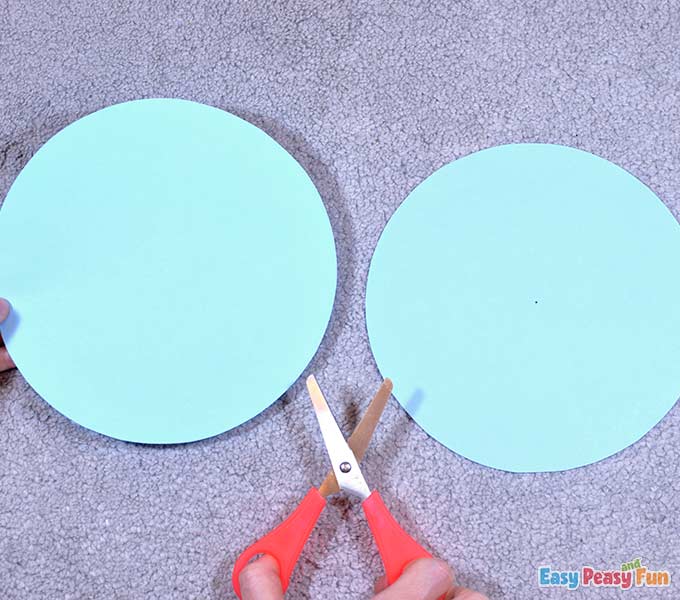
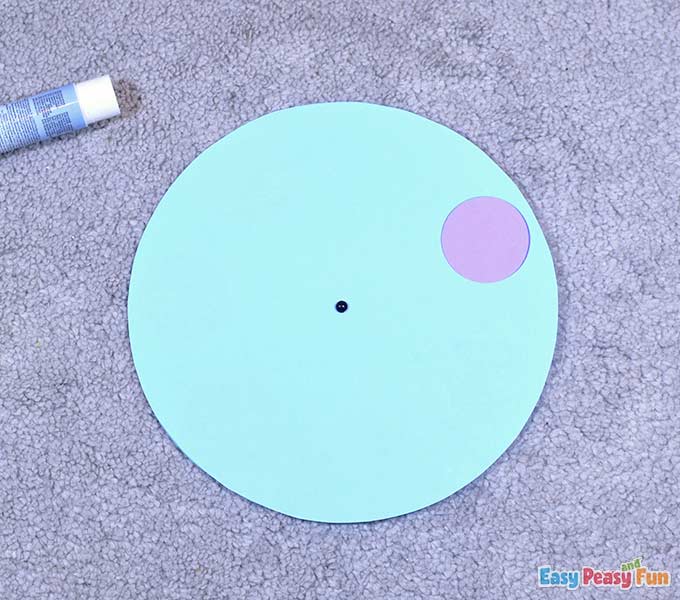
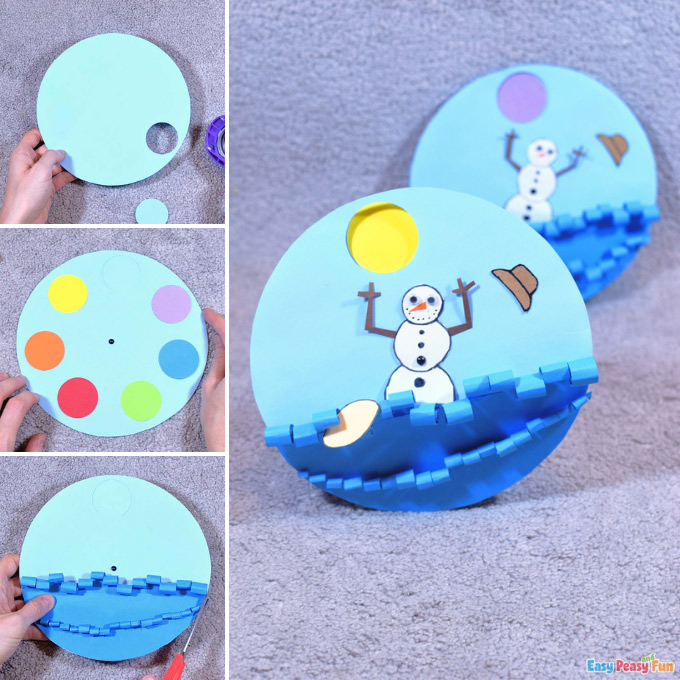
Firstly, take the compass and draw two circles on the light blue cardstocks.
The circles have 8 cm diameters.
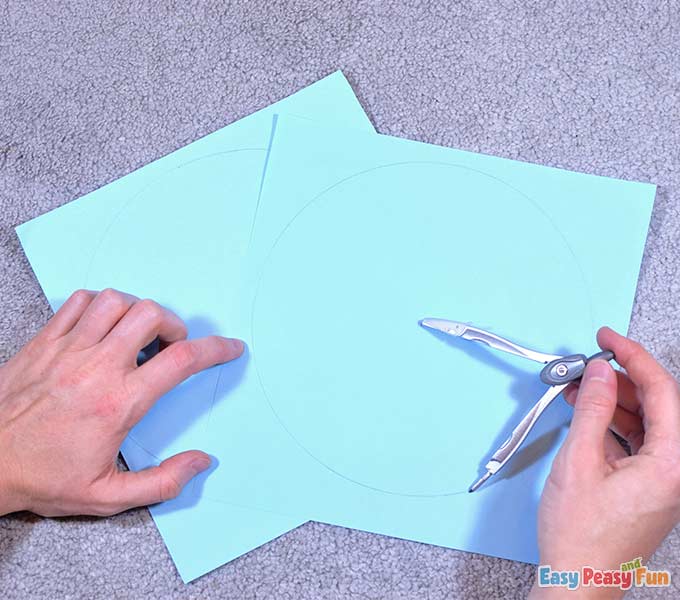
Cut out the circles using scissors.
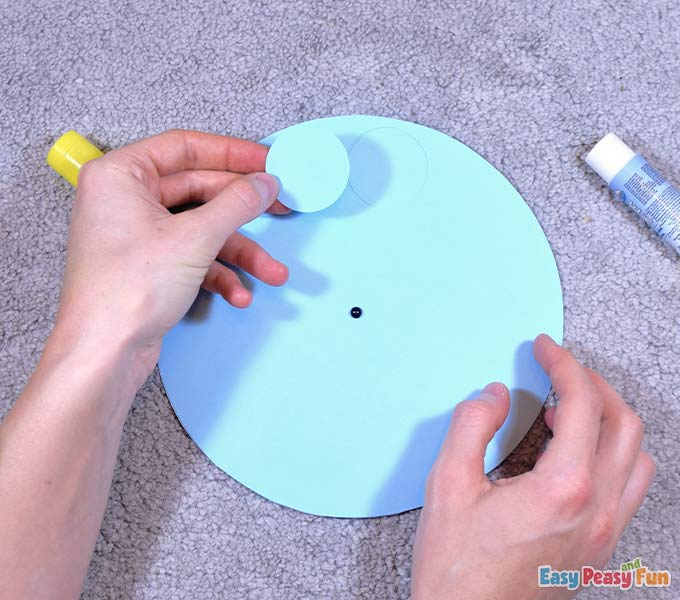
Please take one of the circles and punch a hole in it as shown.
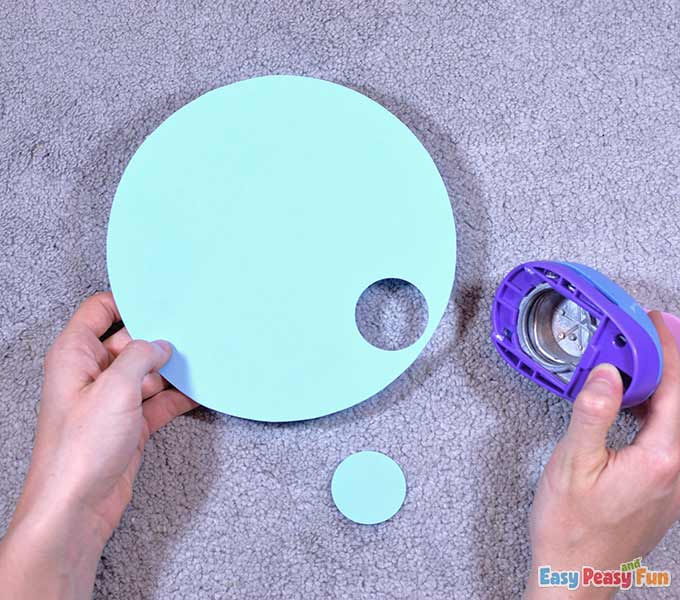
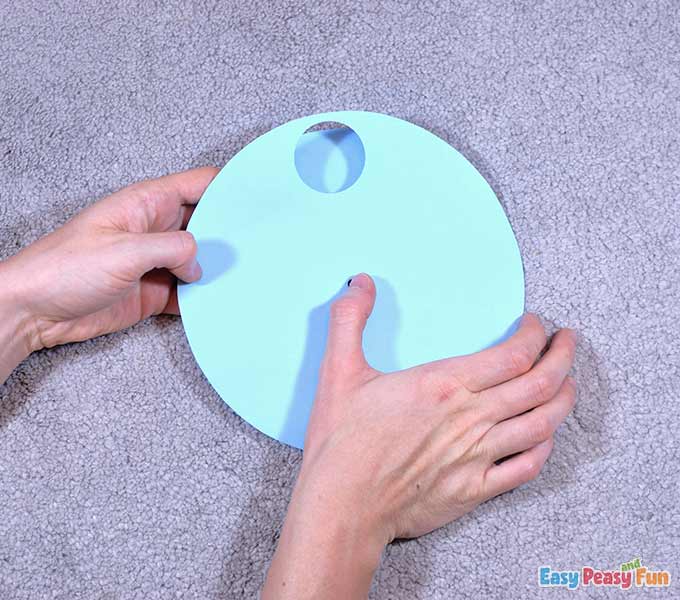
Connect the light blue circles with a split pin.
Make sure the circle with the hole is in front. We will name these two connected circles “The Wheel.”
The Colors
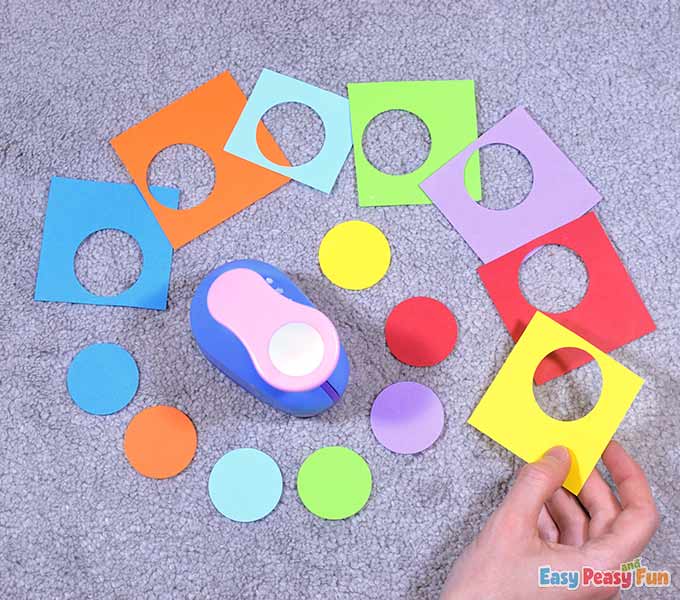
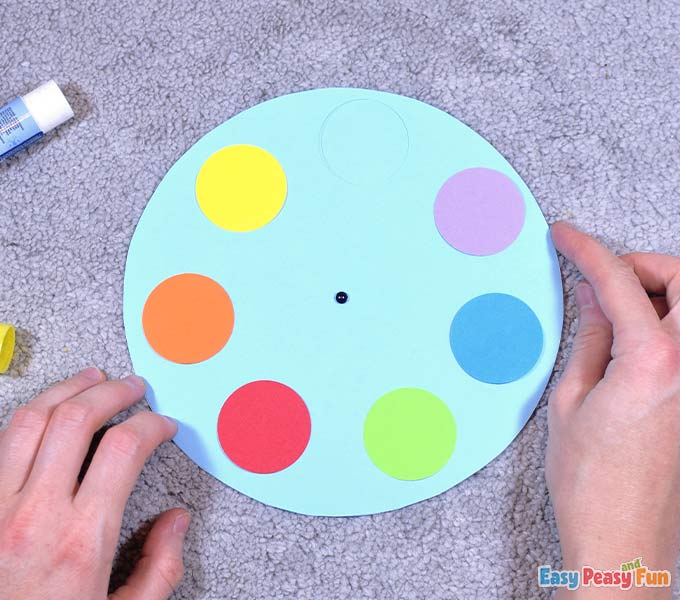
With the circle-puncher, punch out seven circles – a dark blue one, an orange one, a light blue one, a green one, a purple one, a red one, and a yellow one.
Take the light blue circle first and glue it where the hole is.
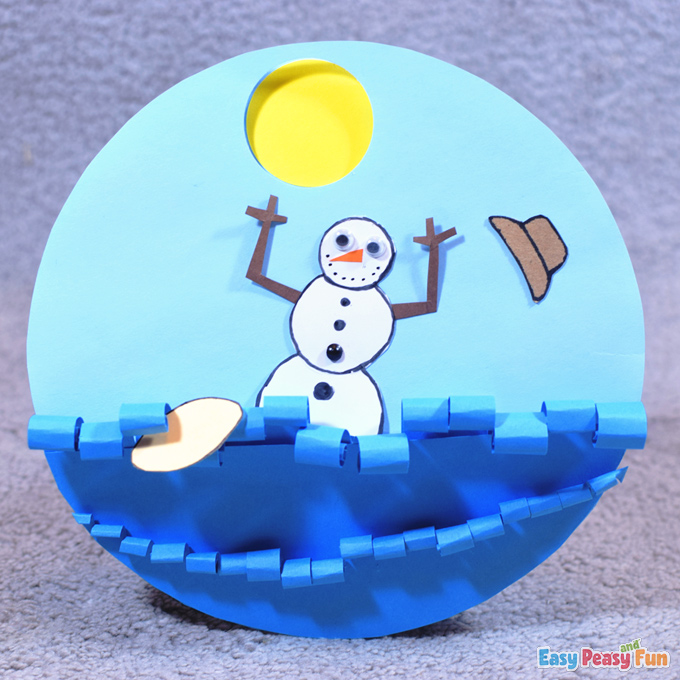
When the SKY is light blue, it is early morning, the temperature is not high, and the sun hasn’t risen yet.
Now see how you need to arrange the other circles inside “The Wheel.”
We placed them on top of “The Wheel” in the first picture – for guidance only.
Make sure you leave equal space between the circles.
The Cool Colors (green, blue, and purple)
These are the colors for the MOON – green, blue, and purple mean that the temperature goes down as the sun settles.
On the right side, we now have only the cool colors.
The Warm Colors (yellow, orange, and red)
Then the SUN goes down, and the temperature goes from yellow phase, orange phase, and red phase accordingly, which means it gets hotter.
So on the left side, we now only have the warm colors.
Your color wheel is ready.
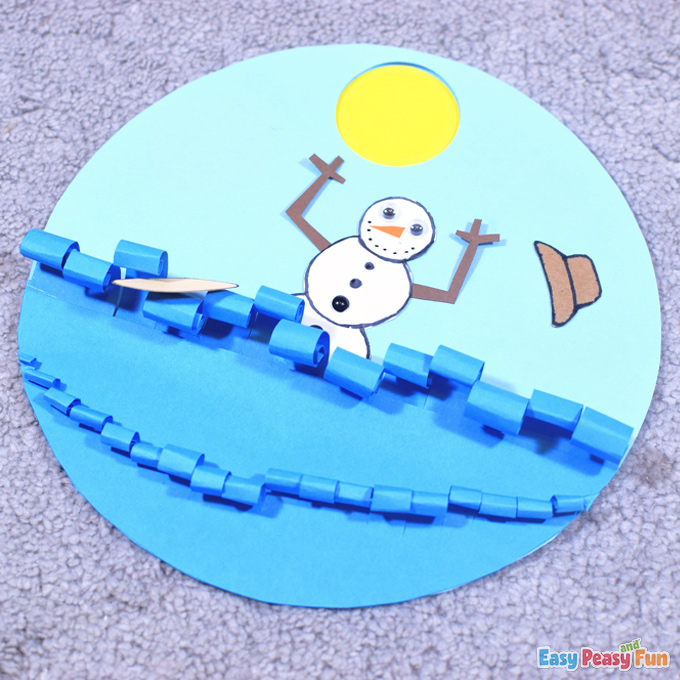
The Waves
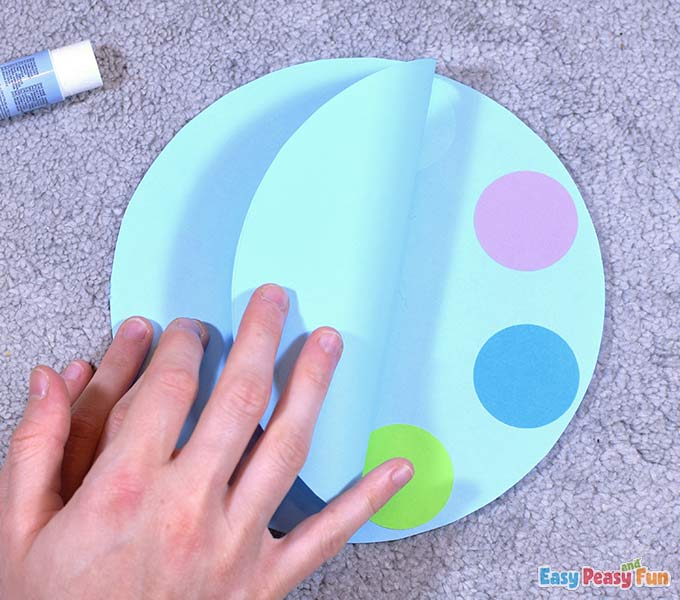
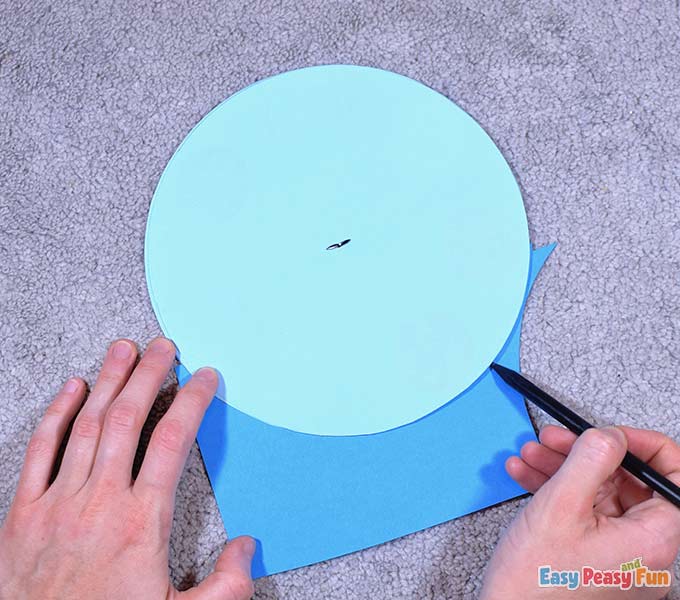
Now take the dark blue cardstock and trace a part of the wheel as shown.
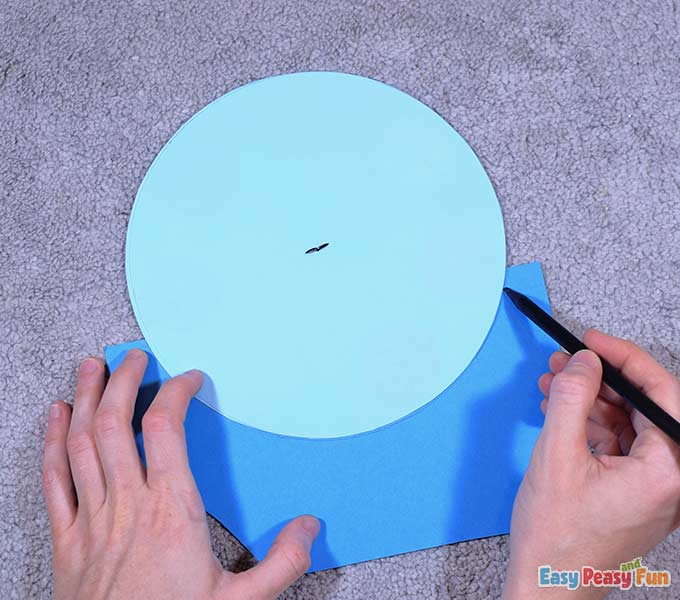
Cut out this shape.
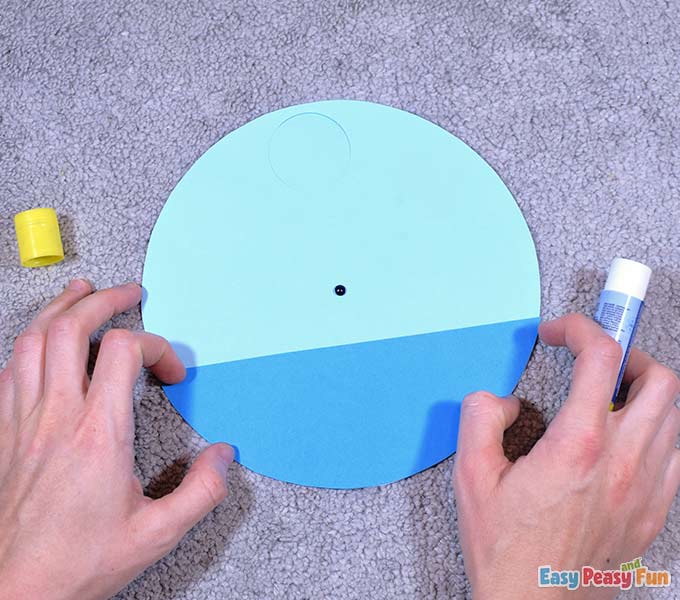
Glue this shape at the bottom of the wheel and leave the upper part (approximately 2 cm) glue-free.
We will glue a wave under it later.
The hole you made with the circle puncher should come at the top.
The light blue part would be the sky, and the dark blue part would be the sea.
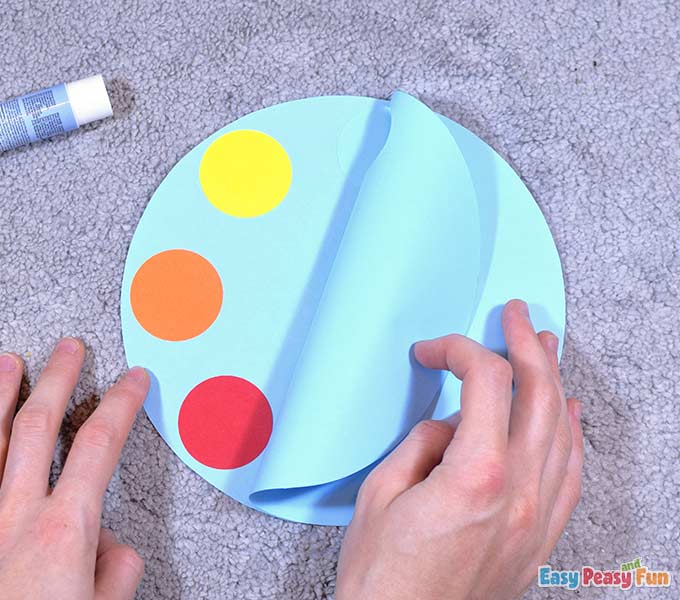
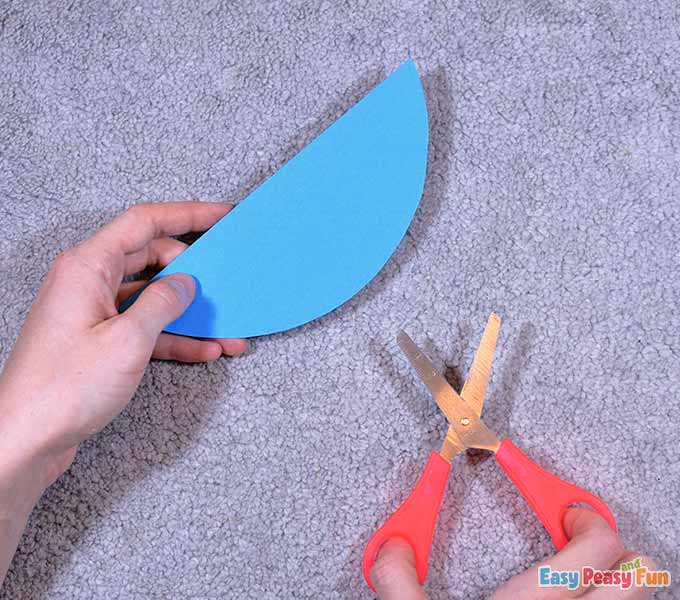
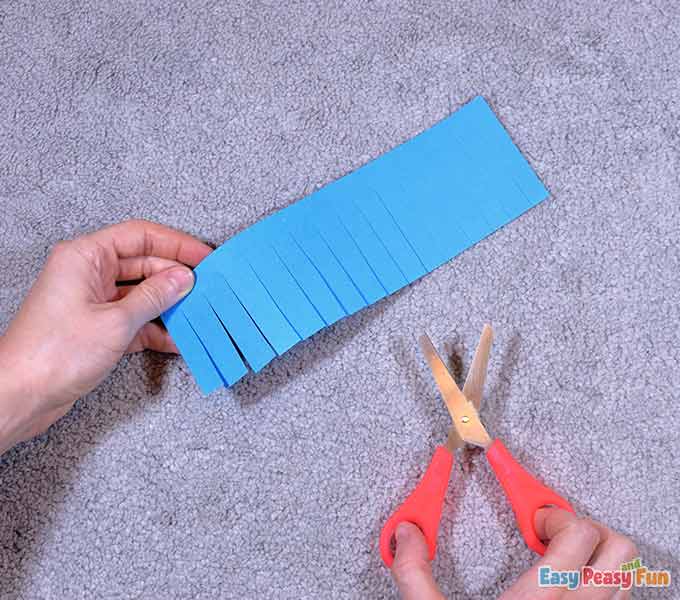
Take another piece of dark blue cardstock and trace a part of “The Wheel” again.
Cut out this shape.
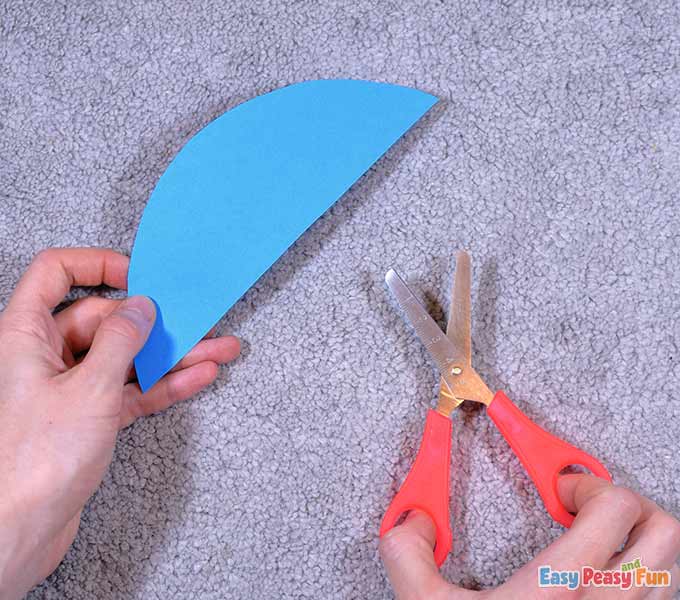
Make some “comb” cuts with your scissors. They should look like in the picture.

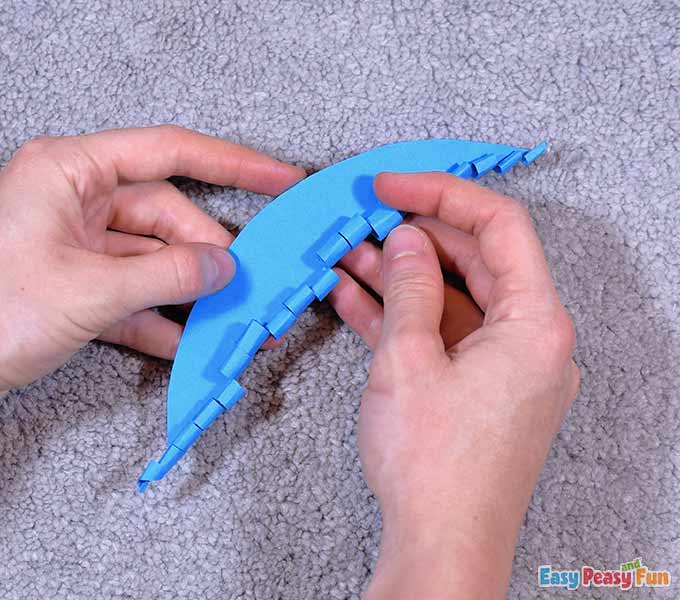
Roll the strips downwards with your fingers.
This would be a wave.
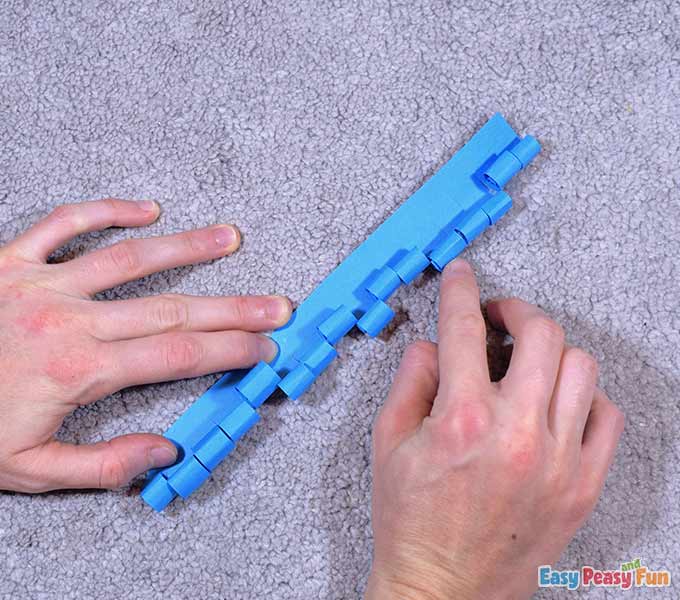
Glue the wave at the bottom of “The Wheel.”
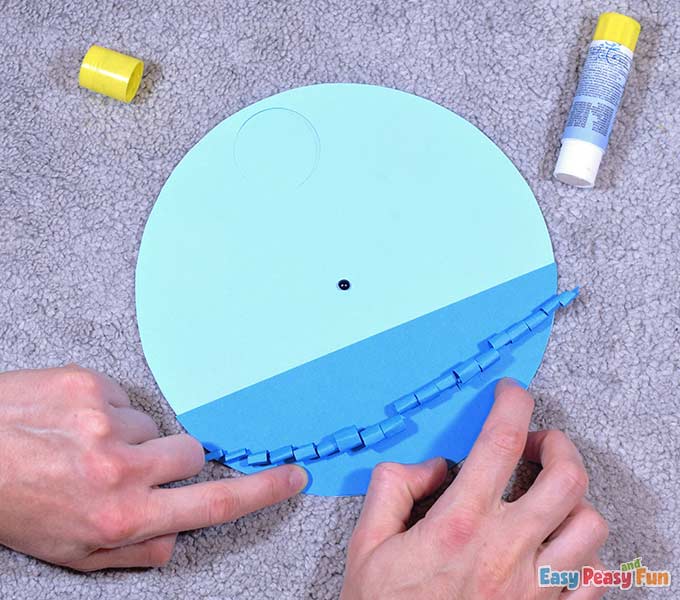
Now take a rectangular piece of paper (approximately 8 cm wide) and make a “comb” shape.
Roll the strips downwards again.
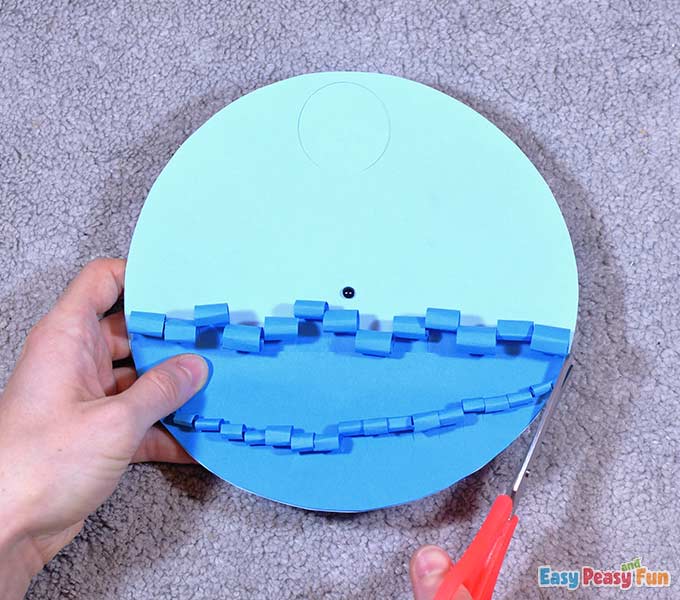
Glue this wave under the sea you attached earlier and remember you left the upper part of the sea glue-free so you can add the wave afterward.

Cut out the excess paper on the sides to have a perfect circle (the waves should not continue outside the circle).
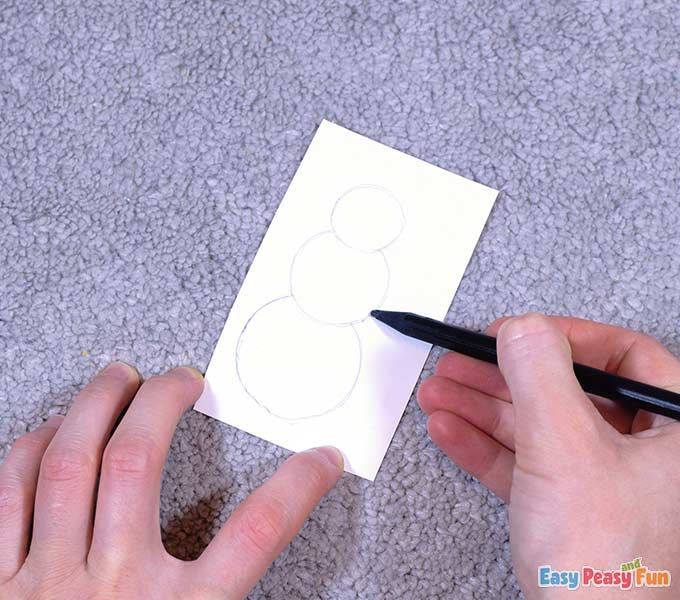
The Snowman
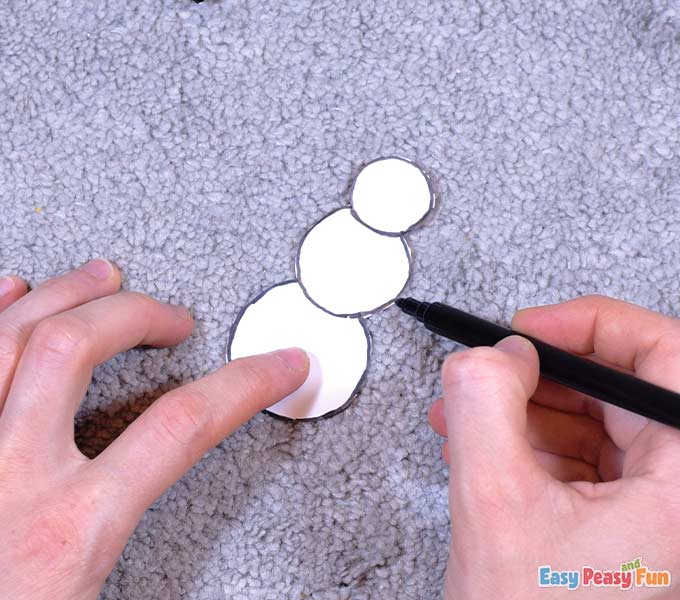
Start off by drawing a snowman on white cardstock.
Cut out the snowman using scissors and outline it with the black marker.
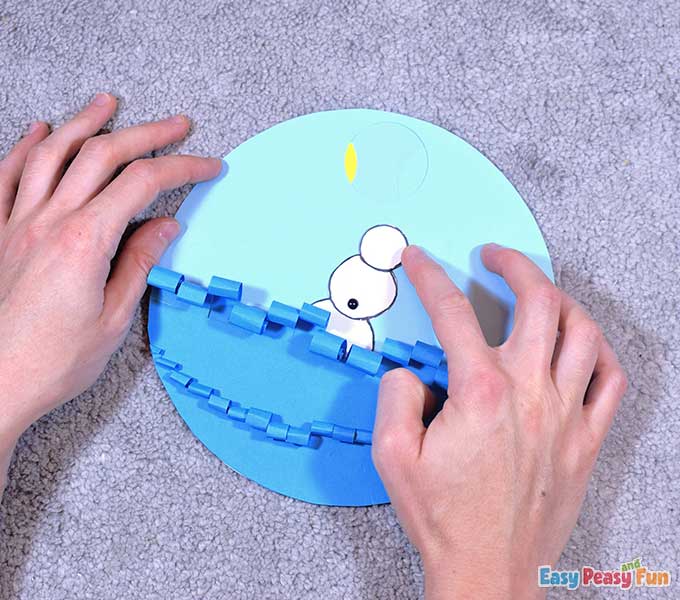
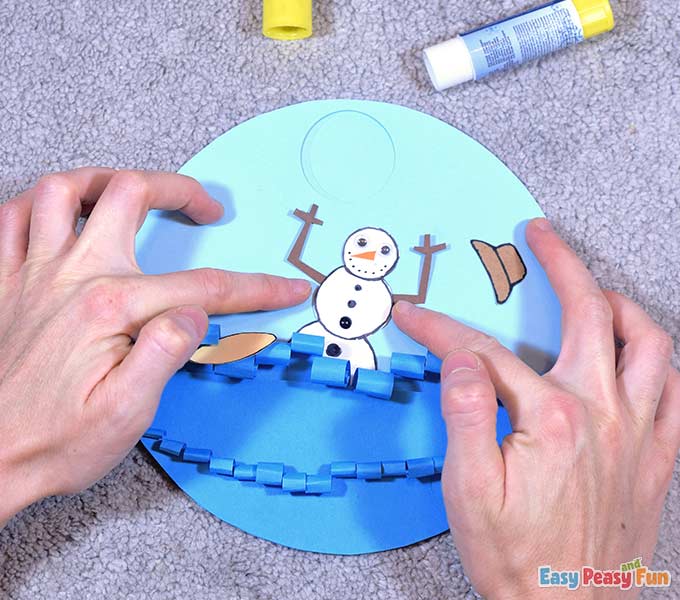
Remove the split pin from the wheel, then push it through the snowman, so it looks like a button on him.
Now attach the light blue circles with the split pin again.
Afterward, glue the snowman so it doesn’t move.
Draw the buttons with the black marker, both on the body (for the buttons) and the snowman’s face (for the mouth).
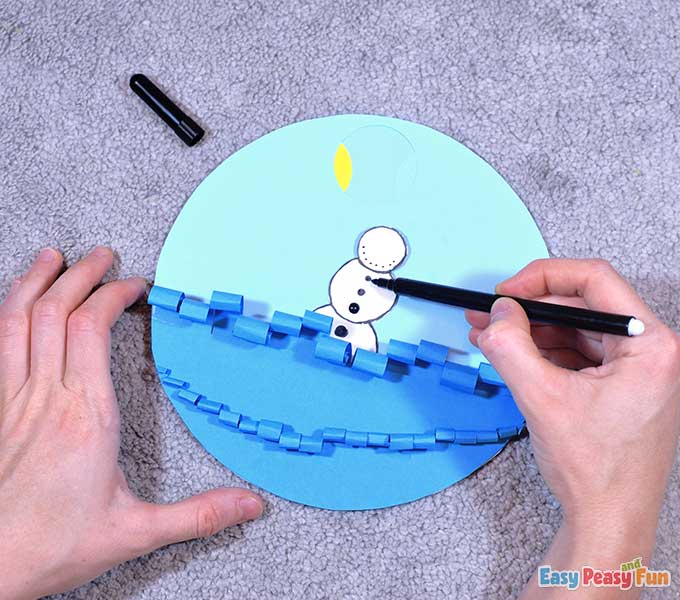
Add the googly eyes and the orange carrot nose on the face.
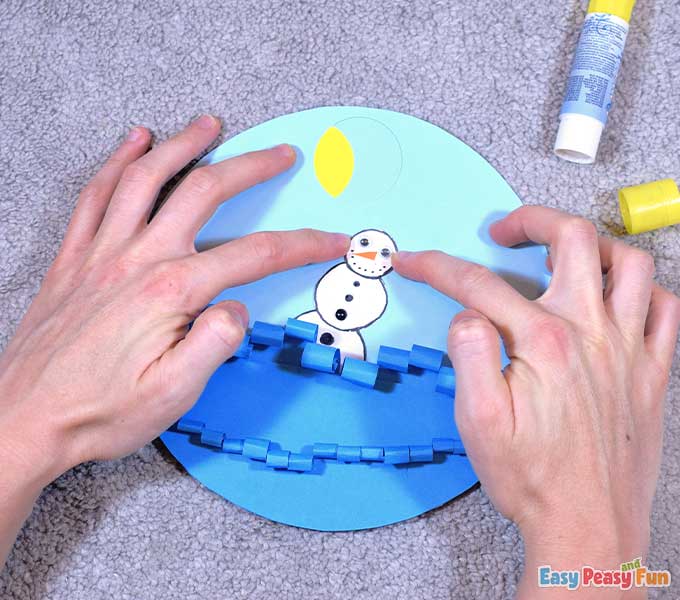
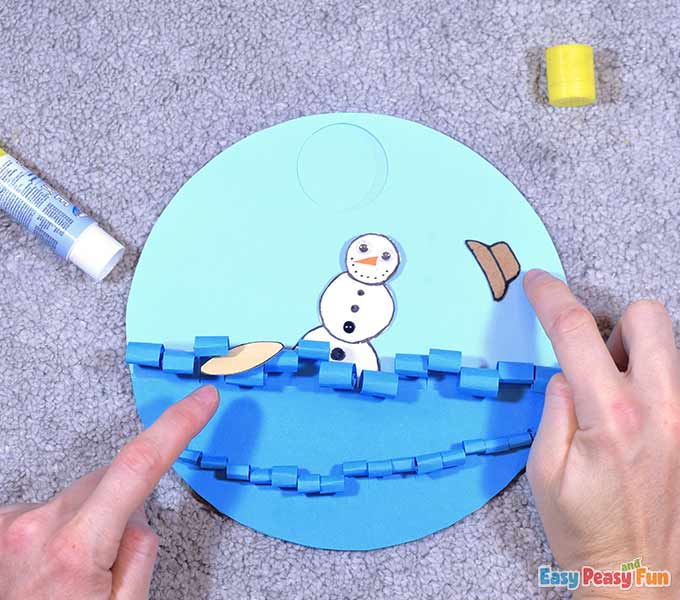
The Hat and Surfboard
On the light brown cardstock, draw a summer hat, and on the pale orange color paper, draw a surfing board.
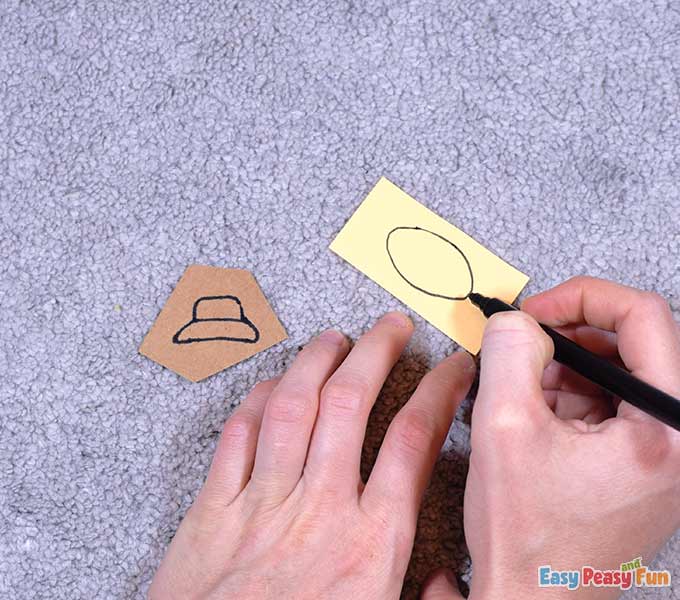
Cut them out.
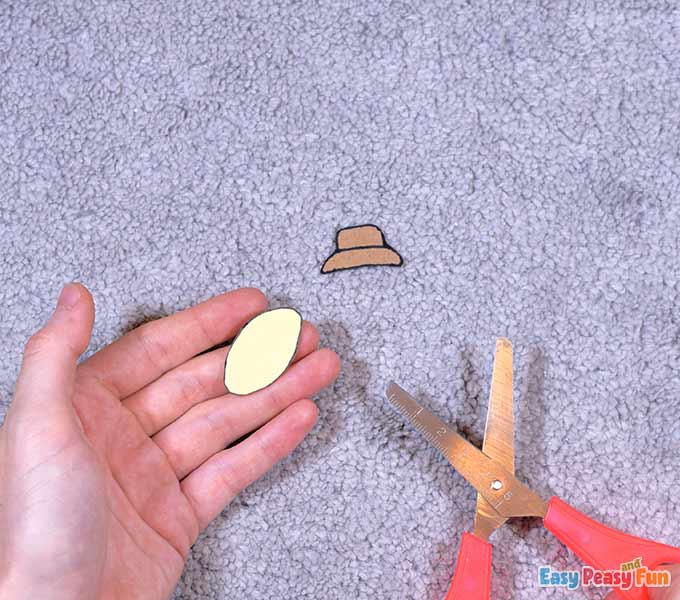
Glue them as shown.
 The Snowman’s Hands
 The Snowman’s Hands
On the dark brown cardstock, draw two hands for the snowman (they should look like branches) and cut them out.
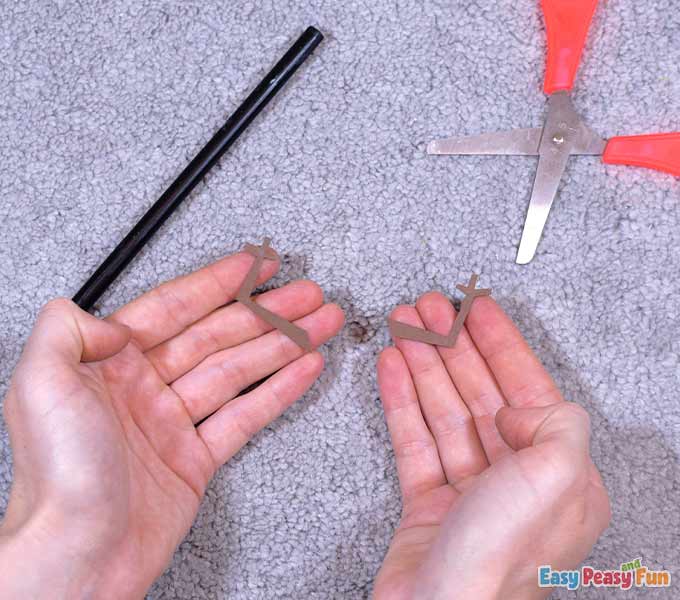
Attach the hands to the snowman.
All done! Yaay!
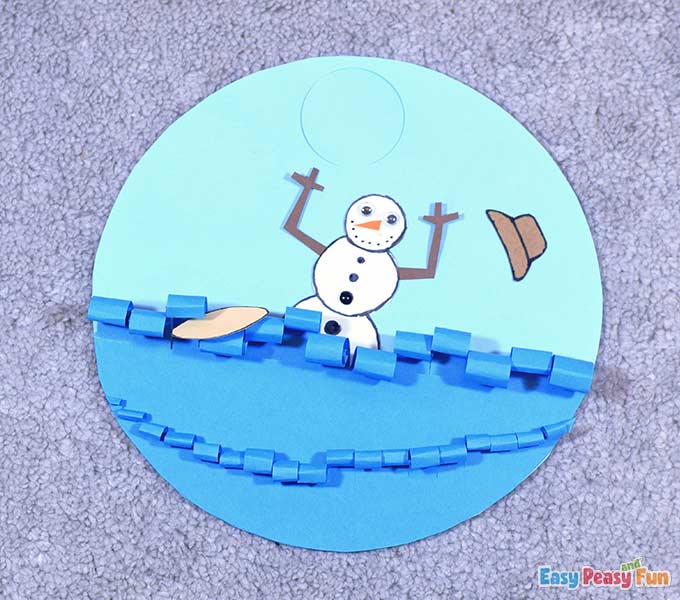
You’re all set to spin your wheel, name the complementary colors, the warm and the cool colors, and the primary and secondary colors.
Stay tuned.
Get Your Snowman Learning Colors Activity Template Here
Want instant access to all of our printable crafts, activities, and resources?

With thousands of crafts, activities, worksheets, coloring pages, and drawing tutorials to print, you will always have just the resource you need at your disposal. Perfect for parents and teachers alike!